Beautiful postcard in the technique of quilling to the day of March 8 - detailed charts and description
The eighth of March is a national day of women's day,or a day of mothers. Each master, one way or another, has close people who want to congratulate on this wonderful day. The best way to show your attention is to prepare a beautiful gift in the form of hand-made articles, made by yourself. Of course, you can go to the store and get off with a simple box of chocolates, or find a better gift. But, made with trembling in the heart and huge love, his gift leaves an unforgettable impression for the one to whom he will be presented.
Beautiful postcard in the technique of quilling to the day of March 8 - detailed charts and description
In this holiday really want to dosomething unique. And therefore craftsmen, and just people inspired by different types of creativity, resort to finding the best option. What is the best way to depict magic flowers for your native women using handcraft? The quilling technique will prove to be the most convenient option, to take advantage of it in such work is only a pleasure. By twisting different parts of paper, we can form a variety of flowers with our own hands. Today we will offer you several variants of such colors. You will learn how to make a bouquet of Chrysanthemums, and also make beautiful flowers of the Lily-of-the-valley. For this work, you should use the basic skills of quilling. This form of working with paper allows you to create a variety of forms and implement large-scale, grandiose ideas. That is why masters from around the world are engaged every year in that they come up with new and interesting solutions that help us to make pleasant to our close Mums, Grandmothers, Aunts or Sisters. 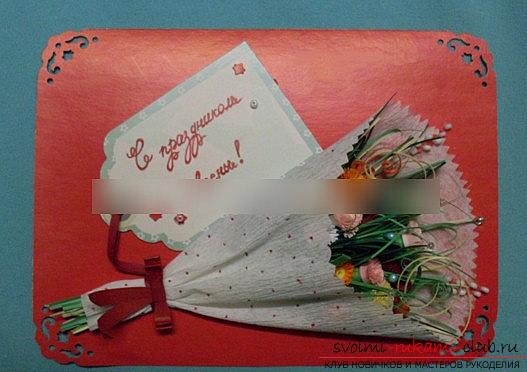 Delicious card with chrysanthemum flowers onThe eighth of March The holiday of March 8 is celebrated by the whole country. After all, you need to be able to appreciate and admire your women! In addition, you can prepare and beautiful gift, which for a long time will remain in the heart and of course, will bring a lot of joy to its owner. Consider options for popular handicrafts using quilling techniques. As you know, quilling is a technique for creating various objects from paper, preferably volumetric ones. Using molds and interesting properties of paper, we have the opportunity to design our own flowers, to prepare real and interesting ideas of creative ideas. The first and second idea combine one goal: to make a flower. But, even to such a simple issue of performance of work can be approached from different sides. Let's try to study the material and find out how we will make such flowers. A vivid example of such work can be a very creative postcard with a set of three-dimensional colors. For it, we need a base of white cardboard, which must be prepared for the shape of the bouquet. We also take quilling paper in green color to form small leaves for the subsequent realization of the bouquet.
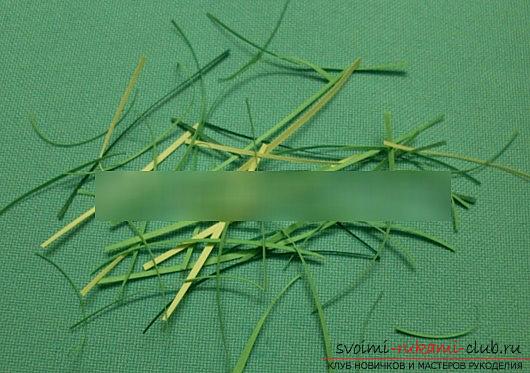
 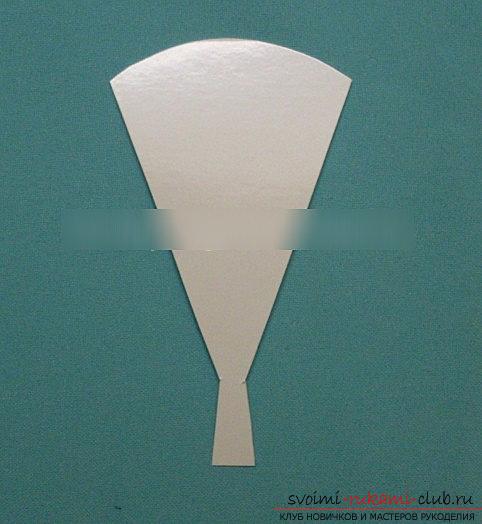 We take short pieces of green paper,to make them weed for our flower bouquet. Then, we fill the base of the bouquet with prepared variants of grass and leaves to hide all the necessary elements. Next, we form the curl with green-tinted paper to decorate the product. After, the petals are made, which are formed together with the centers of future colors.
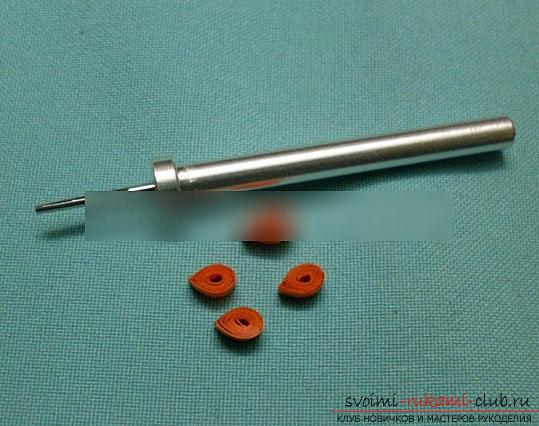
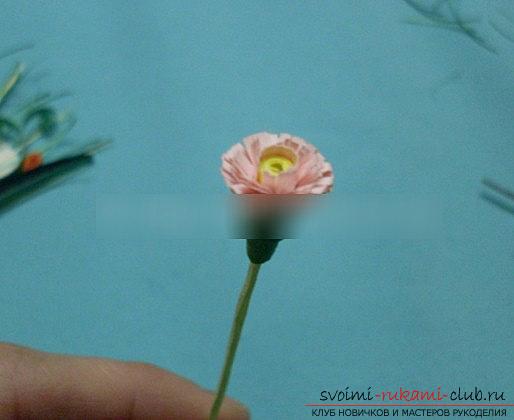
  Preparing the elements of a bouquet A petal needs to be donein the form of a drop, in turn, the core is formed using a cylinder technique. Then, take the green paper to make a variant of the stems for the chrysanthemum flower. It is necessary to make bending of narrow strips along, dividing them into two parts. Also, it is possible to pre-work the deflection site, it may be necessary for this. needle, or pincer. Then, using a wider paper, we glue the cylindrical shape of the workpiece. After the material dries, you can give it a cone shape thanks to the tweezers. Then, take any necessary or successful color of the paper to form the petals of the flower. To do this, you also need to cut the fringe using a wide strip of paper. Then, it needs to be glued around the product, using the preliminary center of the flower in the cylinder. After, all this must be combined with the foot of the flower. After the element of the chrysanthemum dries again, we fluff the petals.
  Decoration of a bouquet To form such a bouquetThe bouquet needs to be made with seven similar flowers. Then, the elements of the bouquet must be glued to the stem. Fill the foundation to its middle part. We should not forget about the elements of leaves and grass. After using white paper from corrugated paper, we make a wrapper for our improvised bouquet. The workpiece must be wrapped, and then glued on the back side. Then, with the help of a thread, we will bandage the bouquet at the bottom. The place where the bouquet is intercepted, it is necessary to decorate with a tape, which was prepared in advance. You can also take a bow!
  The best is maroon paper forquilling, you can take paper from corrugation. Next, use a red felt-tip pen to decorate the exterior finish. We use the pattern of peas. Then, the bouquet needs to be pasted onto the cardboard basis of the postcard. A glossy version of cardboard will be the best choice. We use a punch hole to make figured patterns. Also, you should make a small hinged label for our crafts. On it we write congratulations! You can also supplement our artwork with beads, which will imitate the dew on the leaves, or flower buds. Cooking Lilies of the valley - the second postcard
 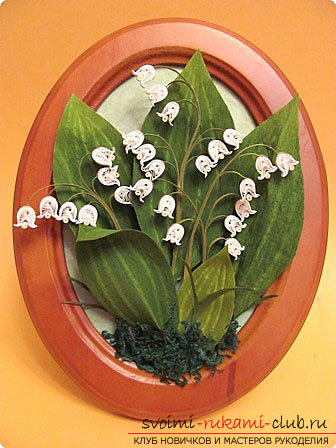 Lilies of the valley are charming flowers thattend to love, tenderness and love. Everyone in childhood read the old and good tale of the Grimm Brothers about Snow White. At a time when Snow White was to be rescued from an evil mother, she randomly scattered a small necklace, which became beautiful flowers. They became lanterns in the world. For dwarves. It is believed that in the Lily of the valley there live small magical little men - elves. Also, the lily of the valley hides solar bunnies behind it. It is they who best characterize the features of women and therefore, this flower is ideal for portraying it on your postcard. Quilling technique will be the best solution to do a truly voluminous work and congratulate your mother on the holiday, differing from other ways.
- Prepare the quilling paper
- Quilling tool
- Glue PVA or Adhesive-pistol
- Brush
- Scissors
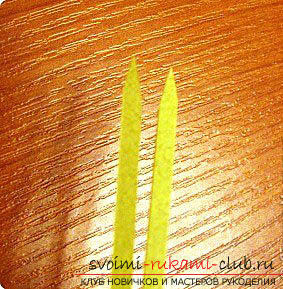
It is required to take a whole strip of 3 millimeters andform a tight pill from it. Then, this tablet should be dissolved. For this, we take and hold our work on the sides, then pull the middle part down. After, the middle should be pressed inwards, as in the photographs. Further, gently holding the bottom part with one hand, we squeeze our sides with the other hand. The pressing must be done to the end, so that after the part has been released, it has blossomed a little. We achieve this effect. Then, it is necessary to take tweezers and twist the "needle" element. With the help of fingers it is also possible to make this element, but thanks to the tweezers the work can be greatly simplified. Half of the postcard is ready! 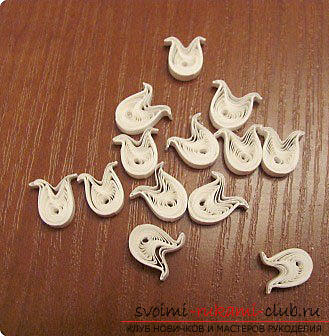 Stamens and stems We will have a beautiful shapeflowers of lilies of the valley. Now, we will form a stamen in it. To do this, take a strip at a width of 3 millimeters and divide into 8 pieces. Then, from them twist the stamens, which we will fix on the flower. After, it is necessary to form a stem for the future flower. To do this, take a strip and fold it into two parts. Then, glue it inside, leaving a little without an adhesive substance. 5 millimeters should be enough. Then, using the scissors, you need to sharpen the top part, as in the photo. It is necessary to glue the workpieces using a stem.
  Assembly phase
  The final stage! Assembling the composition in a full postcard. For this you need to take a glue gun, so the work will be much more convenient to fix than other methods. Leaflets are made with the help of paper sheets of crystal form, which we are combined into two parts and glued. Similarly, corrugated paper is suitable for this embodiment. In order to form veins, it is necessary to take a dried leaf and put a soft object on it. Next, we conduct with the help of a rounded object, for example, with the help of the reverse part of the brush. Then, the work that we have got, it is necessary to paste it into the cardboard and make an inscription. It turns out a beautiful postcard!
