Scheme of the bracelet from beads with your own hands, a lesson for beginners, photos
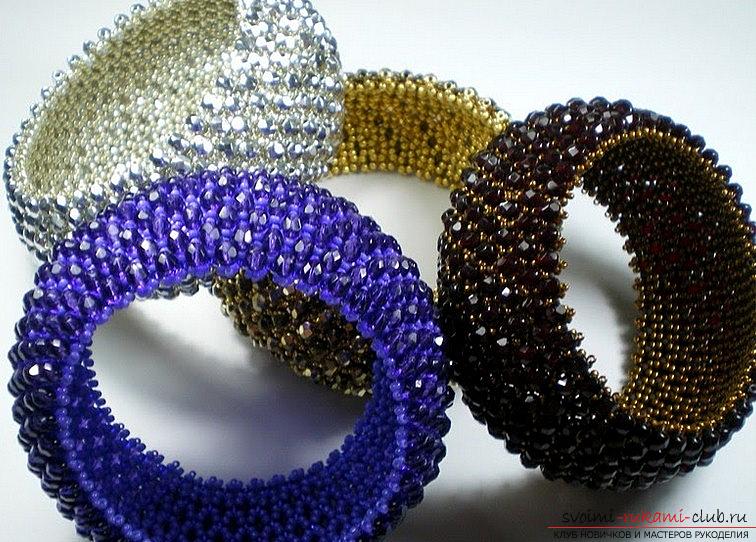
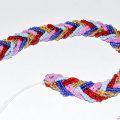
Weaving from beads of various ornaments isquite a popular task that faces many amateur needlework. Therefore, it is possible to learn one of the techniques as simply as possible, if only because they are in large quantities. Bead bracelets are not so difficult, and in this article we will consider one of the simplest ways that will be available even for those who only begins training in beading. If you know how to weave a regular pigtail, this lesson will not be a big problem for you, and this technology will be quite accessible and convenient for training. Now we will teach you how to weave bracelets from beads and beads in the simplest way, available even to just beginning to master the science of beading.
Materials for a bracelet
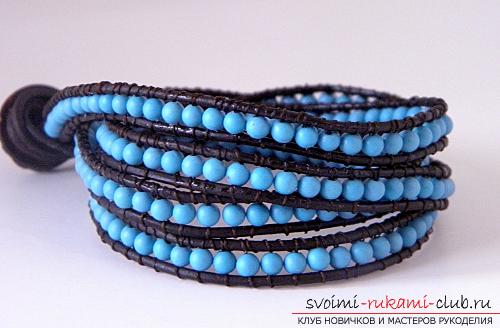 To make a bracelet of beads with your own hands,you will need any small beads. Suits from 4 to 6 millimeters inclusive. Select the length of the future product and count the number of beads for the future bracelet. Then, you need to decide in advance how many times this bracelet will upholster your wrist - one or more. Also, you will need a leather cord and strong threads that will fit the future beadwork. They should not be in the tone of your leather cord, but at the same time, they should have the same thickness, so that even a double-stranded string can pass into your bead.
Basis of braiding
Also, as a periphery, you will needspecial button for fastening. Here everything depends on you, you can pick up any interesting variation of the button. For processing you need a needle, a pair of scissors and a special clamp that will secure the bracelet when you create your bracelet. To create a bracelet, you need to measure the desired length for the leather cord. In this case, it is necessary to take into account that this cord can be folded in half, for this it is necessary to leave also additional stocks to the fastener. Then you need to measure the thread in the desired length parameter, and then, change it into a needle to tie a corner. The thread must have a double base. After it is necessary to fold the leather cord in two parts, to attach the niochek knots up to it. In this case, the needle must sag from below. And then, you need to retreat a small distance in order to form a loop as a fastener. At the end, you need to make a knot to tie the string and thread in one place. Then, you need to attach the lace withclamps to a special crust of cardboard, on both sides in order to make it more convenient to work. Then, proceed to the weave. To do this, you need to make a few stitches, which are based without the addition of beads. Then, it is necessary to stretch the end of the lace above the right, and then, back under it, also draw a broach, then back under it. In the form of a stitch will resemble a figure eight. Do this action is necessary at least 5-6 times. Next, you need to add beads between these ends of the laces. When the thread leaves the left side of the end of the cord, you need to add a braid. Then, again it is necessary to stretch out and in the reverse order under the right end. Then, again through the bead, and then above and in the reverse order under the left end. Now again, you need to add a bead and repeat these movements until completely filled with beads. At the end, you need to tie the future buckle, in our case - button. The bracelet will be ready.
Comments
Related posts:
 New Year's symbolic souvenirs made of beads, made by own hands - a lesson
 Lessons in creating a bracelet from beads with your own hands. Materials are free.
 How to make a doll of polymer clay with your own hands? Lesson and photos
 Winter wood lesson with your own hands. Beadwork and photography works.
 A lesson of crafts for beads for beginners according to schemes, weaving from beads