A lesson on weaving the bracelet from the rubber bands "Sidewalk" with detailed recommendations and photos
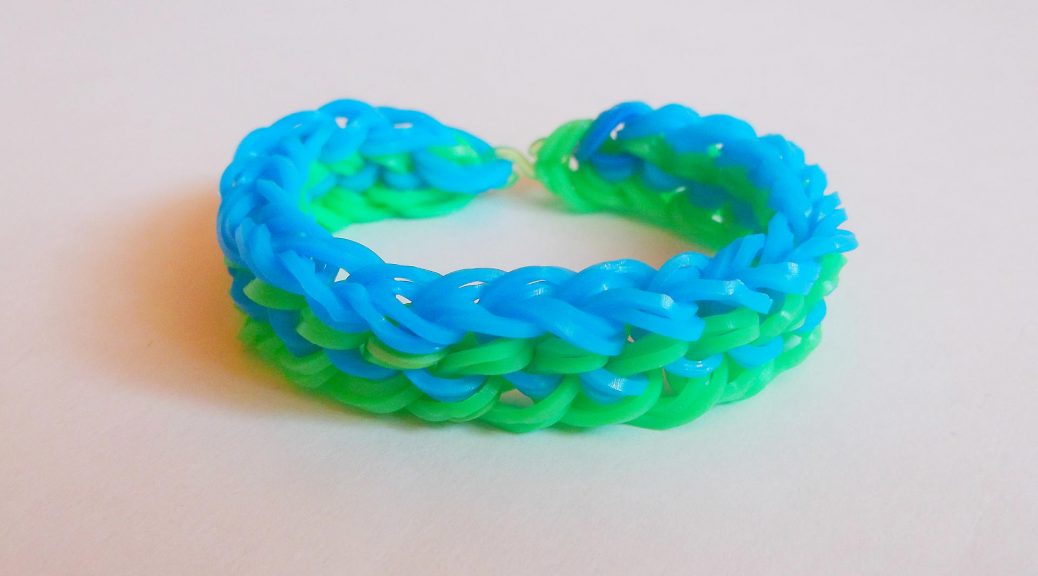
Weave bracelets from rubber bands becomes allmore popular kind of needlework. It attracts with simplicity and variety. In order to weave the bracelet sometimes takes only twenty minutes. In this master class, we will just weave such a bracelet. We will weave the "Sidewalk" bracelet. It has an interesting design and does not require much time.
Materials and tools
For weaving we will need:
- Erasers of two colors (in this case, blue and green);
- Hook;
- Clip;
- Two pencils;
- Scotch;
- Piece of paper.
This bracelet is padded both on the machine and on the slingshot. However, if you do not have a slingshot, then you can do with improvised materials.
Stages of work
Take two identical pencils and insert betweentheir pre-folded scrap of paper. We need to achieve a distance of about three centimeters between the pencils. We twist the pencils with scotch tape. The slingshot is ready, go to the weave. Two blue bands are put on one pencil, turn the figure eight and put them on the second pencil. 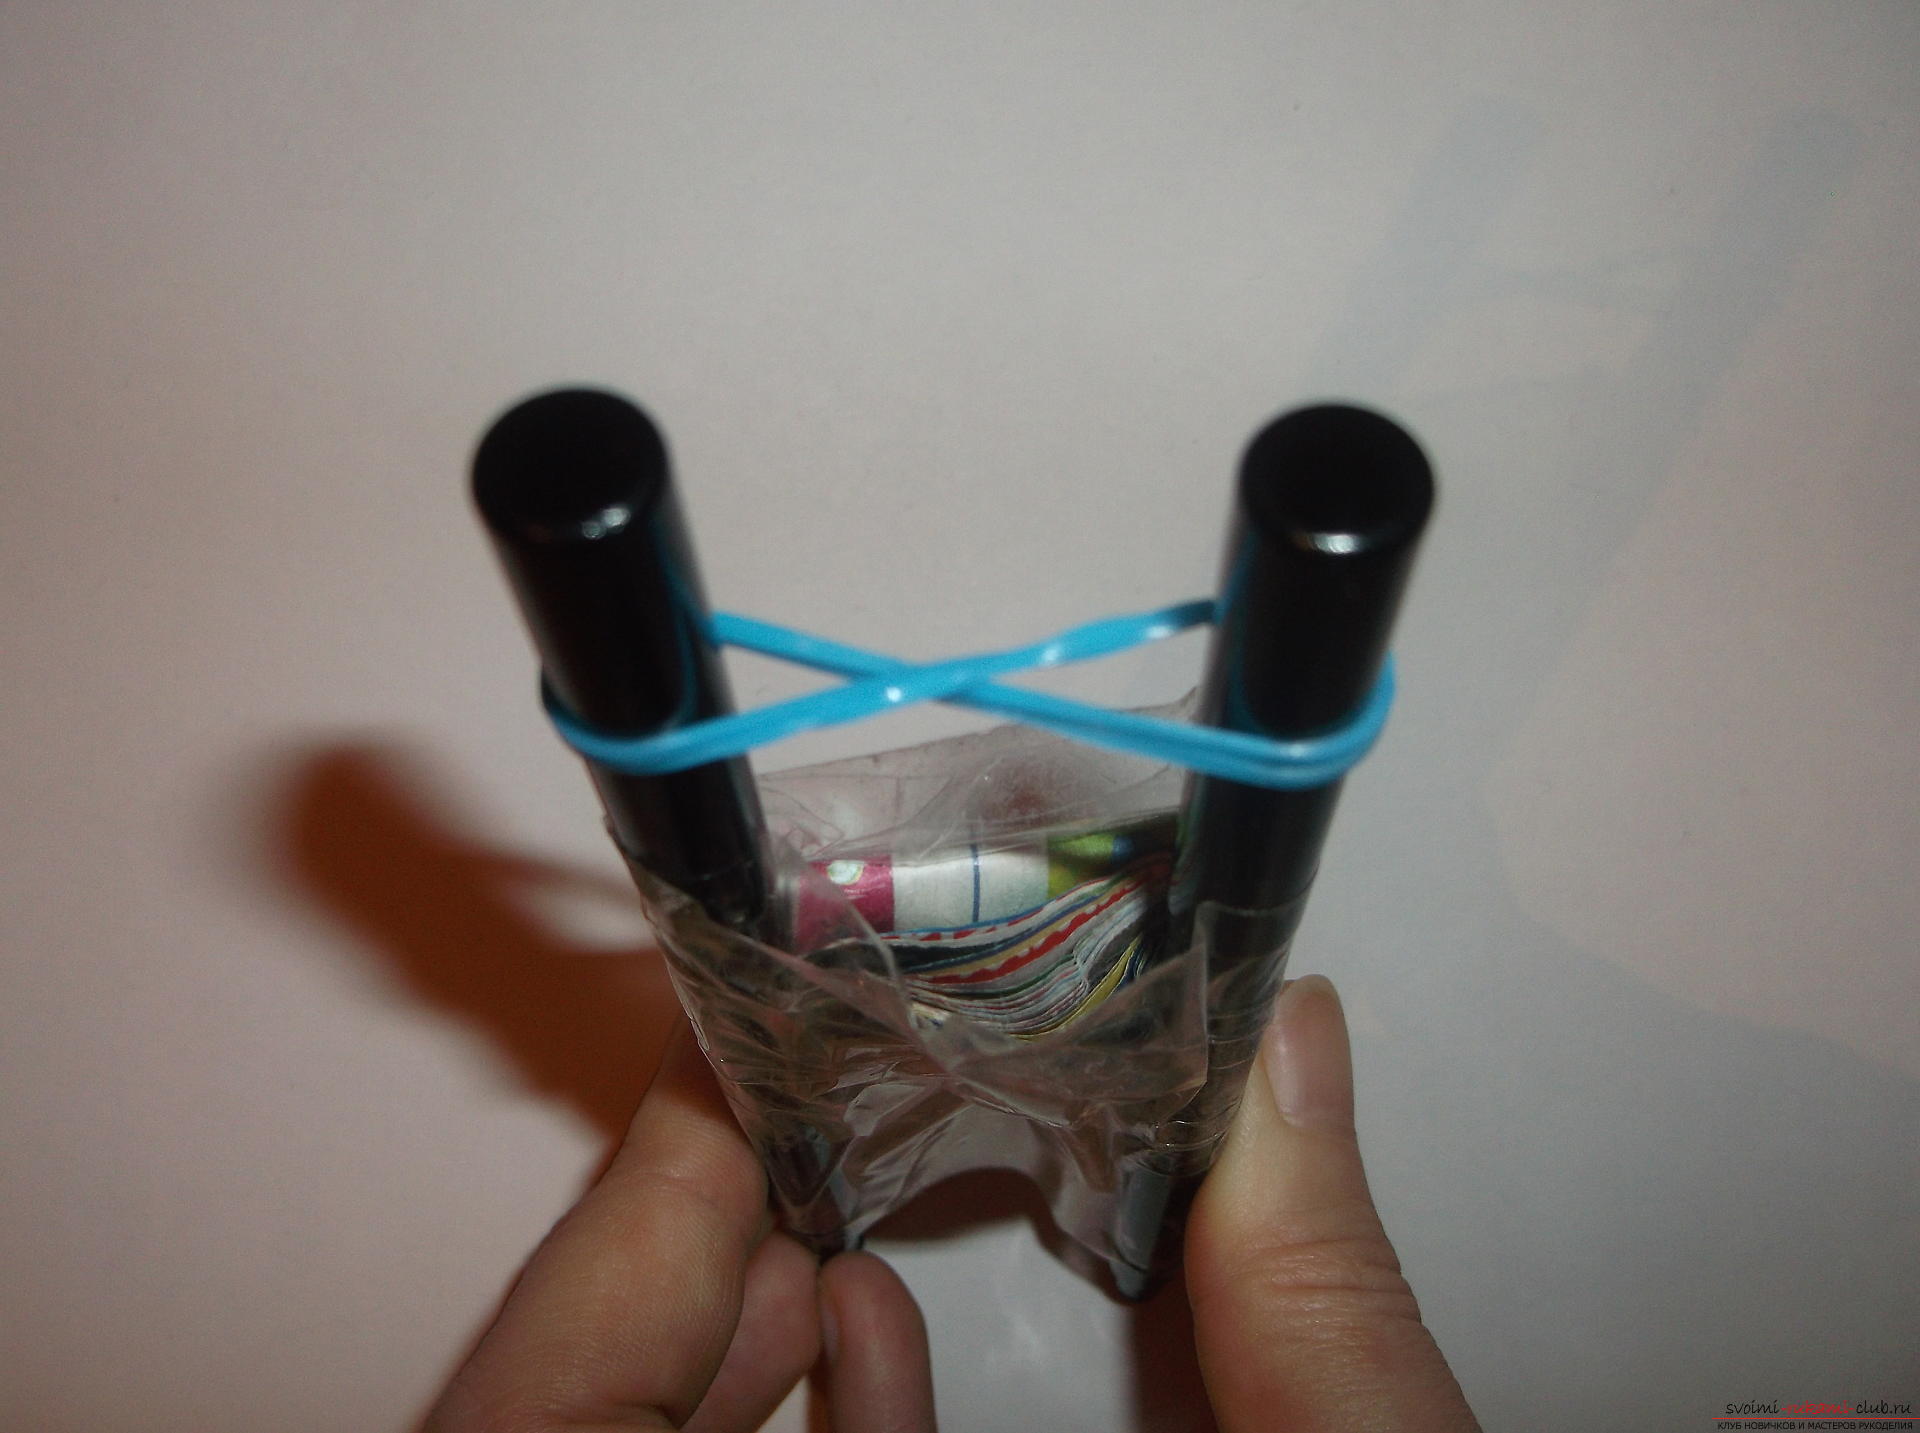 Now take two green gums and put them on both pencils, without twisting.
 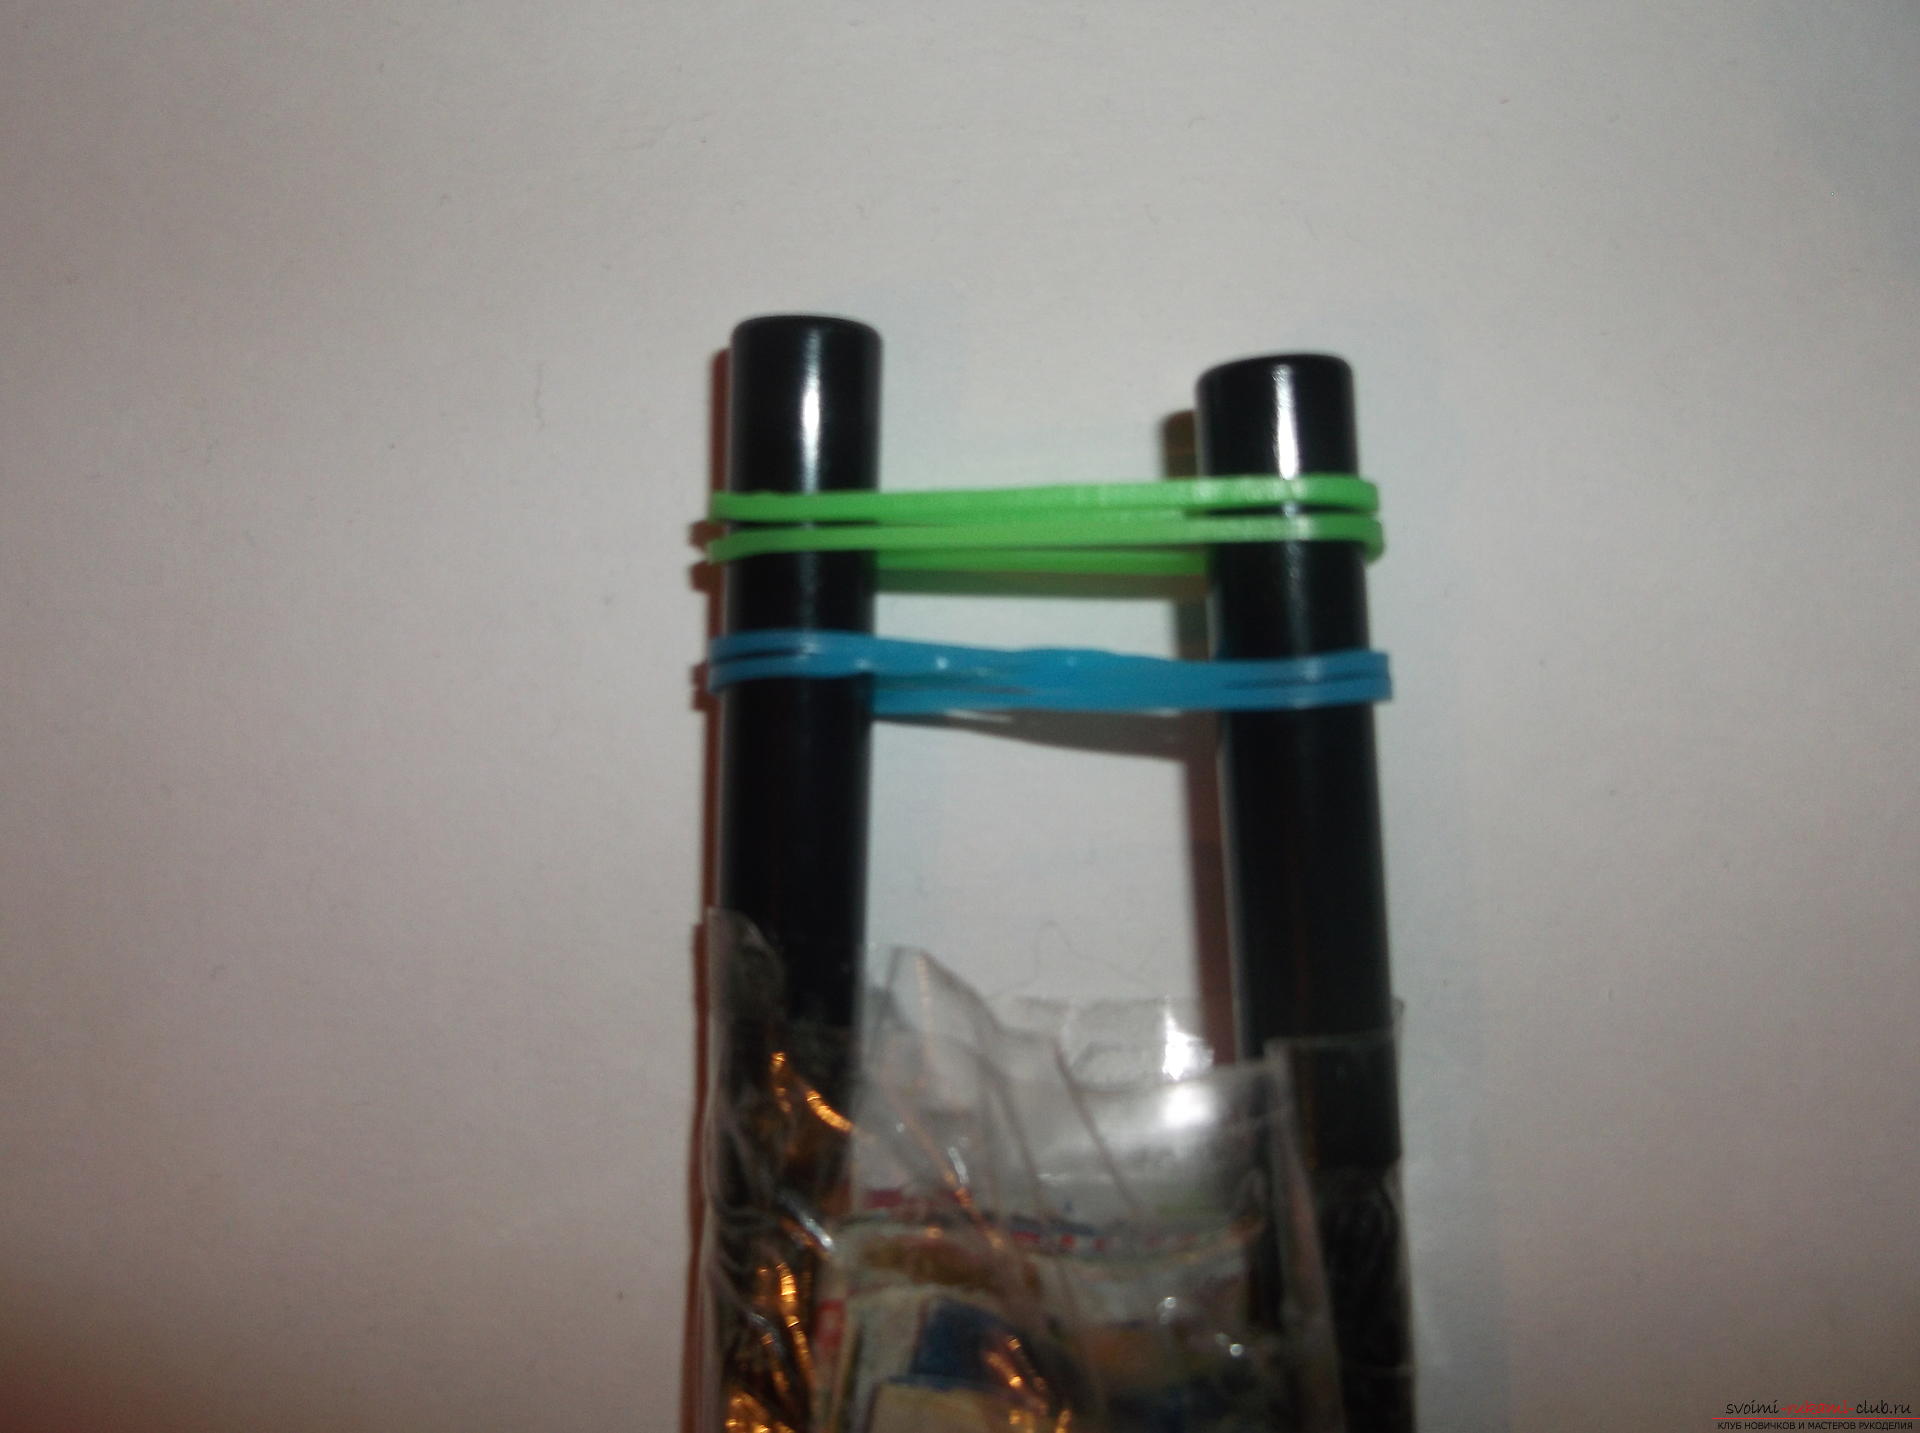 Now we throw off the blue rubber bands only with the right pencil. That is, we catch them with a crochet and hold over green rubber bands, remove them from the pencil and leave them between the pencils.
 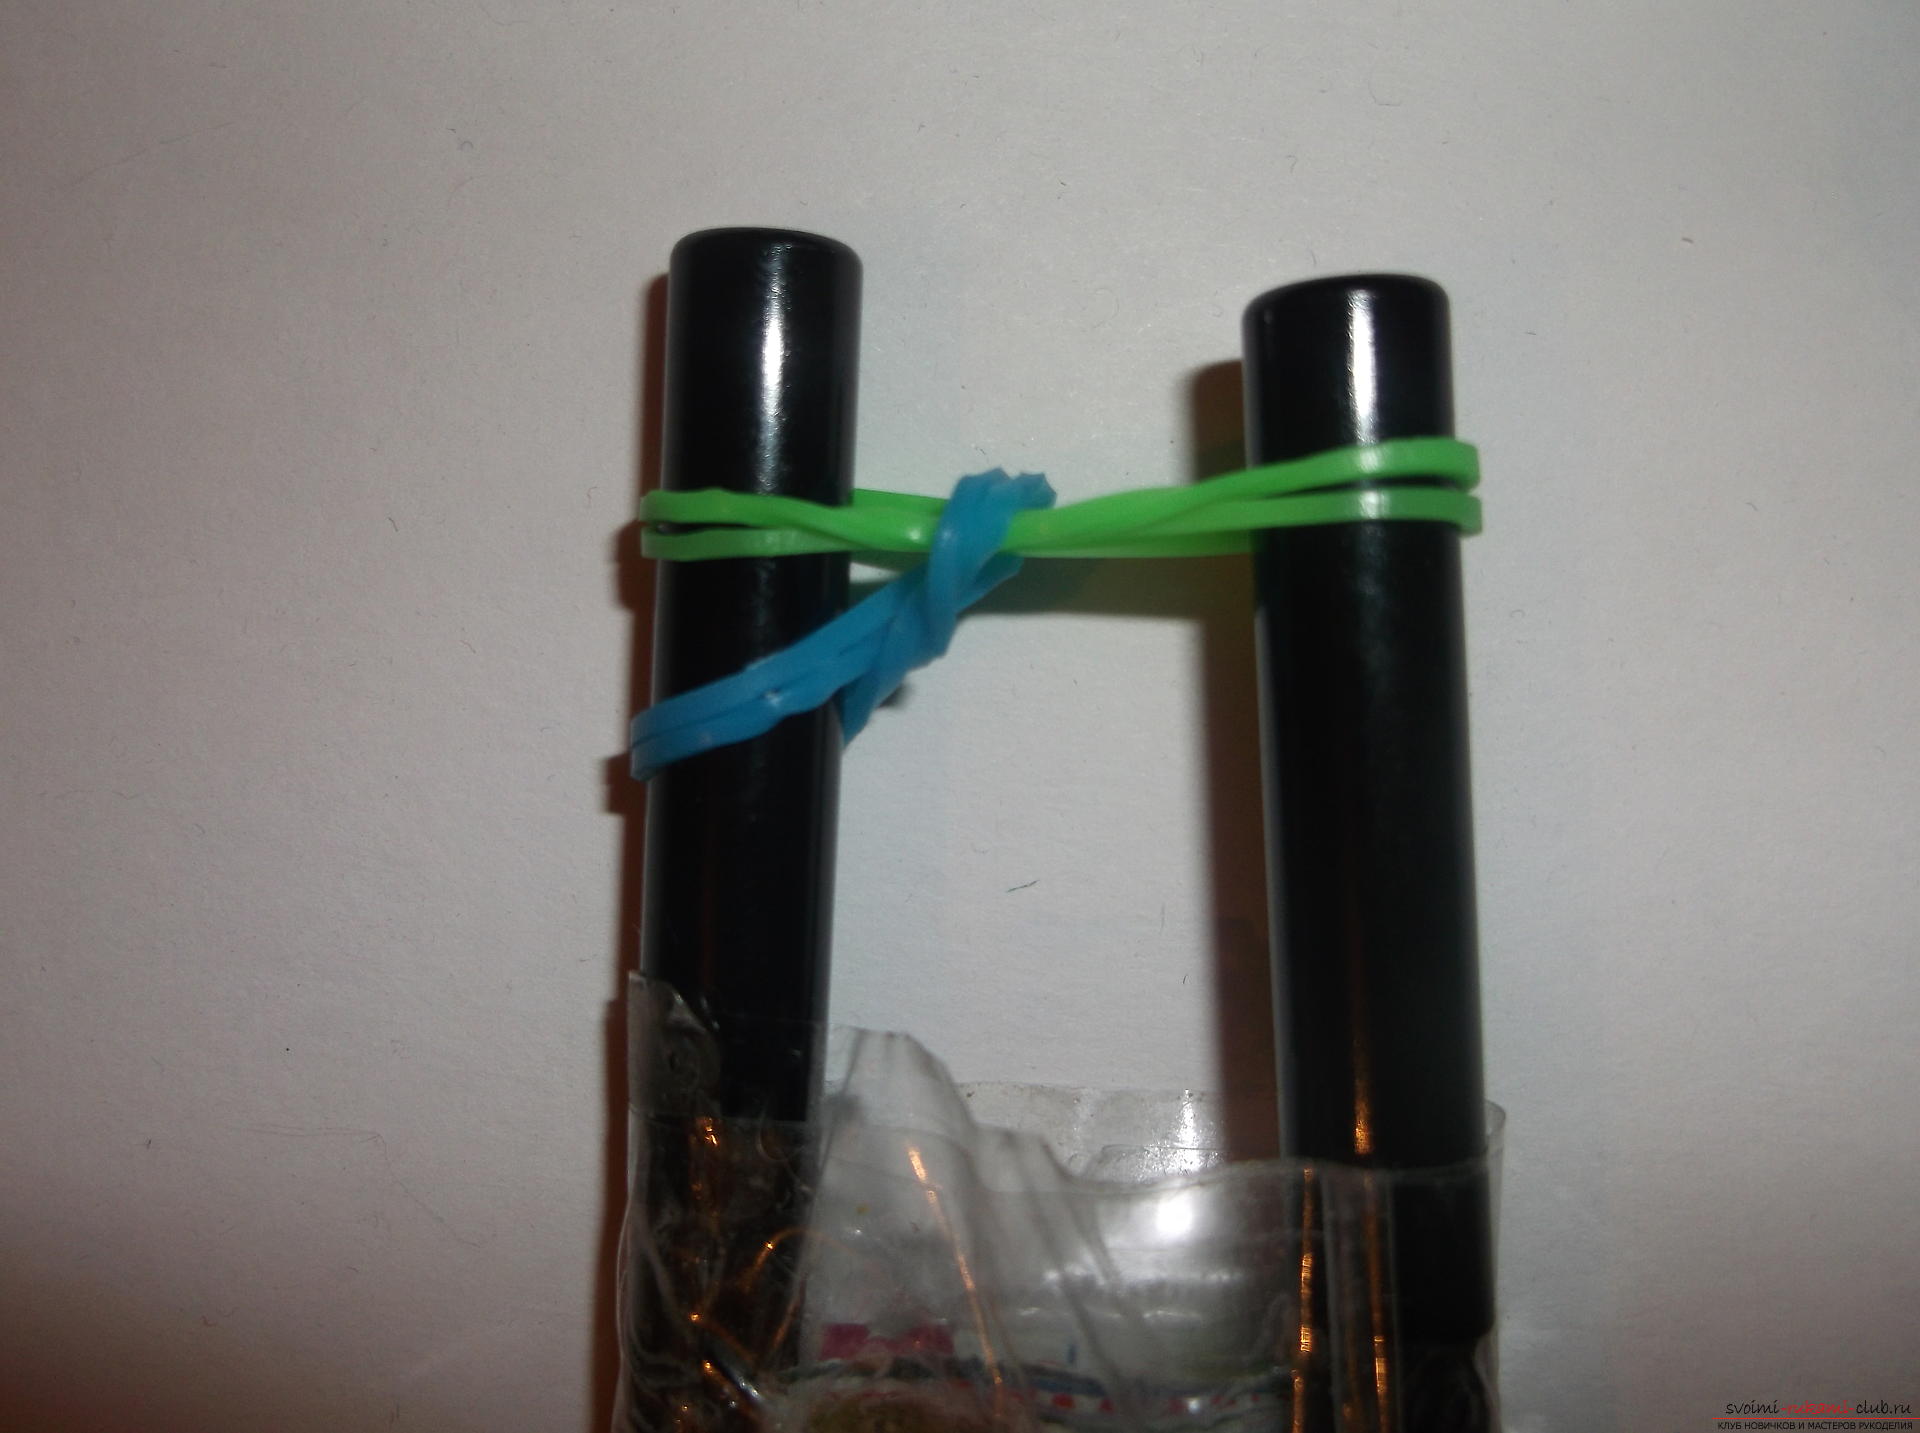 Erasers go down. We take two blue rubber bands and again just put them on both pencils. Now we remove four lower hinges from the left pencil.
 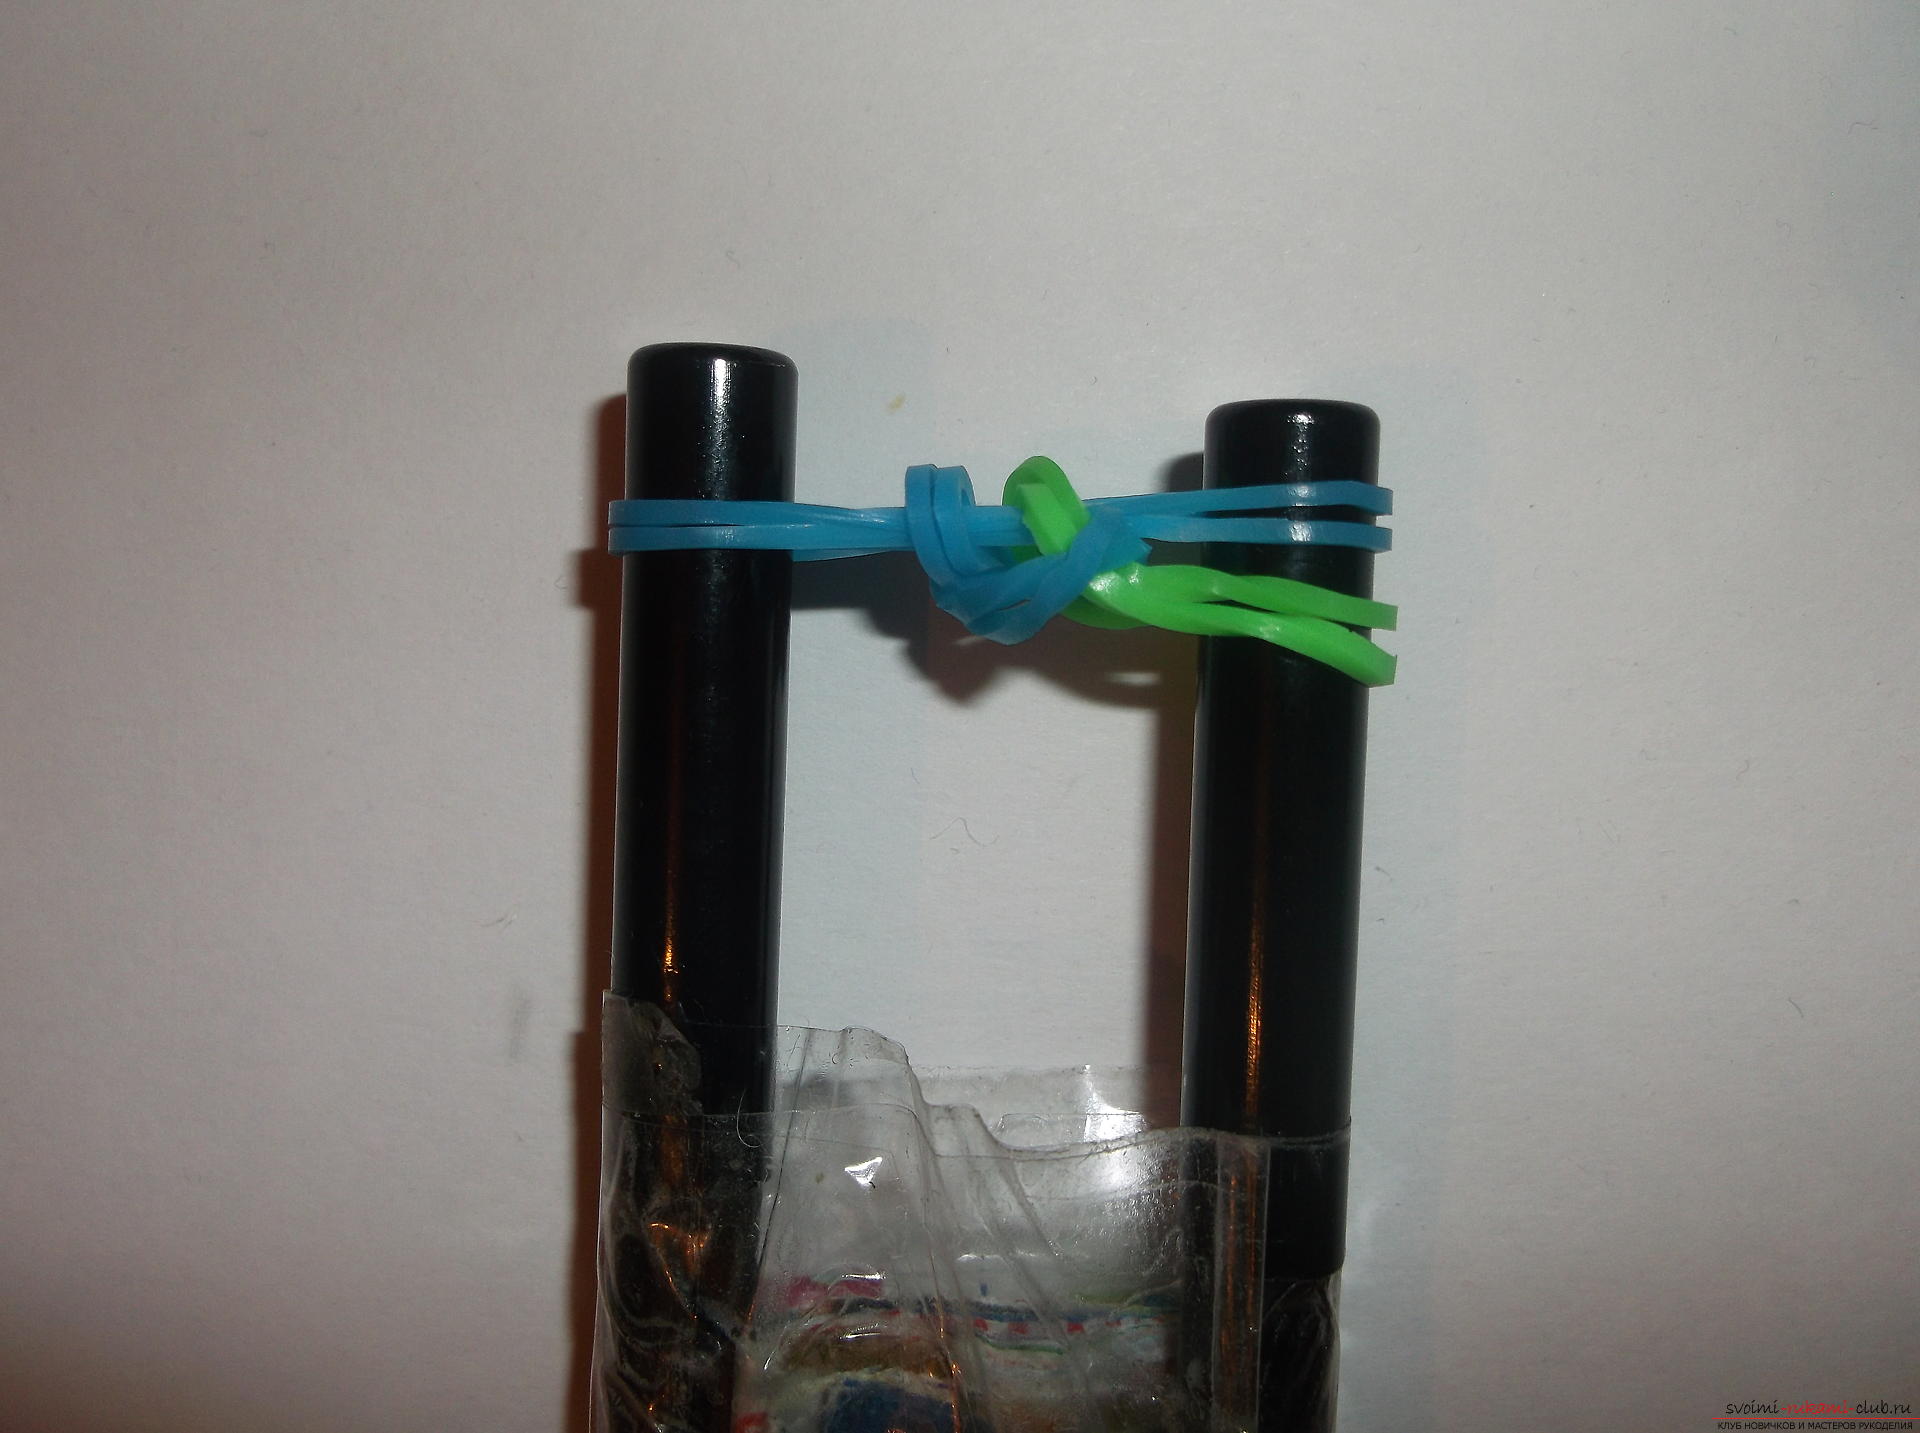 Next, put two green rubber bands on both pencils and remove the four lower loops from the right pencil.
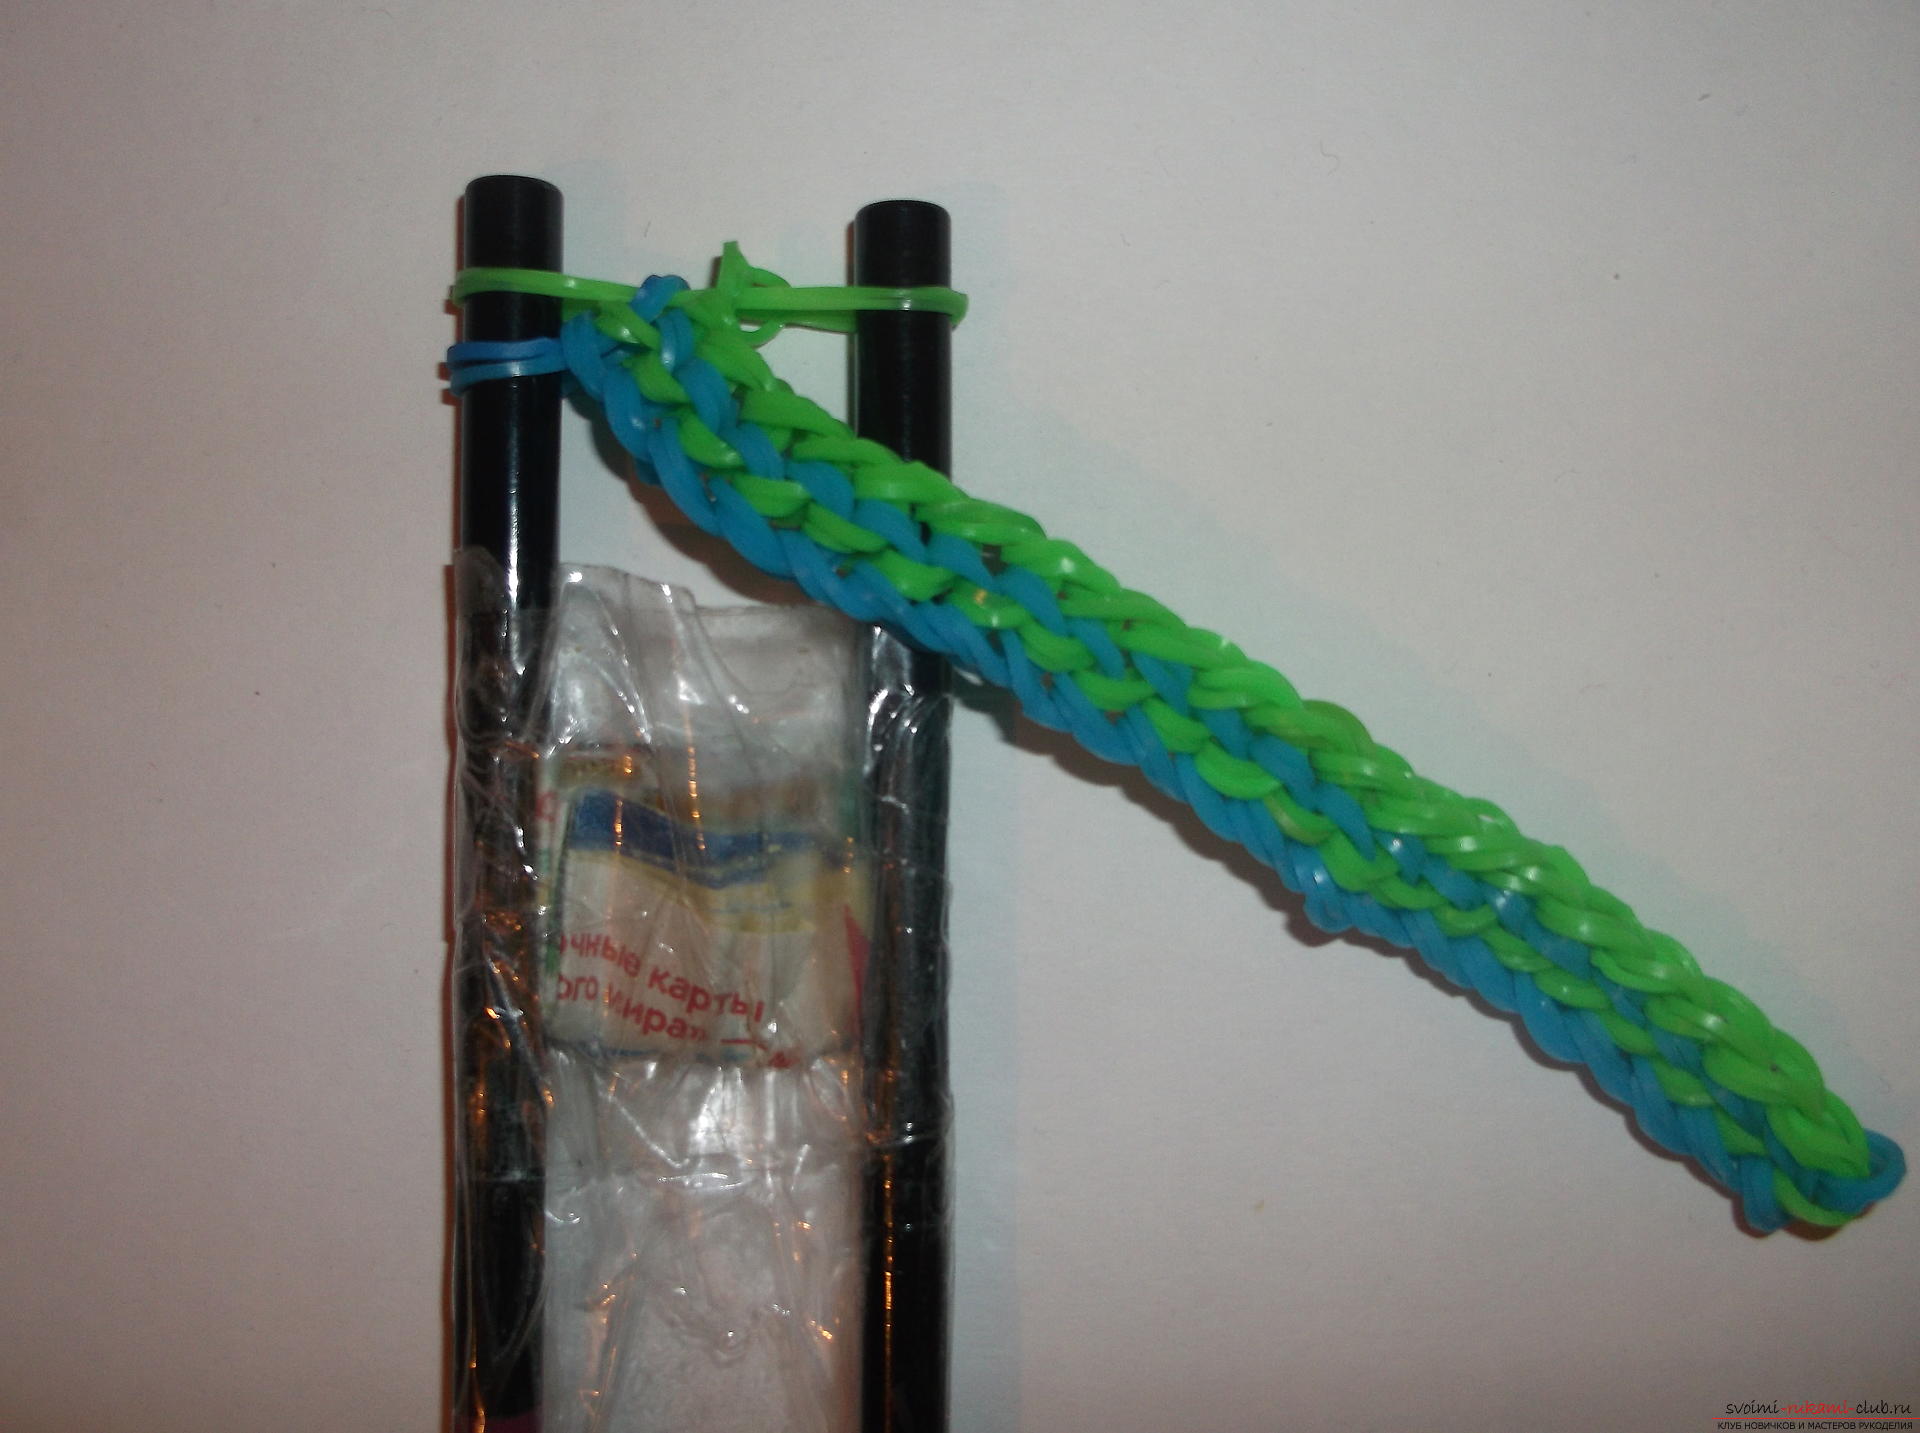
  Further weaving is similar. It is necessary to alternate the gums in color. Always wear two rubber bands of the same color and throw off four loops, that is, two pairs of different colors, then from the left, then from the right pencil. After each row, we put the elastic bands down, so that it would be more convenient to put on the next row.
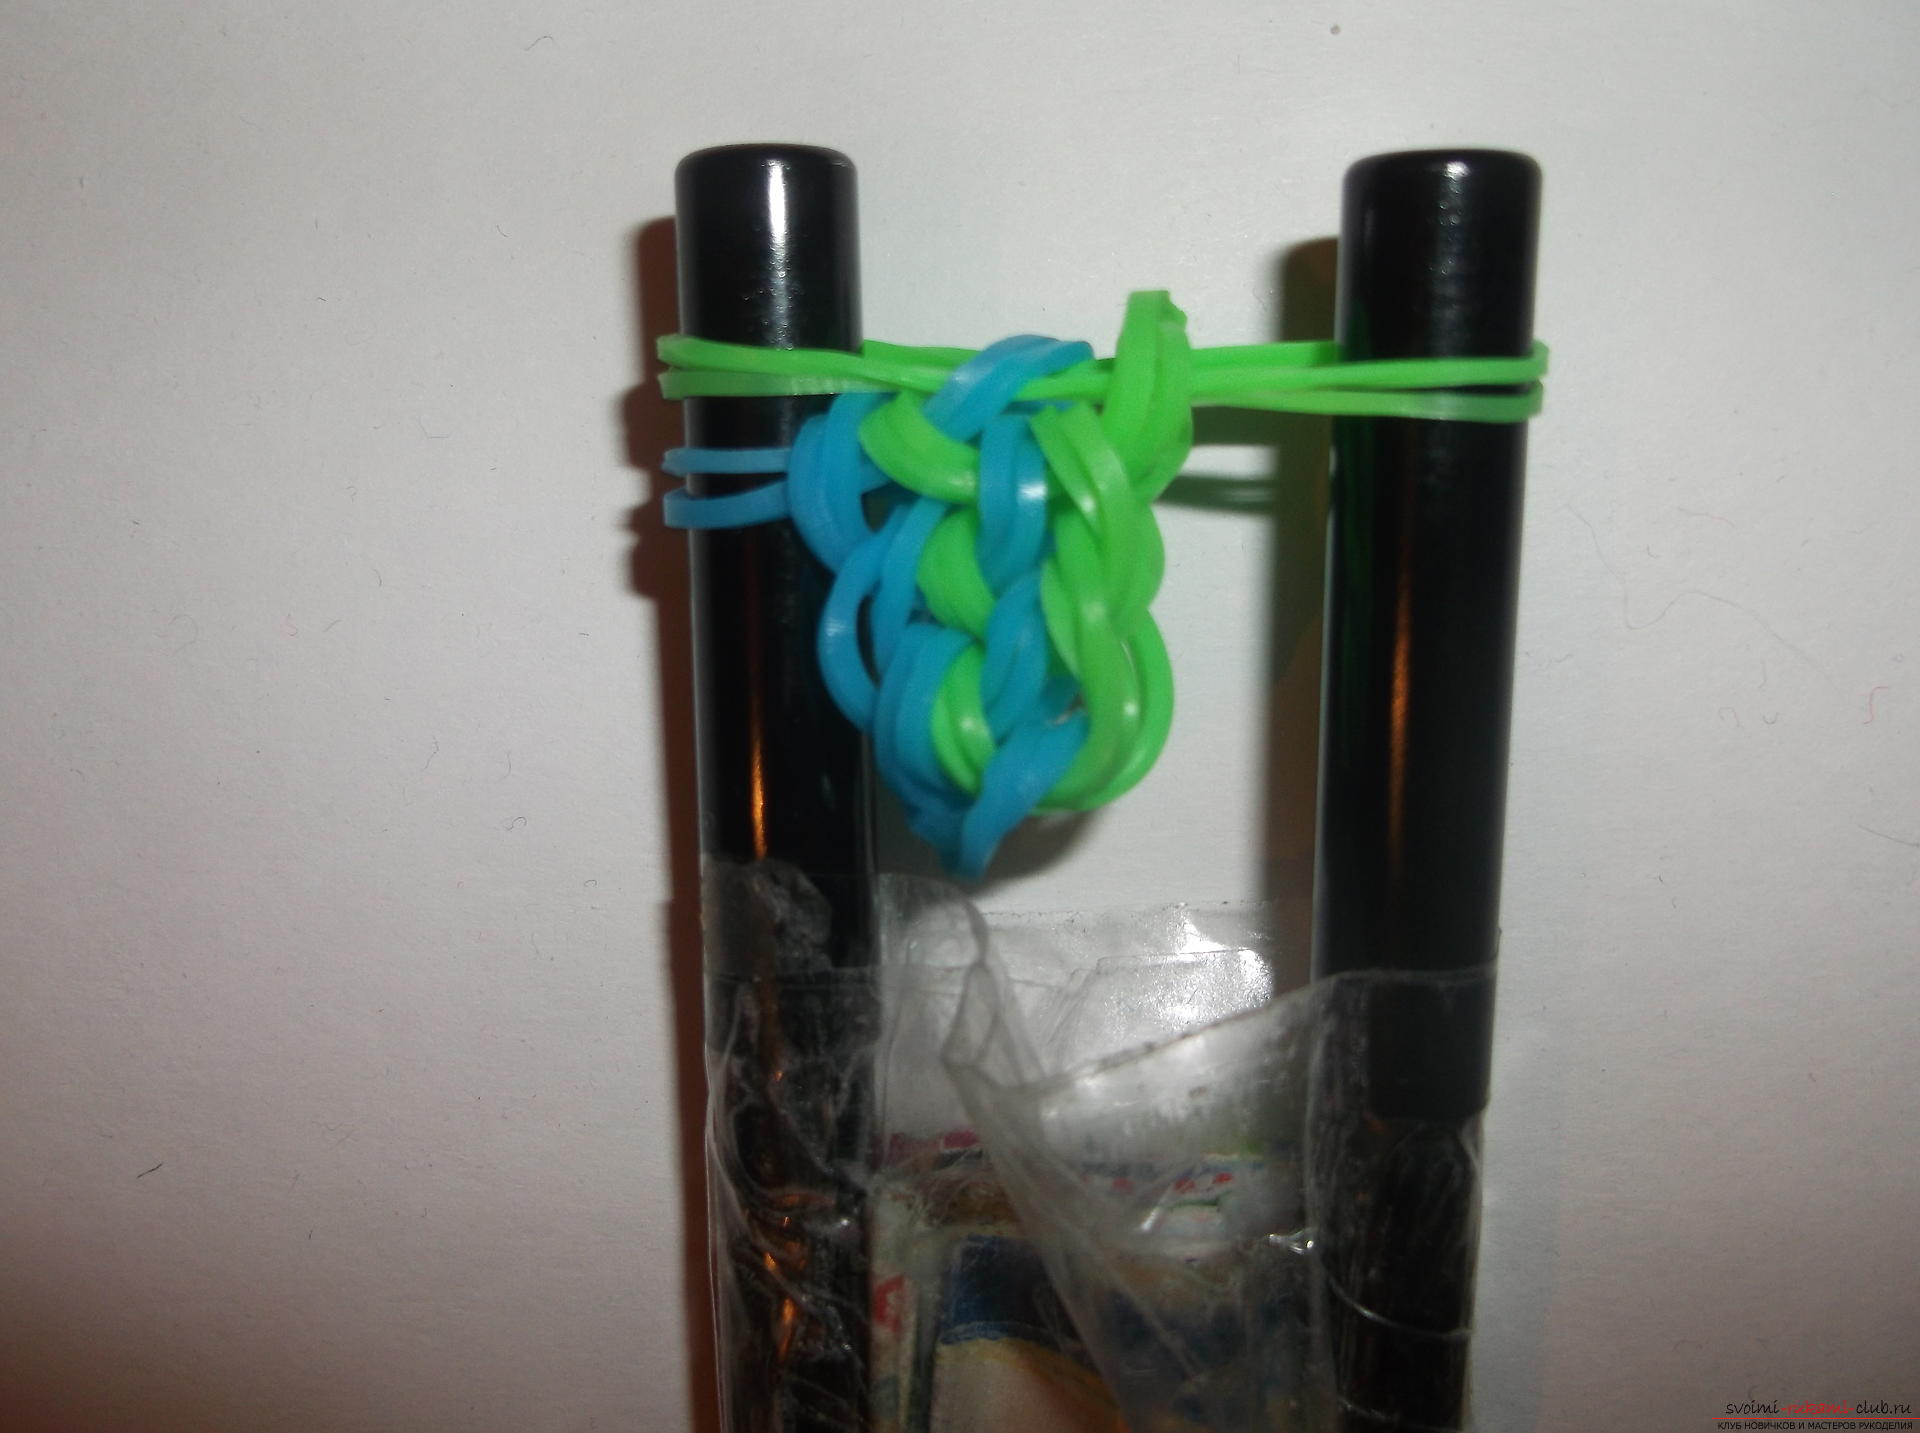
 The weaving continues this way,The bracelet does not reach the required length. When the bracelet is ready, it remains to remove it from the pencils and put on the clasp. The last series ends with the fact that there are four loops on the left pencil, that is, two pairs of rubber bands, and on the right one is a pair, that is, two loops. Hook the bottom pair off the left pencil. Now on each pencil on two pairs.
  Next, crochet transfer all the gum from one pencil to another. It does not matter which one.
 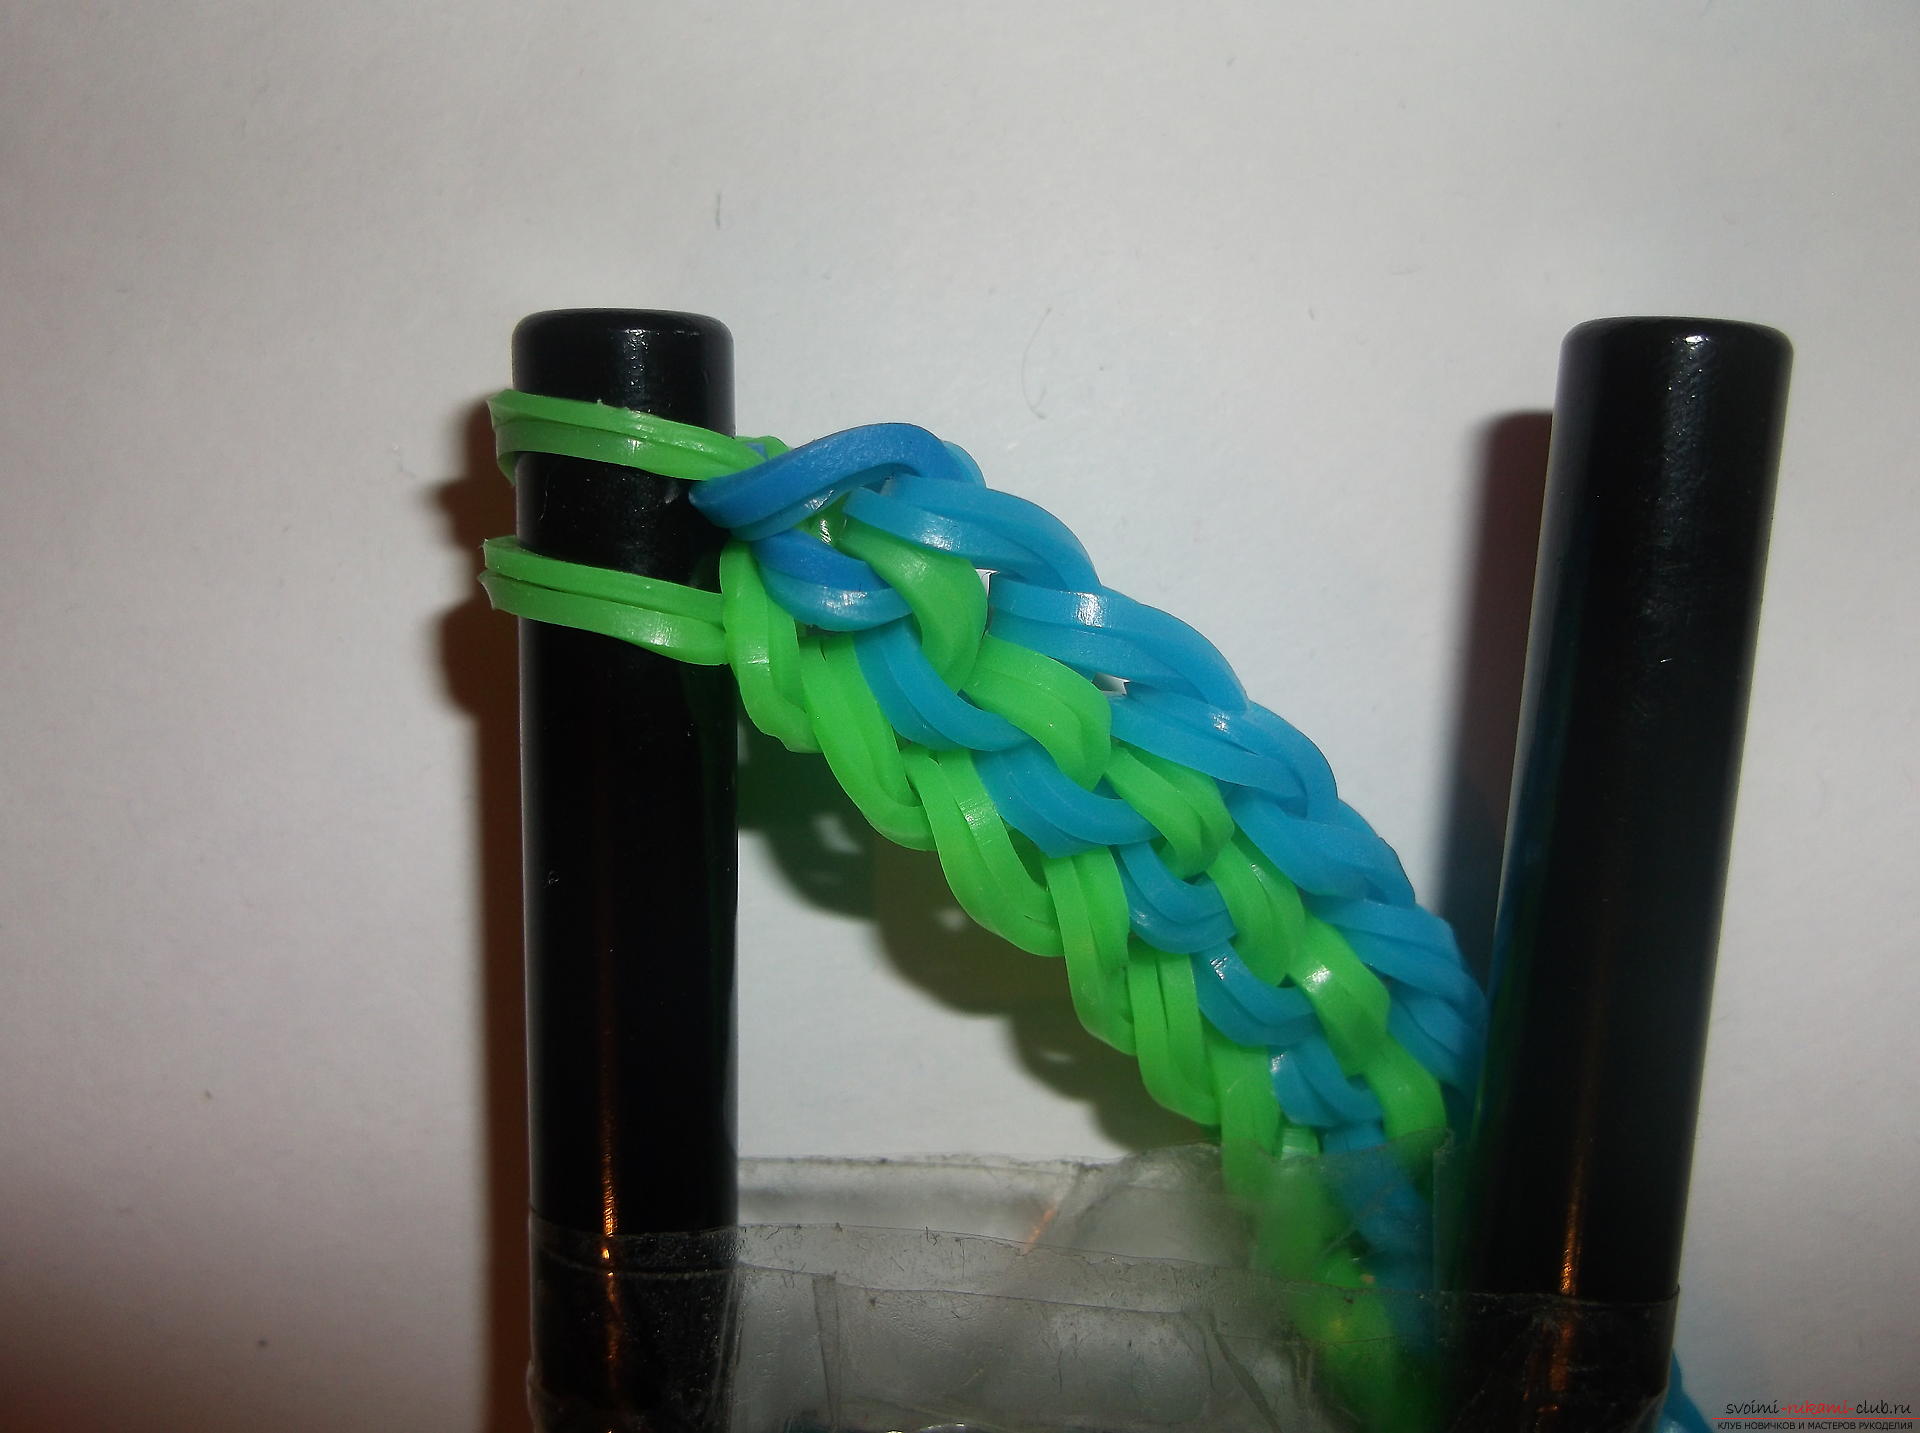 We put on the clip.
 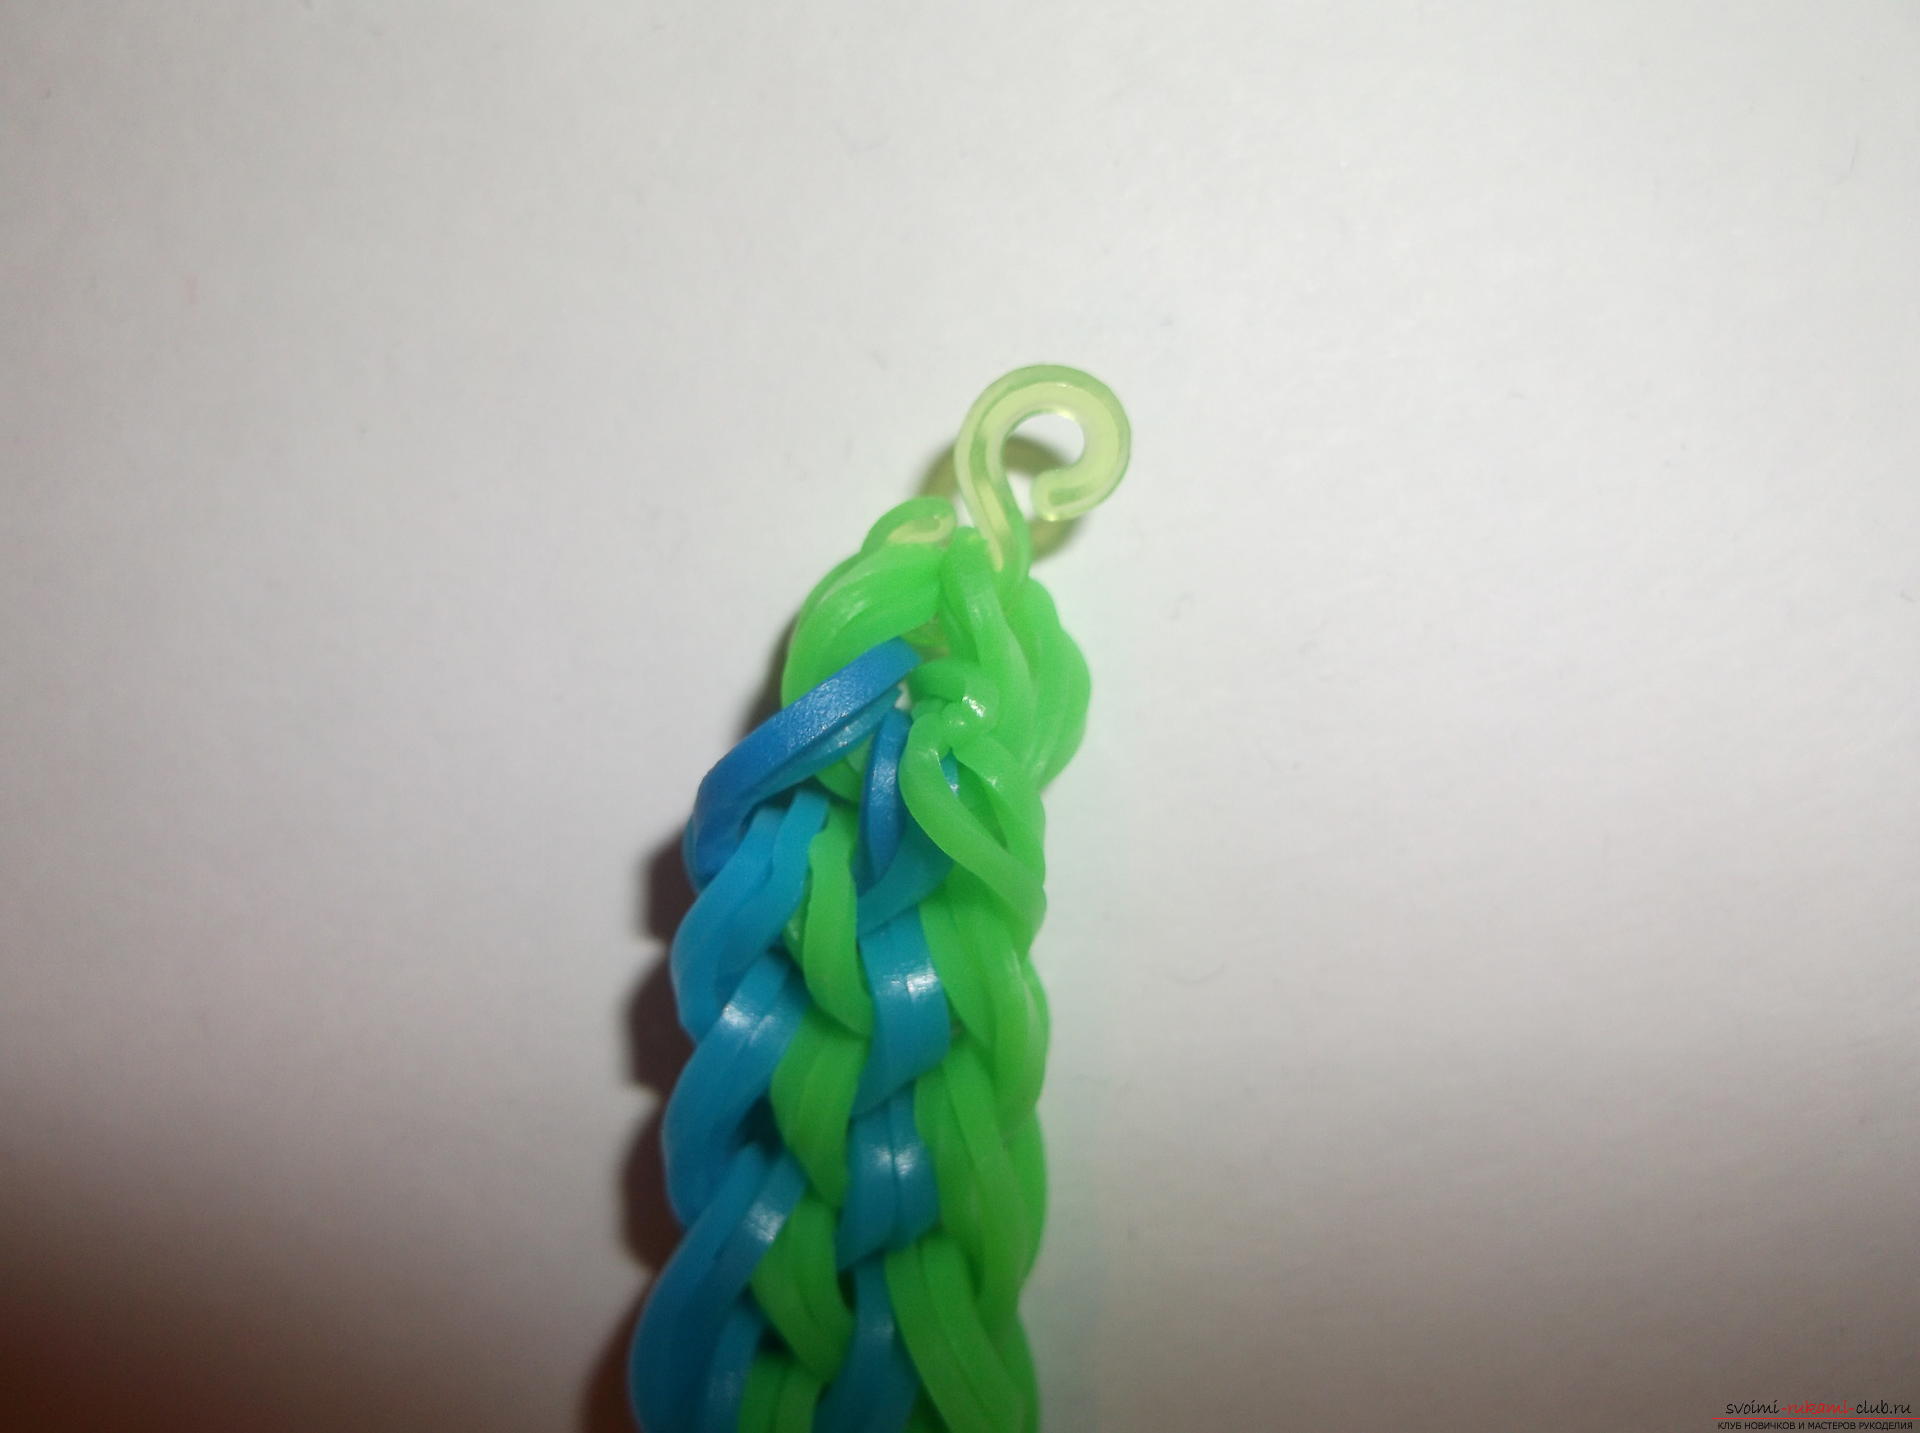 The bracelet is ready!
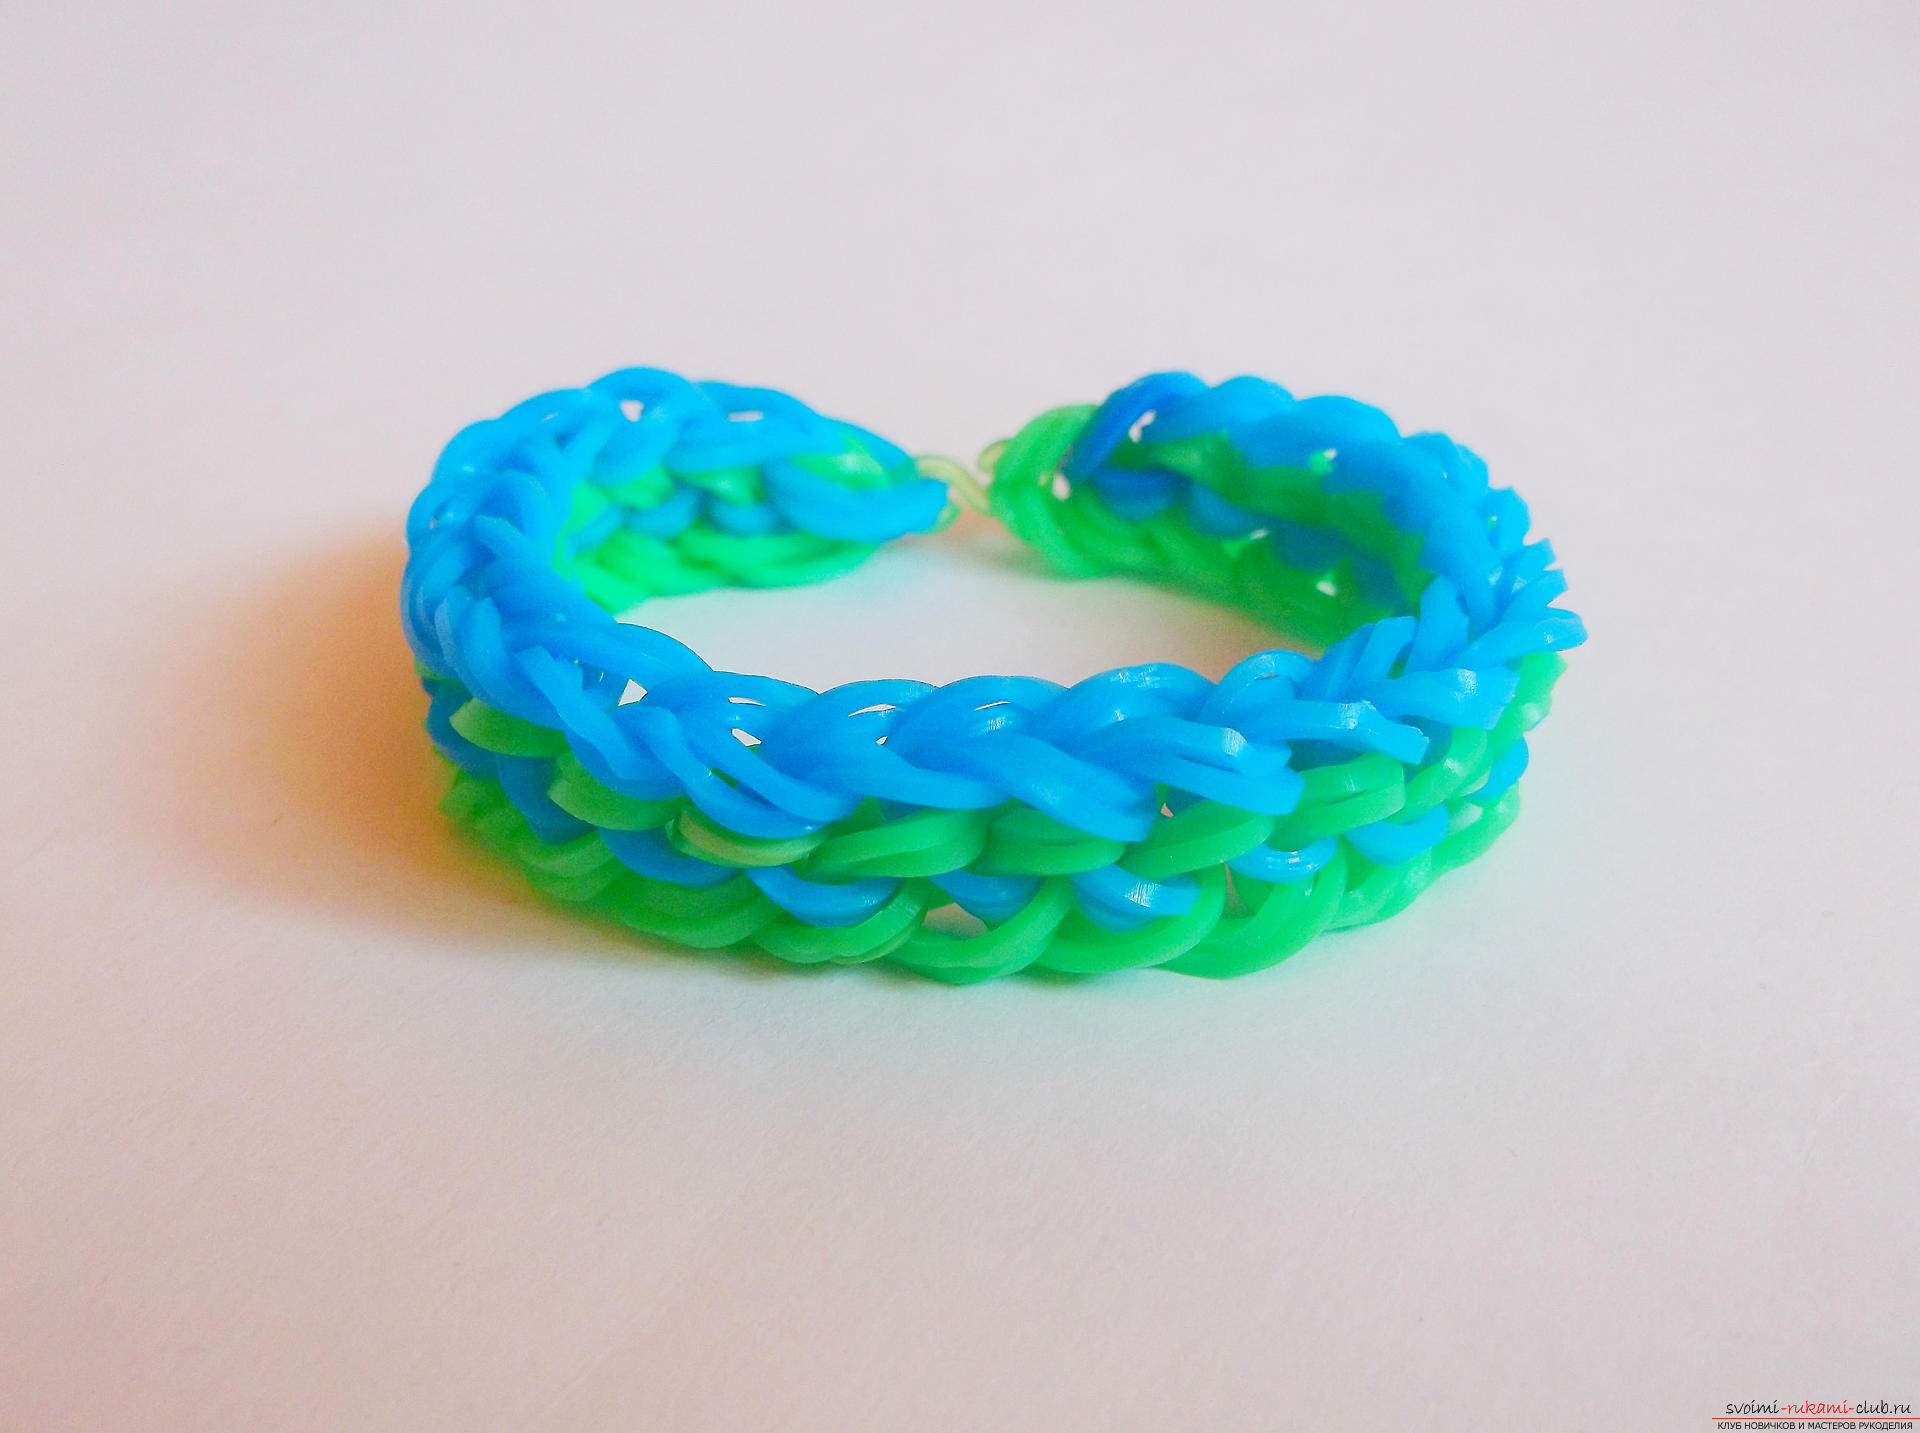
Comments
Related posts:
 How to create an original ring of felt with your own hands? Lesson on the manufacture of imitation jewelry with detailed recommendations and photos
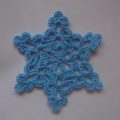 How to tie a snowflake with a crochet for the New Year's decor of the interior? A crochet lesson on the openwork snowflake with detailed recommendations and step-by-step photos
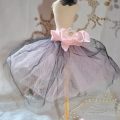 Lesson on creating a decorative mini dummy for costume jewelry with step-by-step recommendations and photos
 Crochet crochet tutorial for hot "Juicy Watermelon" with recommendations and step-by-step photos
 A lesson on sewing an original shopping bag made of fabric in a pattern, detailed instructions and step-by-step photos