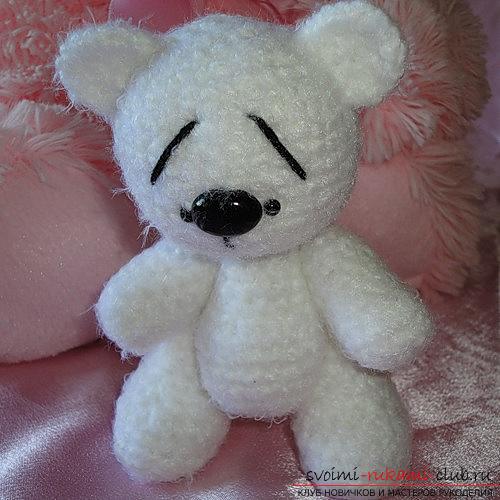
Gifts to March 8 with their own hands - a bear amigurumi for a mother with a description and a photo.
Today, unprecedented popularityproducts and gifts that are made by themselves. And bear cubs occupy a special place among toys of this type. There are many such crafts: small and large, puffs and less fleecy. On the eve of the holiday on March 8, we want to present to your attention a master class on making a gift to Mom - crocheted bears. 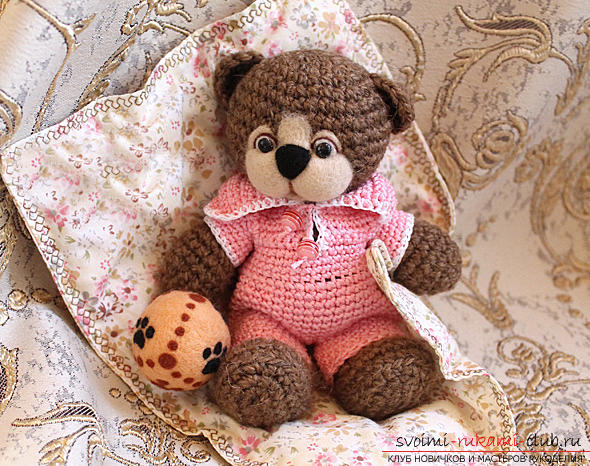 For all bears amigurumi remainsthe principle by which they are created: all the details of the toy should be knit separately (trunk, head, ears and paws), and after that, hold them together. The viscous should be carried out spirally, using columns without a cloak. Pay attention to the correctness of making additions and adjustments to loops. These are all the main requirements for your knowledge, necessary for making such a gift for a woman's day. In our case, in addition to the crocheting technique, dry felting will also be used, with the help of which the face of the toy will be framed.
  For work we need the following materials:
- Threads of yarn. You can use the rest of the yarn. We used woolen yarn "Mongolian camel". However, consider the fact that it is difficult to create a big bear cub with subtle threads. And knitting small cubs will require certain skills. Therefore, it is better for beginner craftsmen to use medium-thickness yarns.
- Crochet hook. Here, the choice will depend on the specific nature of the yarn. Often the labels indicate which hook number will be optimal for this kind of thread. In our case, hook number three is used.
- Filling agent (cotton wool, sintepon, etc.).
- Scissors.
- Needle for stitching toys. Such a tool is sold in the department of goods for needlework. We used a rather long needle for greater comfort when attaching paws to the bear's body.
 In order to carry out the decoration of bear's face, you will need:
- Beige and black hair for felting face and nose;
- a needle for felting;
- polymeric clay for decoration of eyes;
- lacquer;
- glue.
How to tie a bear's head?
Row number 1. It is necessary to close six loops in a ring of amigurumi (we get six loops). Row number 2. Run on the increase in all the loops - only six times (we get twelve loops). Row number 3. Six times it is necessary to tie a combination: one increase + a column without a cape (RLS) (we get eighteen loops). Row number 4. Six times you need to tie a combination: one increase + two columns without holding a cape (scn) (we get twenty-four loops). Row number 5. Six times you need to tie a combination: one increase + three columns without holding a cape (RLS) (we get thirty loops). Row number 6. Six times you need to tie a combination: one increase + four columns without holding a cape (RLS) (we get thirty-six loops). Row number 7. Six times you need to tie a combination: one increase + five columns without holding a cape (RLS) (we get forty two loops).  Row number 8. Six times you need to tie a combination: one increase + six bars without holding a cape (RLS) (get forty eight loops). Row No. 9 - 10. It is necessary to tie the RLS to all the loops of the previous ryadochka (we get forty eight loops). Row number 11. Six times it is necessary to tie a combination: one reduction + six bars without holding a cape (RLS) (we get forty two loops). Row number 12. Six times you need to tie a combination: one reduction + five columns without holding a cape (RLS) (we get thirty-six loops). Row number 13. Six times you need to tie a combination: one reduction + four columns without holding a cape (RLS) (get thirty loops). Row number 14. Six times you need to tie a combination: one reduction + three columns without holding a cape (scn) (we get twenty-four loops). Next, you need to fill this part with filler. The stuffing is pretty tight, giving the head the shape of a ball. Otherwise, the ball may not turn out. Row number 15. Six times you need to tie a combination: one reduction + two columns without holding a cape (RLS) (we get eighteen loops). Row number 16. Six times you need to tie a combination: one reduction + a column without a cape (RLS) (we get twelve loops). Row number 17. It is necessary to tie the allowances until the hole is completely closed.
How to tie a teddy bear's body?
Row number 1. It is necessary to close six loops in a ring of amigurumi (we get six loops). Row number 2. Run on the increase in all the loops - only six times (we get twelve loops). Row number 3. Six times it is necessary to tie a combination: one increase + a column without a cape (RLS) (we get eighteen loops). Row number 4. Six times you need to tie a combination: one increase + two columns without holding a cape (scn) (we get twenty-four loops). 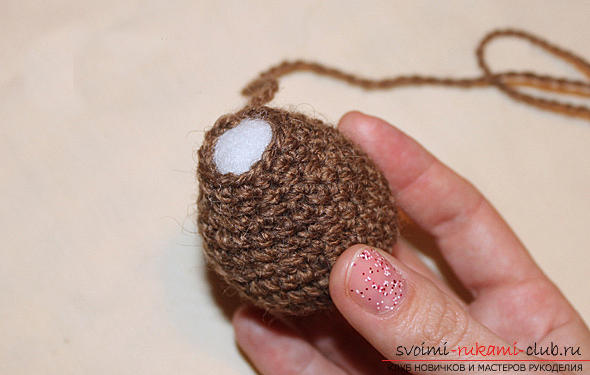 Row number 5. Six times you need to tie a combination: one increase + three columns without holding a cape (RLS) (we get thirty loops). Row number 6. Six times you need to tie a combination: one increase + four columns without holding a cape (RLS) (we get thirty-six loops). Rows number 7 - 8. It is necessary to tie thirty-six columns without a cloak. Row number 9. Six times it is necessary to tie the allowances, and then eight times the combination: a column without holding a cape (RLS) + decrease (we get twenty-two loops). Row number 10 - 11. It is necessary to tie twenty-two columns without a cloak. Row number 12. Seven times it is necessary to tie a combination: a column without holding a cape (RLS) + decrease, and then - one column without holding a cape (we get fifteen loops). Row No. 13 - 14. It is necessary to tie fifteen columns without a cloak. Next, you need to fill this part with filler. The hole must not be closed. In order that the head does not hang, it needs to be tightly fixed on the trunk. Do not forget to leave a long string to attach the body to the head. How to tie a bear's legs (two elements)? Row number 1. It is necessary to conduct a set of five airships (air loops). Then, dial 1 VP for the lifting, tie one column without holding the cape in the 1st loop (out of 5 previously dialed), then we knit three RLSs, make two extras, re-knit three RLSs, make 1 increase (get fourteen loops ). Row number 2. It is necessary to tie a combination: two increases + four columns without holding a cape (RLS) + four increments + four columns without holding a cape + two increases (we get twenty loops).
 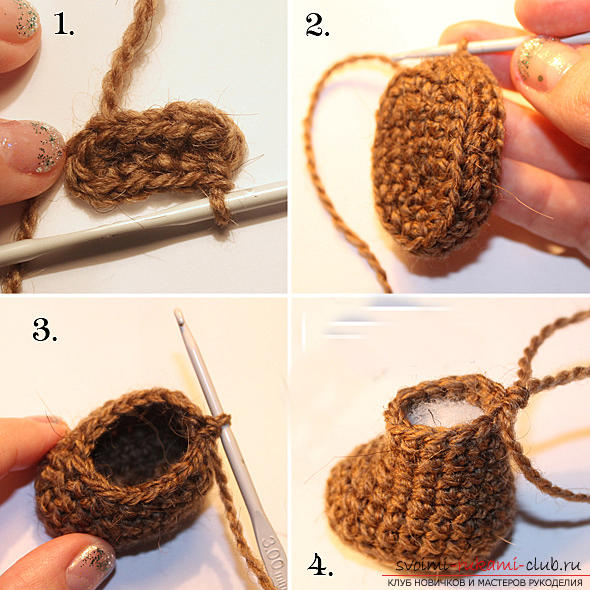 Row number 3 - 4. It is necessary to tie a combination: 1 increase + 1 pillar without holding a cape (RLS) + 1 increase + five columns without holding a cape + 1 increase + 1 pillar without holding a cape (RLS) + 1 increase + five columns without holding a cape + 1 increase +1 pillar without holding a cape (RLS) + 1 increase (we get twenty-four loops). Row No. 5. It is necessary to tie twenty-four loops for the posterior stenochku (column without a cape in all the loops). Row number 6. Seven columns without holding a cape (RLS), and then three times it is necessary to tie a combination: decrease + two RLS. After doing five bars without holding a cape (we get twenty-one loops). Row number 7. Six columns without holding a cape (RLS), and then three times you need to tie a combination: a decrease of + 1 RV. After doing six bars without holding a cape (we get eighteen loops). Row number 8. Six columns without holding a cape (RLS), and then three times it is necessary to reduce + 6 RVS (we get fifteen loops). Row number 9 - 11. It is necessary to tie a column without a cape in all the loops.
 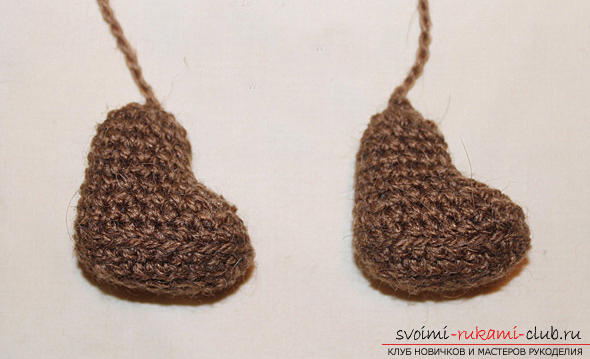 Next, it is not easy to stuff a foot bear cub. Row number 12. It is necessary to do the reductions until you completely cover the hole. How to tie a bear's handles (two elements)? Row number 1. It is necessary to close six loops in a ring of amigurumi (we get six loops). Row number 2. Run on the increase in all the loops - only six times (we get twelve loops). Row number 3. Six times it is necessary to tie a combination: a column without a cape (RLS) + one increase (we get eighteen loops). Row No. 4 - 6. We send RLS to all loops (we get eighteen loops).
 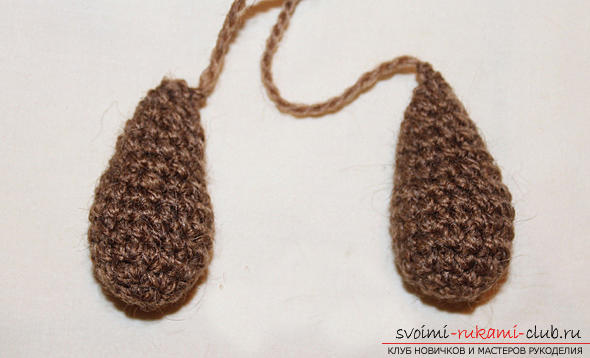 Row number 7. Six times you need to tie a combination: one reduction + one post without holding a cape (RLS) (we get twelve loops). Row number 8 - 10. We send the RLS to all the stitches (we get twelve loops). Row number 5. Six times you need to tie a combination: one reduction + one post without holding a cape (RLS) (we get eight loops). Then paws should be filled, but also not very tight, as it was with the legs. Row number 12. It is necessary to do the reductions until you completely cover the hole. How to tie a bear's ears (two elements)? Row number 1. It is necessary to carry out a set of two air curtains (air loops). Then in the 2nd loop from the hook to tie four RLS (we get four loops). Row number 2. Knitting should be turned over. Do the increments in all the loops.
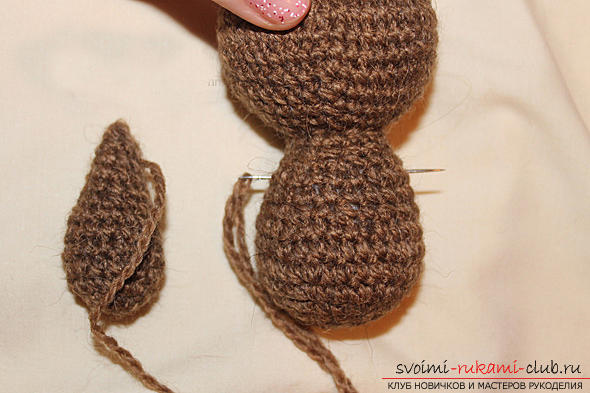
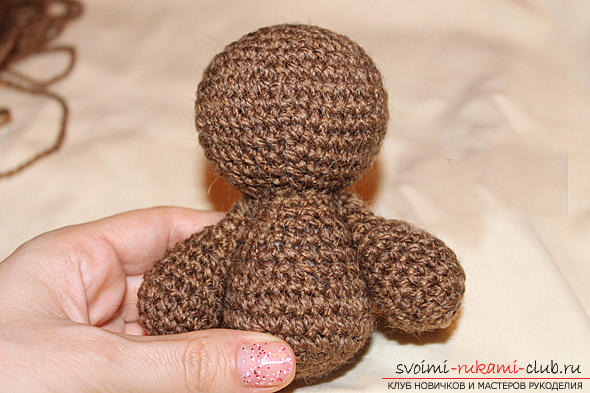
 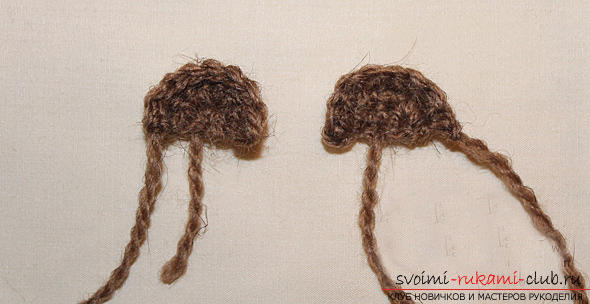 Row number 3. Knitting should be turned over. We knit 1 VP + RLS in all loops. It is necessary to leave a long thread, then to sew the ears to the base of the beanhead. Carrying out the assembly of the bear cub. You need to attach the head to the body. Then sew the paws. To do this, you need a thread, which was left, passed through the needle and pierced the legs, fixing them to the trunk. Thread and pass. On the second paw, we cut the thread and fix the edge. The body of the bear should be pierced in the place of attachment of the foot. We attach the second paw to the needle. The needles need to be held this way several times.
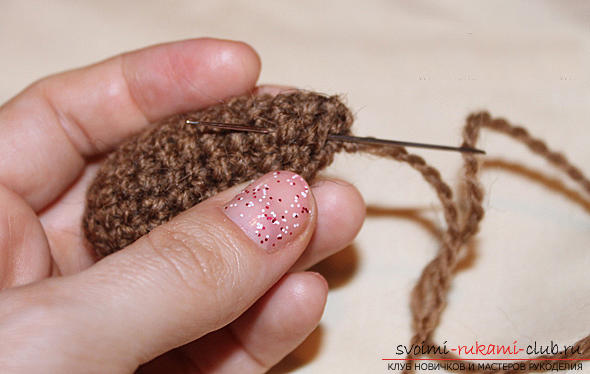

 Similarly, you should attach the legs of the bear cub. Then sew the ears. In the end, we turn to the decoration of bear's face. It must be privatized. This will use wool and a needle (number forty).
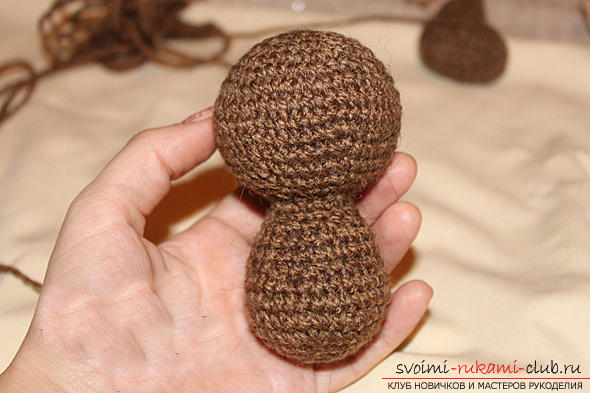
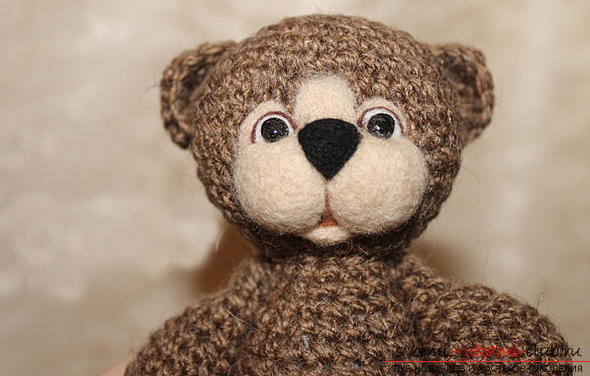
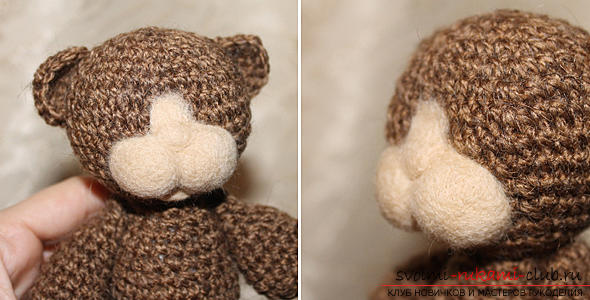
 First, draw the markings of the face withusing a small bunch of wool of beige color. Of the 2 bundles, the future cheeks must be pinched. Then make a spout using black wool for felting. Make holes for the eyes. Attach them with glue.
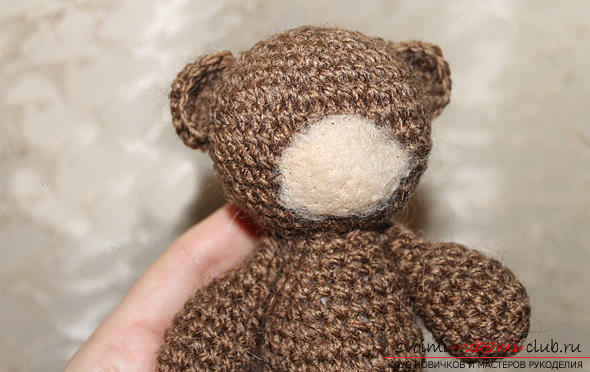
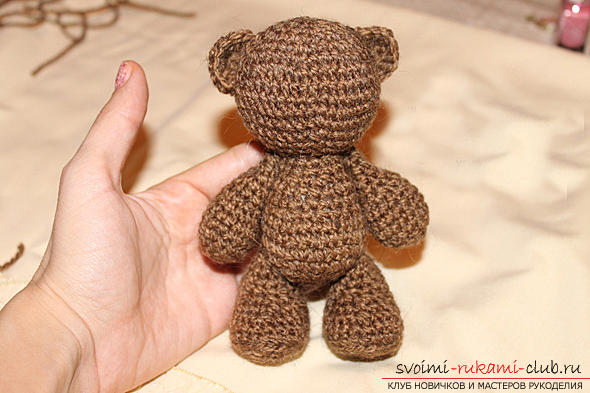
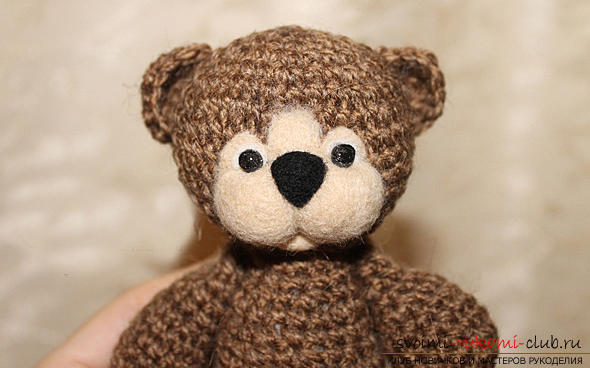 Further it follows, using a dark flagellum to shadecontours of the peephole. We also advise you to distinguish the mouth of a bear cub. If you want, then you can make a nozzle quite solid and slightly shiny. At the same time, impregnate it with glue, and after it dries, cover it with a varnish. That's all! An original gift for my mother on March 8 is ready!
Comments
Related posts:
 Gifts for mom with their own hands, how to make a gift on March 8 with their own hands, advice and recommendations for making crafts with children.
 Gift for March 8 from the child. Crafts for mom and grandmother own hands.
 We knit crochet toys amigurumi with our own hands with detailed descriptions and photos.
 Master class on knitting monkey amigurumi crochet with their own hands with step-by-step description and photo.
 Gifts for March 8 with their own hands. Children's hand-made articles for women's day.