How to make a gift to March 8 with your own hands made of polymer clay, step-by-step photos of creating a set of bracelet, earrings and pendants
Before one of the most wonderful holidays of the year– On Women's Day on March 8, the question arises: what to give to your friends, mother, grandmother or sister. In the shops you can find many gift options from accessories like a belt or hat, a set of beautiful glasses or plates, dresses, stockings... the list can be continued endlessly. At the same time, it will be much more interesting to give something made with your own hands. A hand made gift has several undoubted and significant advantages. The first – this is uniqueness, even two things based on the same pattern will differ, because it is simply impossible to create two identical things with your hands. Second – exclusivity. You can choose the perfect color or format of the gift according to the tastes of the person for whom the gift is intended. Third – it's prestigious and fashionable. Craftswomen and needlewomen create stunning products with their own hands, for example, costume jewelry, which can easily compete in beauty and originality with jewelry. In addition, the color palette of plastic surgery is very wide, so you can choose shades that are especially loved by your mother or friend. In this article we suggest making you a pendant, bracelet and a pair of earrings from polymer clay. This is a fairly simple way to create beautiful jewelry.
Bracelet, pendant and earrings from polymer clay on March 8
 You will need:
- The baked plastic is white, brown, golden in color and dark blue turquoise.
- Extruder with a round nozzle (hole diameter 5 mm).
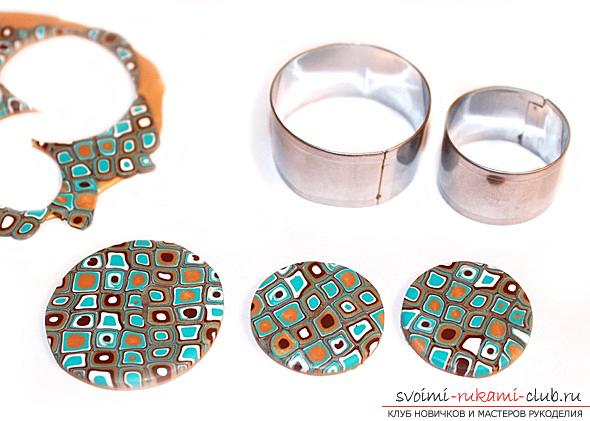
- Cutters of round shape of various diameters. One for the bracelet, one for the pendant and earrings. You can take different sizes for everyone.
- Stationery knife.
- Glass and acrylic rolling pin.
- Foil.
- Special varnish for plastics and brush.
- Liquid polymer clay.
- Sandpaper (very fine).
- Ruler.
- Earring pendants.
- Pins with a loop at the end 3 pcs.
- Connecting rings 2 pcs.
Let's start with the bracelet. Let's start with the basics.Polymer clay can be taken in any of the shades listed above. The main thing is that this color is present in the main motif. In this master class, golden plastic was chosen. Knead it thoroughly until it is soft and pliable. Roll it out into a layer and cut out a strip with a knife. The length of the strip is equal to the circumference of the selected cutter, and the width is equal to its height. In this master class it is 19 cm and 2 cm, respectively. We cut off all excess and carefully smooth the joint. The base for the bracelet is ready, and we send it to bake. Carefully follow the instructions on the clay package. Failure to comply with the temperature conditions can ruin the craft. Usually plastic is baked at 110 – 130 ⁰С. Keep in the oven for 15 minutes.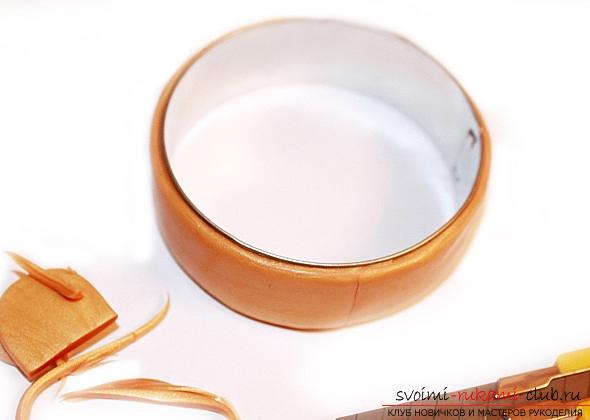 If you do not have a cutter with suitable parameters,You can cut out a strip and bake it on any heat-resistant object with suitable diameter parameters. While our base for the bracelet is cooling after heat treatment, let's start creating the pattern. The colors used in this tutorial are great for spring. Fresh white and turquoise – shades of the sky and the first snowdrops, golden – bright sunbeam. Knead clay of all colors. We will need a very small amount. Roll them out into layers about 3.5 mm thick. We take an extruder (without nozzles) and cut out several circles of each color. You will need 7-9 circles. We remove the remains; they will not be useful to us in the future.
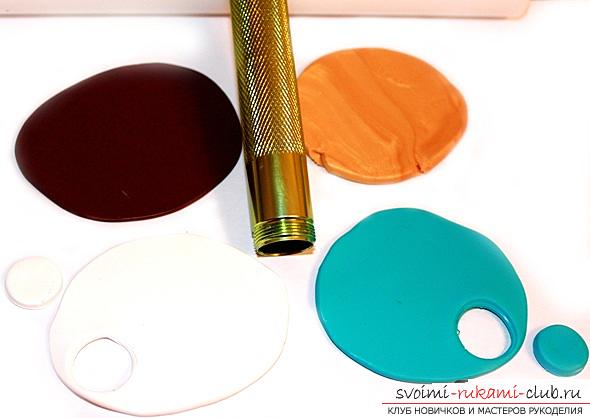
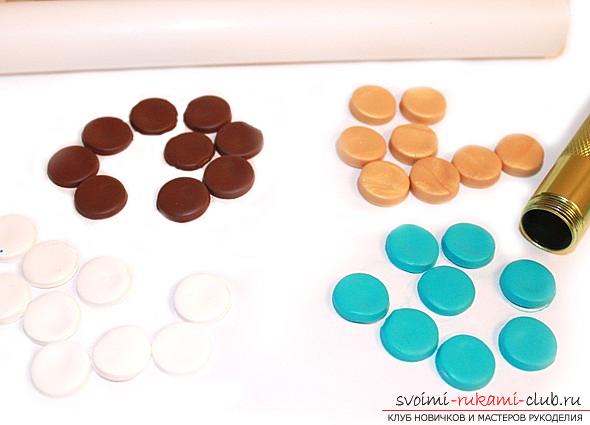
 Now we take our mugs and put them into oneline, observing the order of colors. Here: white, brown, gold, turquoise. The resulting sausage needs to be rolled a little on the table (it’s better if the surface is smooth and very clean - the clay easily absorbs even the smallest debris), this will fasten the rounds together and allow you to easily place the sausage in the extruder. We insert the nozzle and squeeze out a thin flagellum.
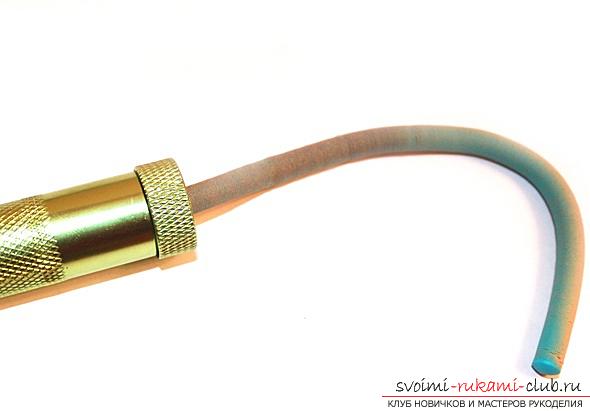
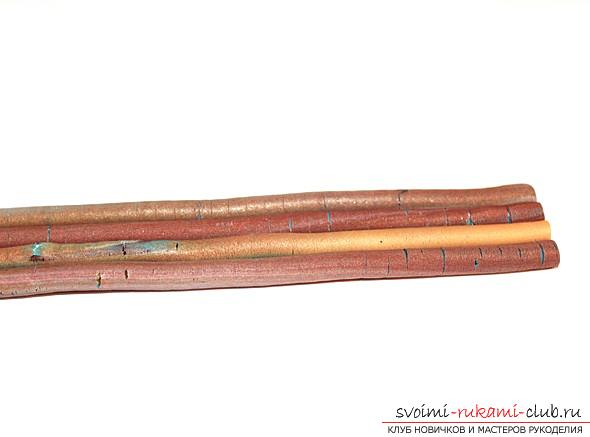 The resulting “rope” cutinto 4 identical parts. The photo shows how the shades should be arranged. Once again we cut our strips, now into 3 equal pieces. We lay out the blanks in three layers, 4 pieces in each. We should end up with something like this “woodpile”. Squeeze it just a little with equal force on all sides. “Woodpile” shape should not disturb, compression is needed to fix the “logs” between themselves.
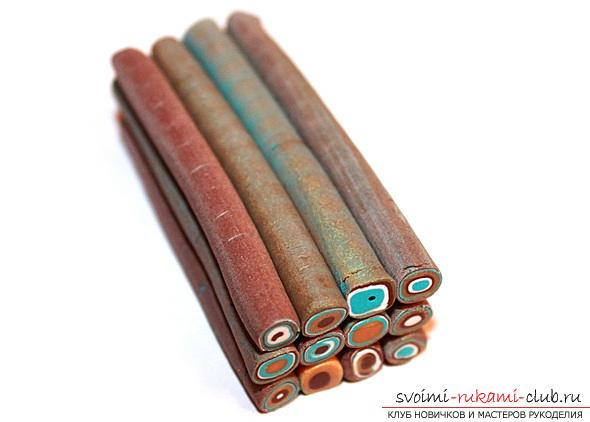 We put the workpiece aside for a while.It should cool down. You can even place it in the refrigerator for about 20 minutes. While the pattern is in the refrigerator, let’s start making the bracelet again. By this time it had already cooled down, and it was time to remove it from the mold. If this cannot be done, just carefully cut the workpiece and remove it from the mold. The edges of the cut are easily glued together with liquid polymer clay. After this, you need to bake it again for 10 minutes.
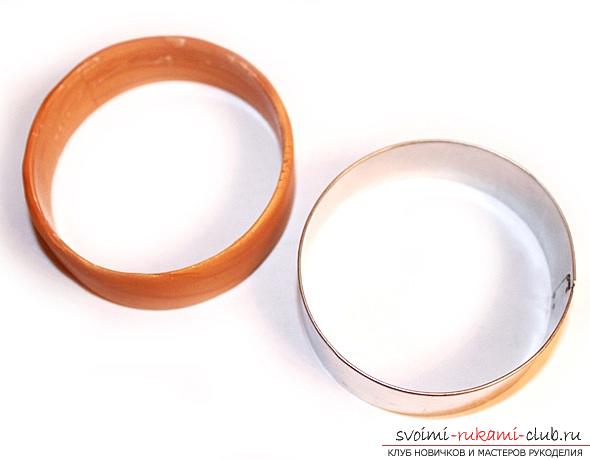 We take out our “woodpile” fromrefrigerator and cut into layers. When cut, you get a beautiful pattern of concentric (more or less) circles. To ensure that all records are the same, use marks – just make notches along the ruler at regular intervals a couple of mm thick.
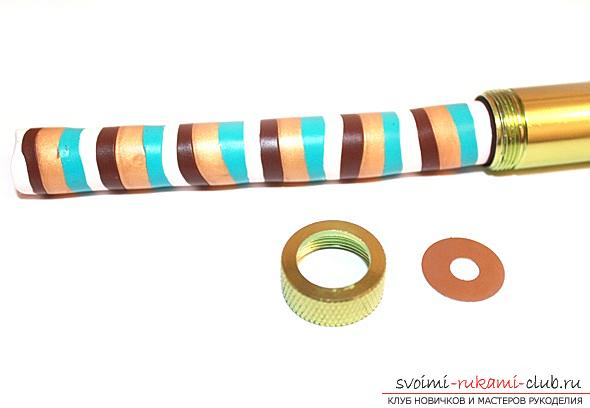
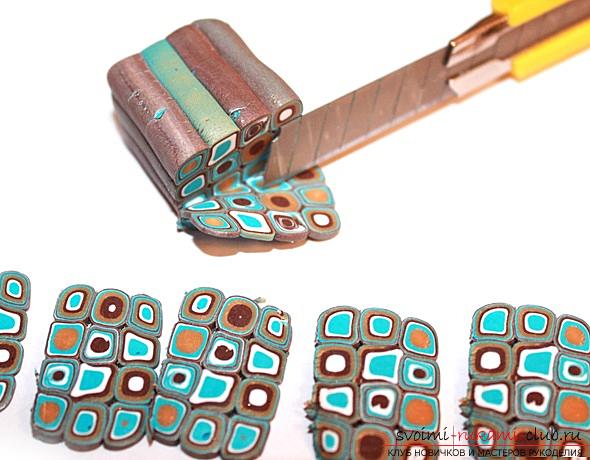 Now we glue the patterned blanks to the base of the bracelet. With the help of liquid plastic the fastening will be more reliable. Carefully smooth out any uneven edges with your fingers.
 Place the bracelet in the oven again for 15 minutes. When it has cooled down, sand all the irregularities with sandpaper (very fine) and cover with a special varnish.
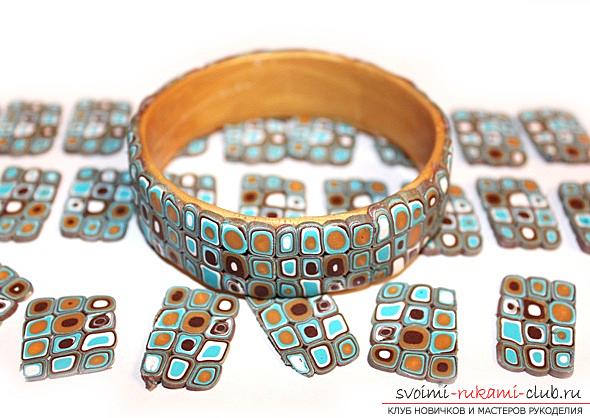 To make a pendant and earrings,Roll out a layer of golden thermoplastic a couple of mm thick. Place the patterned plates close to each other on top. Roll the top a little with a rolling pin to seal the layers together.
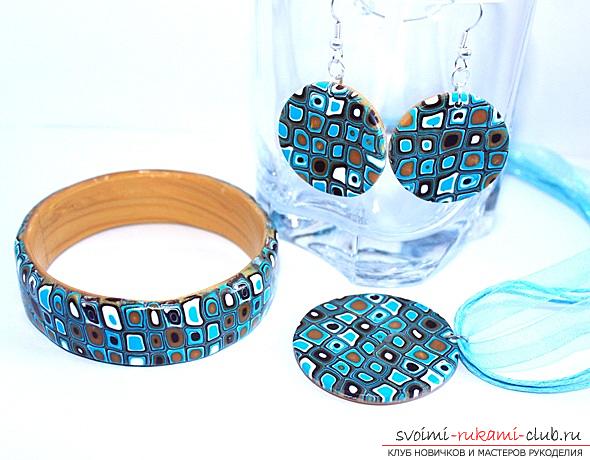
 Now we cut out the pendant and earrings using molds. The shape does not have to be round. A rhombus, an oval, and a triangle will look great.If you do not have a special thin drill, formaking holes, at this stage it is necessary to insert pins with a loop at the end into the still pliable polymer clay. Bake according to package instructions. When the workpieces have cooled, you need to glue the pins with liquid plastic. Wait until completely dry. Now you can polish the uneven surfaces and varnish them. All that remains is to attach the connecting rings and insert the earrings into the earrings. The kit is ready.Advice!Polymer clay in its softened state is very sensitive to prints. To ensure that the product is as neat and smooth as possible, use thin surgical gloves when working. It is also necessary to thoroughly clean the work area and use something smooth and glossy as a surface. This could be a ceramic tile (by the way, you can bake a product on it) or a piece of glass.
Comments
Related posts:
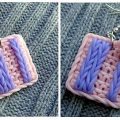 How to make earrings from polymer clay in the original technique of imitation knitted cloth, step-by-step creation photos
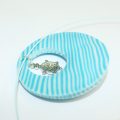 This detailed master class with photos and descriptions will teach you how to create a set of polymer clay jewelry with your own hands – pendant and earrings with a turtle.
 How to make a ring made of polymer clay with a decorative element in the form of an orchid flower, step by step photos and description
 How to make a brooch made of polymer clay in the form of an oak leaf, step-by-step photos and job description
 How to make original crafts for springWomen's Day – March 8, step-by-step photos of creating a photo frame, topiary, crafts in the style of sweet design and a bouquet of huge roses from corrugated paper