How to make an original basket from newspaper tubes with your own hands – master class with photos and step-by-step description.
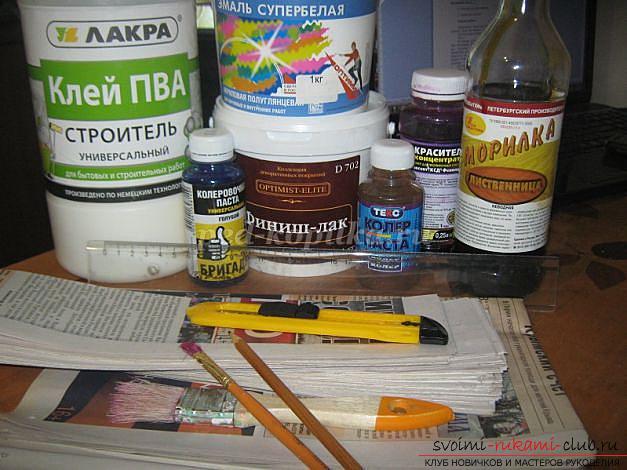
For those who want to try their hand at thisIn a fascinating form of craftsmanship, such as weaving products from newspaper tubes, we bring to your attention a detailed master class with photos, thanks to which you can quickly and easily make a beautiful basket with your own hands. The finished product is very similar to those created from wicker. Such a basket can be a good gift that will definitely come in handy around the house. And if you decide to decorate it using the decoupage technique, then it will become an attractive interior detail.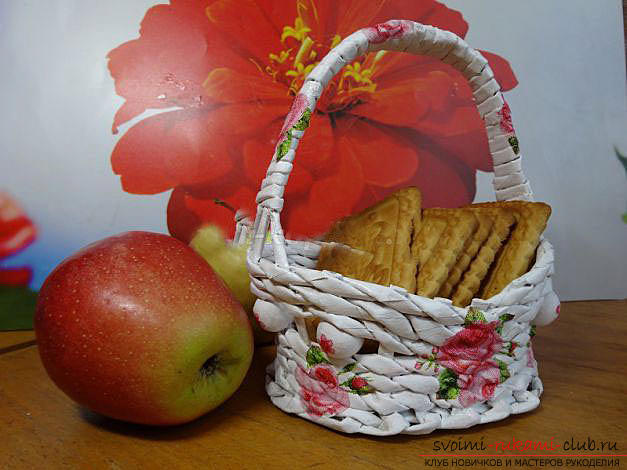 So, let's begin. To work you will need: 1.Sheets of newsprint. 2. Brushes (for applying glue and paints). 3. Knitting needles. 4. Paper knife and scissors. 5. Base paint made of acrylic substances, stain (with alcohol), finishing varnish, 6. PVA glue. 7. Base for the weaving itself.
Description of work
First you need to find out how they are locatedpaper fibers, what is their direction. It is important that it turns out to be longitudinal. Its determination can be carried out using several methods: For example, it is possible to pass a piece of paper through the nails of 2 fingers. If the fiber direction is transverse, the edge of the sheet will become wavy, but if the fibers are longitudinal, the edge will remain smooth. Thin tubes should be made from paper strips to make a neat product. If you plan for your project to have larger dimensions and proper strength, then it is worth using wider strips and a larger diameter knitting needle.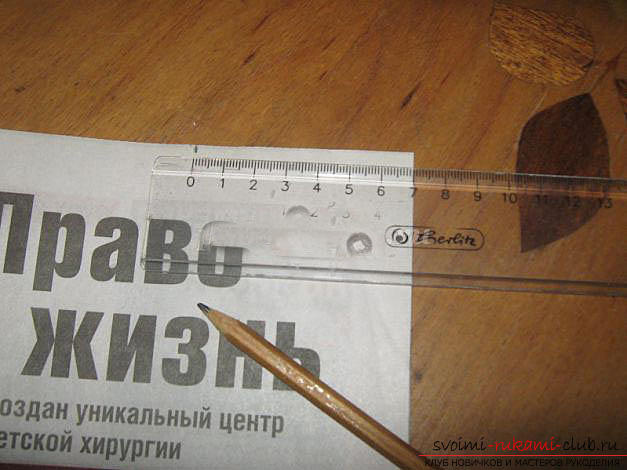
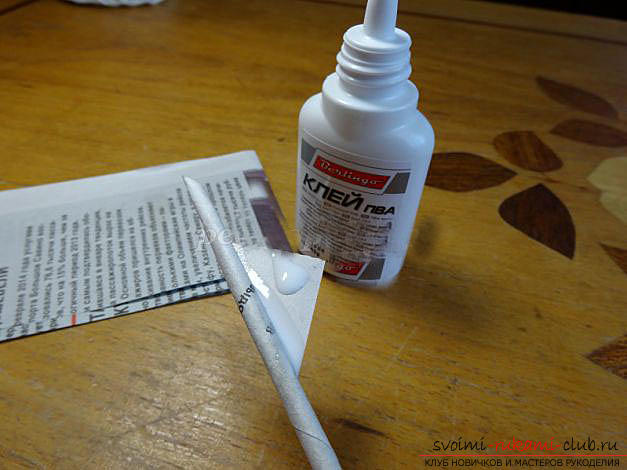
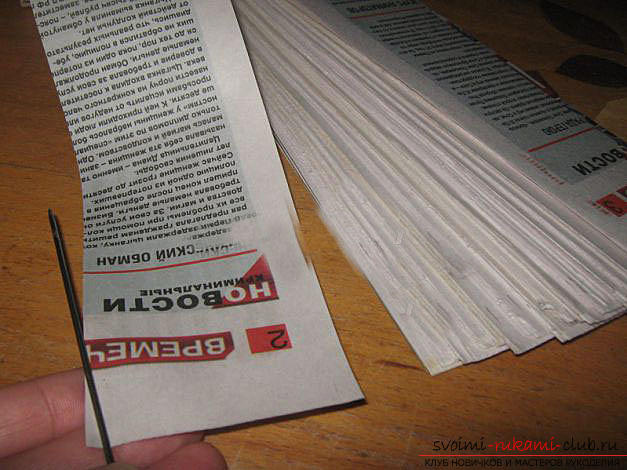 We paint the tubes with a brush, placingbase on standard oilcloth. In this case, stains that are based on alcohol are used. Because water-based stain can ruin the product. 2. Preparatory stage. You need to mark the newspaper into strips seven centimeters wide. On the board, which serves as a lining, you should cut the newspaper into strips using a stationery knife. In this case, the angle at which the knitting needle is located on newsprint should be ten – fifteen degrees. You should start winding the strip onto the knitting needles very tightly. It is important to carefully wrap the edge of the newspaper onto the knitting needle. As a result, the tubes will turn out to be white if the light edge of the newspaper page is left on the right side. The edge of the newspaper itself should be fixed with PVA glue. After this, if you wish, you can paint the tubes in the color you want, and then give them time to dry. If you want, you can paint the tubes after they have been woven into the finished product. And if you use paint, and after – varnish, then it will be difficult for others to guess that the product is made from ordinary newspaper tubes.
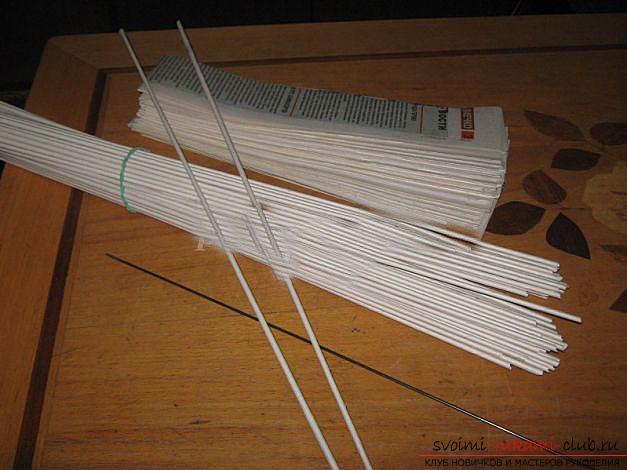
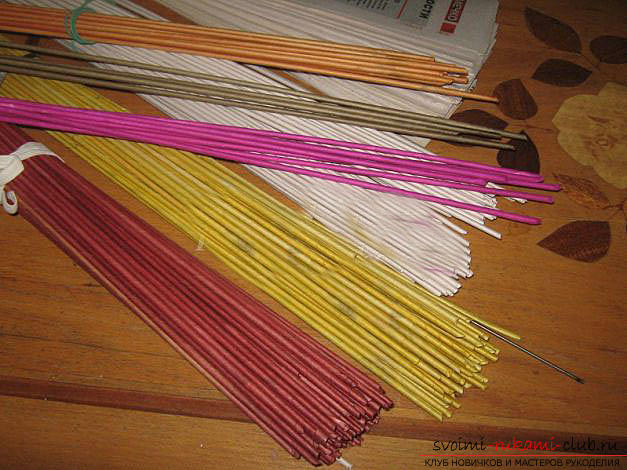 3. Weaving the product.The manufacturing process should begin by creating the bottom of the basket. Here a lot will depend on the size of the product. In our case, thirty tubes were used for weaving, the length of which reached fifty centimeters. You should take ten tubes, forty-five long – fifty centimeters. Place them in pairs. The working tube must be rolled into two equal parts, and then used to wrap it around the first pair of folded ray tubes. To avoid confusion, we advise you to mark the start of work using a marker along the edge of the tube beam.
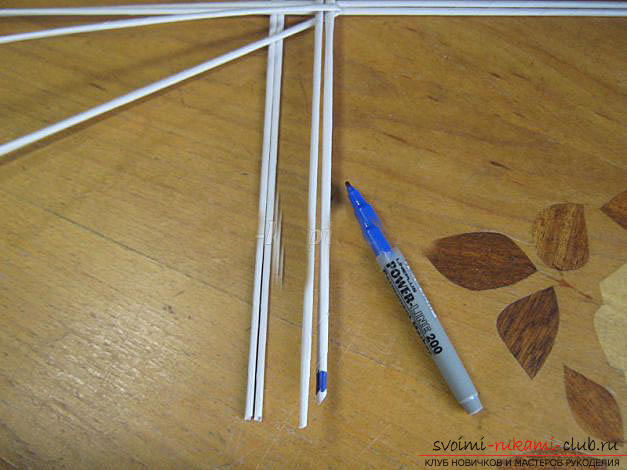
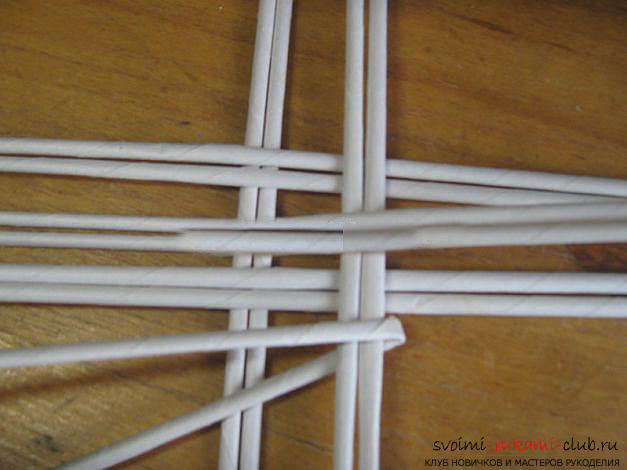 Next, you should braid all the pairs with such a roperays. In this case, all the working tubes will be crossed, after which one of the working tubes will go from above, and the other – a pair of rays below. Once the length of the working tube is not enough, it should be increased. To do this, you need to insert the edge of one ended tube into the edge of a new tube. You need to weave 2 rows up to the mark made with a marker on a pair of rays.
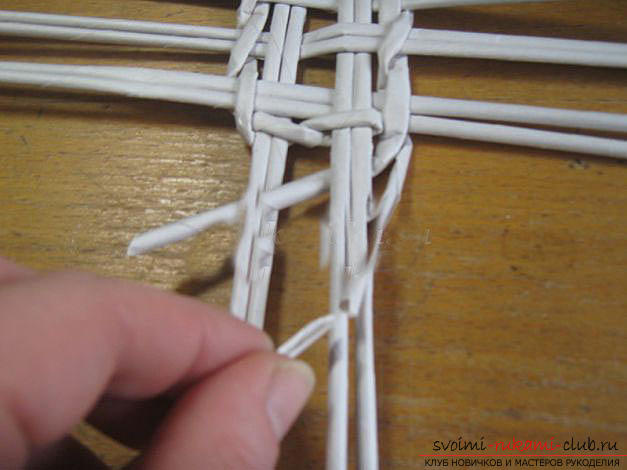 The 3rd and 4th rows should be woven into 1 ray.All working tubes should be directed towards the center of the bottom. As a result, a bottom edge is formed. The first ray (which is marked with a marker) must go around the next one, directing it to the middle of the bottom. Thus we act in a circular manner.
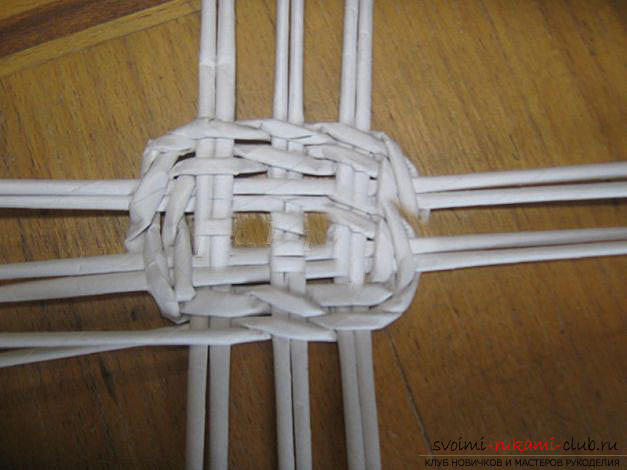 The final ray should be placed in a loop1st ray from below. Then you need to braid all the rays with a rope (4 rows), while you can slightly bend the rays from the middle. The fifth row must be decorated using wooden beads, which are sixteen centimeters in diameter. For this step you will need 6 pieces.
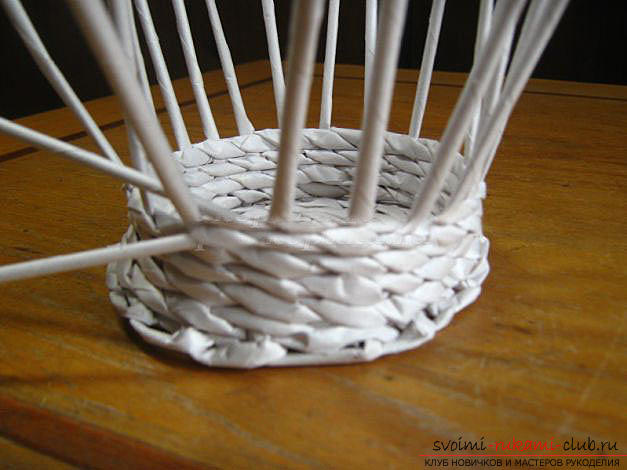
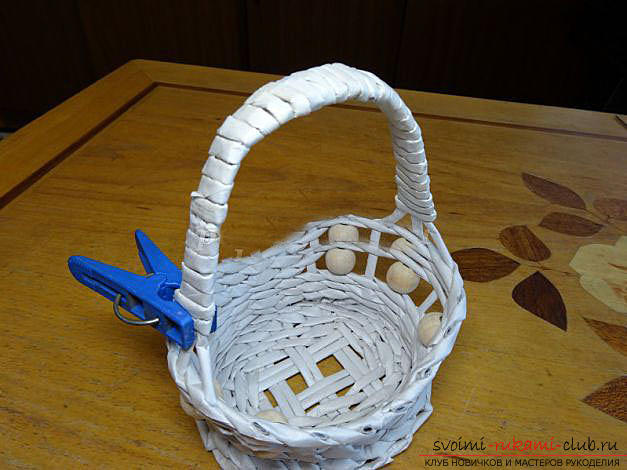
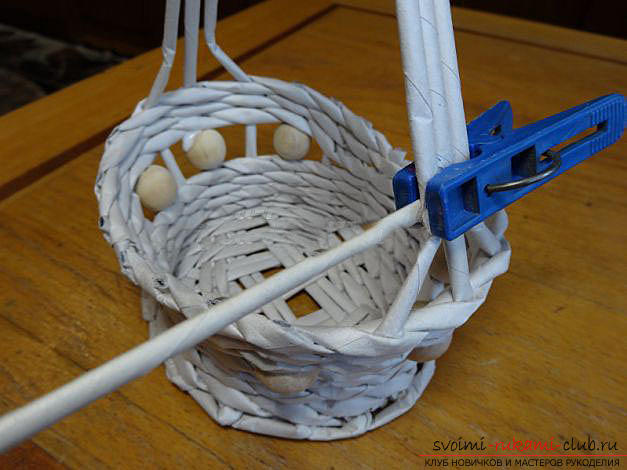
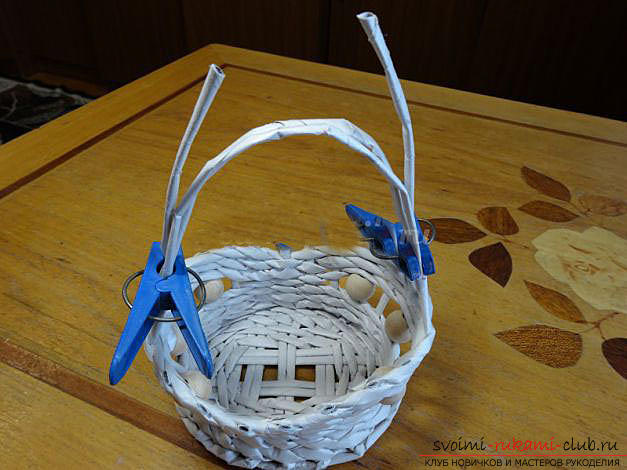
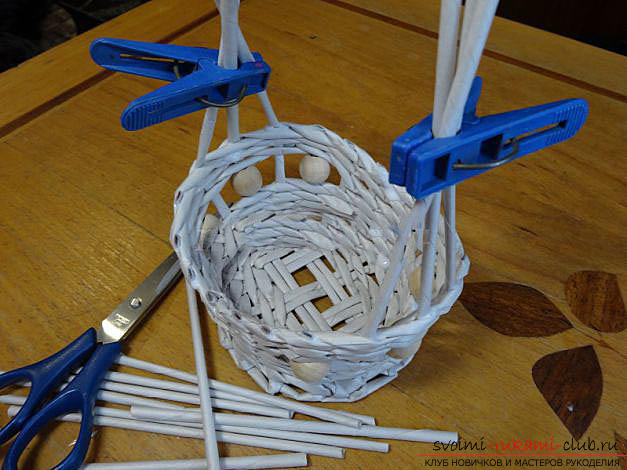
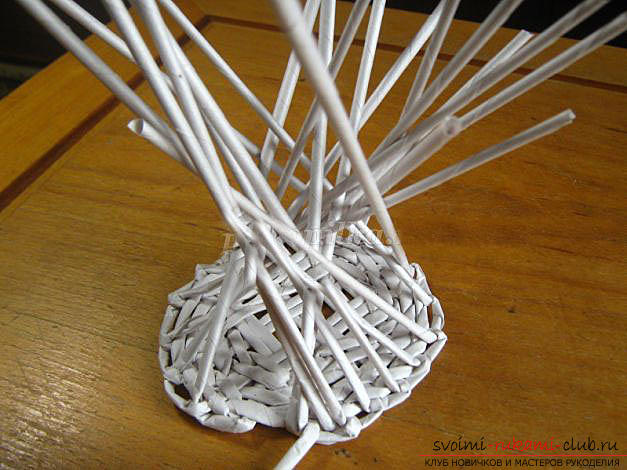 The sixth and seventh rows should be knitted with a rope.At this point, the main working points are almost completed. 4. The final stage of weaving. Next, you need to trim off the excess length of the working tubes, and then tuck them between the rows using knitting needles. the edges of the working tubes that are brought out must be removed using scissors. To make the handle of the basket, you need to leave three beams on all sides, separating them with clothespins. Then drop a little glue at the base of the remaining rays and remove them with scissors. Next, you should connect the edges of the tubes of the product handle.
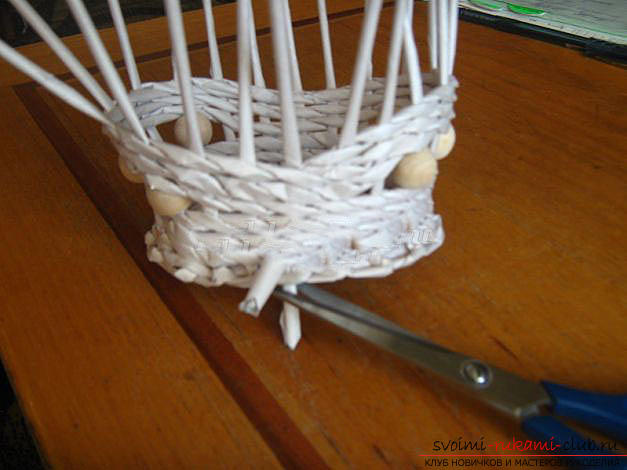
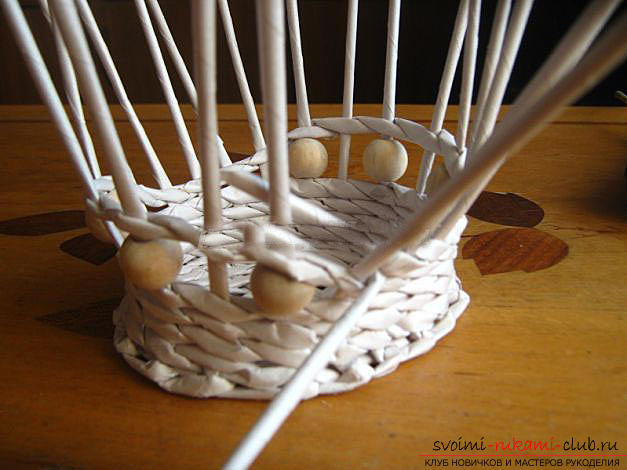 Before you start weaving a handle, you need toPlace a drop of glue on the tubes and secure with a clothespin. Then you need to braid the entire handle with a newspaper tube around the entire perimeter. After the weaving is completed, you should place a drop of glue on the tip of the tube and secure it with a clothespin. At this point, all the main stages of creating a basket are completed. You can proceed to coloring. To ensure greater strength to the product, it must be impregnated with glue and then given the desired shape. After which you should give time for the product to dry completely.
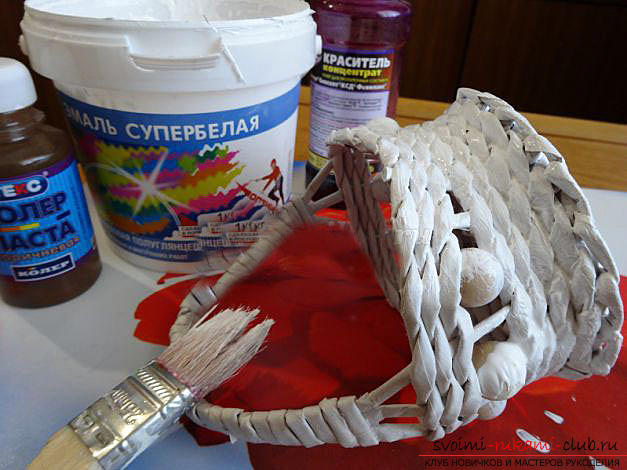
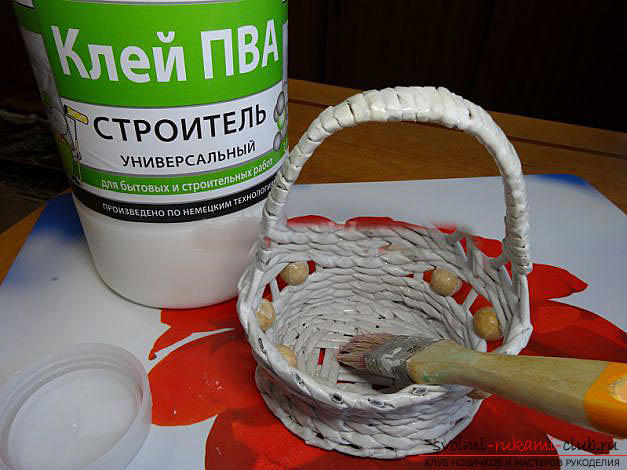
 Next, you can paint the basket white using acrylic paint. You can also add various dyes or use stain.
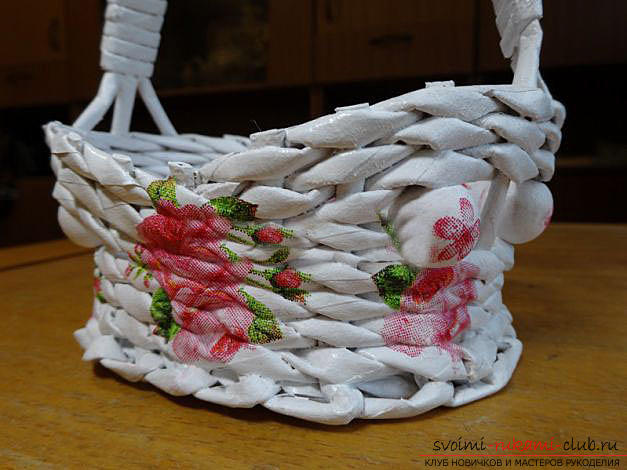
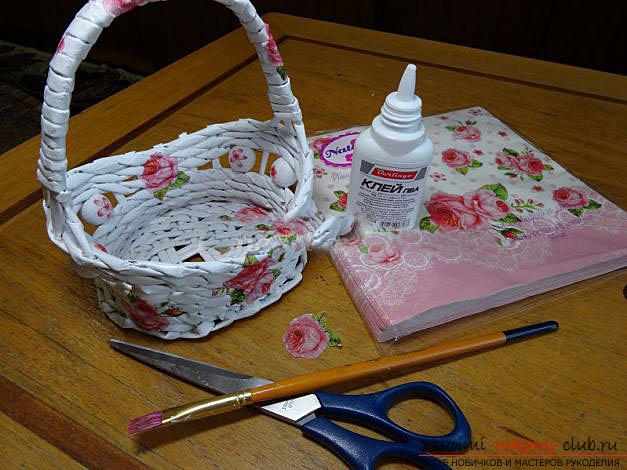
 Then you should cut out certain motifs from tissue paper and decoupage the product. Finally, you need to coat the product with finishing varnish and dry thoroughly.
 Now you can see for yourself that there is nothing more original than a product made by yourself. Create and delight your loved ones with wonderful gifts.
