How to make pots for flowers with their own hands: a master class
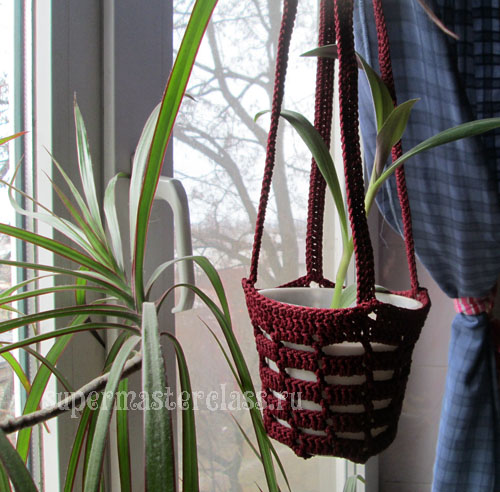
 Ideal for ampelous plantshanging flower pots, which, of course, can also be made with your own hands. The pots in the macrame technique immediately come to mind, but we offer another option - let's link the crochet pots today.
To crochet pots with your own hands, you need:
plastic pot (top diameter - 12 cm,lower - 8.3 cm, pot height - 10 cm); YarnArt Macrame yarn; hook number 2; matches or lighter; plastic ring for suspension (in our case - from the eaves). 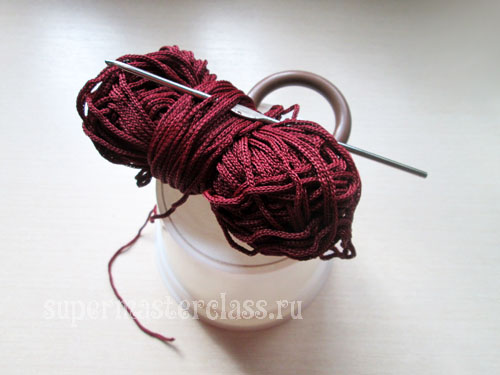
How to make pots for flowers with their own hands: a master class
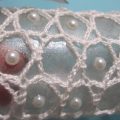
Getting to work. I give a description of knitting pots, which will allow you to arrange a pot of any size. 1 row. We make an amigurumi ring and, without tying it at once, we knit a chain of air loops equal in length to the diameter of the bottom of the flowerpot. In my case it is 20 air loops. Attach to amigurumi ring with a single crochet post. Again, we knit a chain of air loops of the same length - and again attach an amigurum with a single crochet to the ring. Repeat several times. For a small pot enough to make six of these petals. For a larger pot, increase the number of petals. The only requirement is that the number of petals multiplied by two is divisible by 4 by an integer. Those. we have 6 petals. Multiply by 2. Get 12. 12 perfectly divided by 4. Next, go to the top of the first petal with semi-columns (I had to make 10 semi-columns). 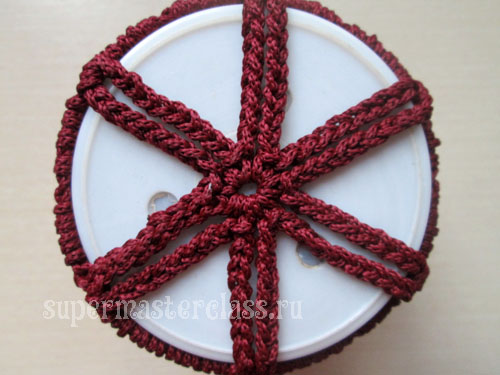 2 row. Now we have to find the optimal number of air loops for connecting the tops of the petals. In my case, it turned out 9 air loops. I knit 9 air loops, a column without a nakid in the top of the next petal, again 9 vp and so on until the end of the series. Making a fitting on the pot: these connecting chains of air loops should quite tightly cover the pot at the bottom of its walls. I had to dress up before I found the right amount of loops so that the knitting would not hang on the pot, but put on tightly. We finish a row with a connecting column. 3 row. 3 vp lifting + 1 cf Next you need to calculate the pattern. Since I have in each fragment between the petals of 9 vol. I, I decided to knit a pattern according to the scheme “4 tbsp. double crochet + 1 cf + 4 tbsp. with a crochet. " Calculate in a similar way: if you have, say, 7 loops, it can be a “3 + 1 + 3” scheme, and if an even number, say, 6, you can also take the “3 + 1 + 3” scheme. So, we tied up three air lift loops plus one separator. Around the chain of the air loops of the previous row I will knit 4 double crochets, 1 ce and again 4 double crochets, following the pattern calculated above. Further - 1 inc. and around the next chain of the previous row - 4 tbsp. double crochet, 1 ce, 4 tbsp. with a crochet. We knit to the end of the row, finish the row with a connecting column.
 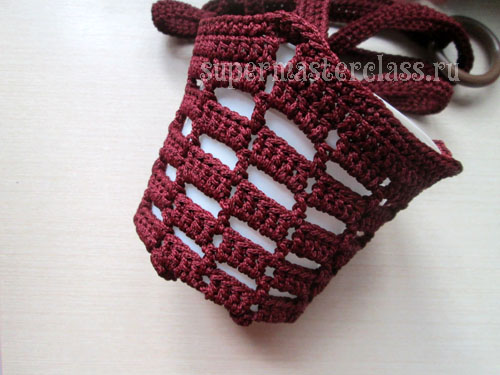 4 row. Depends on the previous row: for transitions, take as many air loops as there were double crochets in each fragment of the previous row. Those. I have this: 3 vp recovery, the transition from 4 ce, then - 1 tbsp. double crochet into the “separation” air loop of the previous row, again 4 vs transition - and 1 tbsp. double crochet into the next separation air loop of the previous row. Thus knit to the end of the row. 5 row - like 3. After each row, do a fitting to the pot! Too tight it turns out - it means that we add a loop in each transition or in each fragment of the columns with nakida. In my pot it was like this: 6 row - like 4, only in each transition one loop is longer, i.e. 5 inc. 7 row - like 3, only in each fragment it also became one column longer, i.e. 5 tbsp. with a crochet. 8 row - like 6. 9 row. - like 7. 10 row - like 6. 11 row - like 7.
 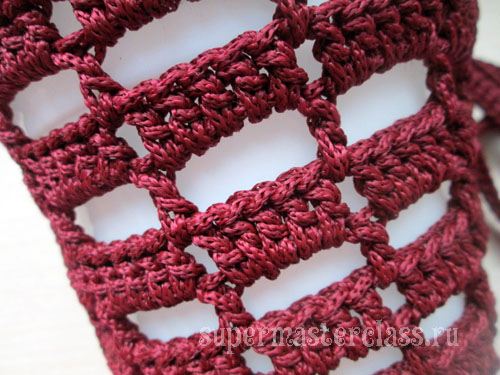 We have already reached the top of our pot. We count all the fragments, divide them into 4 parts. For this you can use markers for knitting. 12 row. I have 12 fragments divided by 4 to 3 pcs. So I knit it like that. I knit three fragments with double crochets. In dividing air loops of the previous row - also on a double crochet. After going through three fragments, I knit a long chain of air loops. I knitted a chain length of 75 cm, i.e. twice as long as the required suspension height of the pots. Having reached the end of the chain, we turn and knit a series of double crochets over it.
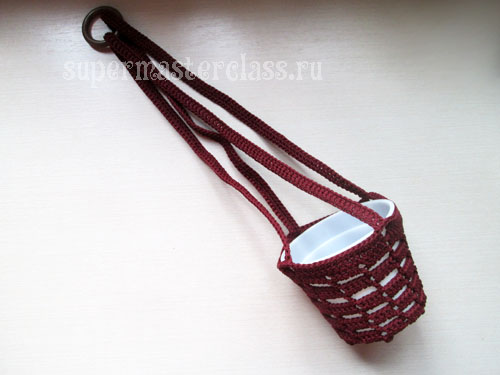
 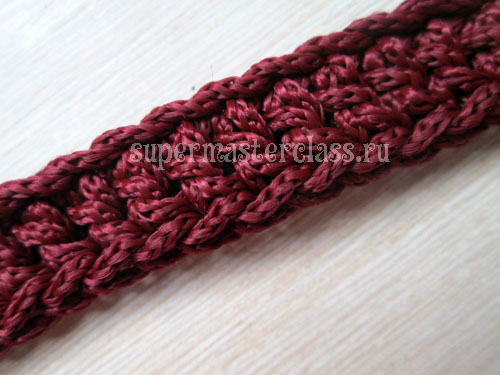 Having reached the end, we knit 3 more fragments with double crochets. Put the ring on the suspension.
  Attach suspension tape to the last post withnakida with nakida column. Next - 3 v. P. and another single crochet into the ribbon. We continue to knit three more fragments. Again - the tape for suspension, skip the tape in the ring. We knit three more fragments with double crochets - and attach the ribbon in the manner described. We tie the last three fragments, close the row with a connecting bar. 13 row - a series of single crochets for sealing the edge.
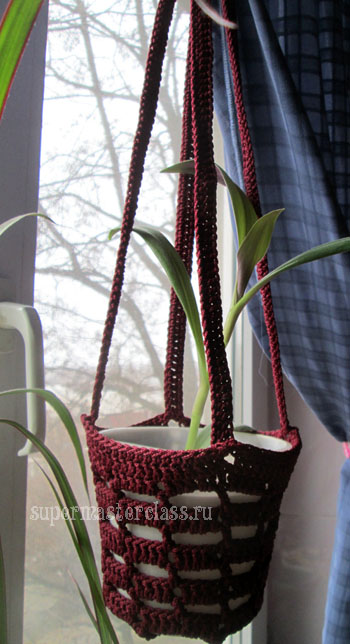
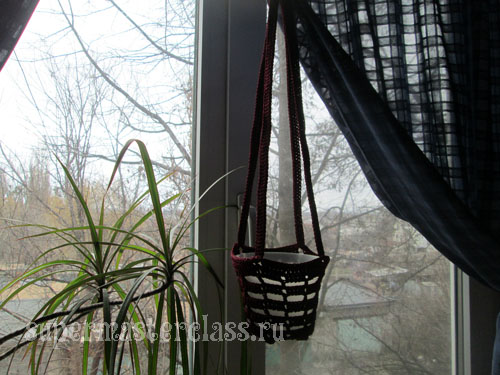
 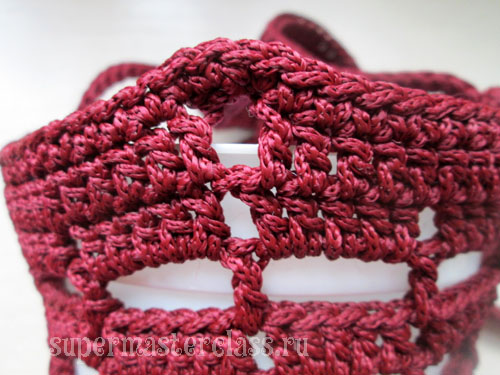 Knitted flower pots for flowers ready!
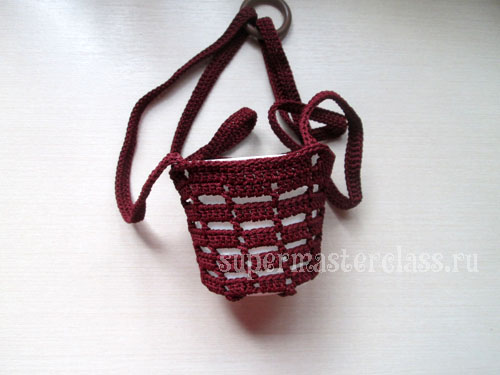
 Eva Casio specifically for the site Previous article: Next article:
Comments
Related posts:
 The master class will teach you how to make your own hair elastic band with a crocheted flower
 This detailed master-class of quilling colors will tell you how to make your own hands a bouquet in the basket.
 This master class will teach you how to make your own original valentine.
 The master class will teach you how to make a crocheted crocheted vase with your own hands from a glass jar
 Master class on the creation of colors will teach you how to make your own hands a rose from fameirana or leather