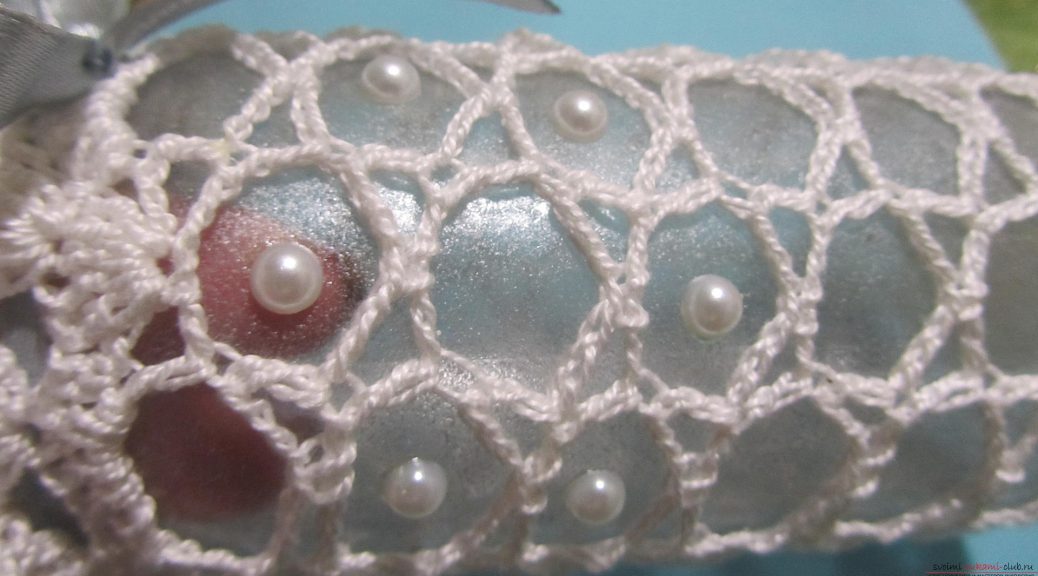
The master class will teach you how to make a crocheted crocheted vase with your own hands from a glass jar
Pleasant for the eyes little things, created by their ownhands, bring in the house a cosiness and a unique highlight. Each housewife can make her nest cozier and warmer, adding to the interior several nice knick-knacks created by her own hands. In this master class you will learn how to make an unusual vase for a small bunch of ordinary cans. In such a vase, gentle lilies of the valley or bright daisies, lovely violas or fussy dandelions will look great. To make such a vase you need:
- a narrow bank (a jar of baby food is very suitable);
- acrylic paint of silver, golden or pearl color;
- sponge;
- hook №1,25;
- thin white thread;
- glue;
- half-beads for pearls;
- satin ribbon;
- toothpick;
- tweezers;
- lighter;
- alcohol-containing liquid.
Before starting work, the jar needs to be thoroughly rinsed and degreased with any alcohol-containing liquid. 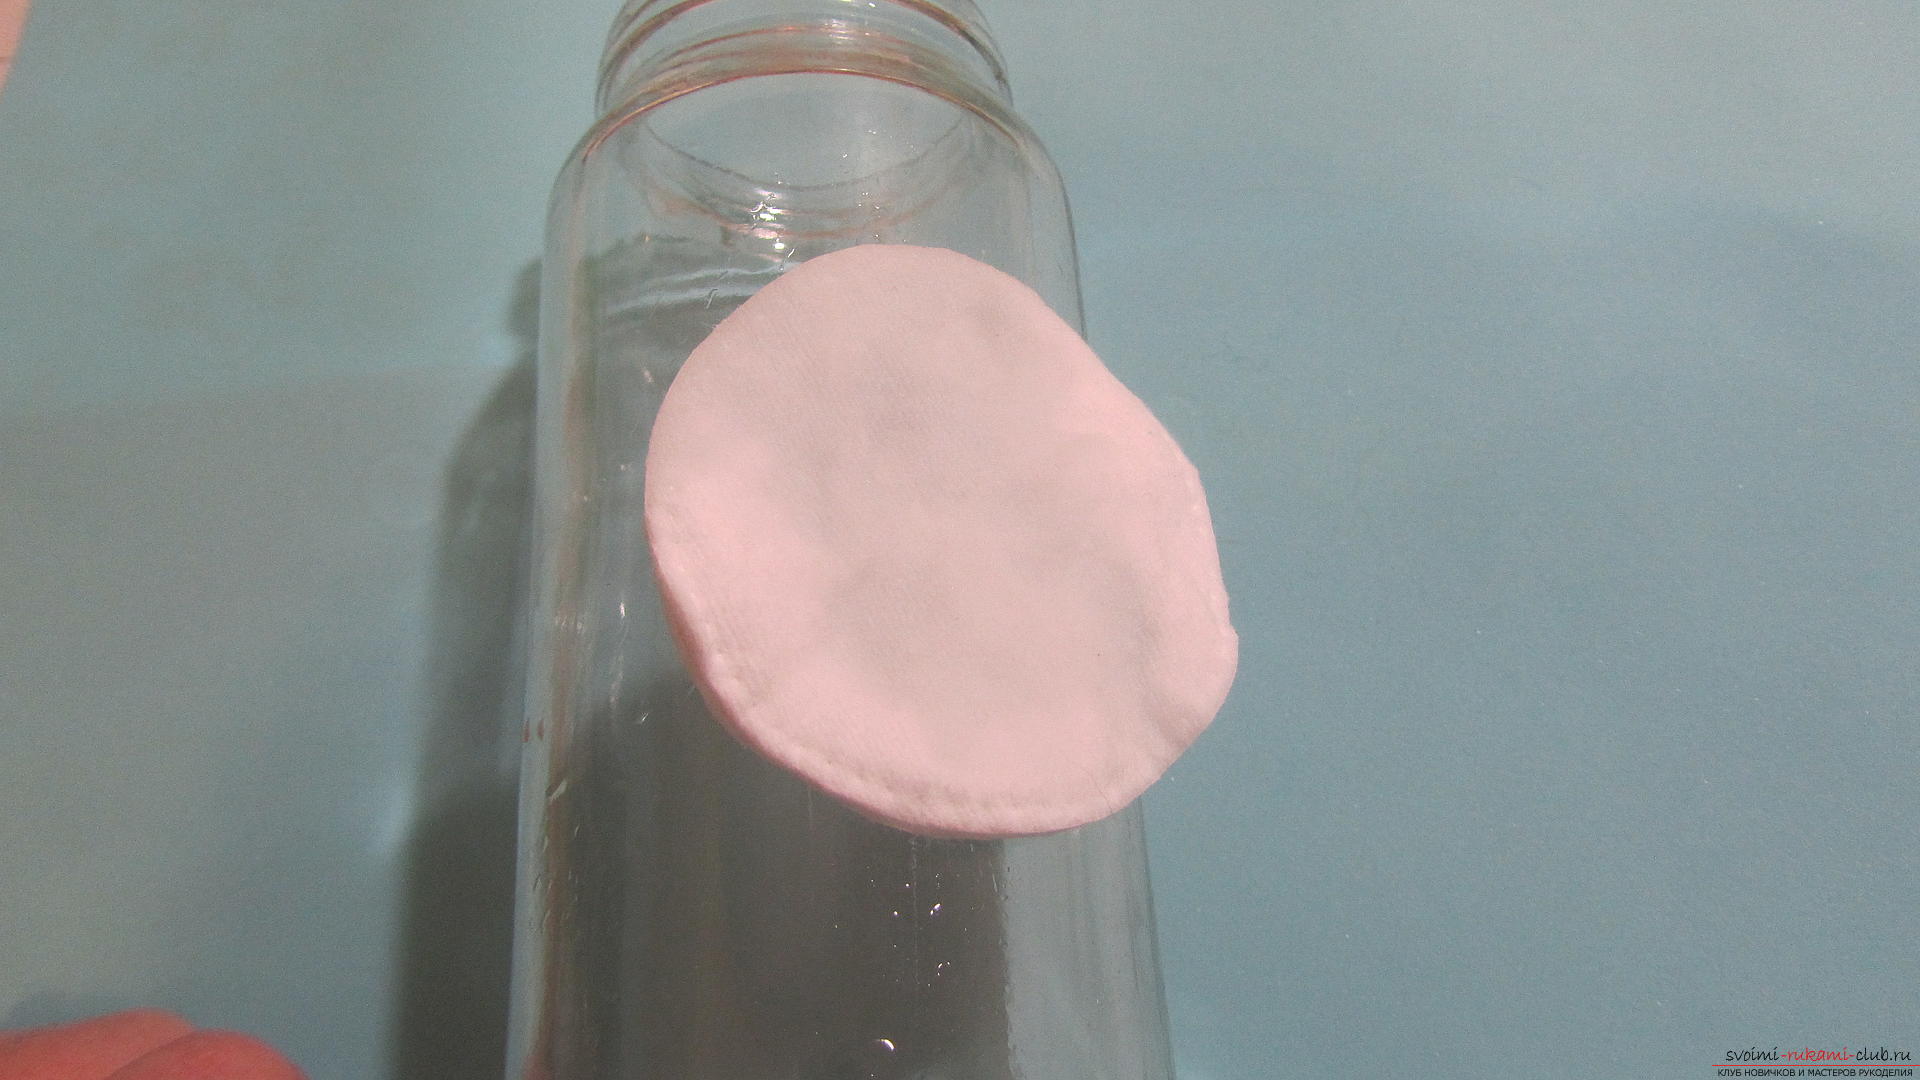 Now we will pour acrylic paint in the lid.
 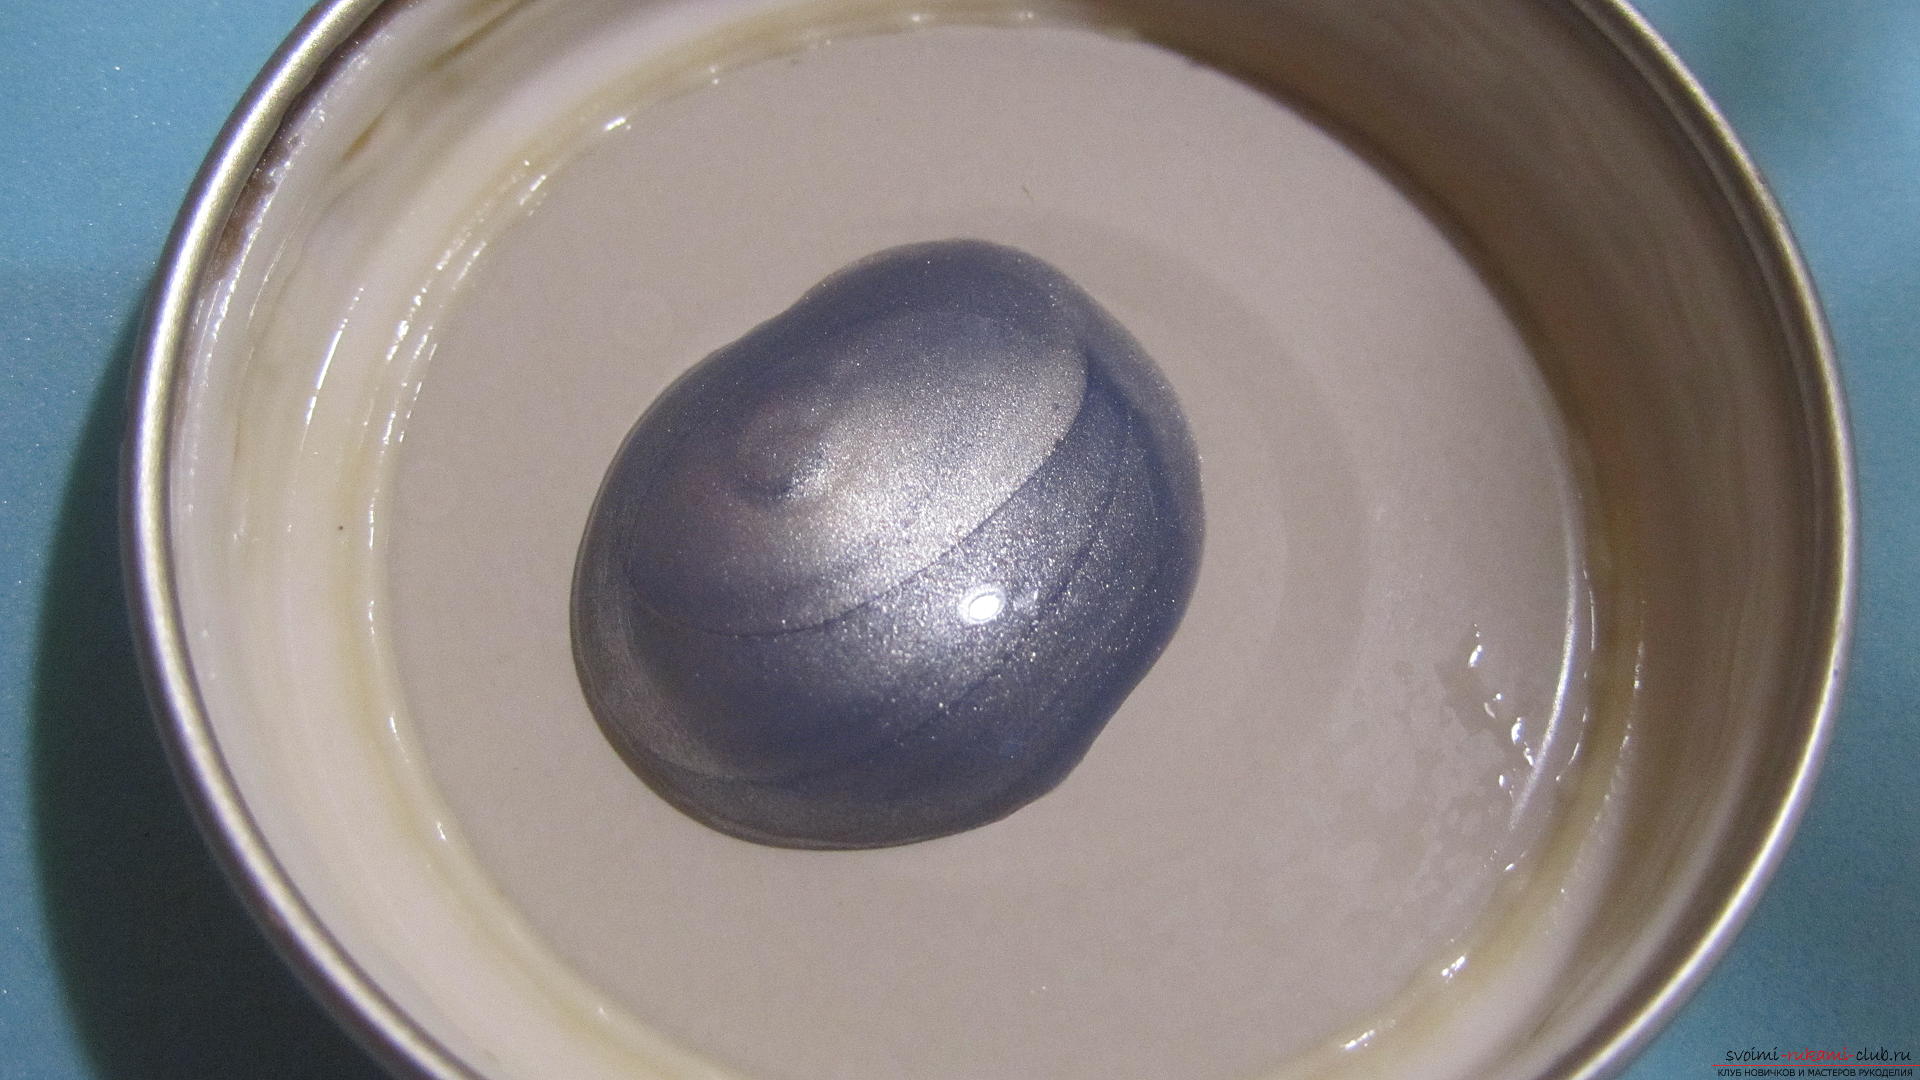 And the sponge will apply the paint on the jar. It turns out not a dense over painting, but a light haze.
 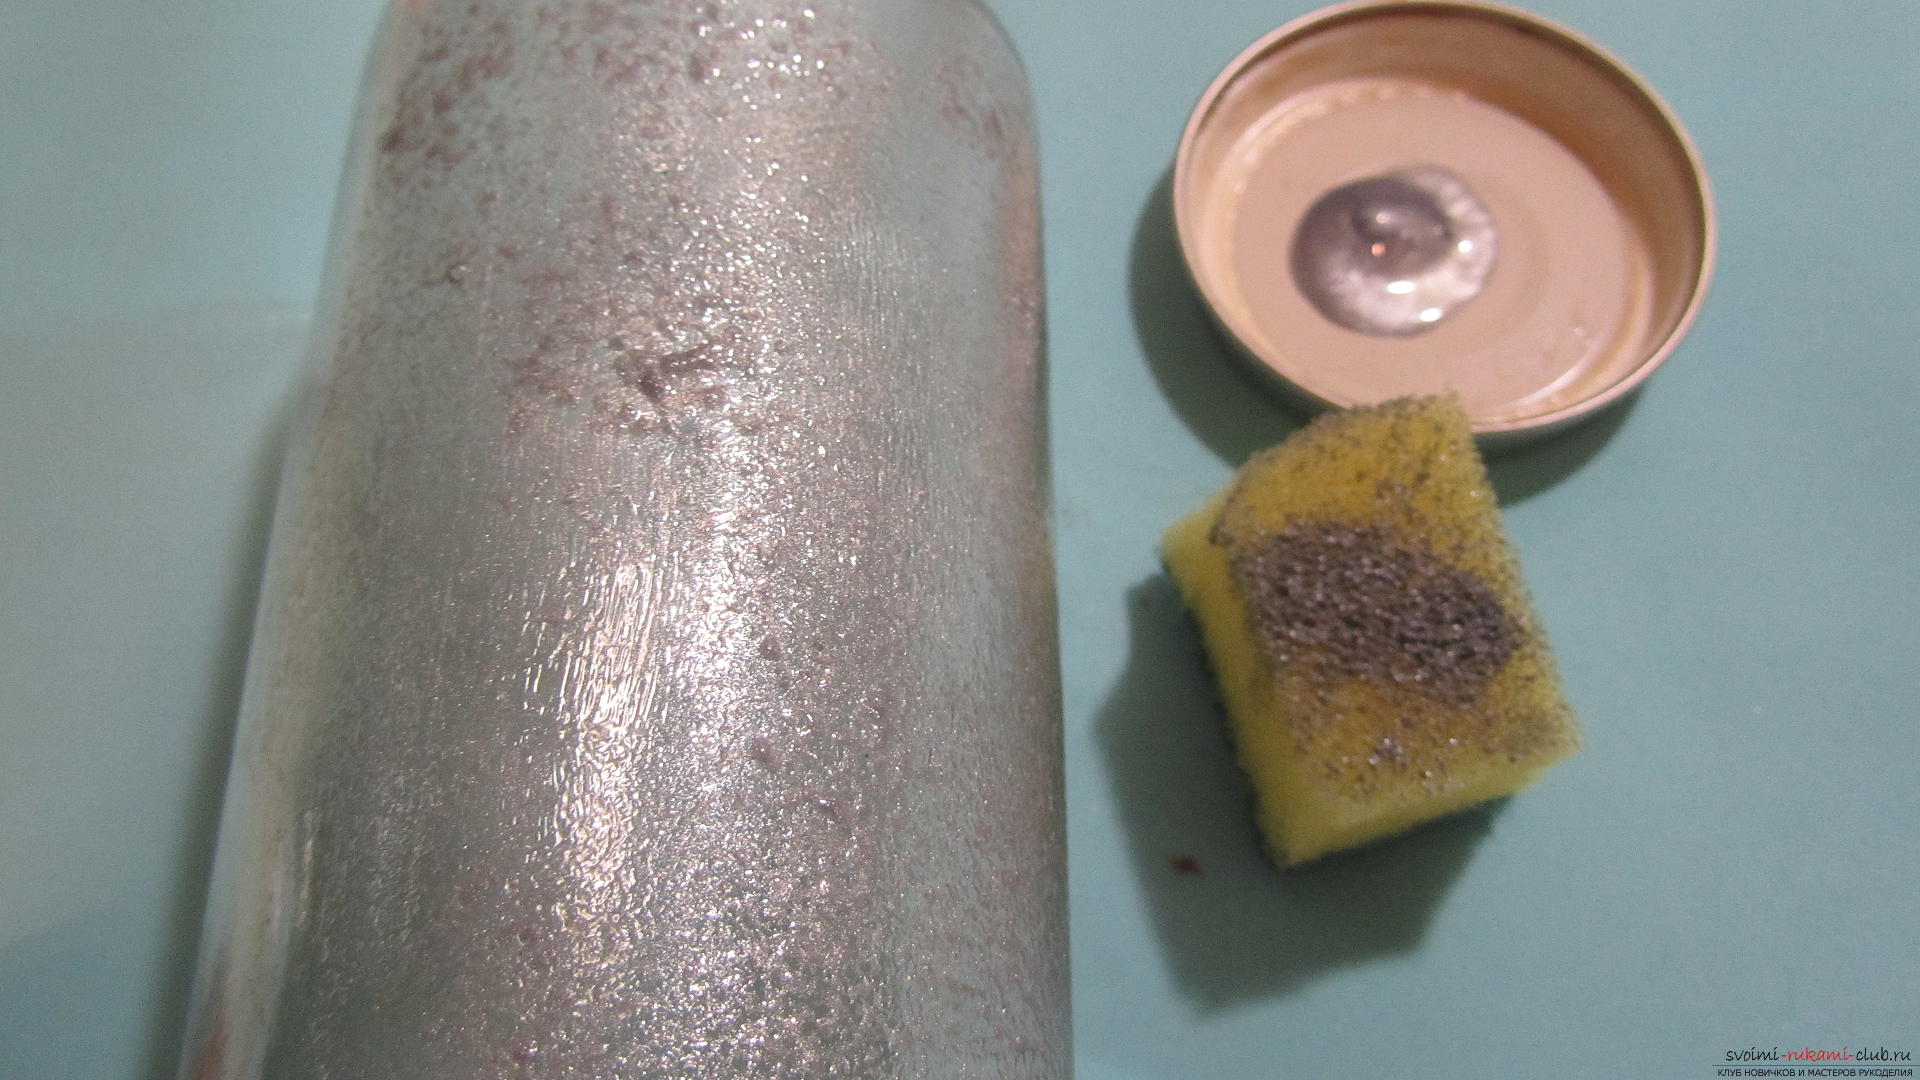 Completely paint over our jar.
 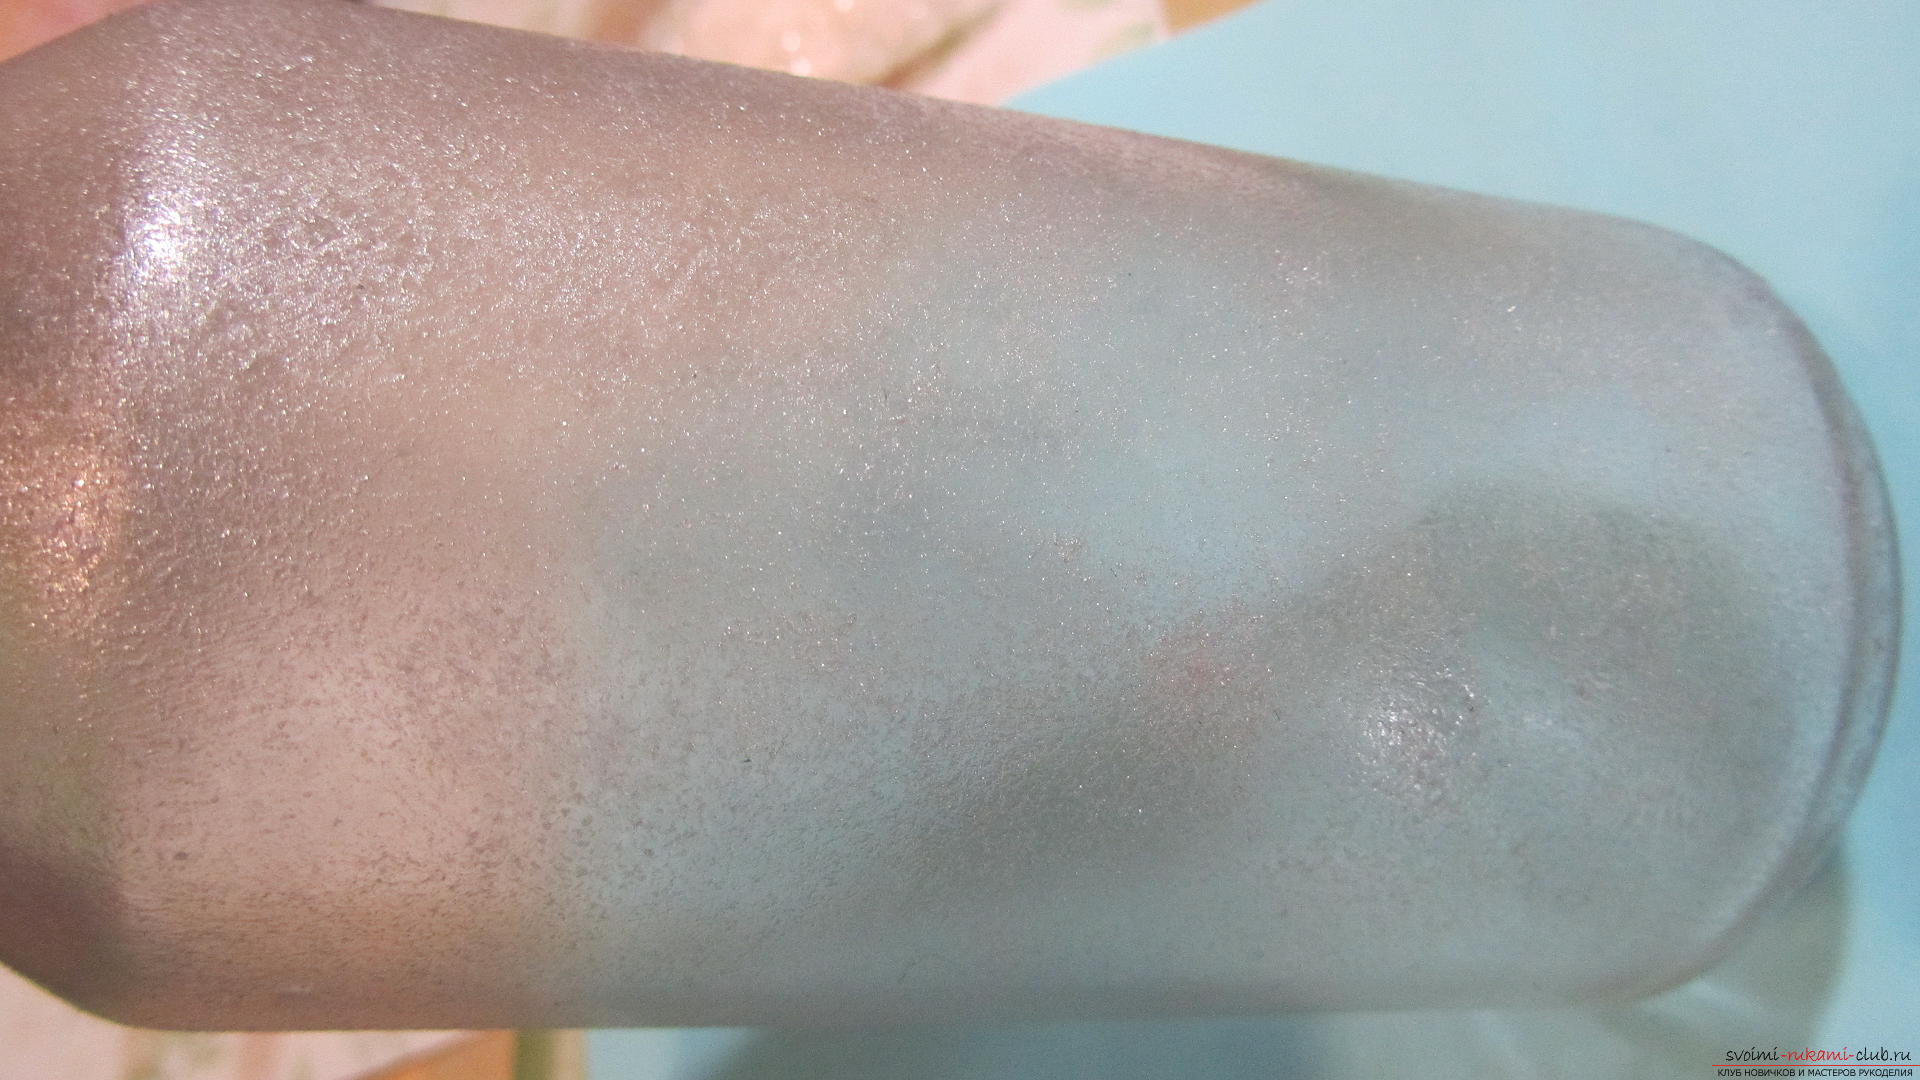 While the bank dries, we will tie a cover for it. To do this, we'll collect five loops, and put them together in a ring.
 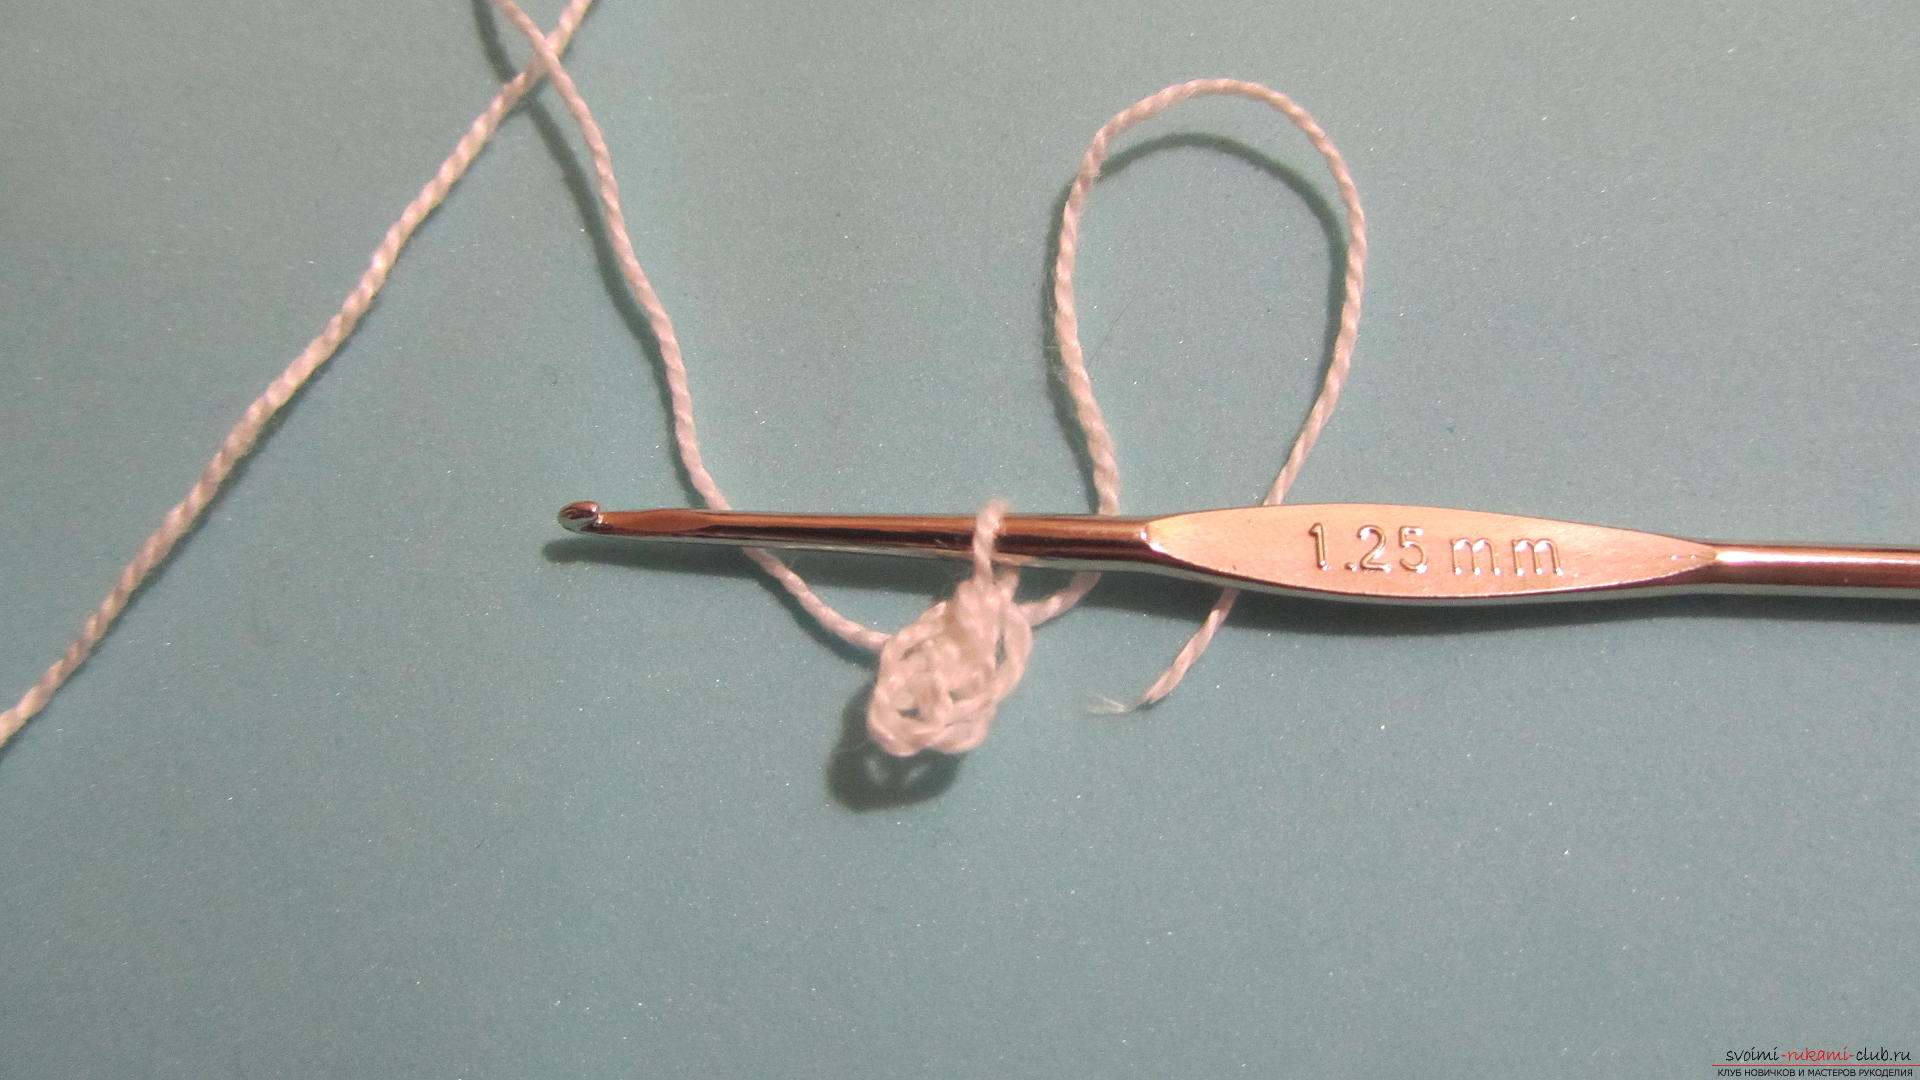 We will tie our ring with 10 simple columns, without crochet.
 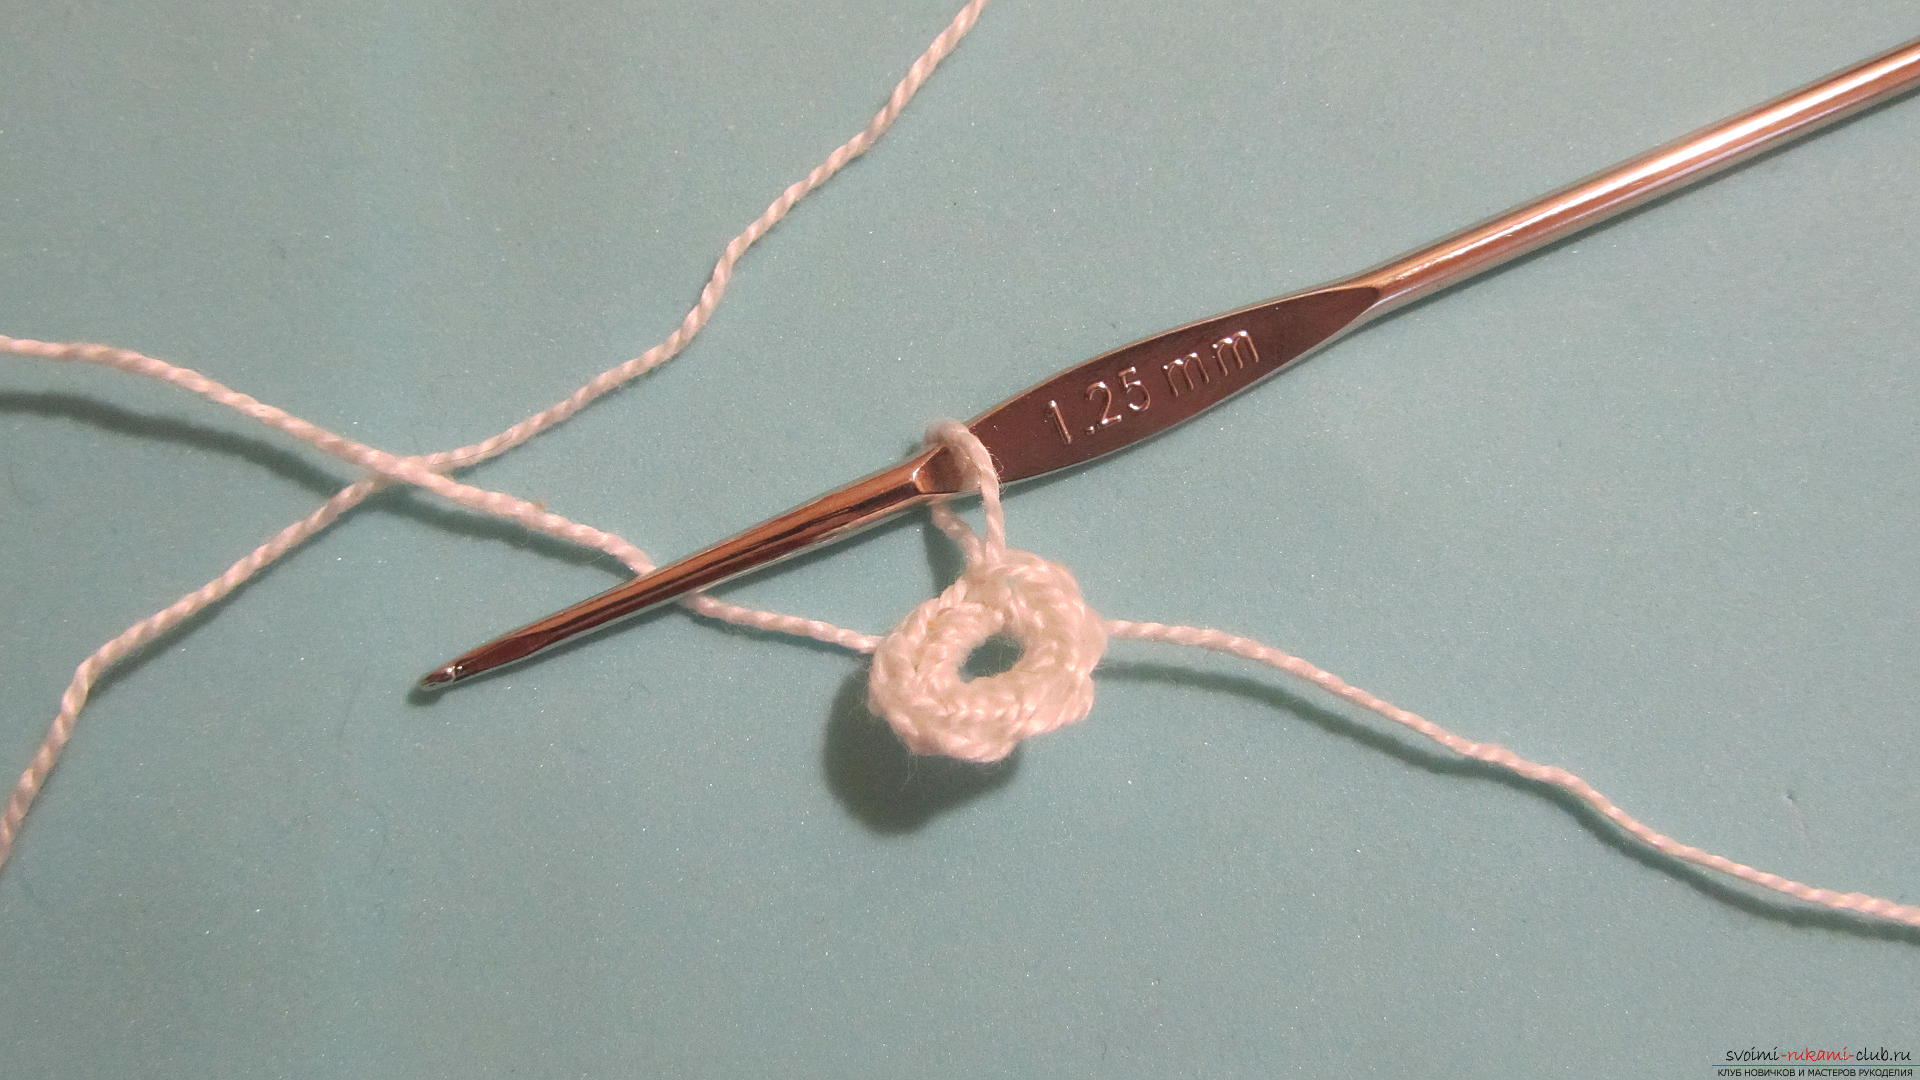 We continue to knit the bottom. We will make three loops, and then, we will connect a column with one crochet in the first loop.
 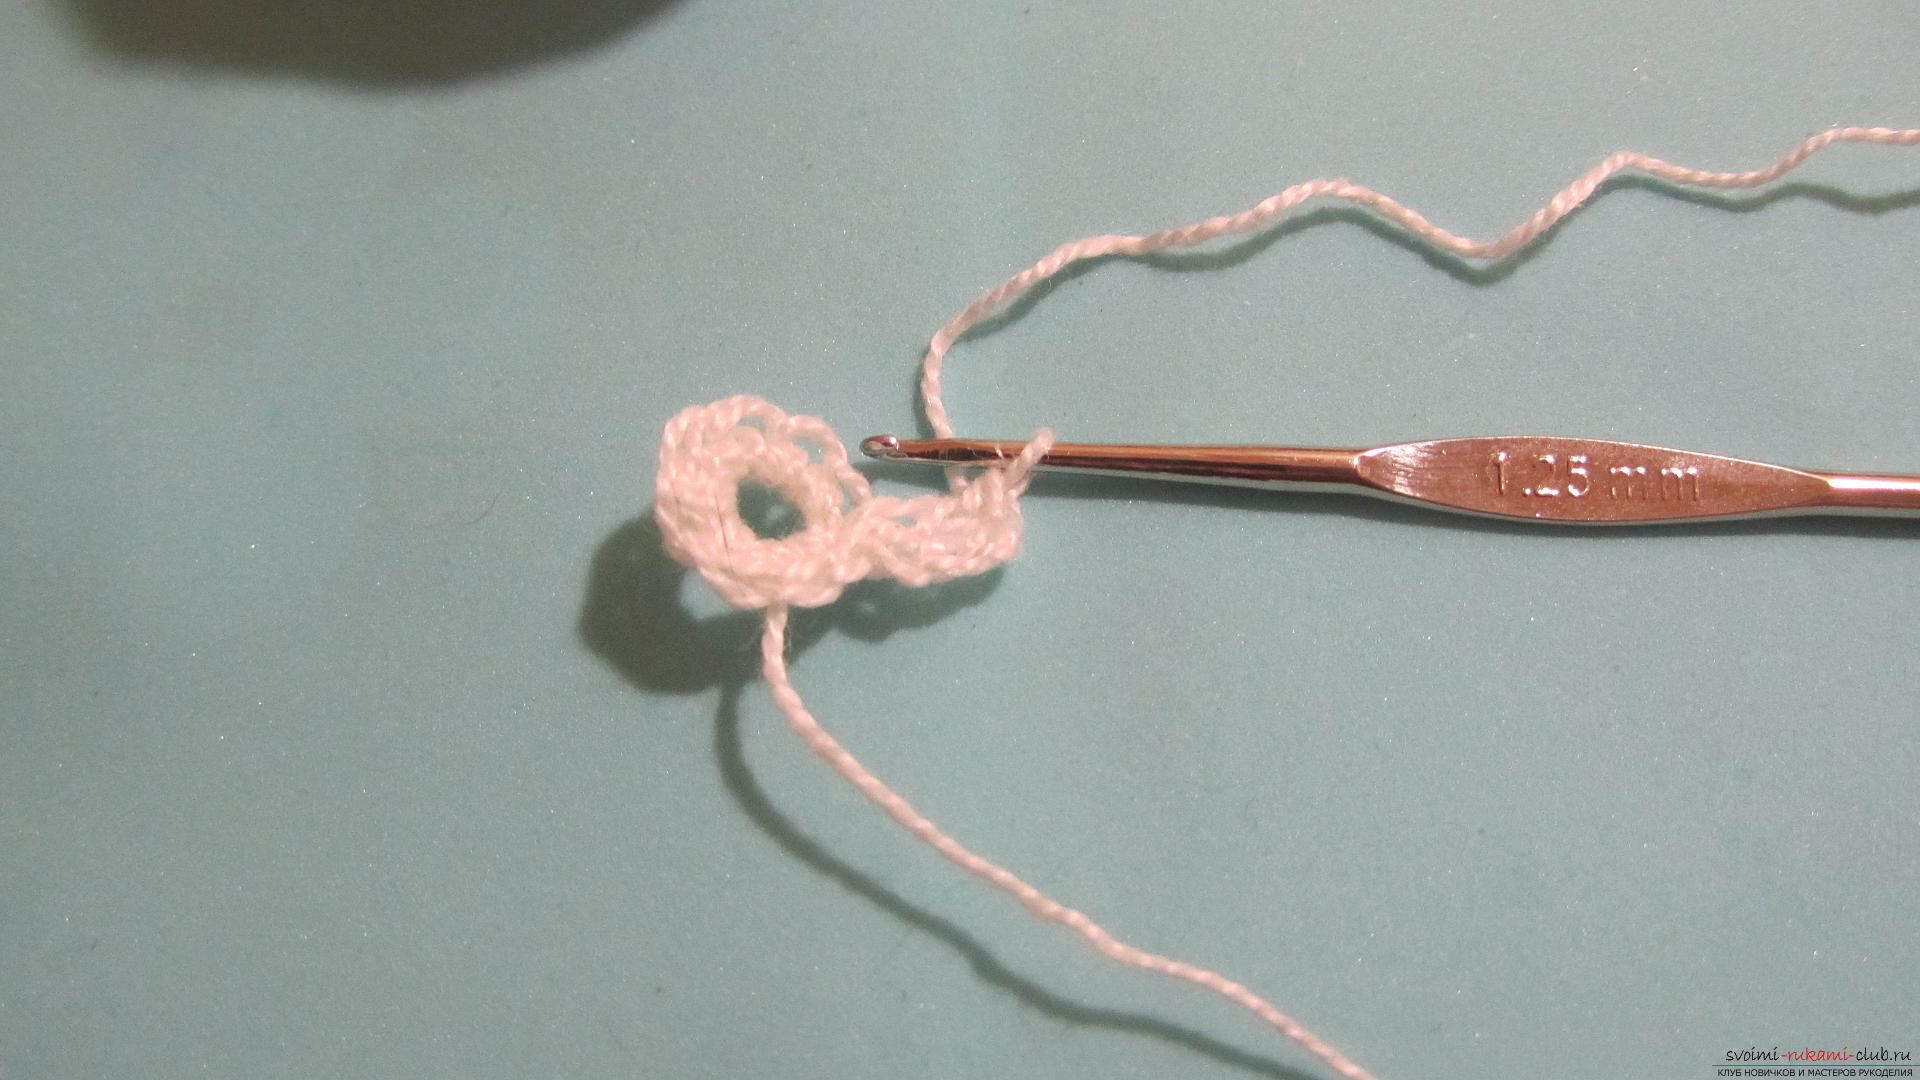 In the next column of the first row, we again connect the two bars.
 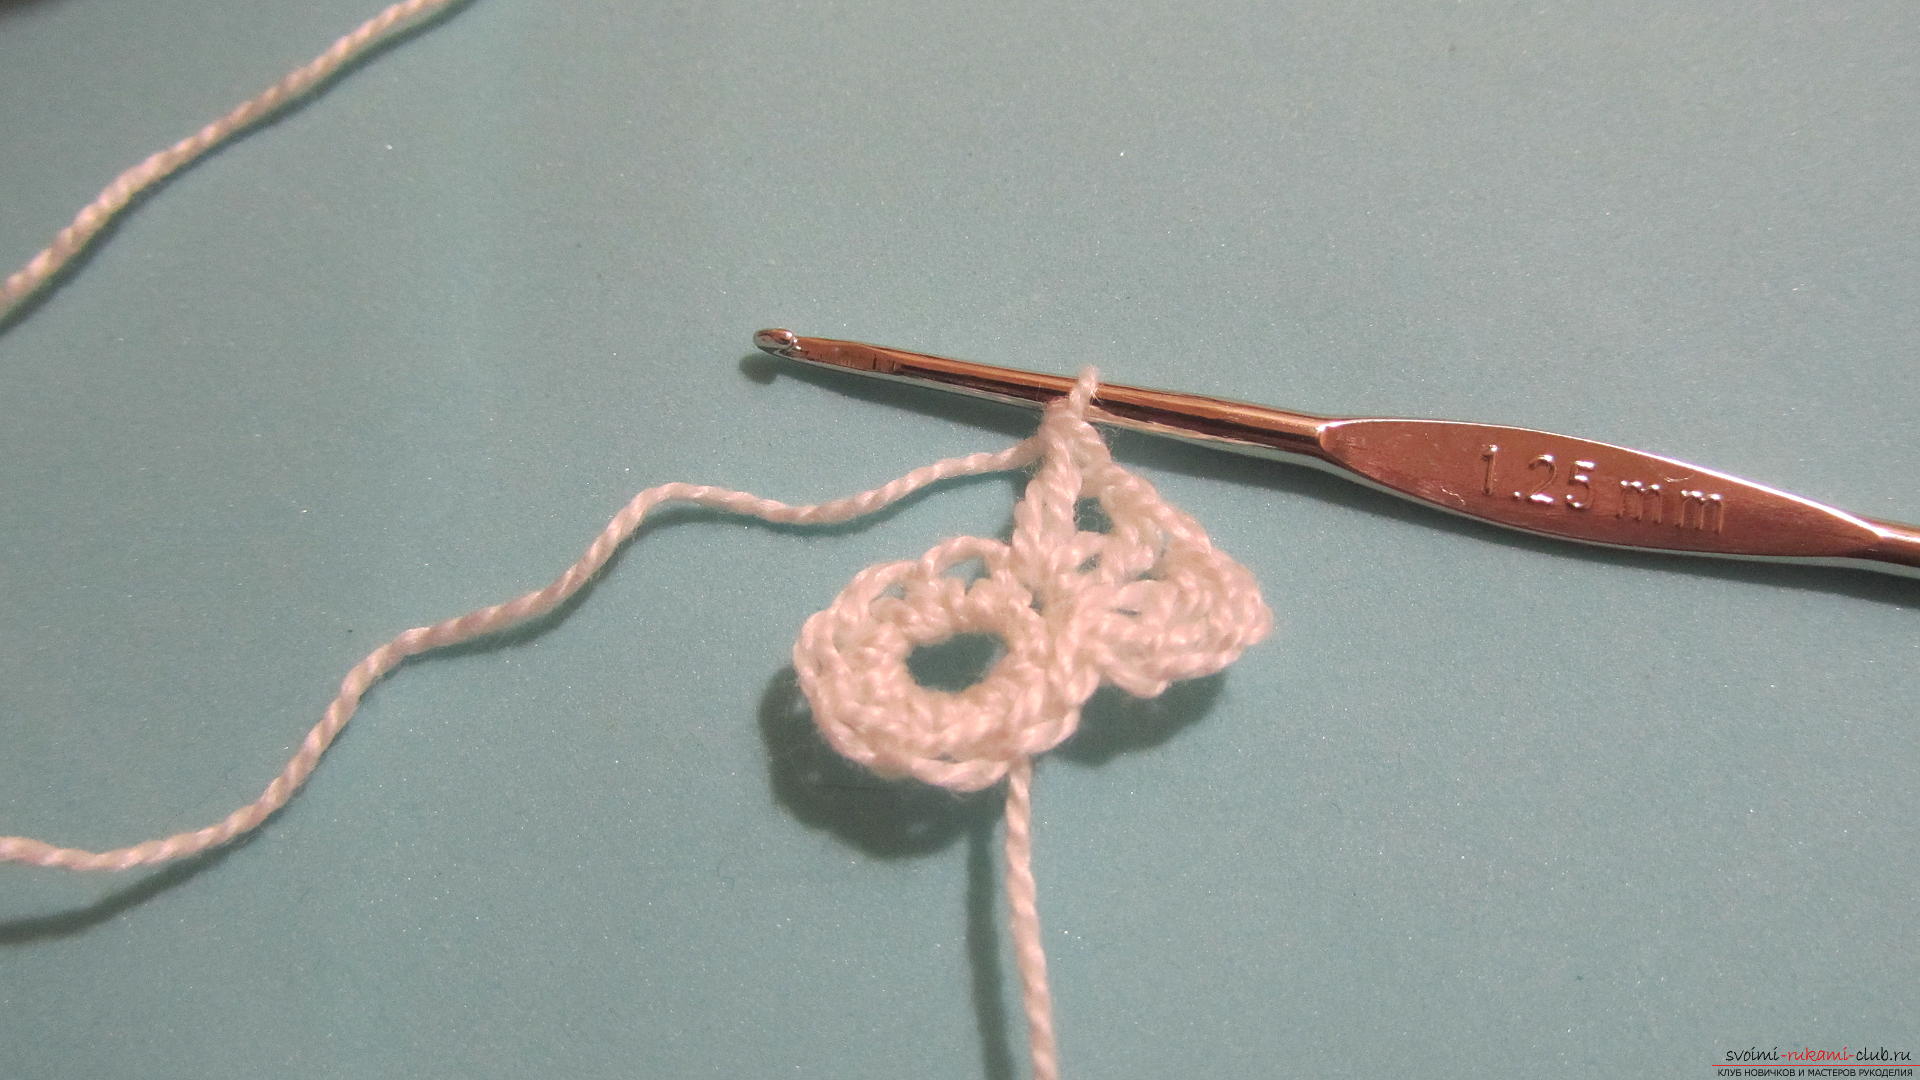 So tie the whole series. In total we will receive twenty columns.
 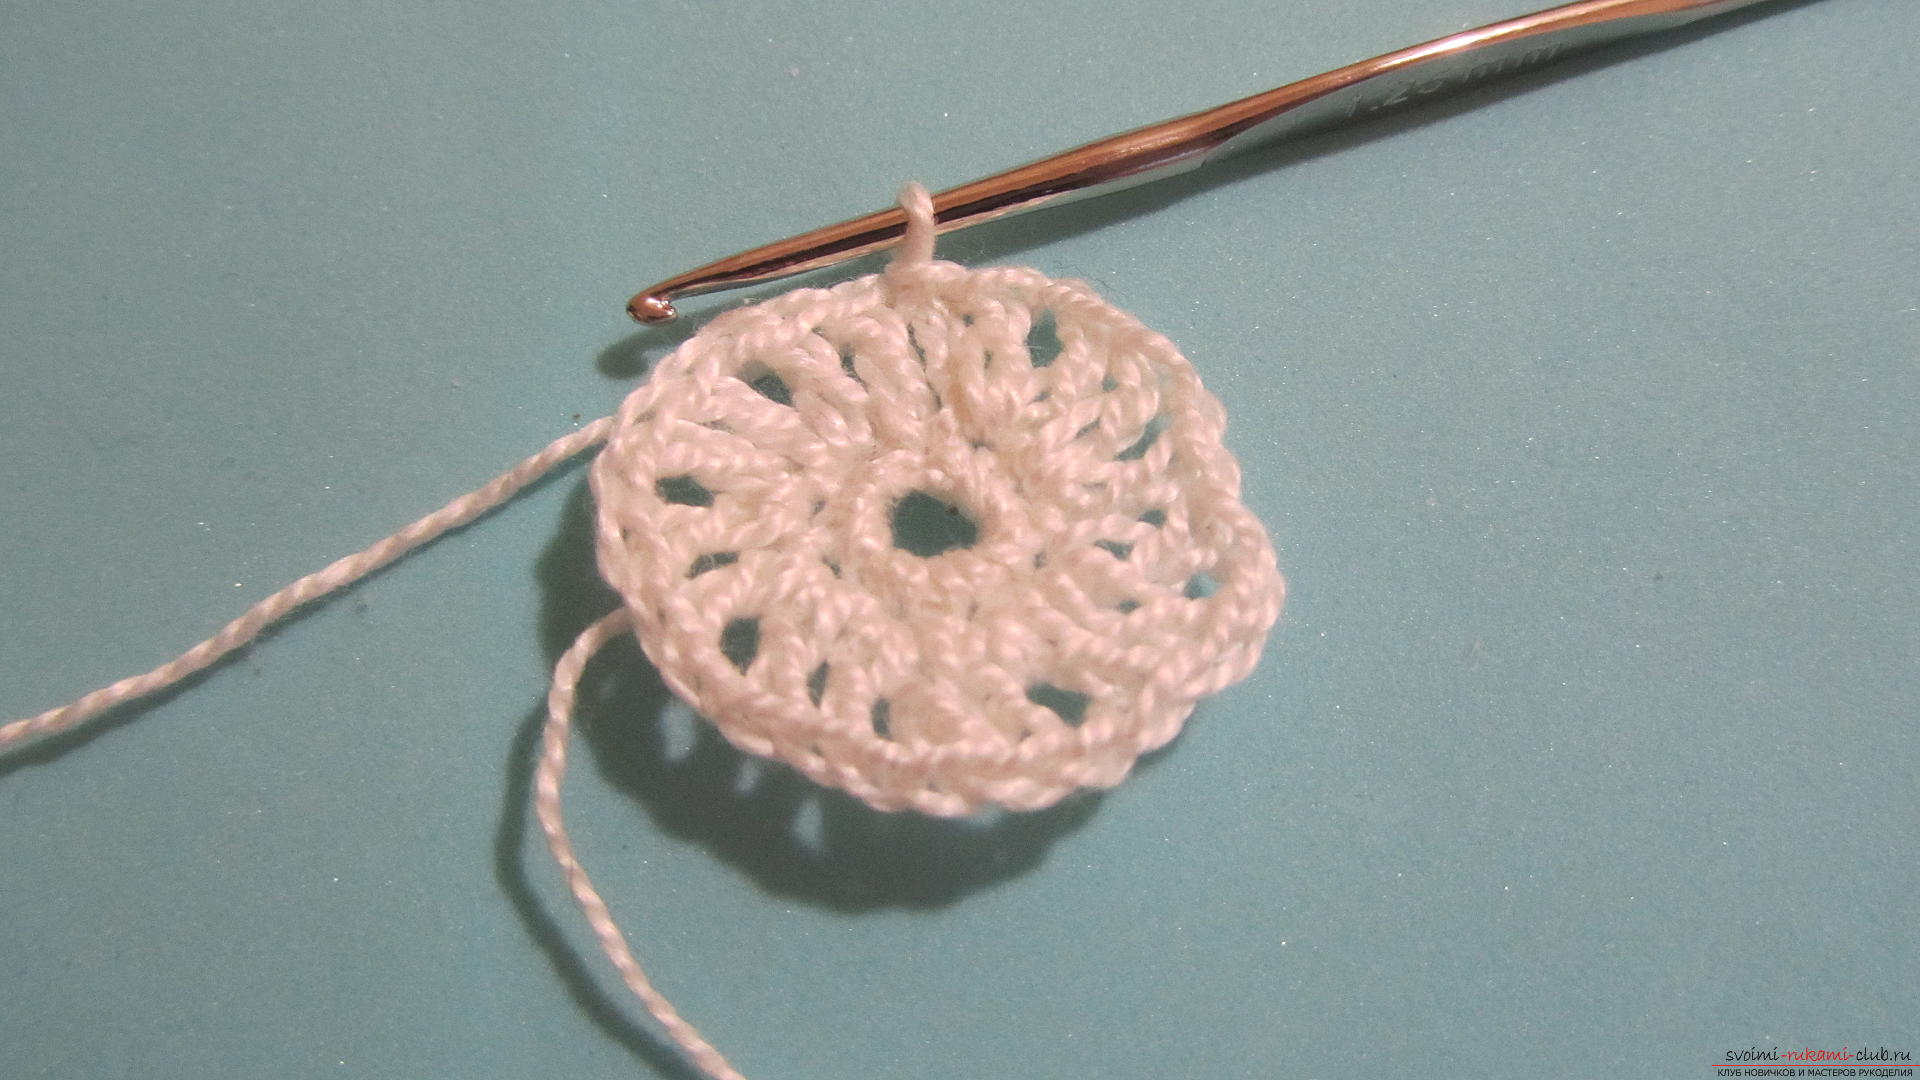 In the next row, we will also knit stakes in which there will be one overlap. Knit them between the columns of the second row. And between them we will fasten one air loop.
 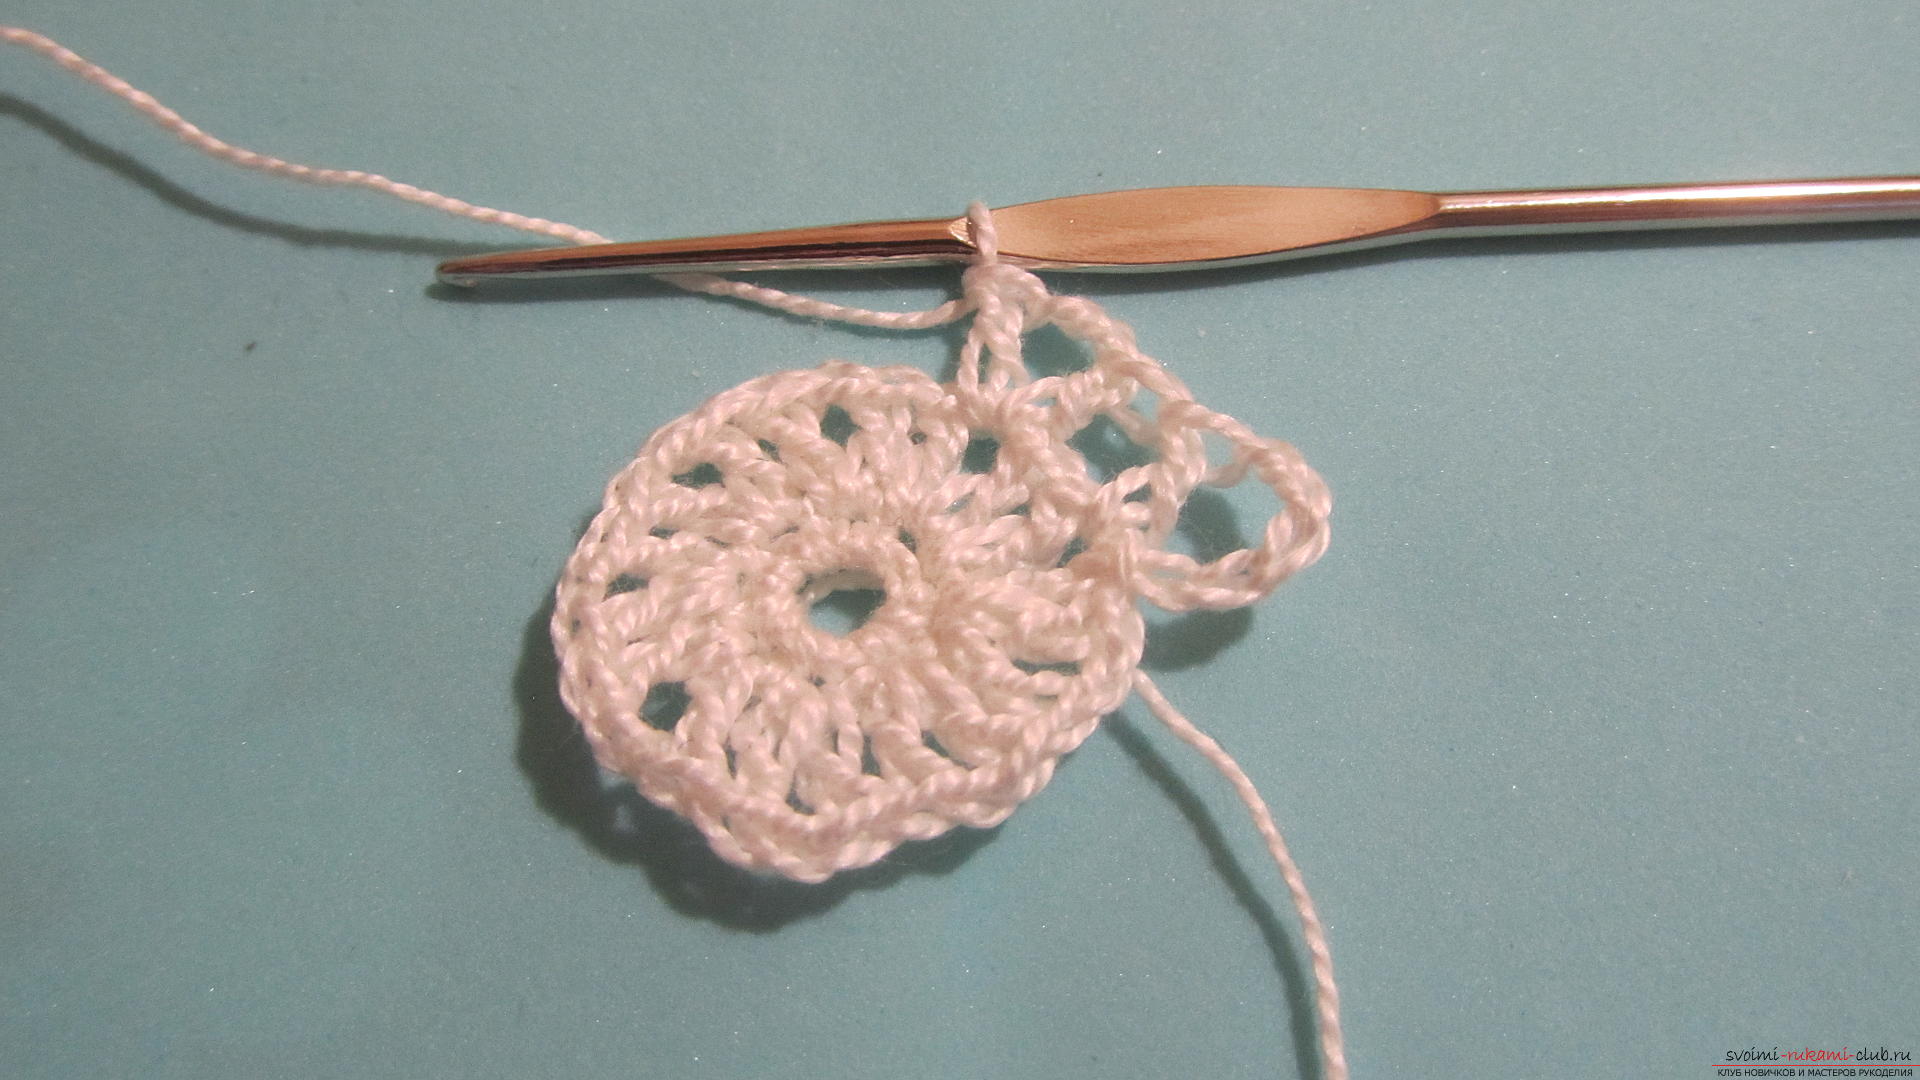 So, the number of columns does not change, but the number of loops will increase by 1.5 times.
 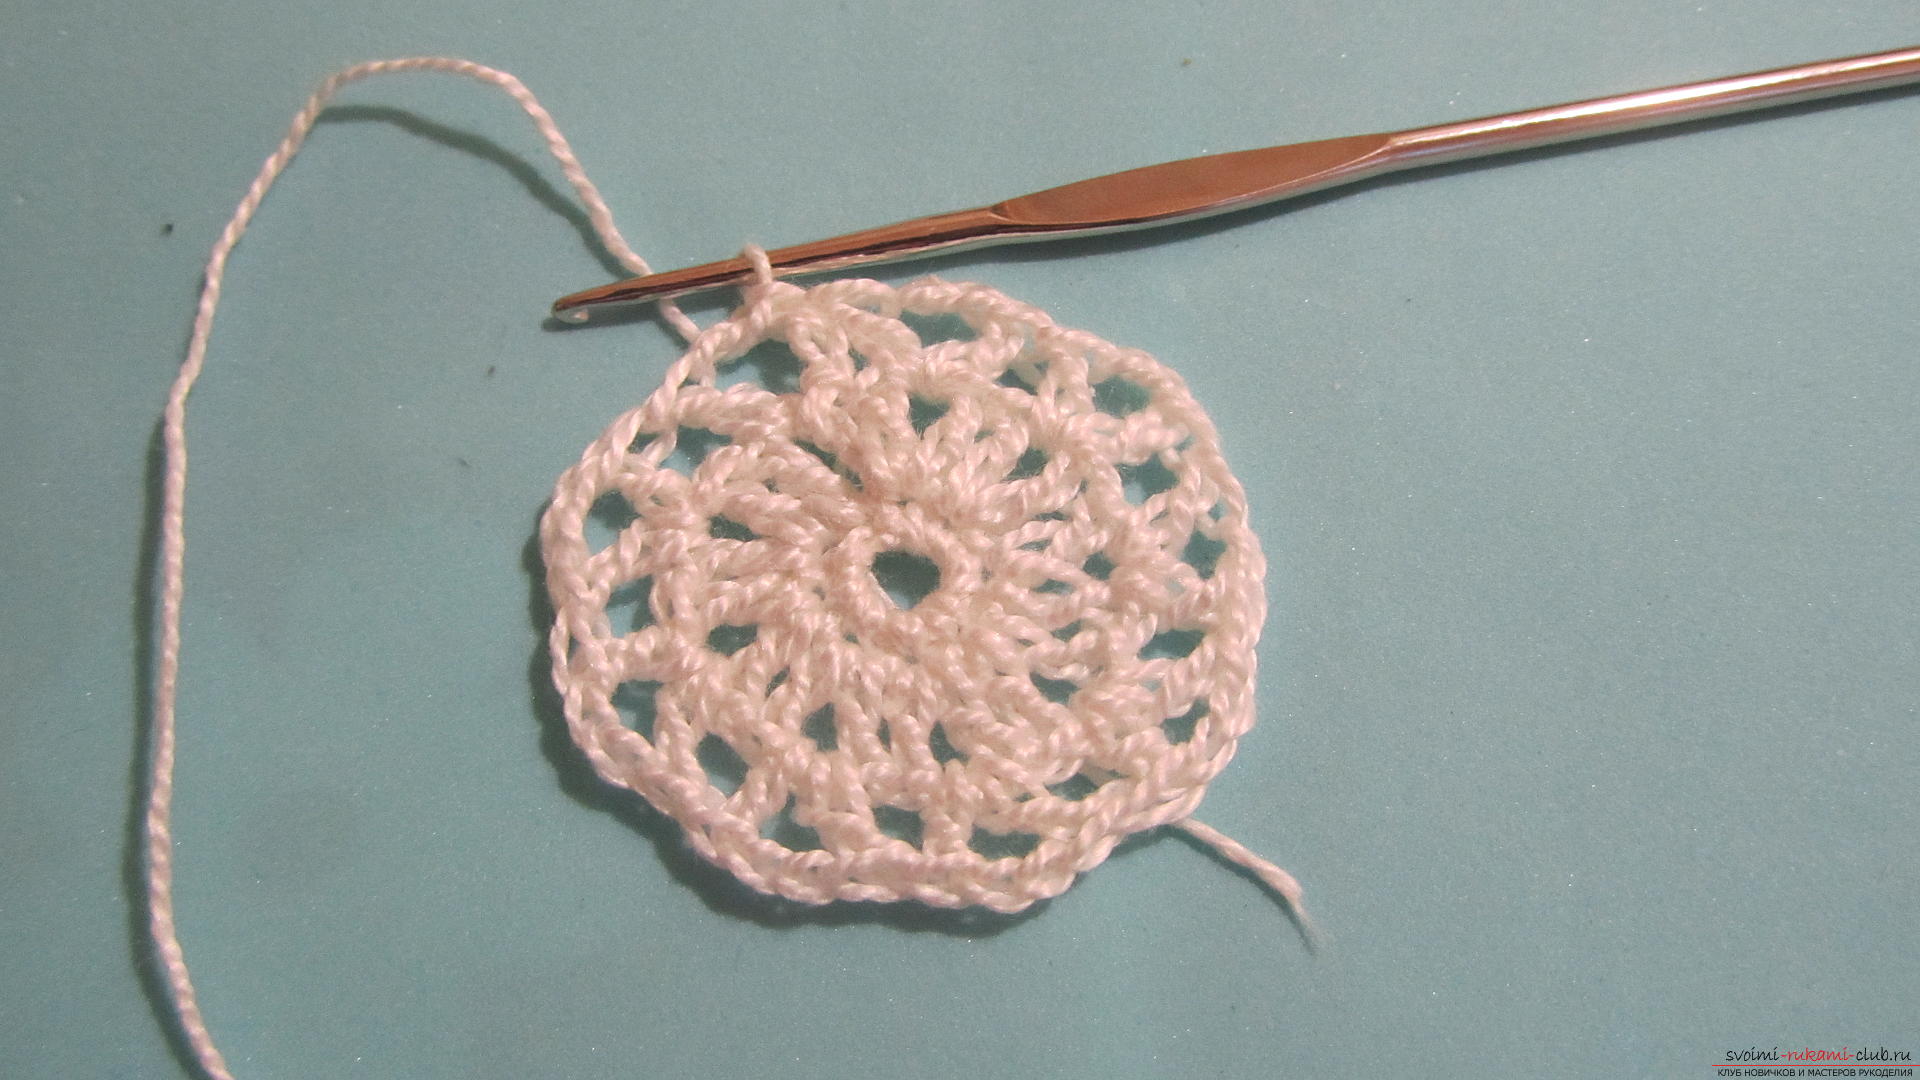 In the next row between all the posts we will knit by one air loop. We also knit bars - two between the columns of the previous row.
 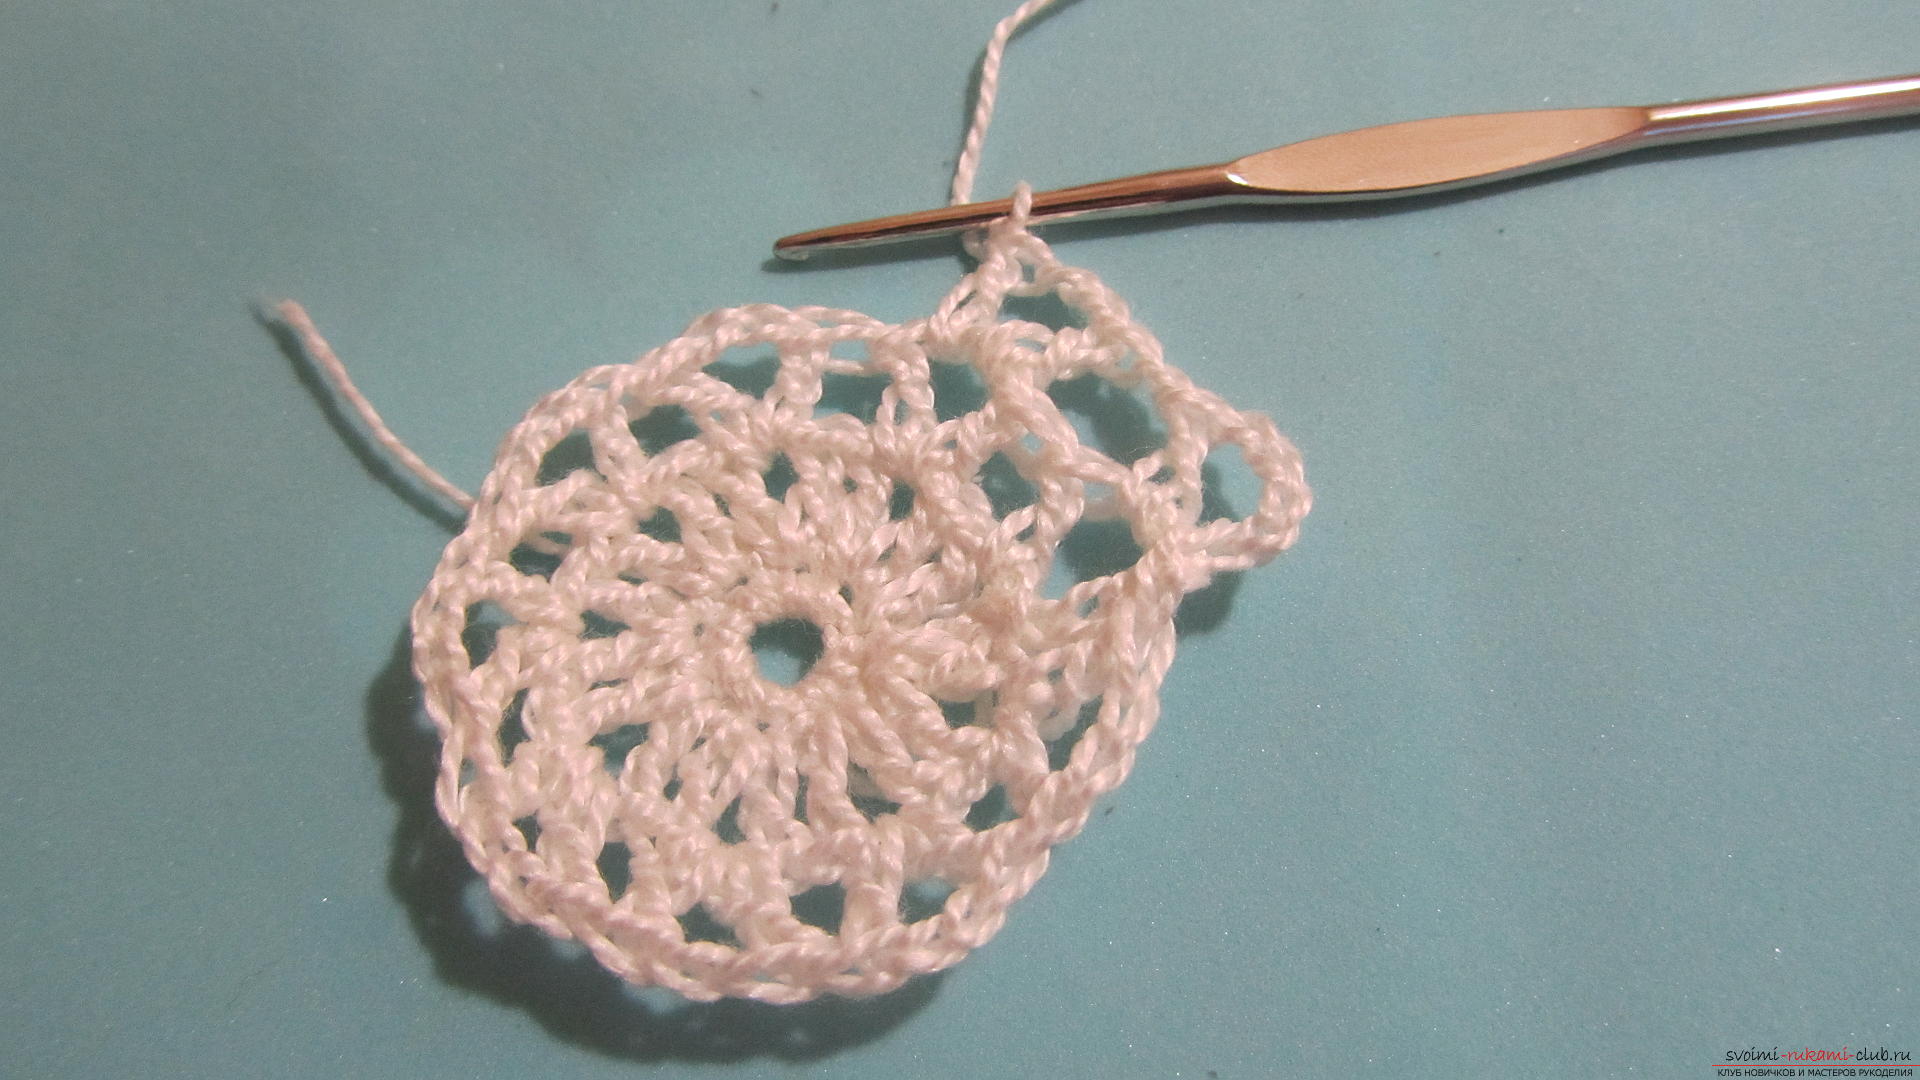 So we again did not change the number of columns, but the number of loops increased.
 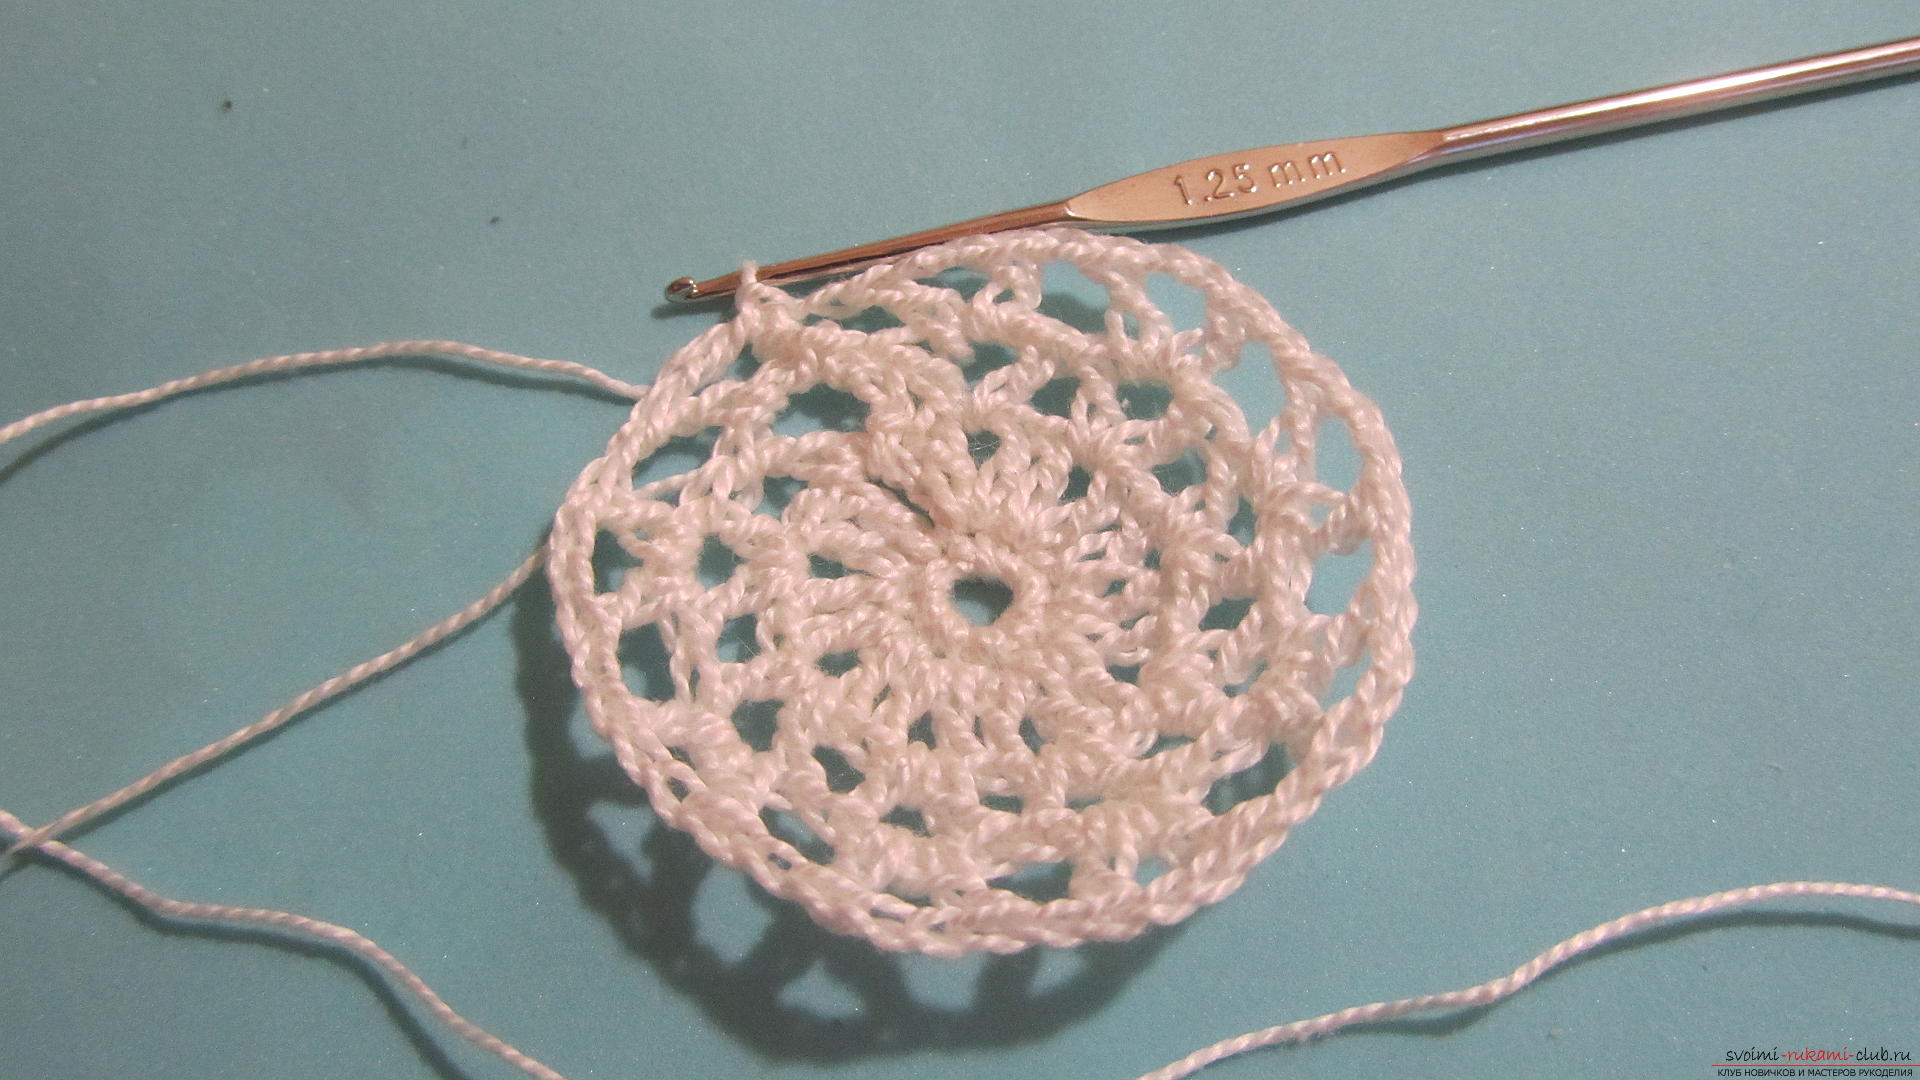 Let's try the cans to the bottom. If it's enough, we start knitting the sides, if not, we'll continue to knit the bottom.
 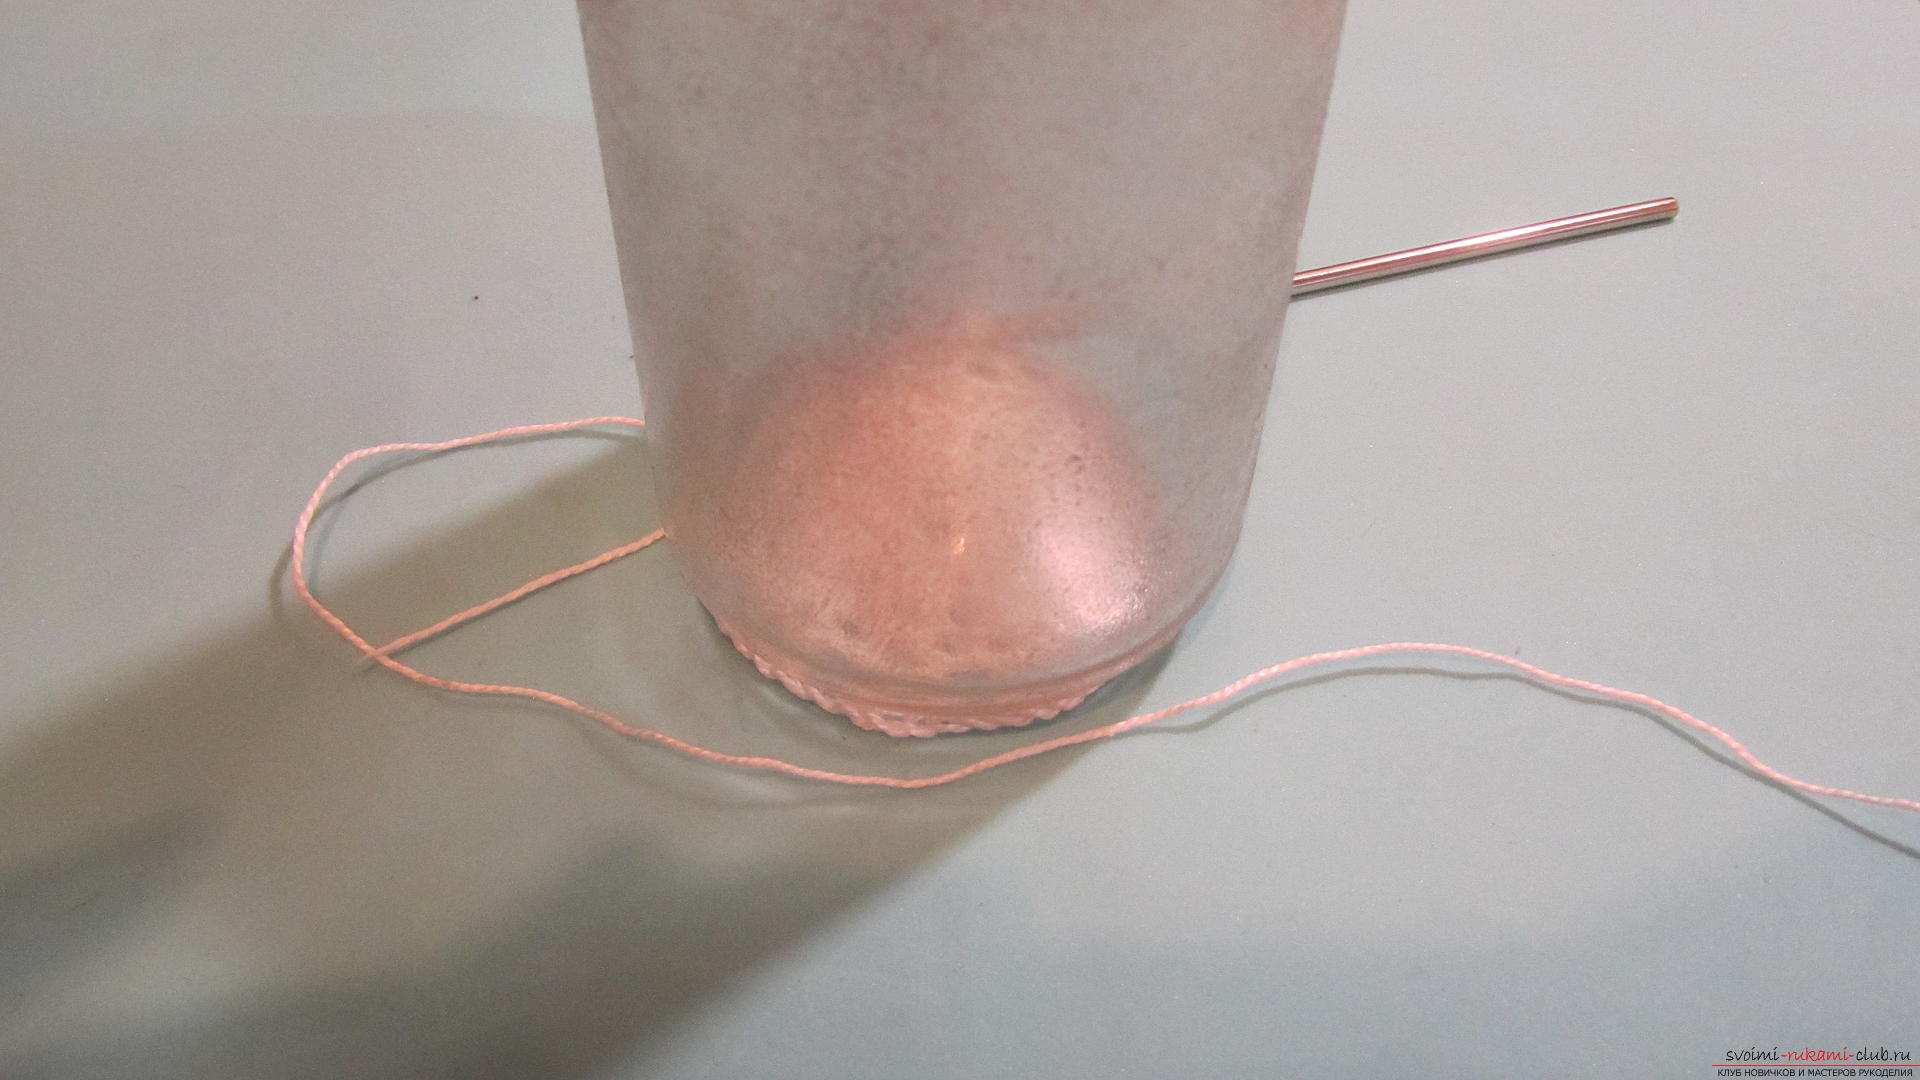 That's enough. For the lateral surface, we change the pattern. We will connect 8 loops.
  And then we will fasten a column with one crochet between pairs of columns in an air loop.
 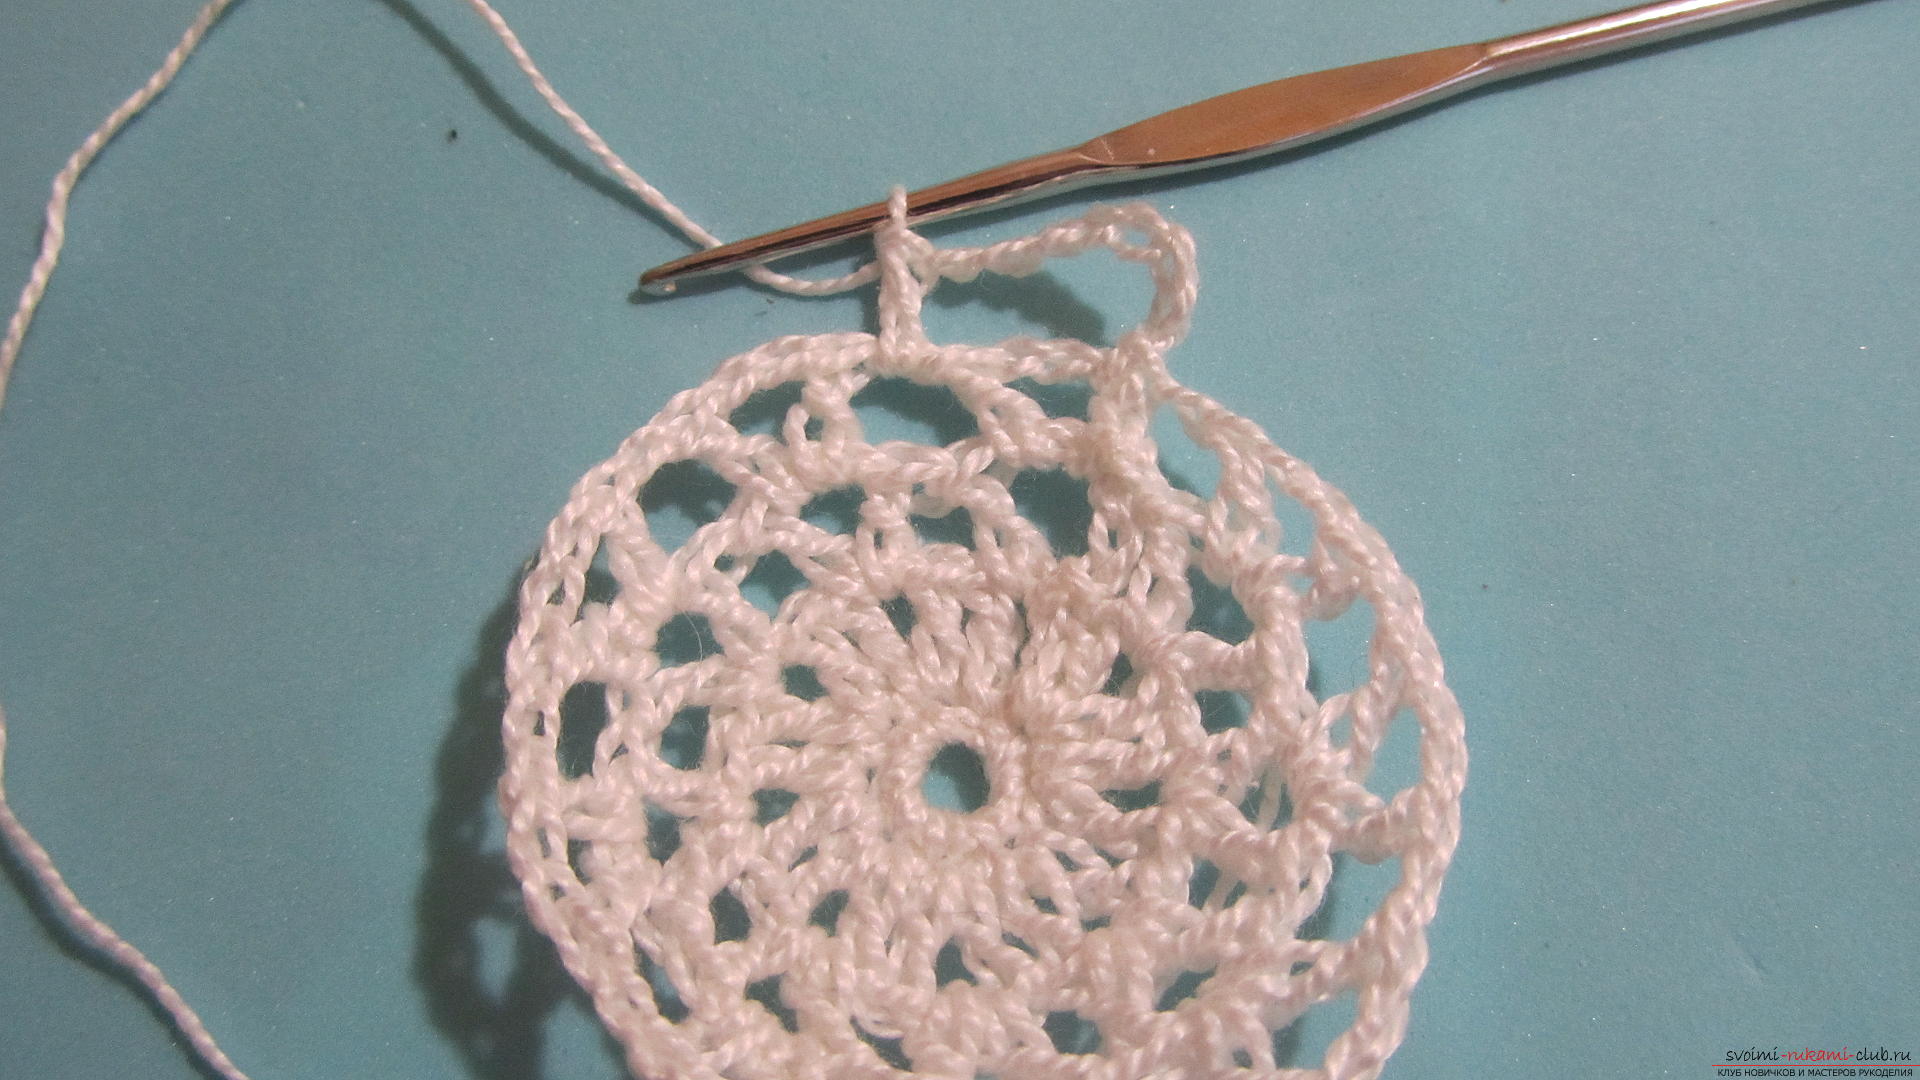 Next, connect the 3 loops.
 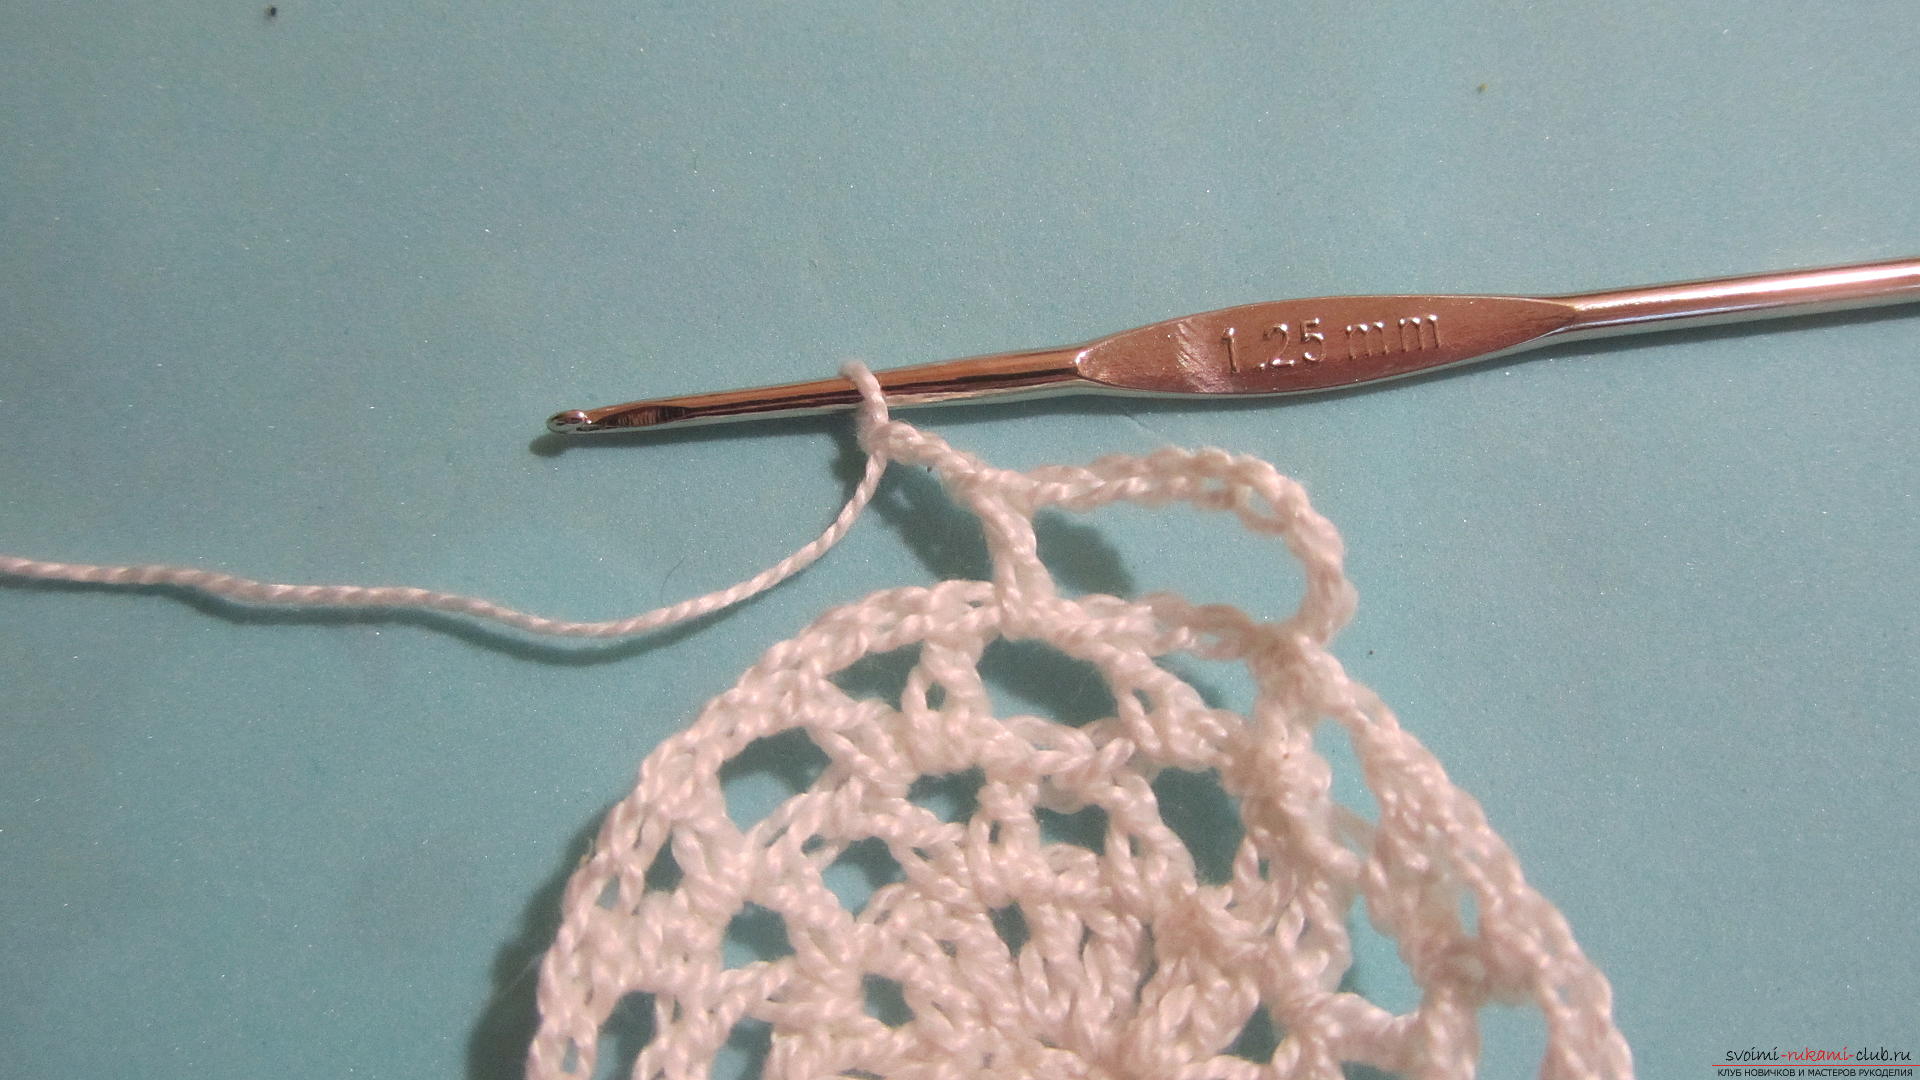 And a simple column in the center of a pair of columns.
 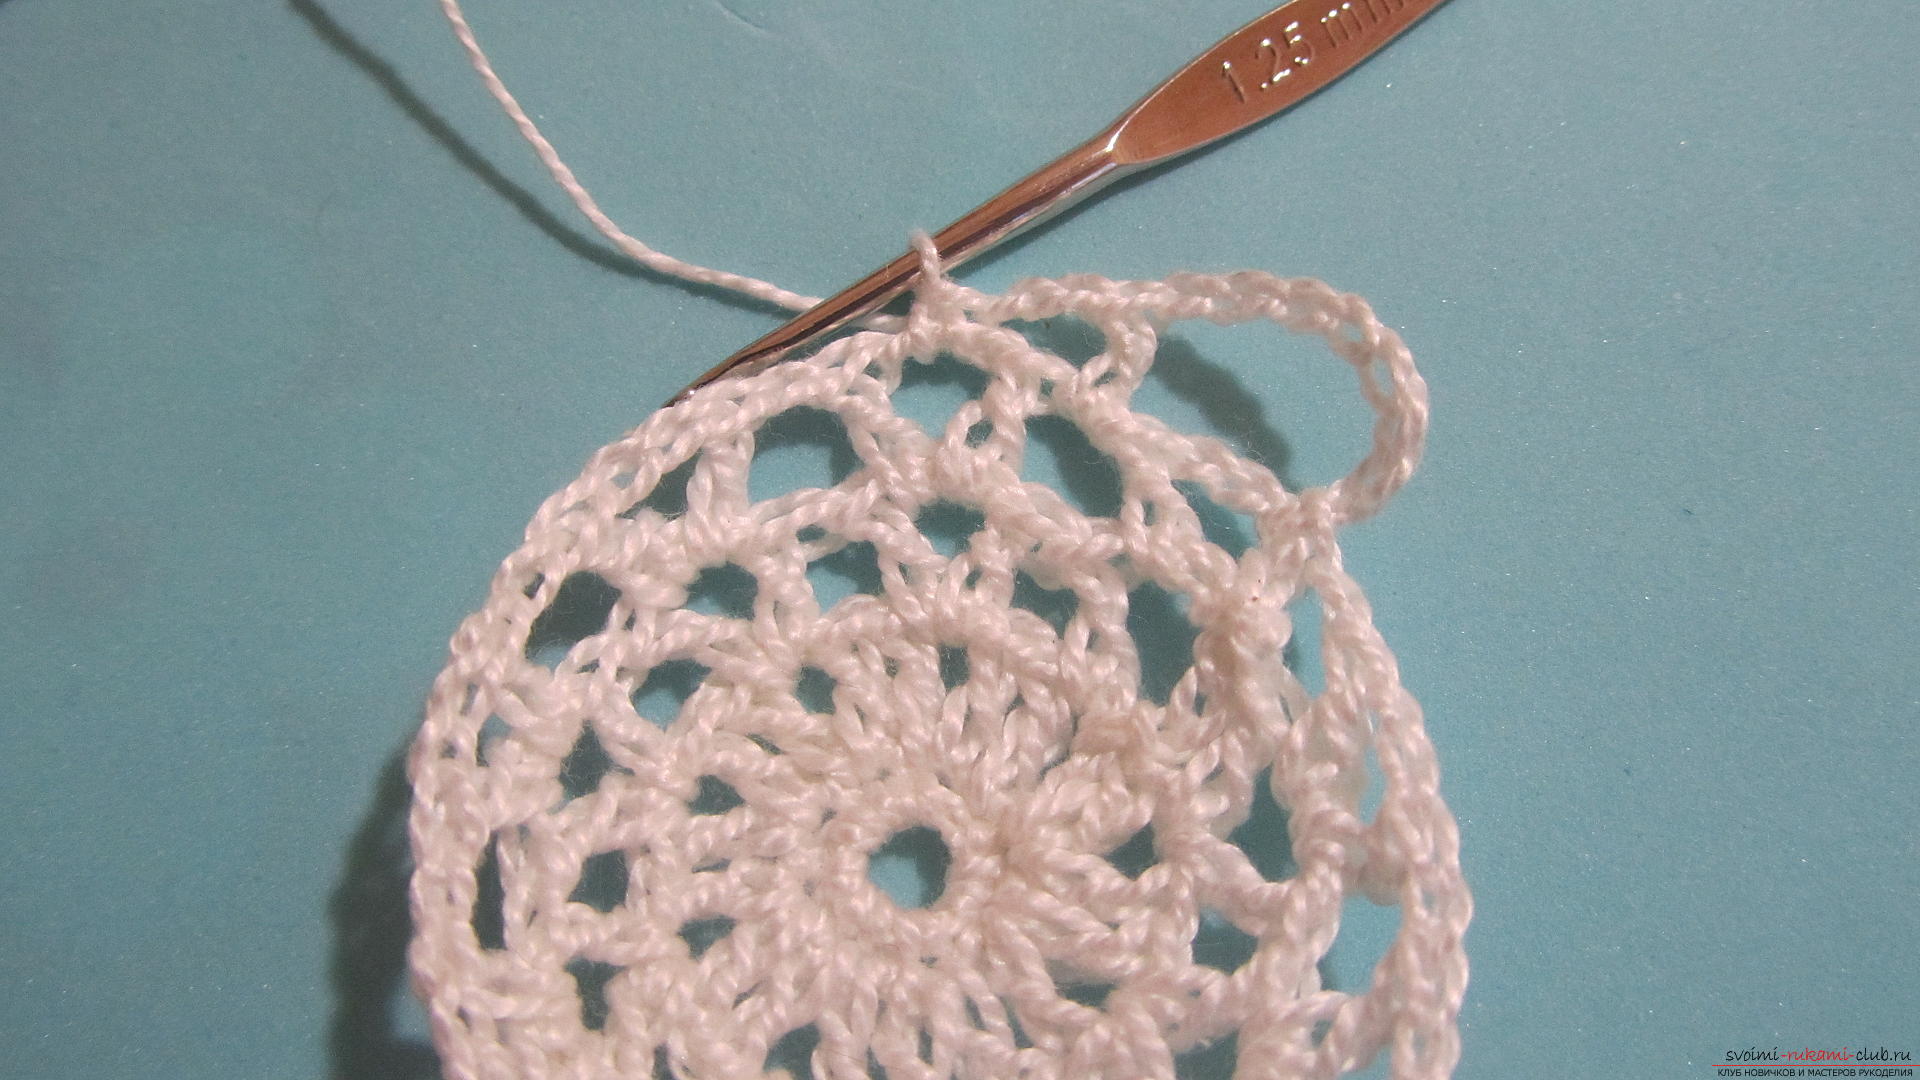 Three more loops.
 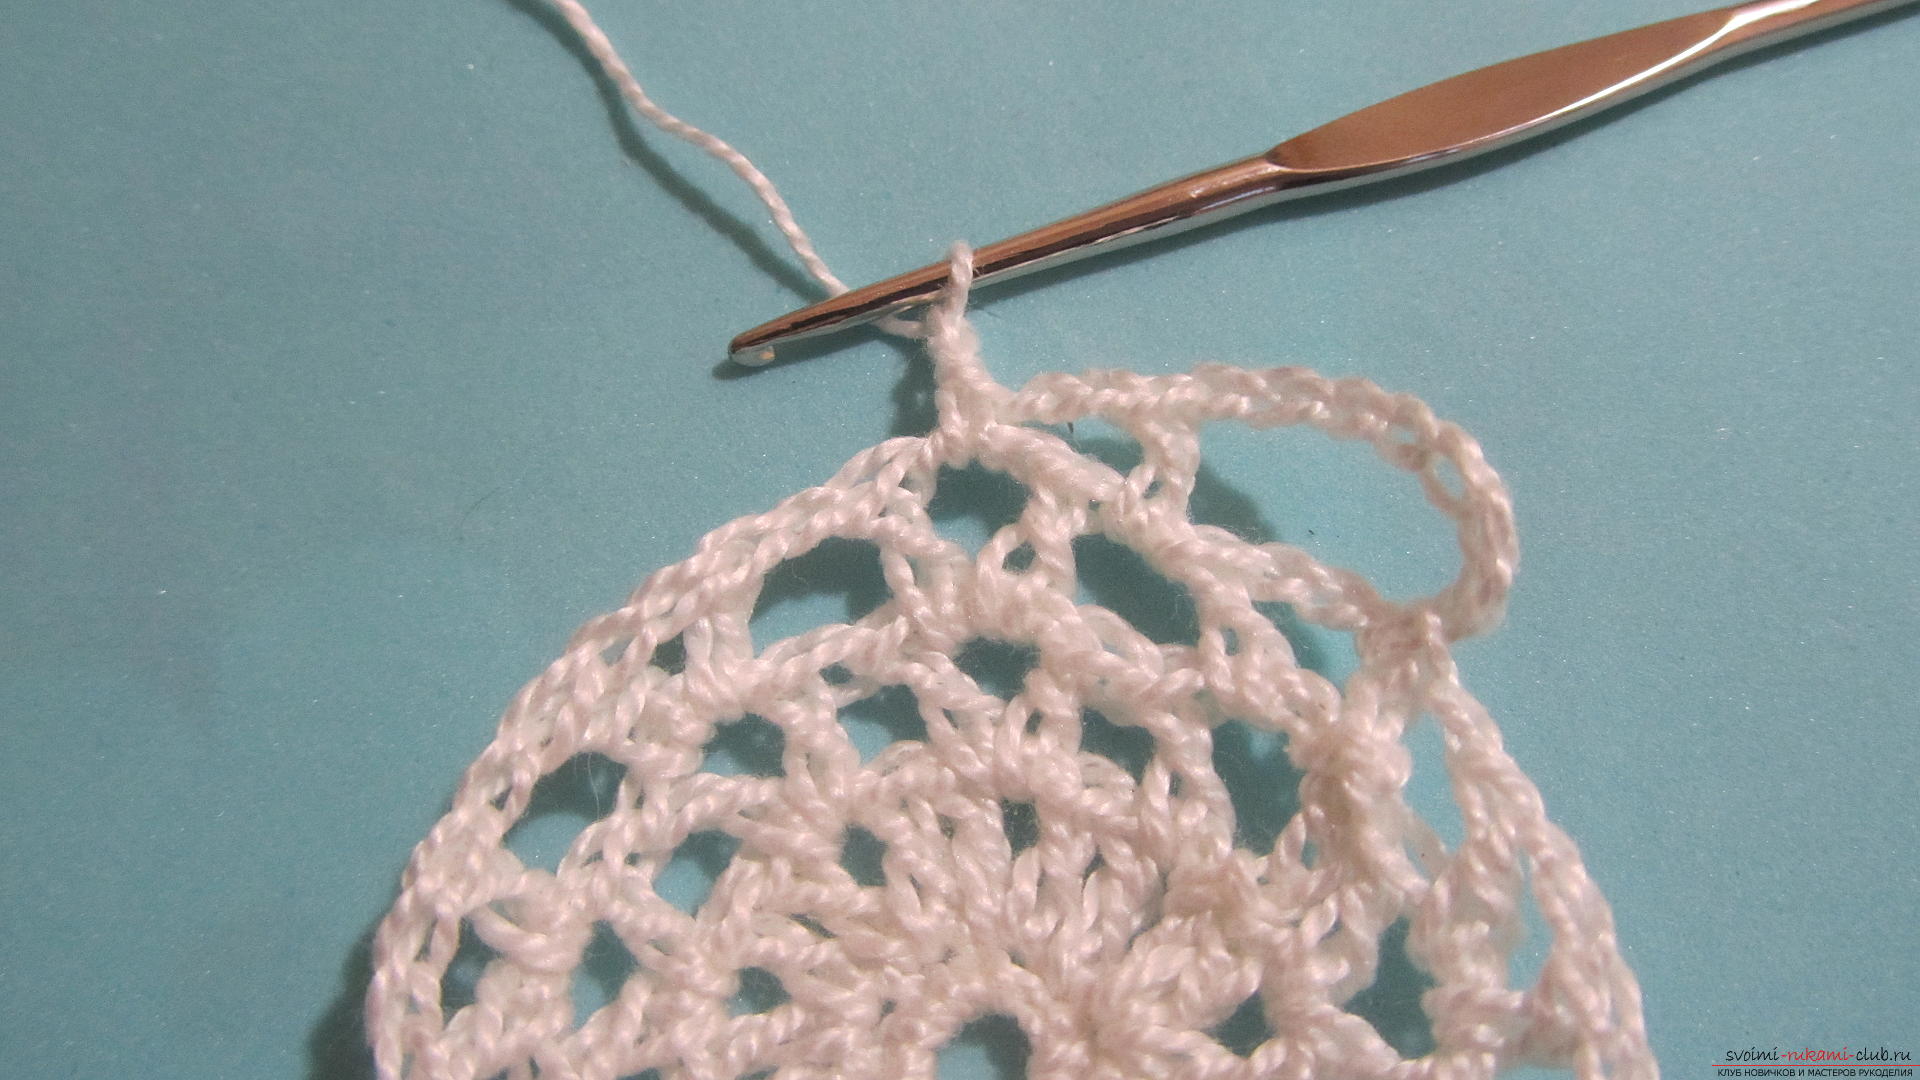 And the column between the pairs of columns of the last row of the bottom.
 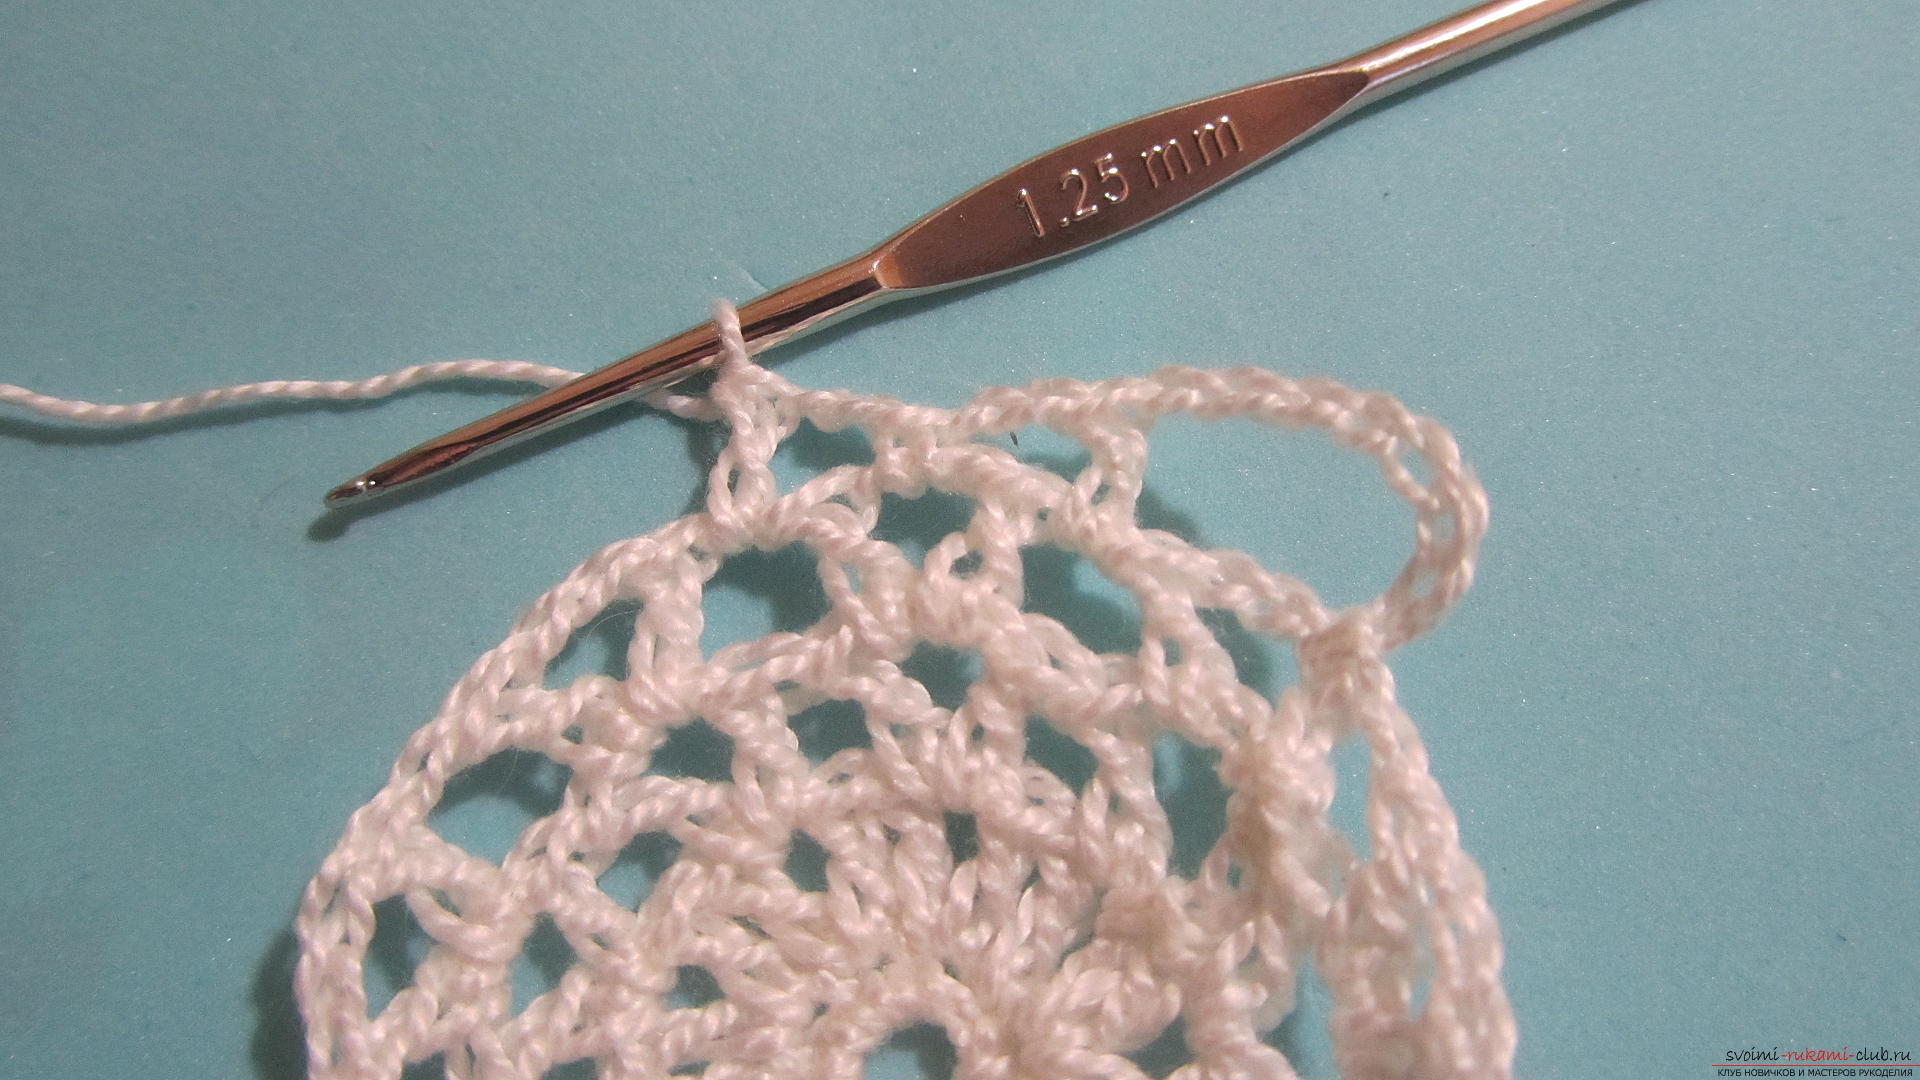 We will connect 5 loops again.
 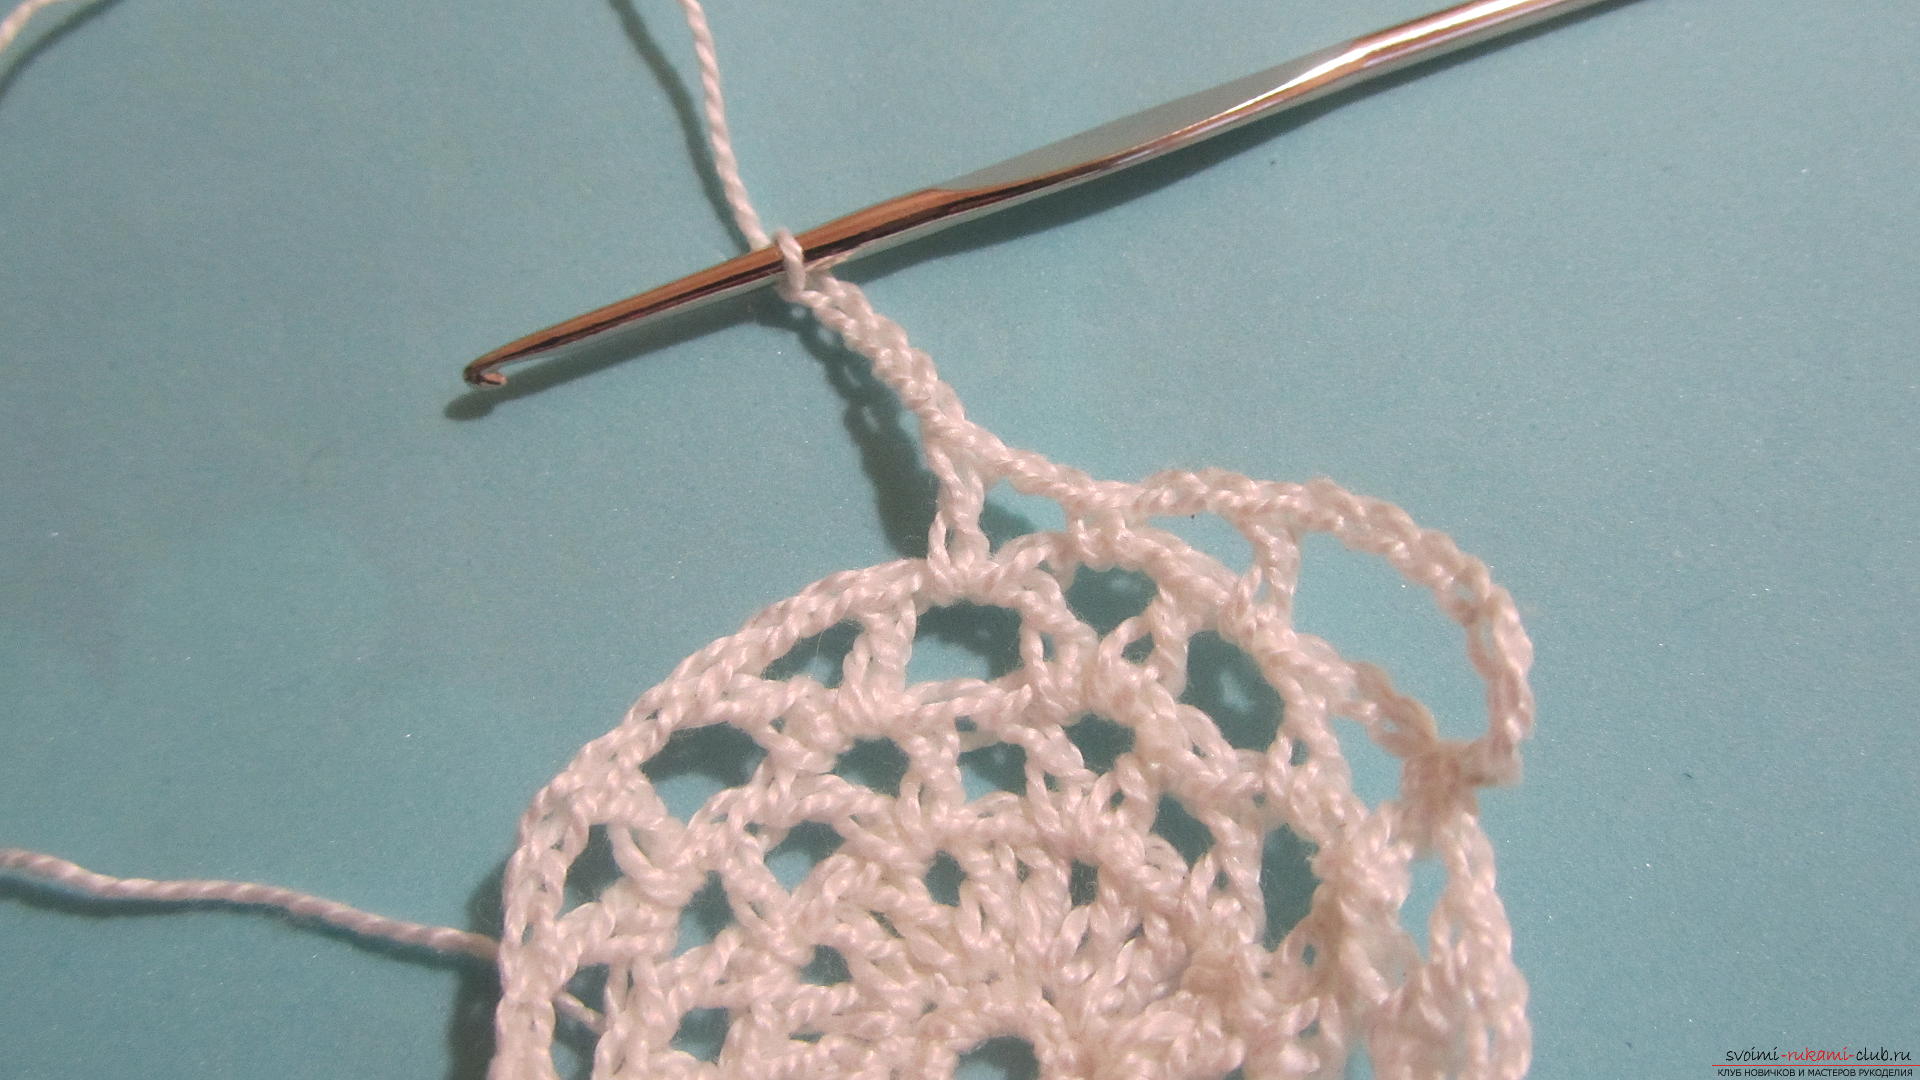 And a column with one crochet between pairs of columns.
  We continue to the end of the series.
 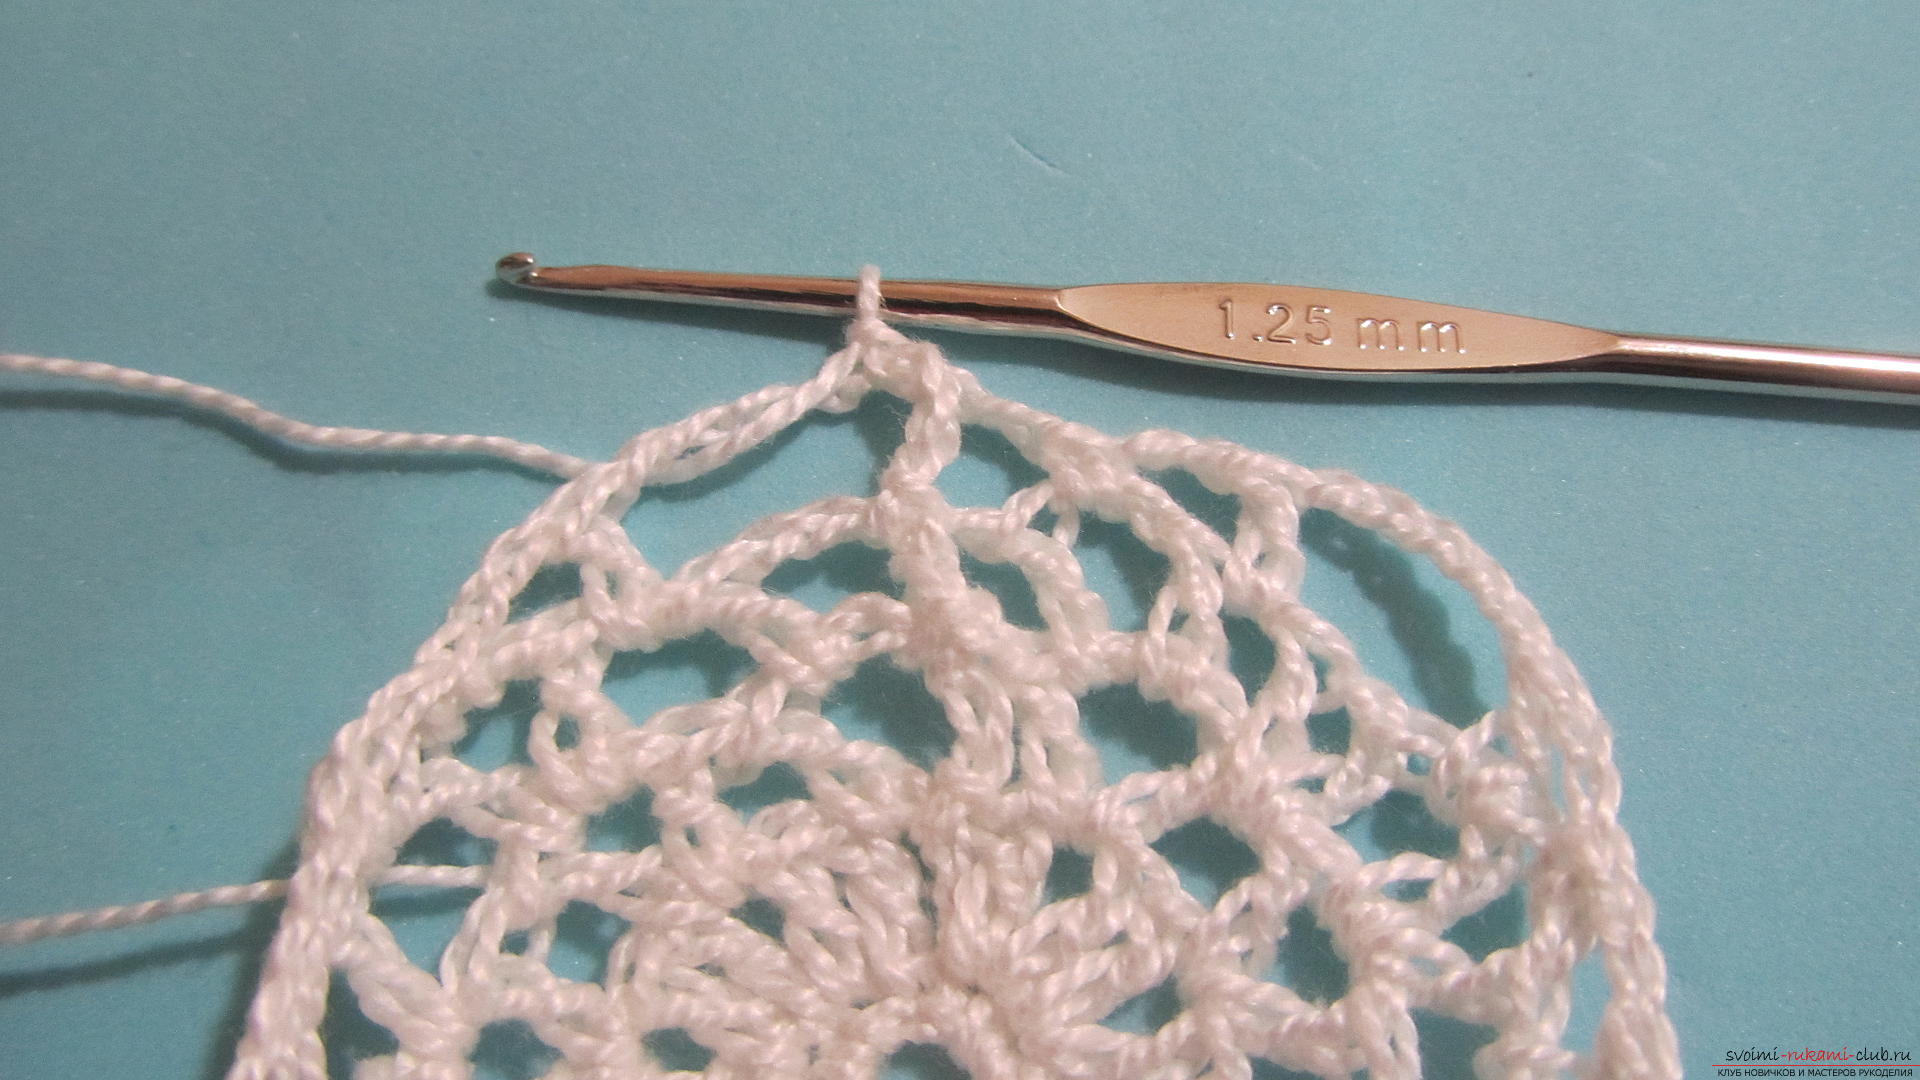 In the second row above the large chains (from 5 loops) we will knit chains of 3 loops with lintels in the middle, and vice versa. We will type 3 + 3 loops.
 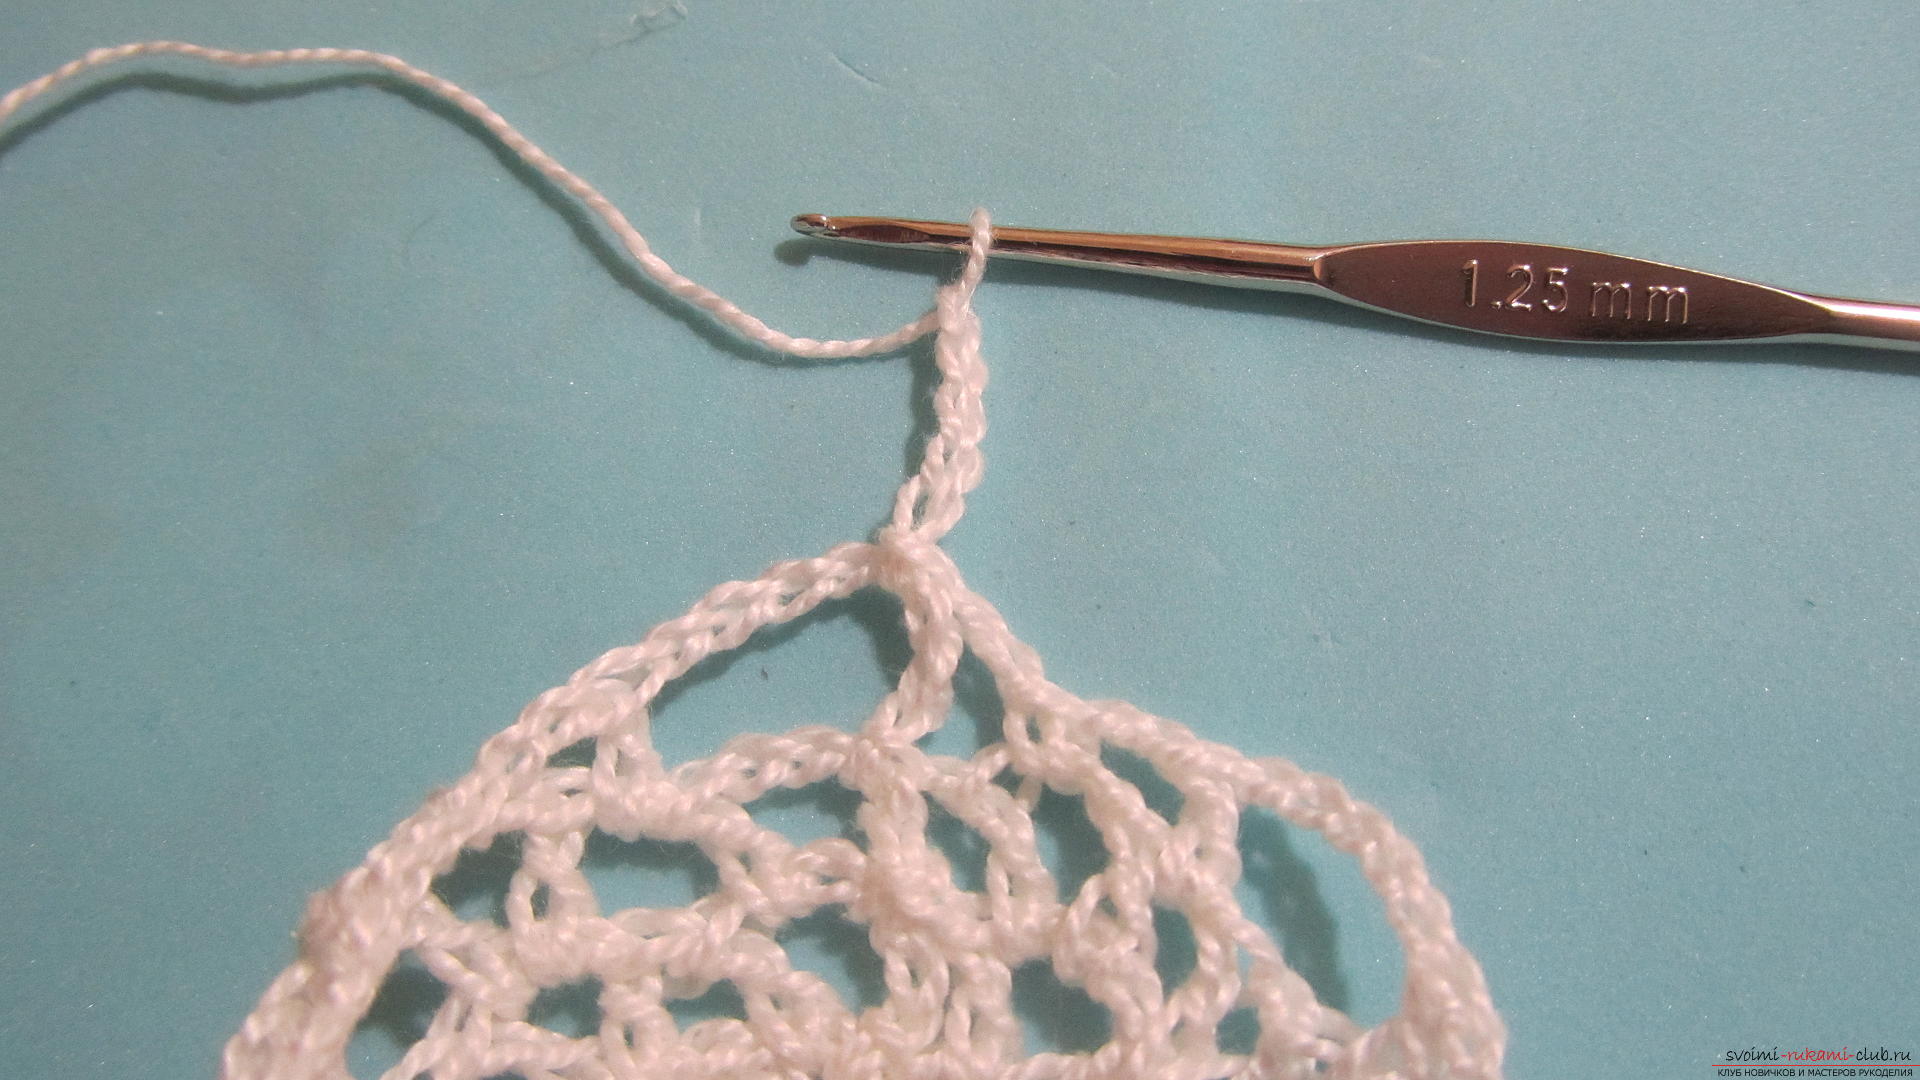 And tie the column without the crochet into the center of the chain of the five loops of the previous row.
 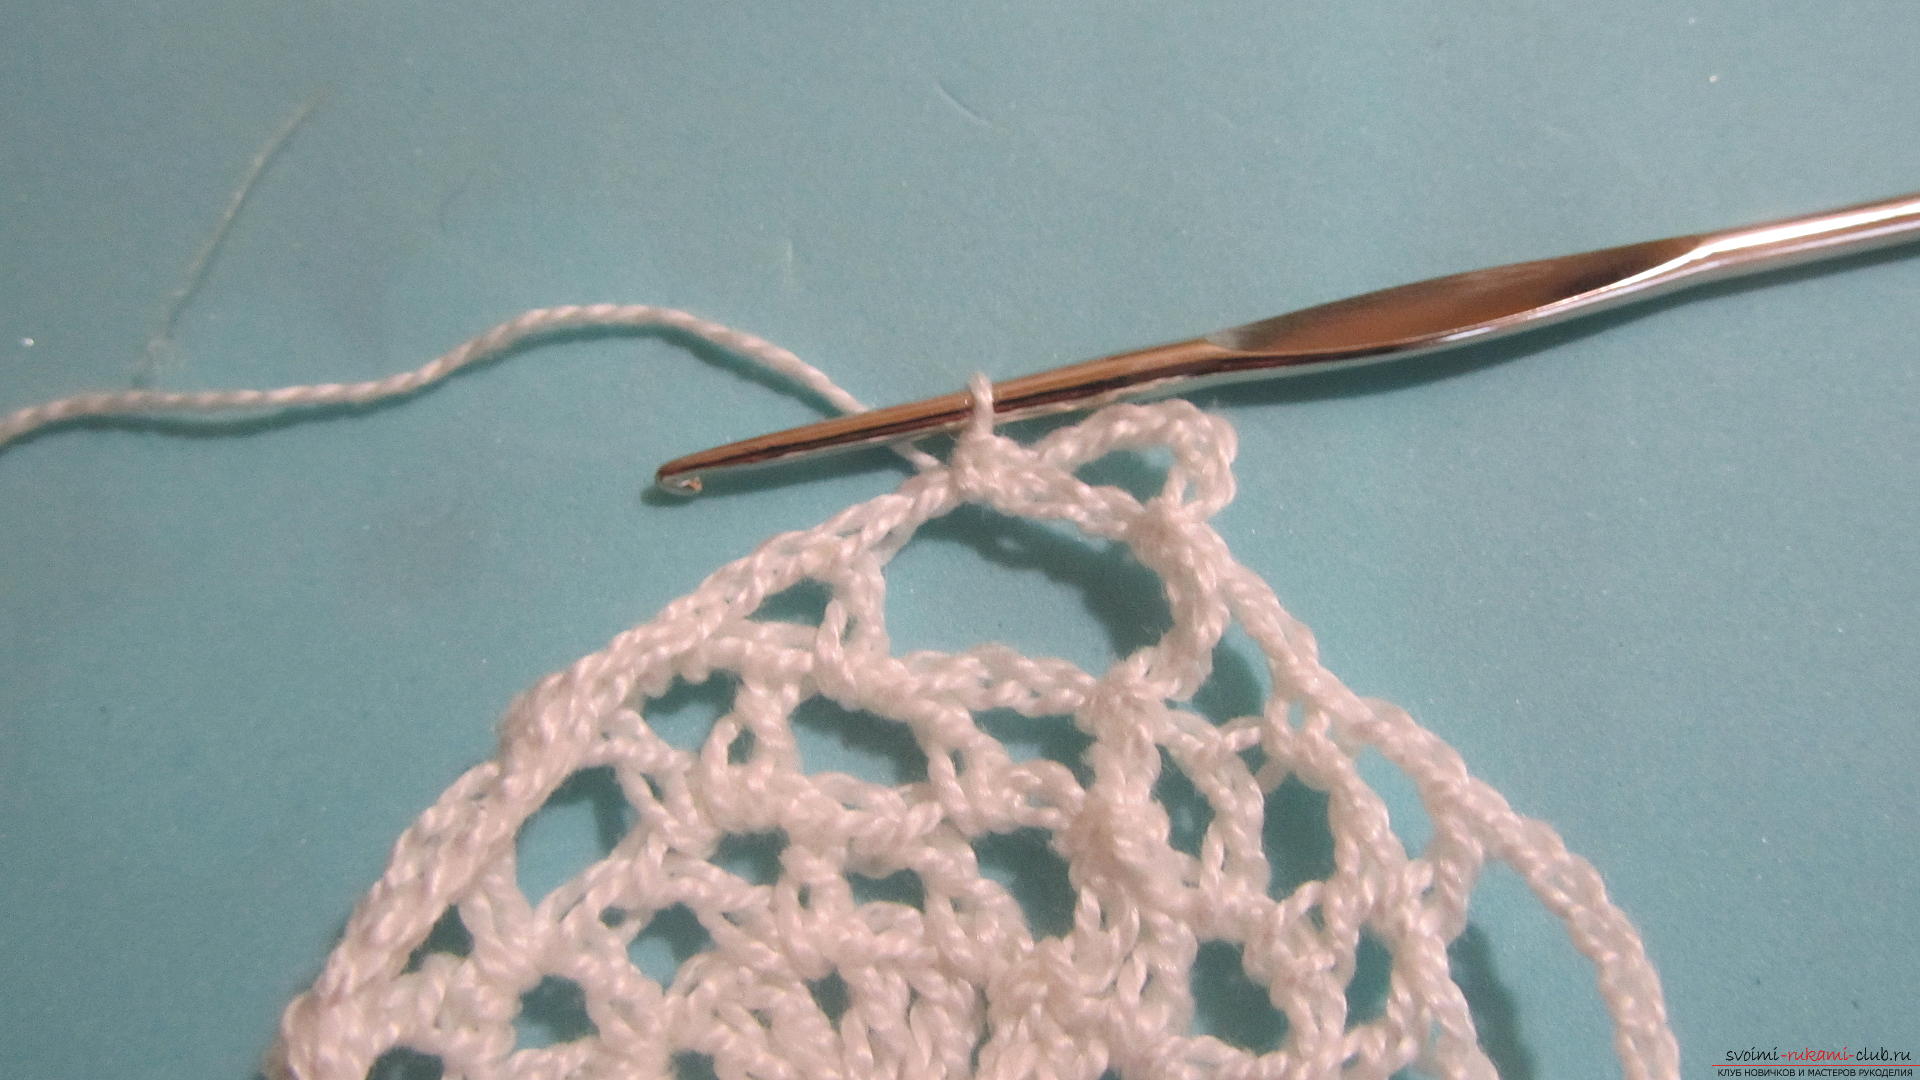 Three more loops and a column with one crochet in the top of the column of the bottom row.
  Now five loops and again a column with one crochet.
 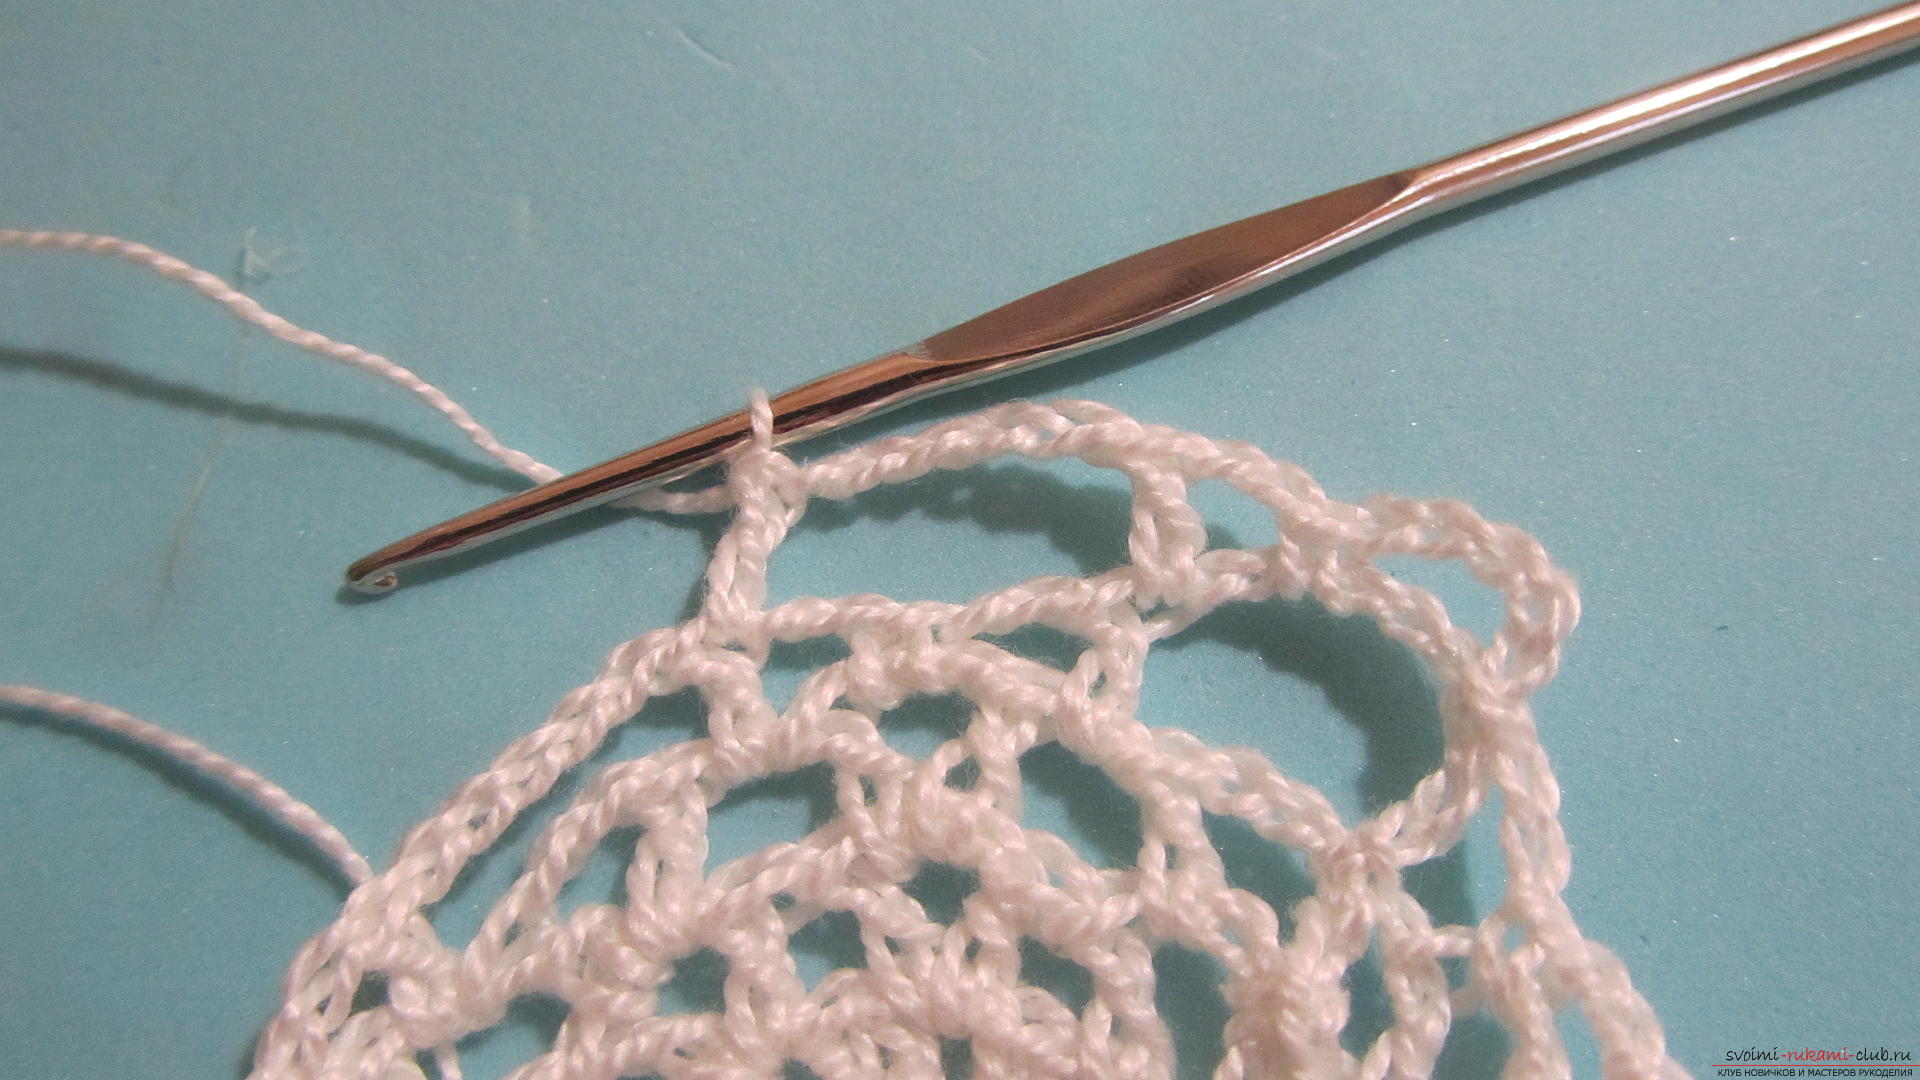 So we'll link the whole second row.
 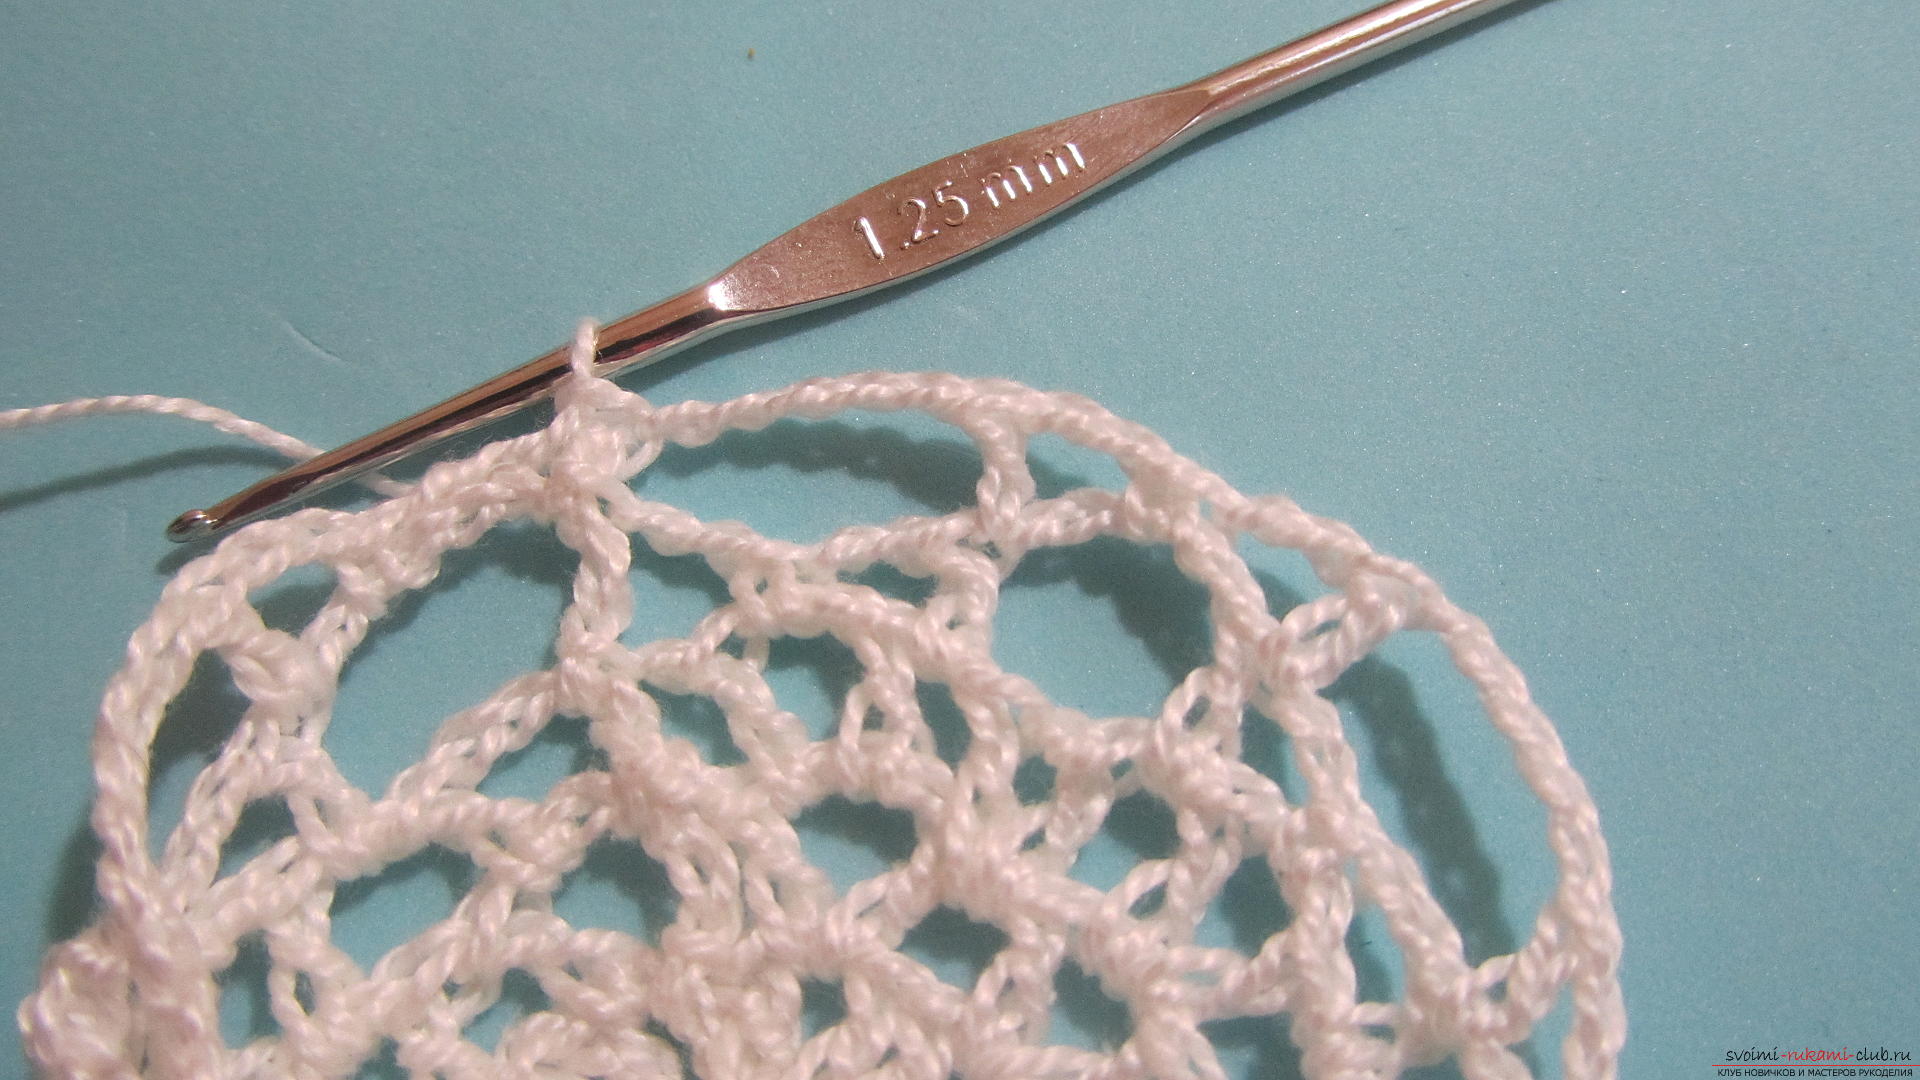 Let's try on our jar. Acrylic dries very quickly, so do not be afraid to oil the paint. Although it is better to be sure beforehand that everything is well dried up.
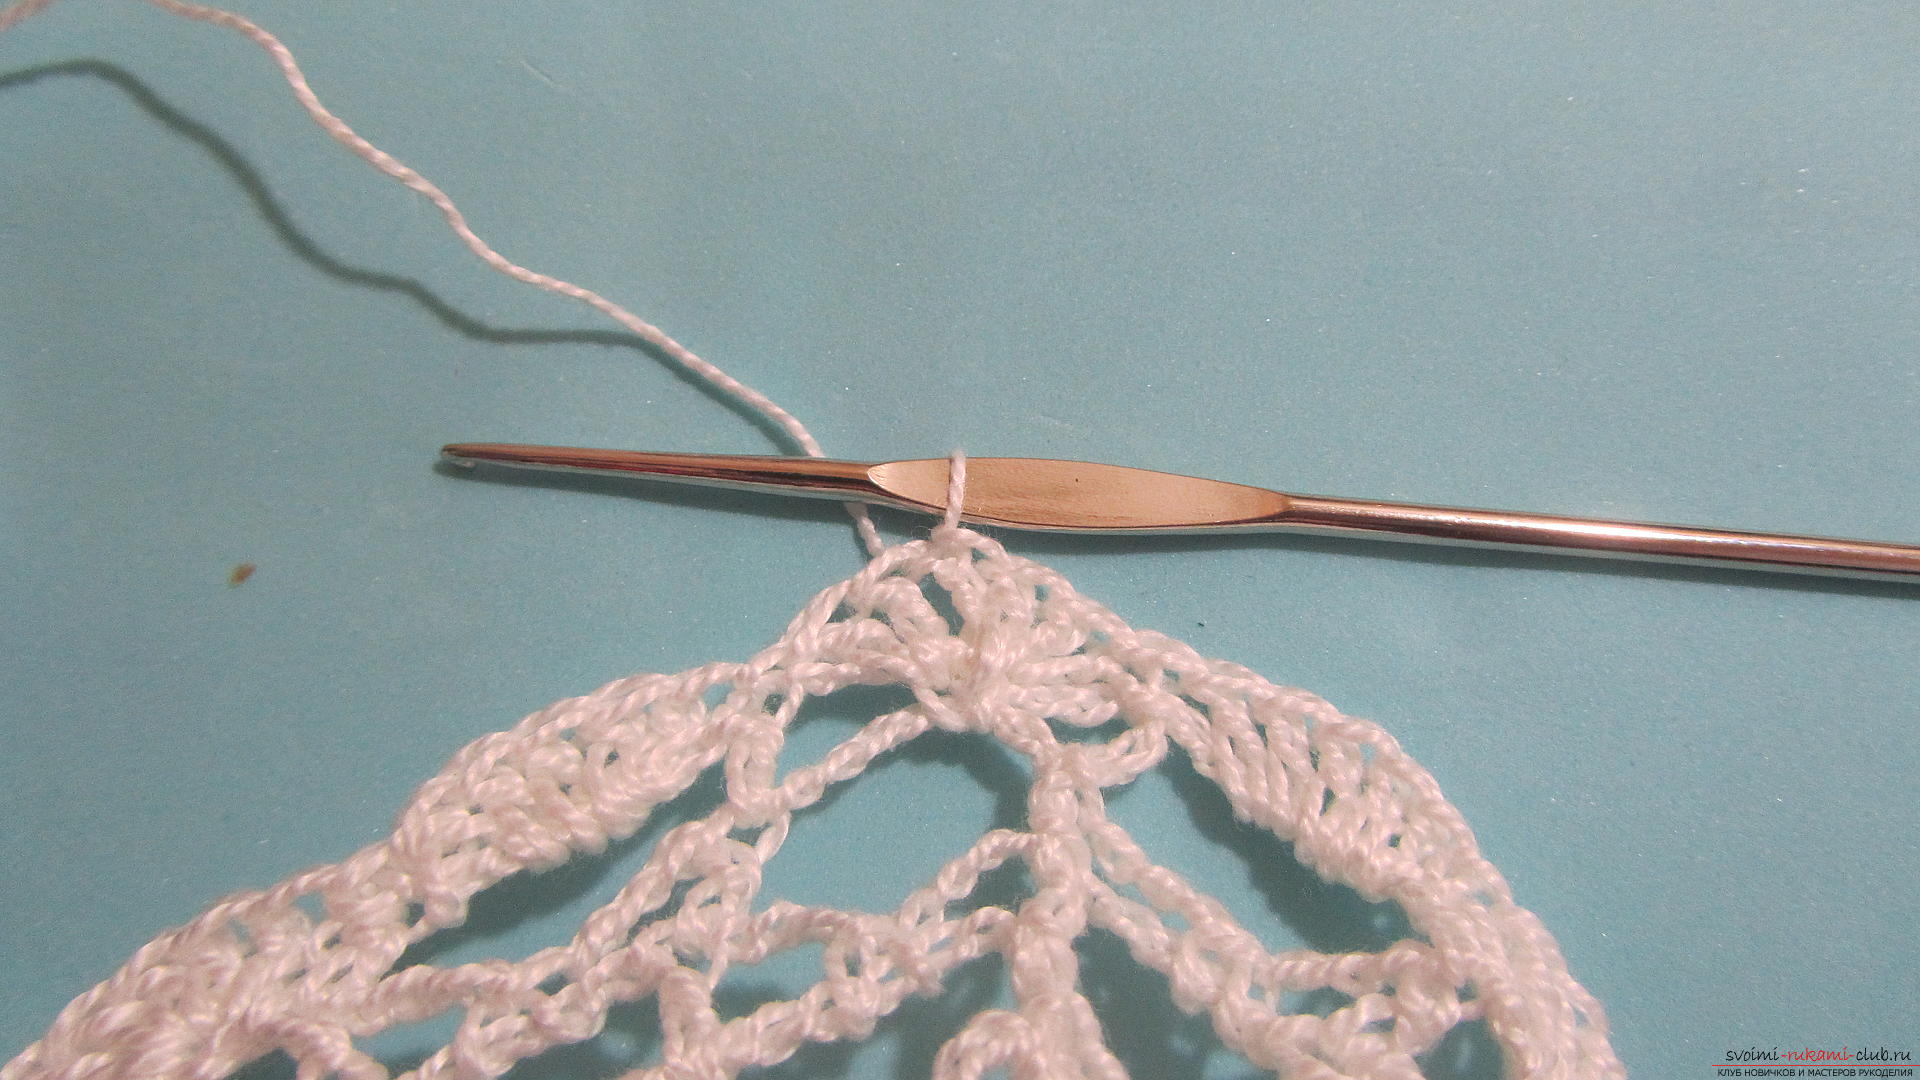
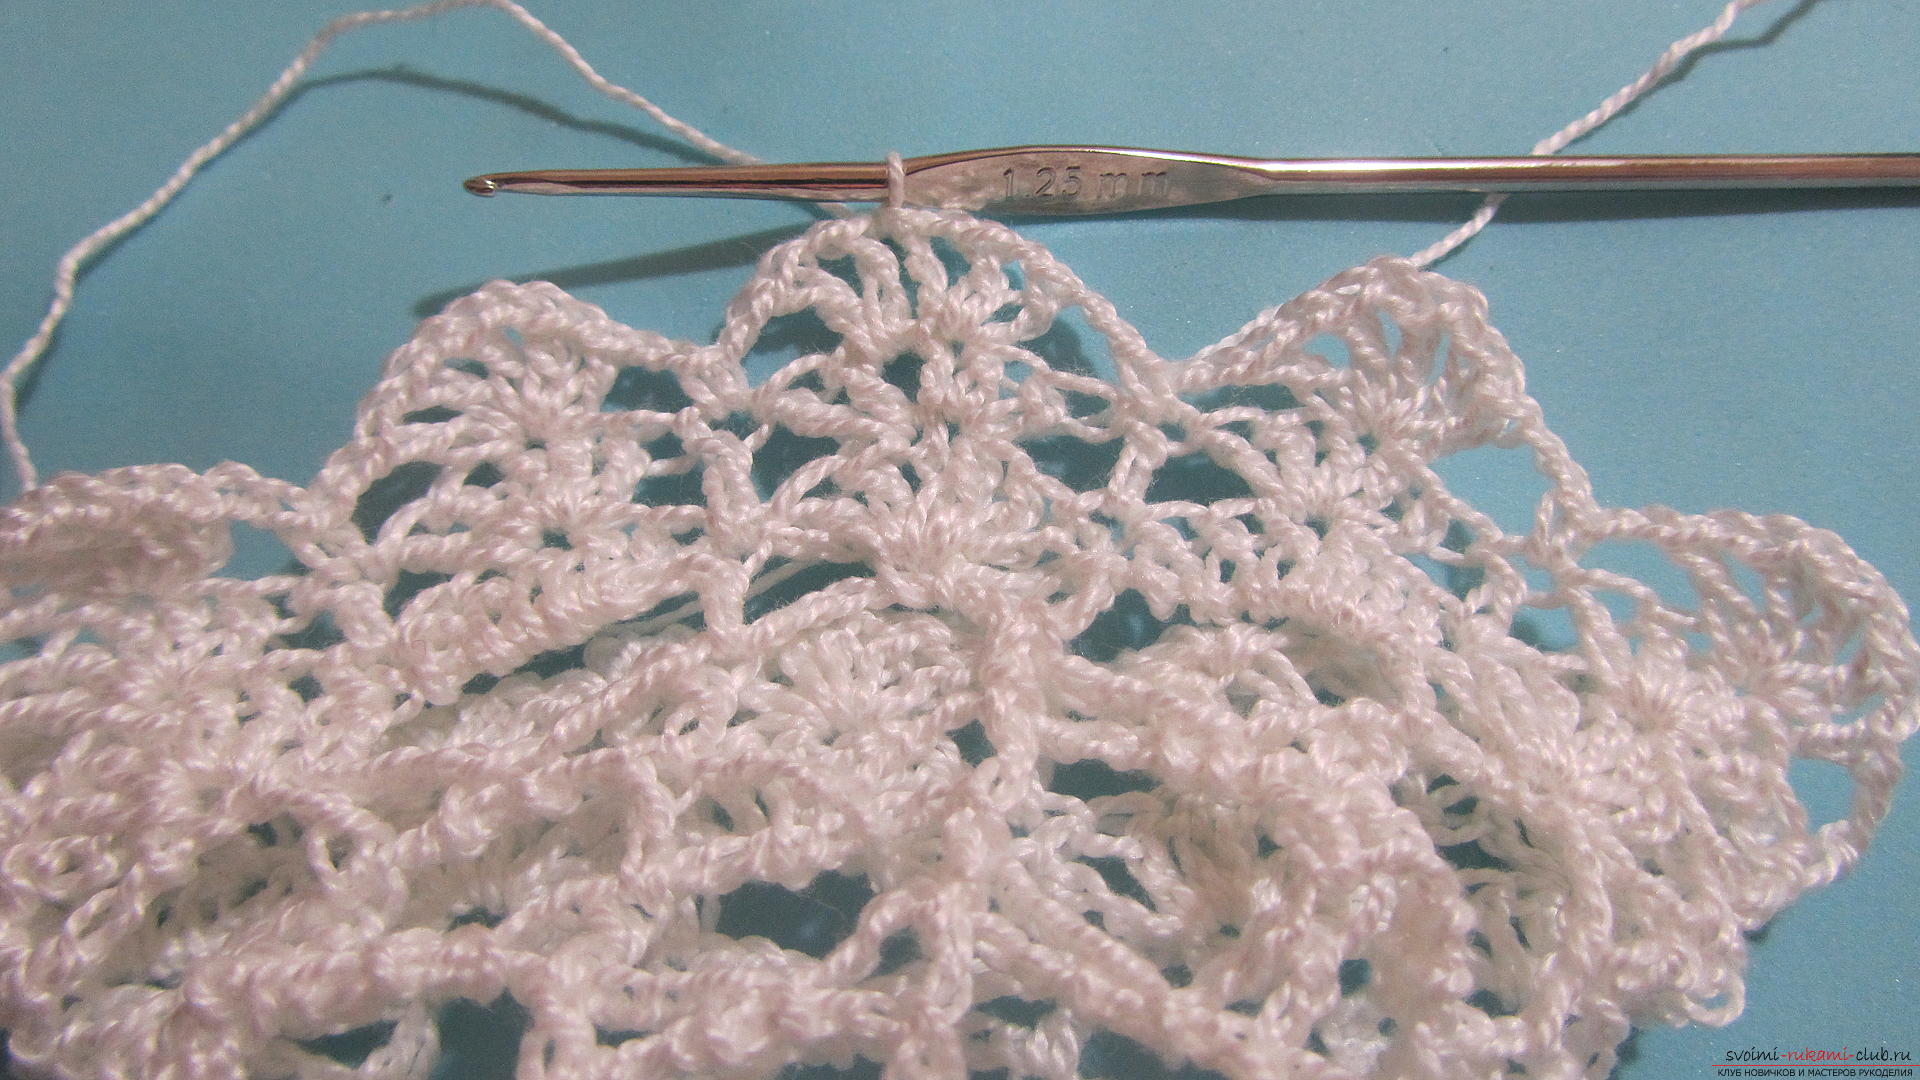
 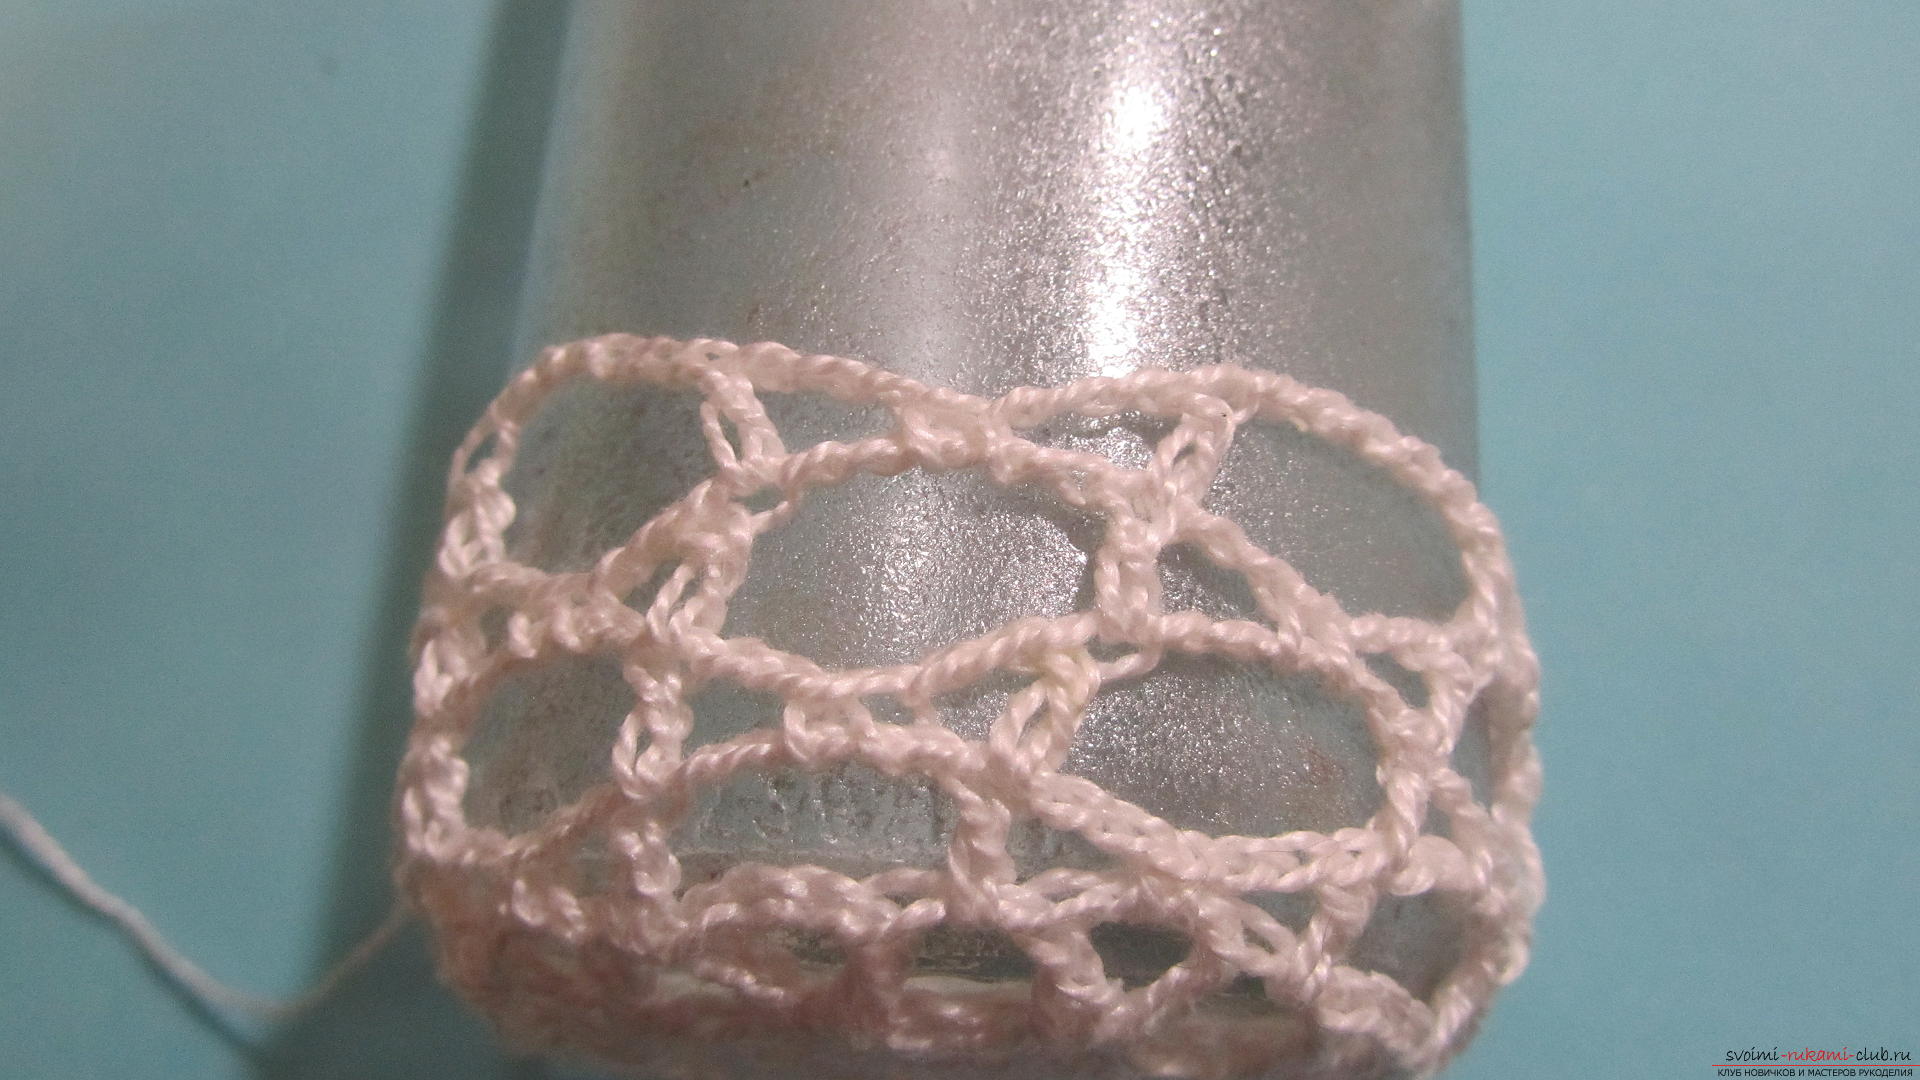 We'll link two more rows.
 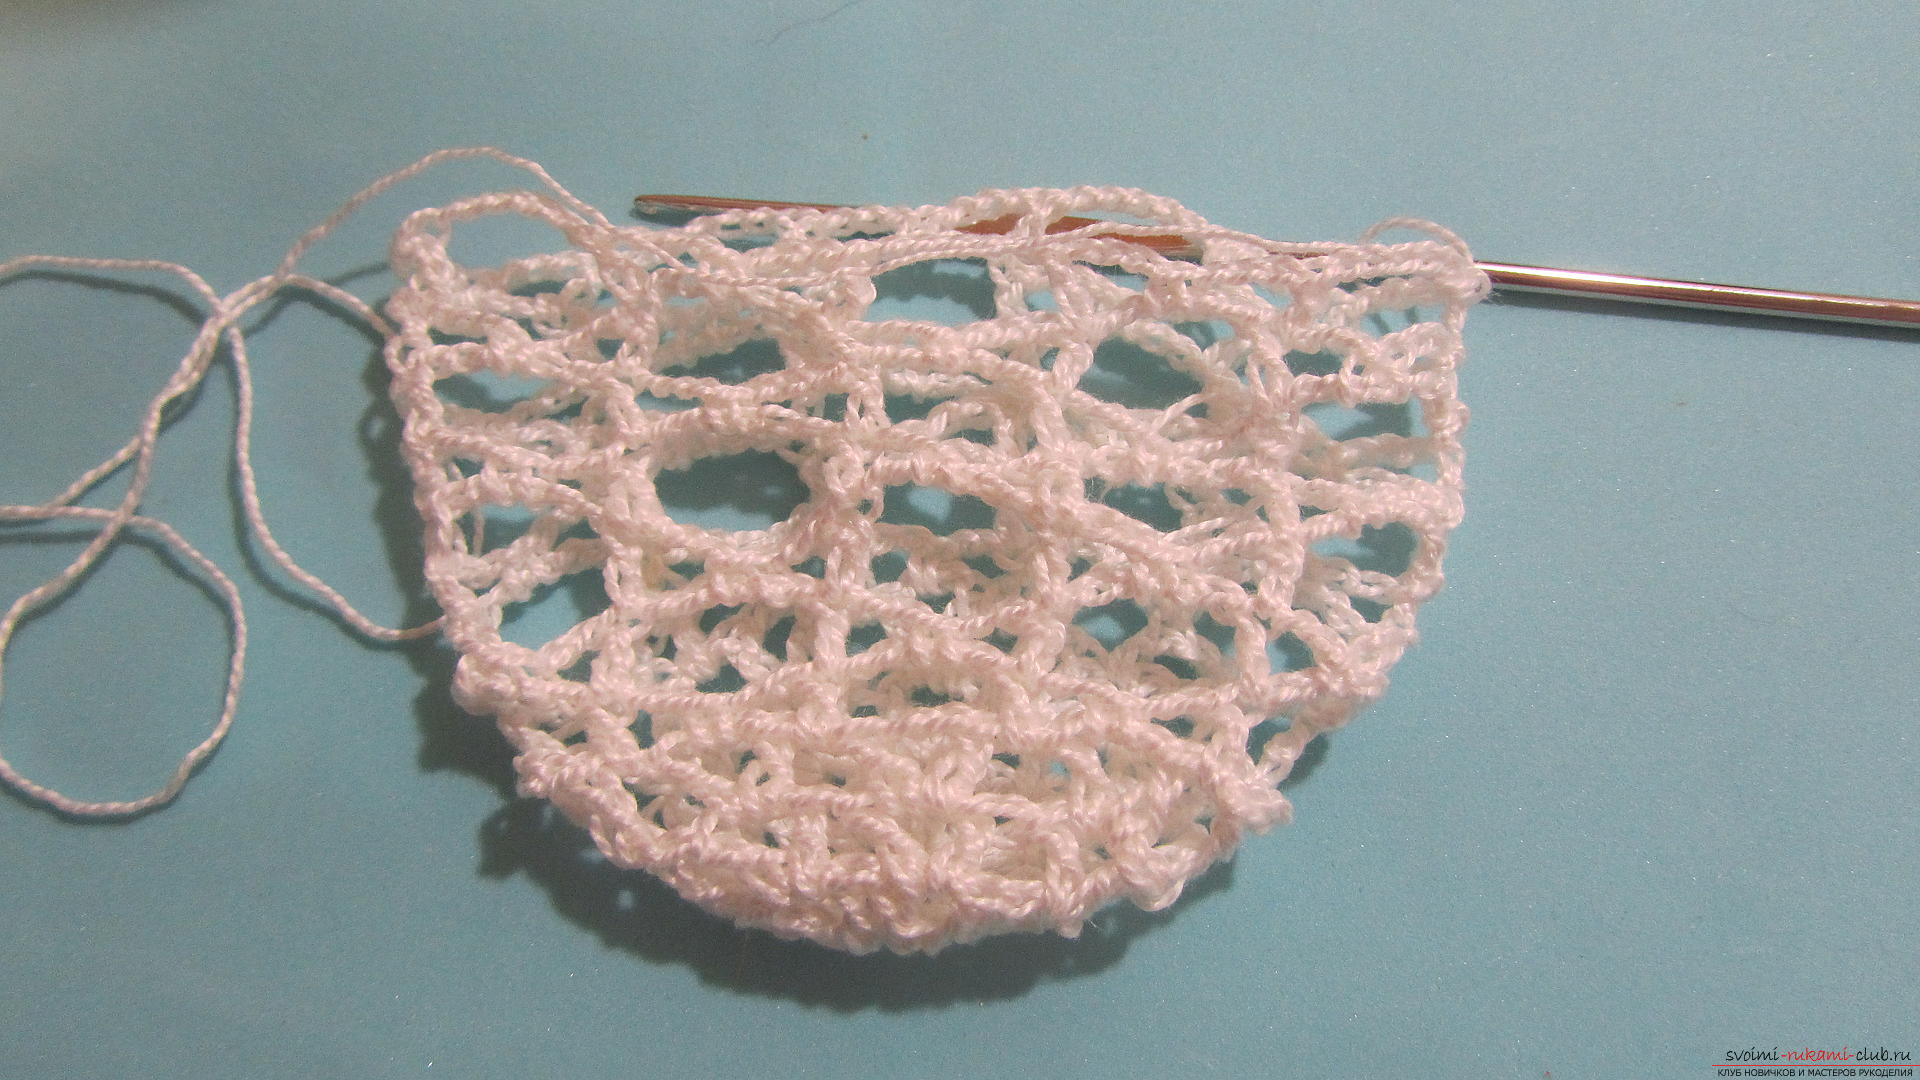 And so we will continue to knit until knitting reaches the shoulders of the can.
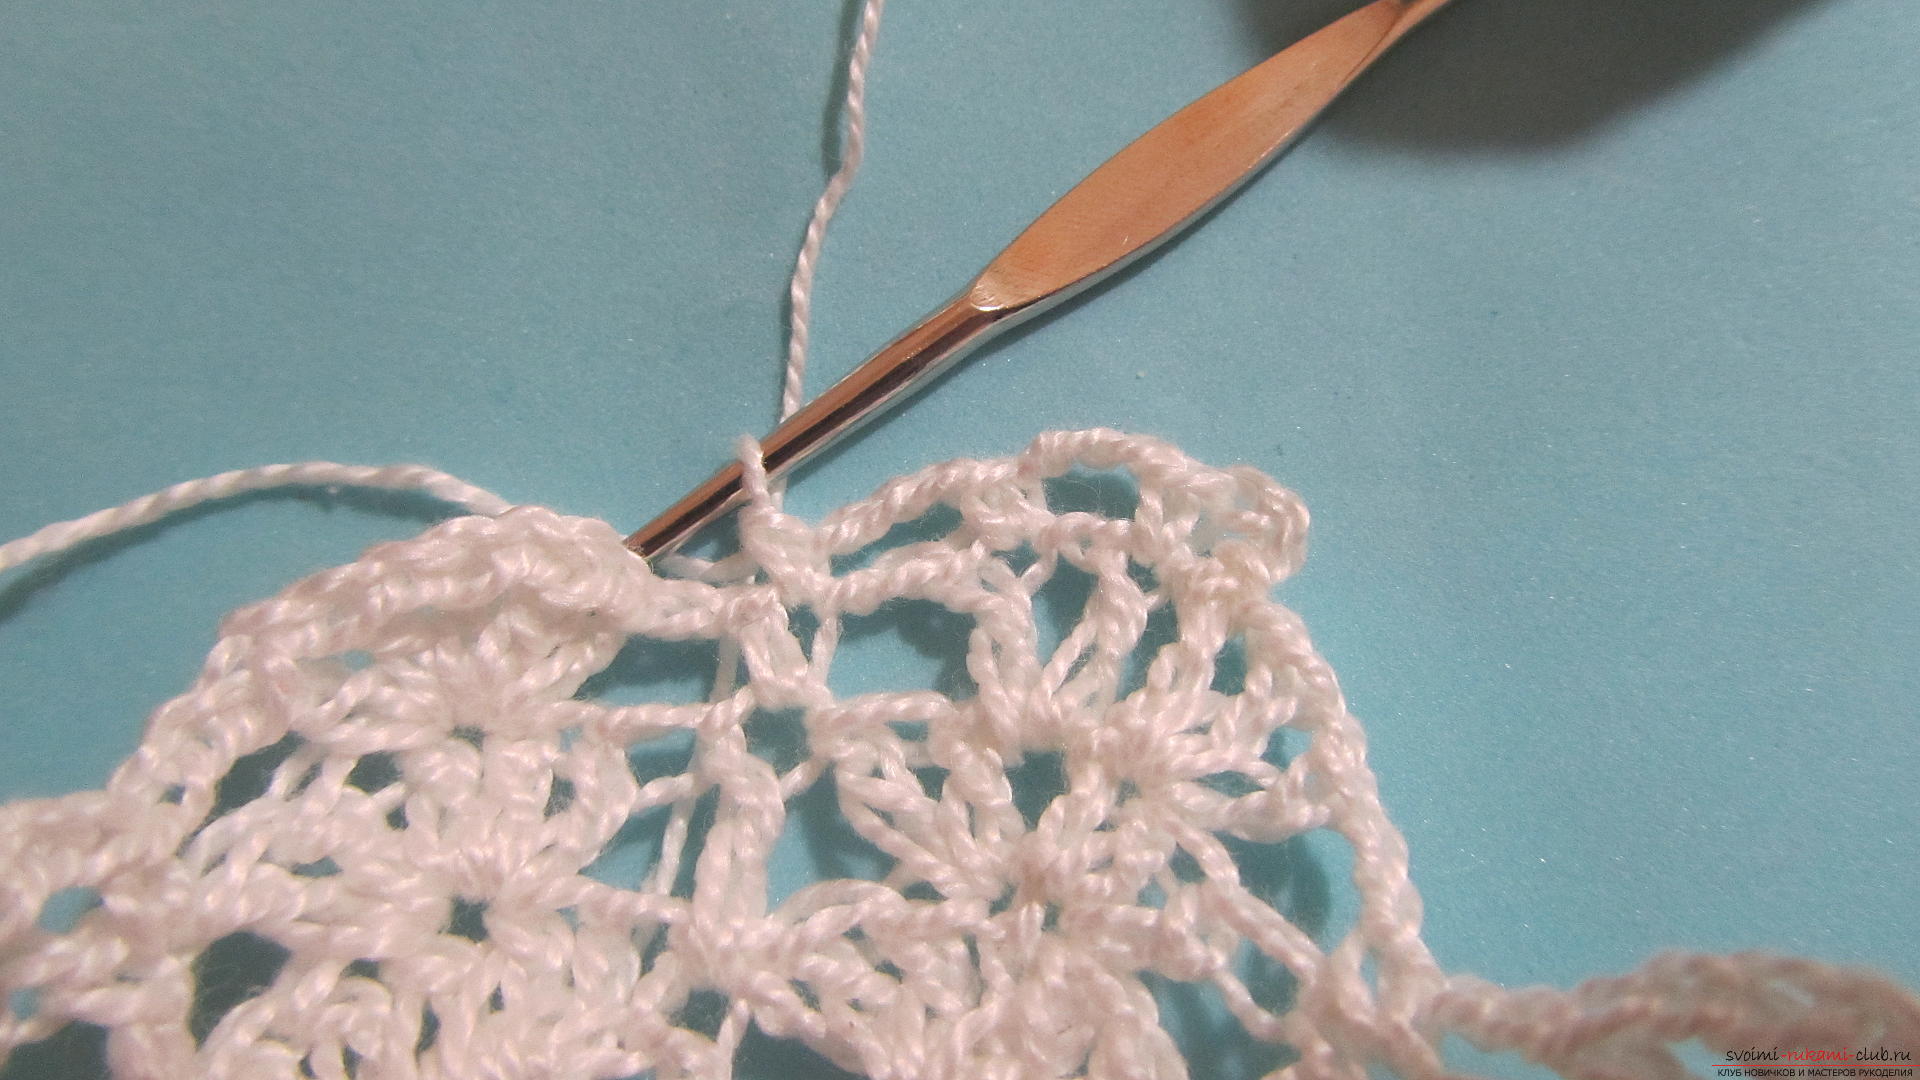
 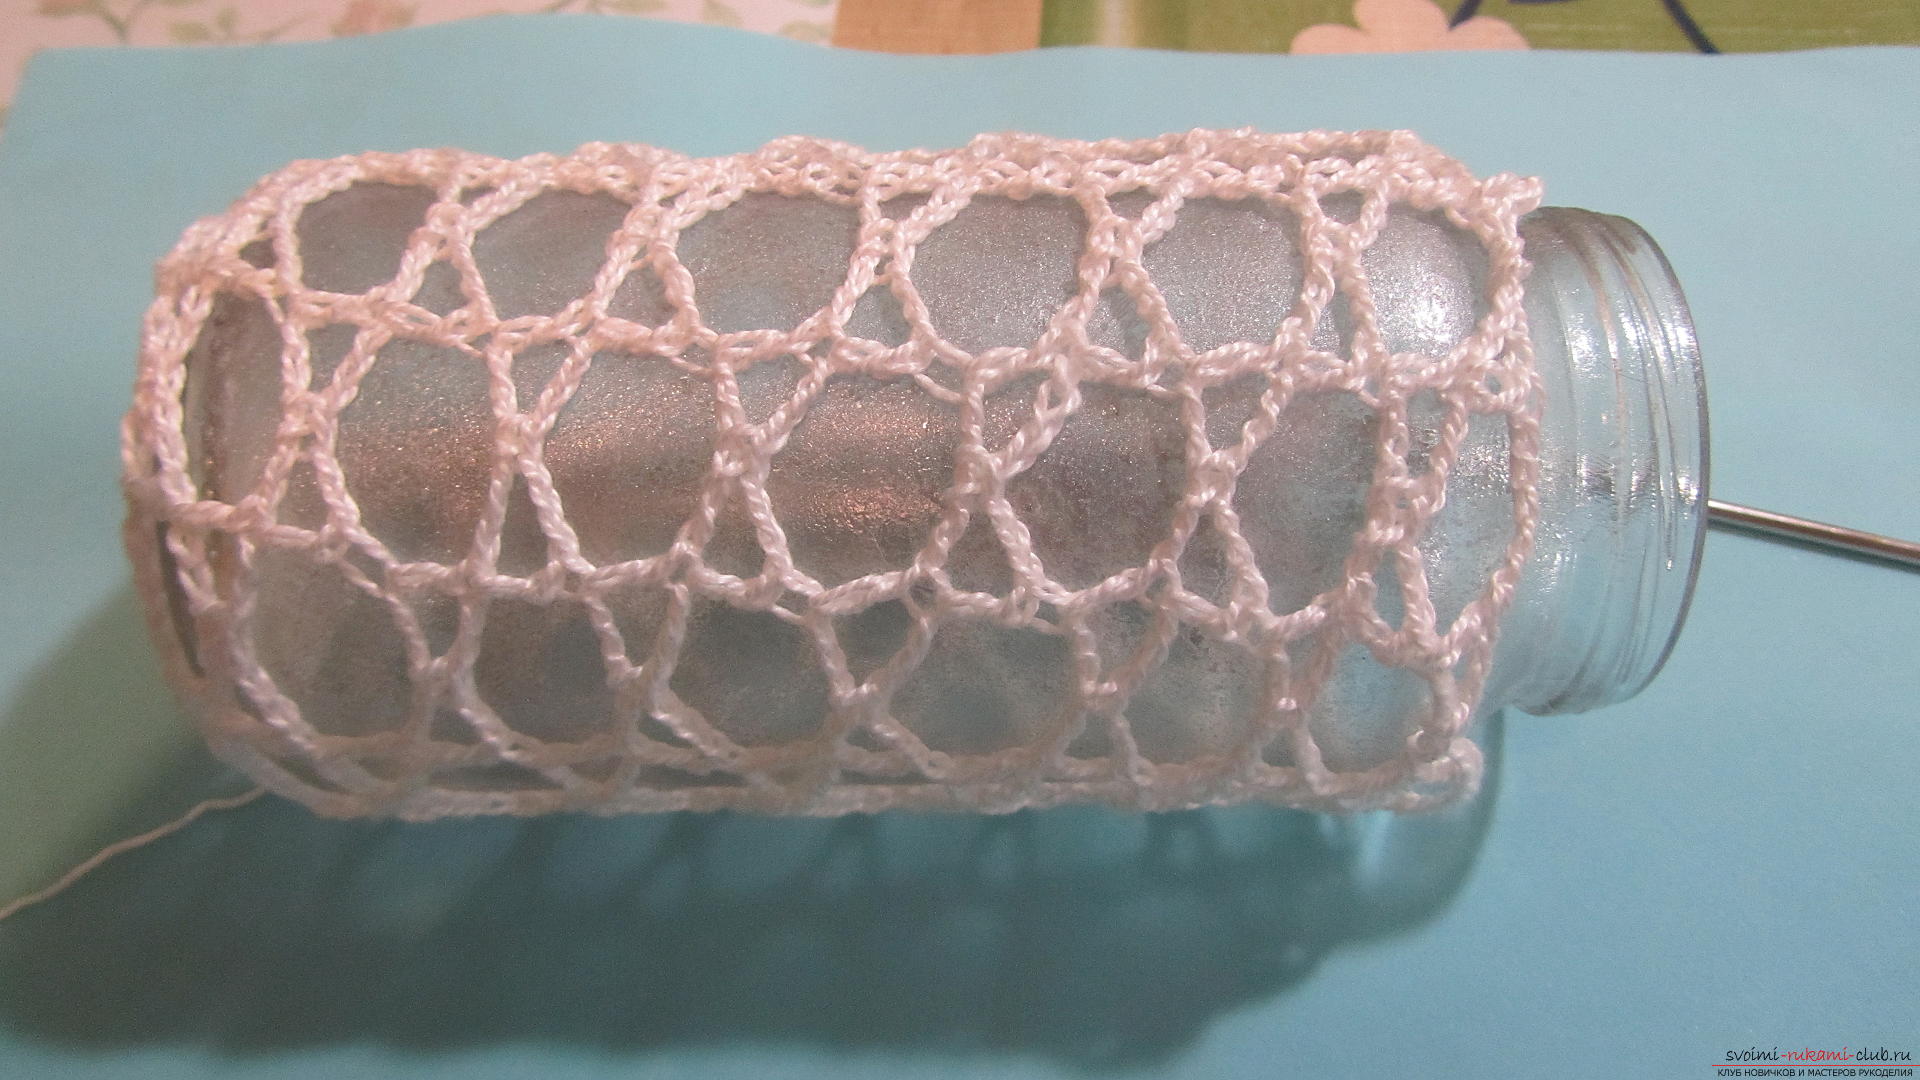 Now let's start knitting the top ruff. To do this, move to the center of one of the sectors.
  Then we will connect 3 columns with one crochet.
 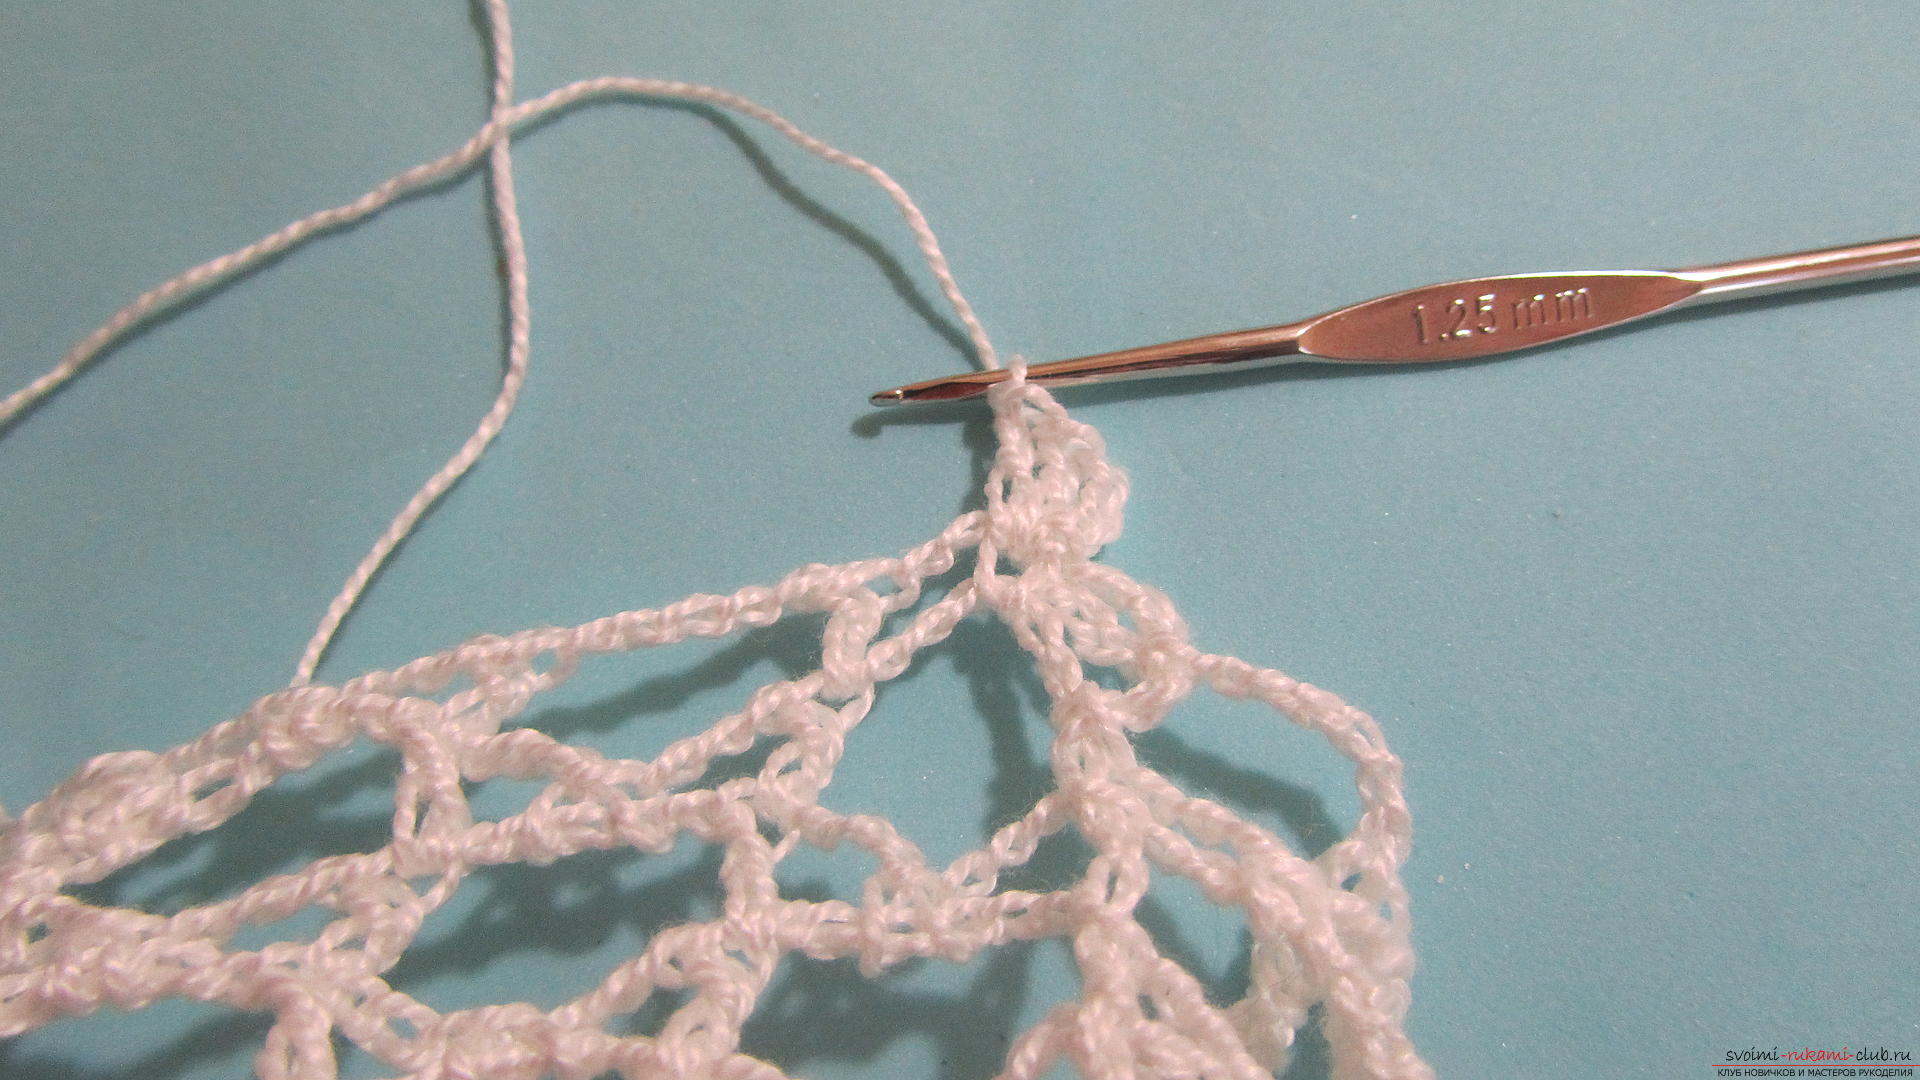 In the column of the lower row we will fasten one simple column.
 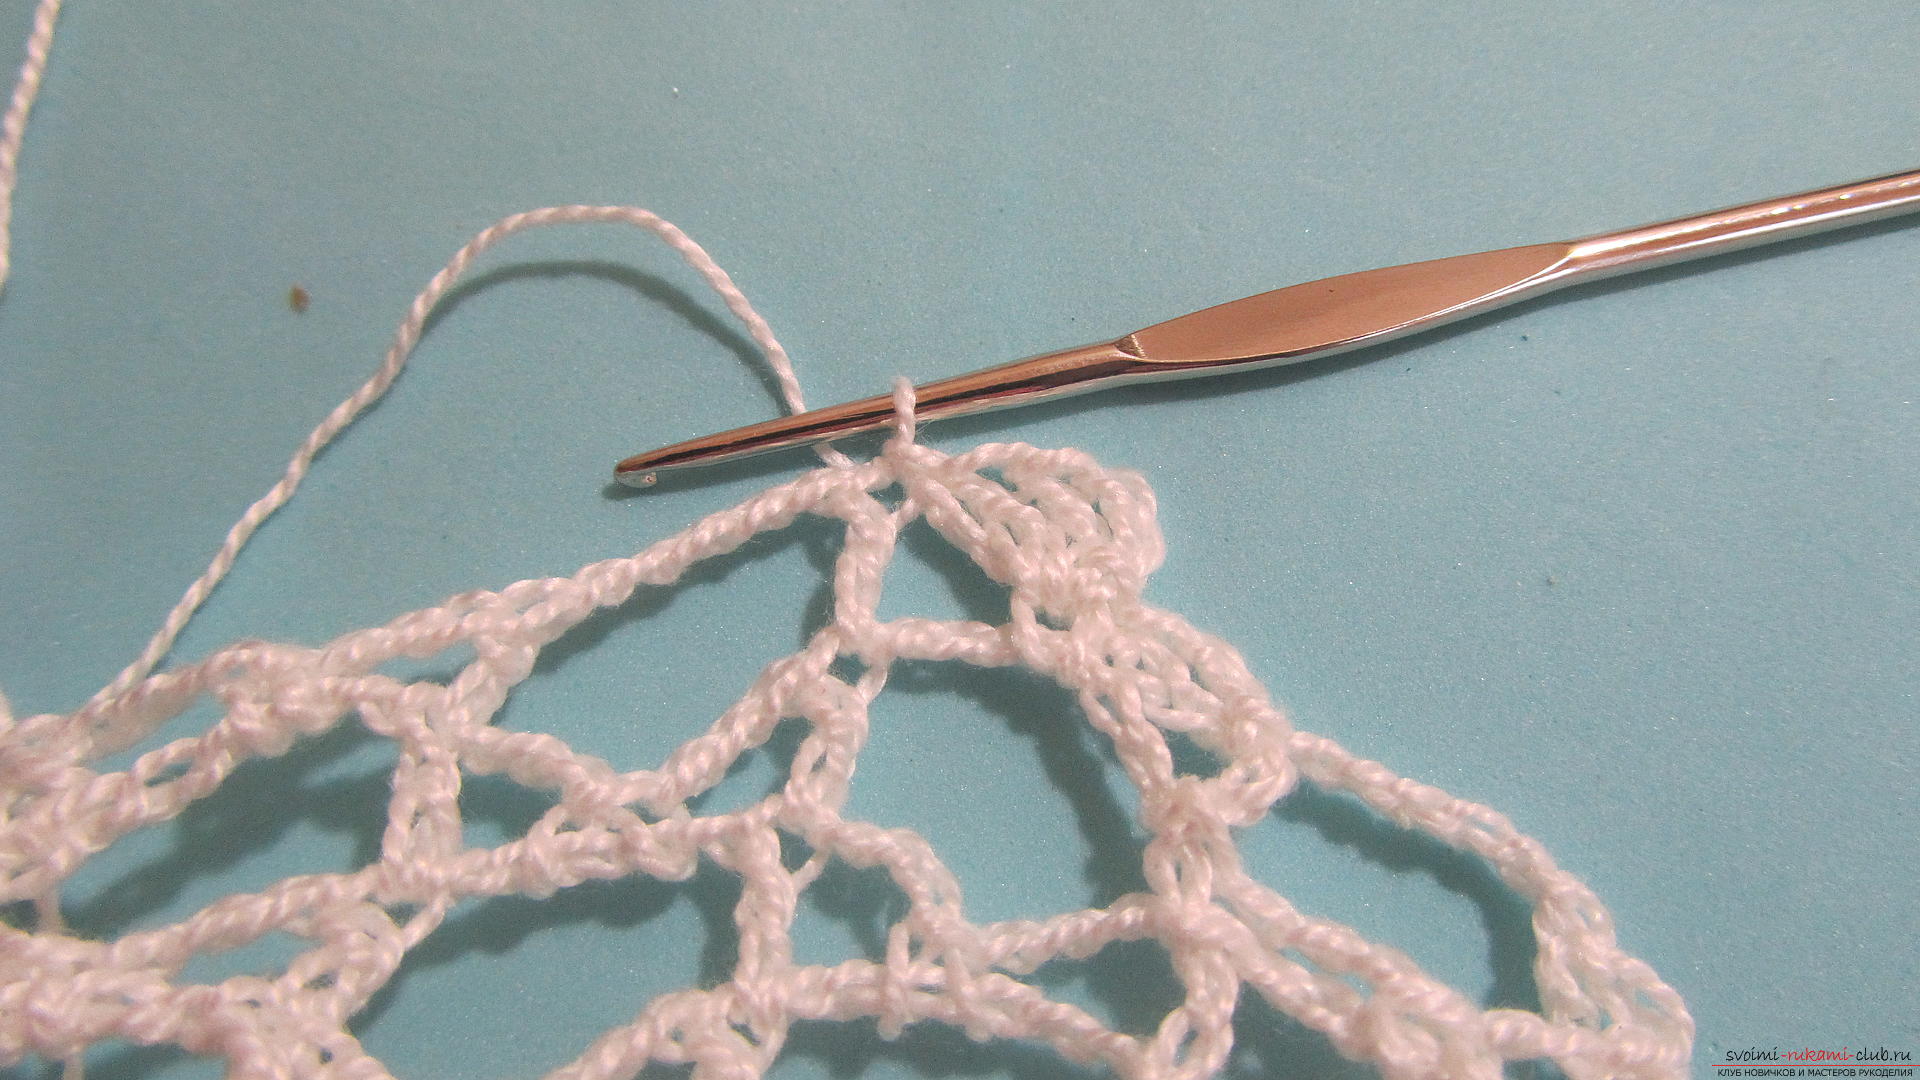 In the center of the next sector, we will link 5 columns with one crochet.
 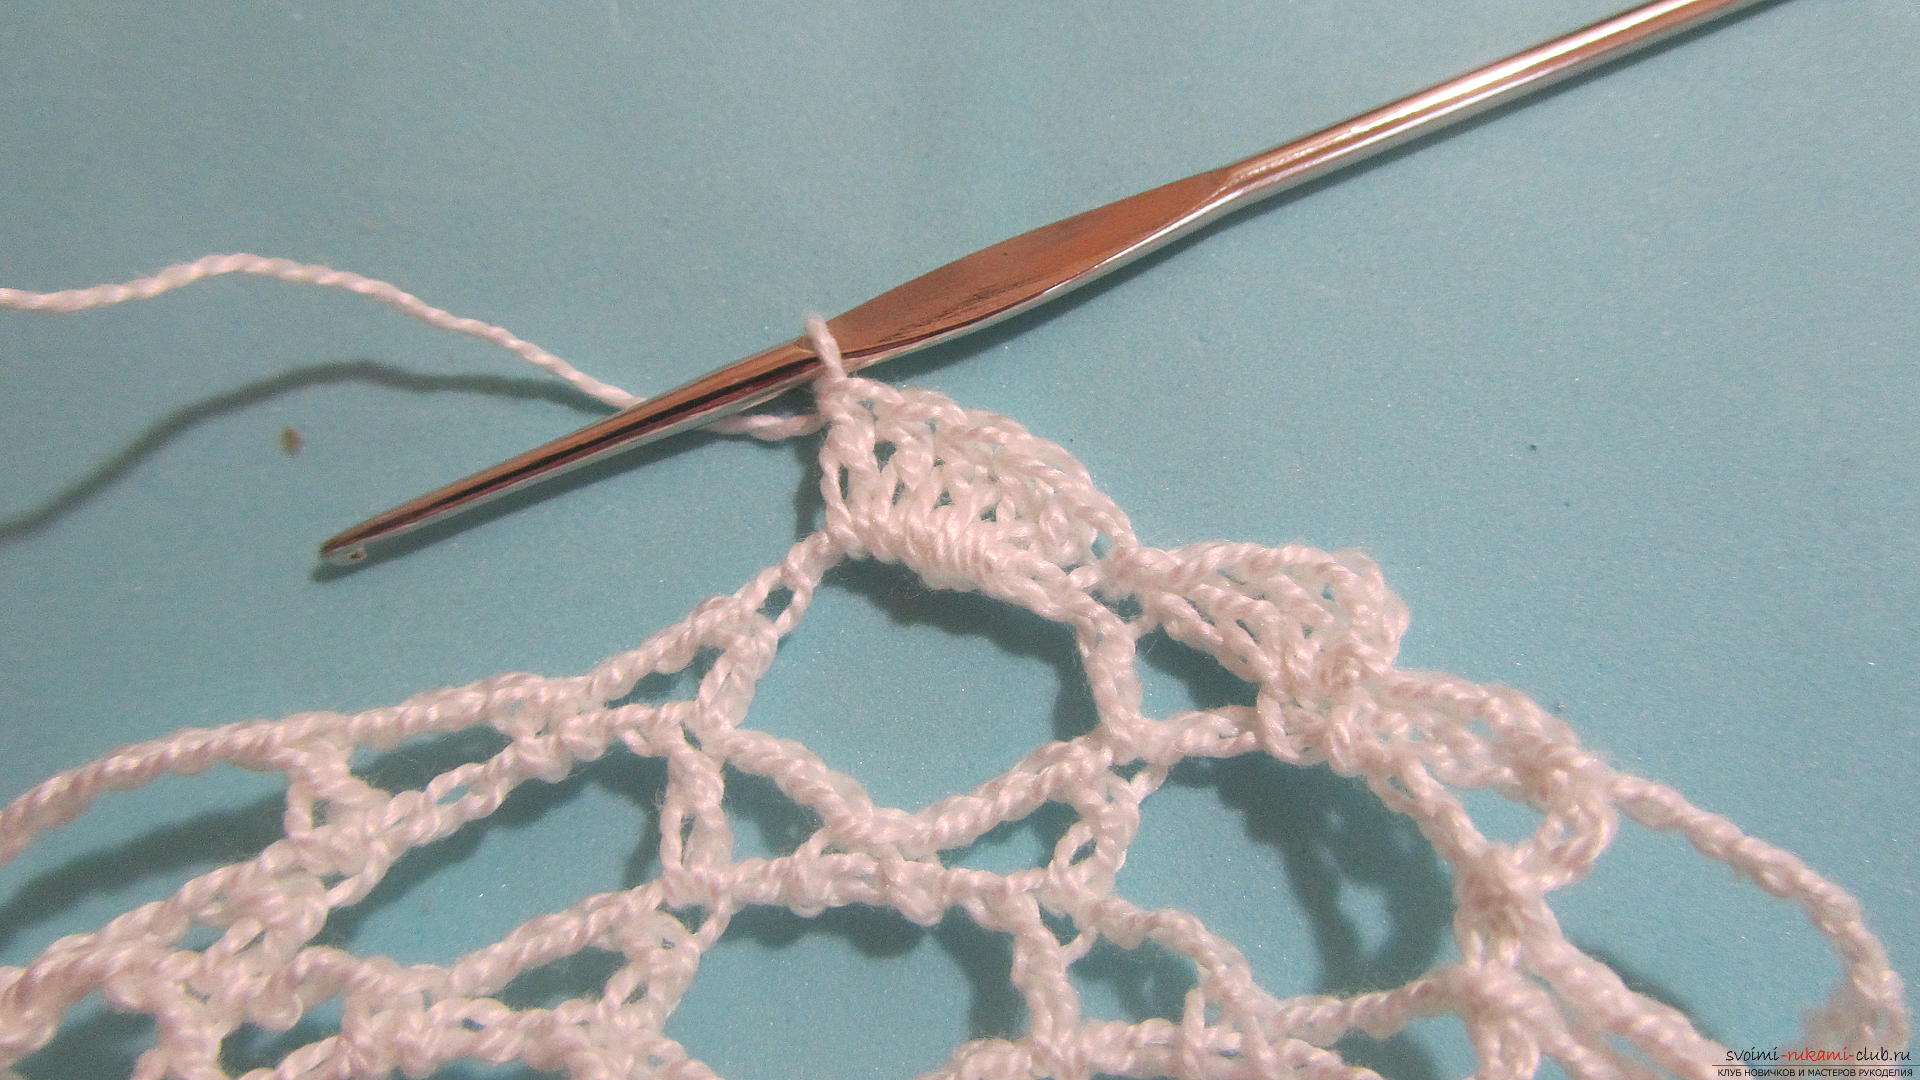 And again a simple post.
 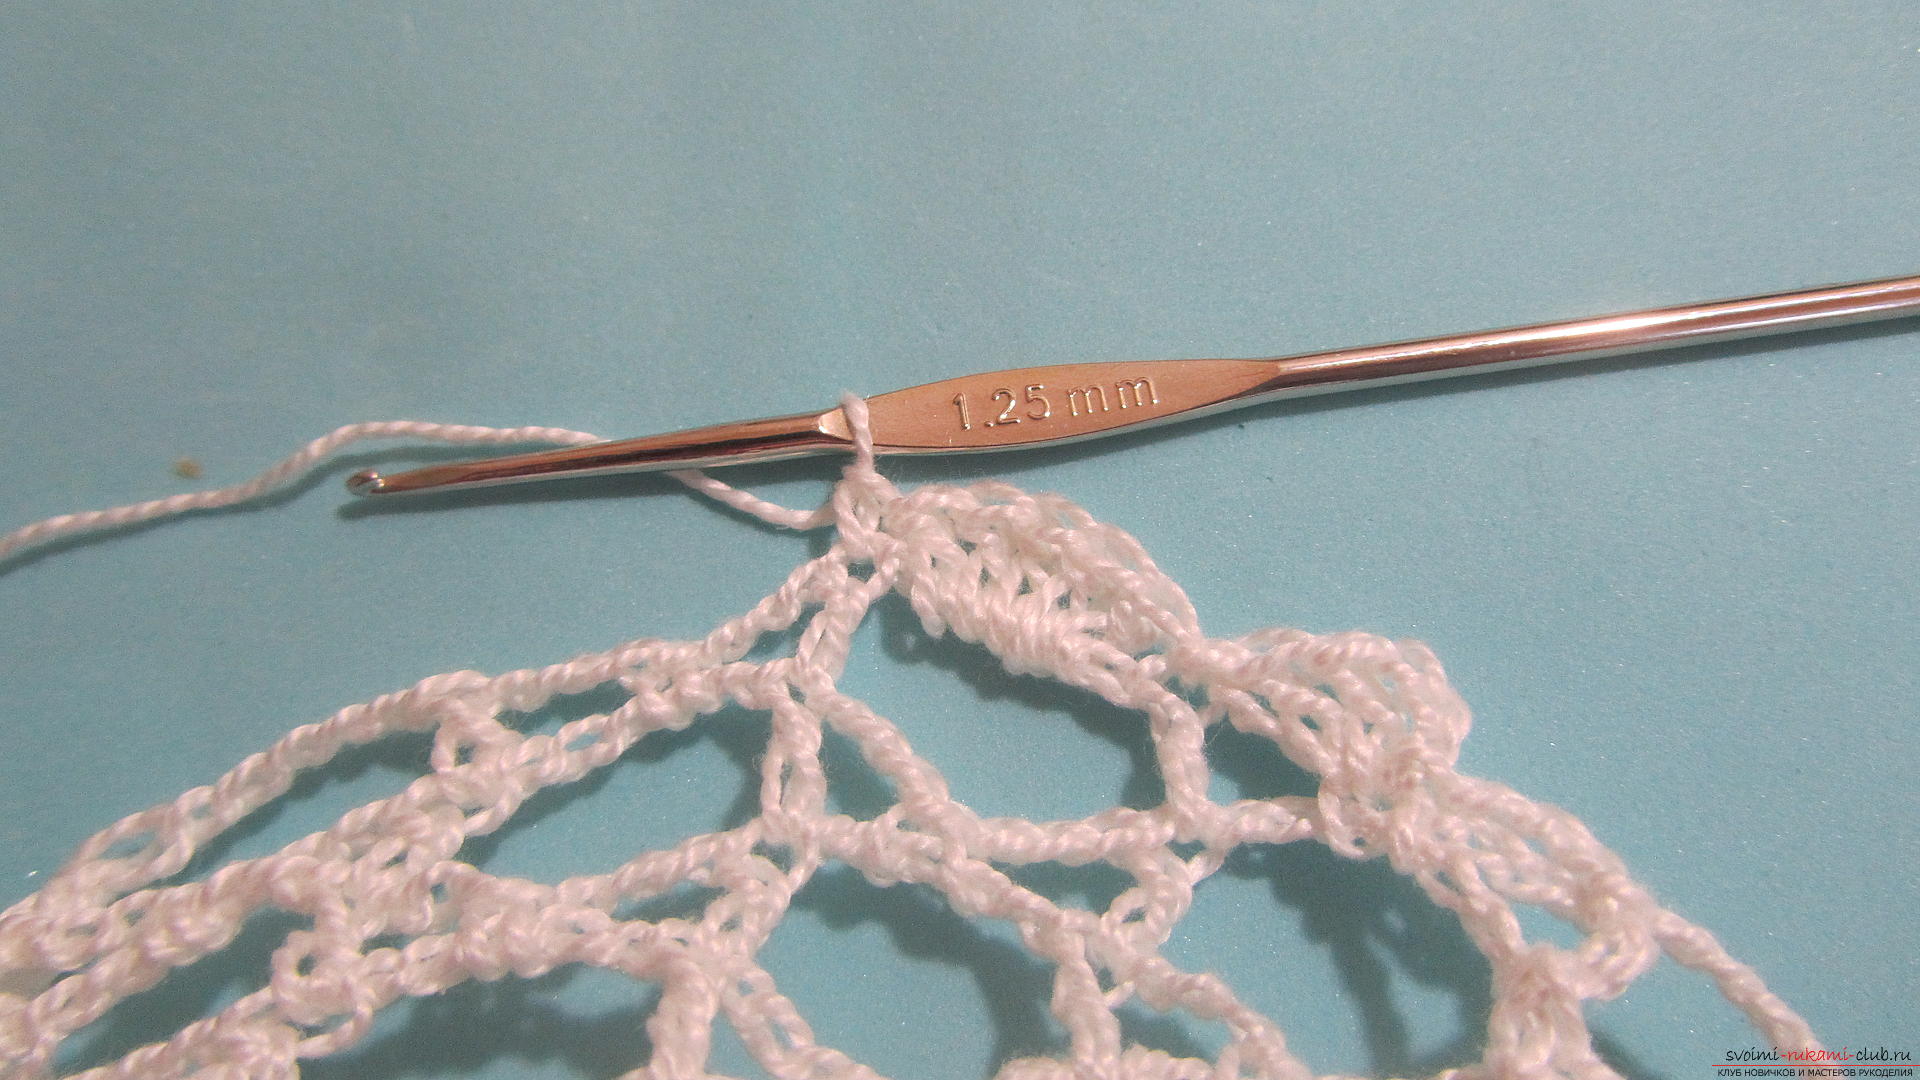 And so on.
 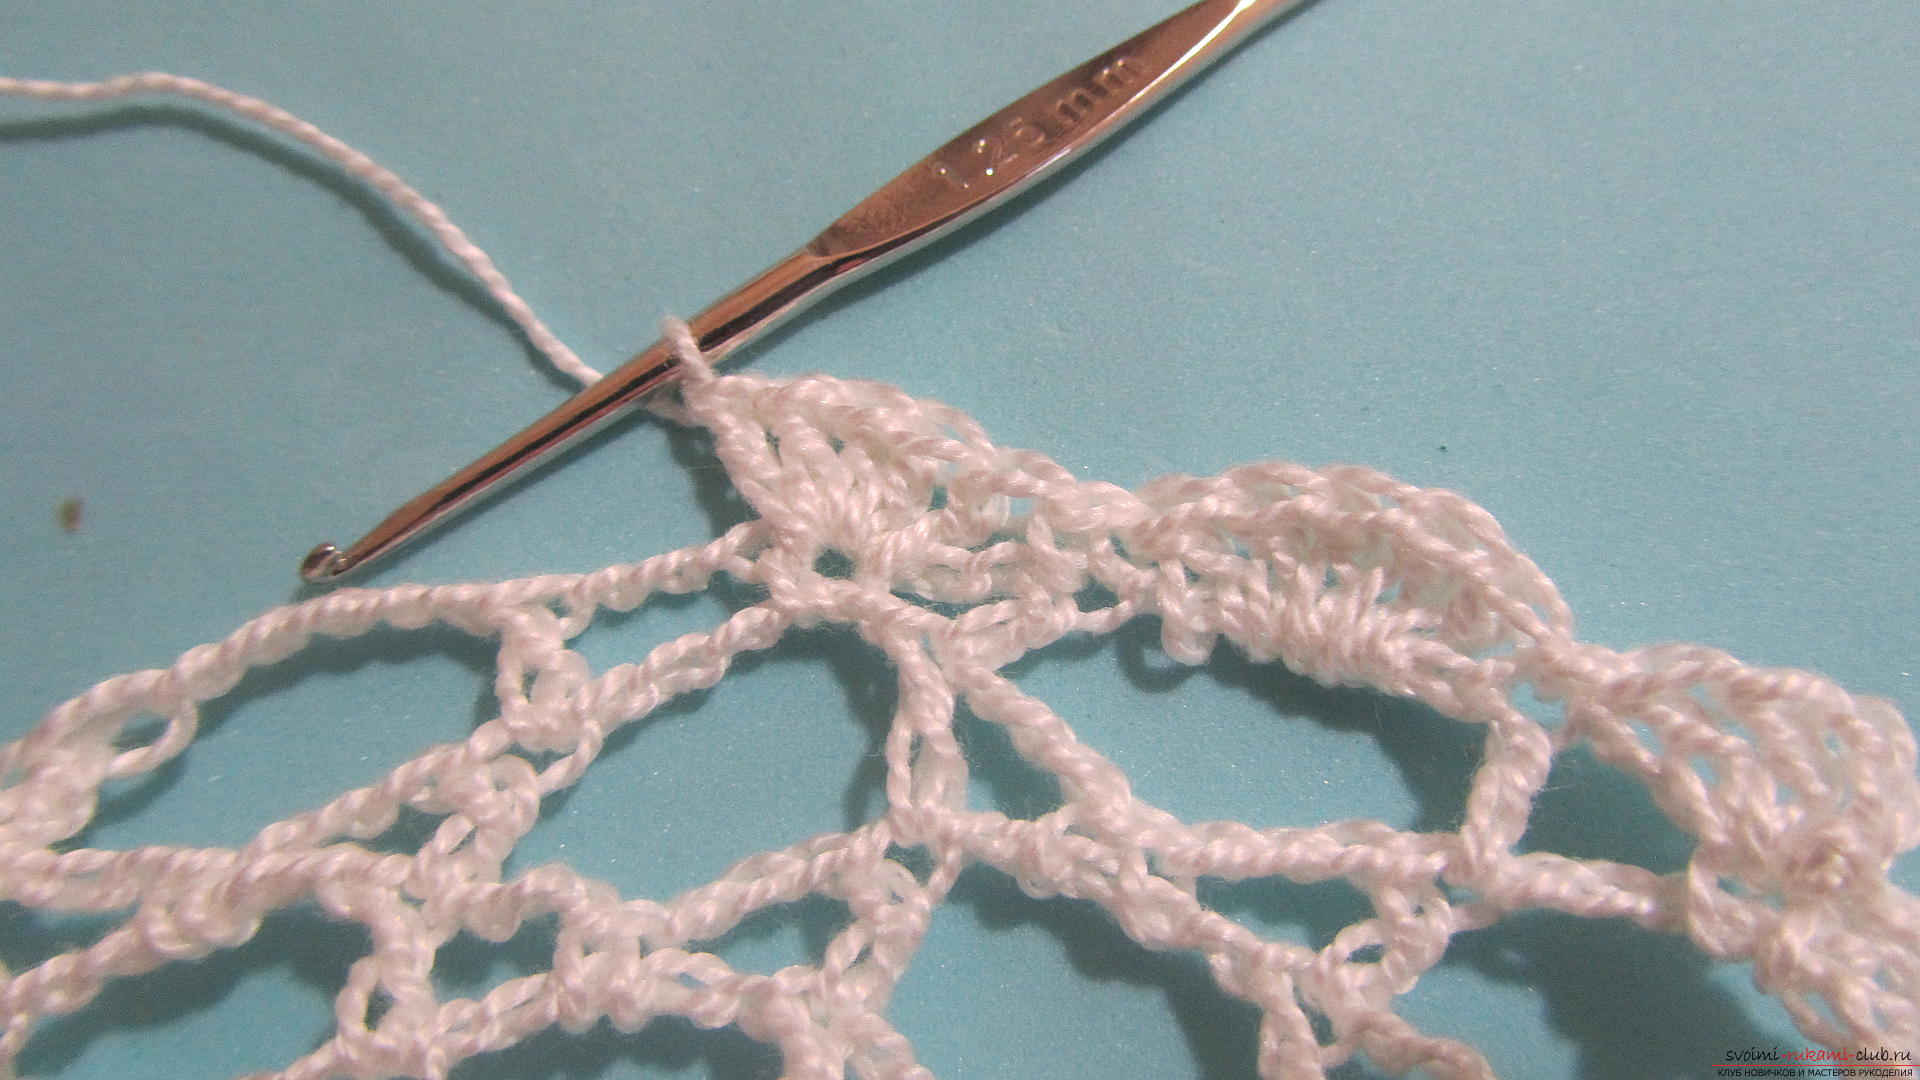 At the very beginning of the series we associated 3 loops and 2 bars, so at the end we will add two more bars and finish the row.
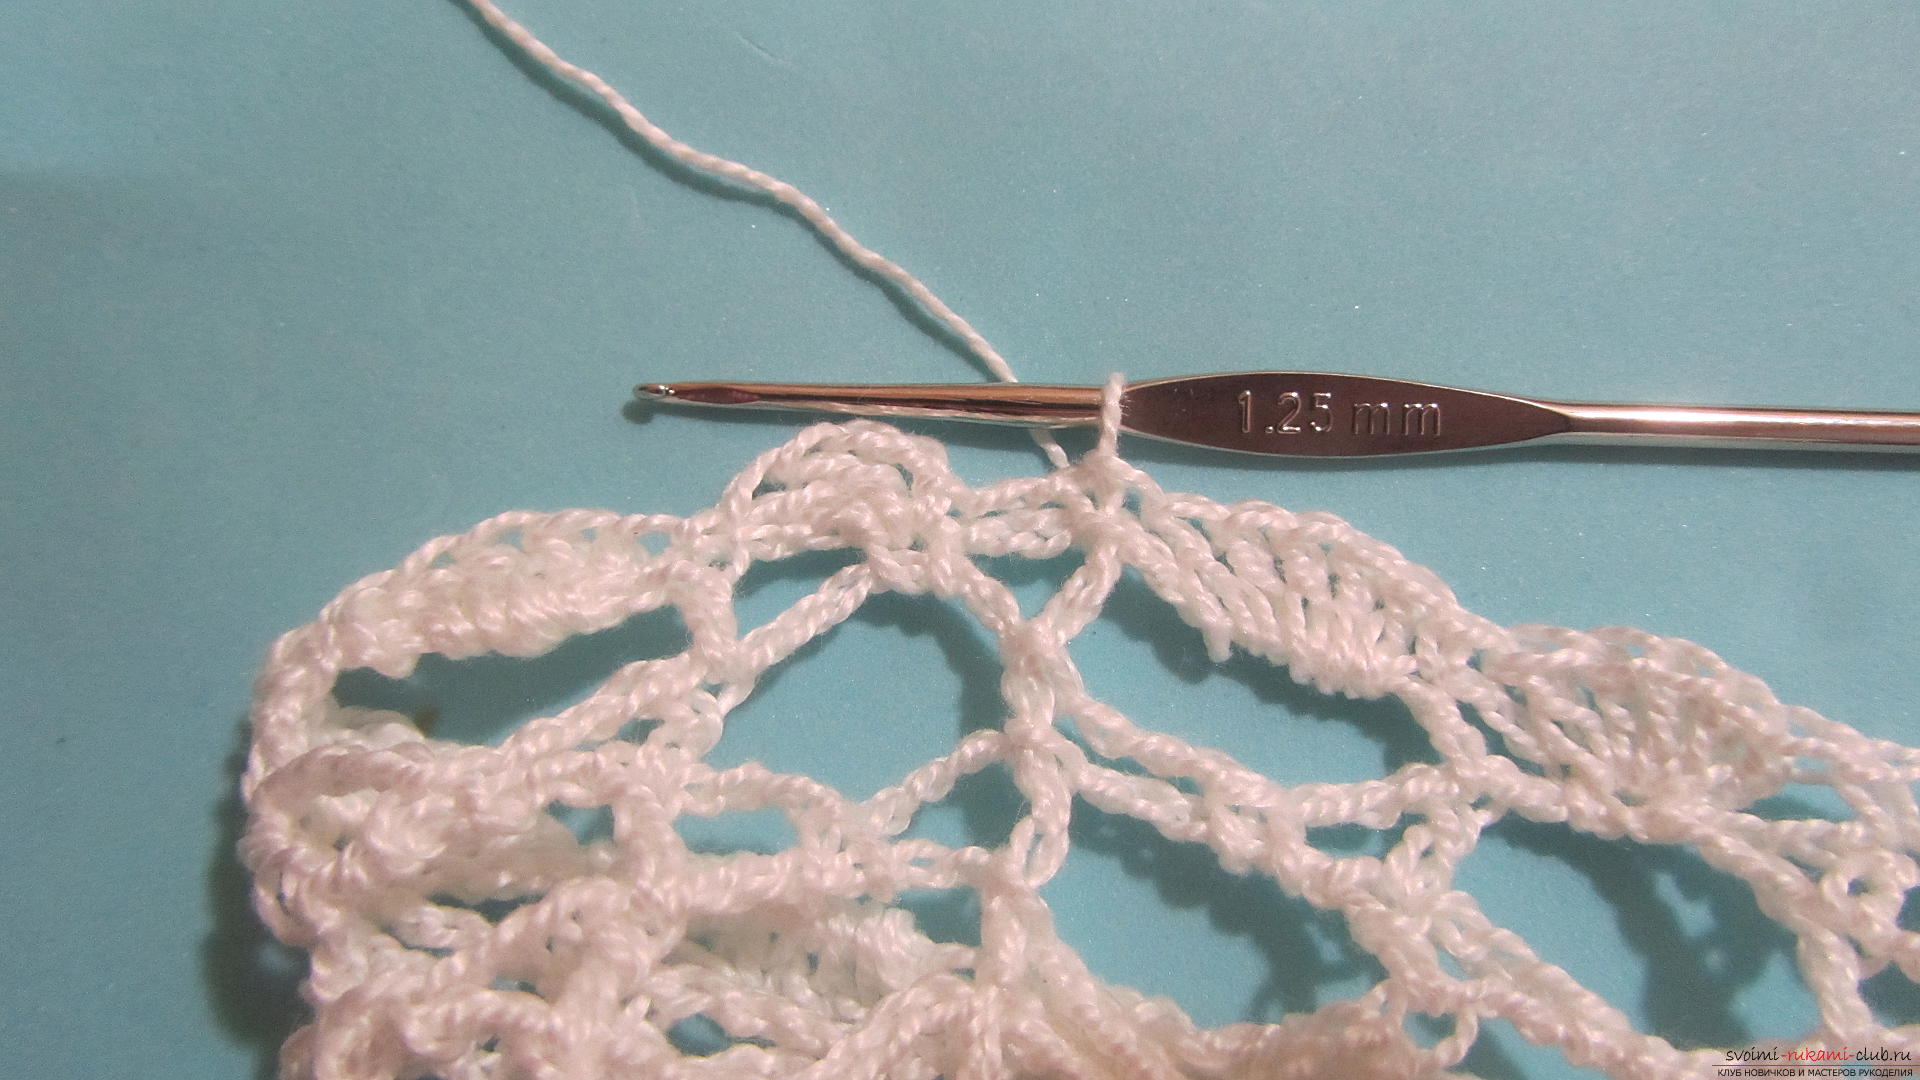
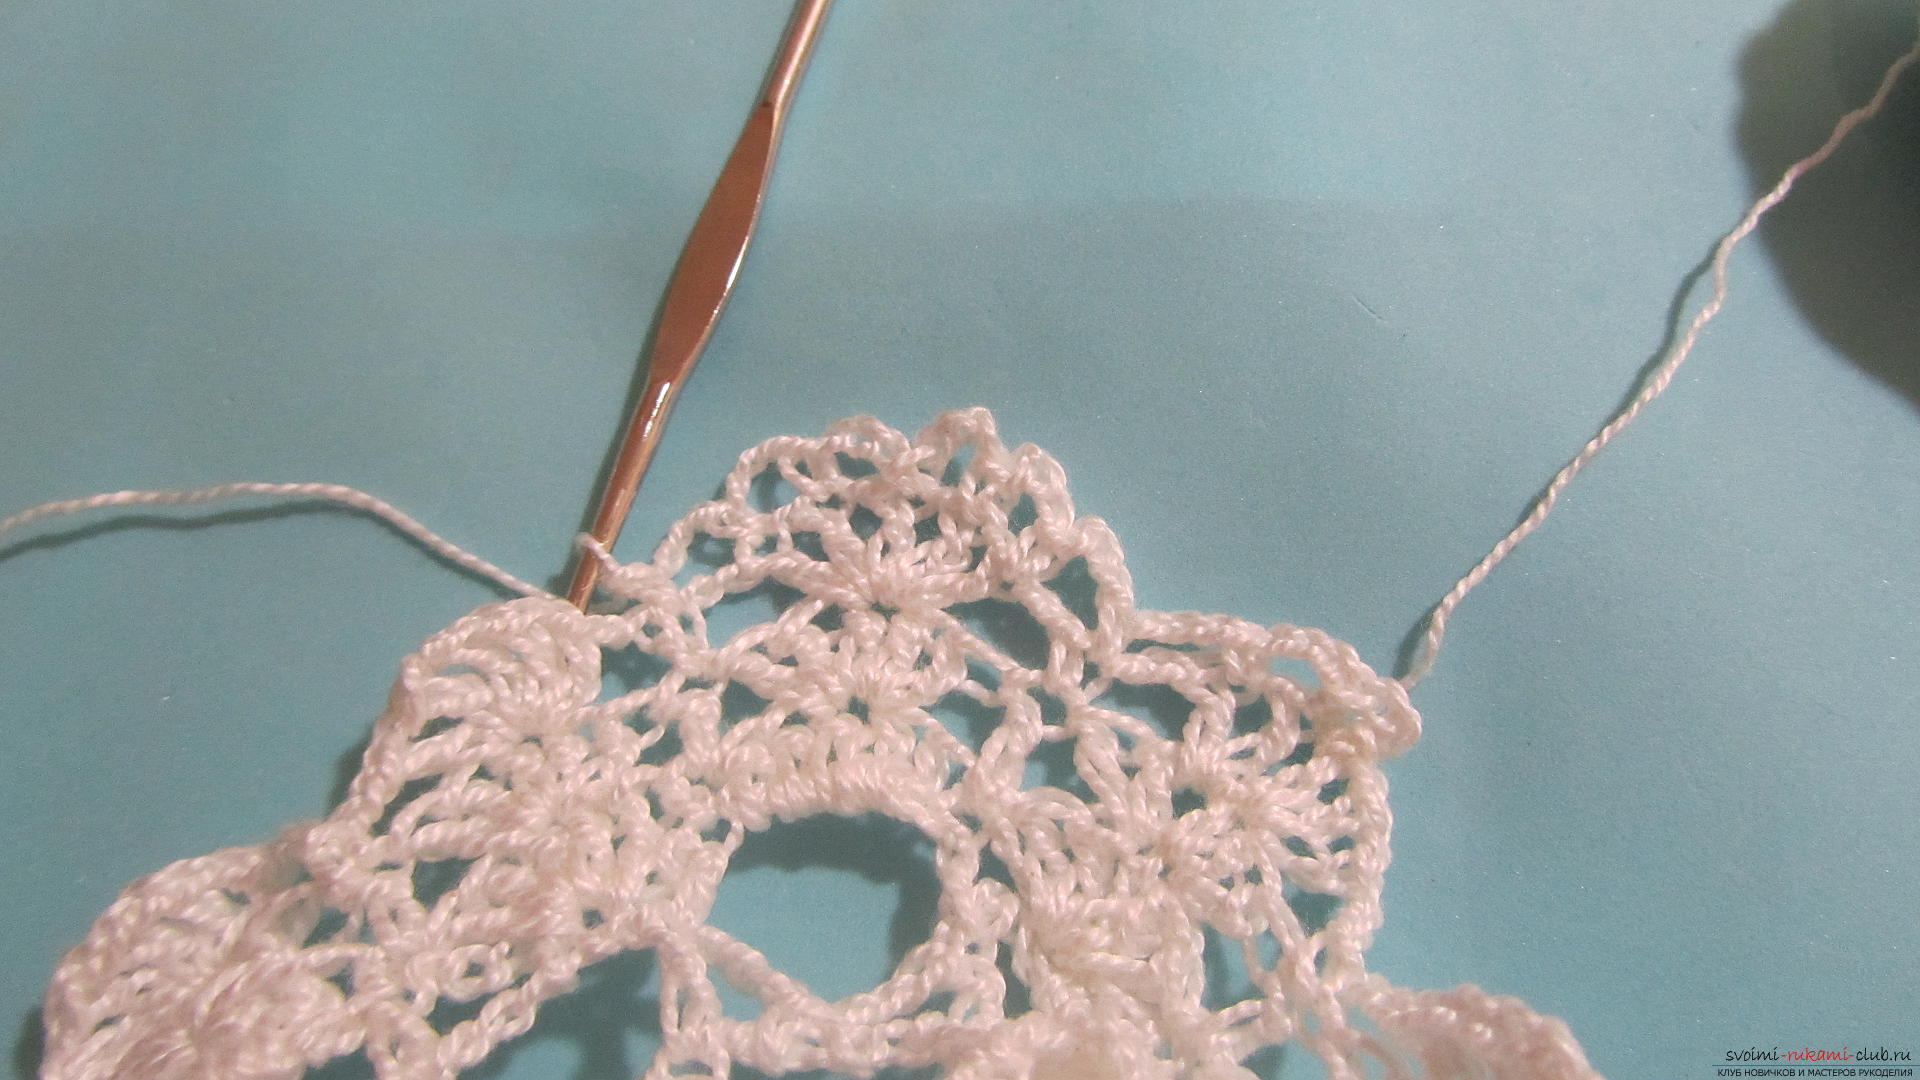
 The second row of ruches begin to knit similarly to the first.
 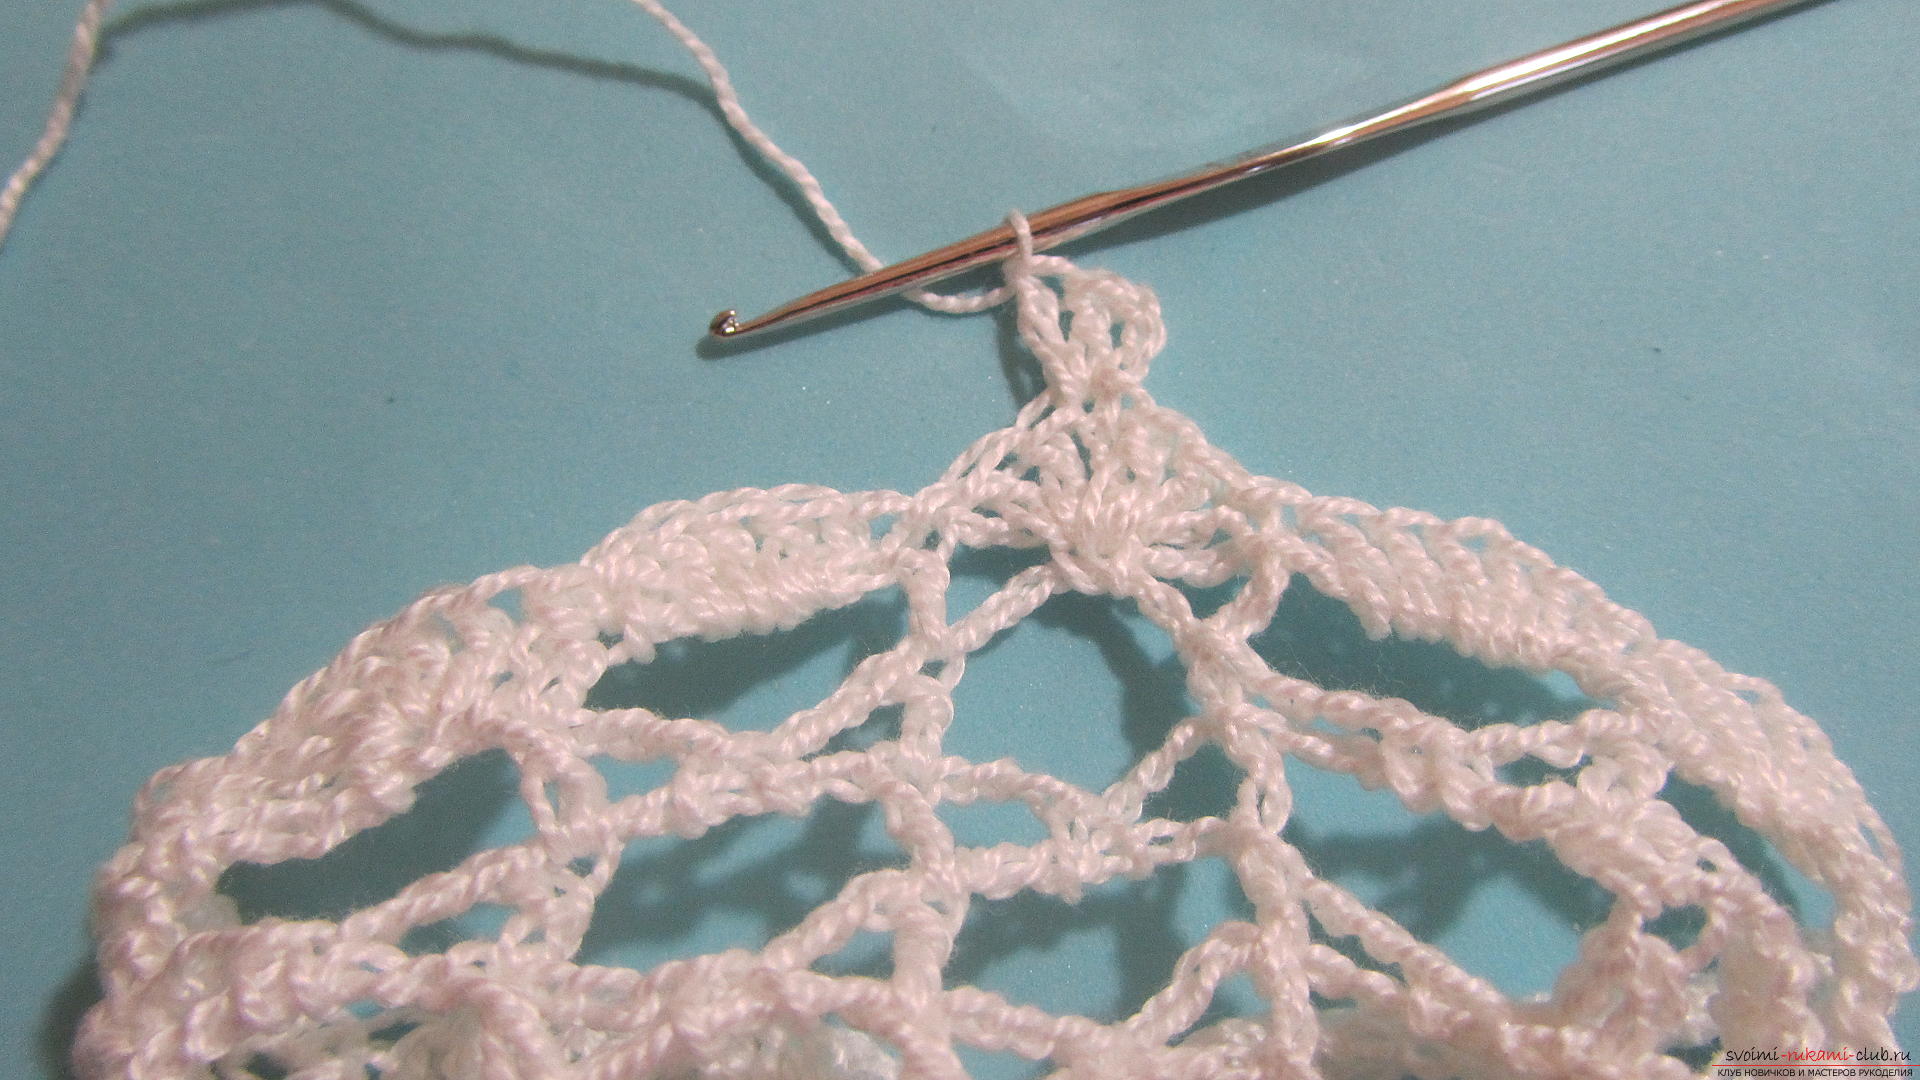 But instead of a simple post after a group of five columns, we also tie a column in which there will be one cape.
 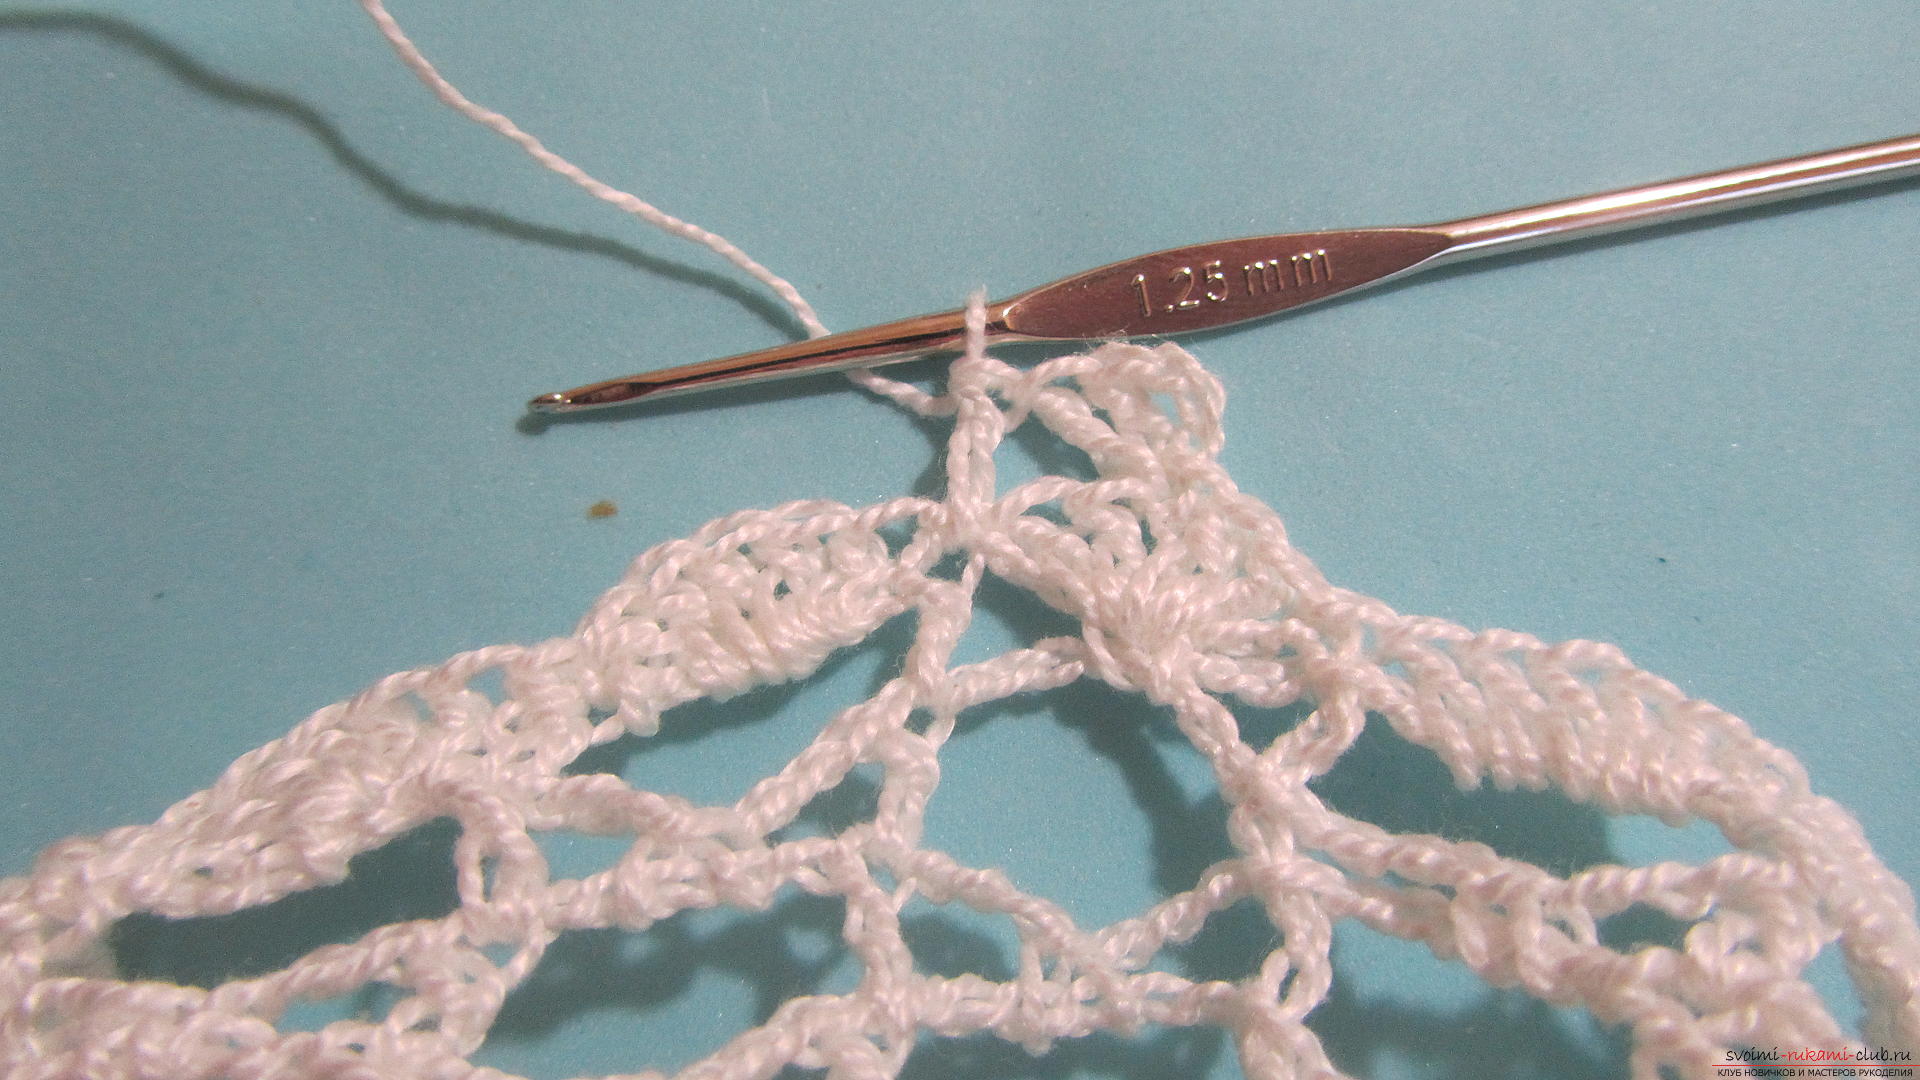 The next group of five columns is knit from the central column of the first row of ruches.
 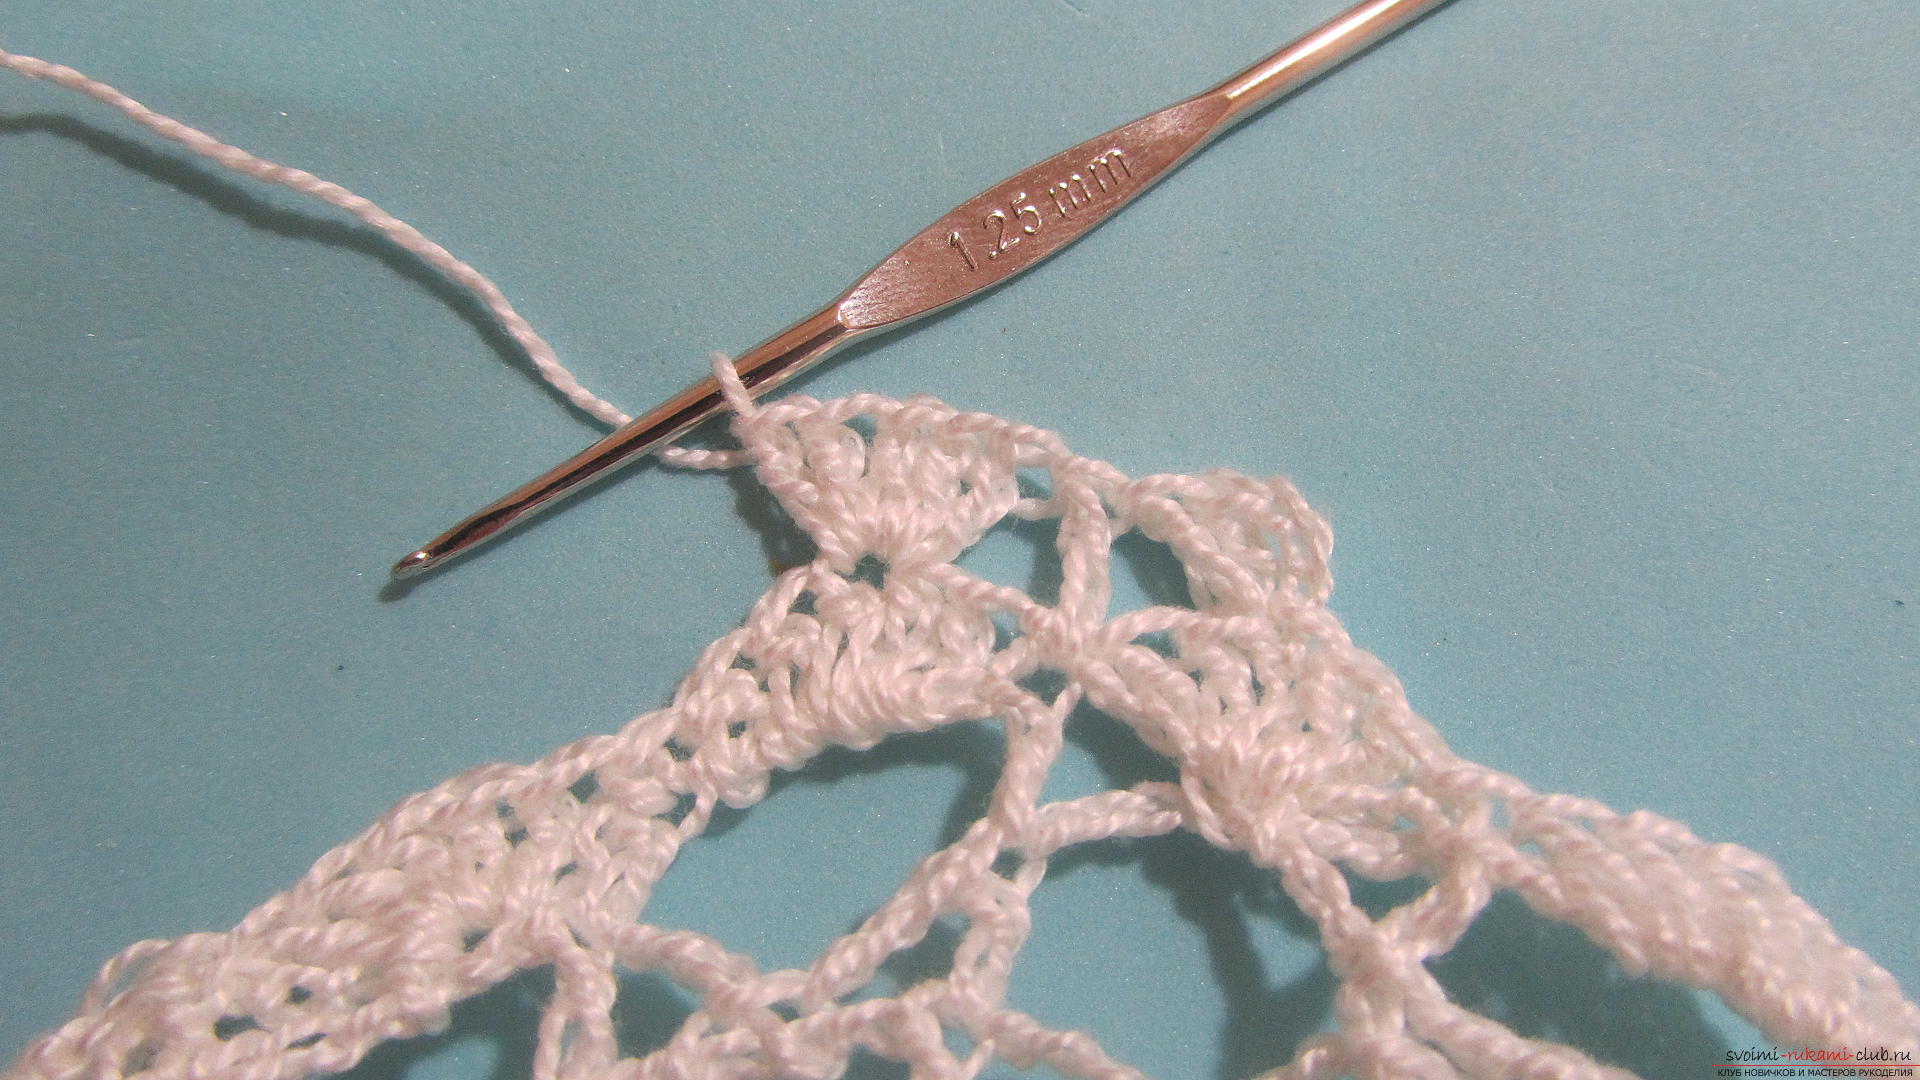 And again a column with a crochet.
 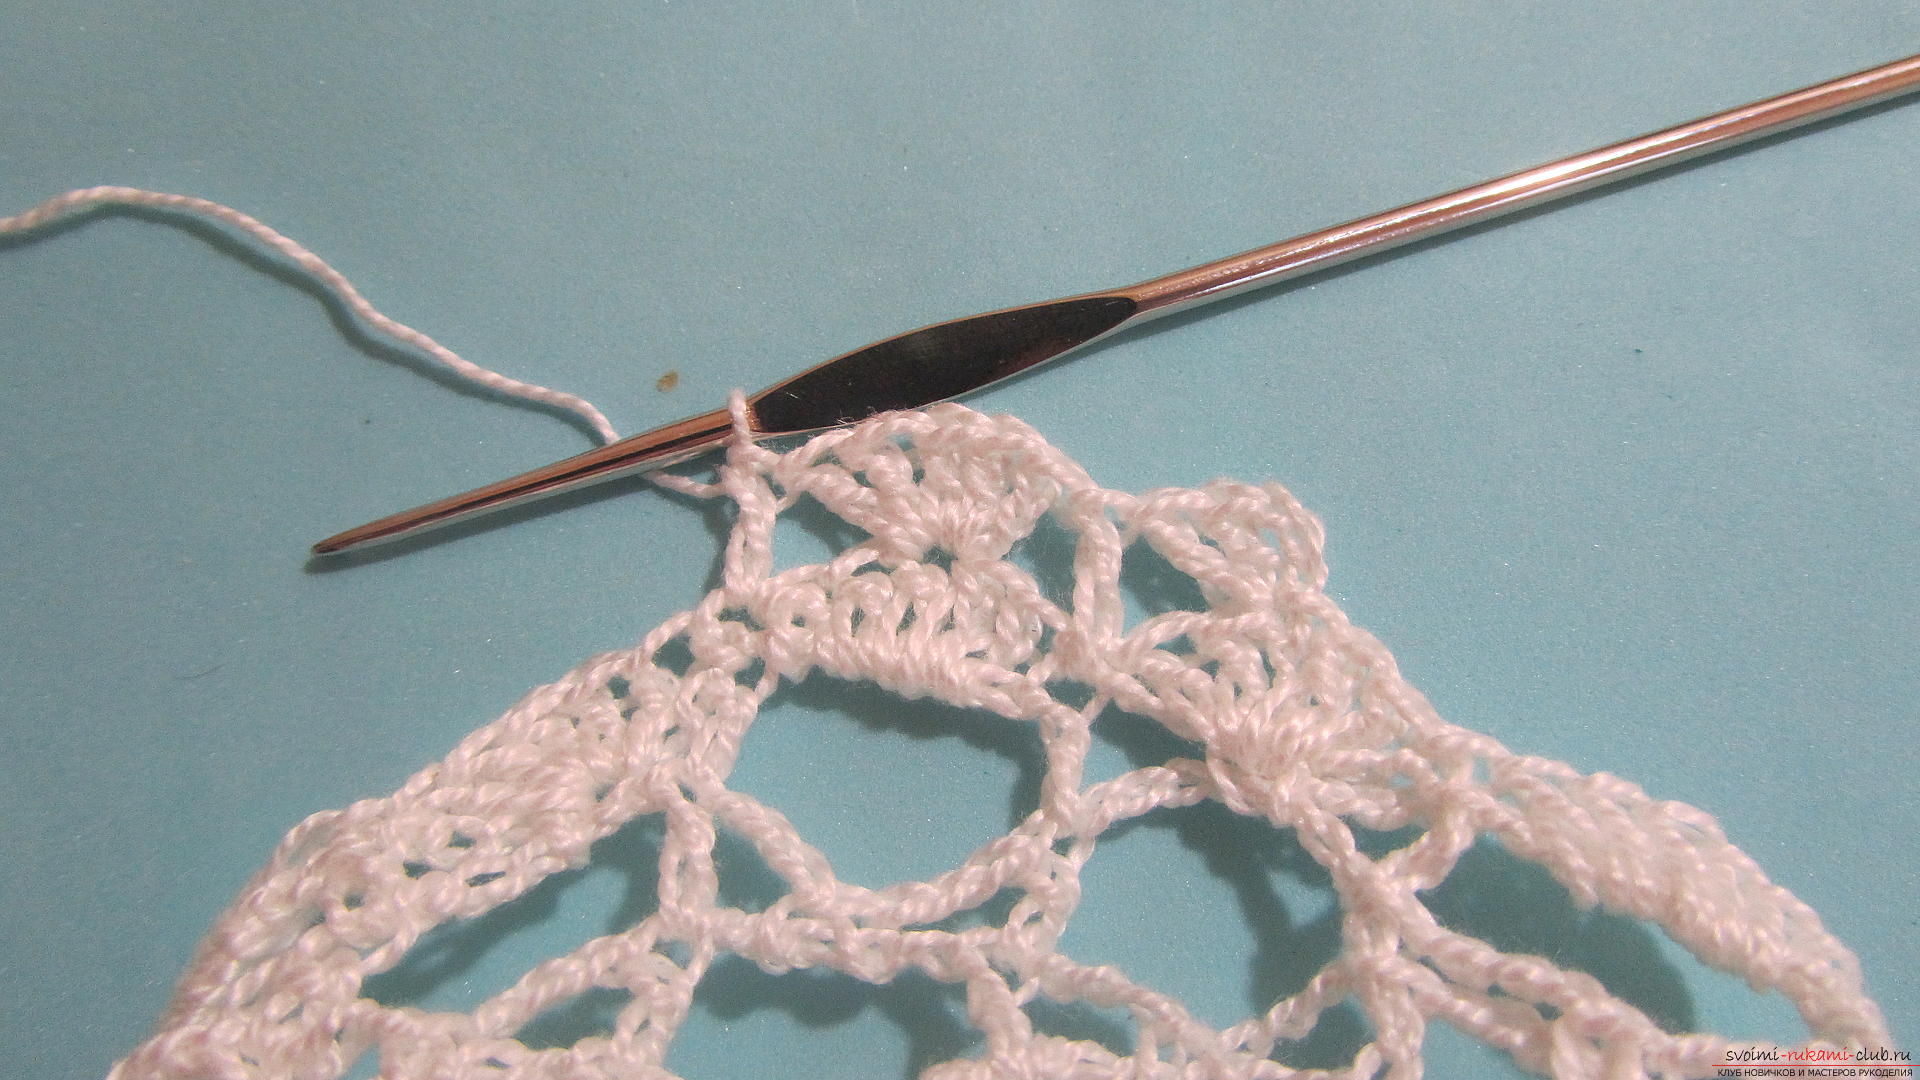 We finish the second row, tying two more bars to the first group.
  The third row of ruffles starts again with three loops and two columns with one crochet.
 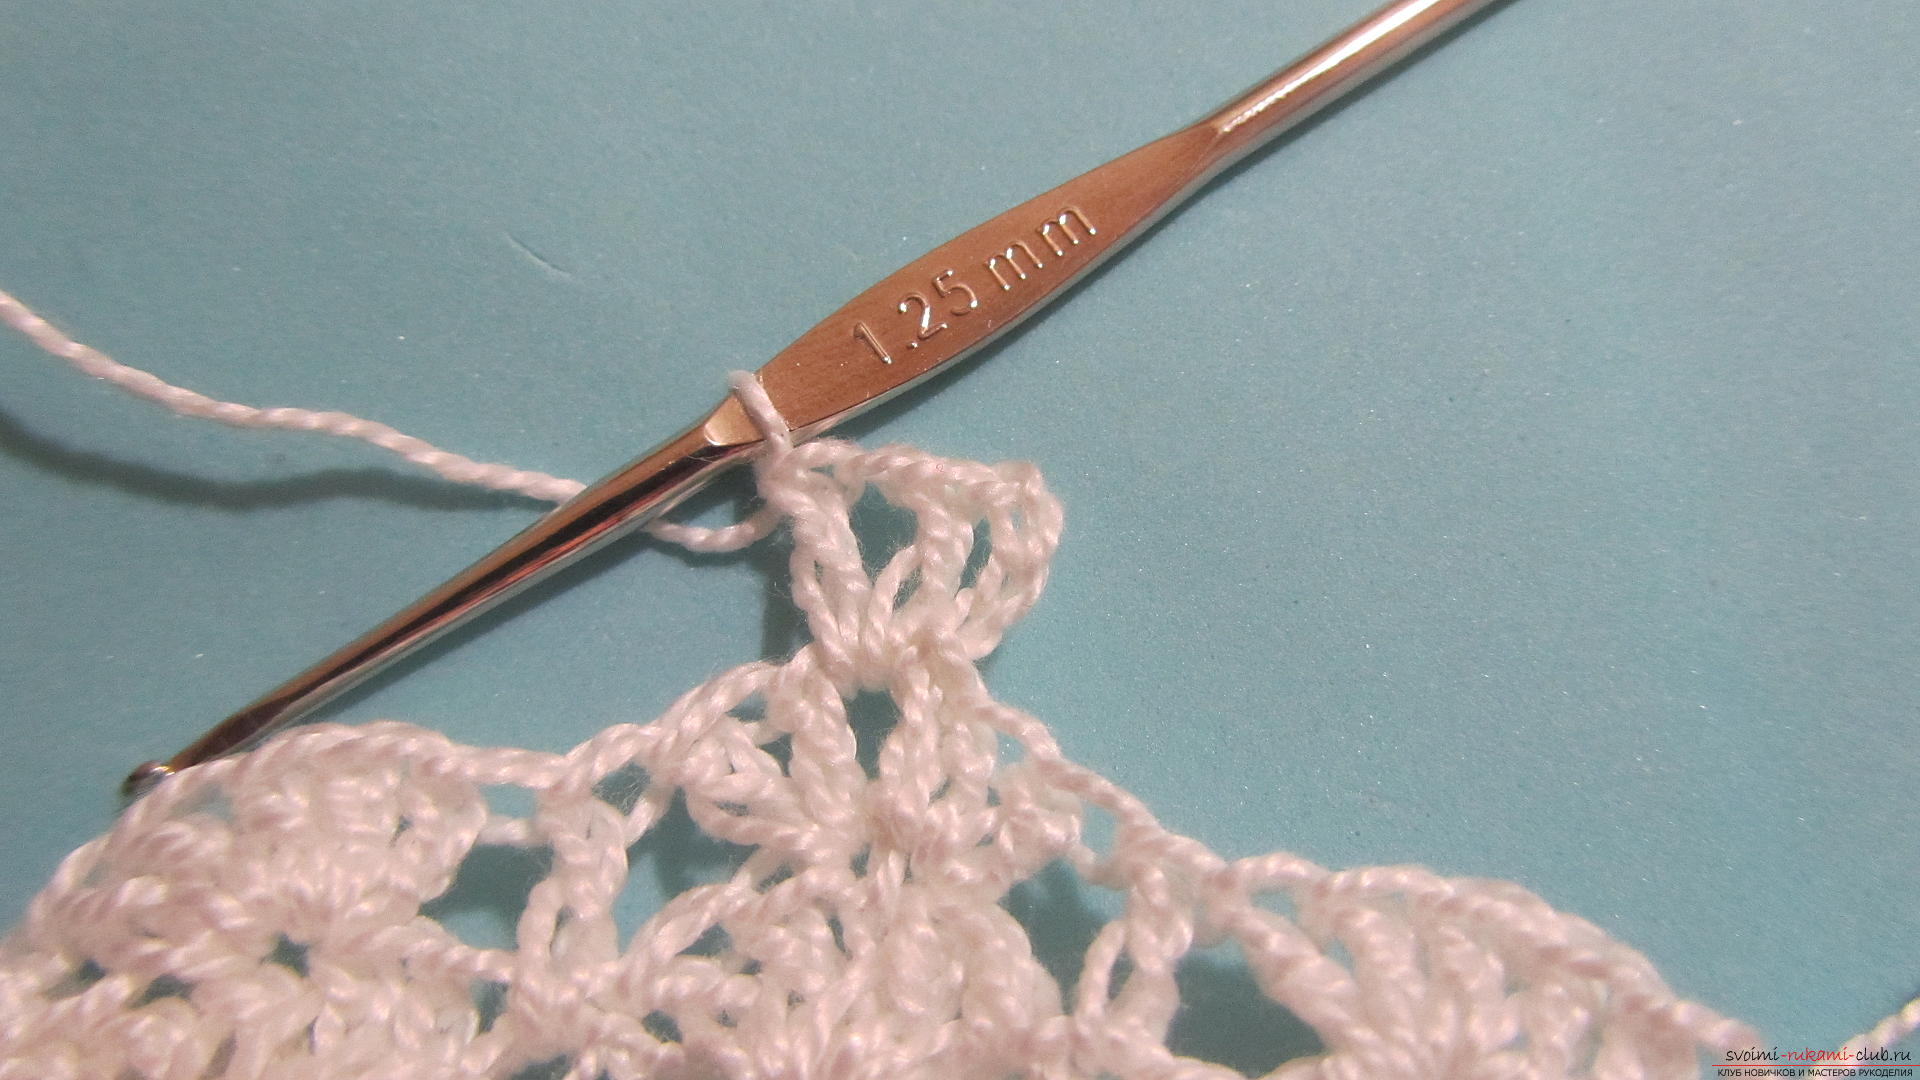 Now, before we link a simple column, we'll fasten two loops. And after it also, we will connect two loops.
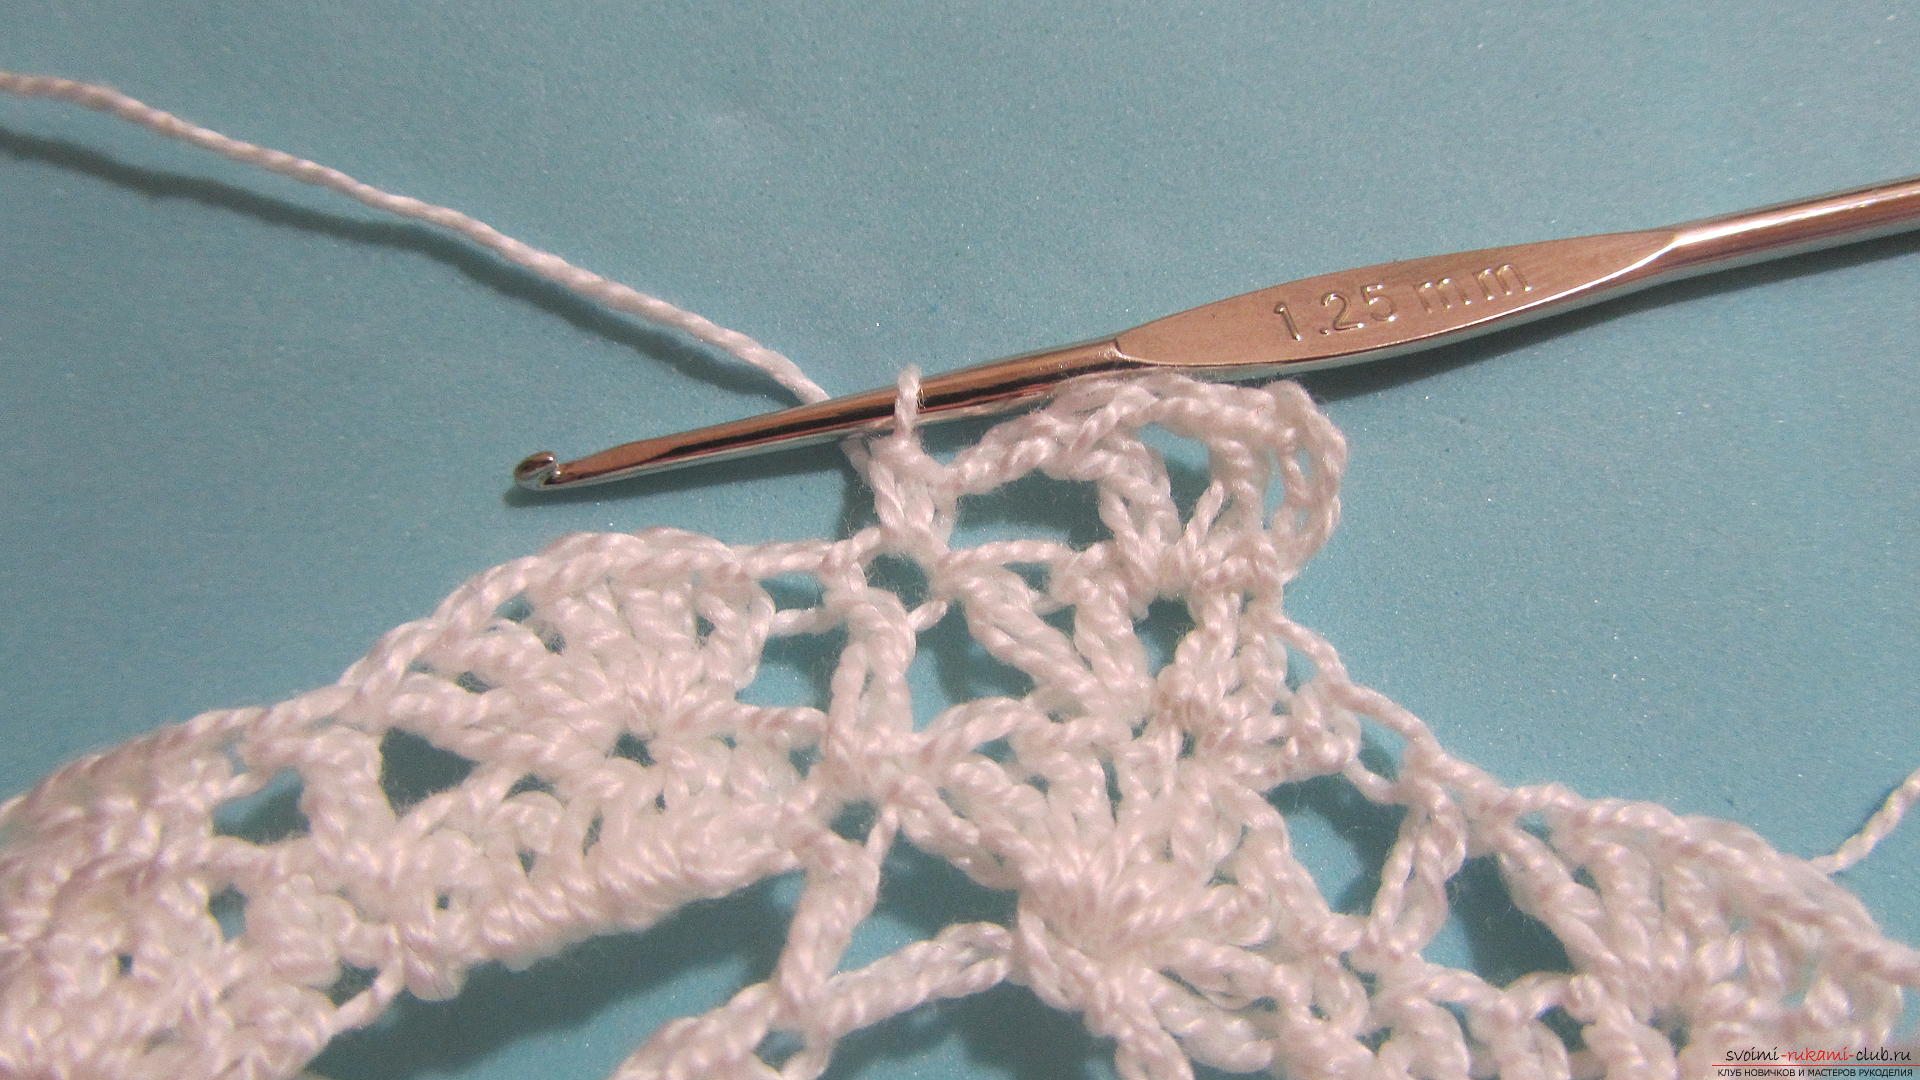

 The last row of strapping will consist of simple posts and air loops. In each column of the third row we will connect one column. And between the posts we will tie three loops together.
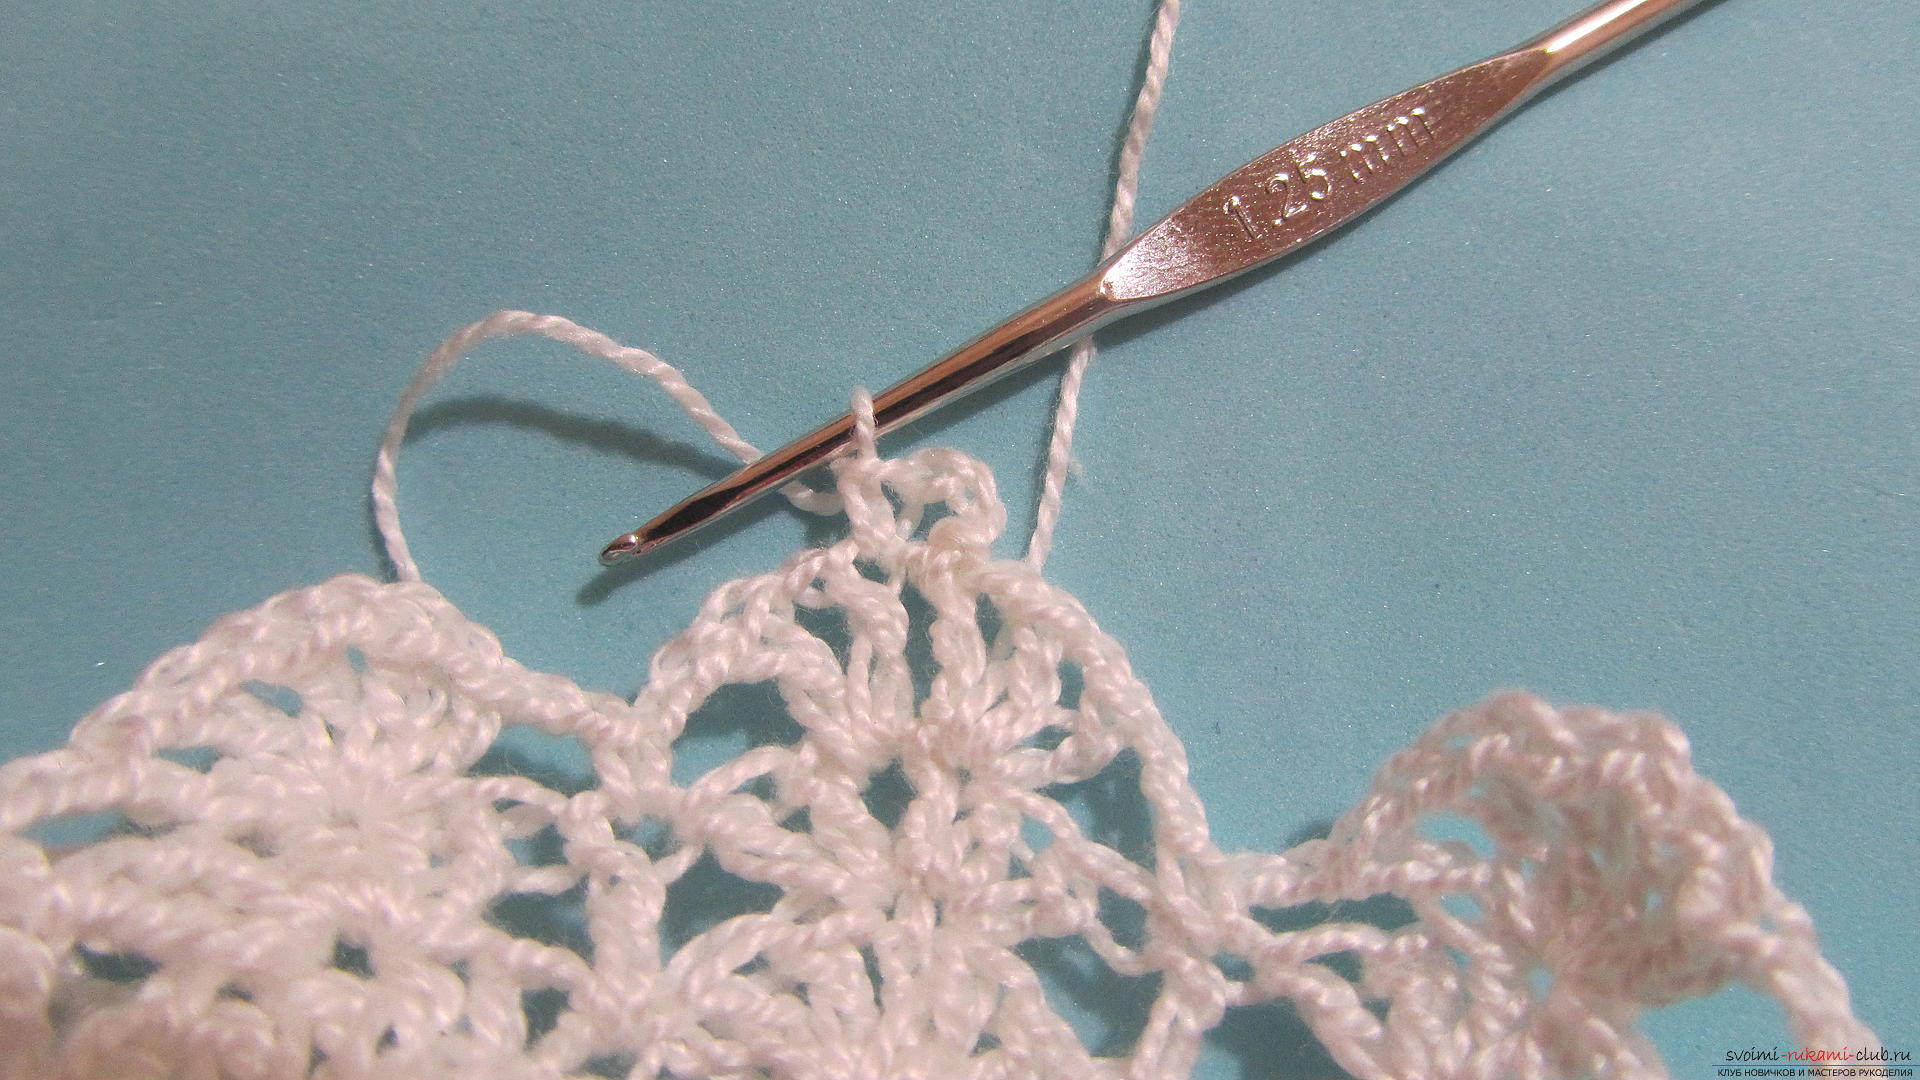
 After finishing the harness, cut the thread and put it into knitting.
 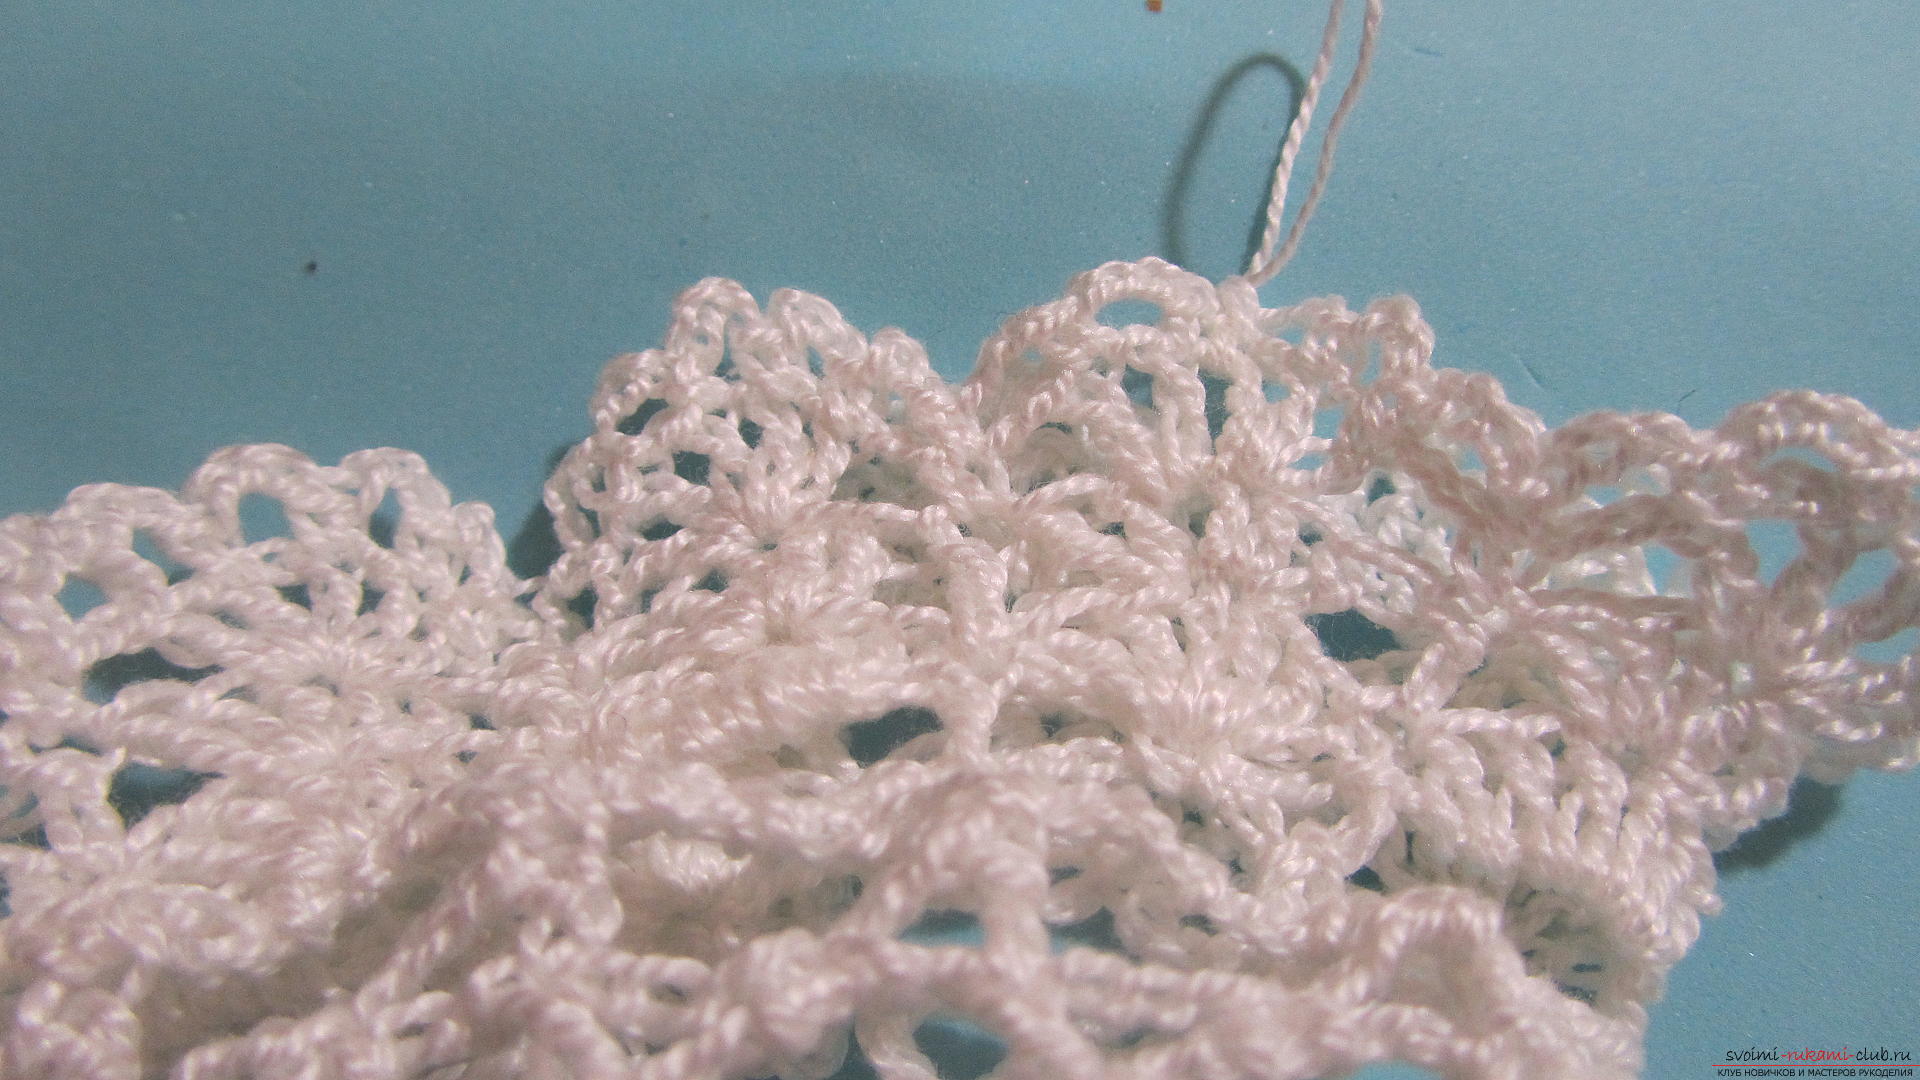 Take the ribbon and pass it between the sectors in the last row, in front of the ruche.
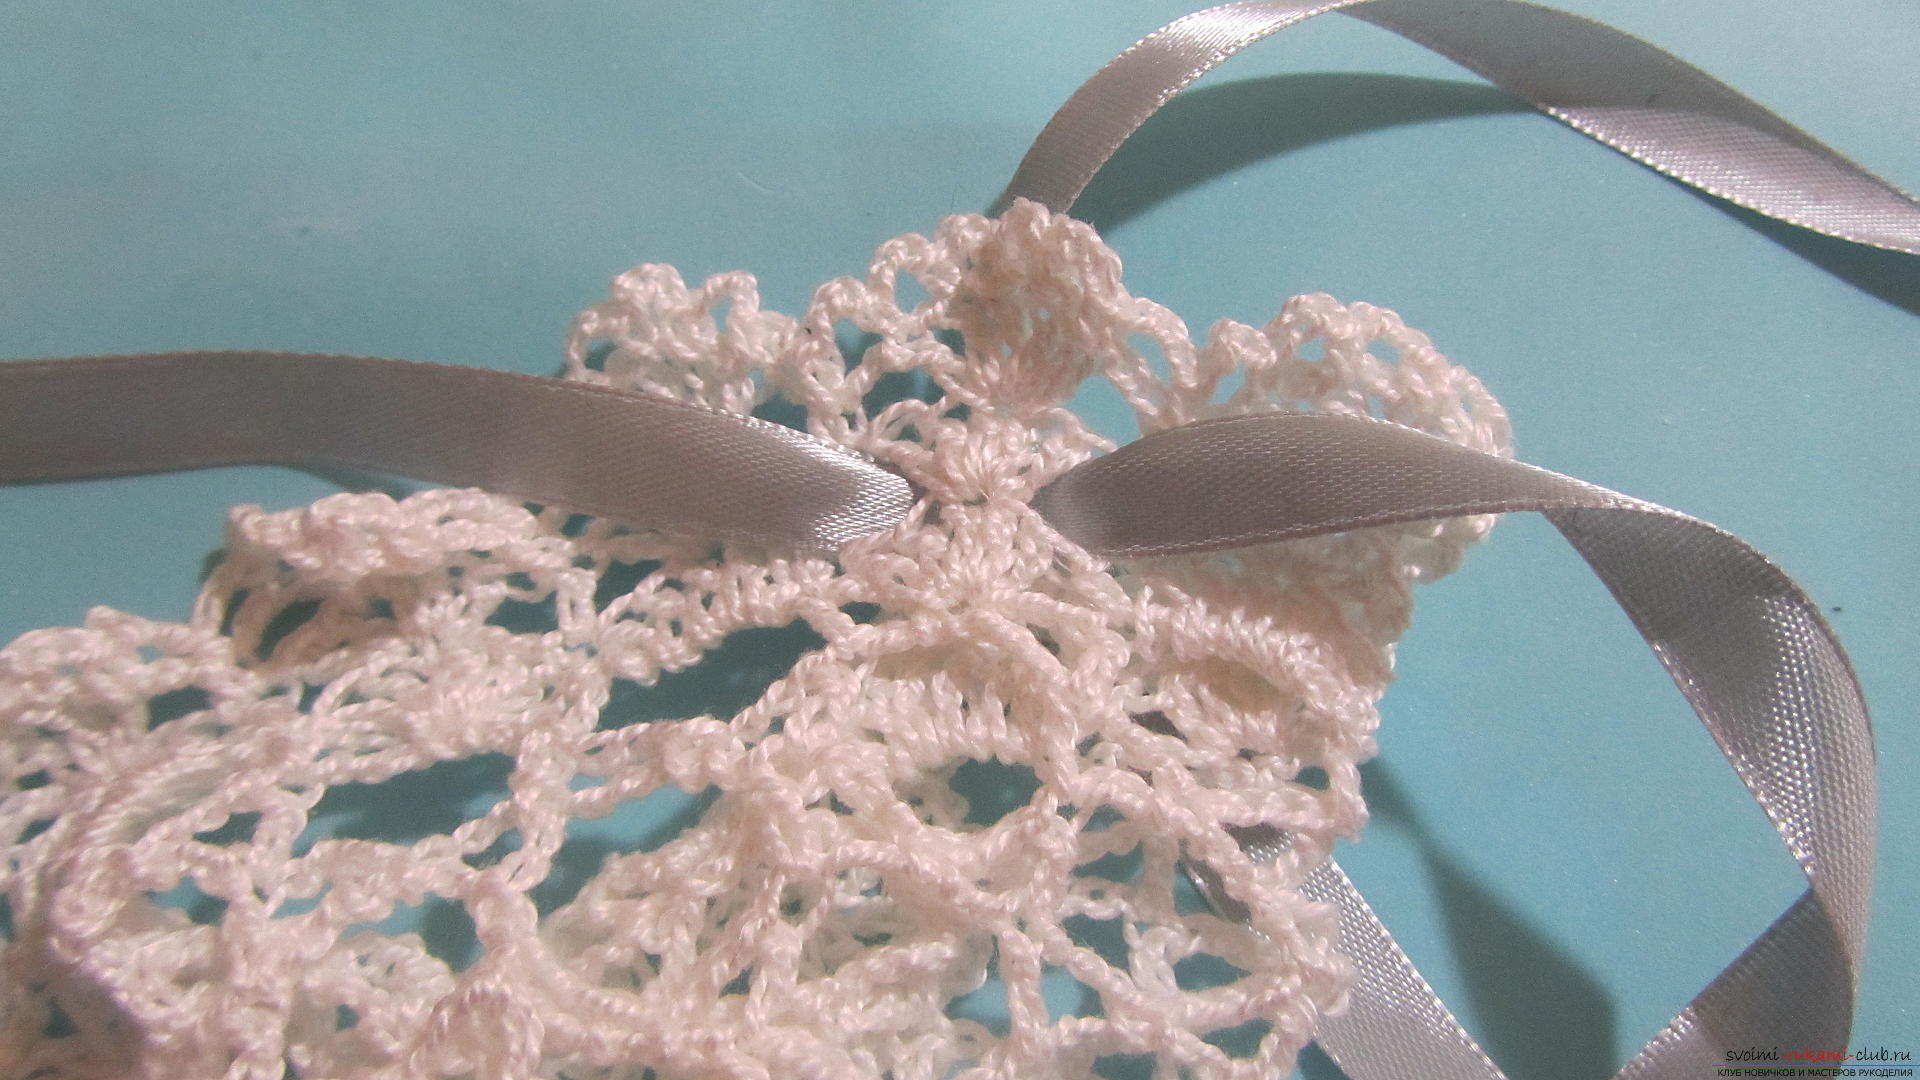
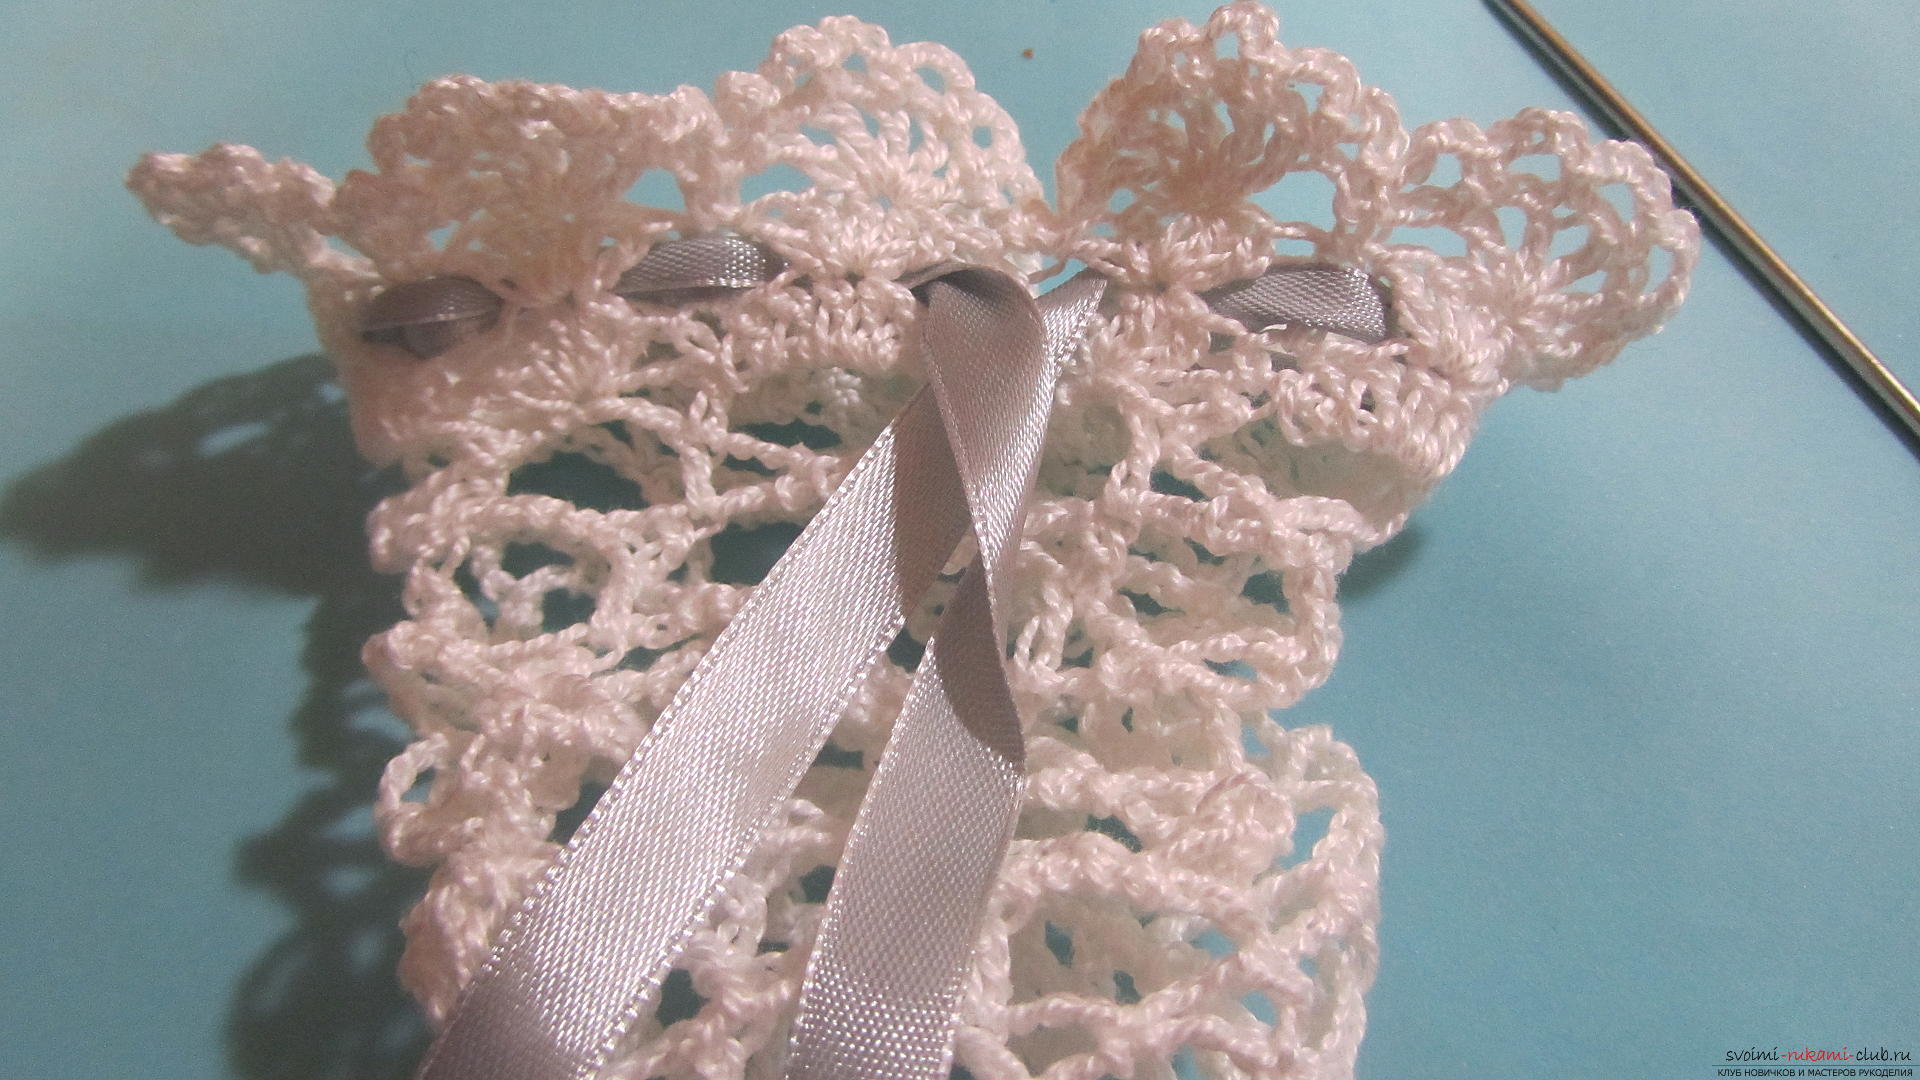 Then we will put our knitted part of the vase on the jar.
 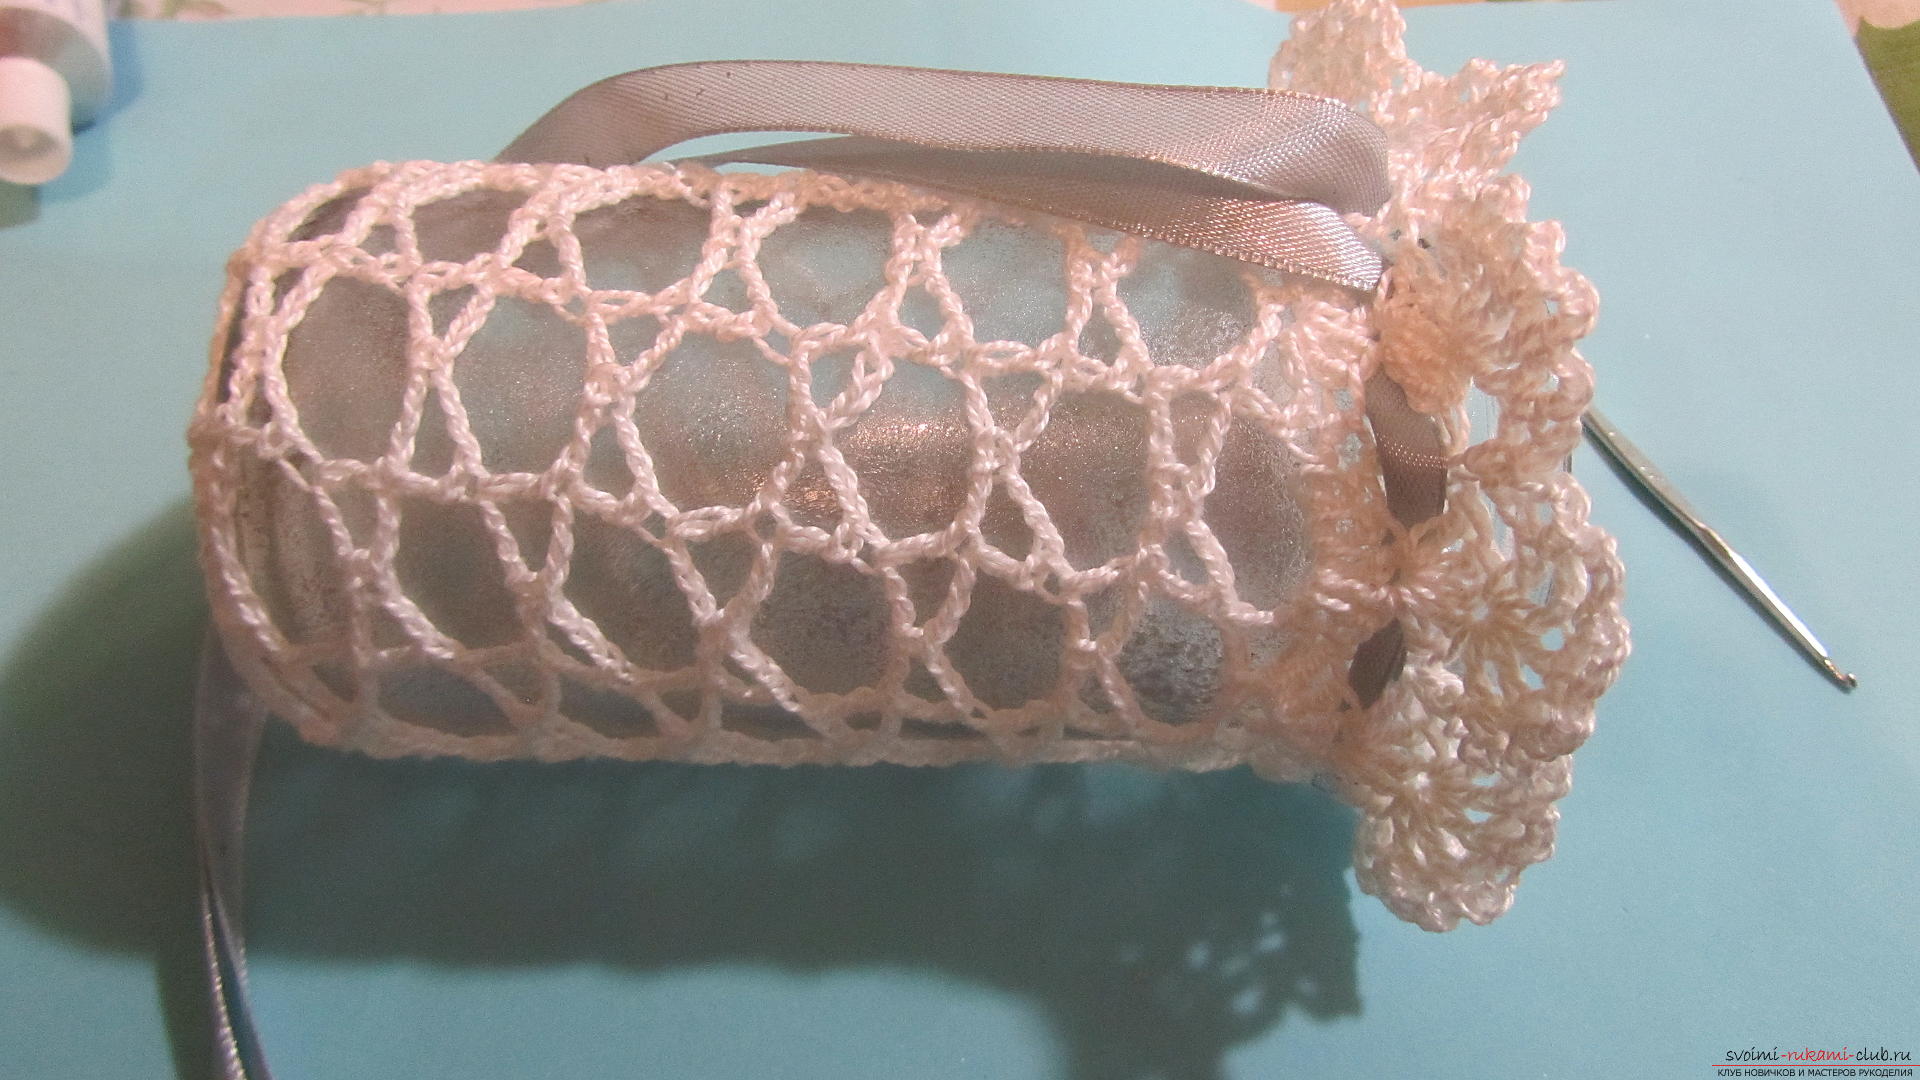 Tighten the ribbon so that the strap does not fall off, but firmly seated on the jar. And tie a bow.
 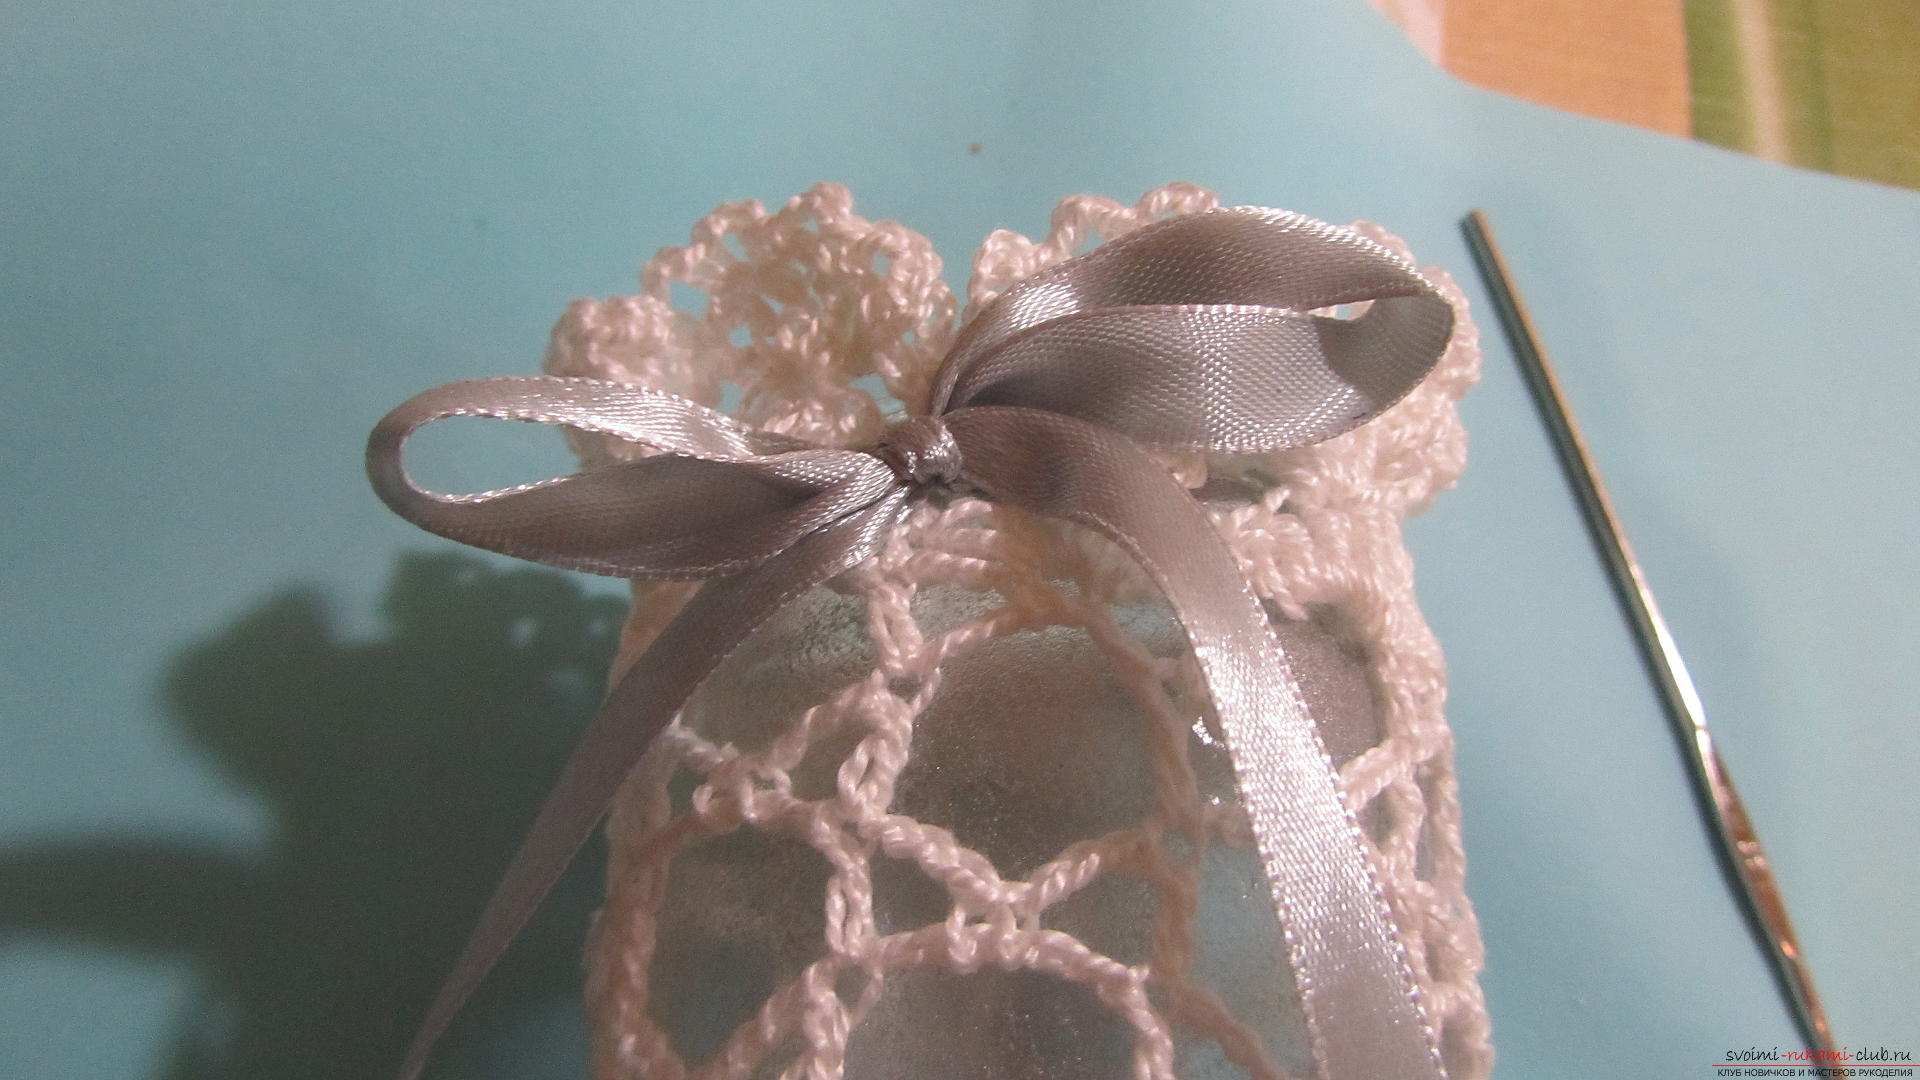 The edges of the ribbon must necessarily be scorched by a cigarette lighter or a candle.
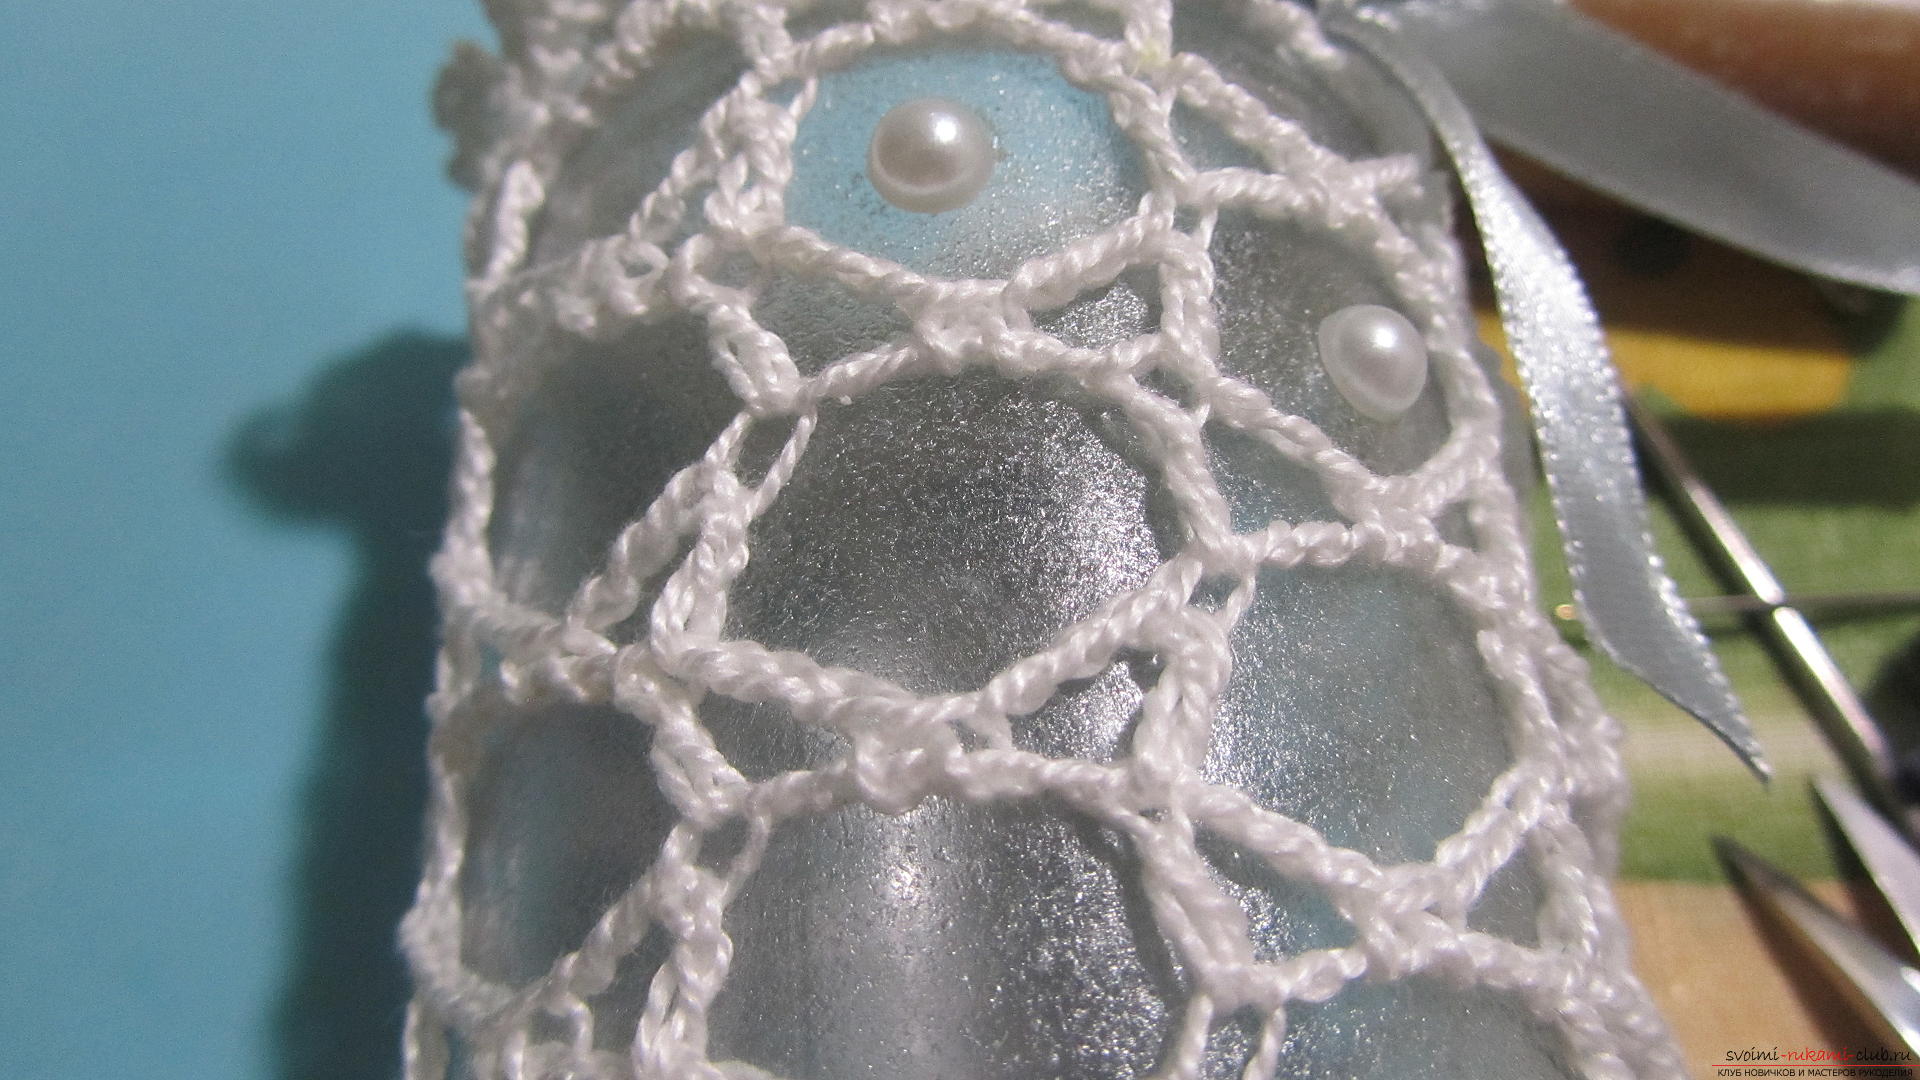
 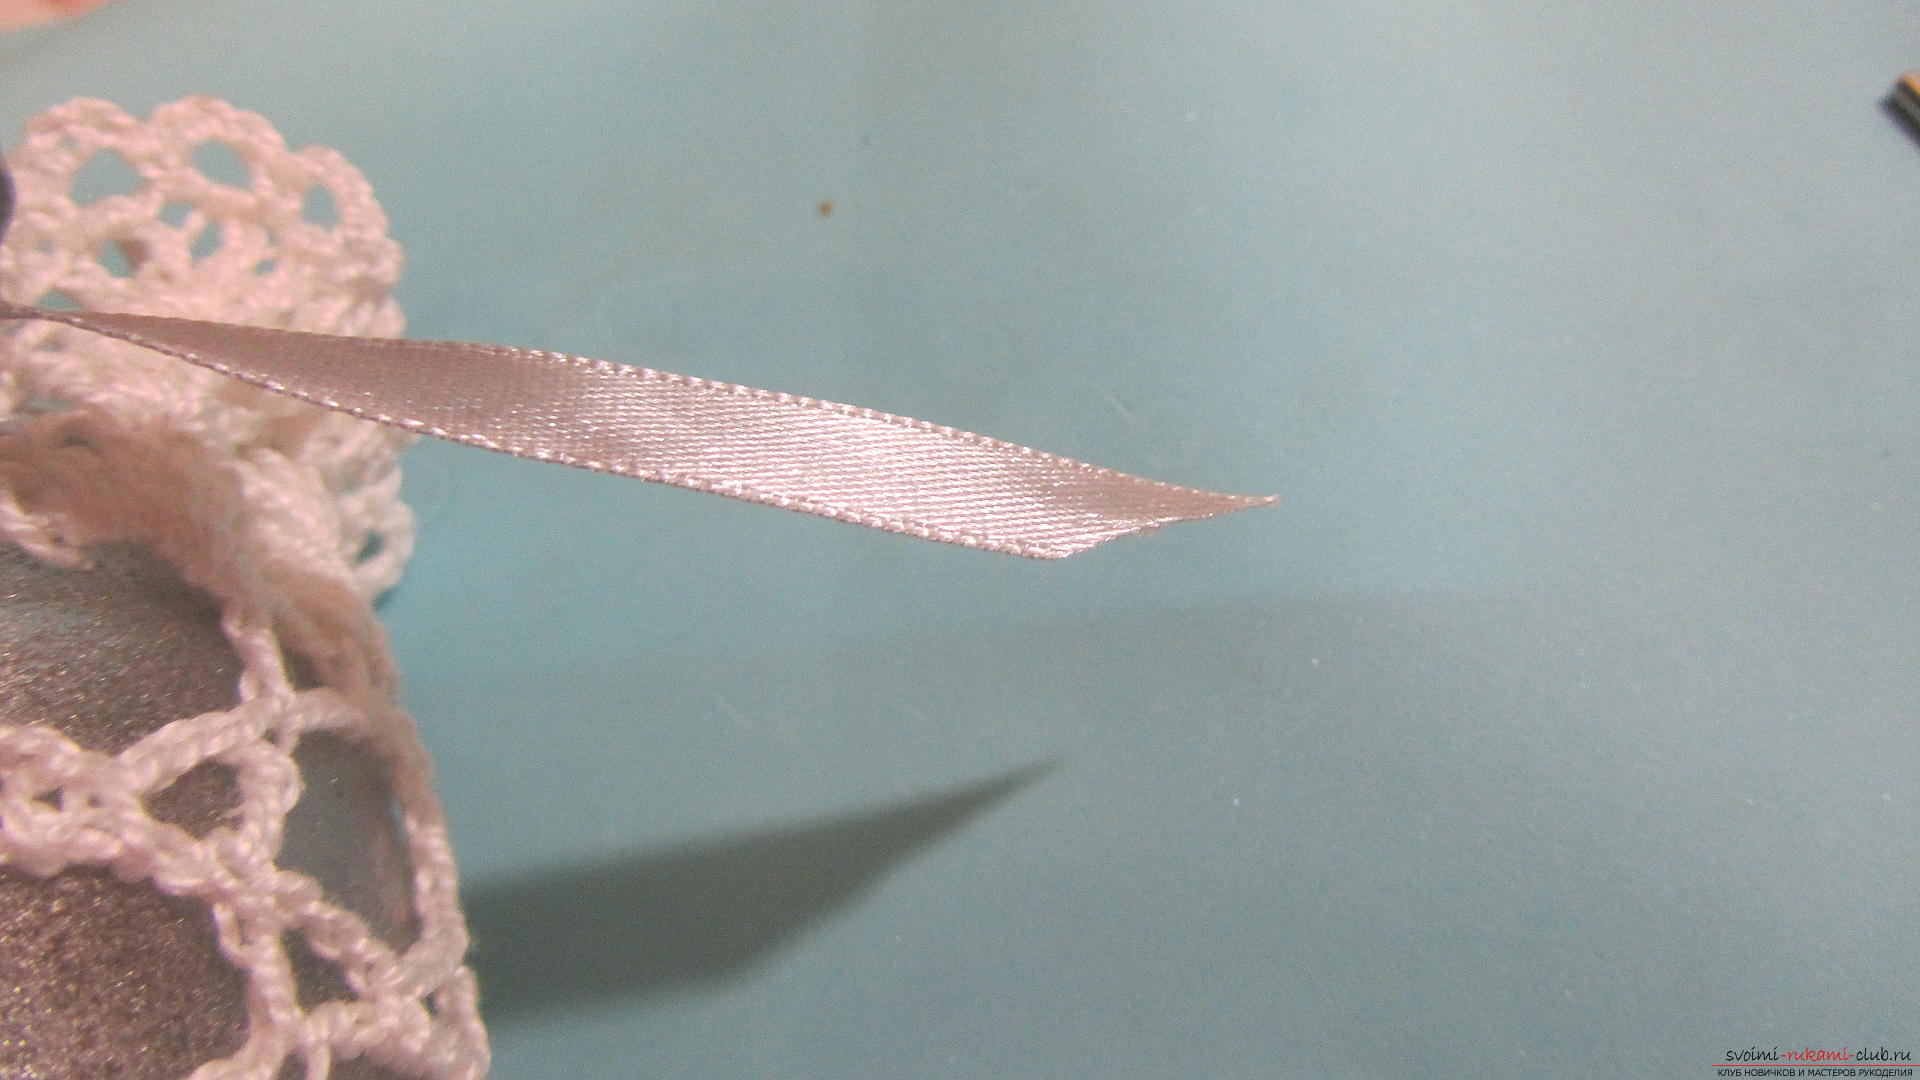 In large sectors of the strapping to the bank we glue the half-beads. You can glue them in any order, as you like.
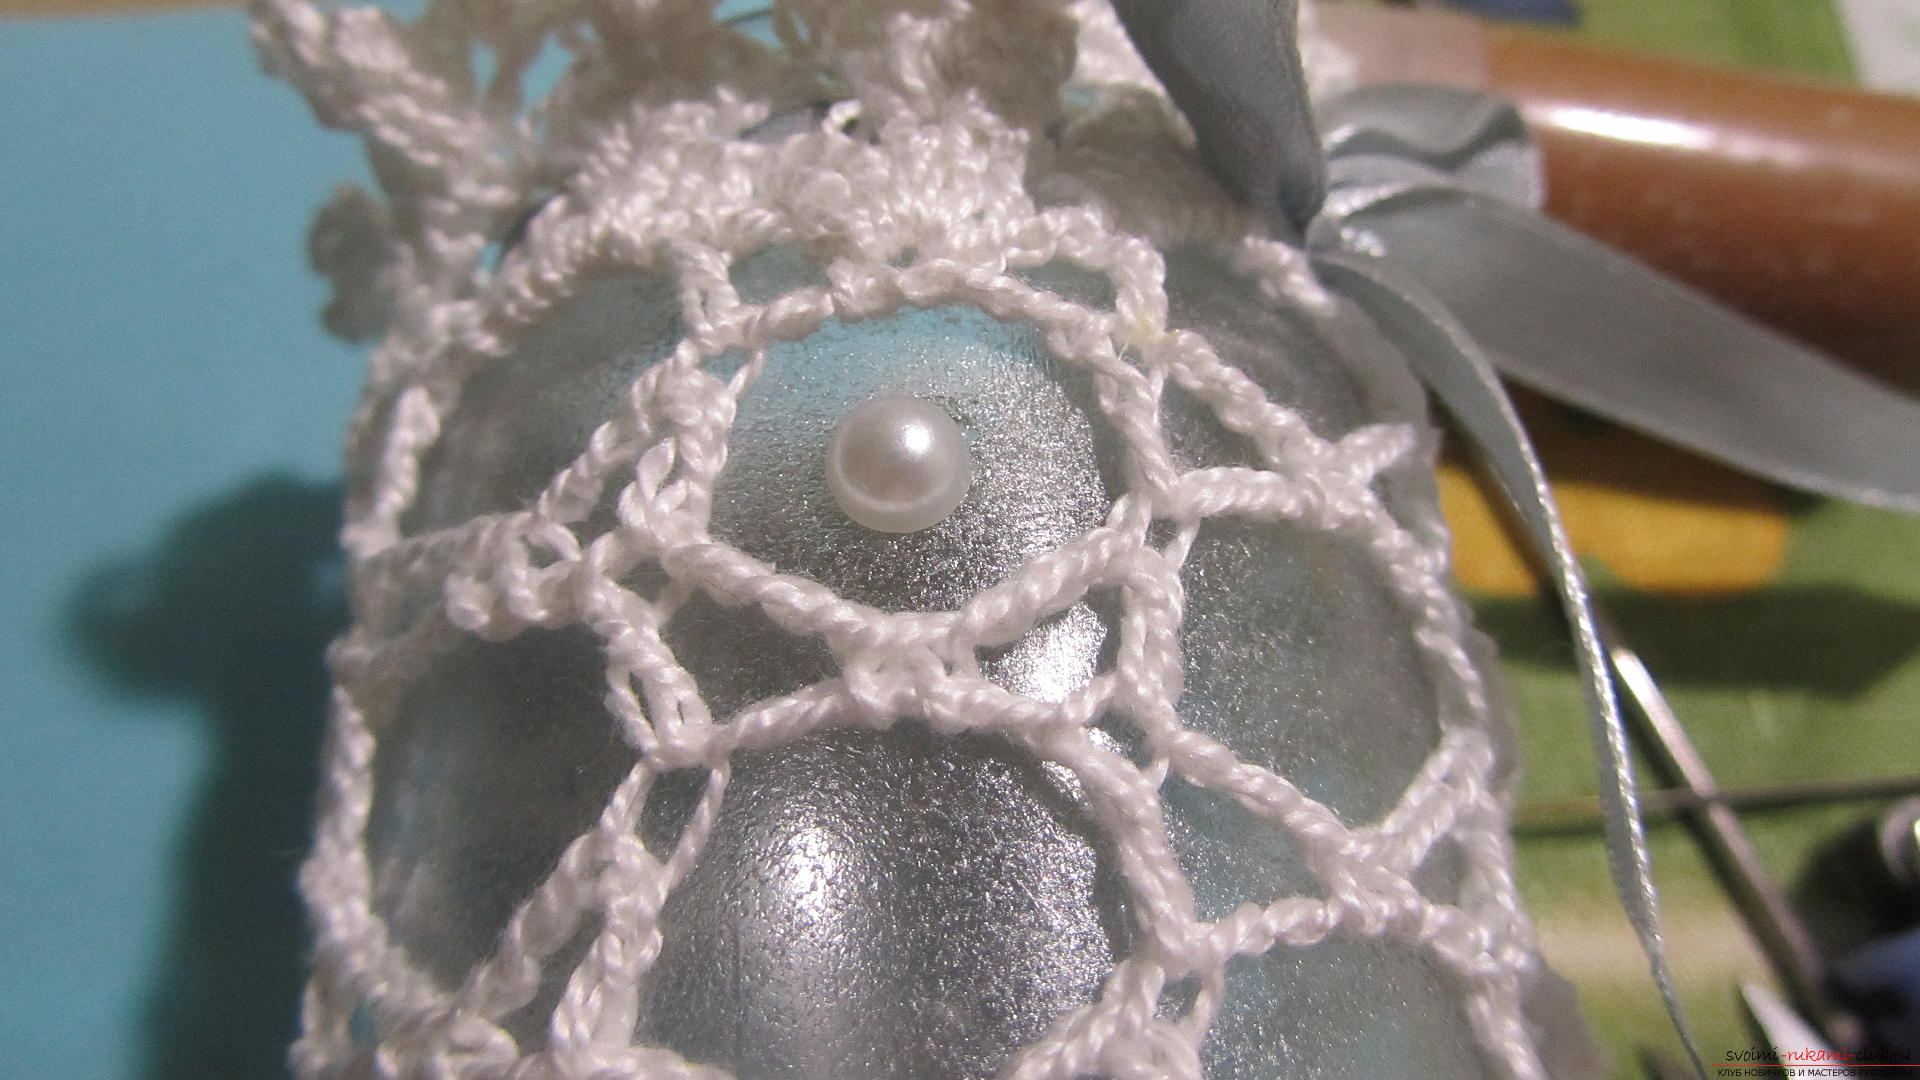
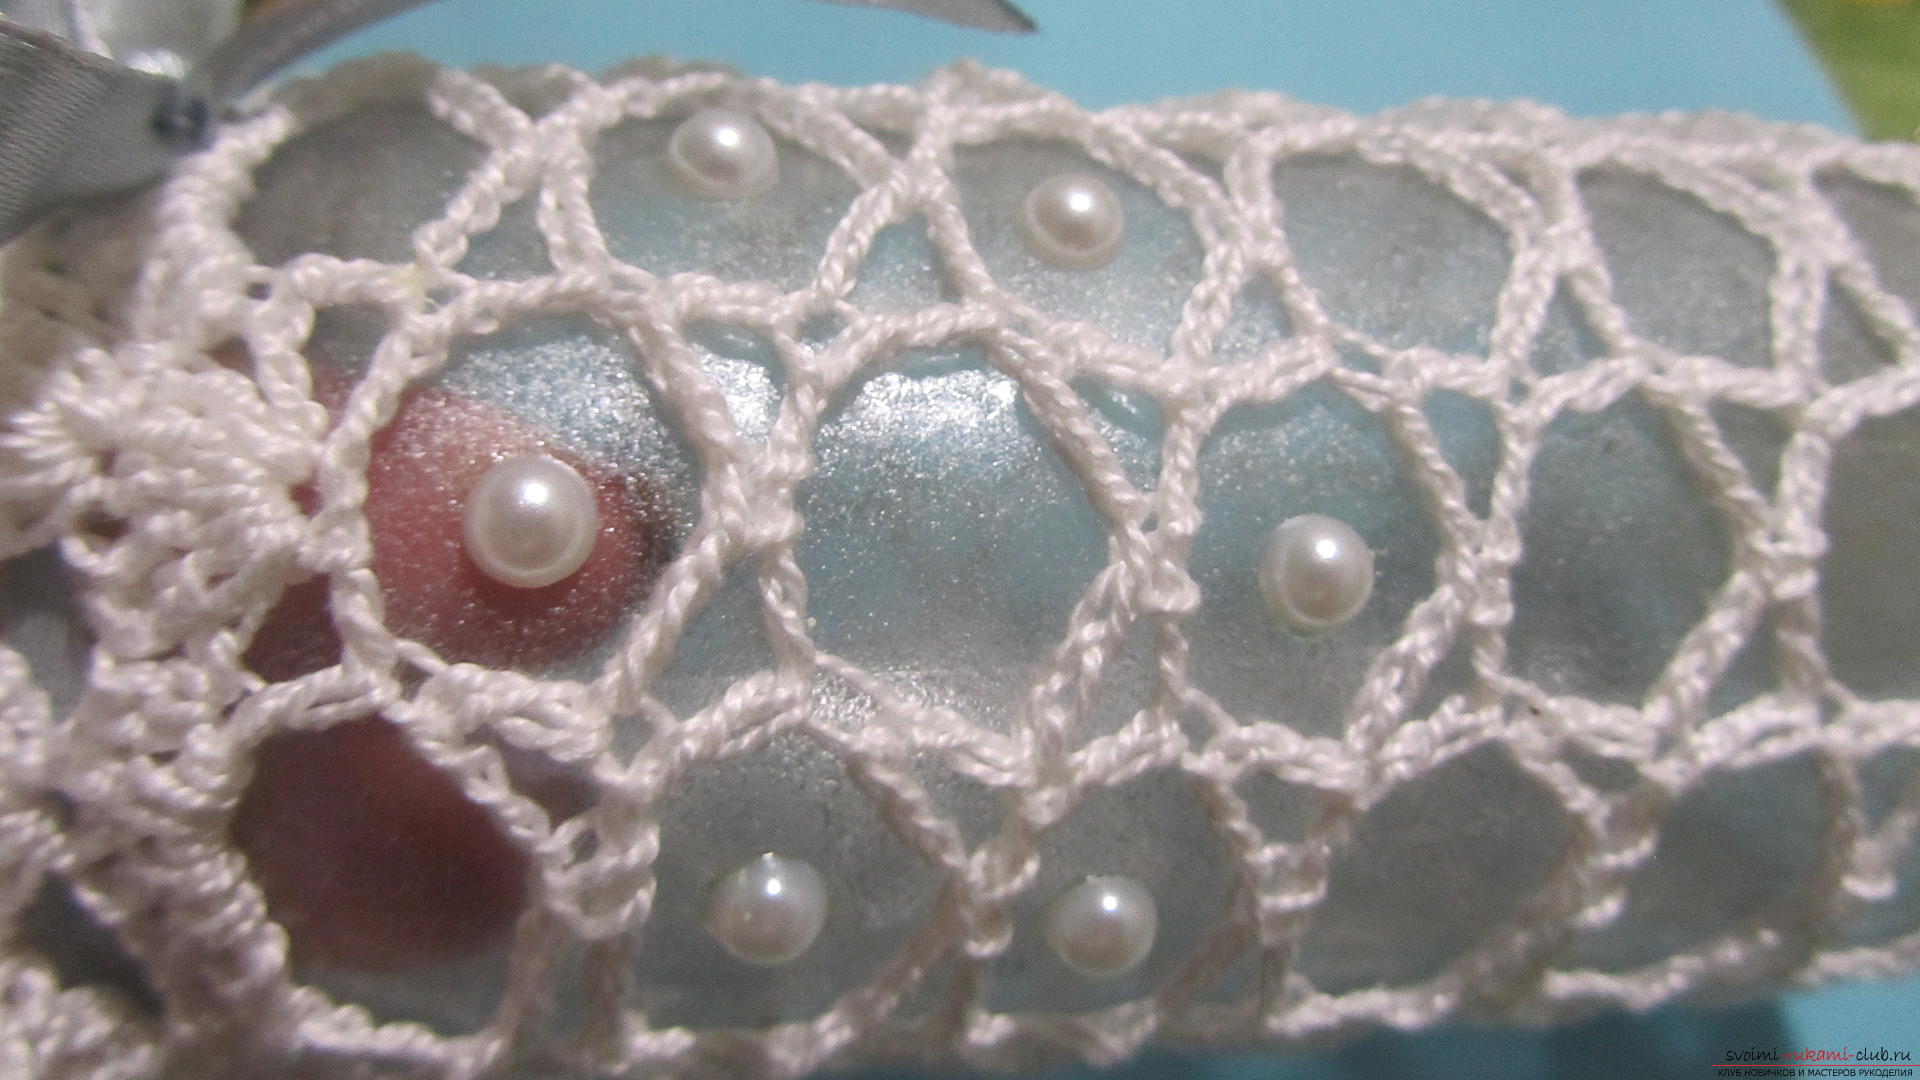 Our vase is ready. If necessary, the strapping can be removed and washed.
Comments
Related posts:
 This master class will teach you how to make a vase with your own hands from a modular origami.
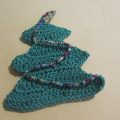 This master class New Year crafts with their own hands with a photo and description will teach how to tie a Christmas tree crochet
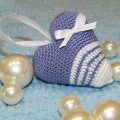 This master class on crochet will teach you how to make a heart charm with your own hands.
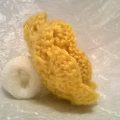 The master class will teach you how to make your own hair elastic band with a crocheted flower
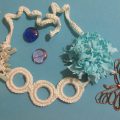 This master class will teach you how to make jewelry yourself, a homemade necklace can be crocheted