
What is the technique of kinusage and how to create a picture of the flaps, tips, recommendations and phased photos.
The Japanese are known all over the world for their skillerect any occupation in the rank of art. It was this path that saw such kinds of creativity as origami, kanzash, ikebana, etc. A similar situation is observed with this kind of art, like Kinusayga. When sewing kimono, valuable fabrics of the highest quality have always been used, and the desire to reuse them has created such an original art form for creating unsurpassed panels and paintings from cloth. This work has many analogues all over the world. Often this technique is called a patchwork without needles, because in the manufacture of such masterpieces they are not used at all. Japanese kimono is considered a national decoration, dating back to the 19th century. To create it, natural, expensive silks have always been used. Naturally, no one threw old clothes. They tried to change them into various smaller things and household items. The production of paintings in the technique of Kinusayga became one of such ways of using expensive silks. The traditional execution of paintings in the Kinusayga technique is distinguished by a certain set of actions. To begin with, the artist performs a sketch of the future picture on paper, which is then transferred to a wooden plank. Then in it on a contour crevices are cut, depth no more than 2 mm. The old kimono is cut into small parts with allowances of about 1 mm. They are then inserted into the finished grooves. Most often for their plots, artists choose all sorts of colorful landscapes, less often, but one can observe in such pictures and people. If they appear in the works, they are mostly stylized, because even for the most skillful virtuosos of his work, the face image is quite a complicated process. To date, Kinusayga's technique is known all over the world, but unlike those times, today valuable silks were replaced with ordinary flaps, and ordinary pieces of foam were used instead of wooden dostocs. Executing the picture 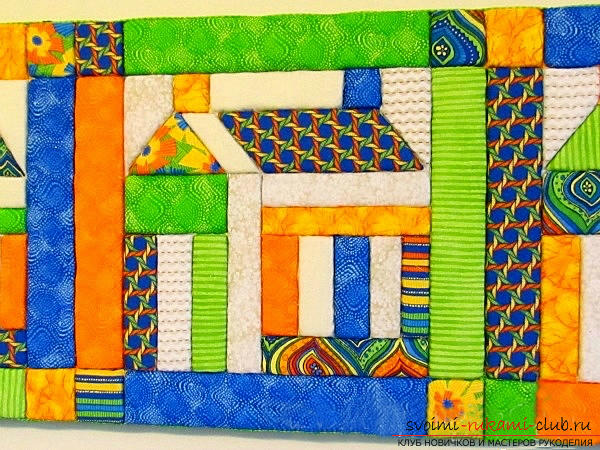 It is enough once to see the process of creating a panelin the technique of Kinusayga, and you immediately understand the principle of work. To make a picture in this technique, you need to prepare a certain list of tools and materials. Pick up a piece of polystyrene that fits the size for the image you selected (its thickness should be at least 1 cm). Also, color patches will be needed for the work. When choosing the right material, take into account the moment that it should not stretch, its edges should not crumble. It's much easier to work if the fabric is not thick. Select the appropriate pattern and prepare the copy paper. From tools in the work you will need scissors, a scalpel or a stationery knife and a suitable tool to fill the flaps in the foam (for this work a nail file or something similar). For example, a pattern was created, created on the basis of simple geometric shapes. Beginners with him will work much more conveniently.
 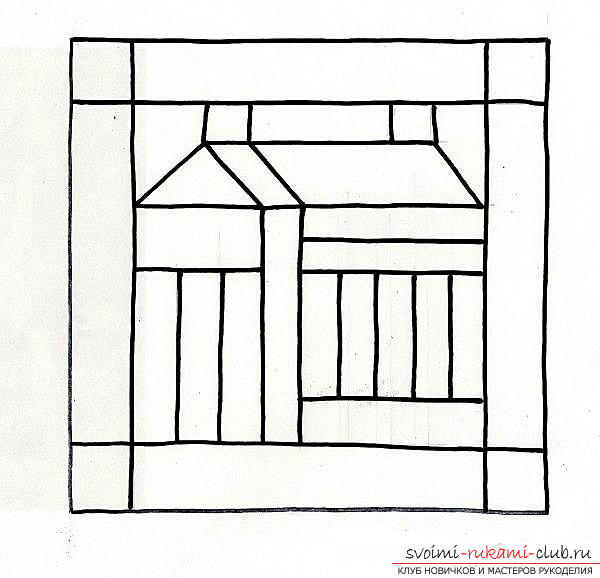 Transfer the finished image to the foam using copier paper.
 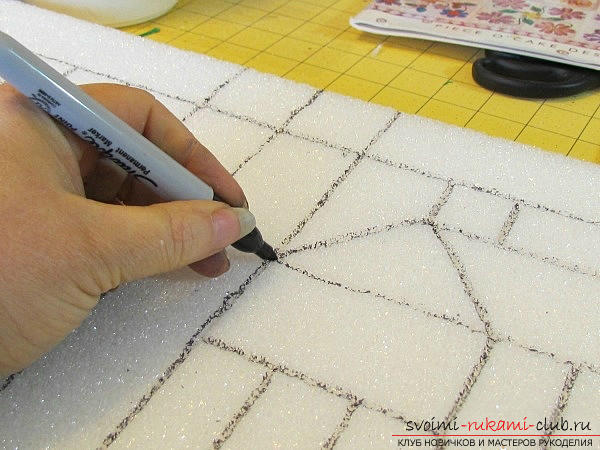 Now, on these contours, it is necessary to cut grooves with depth not more than 2-3 mm. To do this work, use a scalpel (clerical knife).
 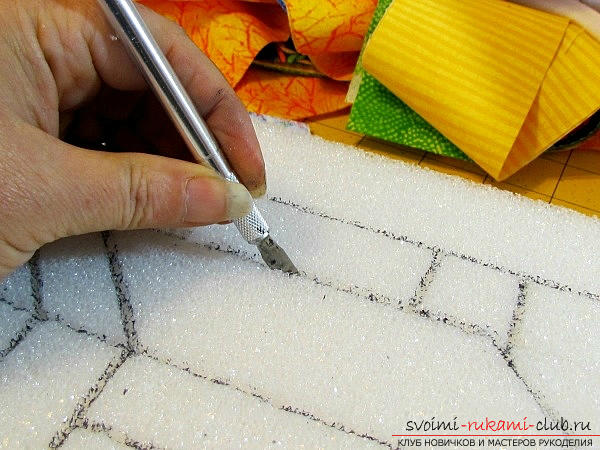 Prepare fabric shreds that match the size of the individual details of the painting.
 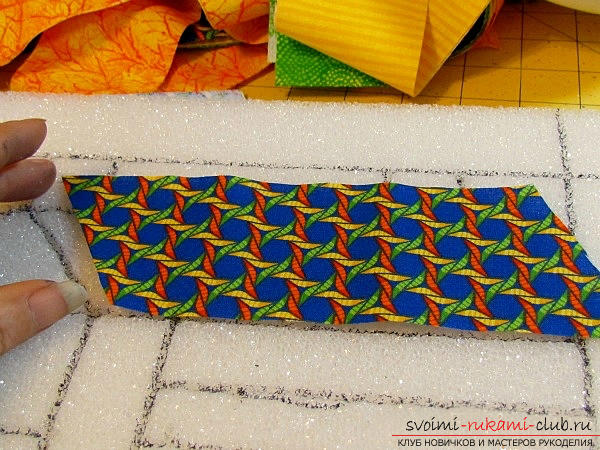 Fill the flaps in the holes of the foam, using a nail file or other convenient tool.
 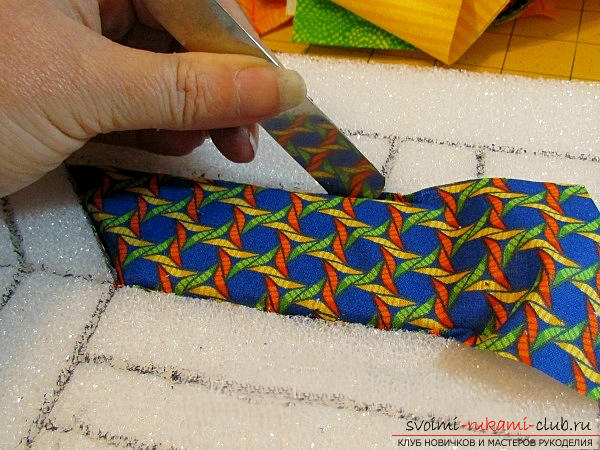 This way you need to fill the whole picture.
 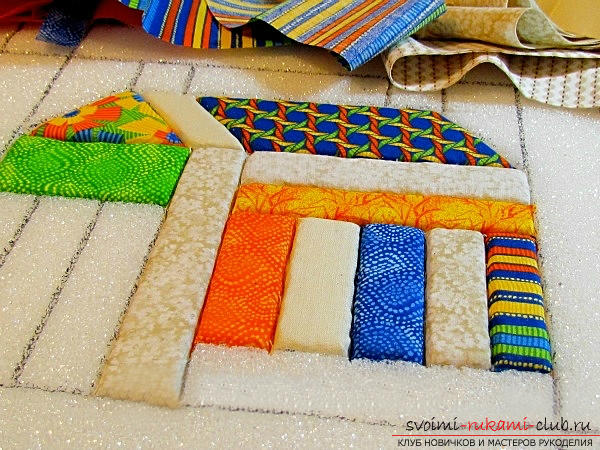 To make your panel complete,him in a frame. Another variation of the design of the edges of this picture can be edging. Choose a fabric or a wide ribbon of the right color and fasten it using the buttons.
 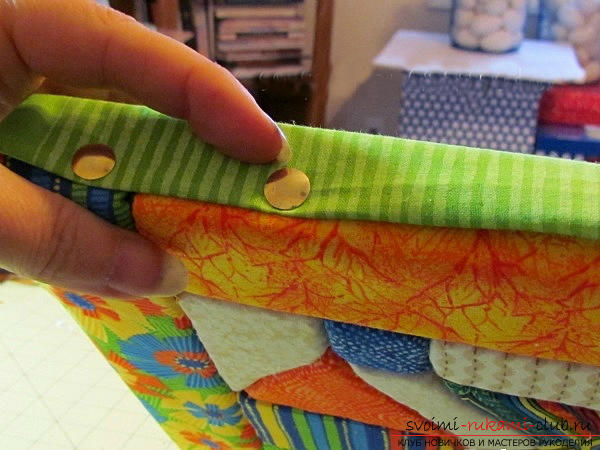 Now our picture, made in Kinusayga's technique, is completely ready.
  Quite often you can see all kinds of boxes and boxes, the caps of which are also decorated in this technique. Look at such items quite bright and original.
 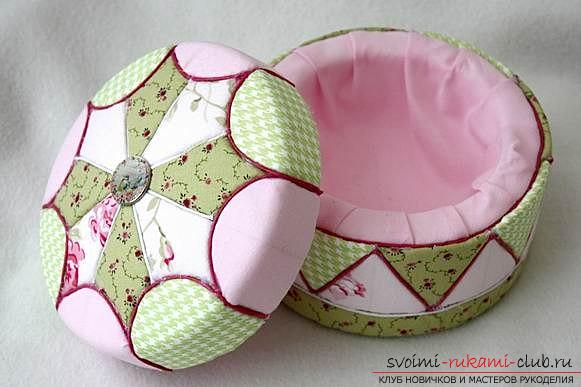 Similarly, you can decorate many items, try to collect Christmas toys in the technique of Kinusayga. They look very original.
Comments
Related posts:
 Tips and recommendations and phased photos on making a postcard for my grandmother.
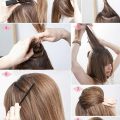 Tips and advice on creating an exquisite hairstyle "Babette" with bangs, various variations and phased photos to them.
 Quilling technique for beginners, the basics of quilling, rules and advice for beginners, a description of the basic schemes, tools required for work, tips, advice and photos.
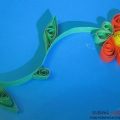
 Quilling technique, various flowers in technologyquilling with your own hands, creating compositions using colors, quilling techniques, tips, recommendations and instructions for creating them with phased photos.
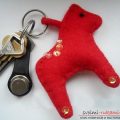 Horse-own, a toy horse, a horse of socks with his own hands, a horse of thread with his own hands, how to make a horse from improvised materials, advice, recommendations and phased photos.