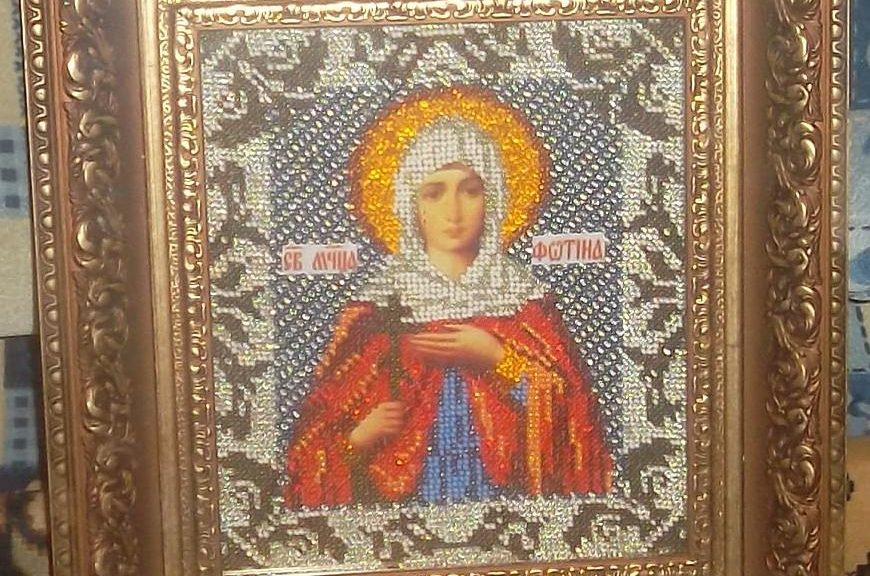
A lesson on the beadwork of icons, a detailed master class with diagrams and a photo for beginners.
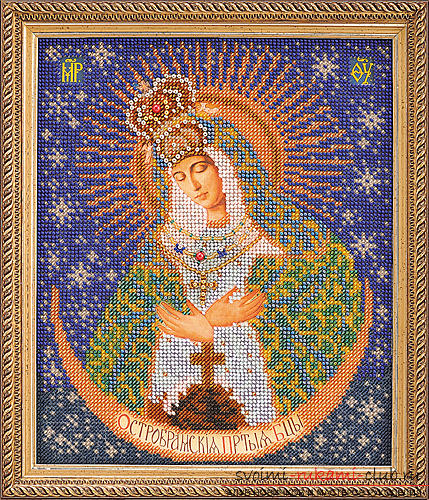
There are three ways to embroider icons: process the finished pattern with beadwork; cross processed parts of the body, and beads - the clothes depicted on the diagram; without using sets of beads to create an icon. In this lesson, we will describe in more detail the first version, while others will only be described. For beginners we advise to buy beads of equal size, and then at the expense of skills we complicate embroidery with beads and stones of unequal size. 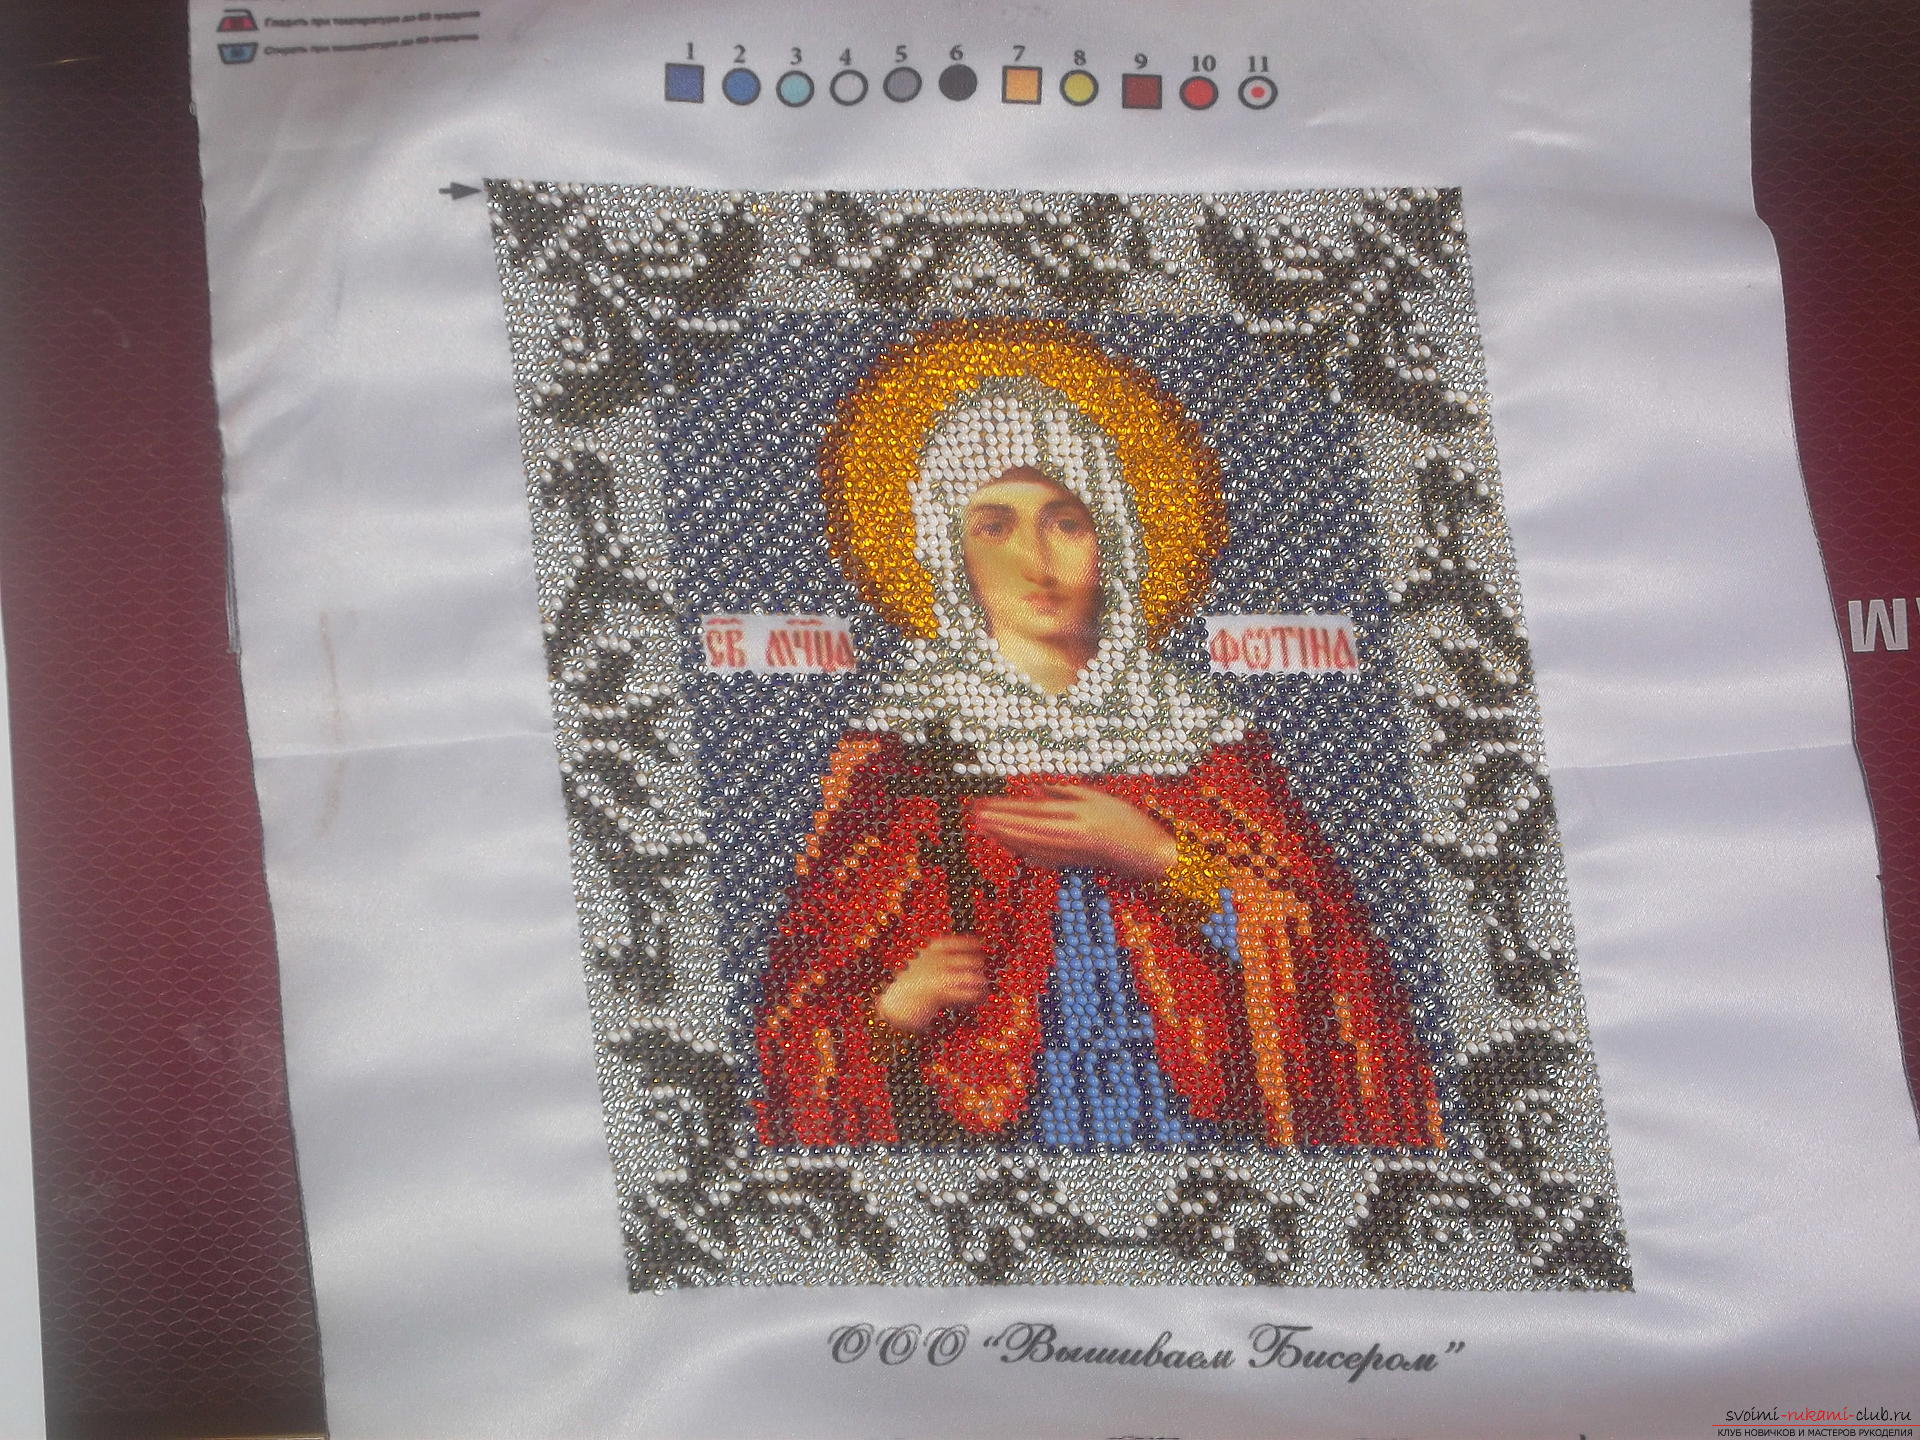 The scheme assumes use as a basissilk and linen fabrics. Silk gives a sliding base, and flax ensures the non-rupture of the fabric material. The use of the embroidery frame is not recommended, they damage the beads. For embroidery we use frames. You can create them yourself with the size of the canvas.
 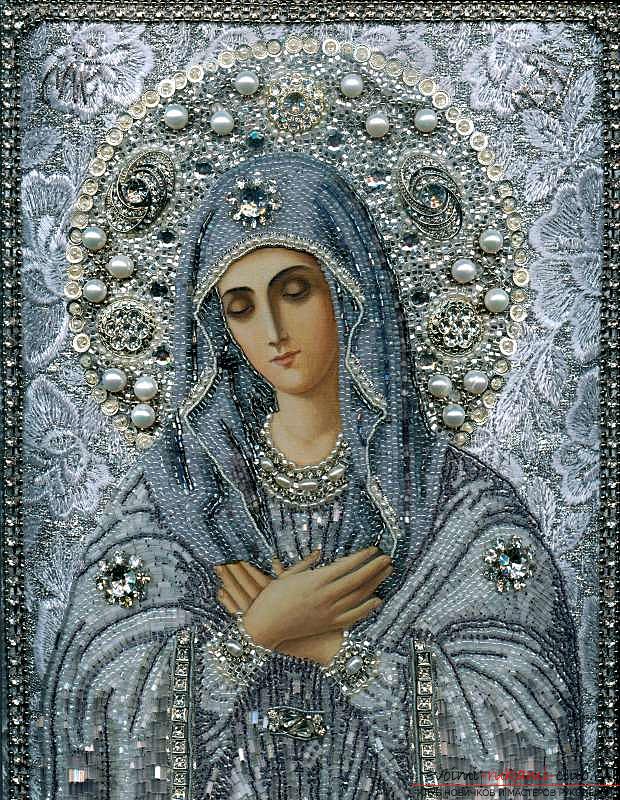 If you do not want to use the hoop orframe, you can do without them, but try not to admit the skewing of the base, so that the embroidery was flat. Before you start, walk on the wrong side of the canvas with an iron. Beads need to be sorted according to color. We select one thread in accordance with the shade of the beads. We embroider the embroidery as follows:
- In the eye of the needle thread the two ends of the thread, afterthat it must be secured by creating a loop in the place where the first beads will be located (work starts from the upper corner on the left obliquely);
- needle is displayed on the front side of the fabric;
- we take a bead of the necessary shade and put it on;
- The needle is inserted into the corner located on the opposite side (from the lower corner of the left side to the upper corner on the right);
- the initial and final beads of all rows should be sewn twice;
- then the needle moves to the next row in the upper corner of the right side;
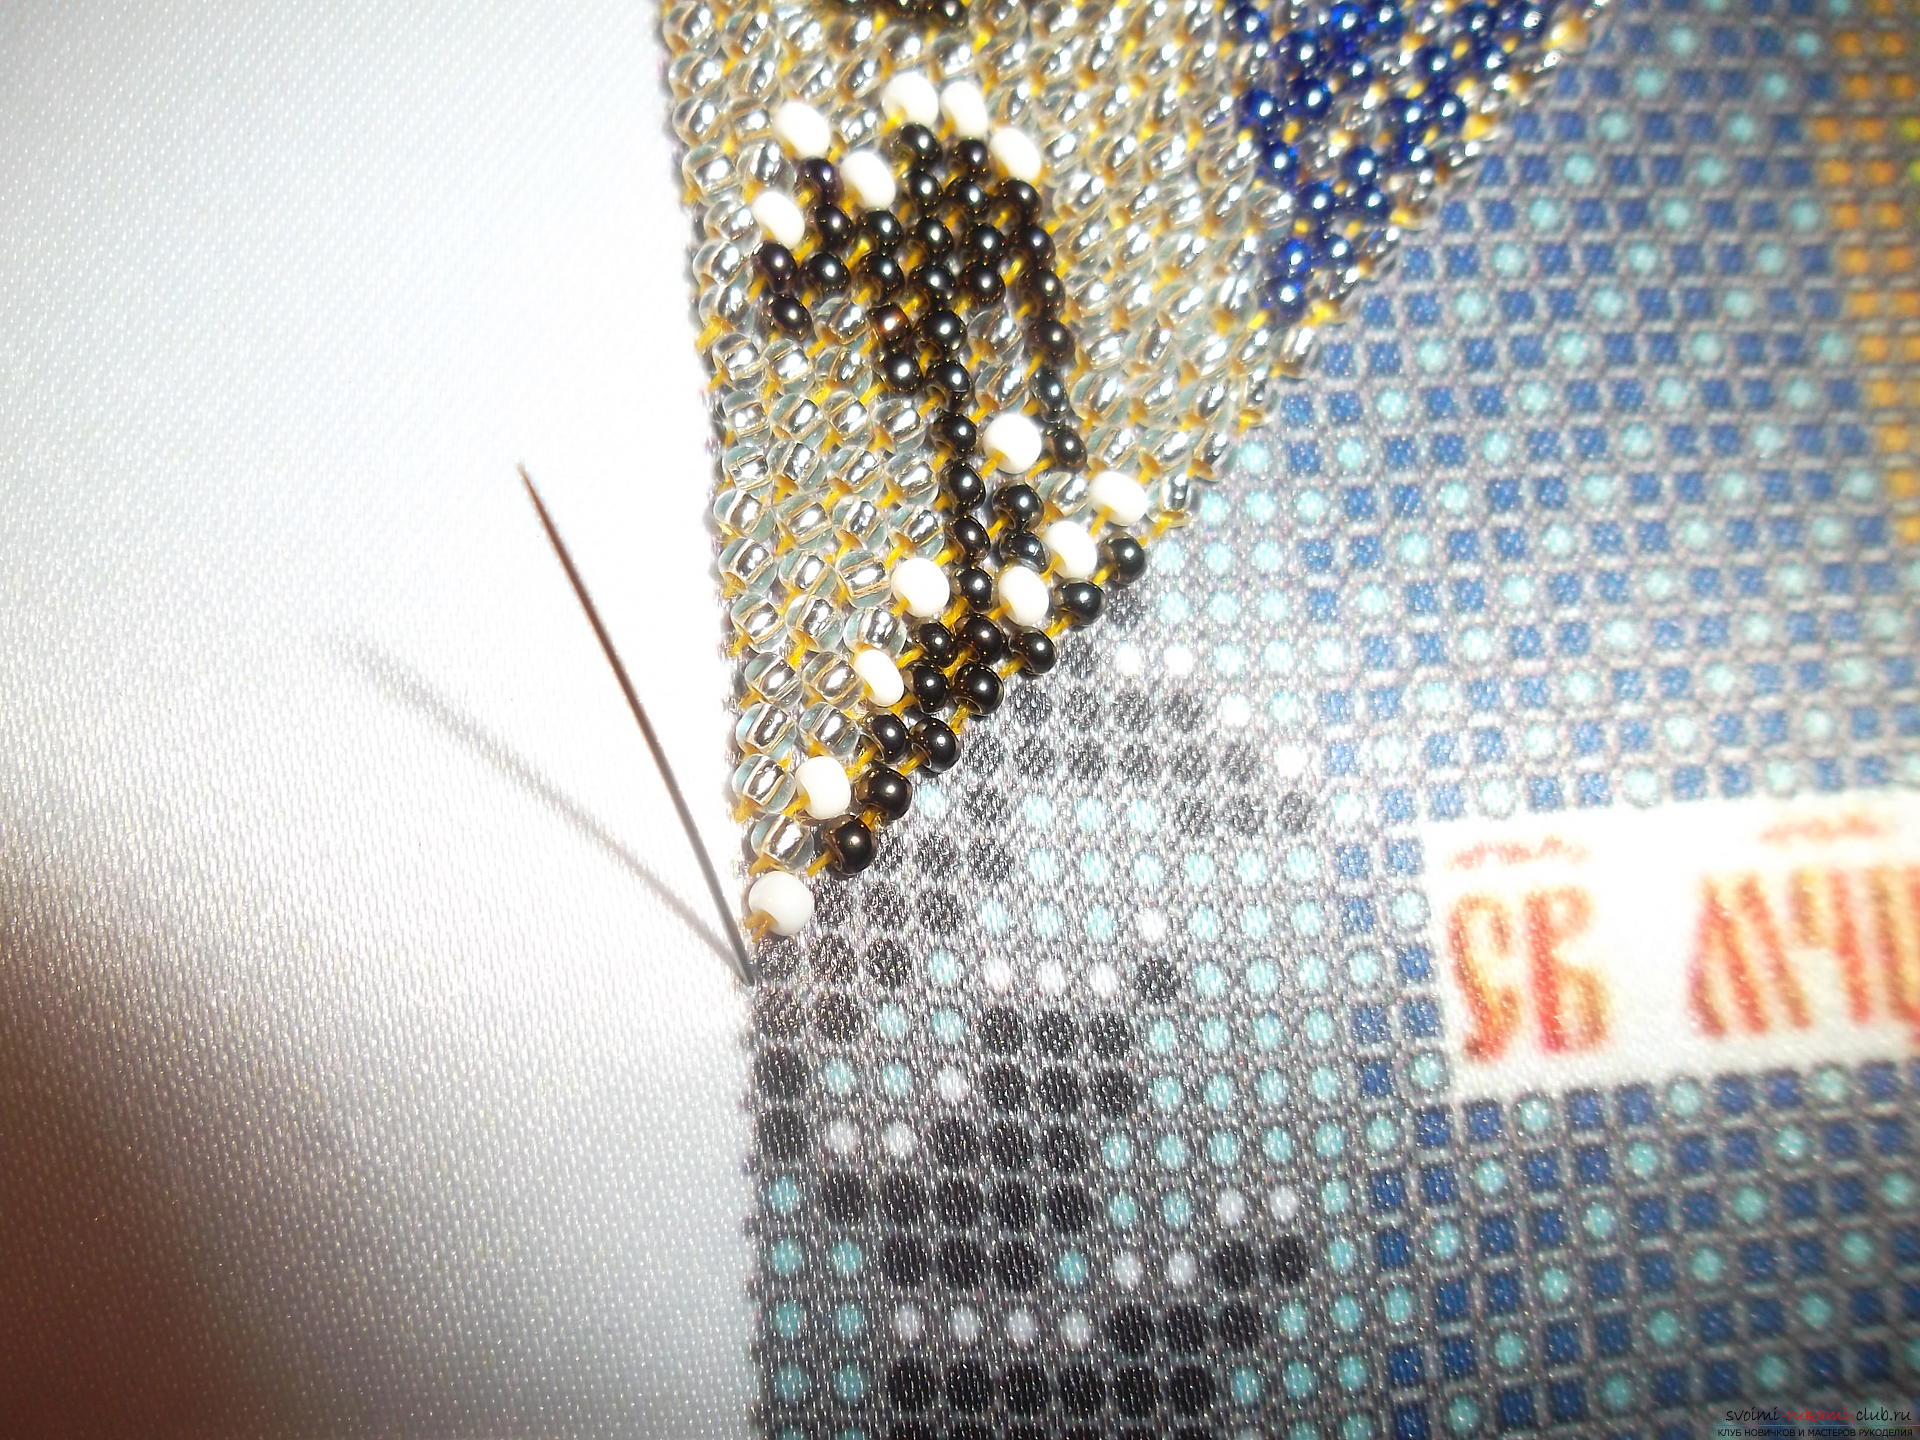
- dress the bead;
- The needle is inserted into the corner at the bottom left.
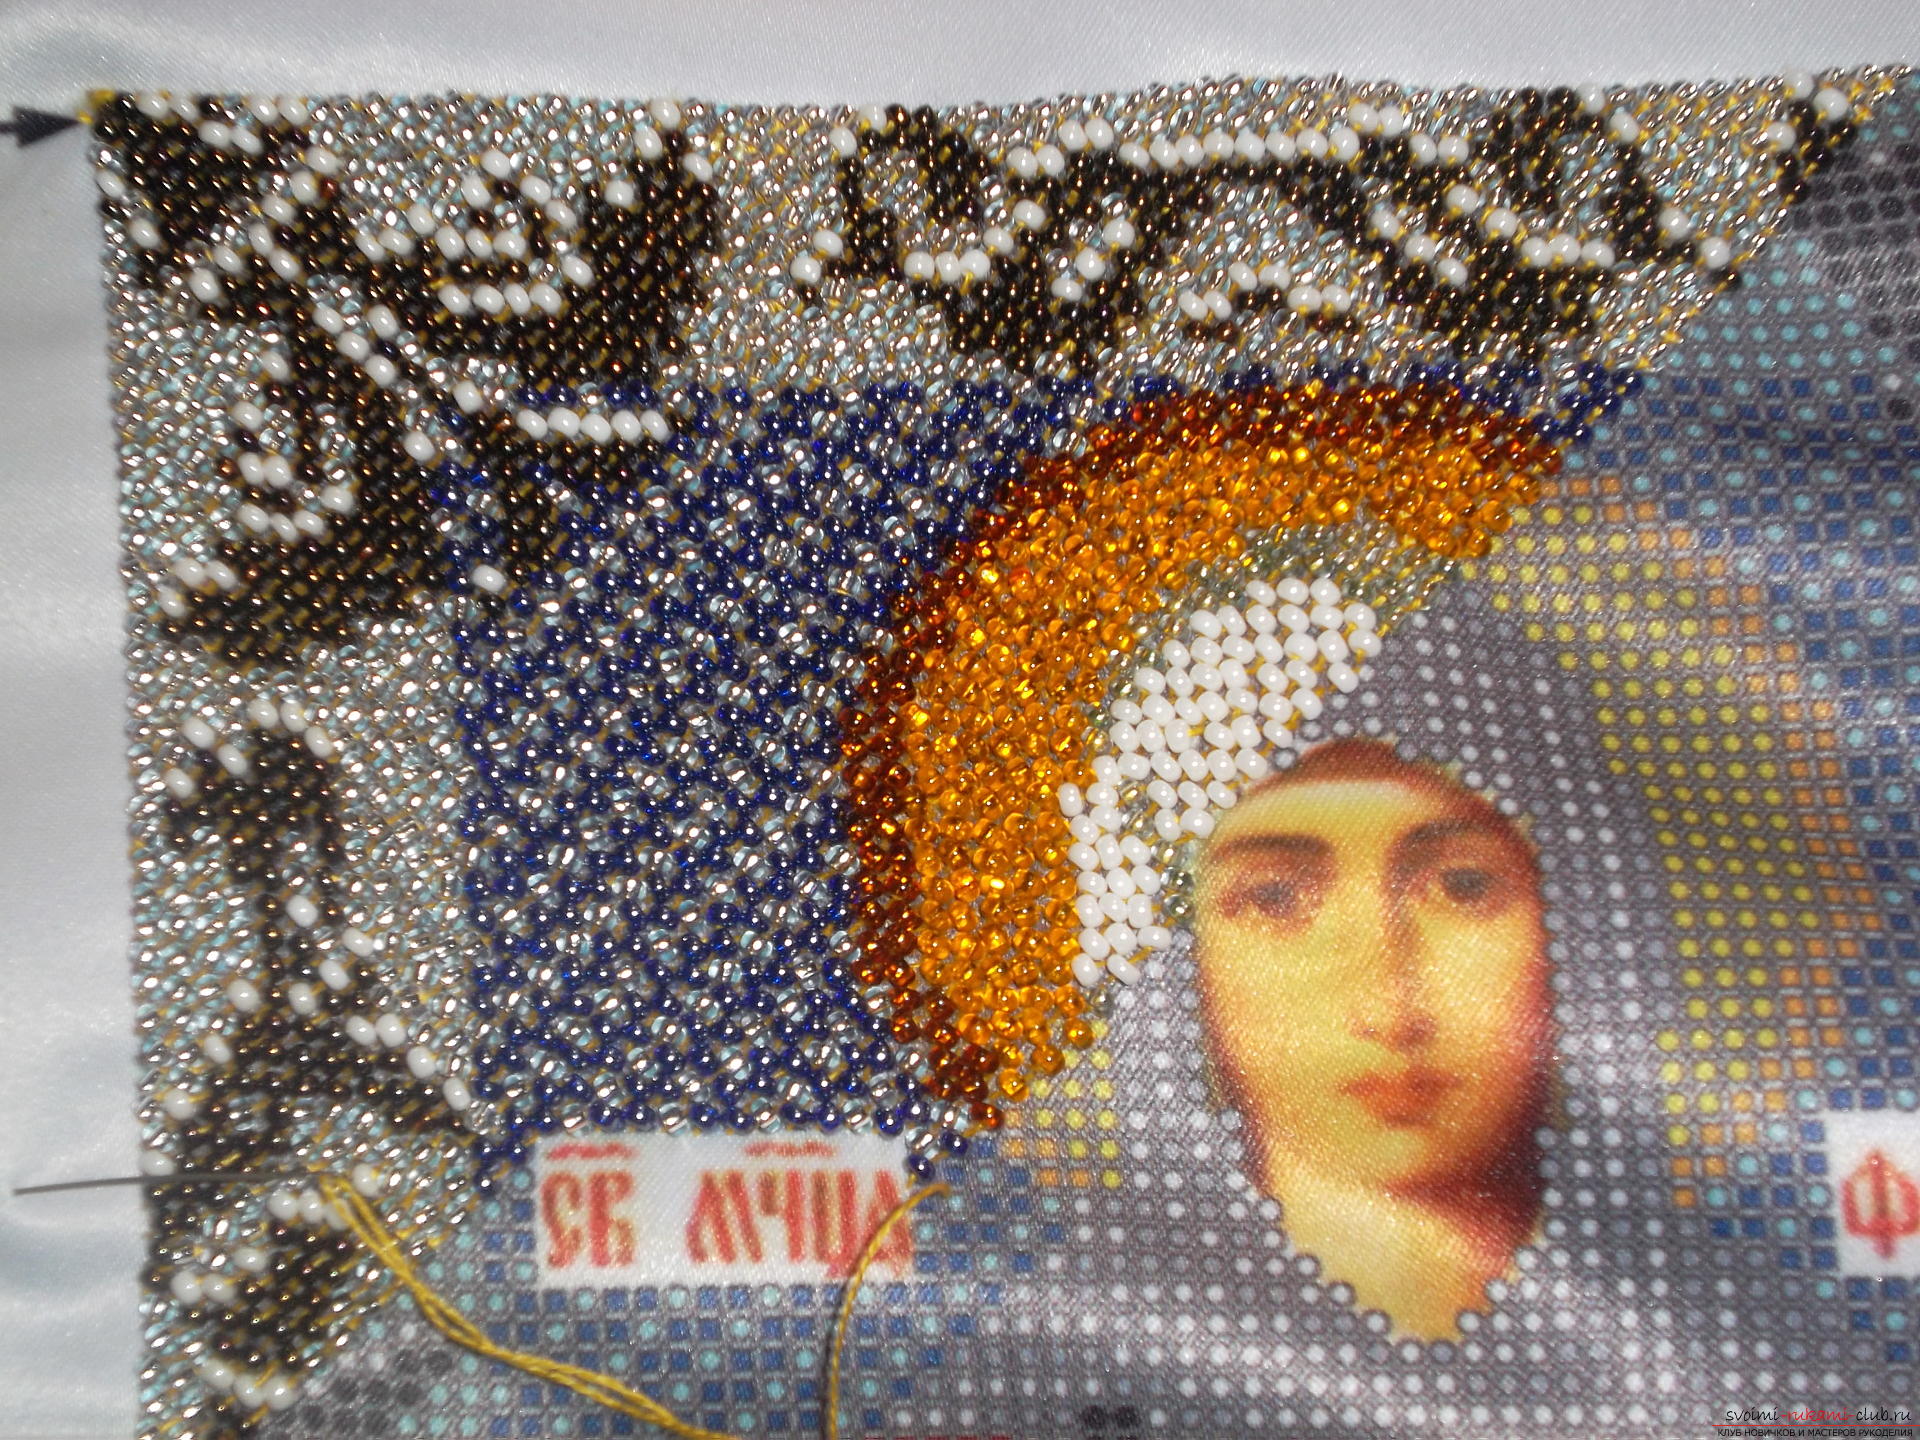
This way the icon is embroidered as in a straight,so in the opposite direction. Particular attention should be paid to the elements (faces, hands) shown on the approach to which the thread is torn off. In other words, work should be done as with the closing series. Particular attention is paid to the constrictions - they should be completely eliminated. In the finished embroidered icon, the edges are processed with an iron and placed in a frame frame.  How to create an embroidery icon with beads usingfloss? First you need to take a scheme for embroidering with a cross, then pick up beads for processing clothes, as well as thread floss to create hands, face. First, you process the picture with threads, then with beads. Particular attention should be paid to the cells on the canvas, so that they are not smaller in size with the beads, because this will cause the assembly of embroidery. Then it is necessary with the help of beads to make outline outlines on the diagram, and after that fill the space. Such icons, which are created with the help of beads and cross, will look more voluminous and realistic.
 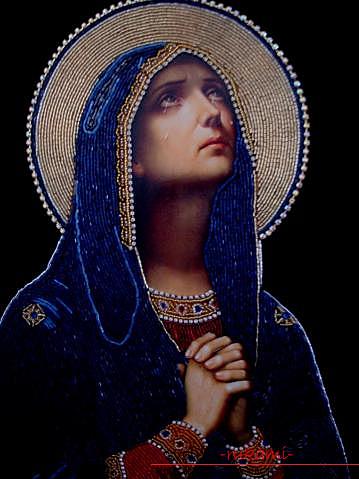 In addition, another advantage of such picturesis economical, and in size they come out more than sets created with the use of one bead. Quite complex is the type of embroidery, when the finished scheme is not used for work, but the church calendar is applied. It is necessary to have a wall calendar with a picture of the Saint, then you should choose other materials by color and size: stones, beads, beads.
  Then you need to cut the main face of the icon withoutbackground image and translate it to fabric material. We make the markings, then we have to cut out the parts of the body and the faces that are open, and make their translation onto the tissue base. Then we do not create embroidery of all the details in random order. We fill the work, starting with large pebbles, covering them with small beads around the circumference. When embroidering the 2 final rows that remain before the unfilled areas of the body, the blanks of the paper are glued to the fabric. After that, we make the beading with beads.
 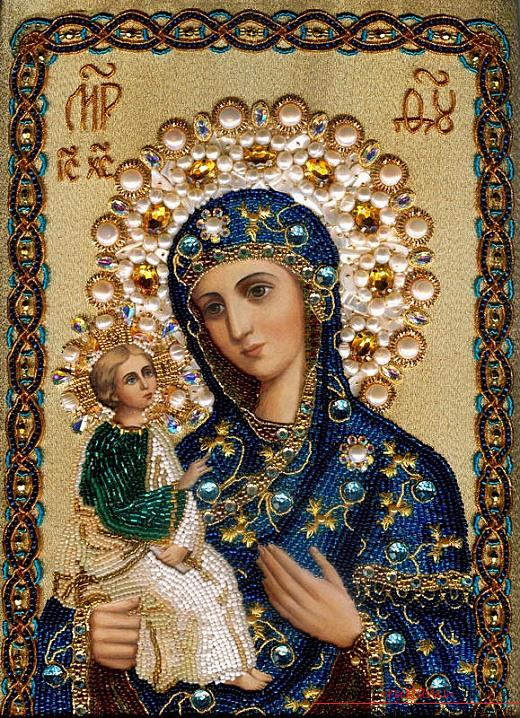 At the last stage we apply a special lacquer coating and decorate it in a frame frame. This is how the icons are embroidered with beads.
 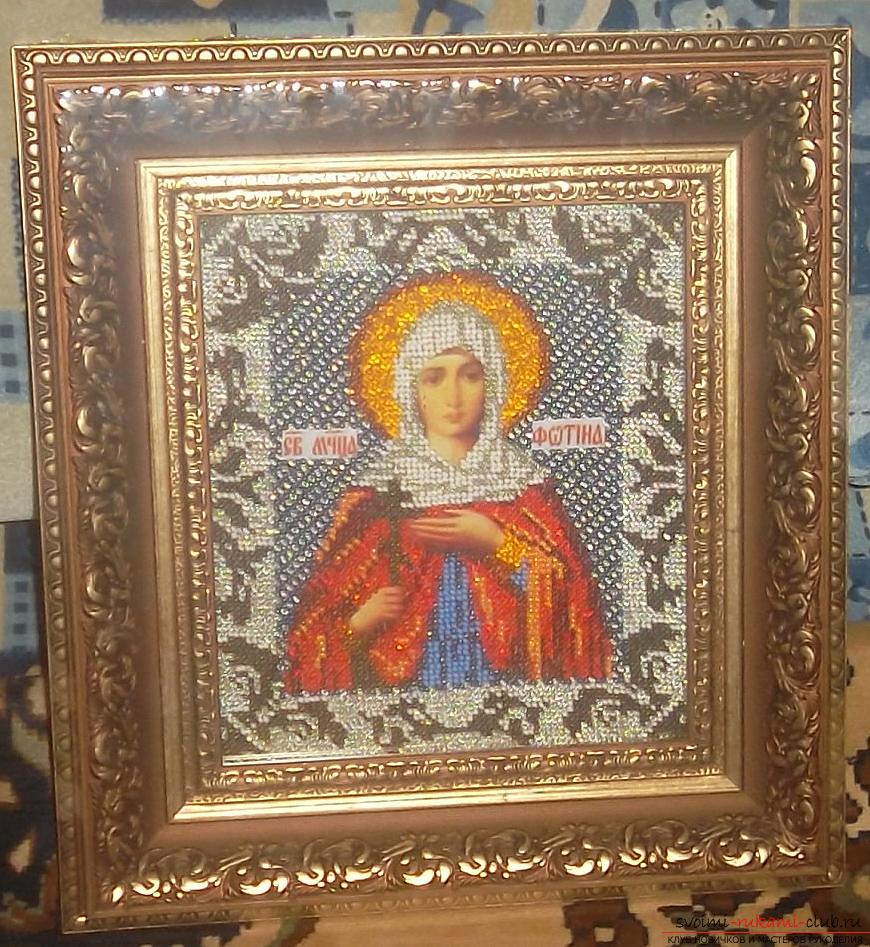 To inexperienced foremen it is desirable to begin withsimple and then move on to a more sophisticated technique. Embroidered in this way, portraits and landscapes will have a visual volume. Creating with the help of beads the main plan and other basic details, you can see the transformation of the pictures made with beads using a floss and ribbons.
Comments
Related posts:
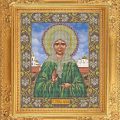 The scheme of embroidery of icons of the Savior and the Holy Blessed Matron with a cross, a detailed master class with a diagram and a photo for beginners.
 Beadwork embroidery, detailed master-class with diagrams, photo, for beginners
 Embroidery with beads paintings or icons, detailed master-class with diagrams, photo, for beginners
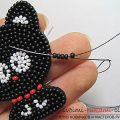 Embroidery with beads on the skin, brooch "Kitten" from beads, detailed master-class with diagrams, photo, for beginners
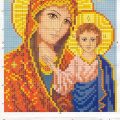
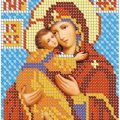 The scheme of the embroidery of the icon "Vladimirskaya" with beads, embroidery of icons with beads, detailed master classes with diagrams and photo for beginners