
Master class for knitting mittens with knitting needles for women with photo and description.
When exactly the very first thing was connected,no one knows for sure. But the images of delicate trinkets that could not be sewn are found even on images in Egyptian tombs. The art of knitting for many hundreds of years. At the same time, it has not lost its relevance, remains popular and popular among needlewomen all over the world. With the onset of autumn, coolness comes in the mornings. Delicate women's hands need protection and warmth. They will be helped by beautiful mitts. This wonderful accessory first appeared in the Middle Ages and was originally an object from the vestments of knights. Like the gauntlet of mittens, the mittens were protected from blows by the weapon and at the same time did not constrain the movements of the fingers. The word itself came from the French "mitaines", meaning "without fingers" in translation. Such trendsetters as Elizabeth the First English and Josephine Beauharnais became the first who popularized the mittens. Their real boom was the middle of the 19th century. The popular actresses of France and America wore this accessory on their performances. In fashion magazines it was said that gloves with cut fingers are a sign of good taste. These wonderful things made of guipure, silk or satin. They put them on for parties, for an opera or just for a walk. In addition, the mittens did not hide the beautiful rings at all, for which they were especially beloved by women of fashion. In the modern world, mittens are a fashion accessory that is loved by many celebrities. Karl Lagerfeld made them his constant element in clothes, Madonna has appeared many times in photo shoots in short mitts. Undoubtedly, mittens can become a beautiful element of the dress, and can also warm in the cool autumn days. In this master class we suggest to tie you a pair of mitts with knitting needles. Knitting will take place on 4 knitting needles. 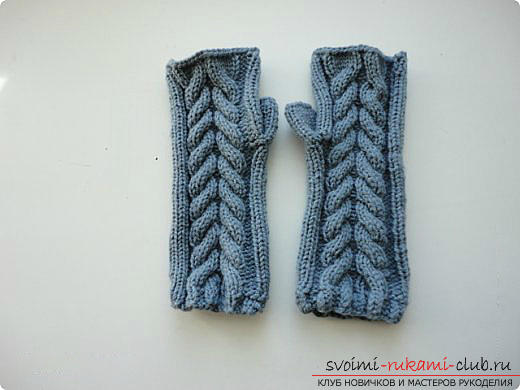 It will take:
- Yarn (100% acrylic is used in this master class);
- Knitting needles № 3.
Since the mittens will be connected by braids,you need one more special spoke. Sold in a set of 2 pcs. different thicknesses. If you do not have a special one any short needle No. 3 is suitable. Preliminarily tie the canvas 10x10 cm to calculate the loops. For 2 spokes, dial 40 loops. Their number may vary depending on the arm circumference, but in any case should be a multiple of two. 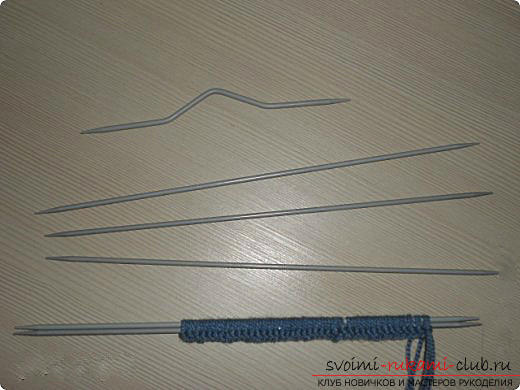 Extend one spoke. All the loops are now on the 1st spoke.
 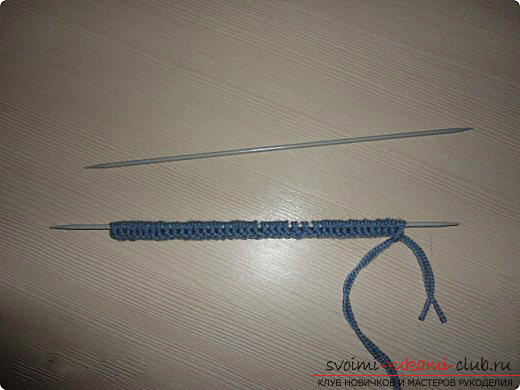 Tie 10 loops with an elastic band 2x2, the first and last eyelet should also be tied, not removed. The 9th and 10th loops should be facial.
 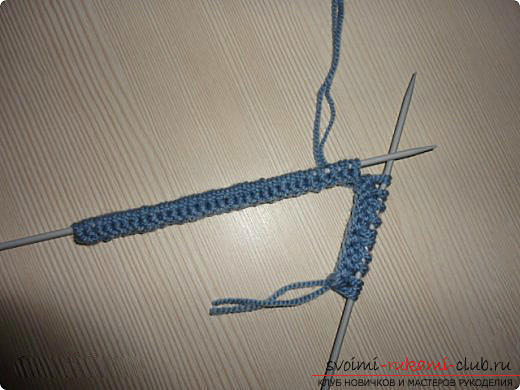 Take the 2nd spoke (in work now it will turn out all3 spokes). Link the next 10 loops, starting with 2 purlins. First needle with 10 loops until touched. For those who knit for the first time on 4 spokes, you need to know that it does not fall out, so there is no need to tighten the loops tight.
 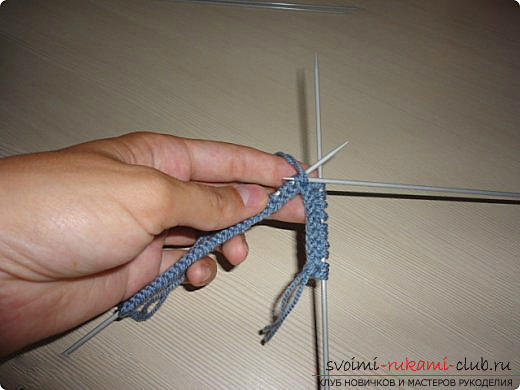 Having connected the next 10 loops, to start one more needle, knitting starts with 2 faces.
 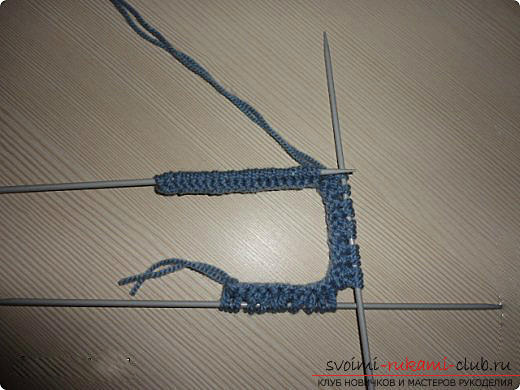 Link the last 10 loops. It turned out 4 occupied knitting needles and one working knife.
 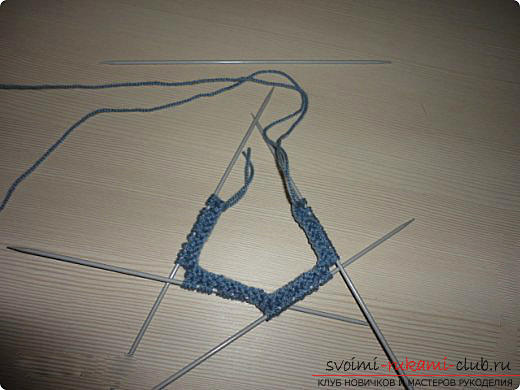 In order to close in a circle (by the form of a square) the work must be continued, tying the next row.
 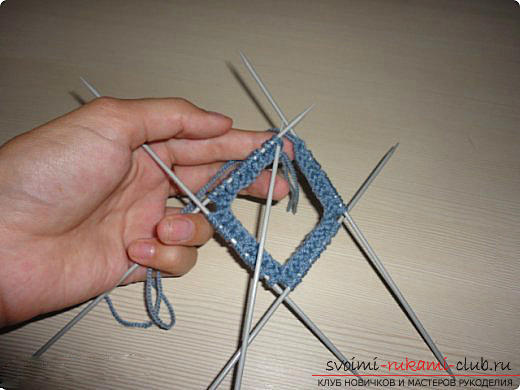 Bind 5 circles with a rubber 2x2. You will see how the pattern pattern will be more clearly visible. After the 5th round, you need to try it on. The elastic should not be tight or vice versa, too loose.
 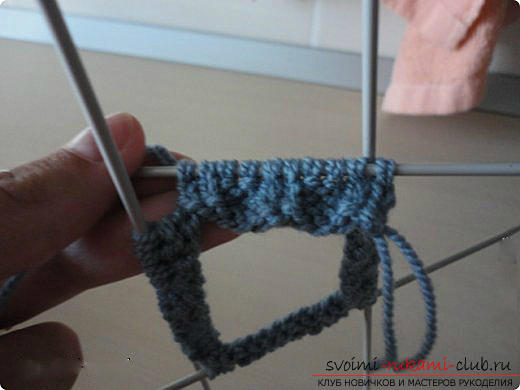 From the sixth round begins the drawing of the braids.
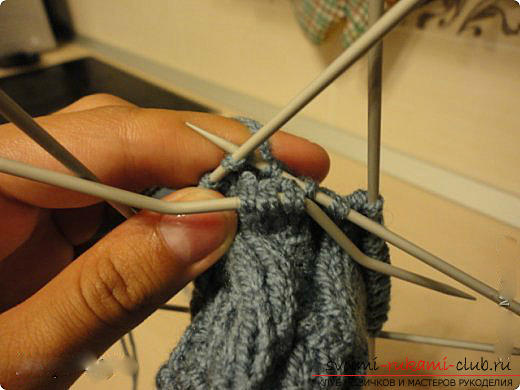
  For the palm to tie 20 loops (this is 2 spokes)simply facial loops. The two other knitting needles will be tied with a pattern on the back of the palm. Starting the work of the third spoke to bind 3 purl, 6 facial, 1 purl. On the fourth knitting needle symmetrically: 1 purl, 6 facial, 3 purl. To knit 5 circular rows similarly. The sixth circle will be intertwined. Two spokes with facial stitches and continue to knit. When the third spoke enters the work, it is necessary to tie three purlins, then take the 3 facial from the left knitting needle and toss it, without tying it, to the auxiliary knitting needle. This auxiliary spoke is located "before work".
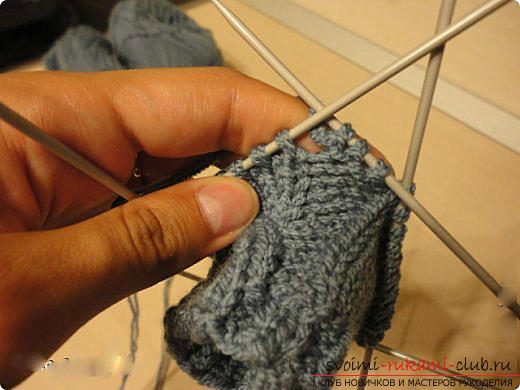
 Now take the right knitting needle and tie 3 facial loops from the left knitting needle. Do not touch the auxiliary knitting needle, it still remains before work.
 On the left-hand spoke, there is 1 back loop,right, six loops are connected - three facial and three purlins, on the auxiliary are not tied 3 facial loops. The latter will need to be linked now. Take the left knitting needle (on it 1 purl loops) and put back on it 3 loops from the auxiliary knitting needle. Do not tie, just throw.
 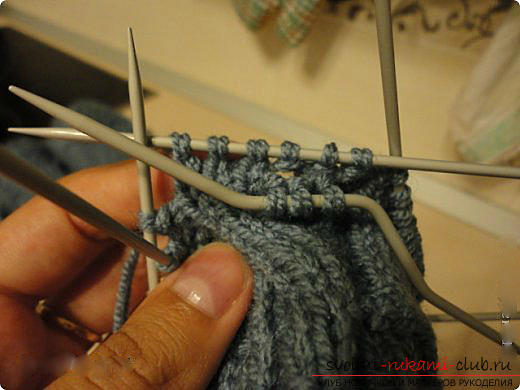 That's what happened. Then knit, as usual. The right knitting need to be connected with 3 overstretched facial loops.
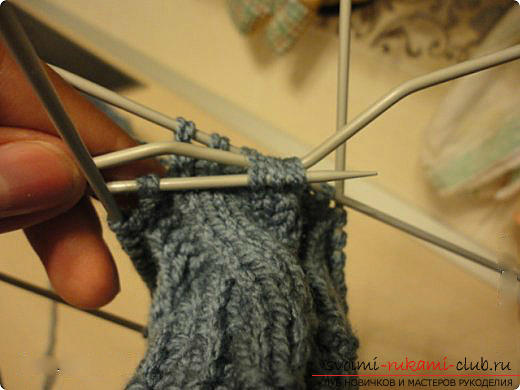
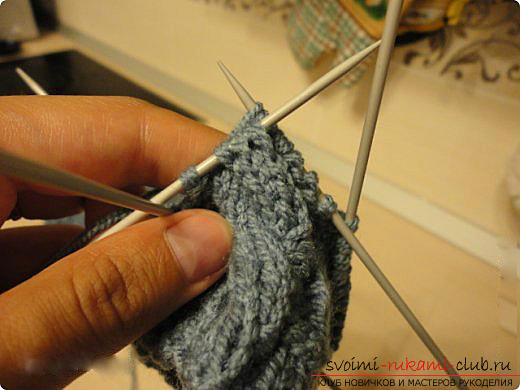 That's what happened. Do not be discouraged if the pattern is not yet visible, tying a few more rows, you will definitely see it. The last loop, which remained on the left spoke, is bound with the wrong one. The third spoke is ready.
 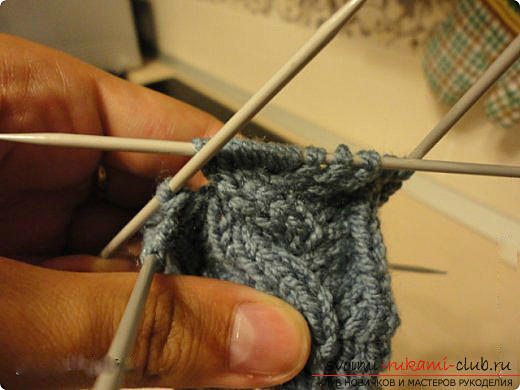 The fourth knitting needle is similar.
 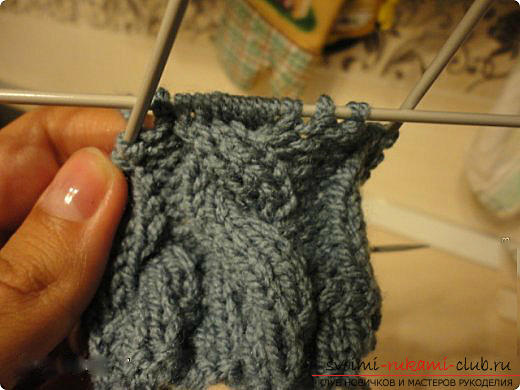 1 purl loops, put 3 loops on the auxiliary spoke and send it "for work". In the future, this will give two braids looking at each other.
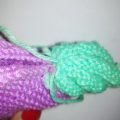
 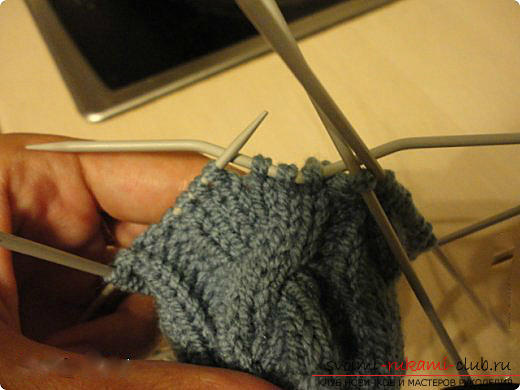 Then connect the 3 face loops, return the removed eyelets to the left knitting needle and tie them with the facial. End with three purl.
 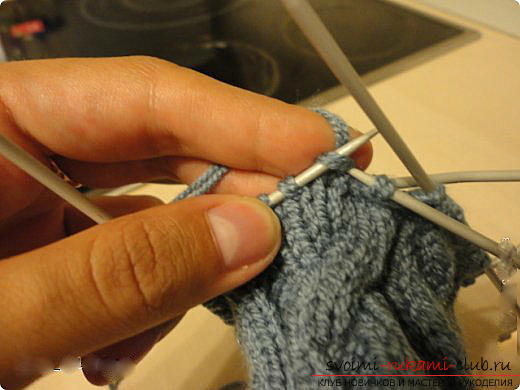 That's what happened. Two bindings to each other face.
 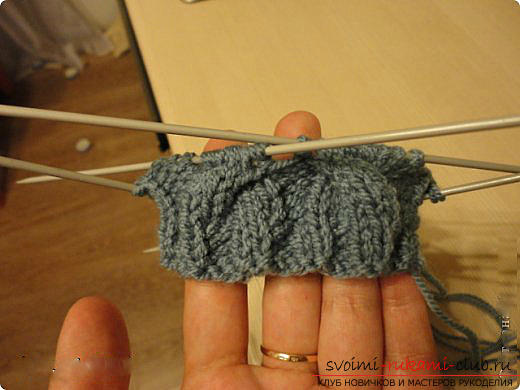 Between the pigtails there are 2 purl loops. They need to be tied more tightly so that there are not too wide gaps.
 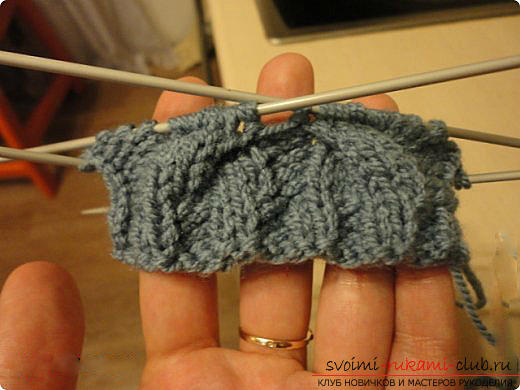 The next 5 circles to associate: first two spokes front, third spoke 3 purl, 6 facial, 1 purl, fourth spoke 1 purl, 6 facial, 3 purl. That's what should happen. The next sixth circle is tied, as described above.
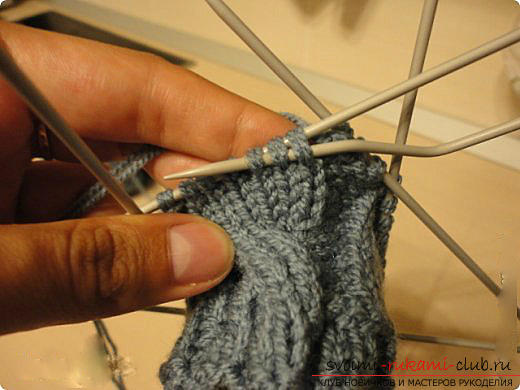
 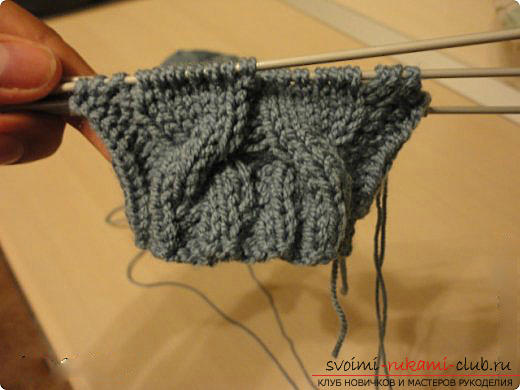 Mitenku in the process of knitting is necessaryto try on. When you get to the length you like (someone loves the length to the elbow, someone to just cover the bone), you have to start knitting a thumb. From the first knitting needle (the side of the palm), remove the first 6 loops. Use a thick thread or pin. Take a working (empty) spoke, for convenience, you can substitute another spoke, and thread 6 turns of thread. With the same needlework, connect the 4 remaining facial loops (knit with facial).
 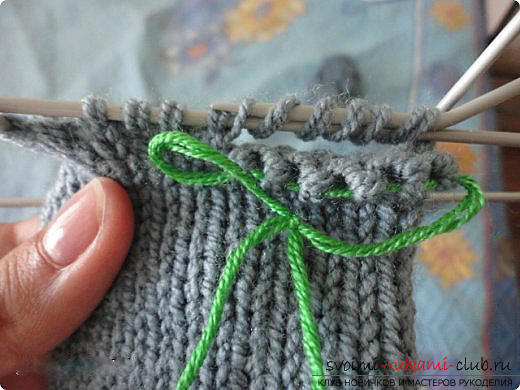 The rest is tied up as before. In the next round, tie the curls with the eyelets. On the first spoke there are again 10 facial loops.
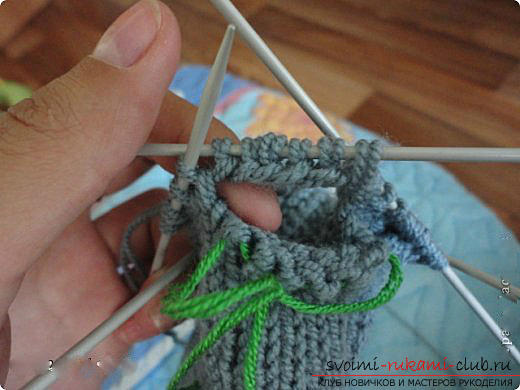
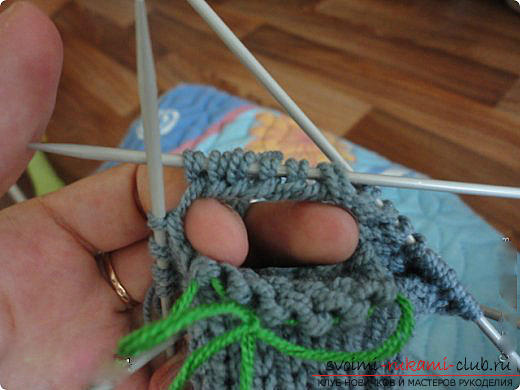
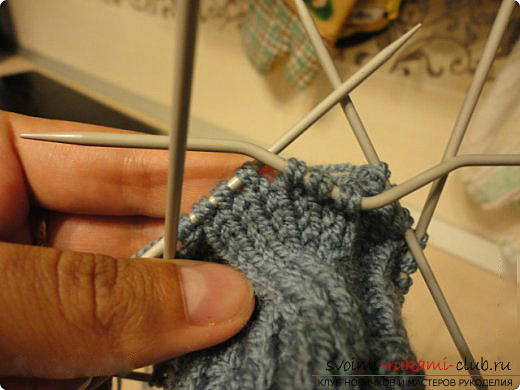
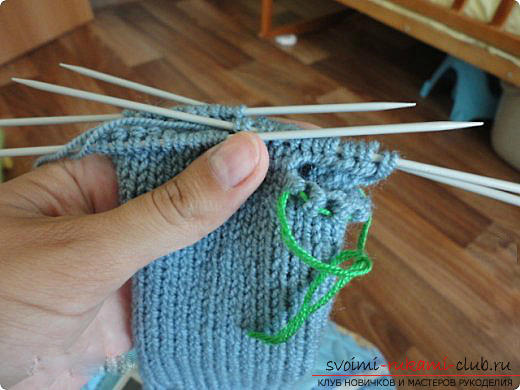 You got a hole for your thumb. While with him nothing to do. Continue knitting to the required height (length), for example, to the second phalanx of the little finger. All the eyelets are closed, secure the thread, cut and hide. Now start knitting a thumb. To do this, you need to tie the free end of the thread next to the hole under the finger. Now we need to pull out of this thread 6 loops of coils wound and knitted earlier. For this purpose, a hook will work well, but you can get by with an additional spoke. In those eyelets that are assembled on a thread or pin to thread a spoke. Strip the thread.
 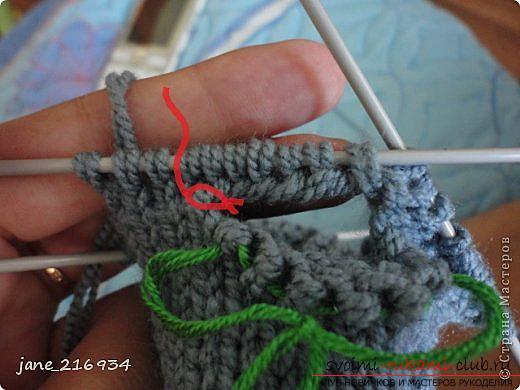 It turned out 2 spokes with 6 loops each. Knit with eyelets. If it is difficult for you to knit on two spokes, you can add one more. The length of the finger you select individually and at will. Similarly, connect the pair to our mitt. The main thing is not to forget that the thumb should be knitted symmetrically and mirrored. It turned out such nice little mitts. Our club wishes you even loops.
Comments
Related posts:
 This master class with step-by-step photo and description will teach how to knit booties for newborns with knitting needles
 How to tie children's warm socks "Winter" with knitting needles? Lesson on knitting with children's socks "Winter" with detailed description of the technique of binding, recommendations and step-by-step photos
 Master-class on crocheting with photo and description will teach knitting of children's pinets
 Simple photo master-class on knitting with knitting needles of dogs
 Free master class for knitting chamomile flowers with description and step by step photo.