Master class of quilling for beginners. Scheme with pictures for mastering the technique of work
In other words, quilling is the art oftwisting thin strips of paper. Creation of received blanks of volume and planar compositions. To date, quilling is very widely known, gaining popularity in Western Europe, but this art became more famous when it came to the East. New life in the art of graphics made from thin paper gave the latest technology to produce a variety of types of papers. The name went from the word quill, if it is translated, you will get a bird feather. 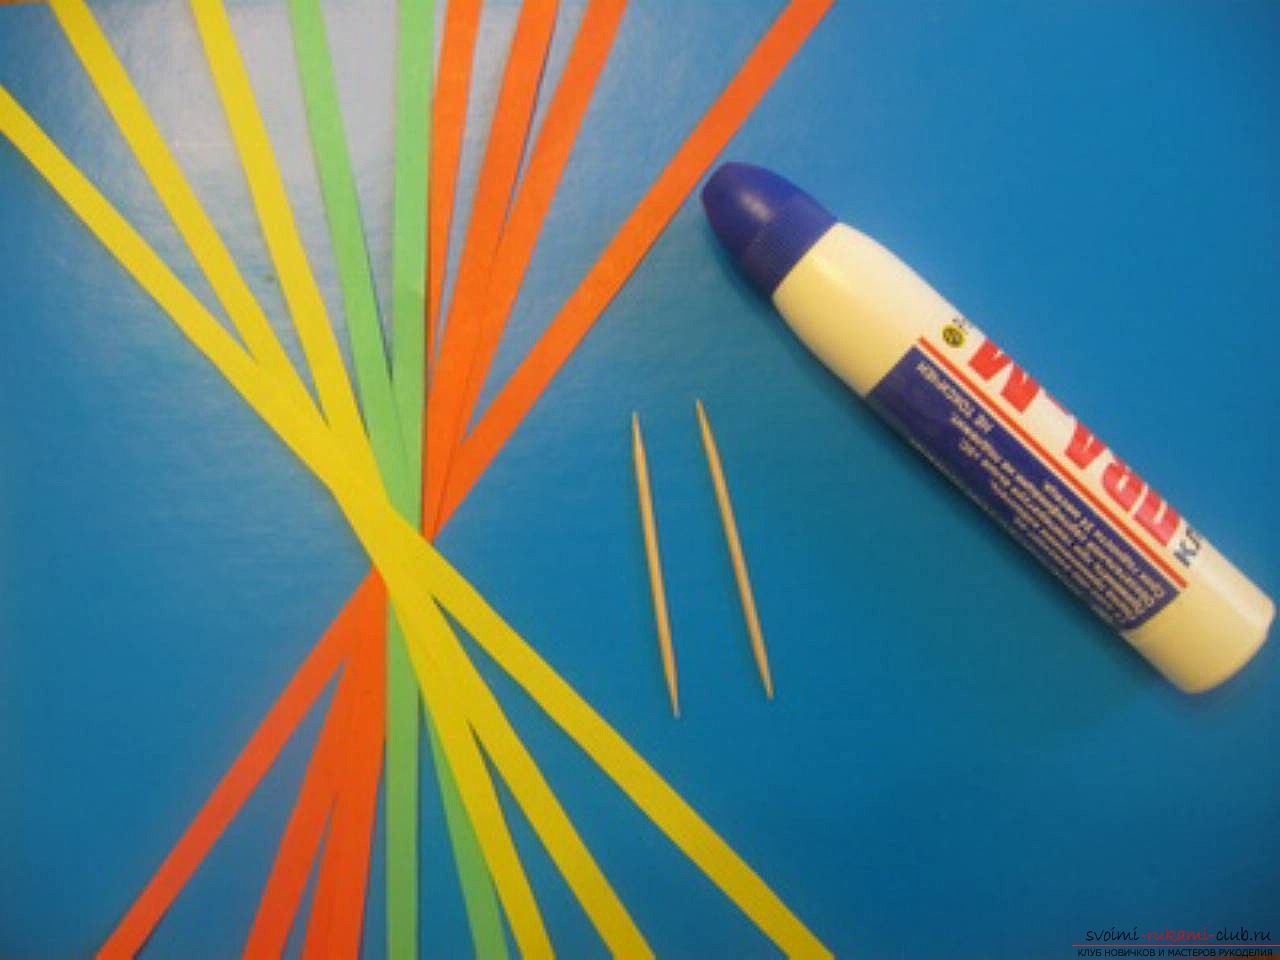 Quilling is similar to the technique of working with origami. So, from a small amount of paper colorful mosaics are created, which create the master. The paper is short-lived, but with quilling you can see something original and show your people the ability to fantasize, and it's also a great way to test your nervous system. Nowadays, there are shops where you can buy special paper for this art and make your own hands with blanks. If you buy quilling paper, pay attention to the fact that its density should be less than sixty grams per square meter, otherwise you can not twist it. For the substrate, you can use plain cardboard or velvet paper.
 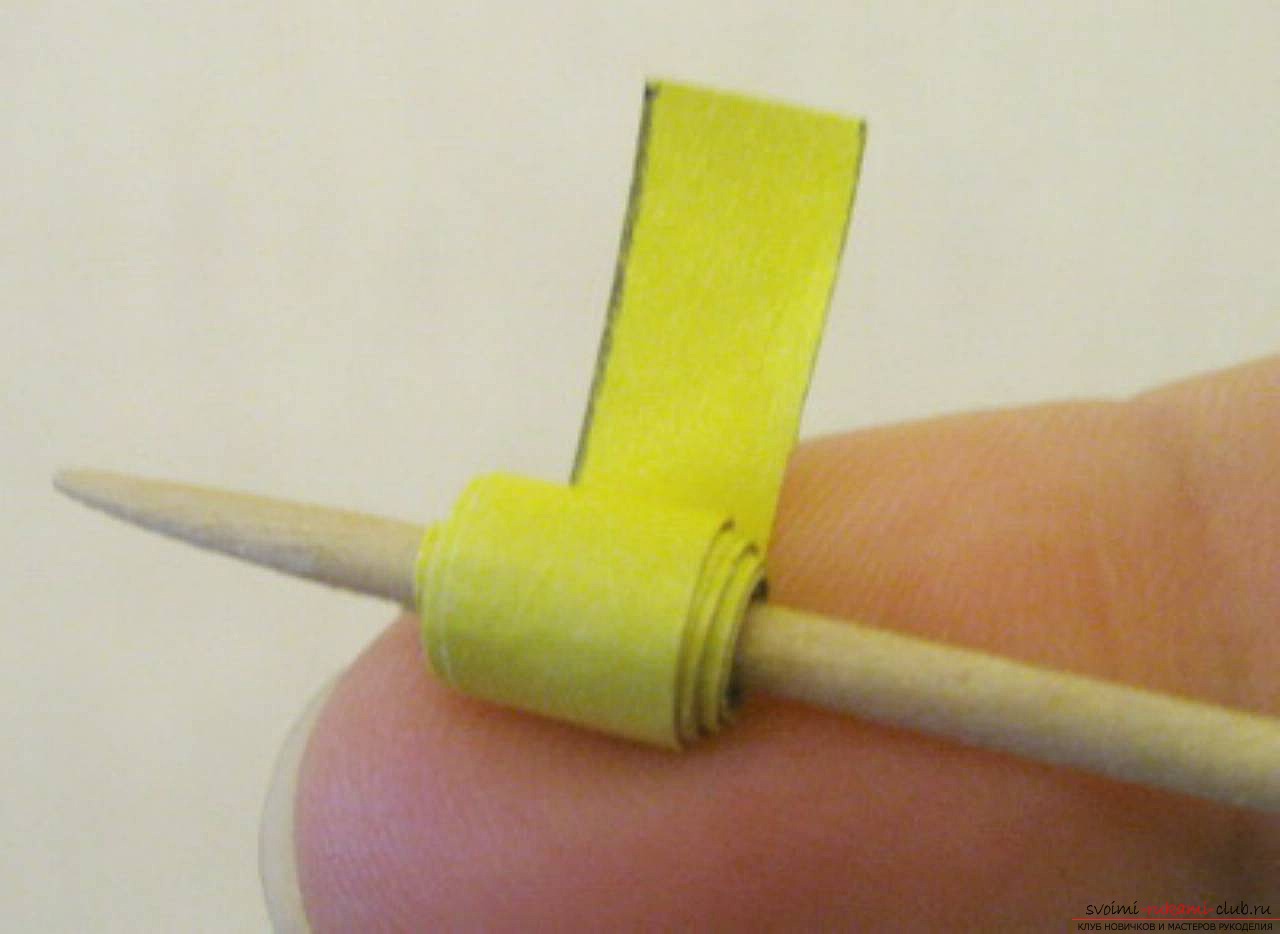 And now a master class in quilling. First step. Prepare all the materials that will be useful to us. This is a colored double-sided paper, PVA glue, cardboard for creating a background, scissors and a pair of toothpicks. When everything is ready, go ahead.
 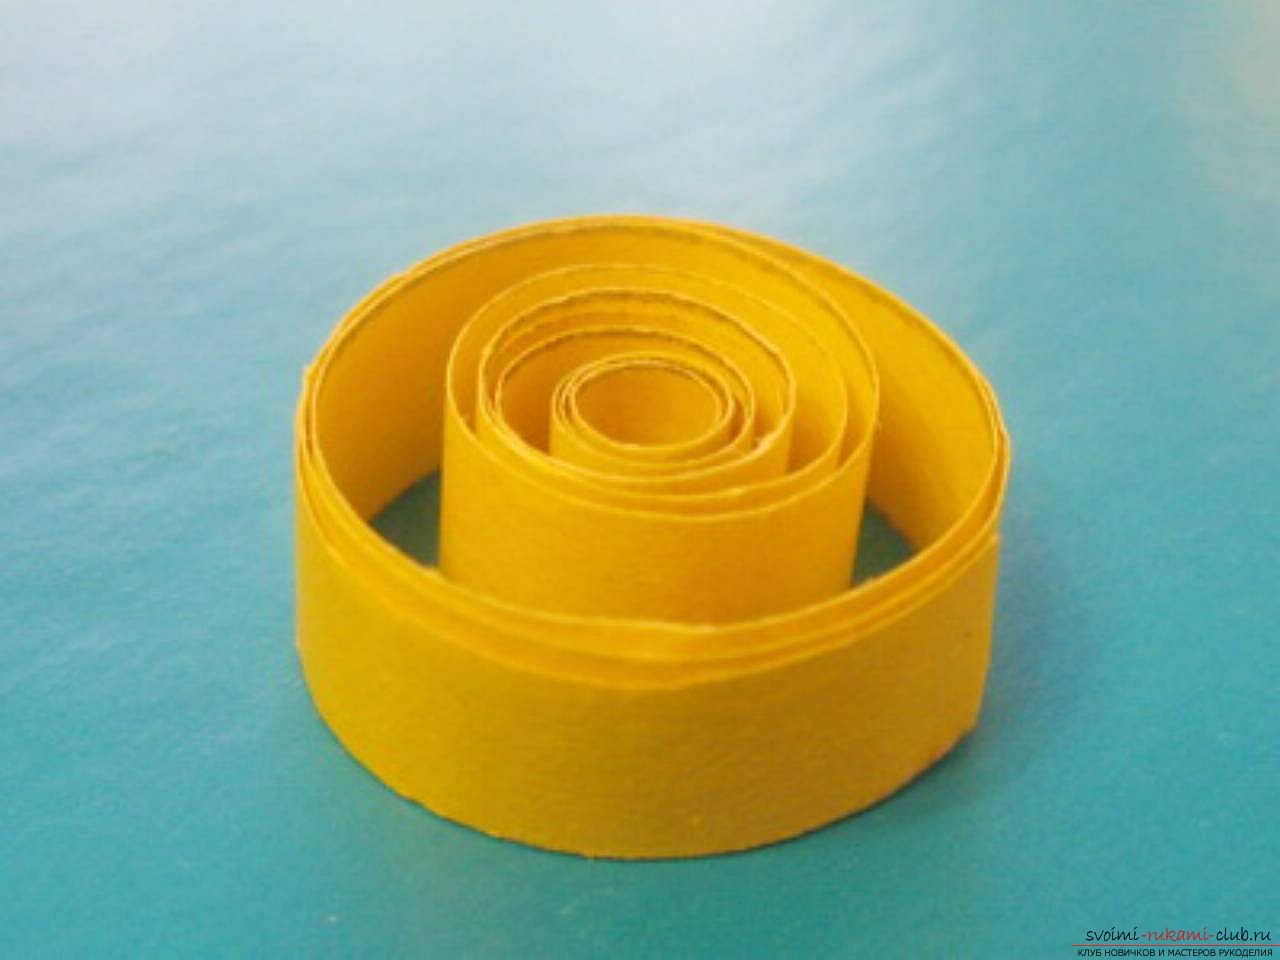 Second phase. Now we proceed to the most interesting process, the production of spirals of different shapes and colors. After winding a thin strip of colored paper, twenty-five centimeters long on the toothpick, gently remove it, let it go a little and glue the edges together. This will be the basis for a variety of elements.
 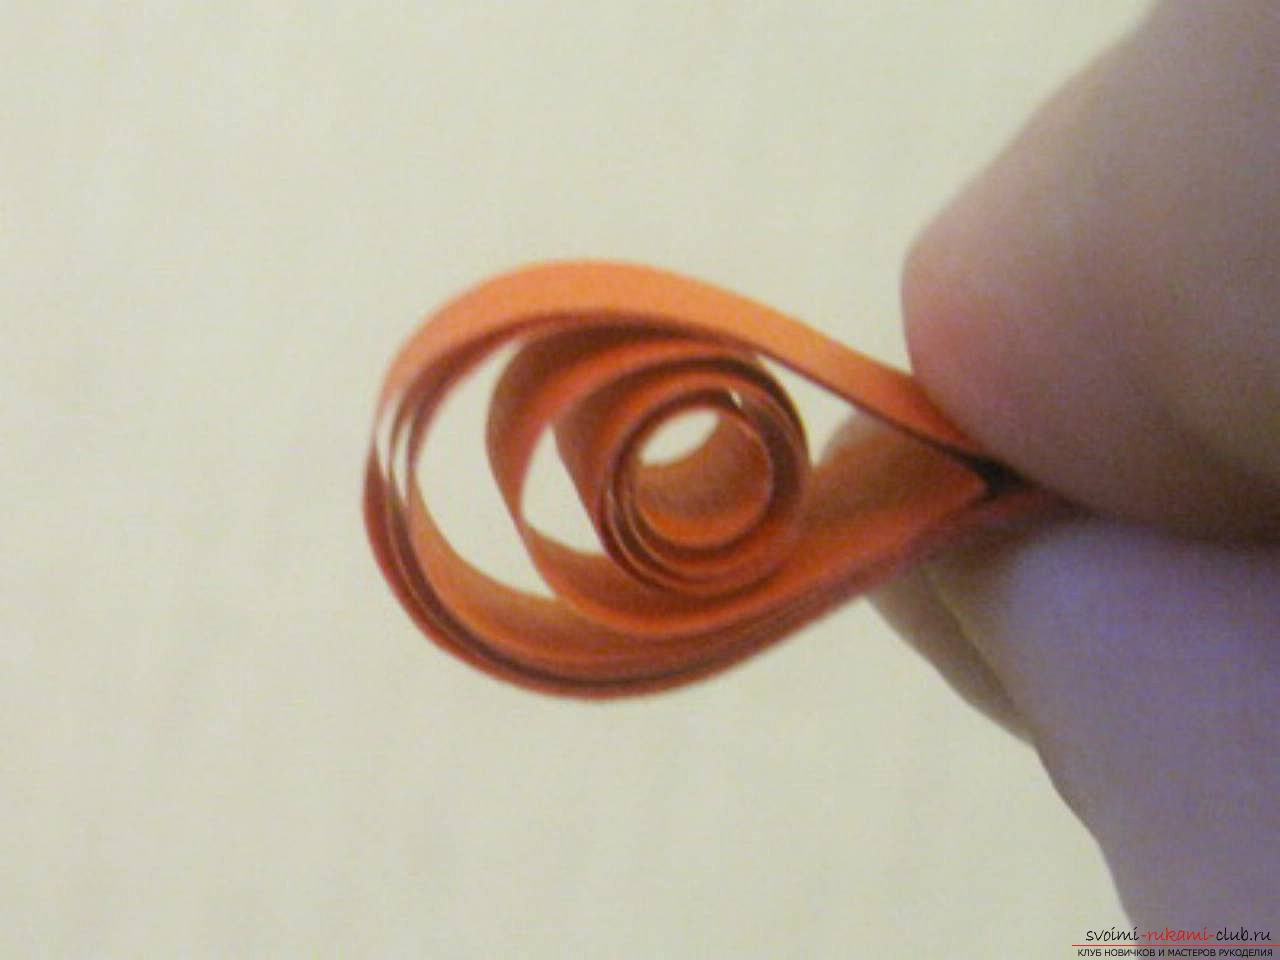 The third stage. We make spiral with a clamp, for this we take our workpieces and squeeze with one hand with the fingers. The resulting part can be used as a leaf for a flower. If the clamps are made from two sides, oblong figures will turn out, which will also be useful to us. To make the figure turned out in the form of a heart, press the spiral into the middle. We make such different details a few pieces. When all the details are ready, we begin to form a picture.
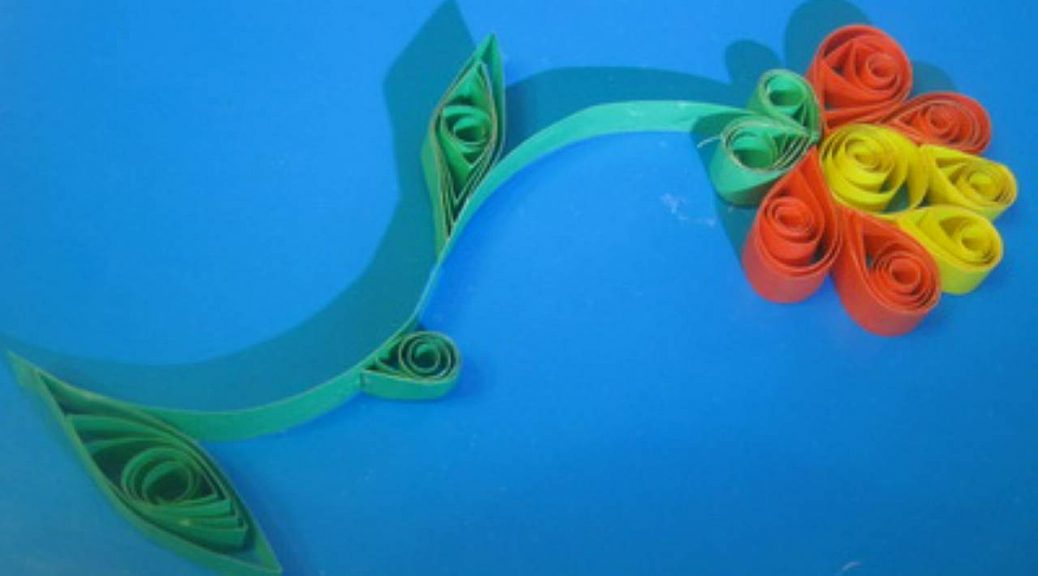
 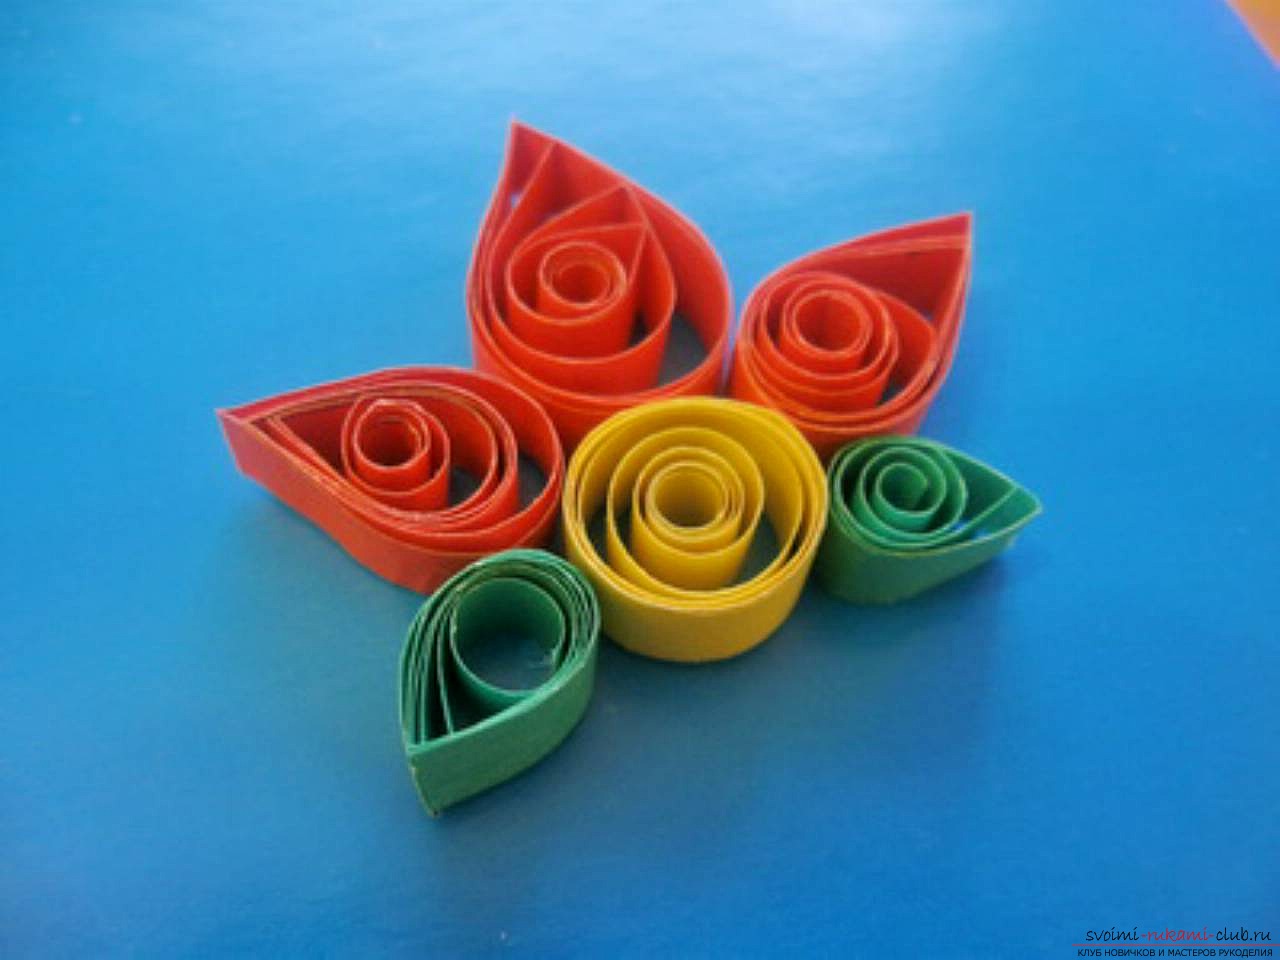 The fourth stage. On the cardboard colored base, carefully paste the resulting pattern, part by piece.
 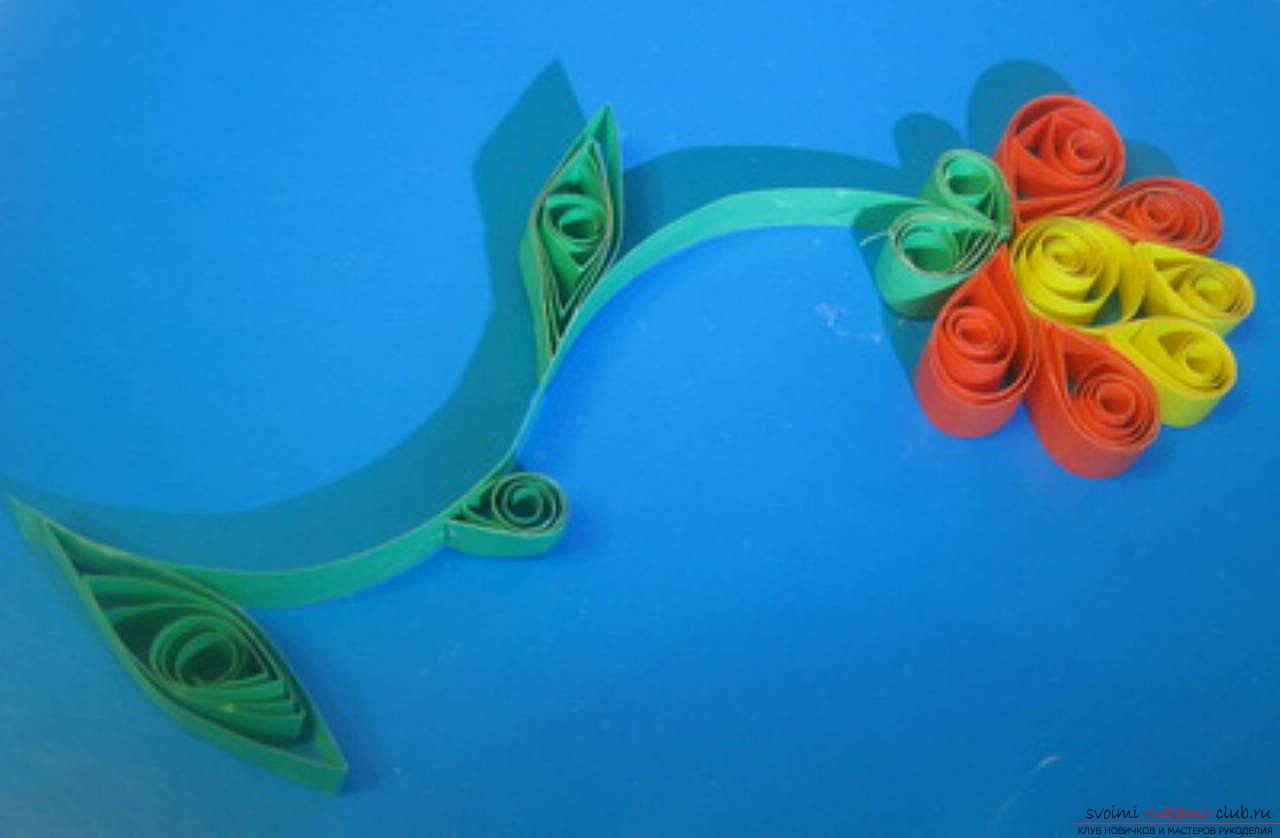 This is a simple master class in quilling, which will help you master the basics of this interesting and entertaining art.
Comments
Related posts:
 The lesson of creating a poodle with the help of quilling techniques for beginners - a master class
 Rose-origami for beginners of paper masters - a scheme for work and a master class
 Panel of quilling rowan on the basis of new technology - master class
 Making a Christmas tree snowman from paper - master-class crafting quilling techniques
 This detailed master class contains a quilling lesson for beginners and will teach you how to make yourself a quilling ballerina.