
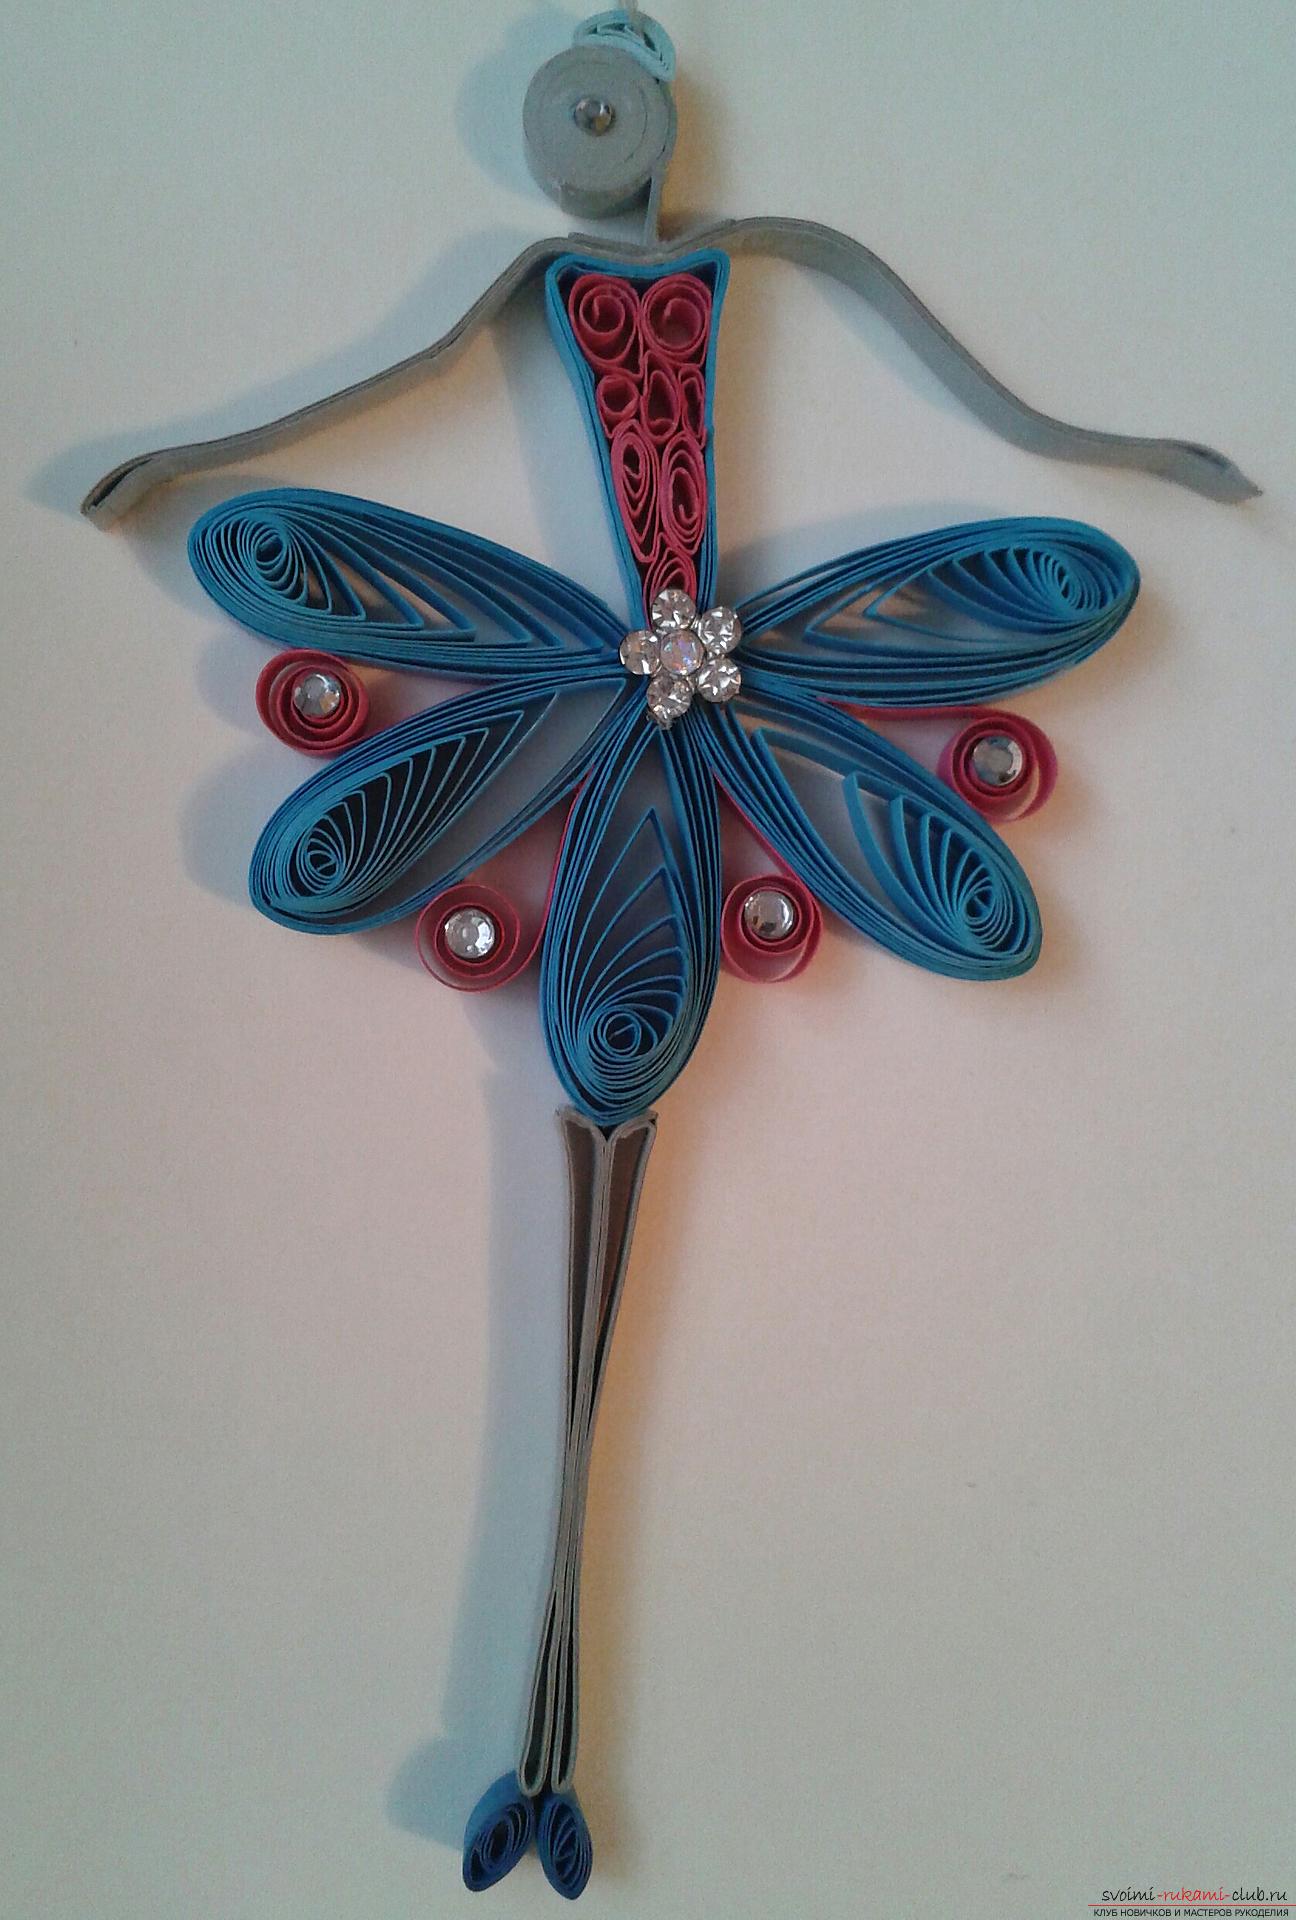
This detailed master class contains a quilling lesson for beginners and will teach you how to make yourself a quilling ballerina.
 To create a quiling ballerina for beginners, we will need:
 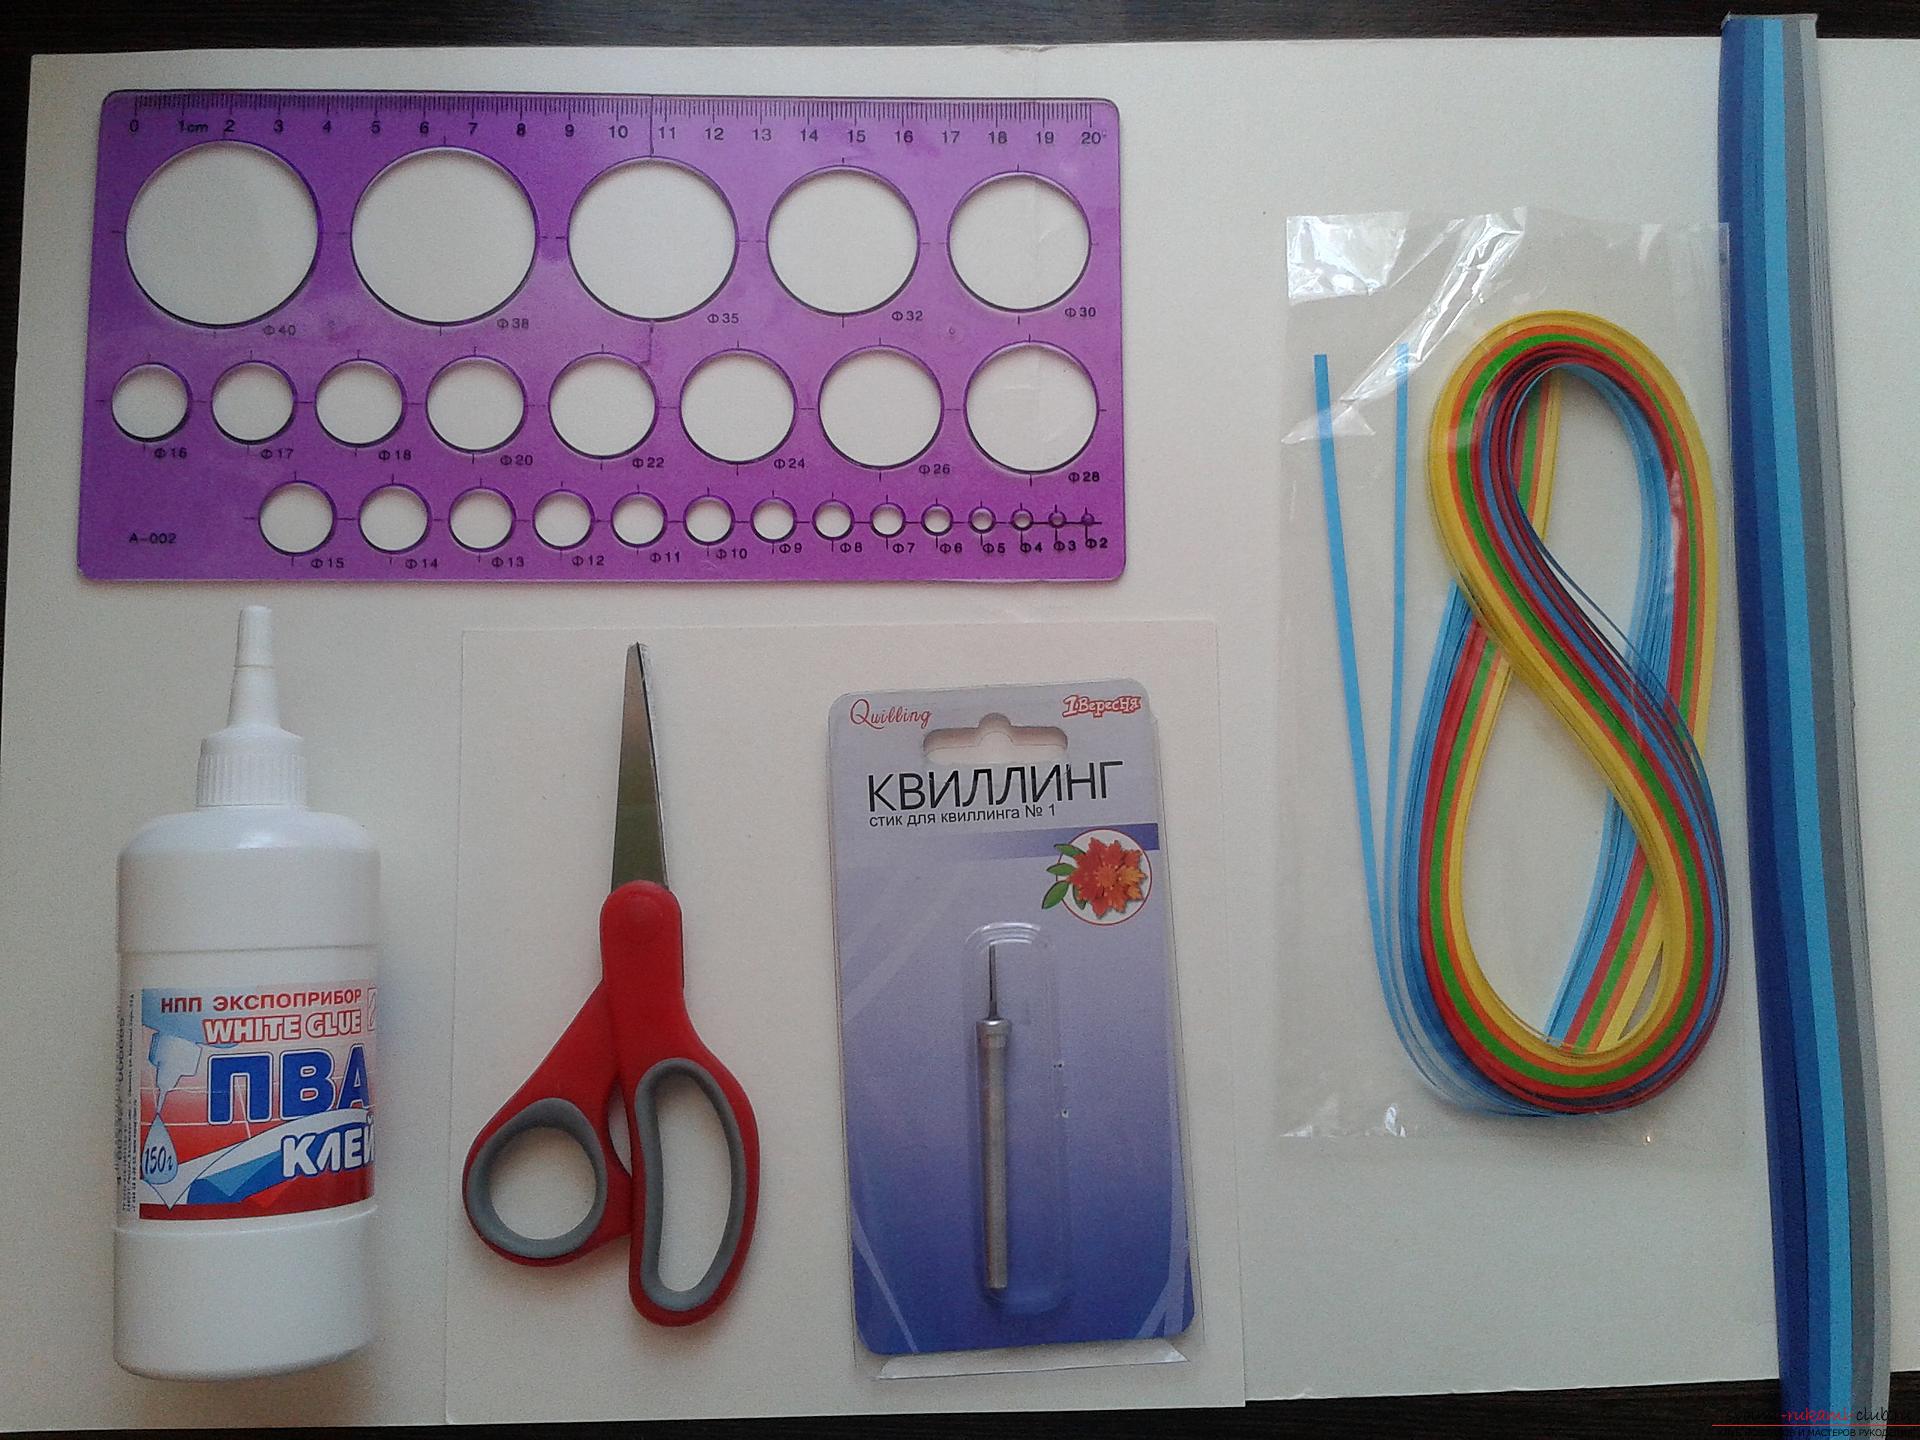 - paper for working in the technique of quilling gray,blue and pink; - stick for quilling (torsion tool); - PVA glue; - scissors; - ruler; - rhinestones. So, the ballerina's head is a tightly twisted roll of two glued together gray strips.
 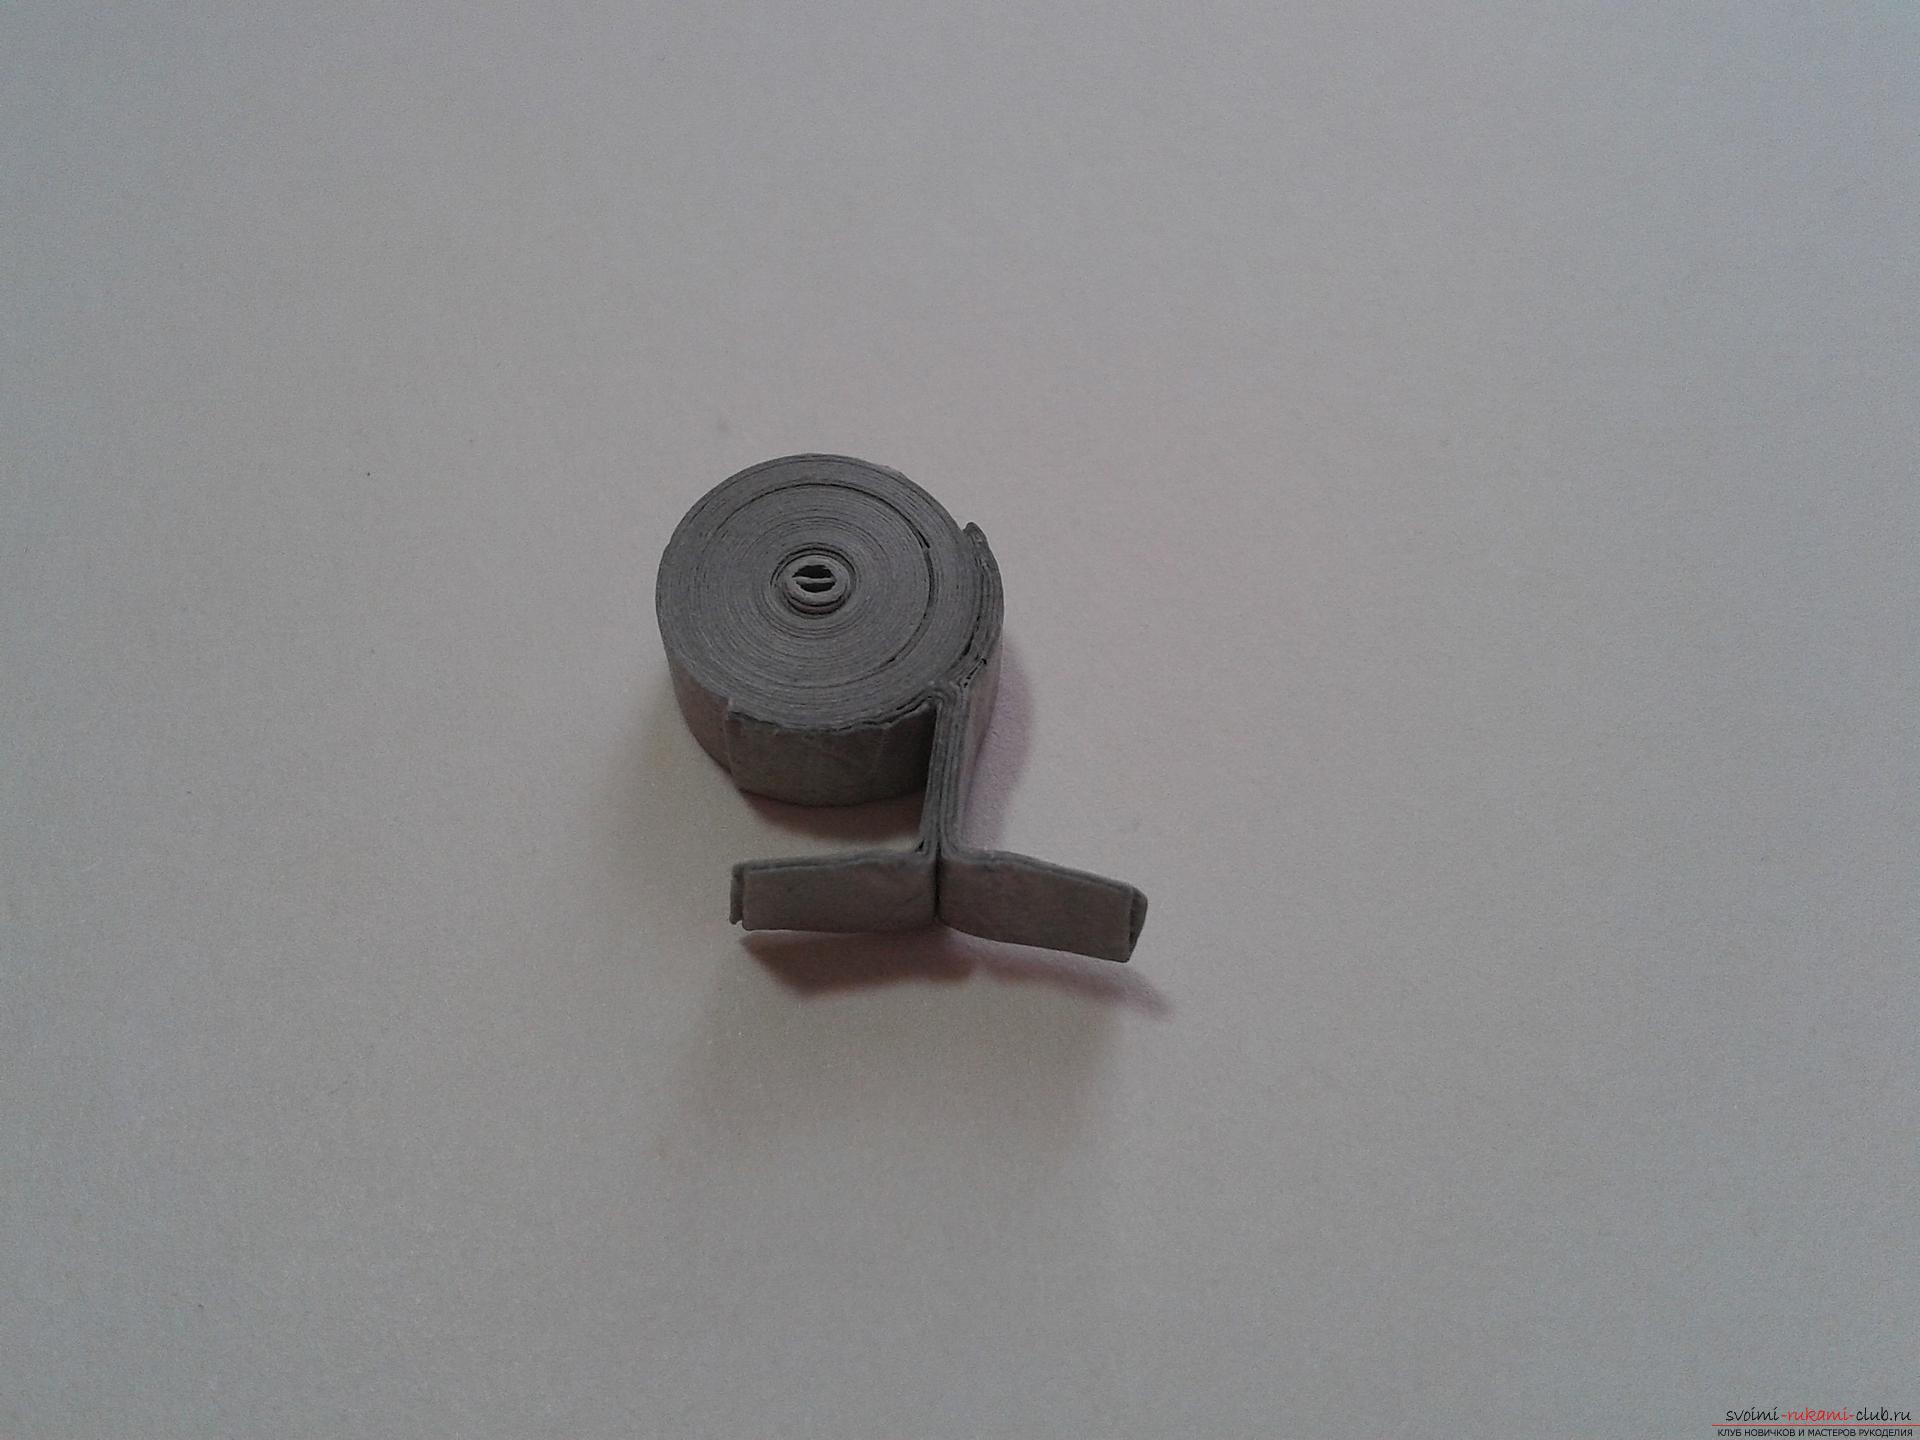 The neck of our figure is a gray strip of 10 cm glued together as in the drawings.
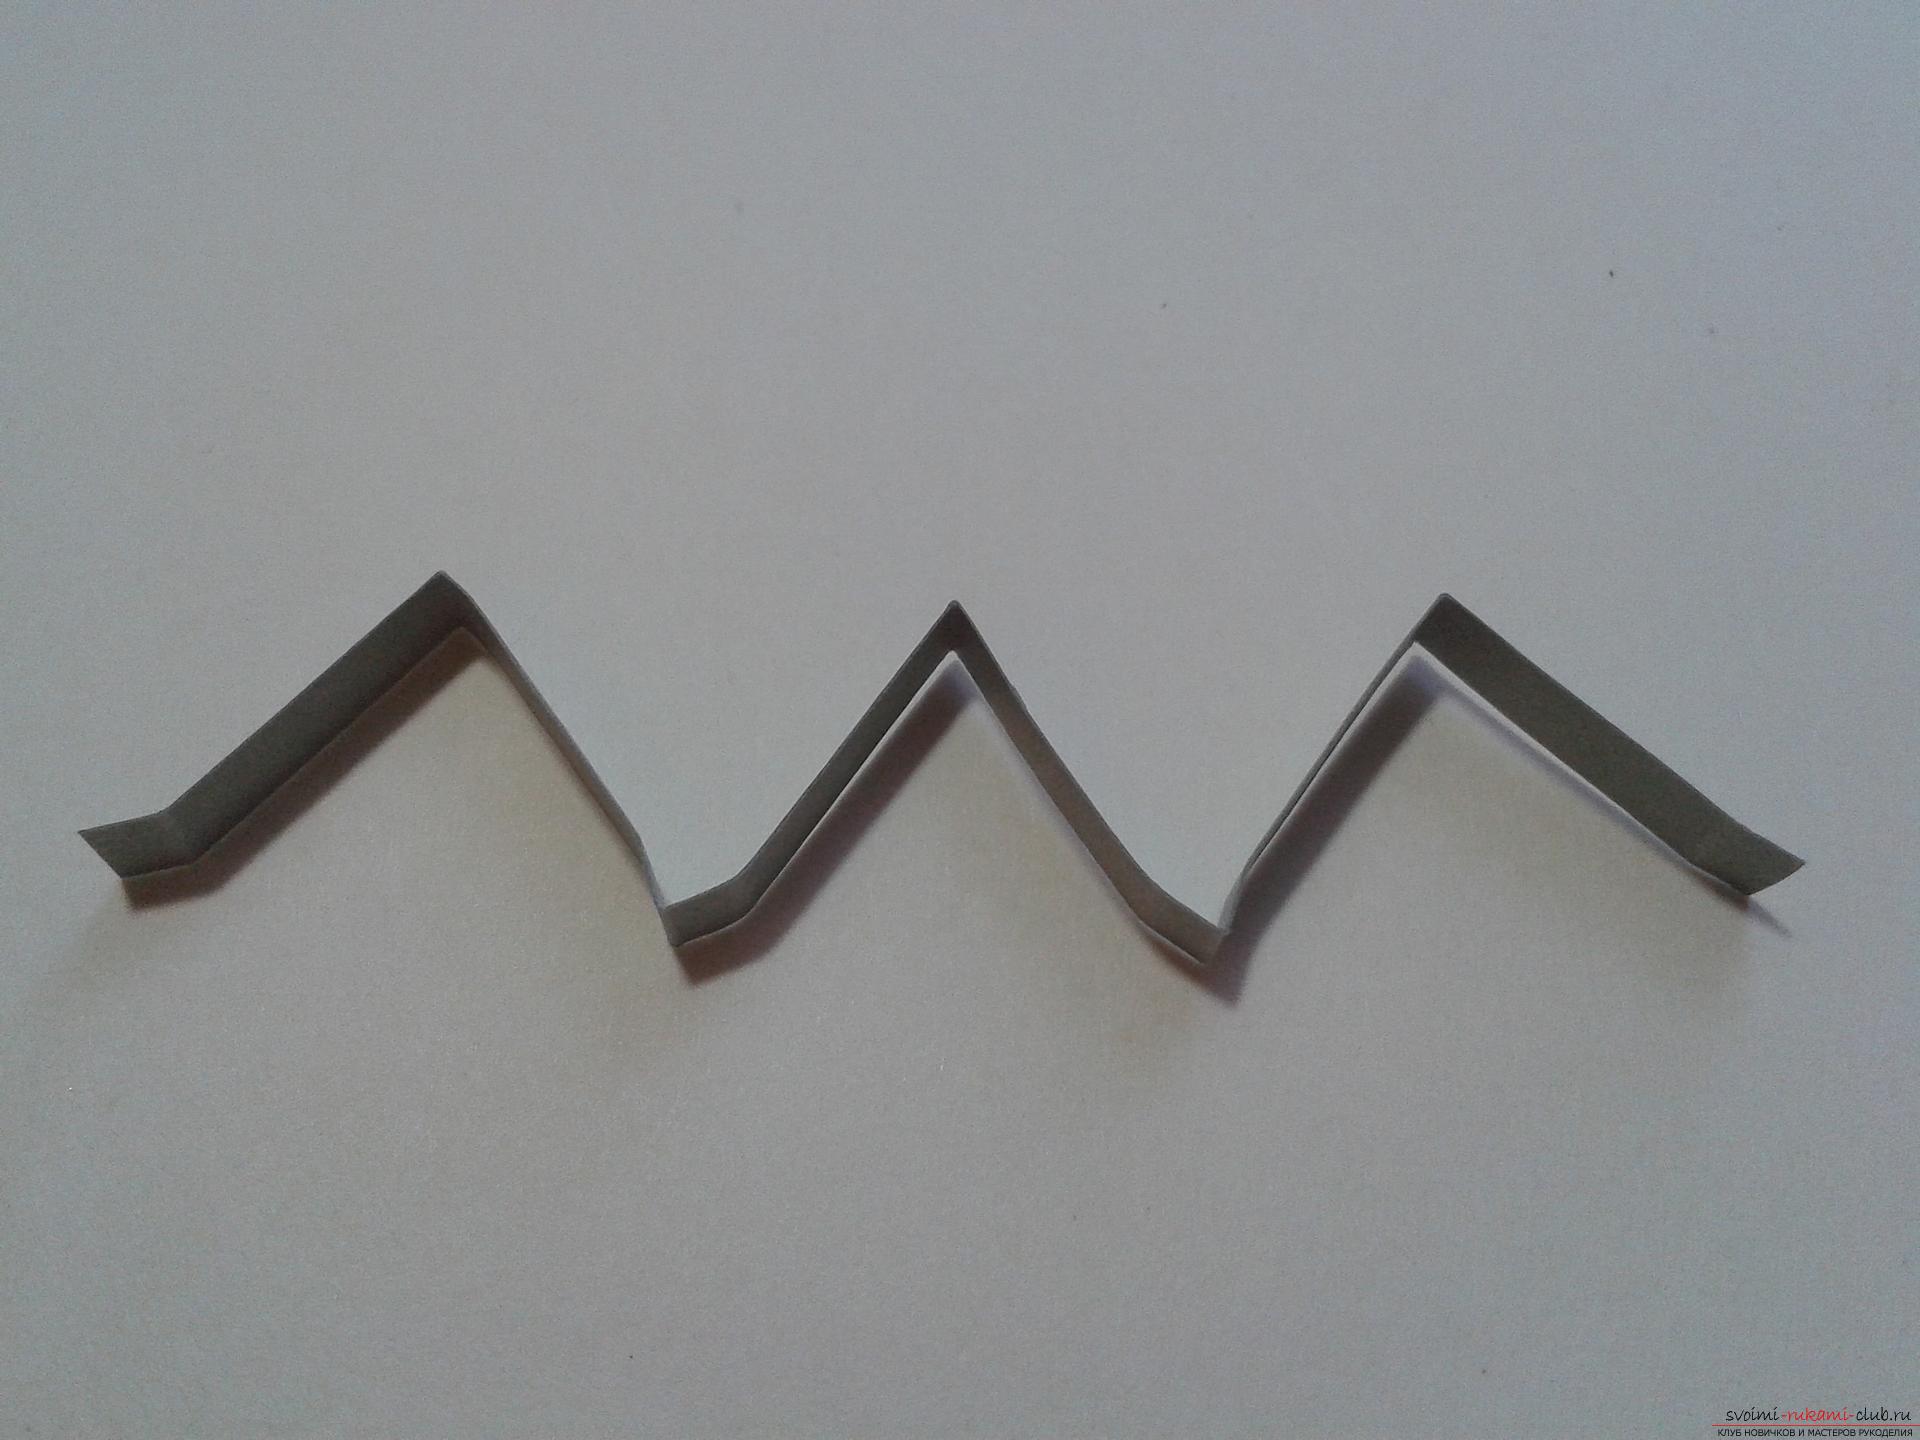
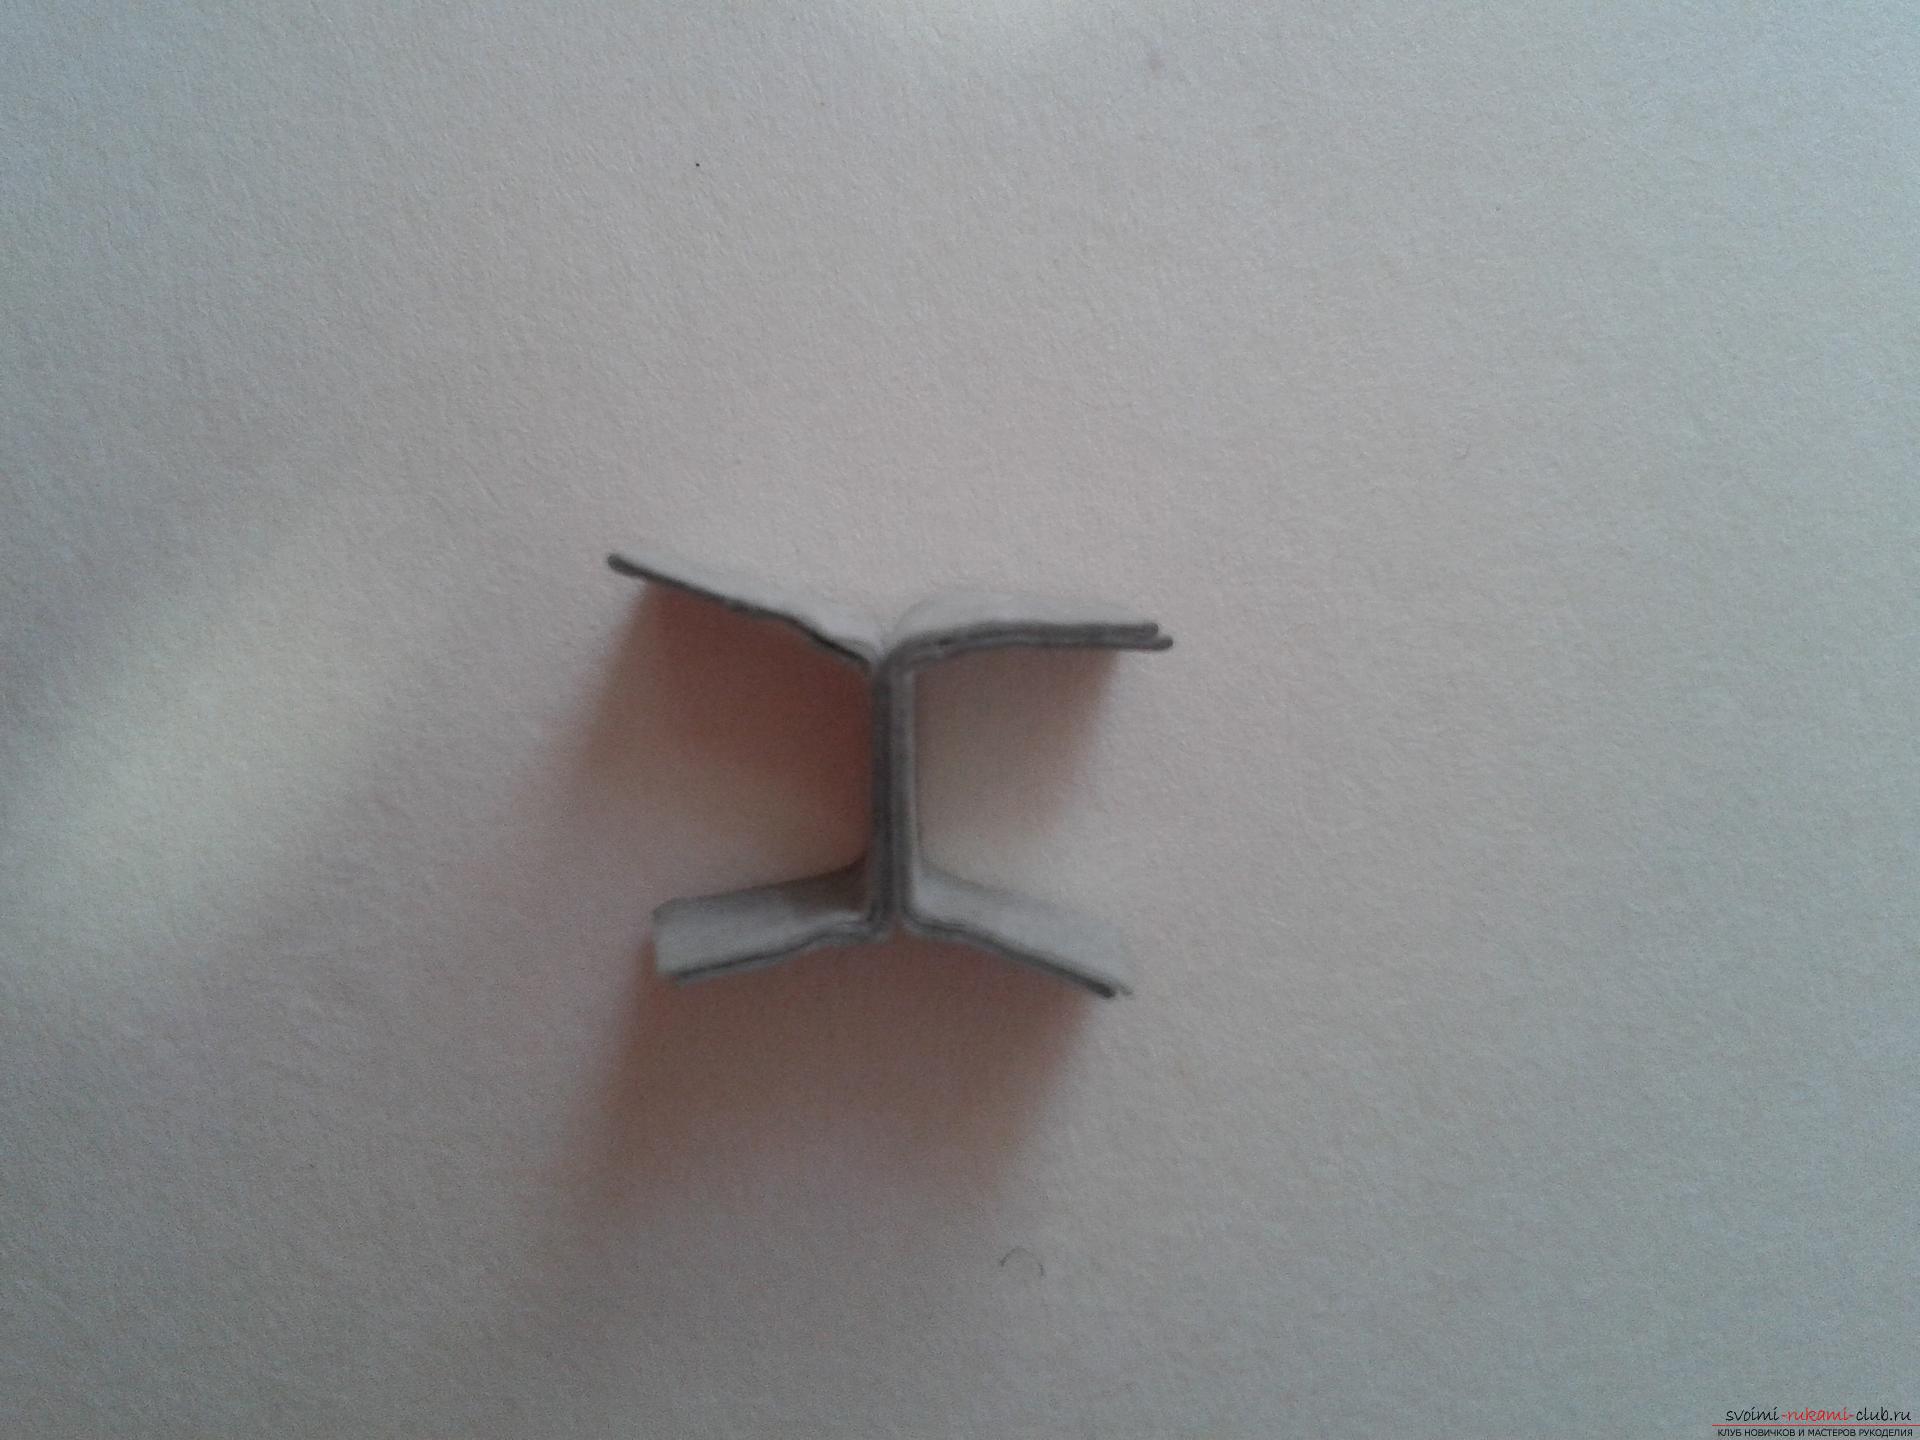 Head and neck are glued together. Now we pass to the hands. They are made of gray paper. Two strips must be glued to each other. Next, bend 4 times to get one thick line.
 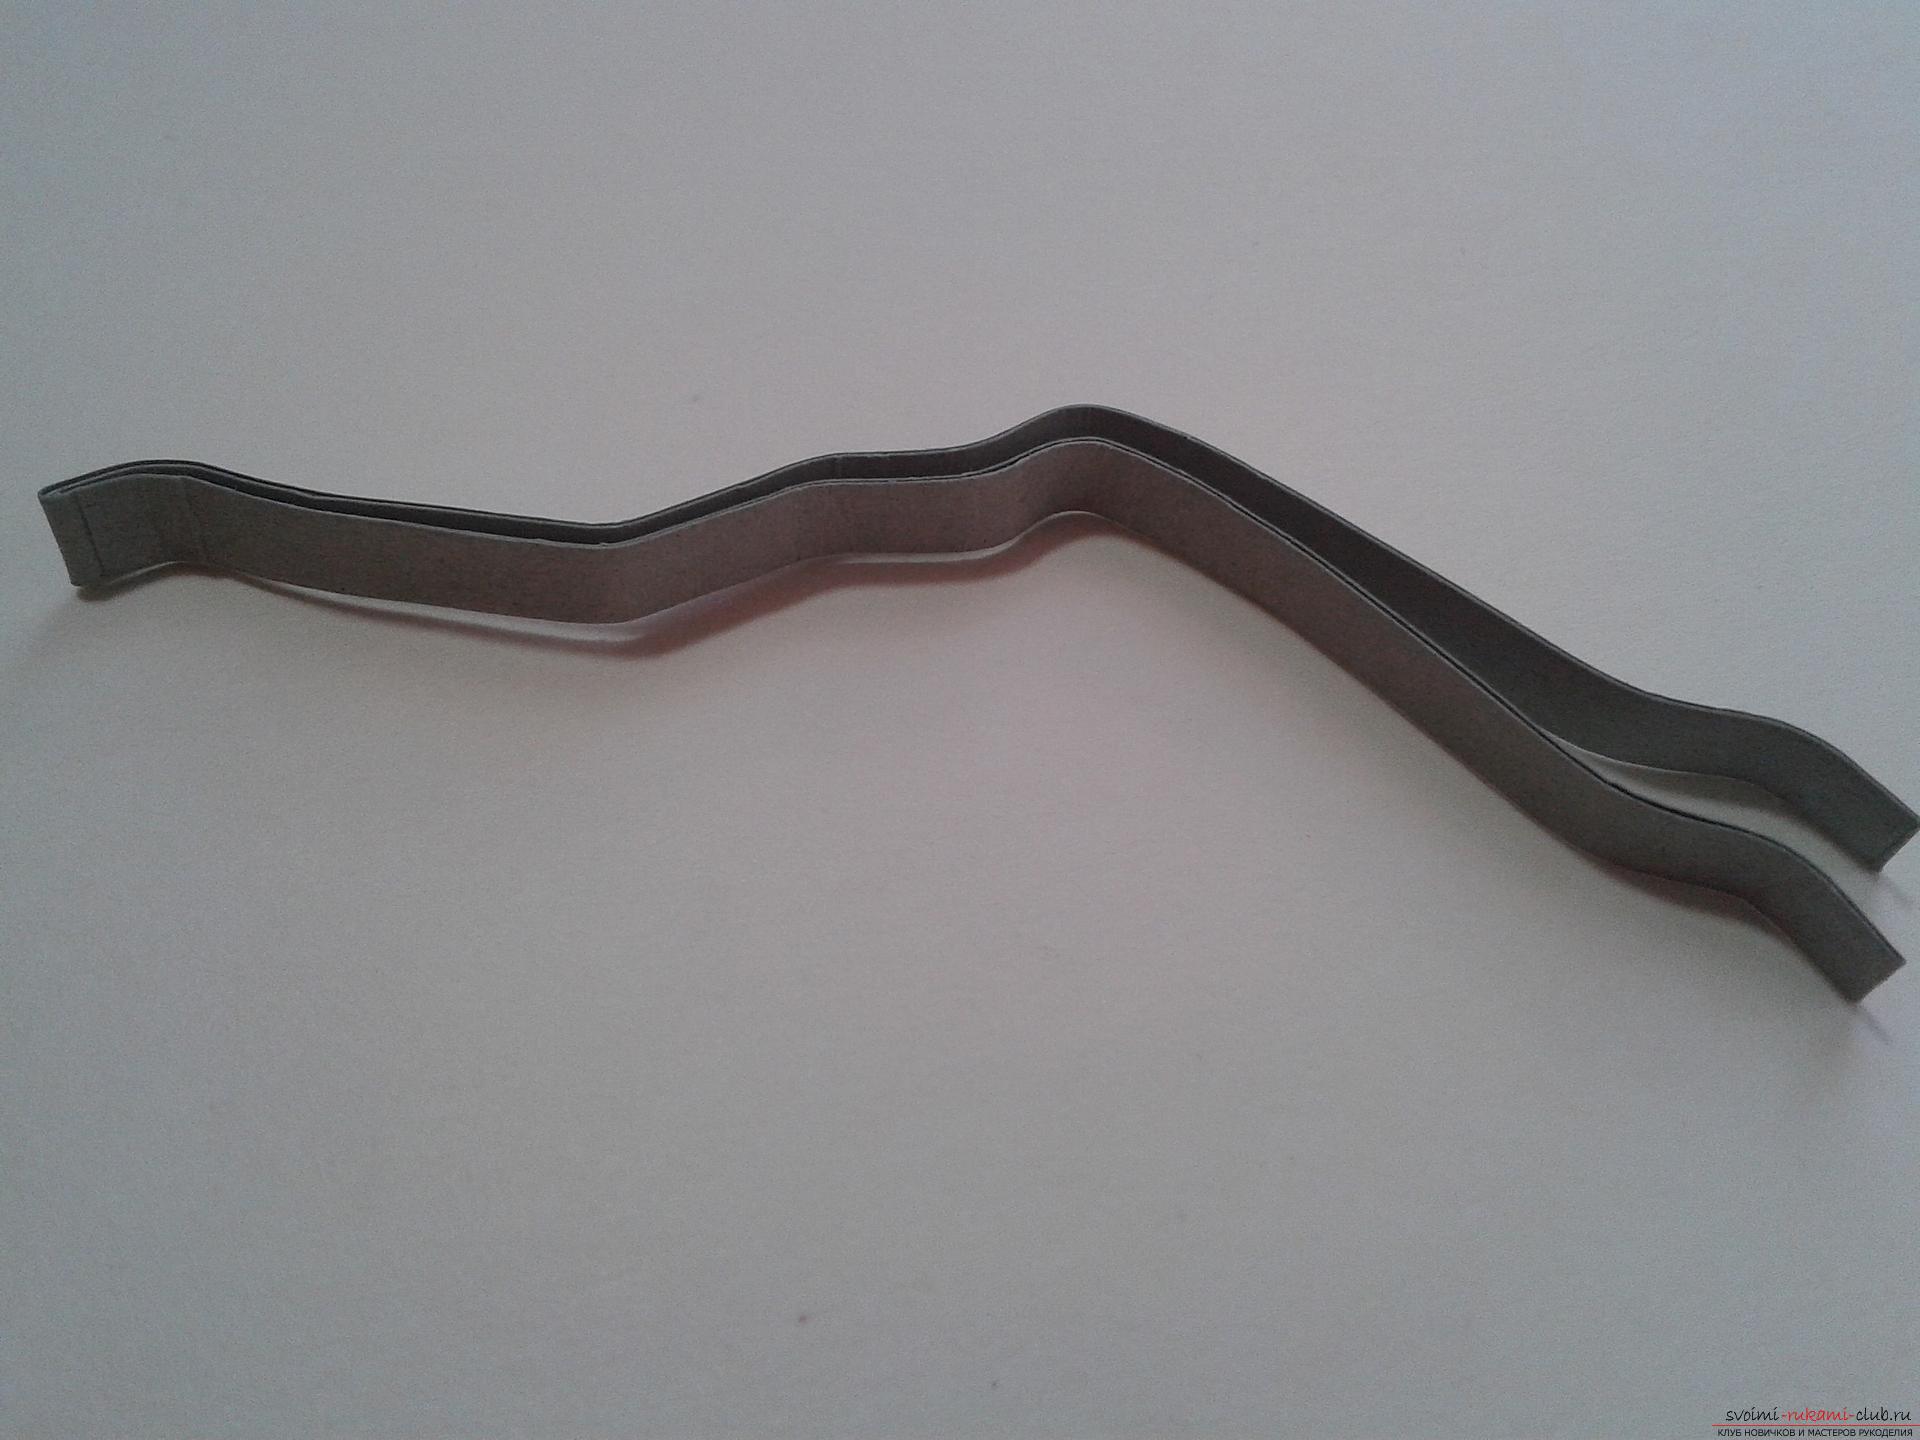 All the glue and, until the glue has dried, decorate your hands, slightly bending the paper
 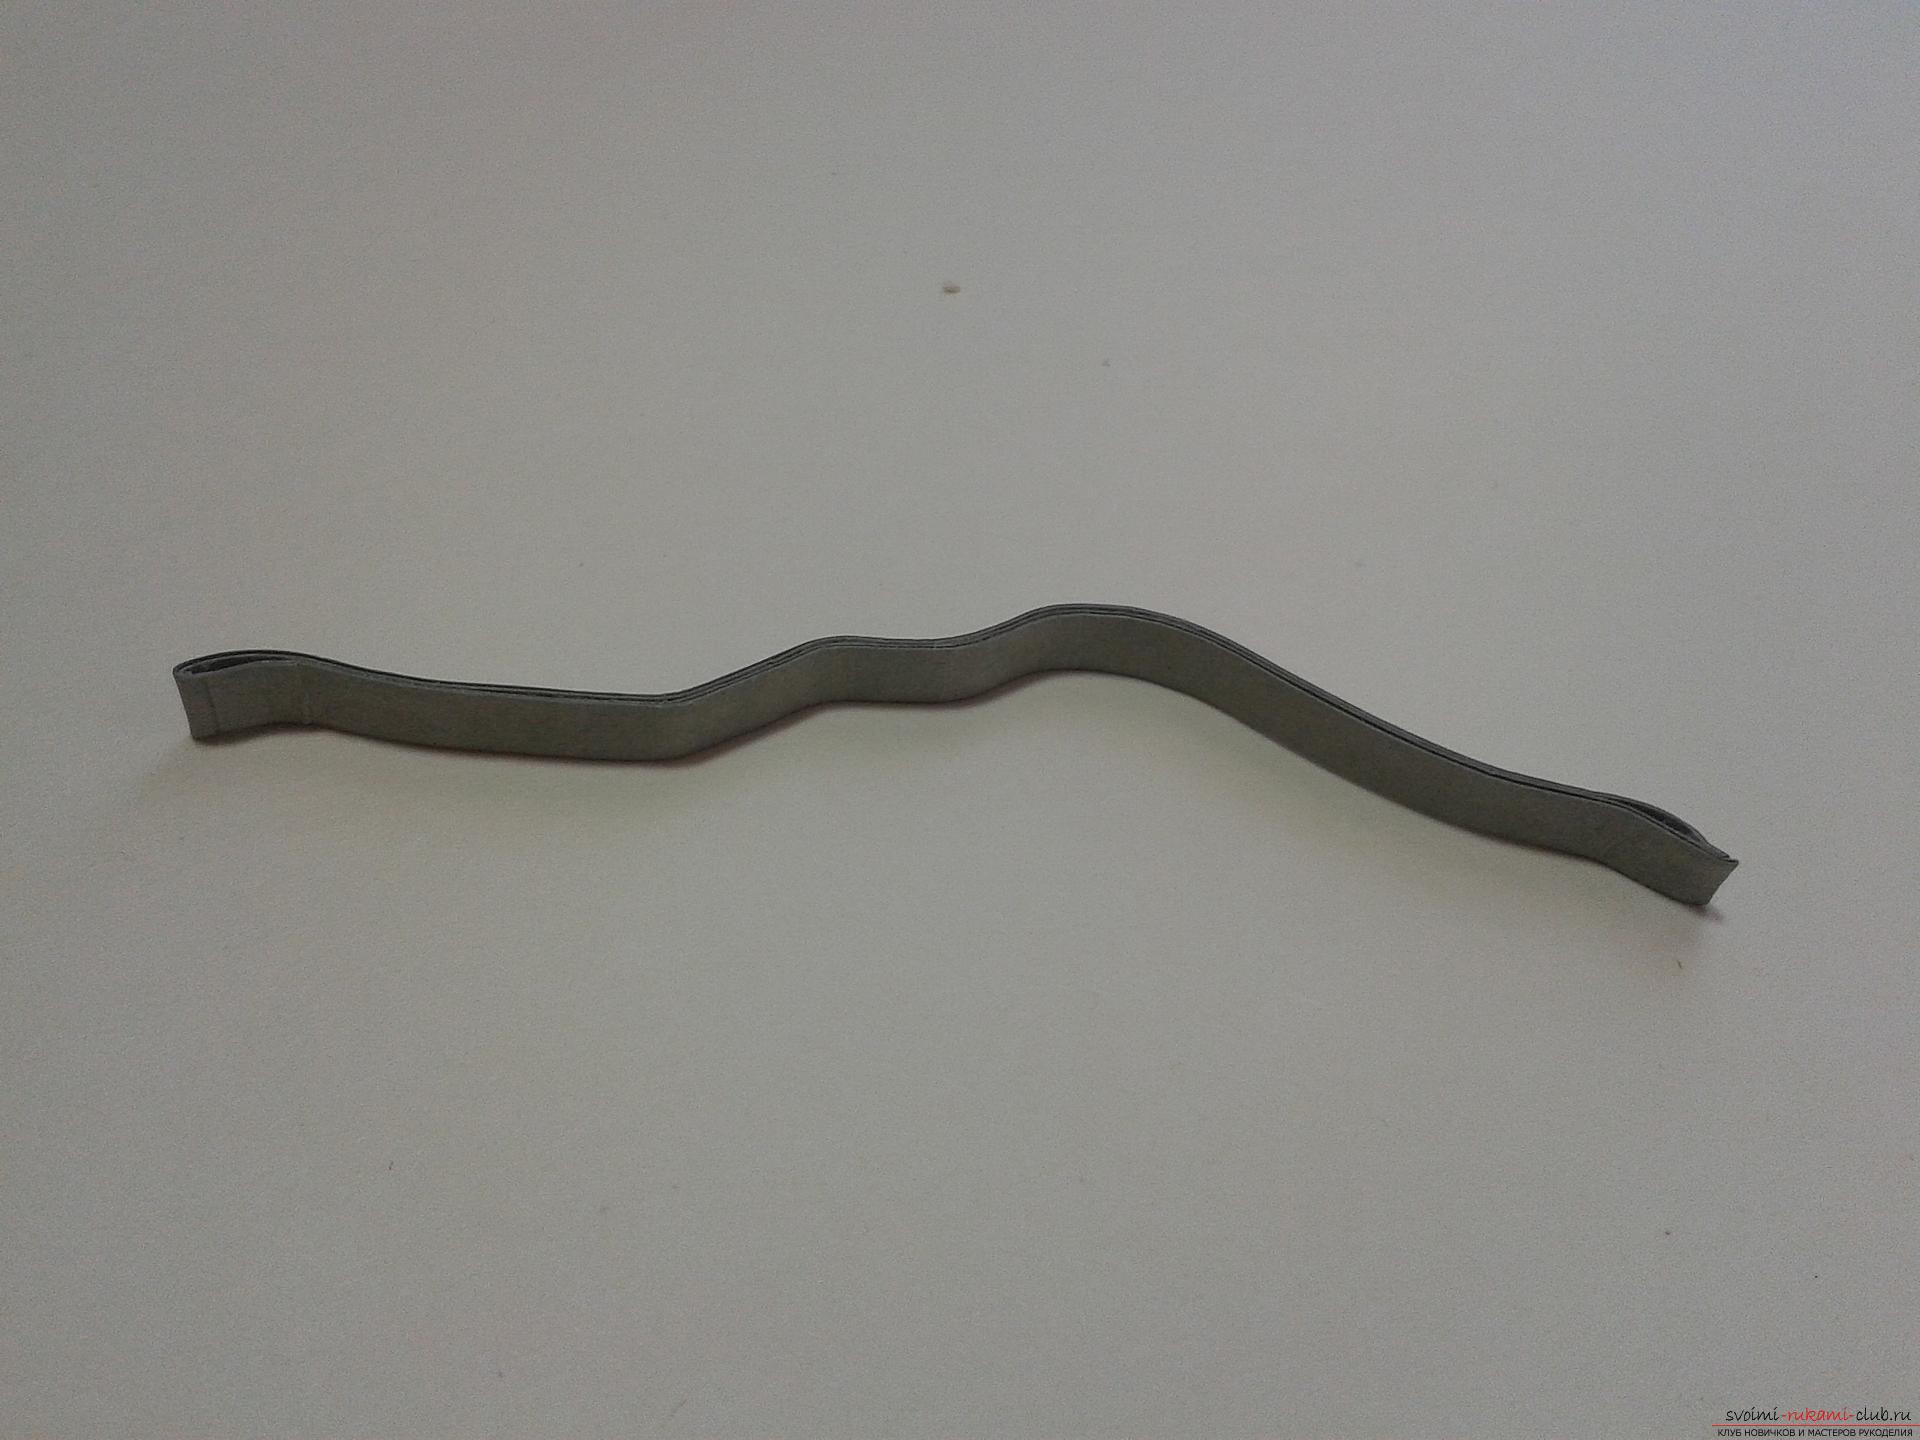 And then we glue hands to the neck.
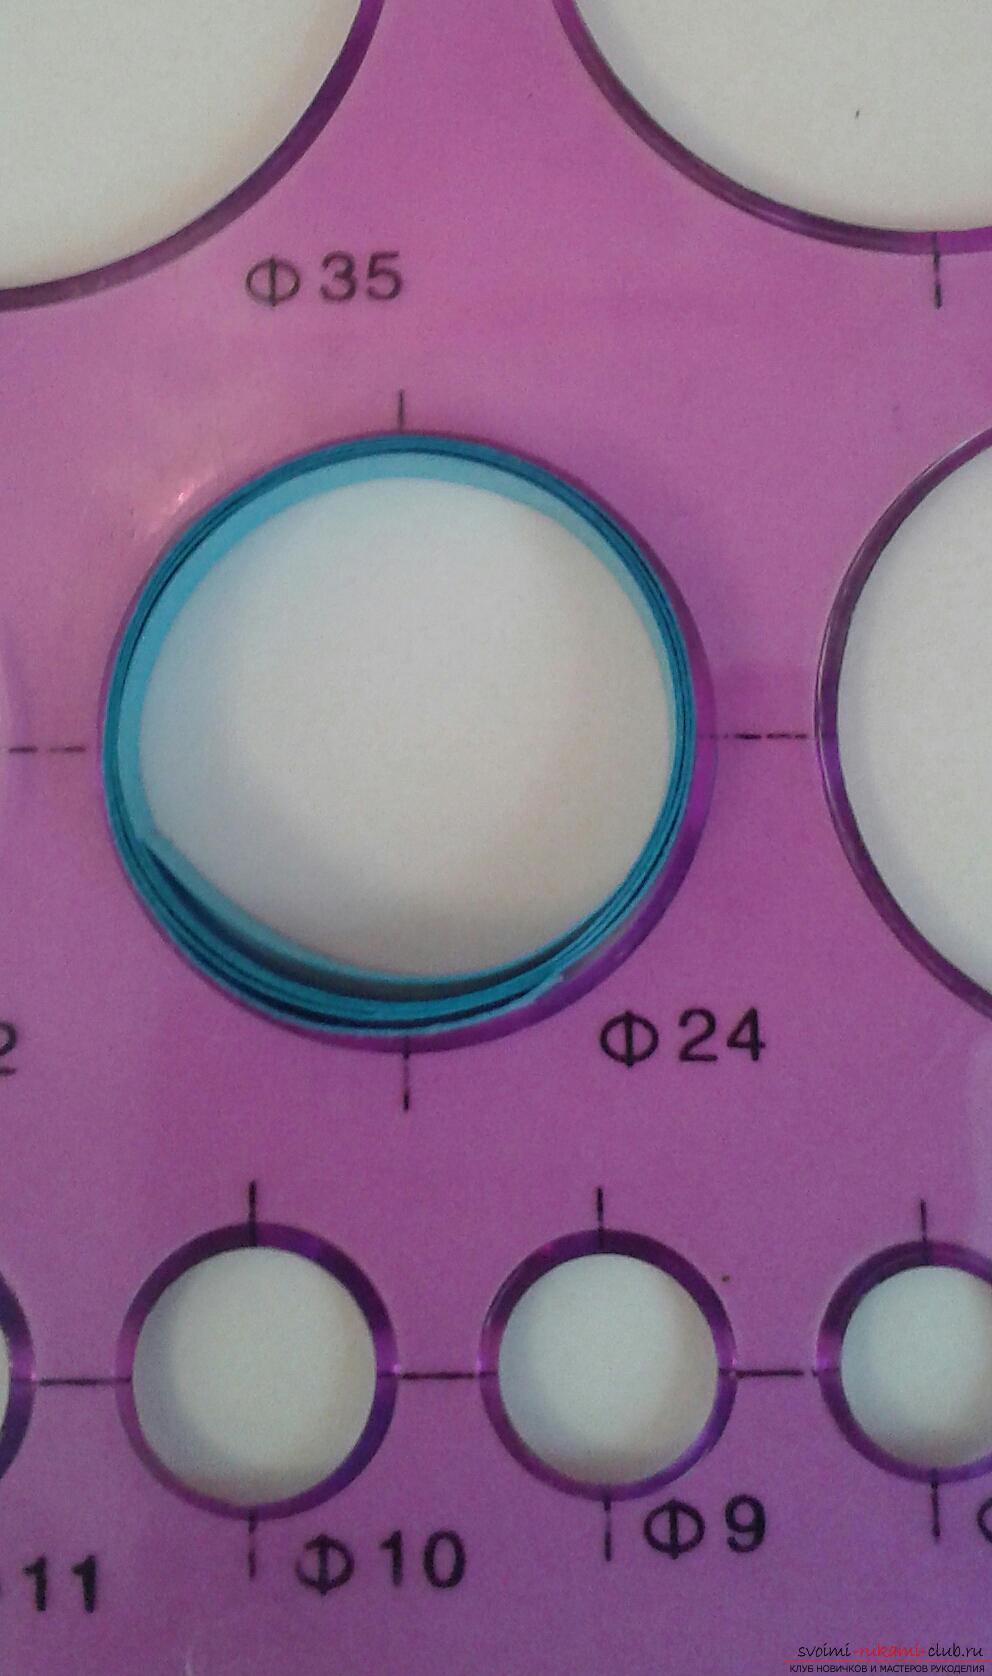
 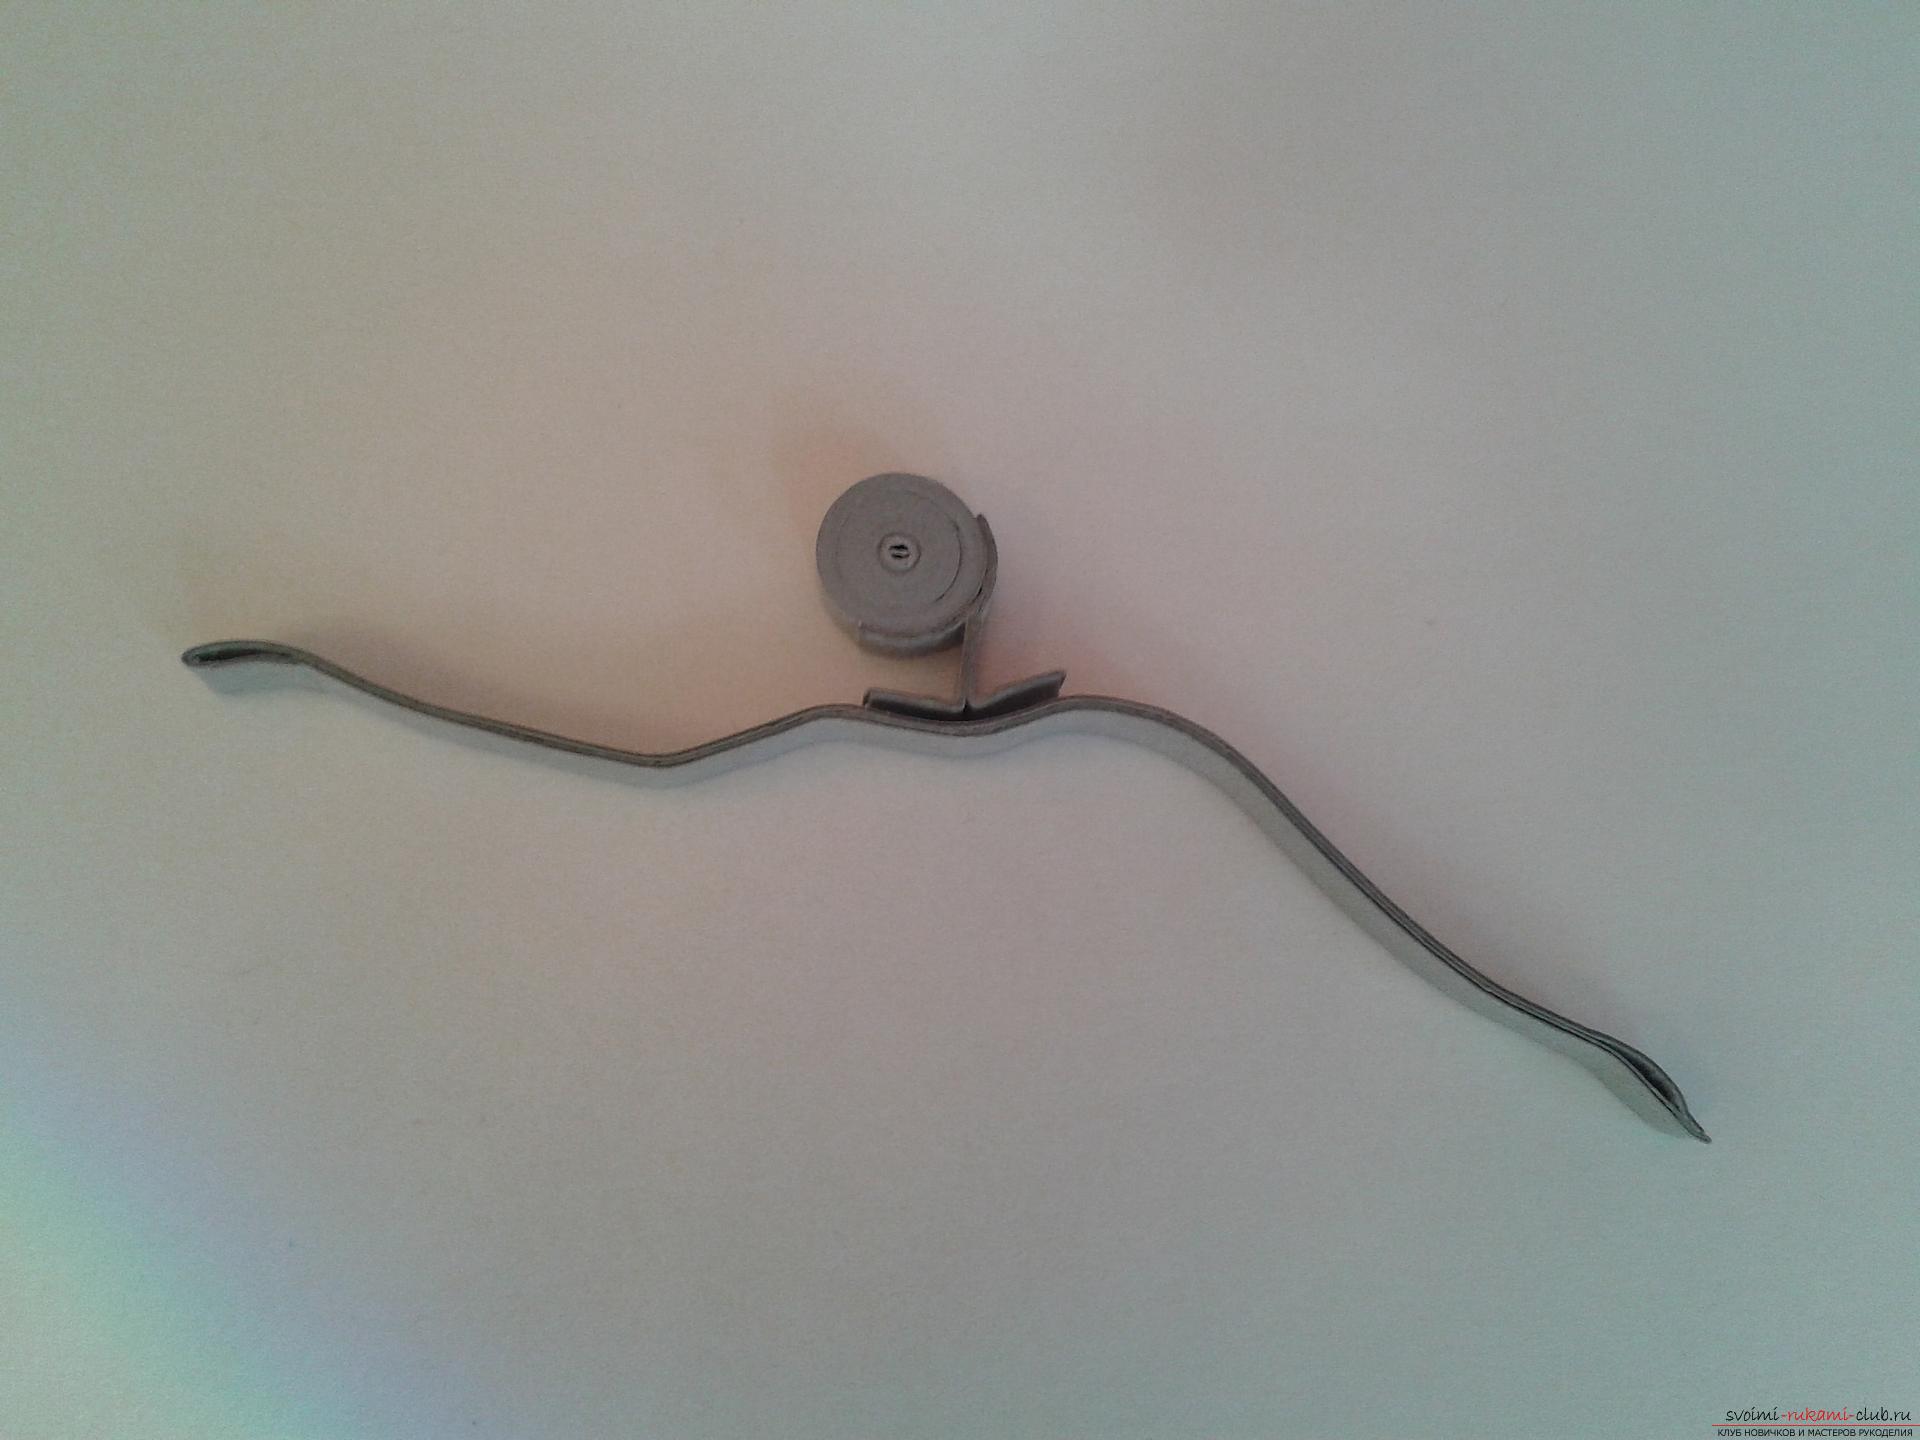 The ballerina's body will be made of a blue stripe twisted into a free spiral. The edges are glued together.
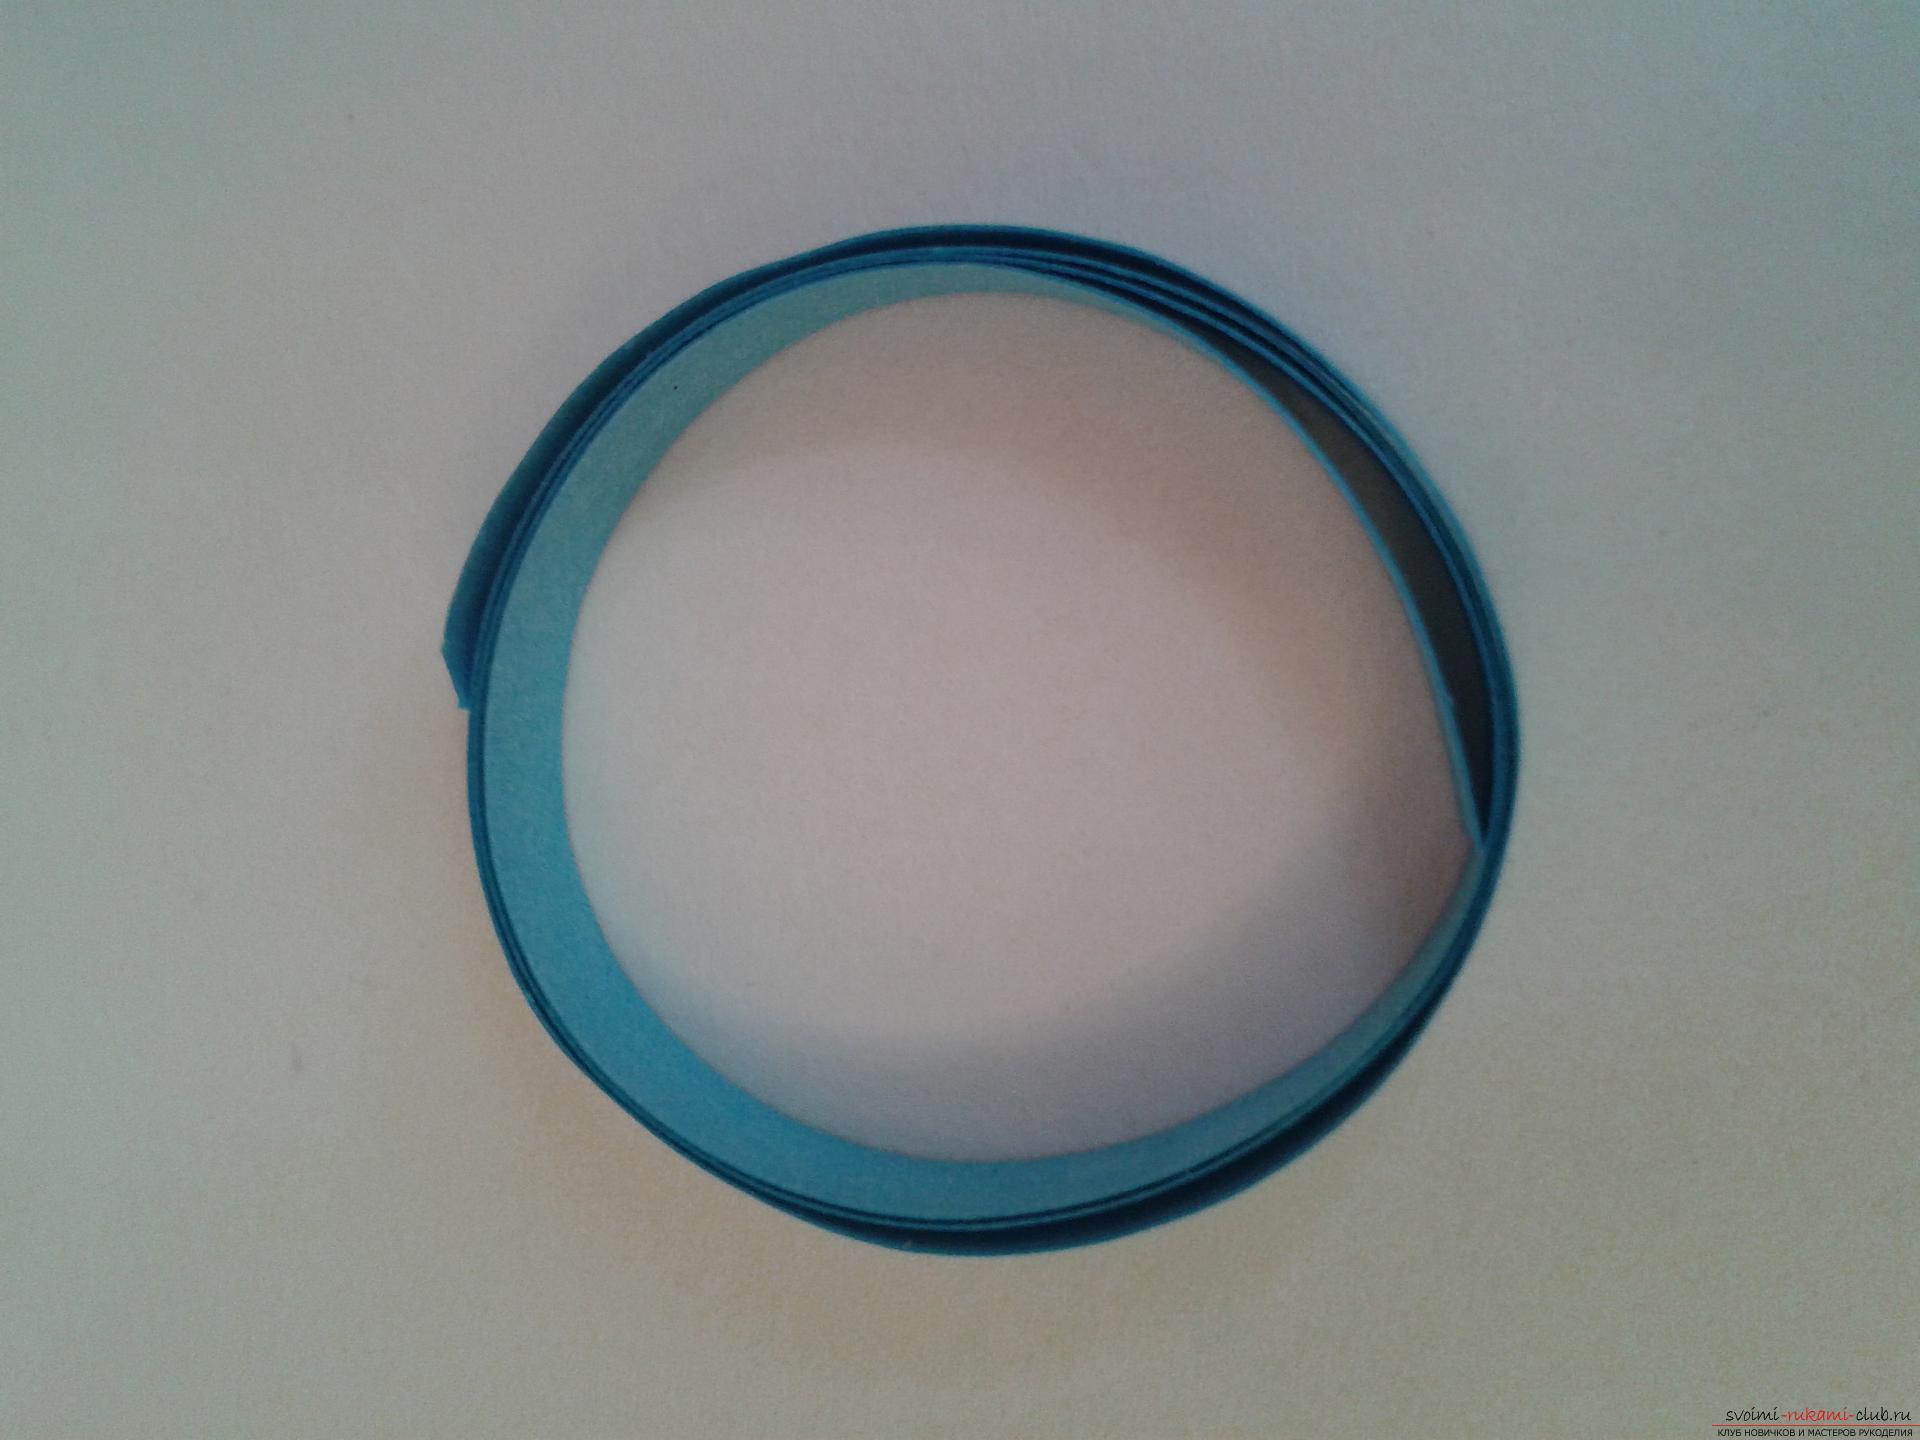
 We give the roll a triangle shape.
 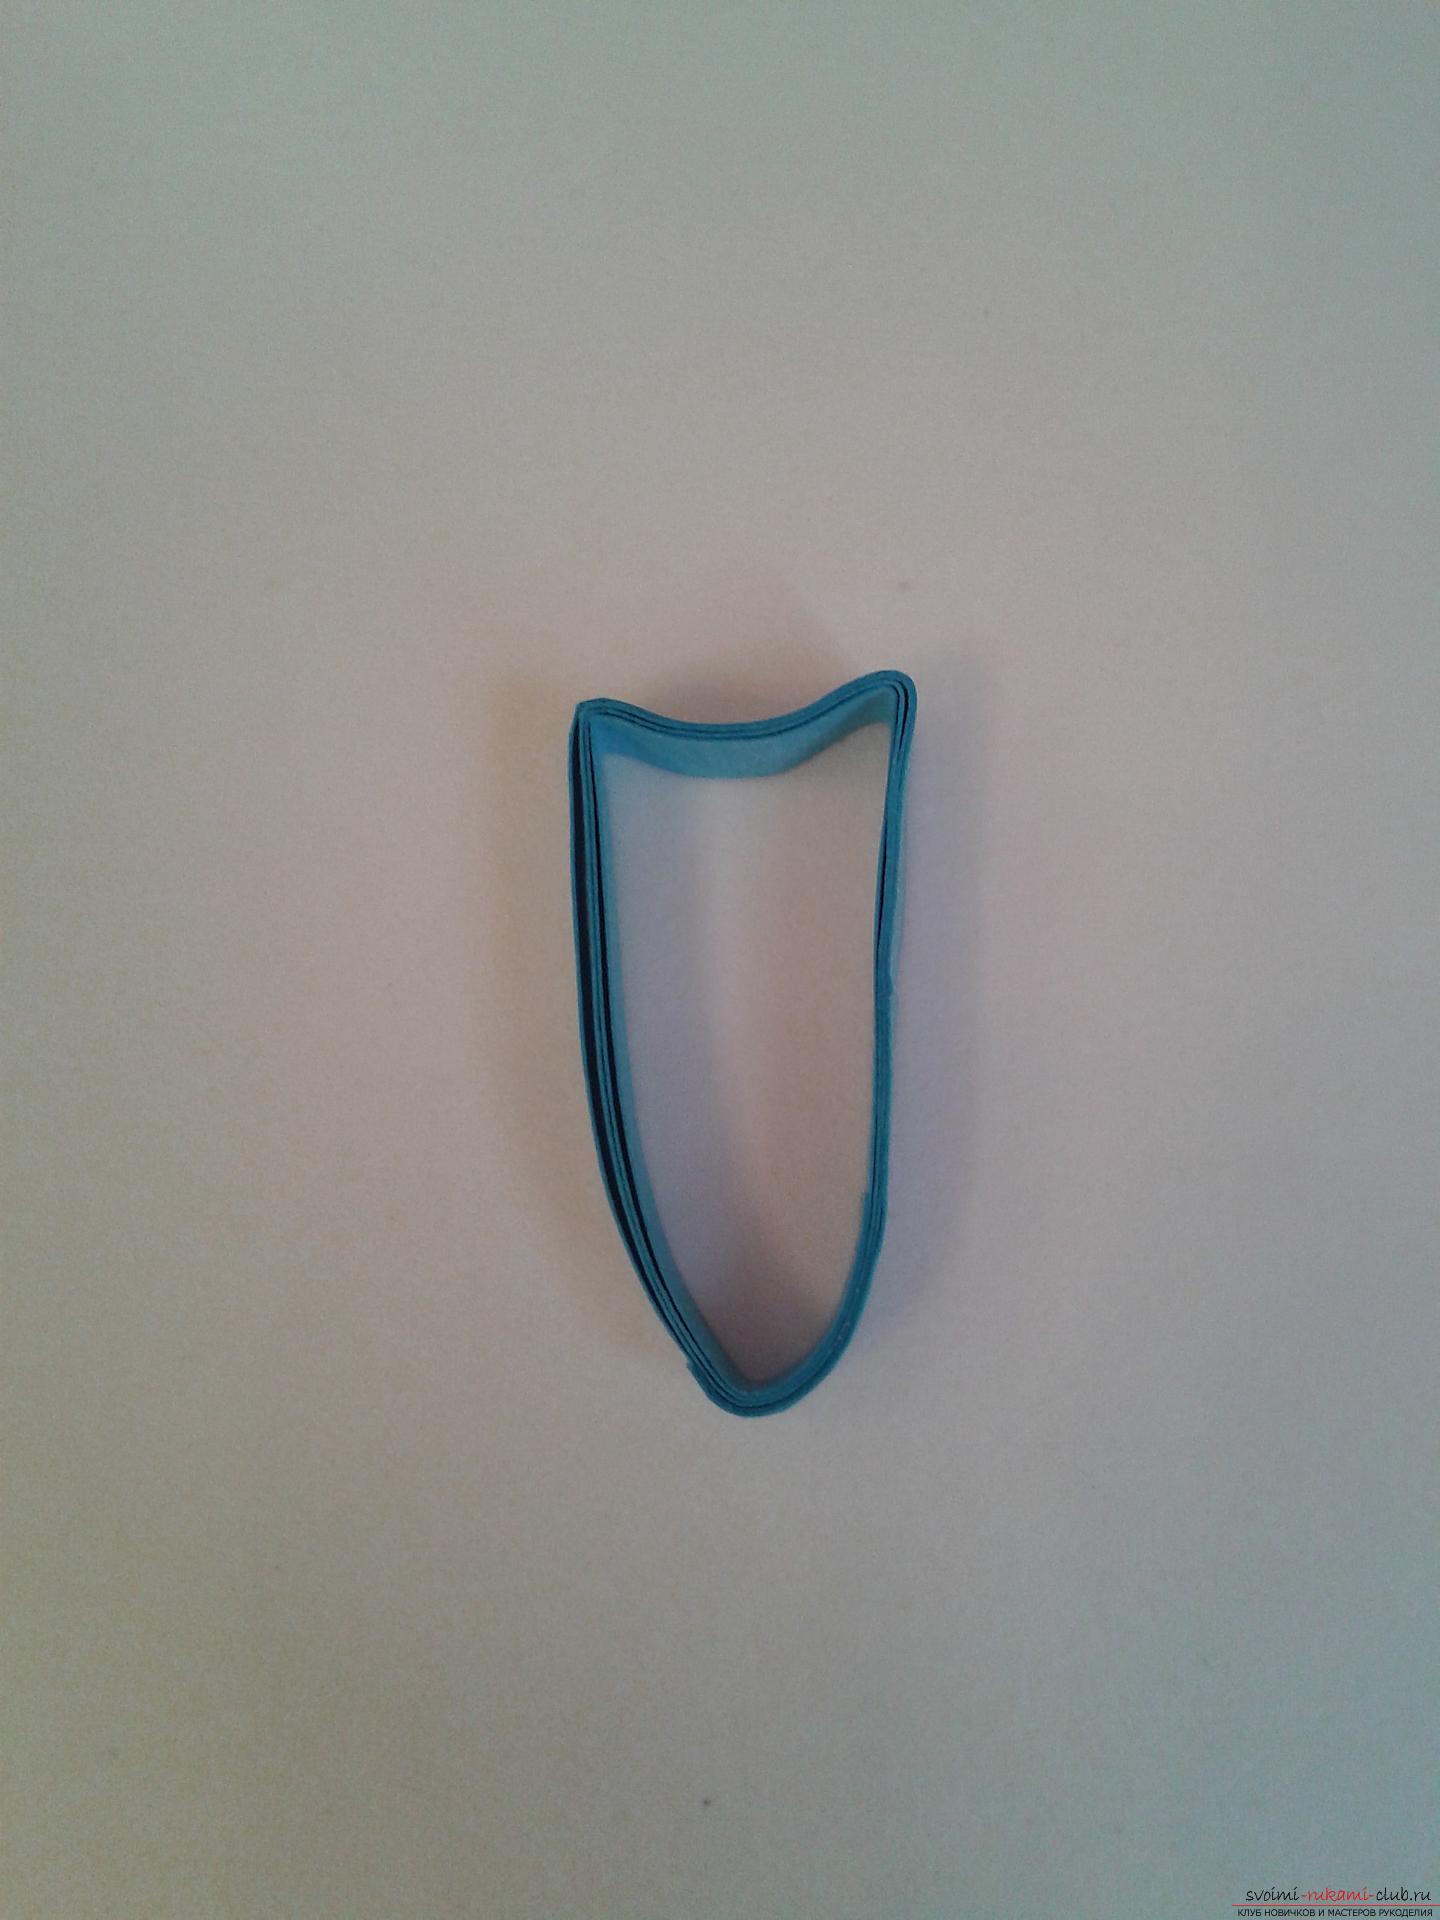 Then from pink short strips we twist a small roll.
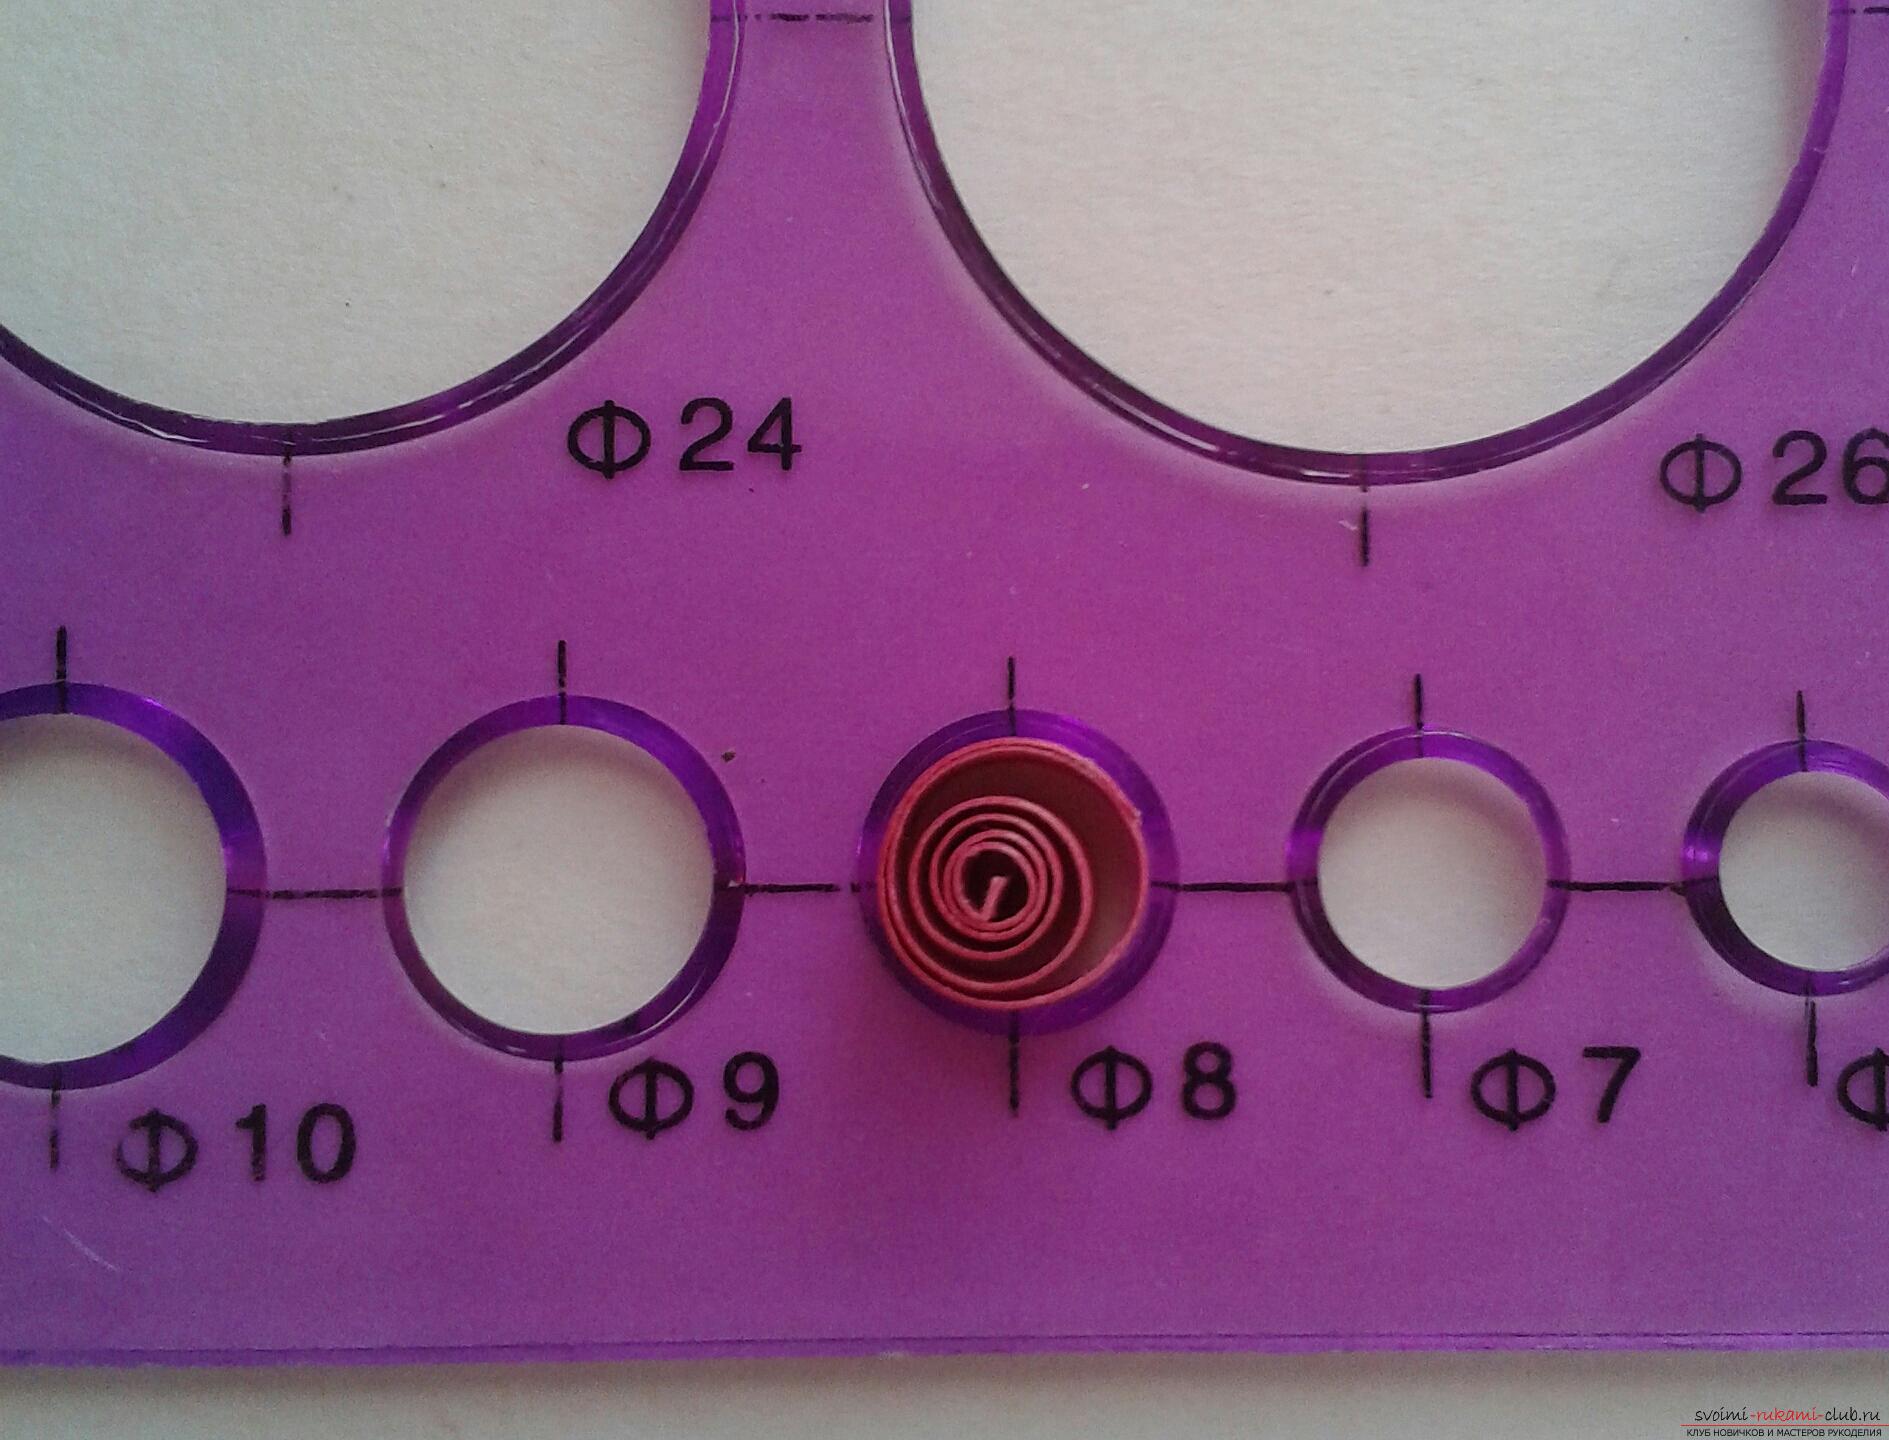
 I got 8 rolls, which I inserted and stuck into our billet torso.
 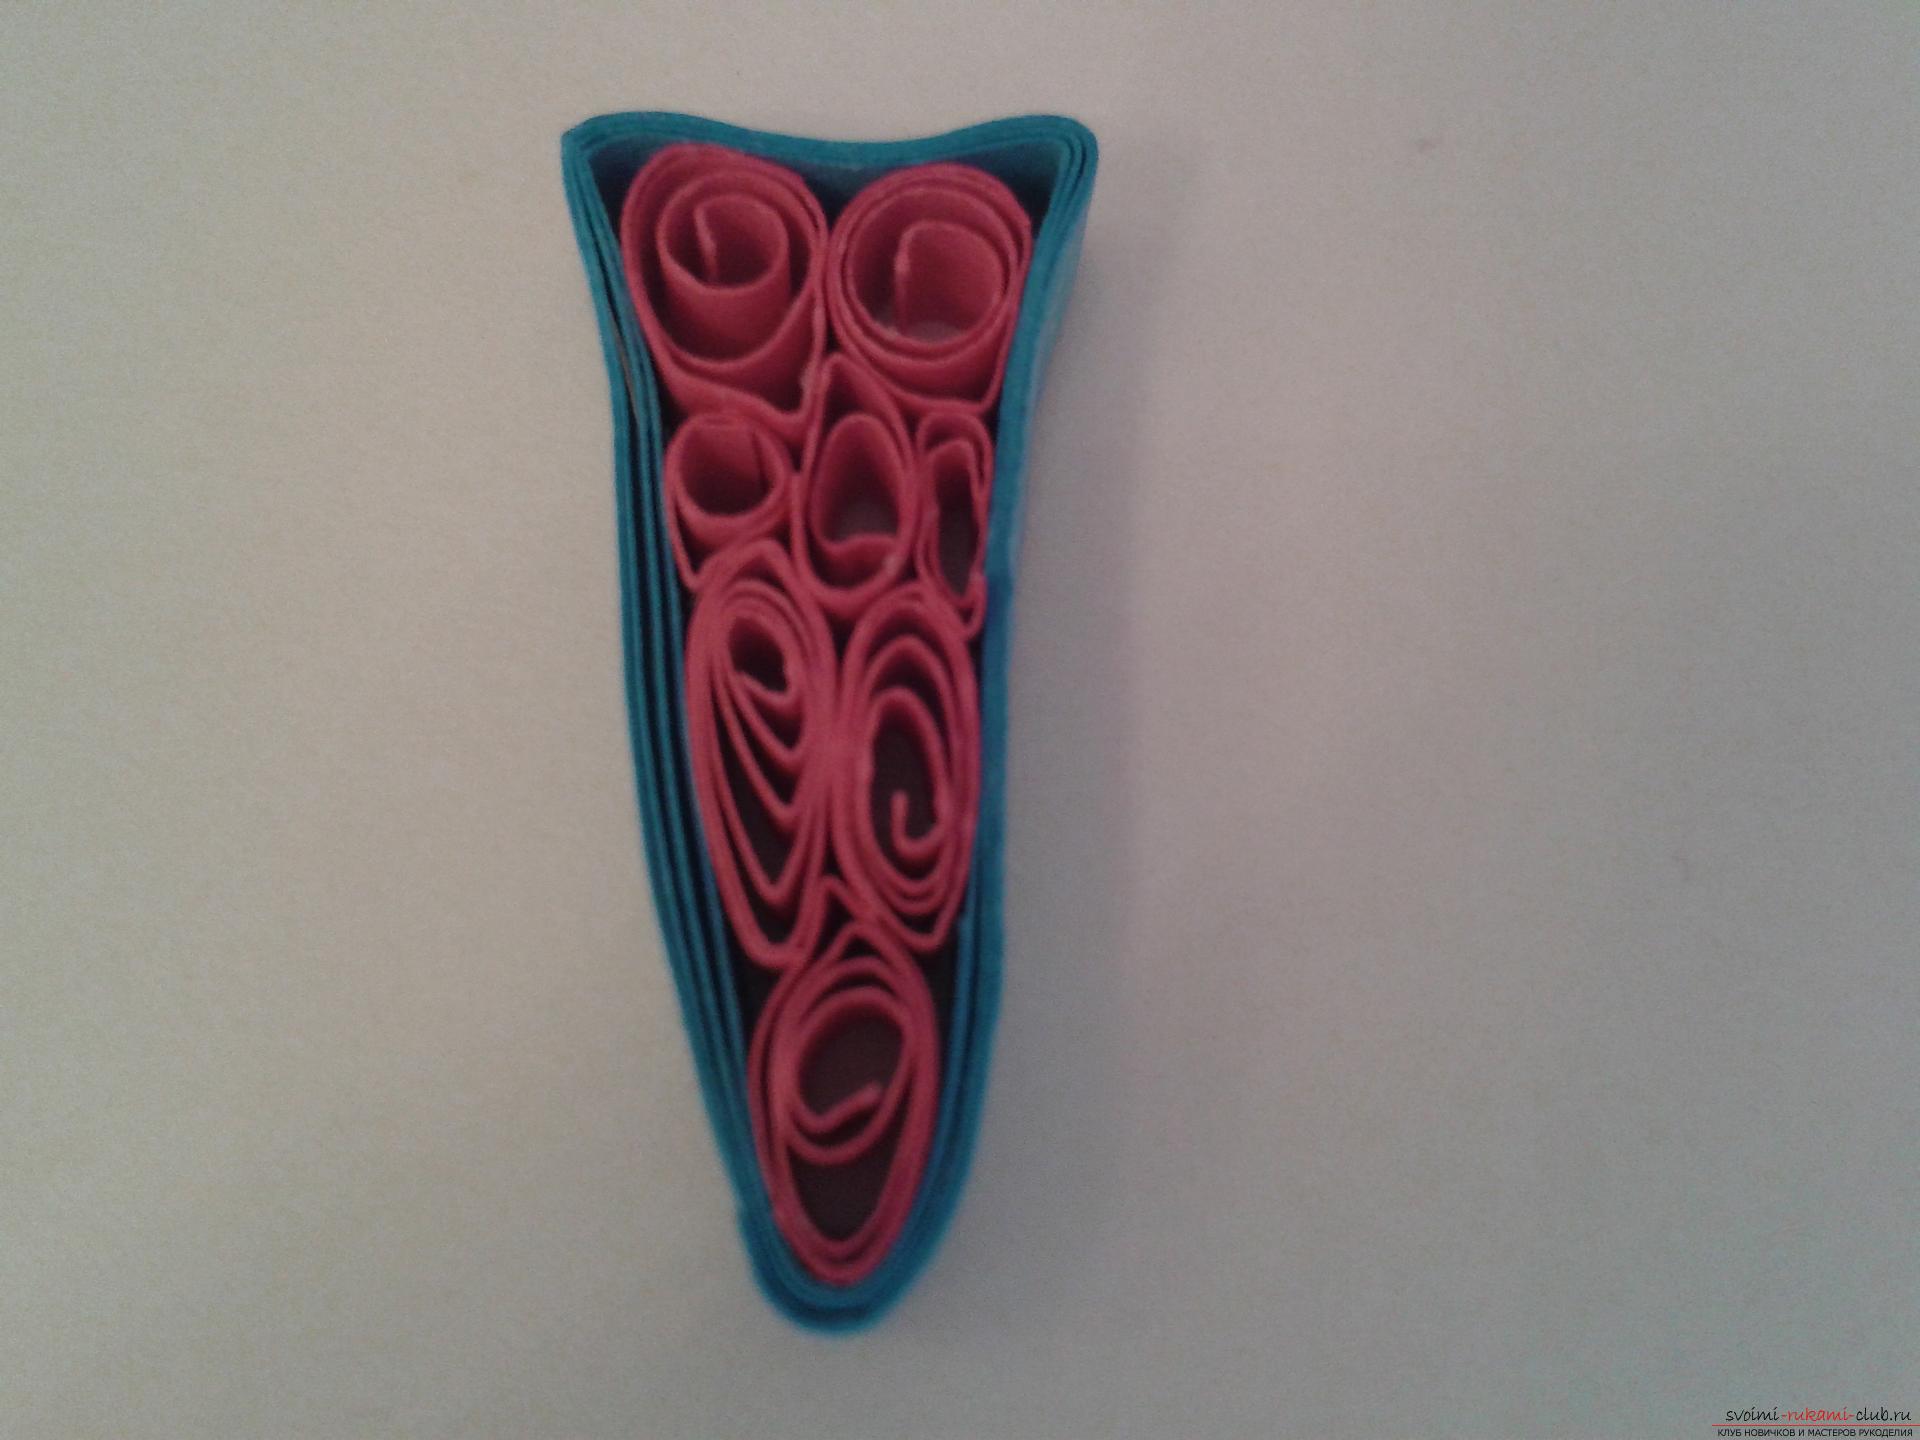 Gave a more subtle waist shape and glued tohands. For the skirt base, I took blue stripes. We need to make 5 drops. Two strips are glued to each other and we get one long strip. Such strips need 5 pieces. Each strip is twisted into a free roll of one diameter, the edge is glued.
 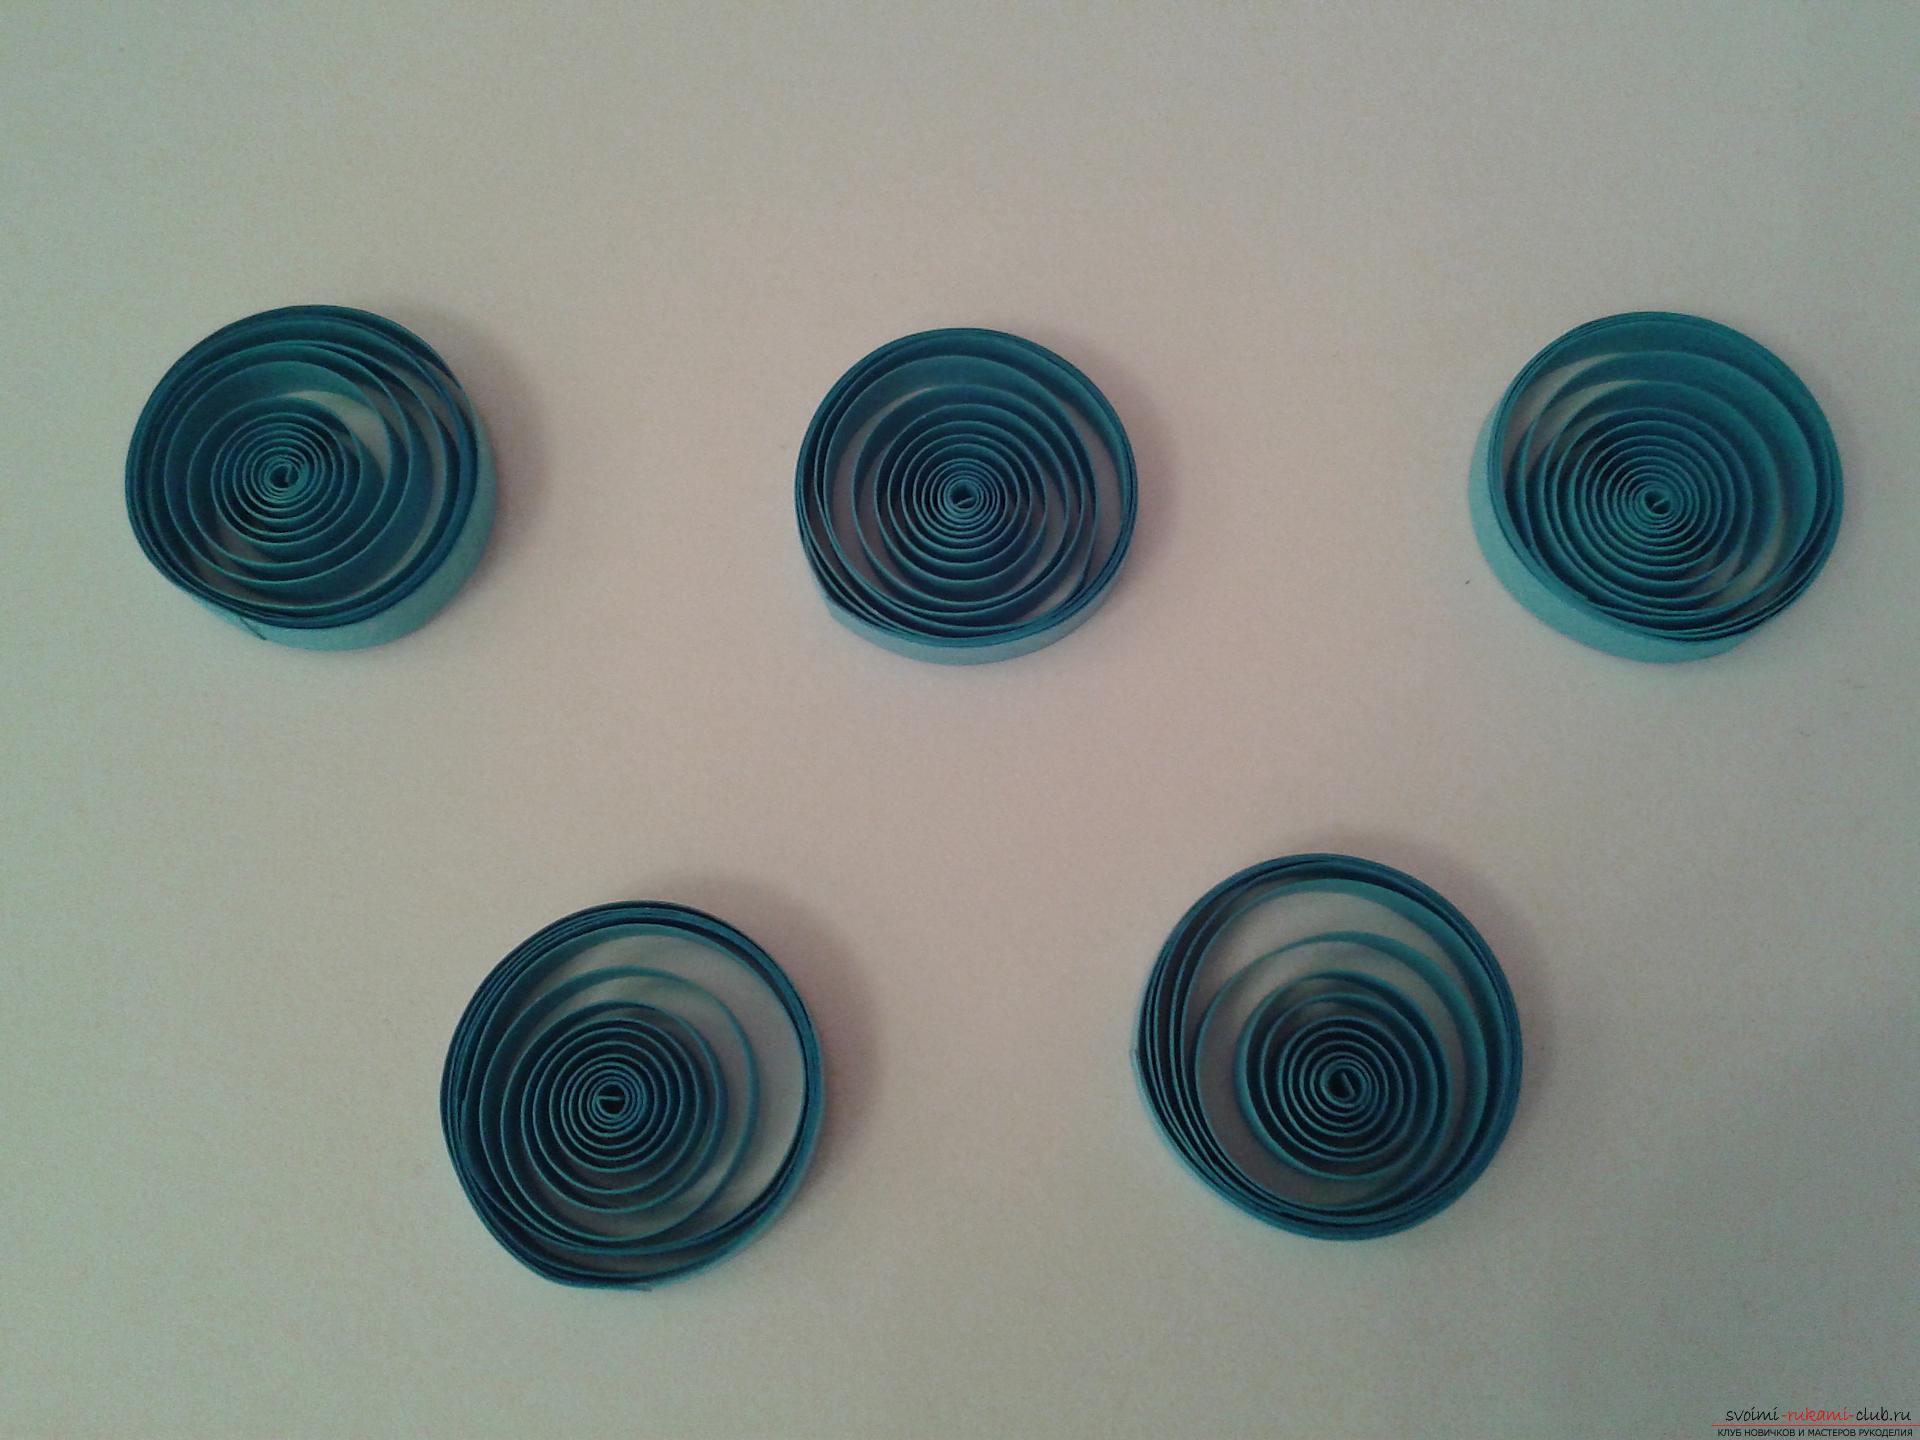 We place the circles in droplets.
  Try on a skirt. In the empty seats between the drops placed curls of pink color.
  Twisted 4 strips about 10 cm in the no-flycurls and also glued to the skirt. On the head of a short strip made a small bundle of hair. A free roll rolls and bends in the form of a letter C, is glued.
 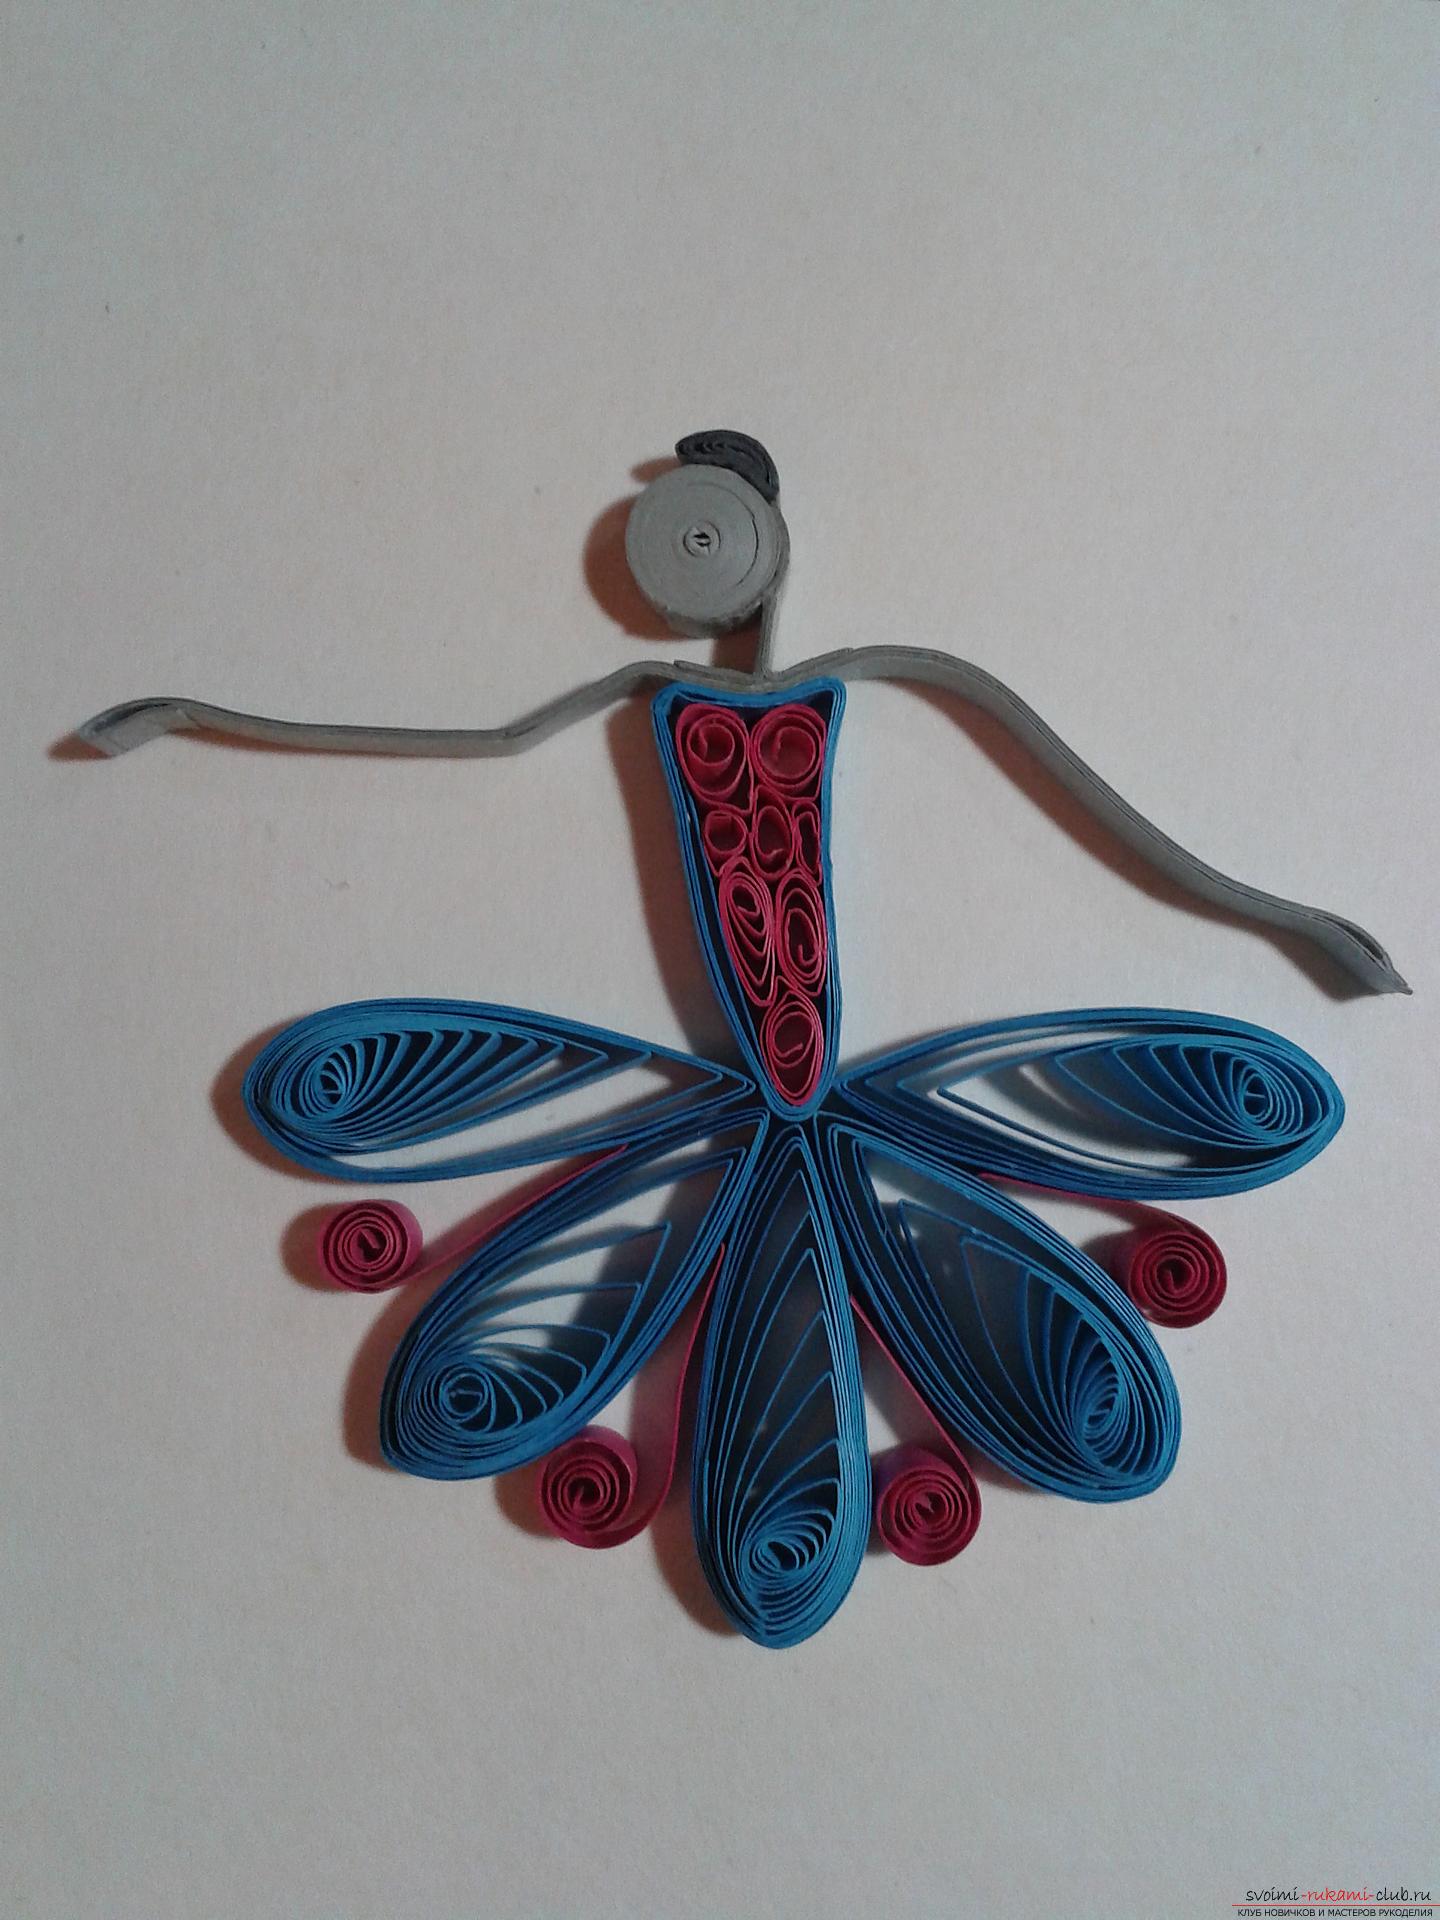 And if desired, you can make a long dancercurls (just as an option). The ballerina's feet are made according to the type of hands. That is, two gray strips are glued together, bent into several layers and glued. As in the drawing, we form the legs, leaving a small space between the strips.
 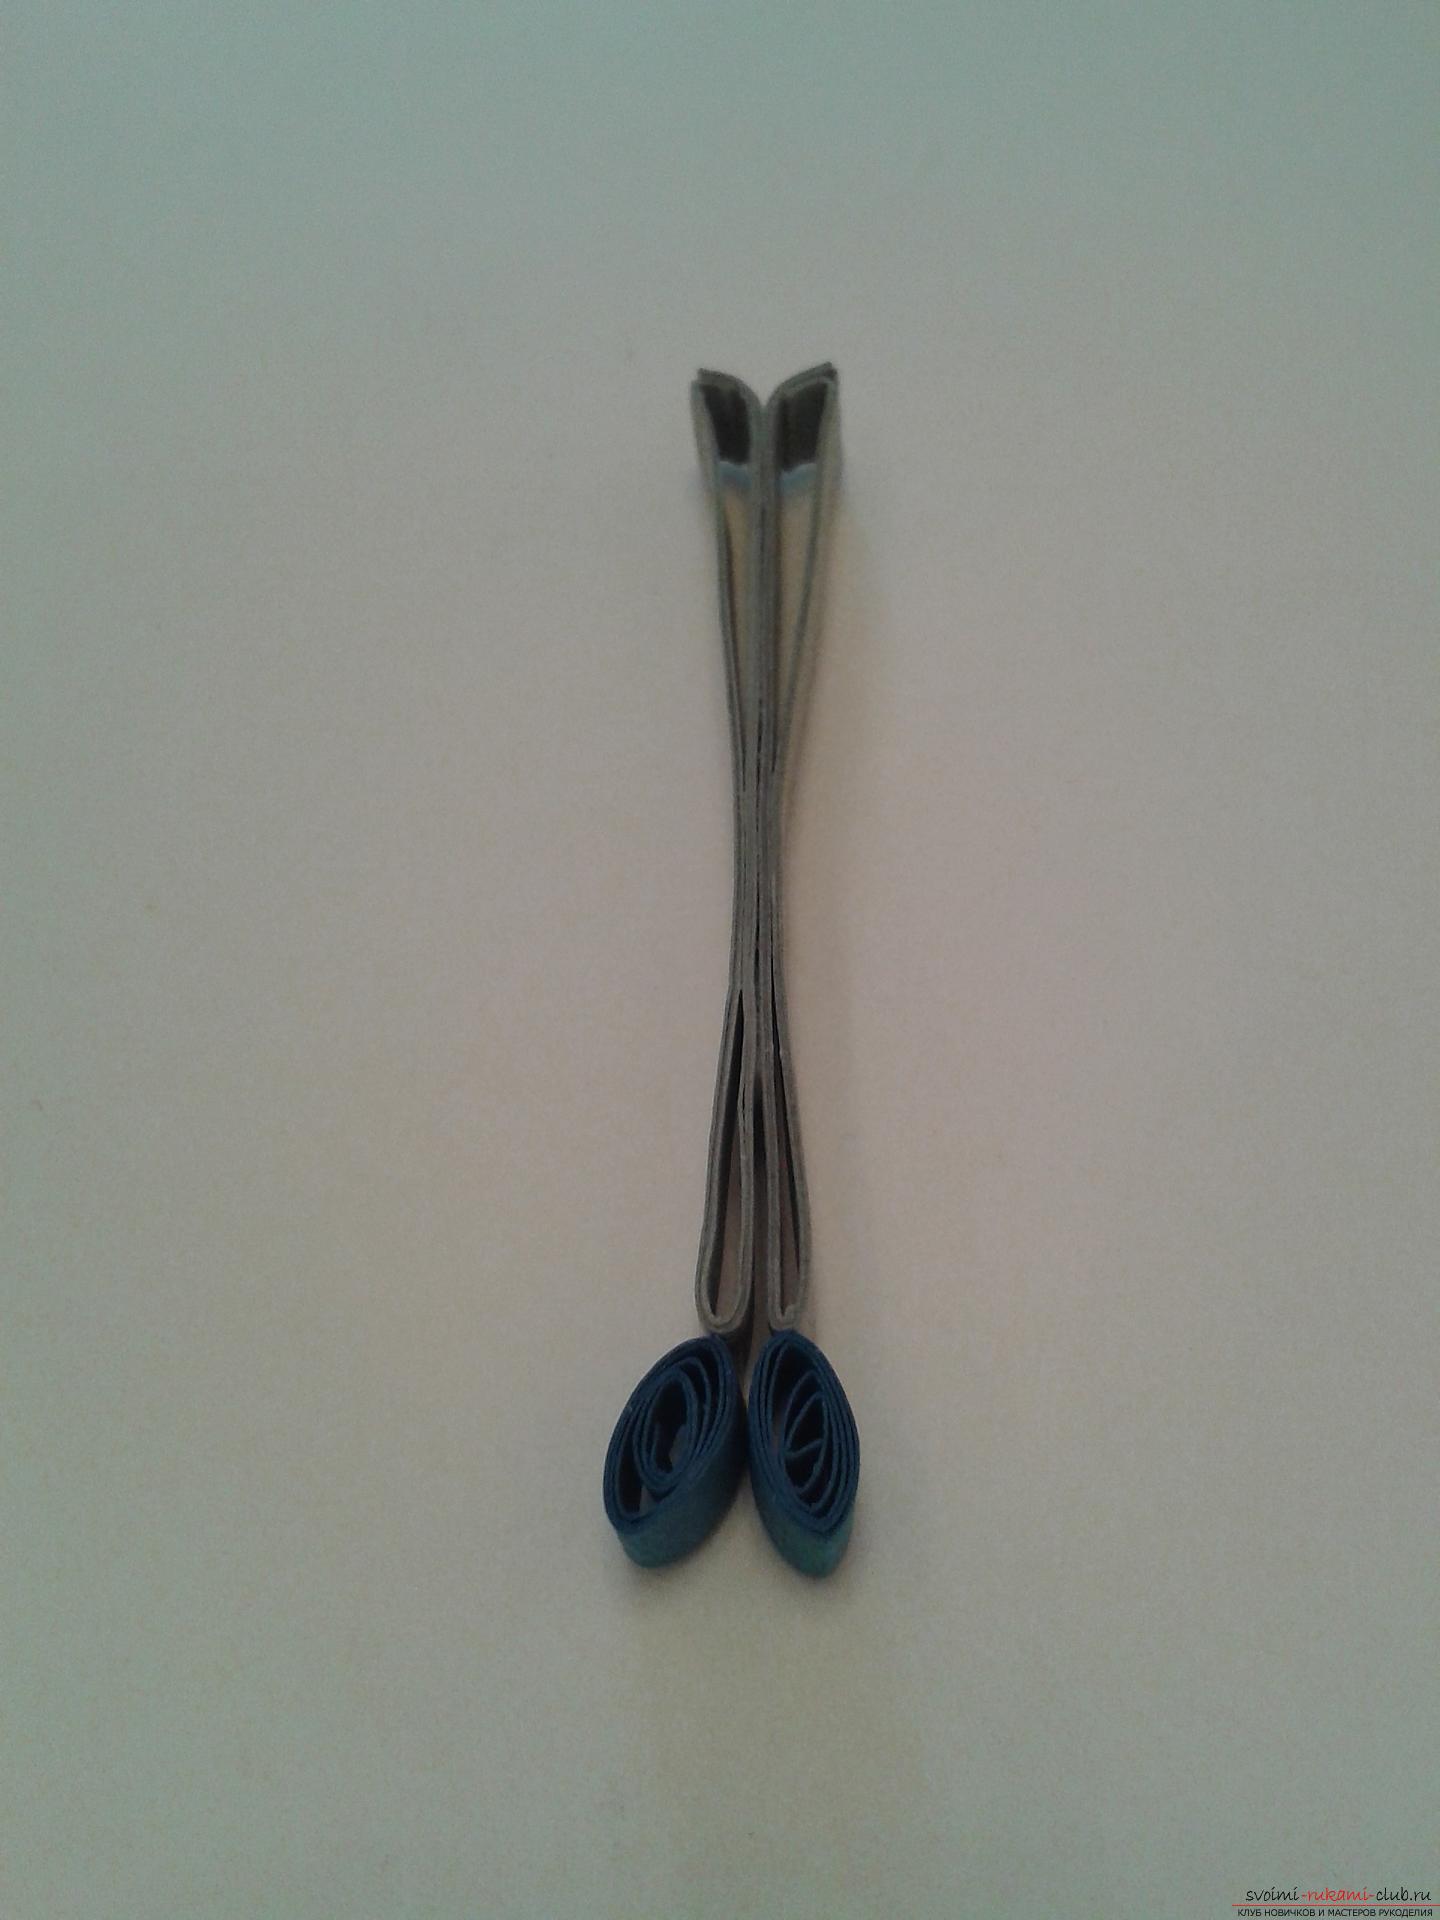 Pointes of our almost finished ballerina are made fromsmall strips in the form of drops. The final stage is to decorate the ballerina with rhinestones, beads. Here the main thing is not to overdo it. Here's what I got.
  My daughter really enjoyed it. We hung over the chandelier. Such a ballerina is suitable for a postcard and for the interior of your home. Health to you and unlimited imagination!
Comments
Related posts:
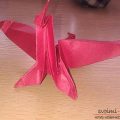 This detailed master class contains an origami-dragon scheme from paper, which you can make with your own hands.
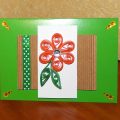 This master class will teach you how to make your own beautiful quilling cards.
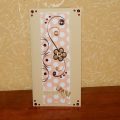 This master class will teach you how to make a postcard with your own hands in quilling technique.
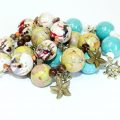 This detailed master class will teach you how to make beautiful beaded bracelets with your own hands.
 This detailed master-class will acquaint you with quilling technique, teach you how to make quilling flowers and quillings.