Origami "Butterfly": step by step instructions
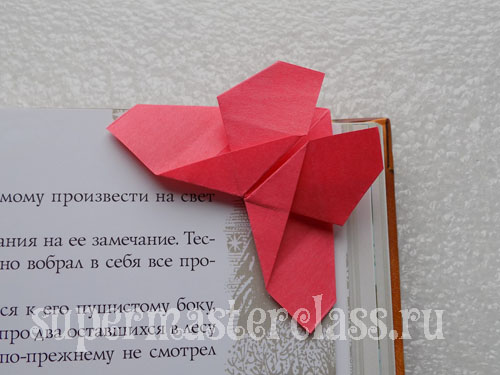
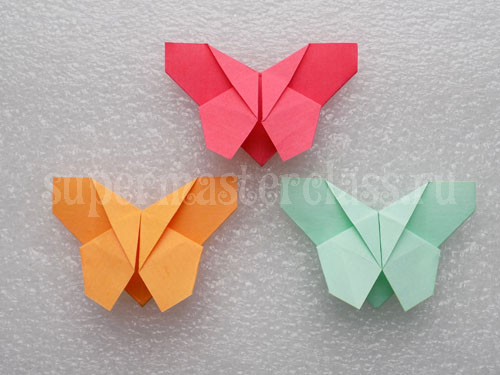 We offer another master class in the popularpaper technology. Today we will make a butterfly in the technique of origami - and in order to cope with everything and the readers did not have ambiguities and questions, we offer you step-by-step instructions and step-by-step illustrations. This origami butterfly is not just a paper figure, but also a bookmark (we did it the same way). It can be put on the corner of the book page: comfortable and beautiful. Children of middle and senior school age can easily cope with the proposed work and decorate notebooks and textbooks with such butterflies. Why not? It is not necessary to wait for the feast of St. Valentine to share; Any school day is good to exchange elegant butterflies!
For the manufacture of one butterfly, origami will need:
a square sheet of paper (in our master class, we used note paper from a block with a side of a square of 8.7x8.7 cm); scissors; pencil.
How to make origami butterfly: step by step instructions
We have in front of a square sheet of paper. 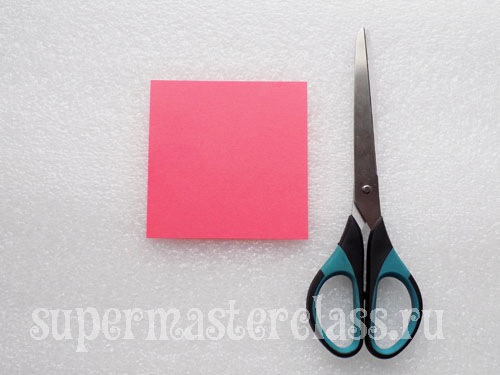 Fold the sheet in half so that the fold is arranged horizontally.
 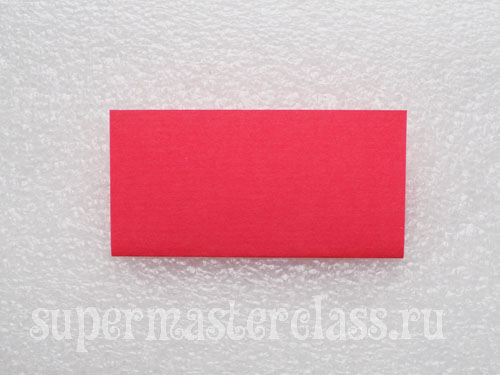 Expand the sheet to its original position.
 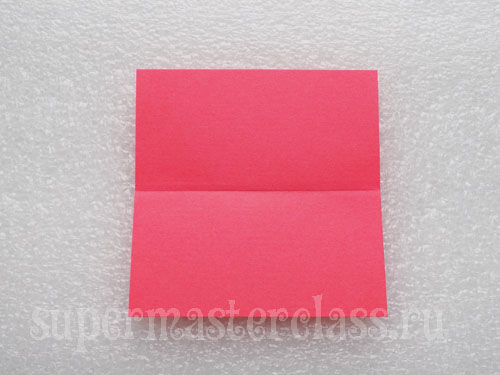 Thus the sheet was divided in half. Bend the lower half in half, turning the lower cut of the sheet to the existing fold.
  Again, we unfold our sheet, and cut off the narrow strip bounded by the fold that has just been made.
 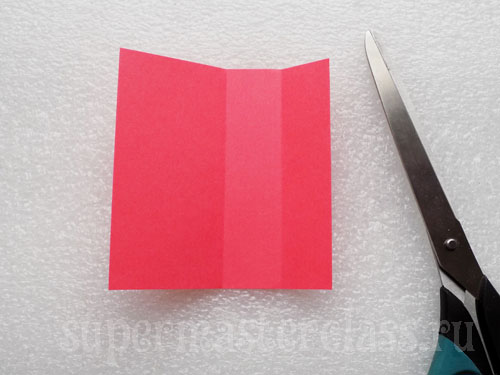 This is our list at this stage. Note: the existing fold is now vertical.
 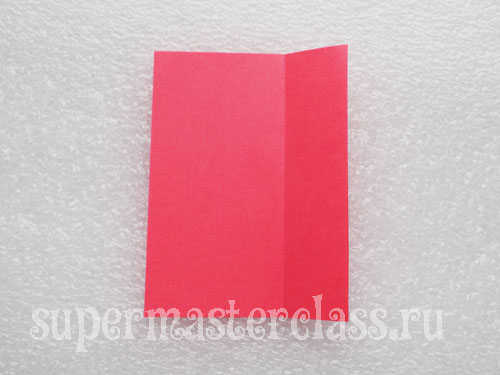 Leaf in the position in which it was, with a vertical fold, fold in half (top to bottom).
 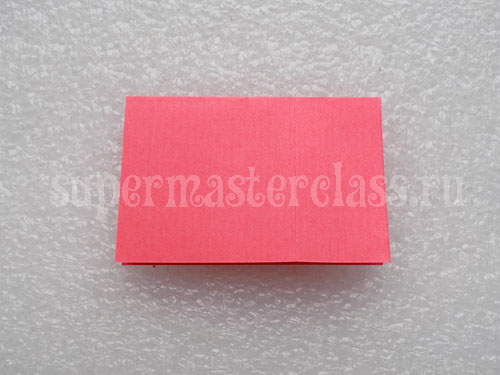 Now it is necessary to make one more addition (from right to left).
 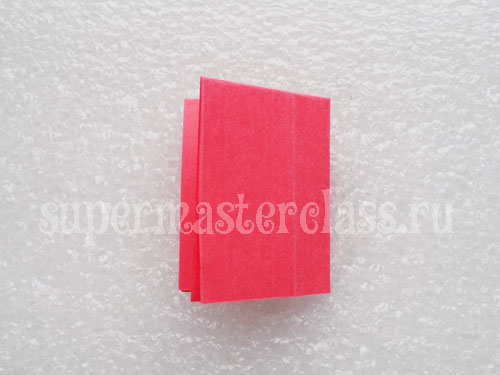 Unfold the fold just made and bend the upper right corner towards the central vertical line.
 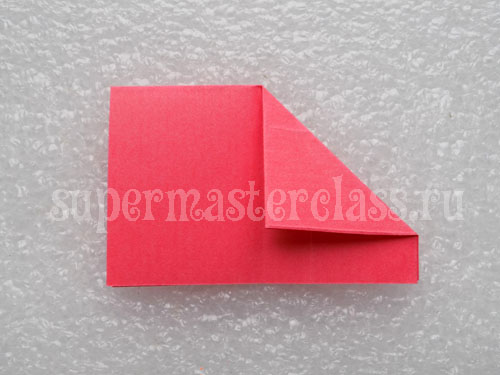 Similarly, we act with the upper left corner.
 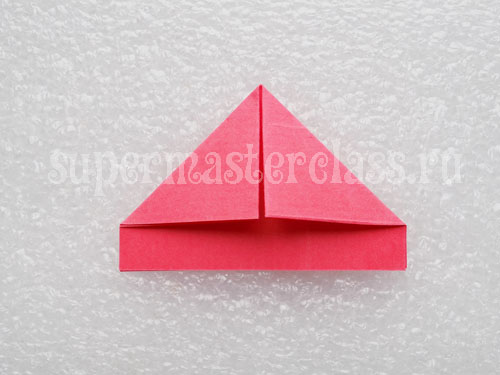 Turned corners in the form of triangles must be removed inside.
 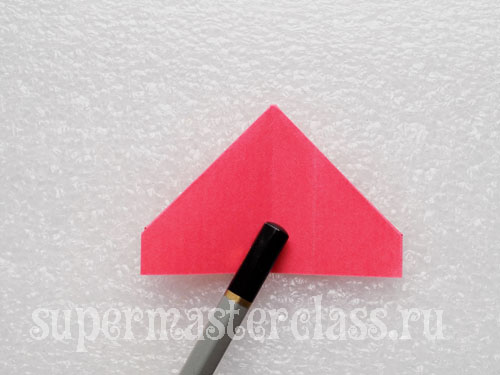 Well iron the reverse (smooth, non-sharpened) part of the pencil with all the bends and “leaf through” one of the parts so that the following type of blank is obtained.
 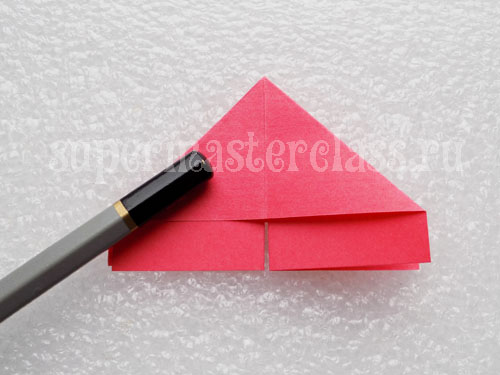 Again, carefully iron the pencil all the bends. Bend the right side of the future bookmark vertically towards the center line of the workpiece.
 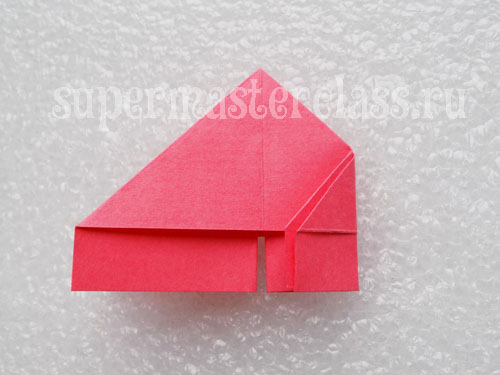 We do the same with the left side. Fold back the folds just made to the previous position.
 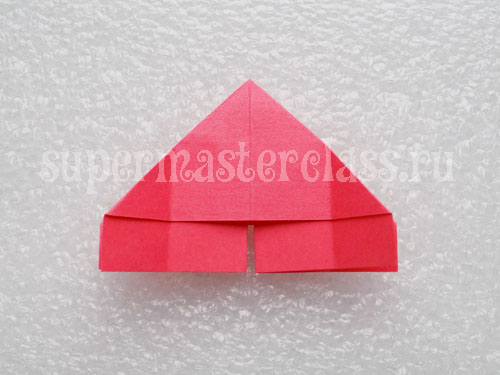 Expand the workpiece 180 degrees.
 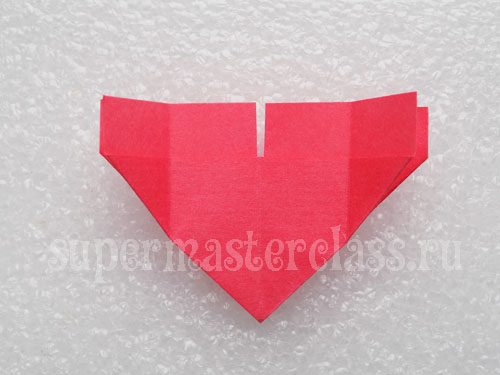 Along the edges of the center line there are rectangles outlined by the previously made folds. Their inner edge is required to bend in the form of triangles. We do it from the right and left side.
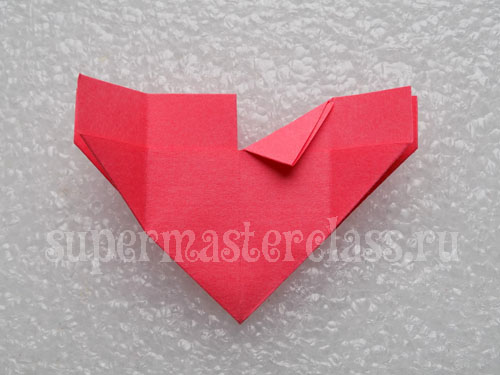
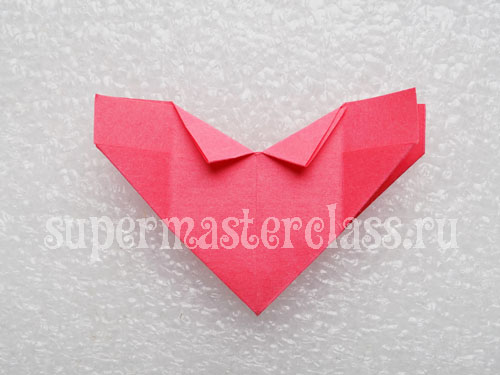 We refill the resulting triangular folds inside.
 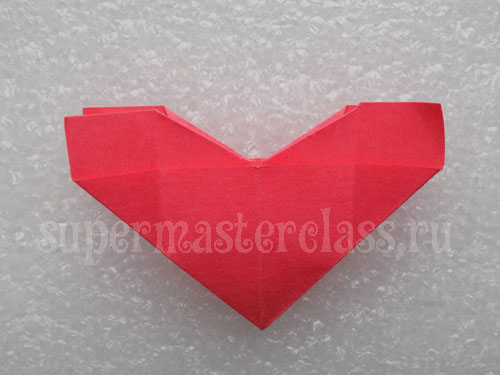 The top layer of the right side is folded down, aligning the edge with the vertical center line.
 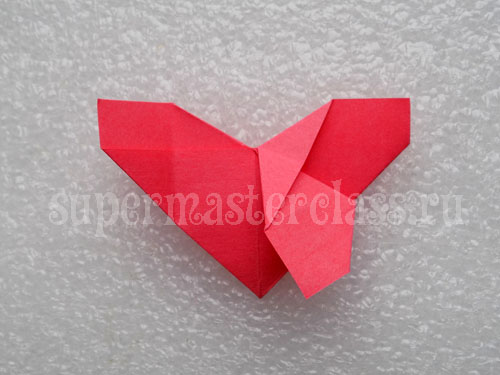 Similarly, we proceed with the left part of the workpiece. Our bookmark in the form of a butterfly in paper origami is ready.
 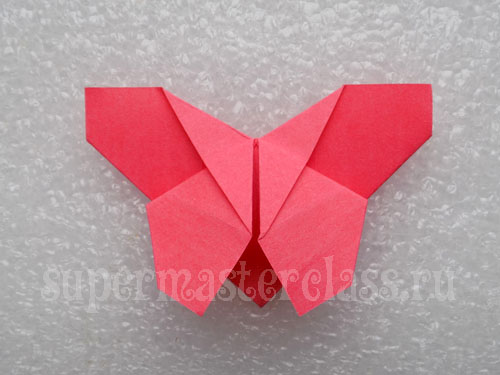 It looks like this from the reverse side, where there is a corner pocket for the page.
 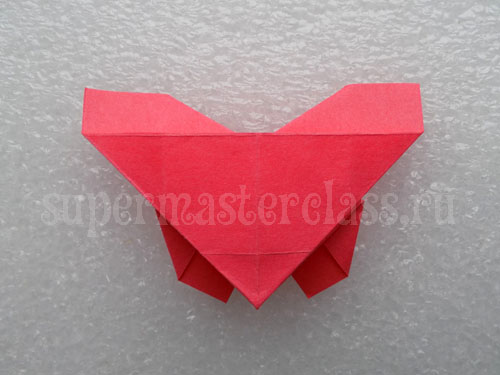 It remains only to use the bookmark by appointment. marycopy (Marina), text edited by Eva Casio specifically for the site Previous article: Next article:
Comments
Related posts:
 We make an origami parrot, step by step instruction. Origami modular, requires a certain skill.
 Handmade of ribbons: a butterfly with your own hands, step by step instruction on how to make with photo and description of steps
 How to make an origami swan from paper: a step-by-step instruction.
 How to make a house of matches with your own hands, step by step instruction.
 Master-class origami from the modules, a step-by-step instruction for creating pineapple from modules.