Step by step drawing with a pencil squirrel does not seem too difficult for a child
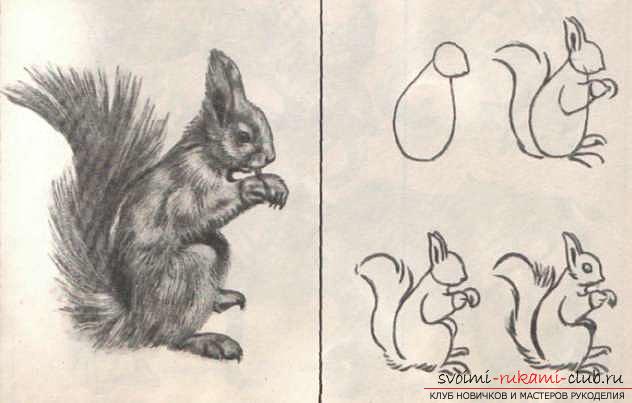
Drawing with a pencil squirrel for a child's taskquite complex. Especially if he does not know how to do it right. Therefore, the task of the parents is to help the child in learning, especially since if the drawing is done in stages, it is quite simple. In today's lesson we will offer you several schemes for drawing this interesting fluffy animal, familiar to everyone. Squirrel - a beautiful forest animal, which is often found in Russian fairy tales, and in cartoons. As a rule, it causes admiration in kids, attracts their attention to themselves. Naturally, the child has a desire to try to independently display it on paper. Zverek is very beautiful, lives on a tree and moves, for the most part, also on trees, jumping from one branch to another. It has a fairly bright color, especially in the summer period of time - orange. After the moult, the color of her fur changes somewhat. The squirrel has two characteristic features - small tassels on the ears and a large fluffy tail. It feeds on this forest beauty nuts, berries, which also stores for the winter. Following a simple instruction and carefully studying the suggested schemes of drawings, the child quickly enough can draw this beautiful animal on his own. We propose to draw a squirrel in four stages. At the first stage, we need to draw the contours of the animal's body - the head, legs, trunk and tail. For this we use simple geometric figures, as can be seen in the diagram. The second stage - dorisovyvaem some details, namely the ears of squirrels and fungus, which will be in its paws. On the torso (large oval) we need to finish the knees (hind legs). Thus, we have a figure that clearly resembles a real forest inhabitant. Extra lines formed as a result of drawing contours during the first stage of work, we need to very carefully erase with the eraser. 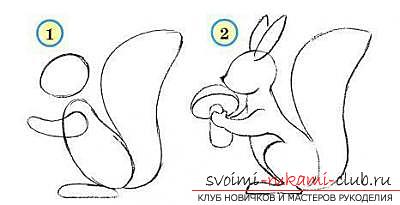 The third stage is the drawing of all the details. We need to add eyes, mouth and nose to the squirrel. On the back and front paws, we finish the fingers. Ears will be made more voluminous and we will paint small brushes. Using small, neat strokes, draw a wool on the tail of the animal and its tummy (abdomen). We have almost finished drawing. The fourth stage is final. We only need to decorate the squirrel with pencils, colored crayons or paints. If desired, the squirrel can be placed on a tree branch and painted over the background. Get an interesting picture.
 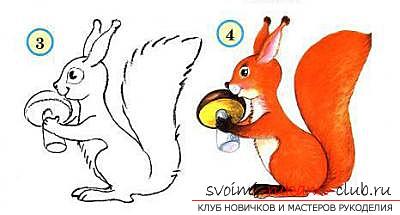 The second scheme, which we propose to you below,is similar to the previous one and differs only in some details, for example, such as the absence of fungus in the legs. It is also simple, like the first one, and will not cause the child any difficulties while working on it. As a result, you get a picture of a wonderful animal.
 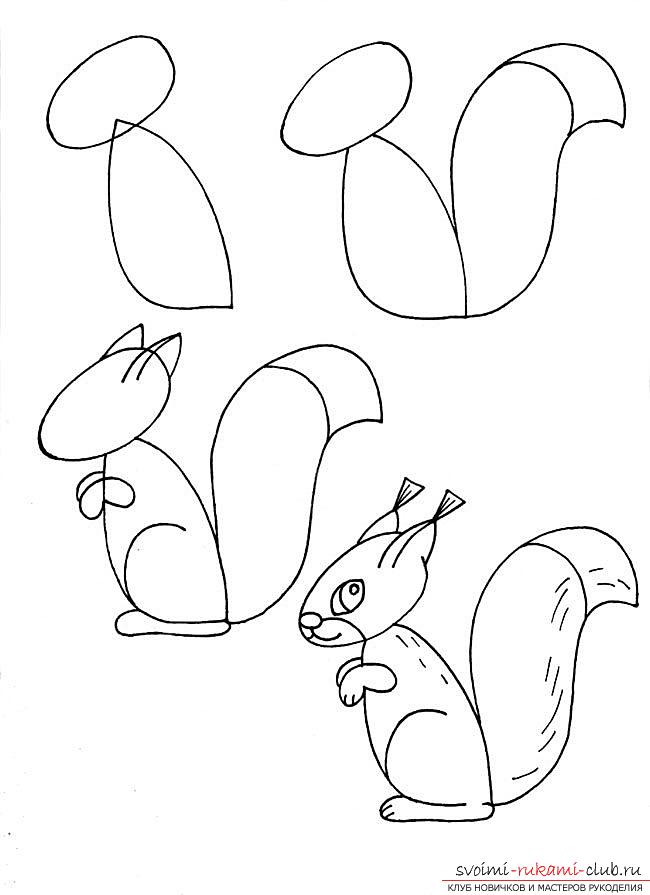 If your child has already mastered this a littleimage, and he got a good drawing, you can invite him to draw a more complex picture depicting a squirrel in a realistic style. At first, naturally, you will have to help him in his work, but this, on the contrary, is a huge plus.
Comments
Related posts:
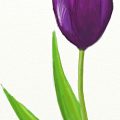 Draw a beautiful flower yourself you will help step by step drawing the tulip in pencil
 Drawing a portrait in pencil - lessons of drawing a portrait with your own hands
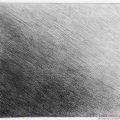 Pencil drawing gradient shading for beginners requires special attention
 Drawing simple pencil pictures is a very simple exercise that is suitable for children
 The design and sewing of a man's work hat is not a difficult task even for a beginner skilled worker