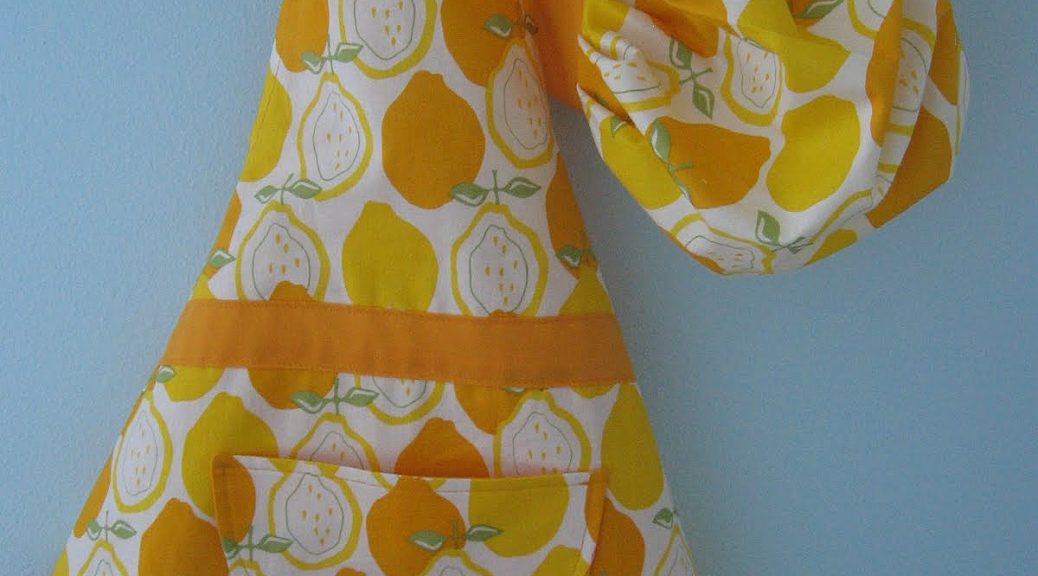
We sew a girl's apron with our own hands with a pocket, fastening with velcro, on a very simple pattern
Your petty mistress needs an apron? Sew it yourself! We have prepared for you a very detailed (with a bunch of pictures) instructions on how to make your own apron for a little girl. Here's what you'll need: One meter of cloth with a pattern (this is more than enough, unless you are going to supplement the apron with a chef's cap, which will take another half a meter).
- One meter of one-color fabric, in harmony with the first.
- One meter of Velcro tape (you do not use all).
- A ruler or a centimeter (or a coordination board).
Step by step Step 1. Create a paper pattern. It's much easier than you think. Especially in the case of a similar product. Just fold the paper in half (this will ensure symmetry), draw the contour of the apron - and cut out. Applying a template to your daughter, you will be able to assess how it fits and what needs to be changed. If necessary, remake the template. Step 2. Make the pocket template even easier. Also fold the paper in half - and repeat the steps, but this time the fitting will not be necessary. 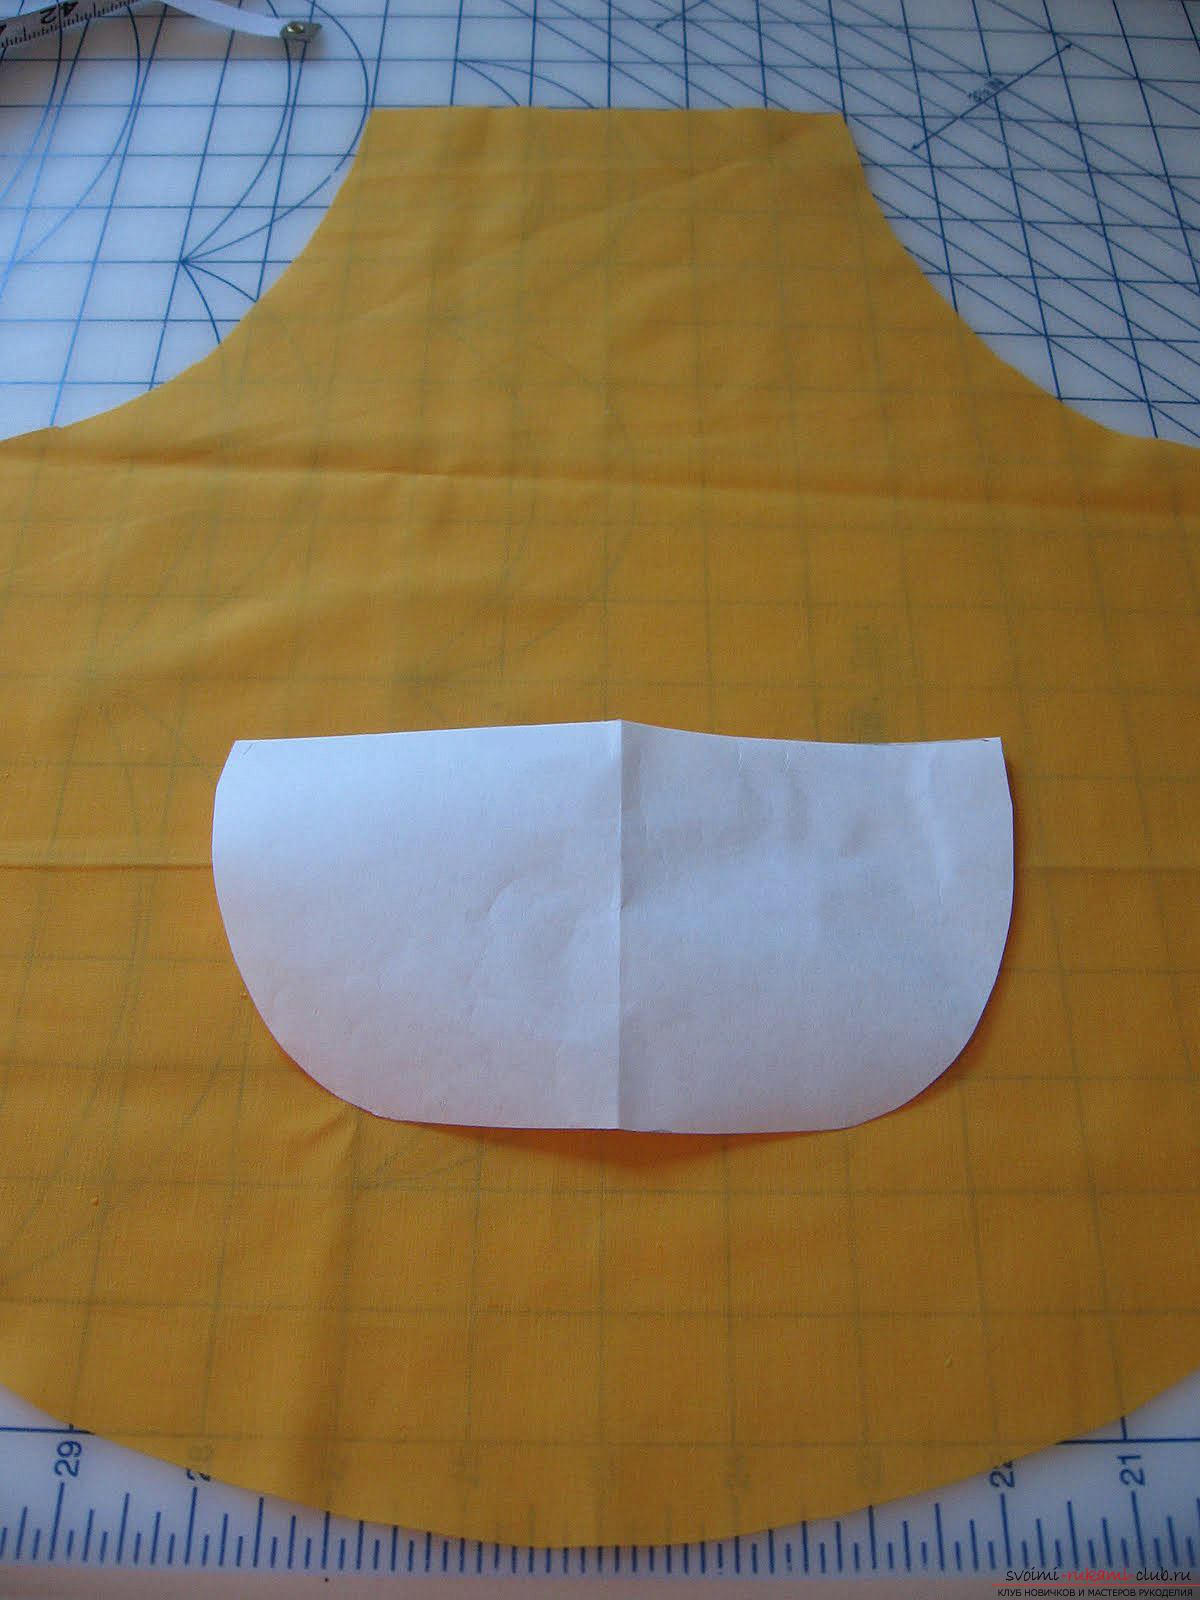 Step 3. Cut or bend the pattern in half. Attach with pins to the fabric folded in half. Circle with a pencil or chalk - and cut, leaving 5 mm for the seams. Repeat the procedure with another cloth - for the lining.
  Step 4. Repeat step 3, only with the pocket. Step 5. We cut out from a monochrome fabric two tapes: - for a strap approximately 70х8 cm (adjust according to your girl); - for a frill about 100x8 cm. From the patterned fabric, we cut out a ribbon for our strap about 38x10 cm.
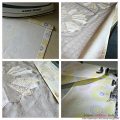
 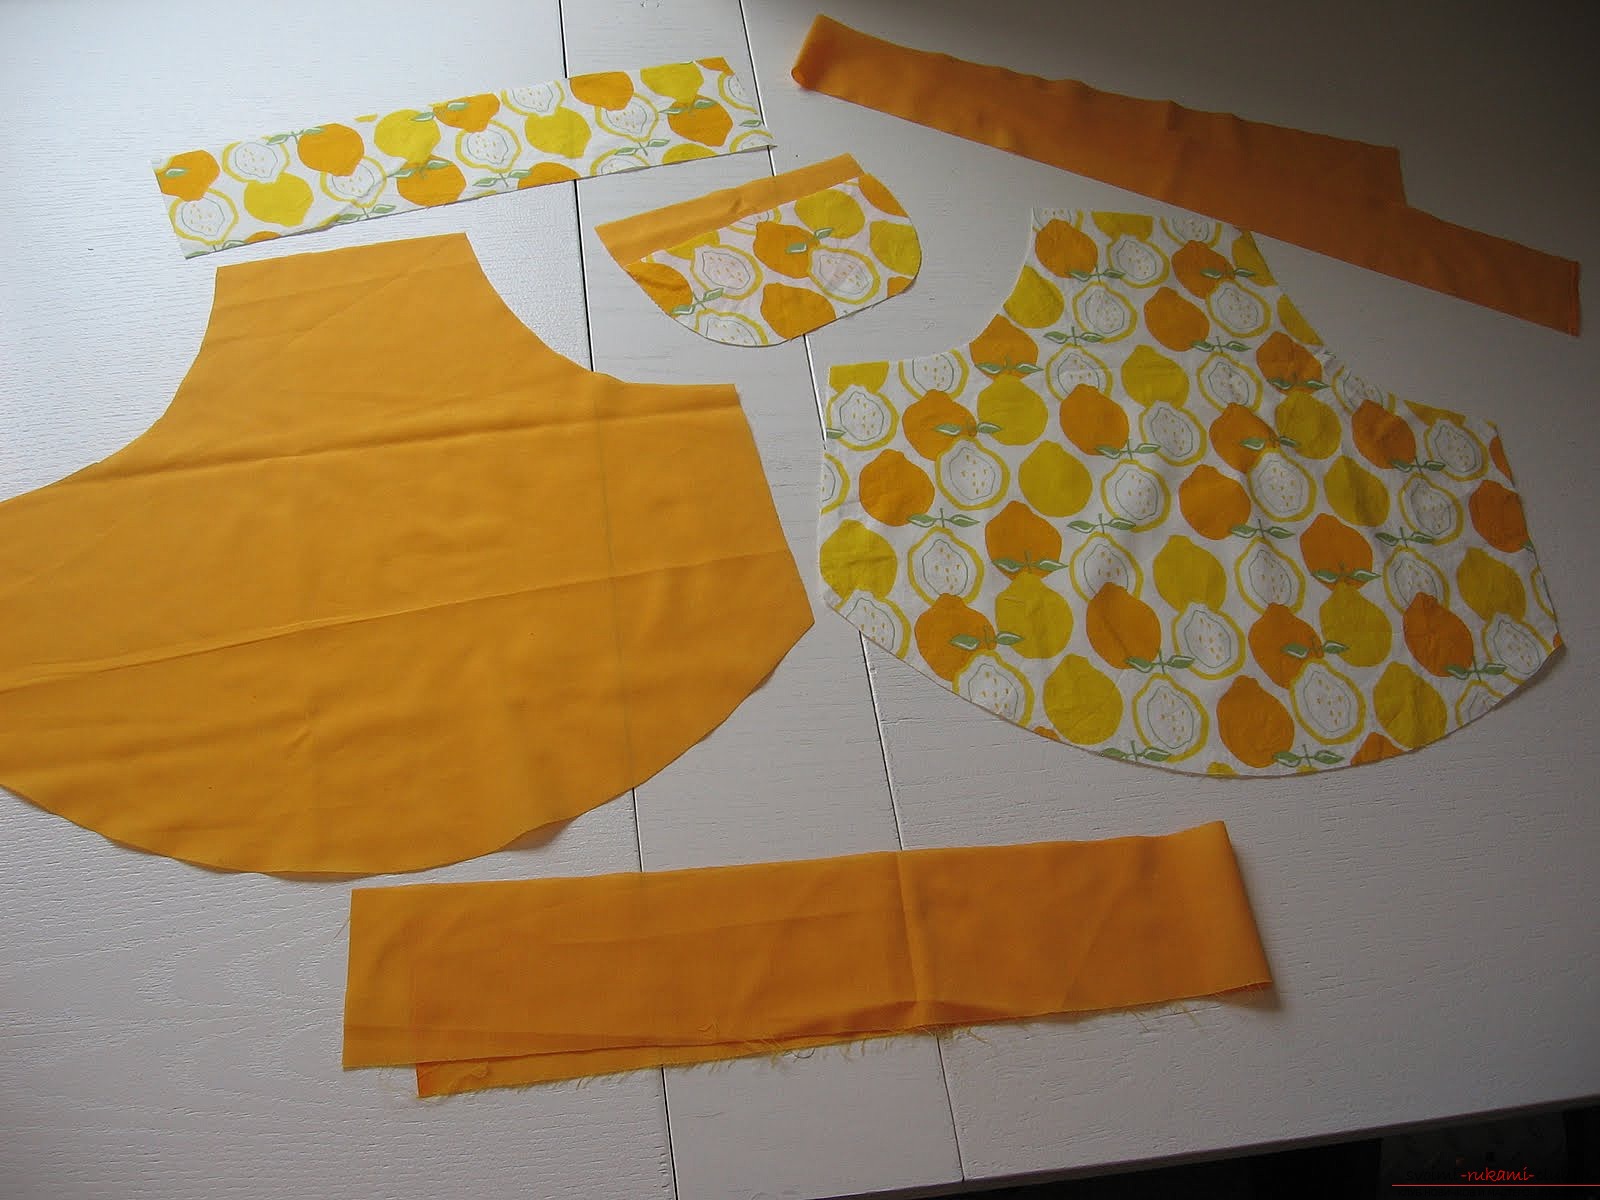 Step 6. Fold the two pieces of the pocket together in the opposite direction to each other and sew, leaving a small hole for turning. Make small incisions at the corners, as in the photo.
 We turn out the pocket, attach it to the apron - andsewing. In order for the pocket to be exactly centered, first bend the apron twice and mark the center. But the pocket should be located below the waist, since it will have a belt.
 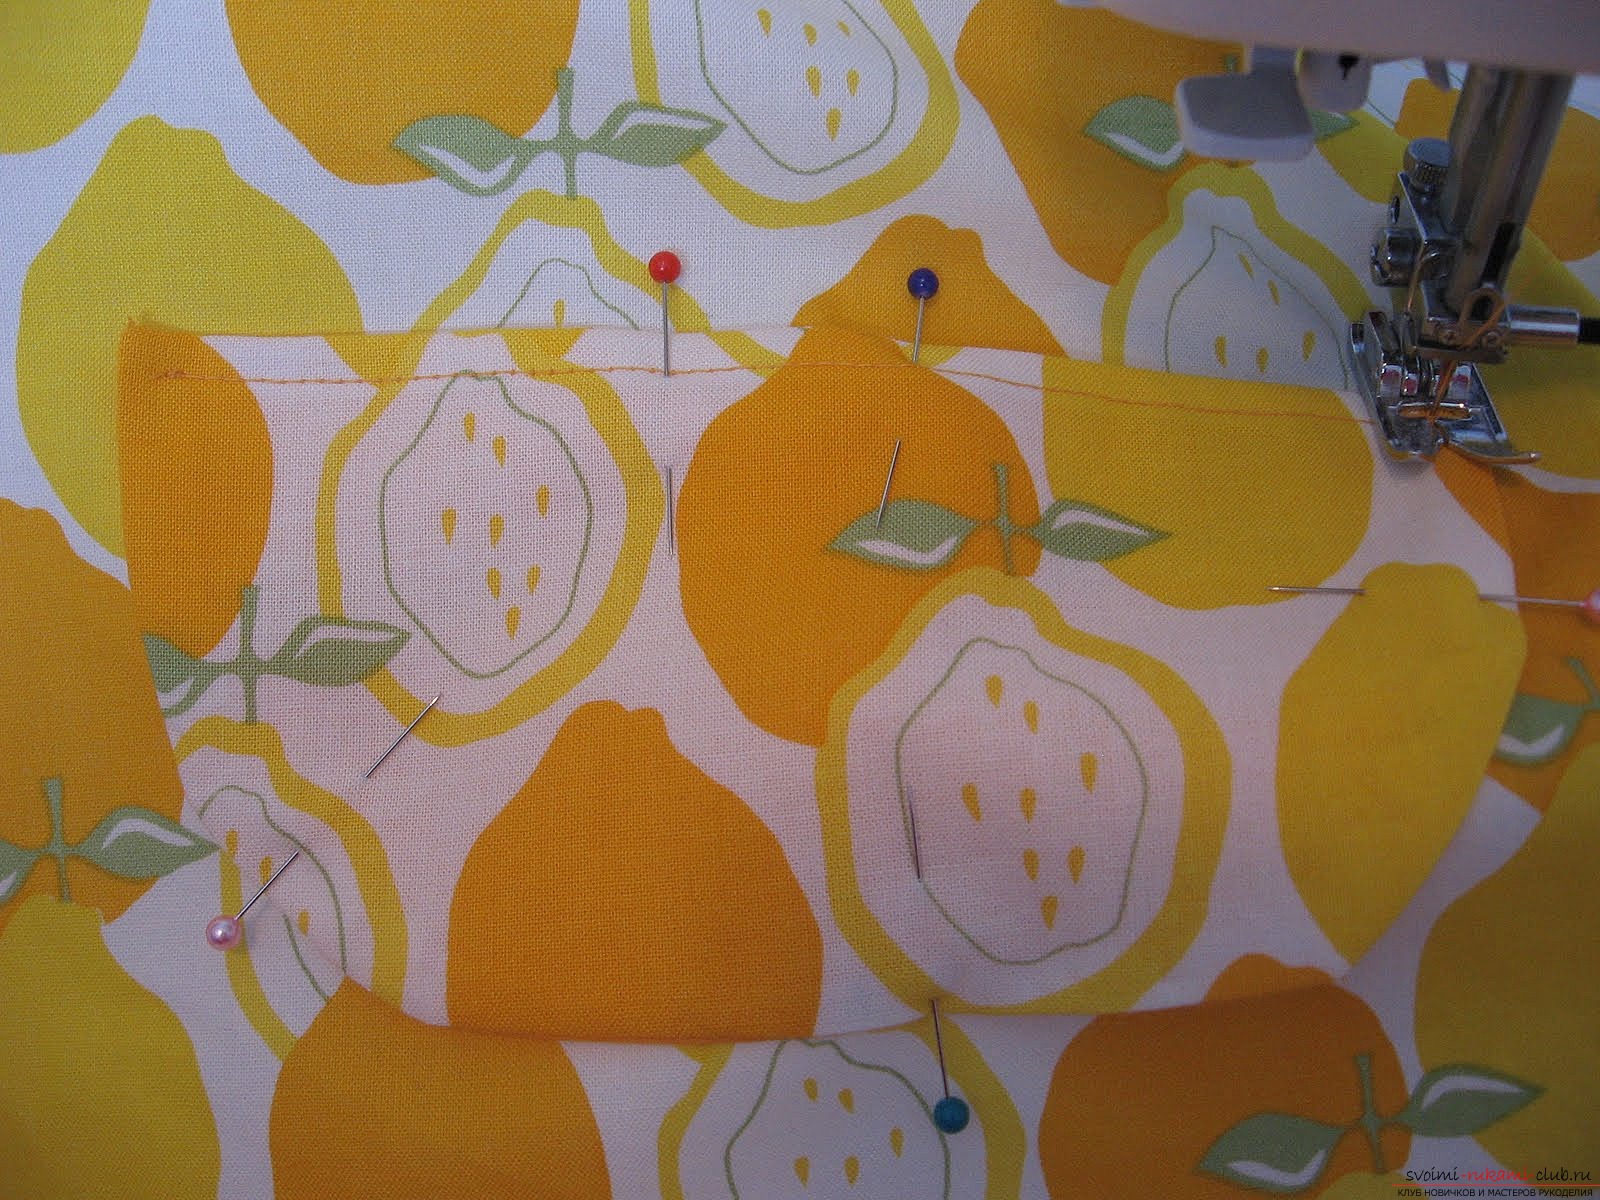 Step 7: Fold and press both edges of the girdle inward by 0.5 cm and stitch.
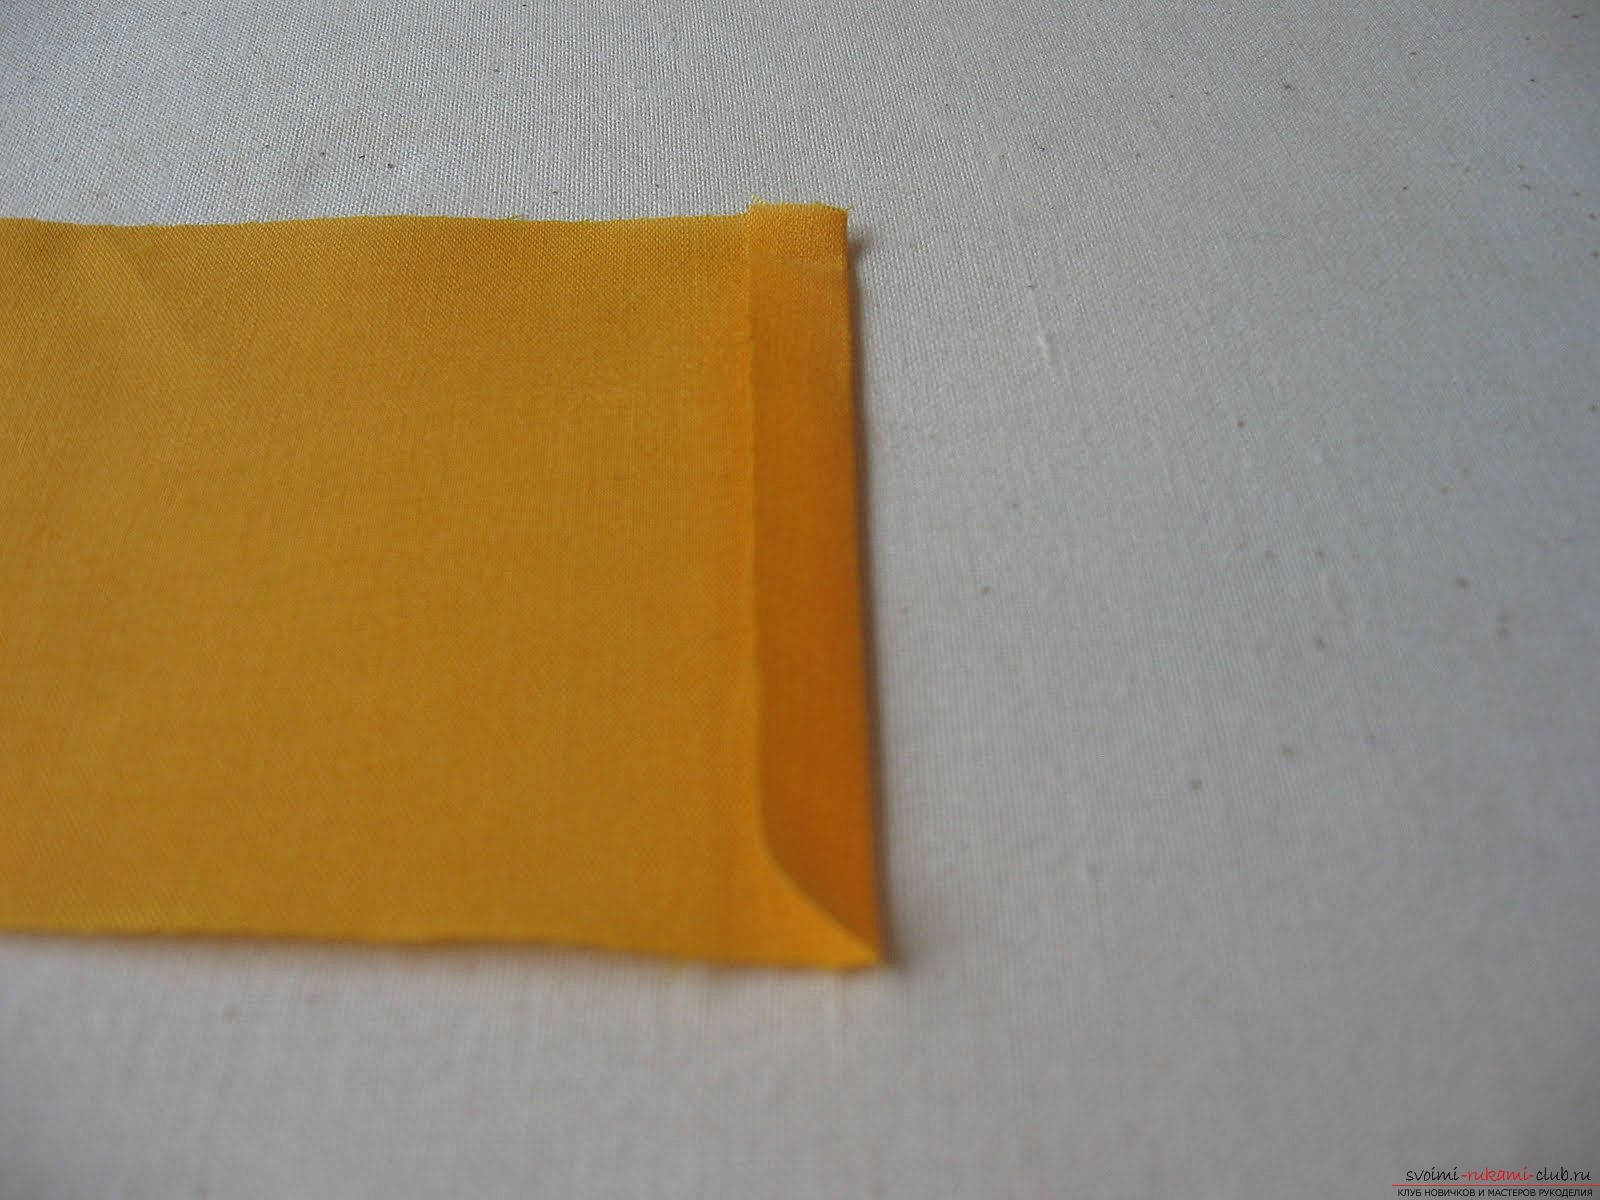
 Bend the waistband in length in half - stitch, retracting from the edge 3 mm.
 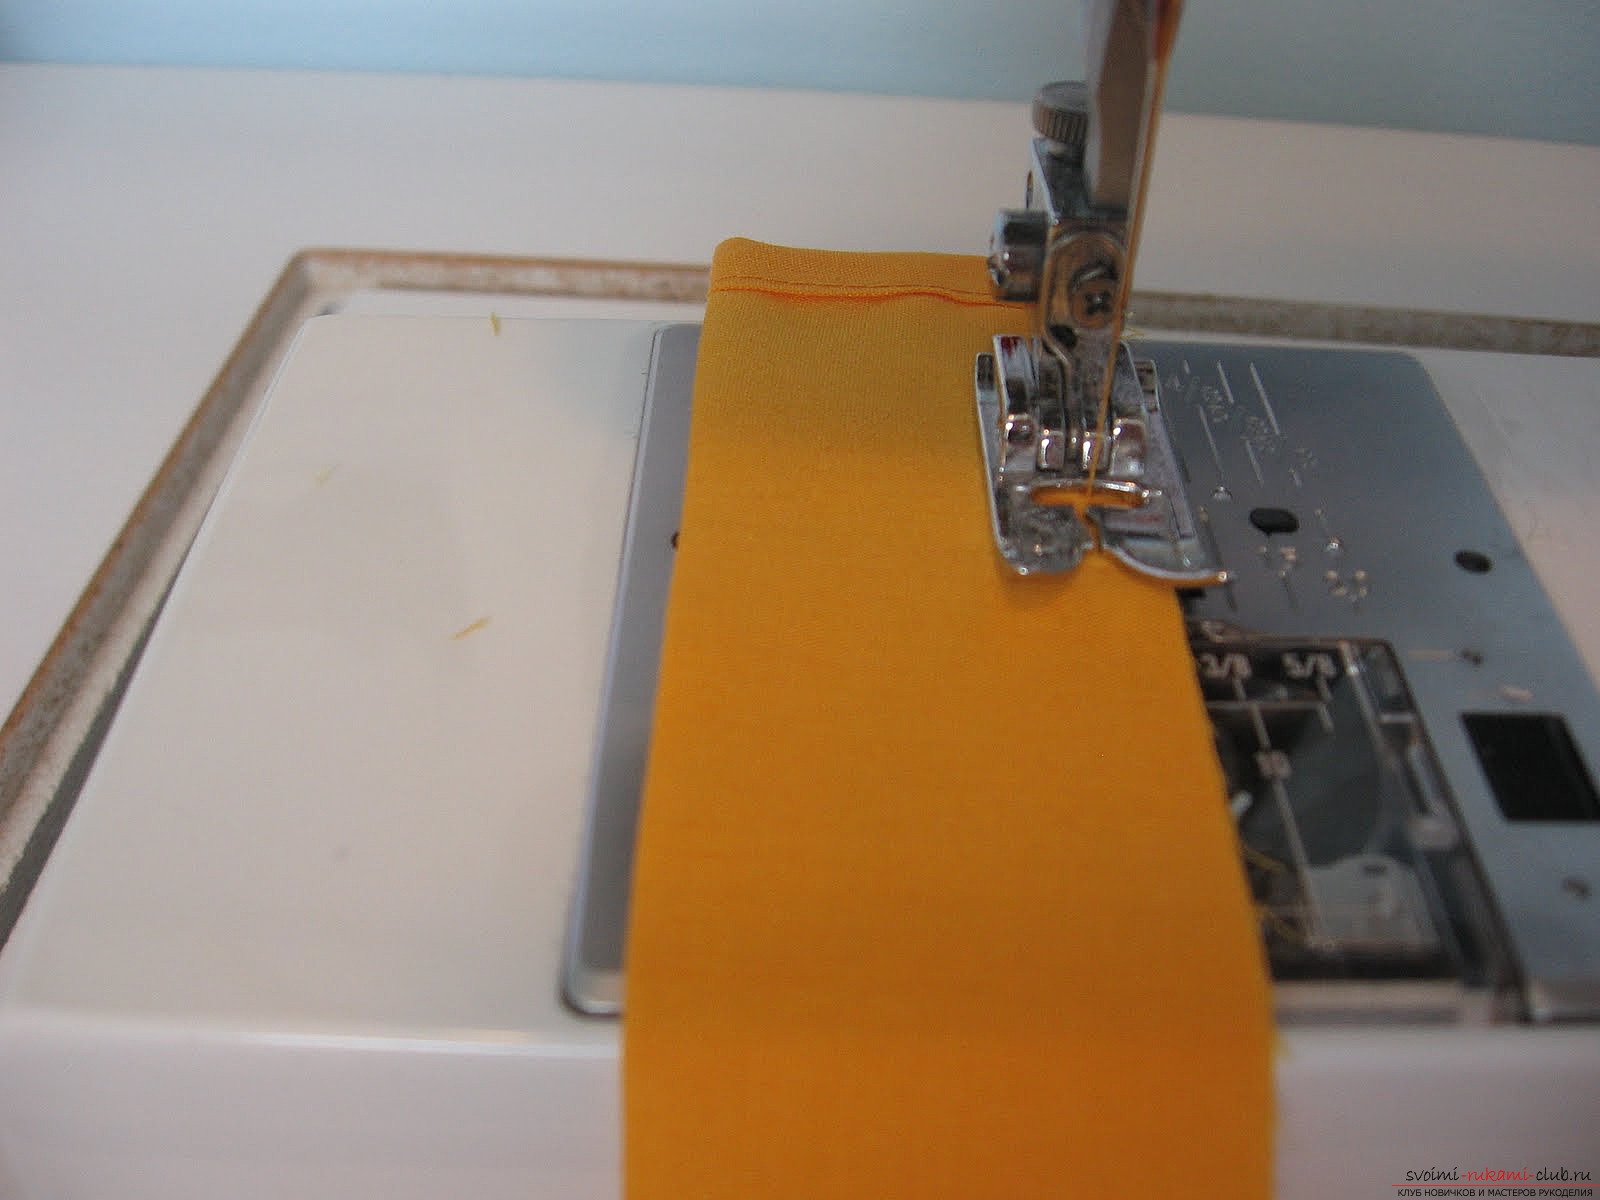 Turn out the belt. Smooth it so that the seam is in the middle.
  Step 8. The strap around the neck at the very beginning is sewn as well as the belt. We bend and sew the edges.
 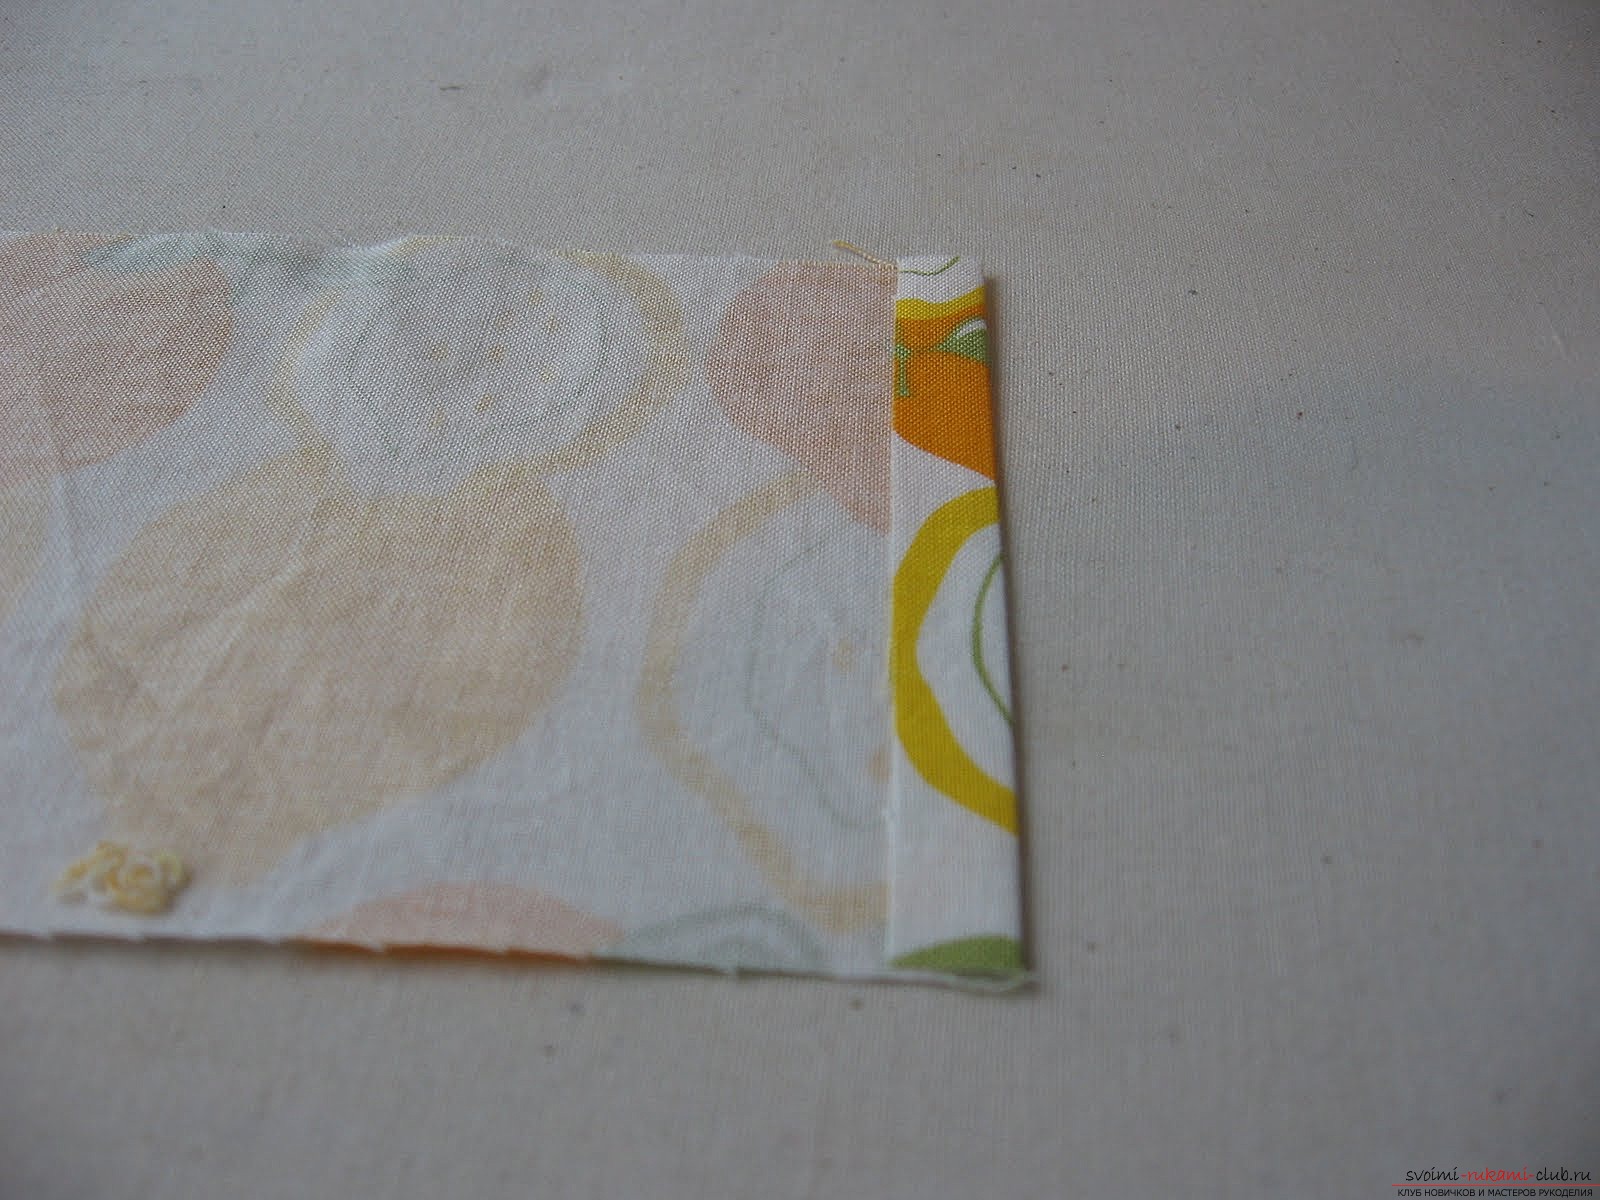 Fold the strap in half, iron.
 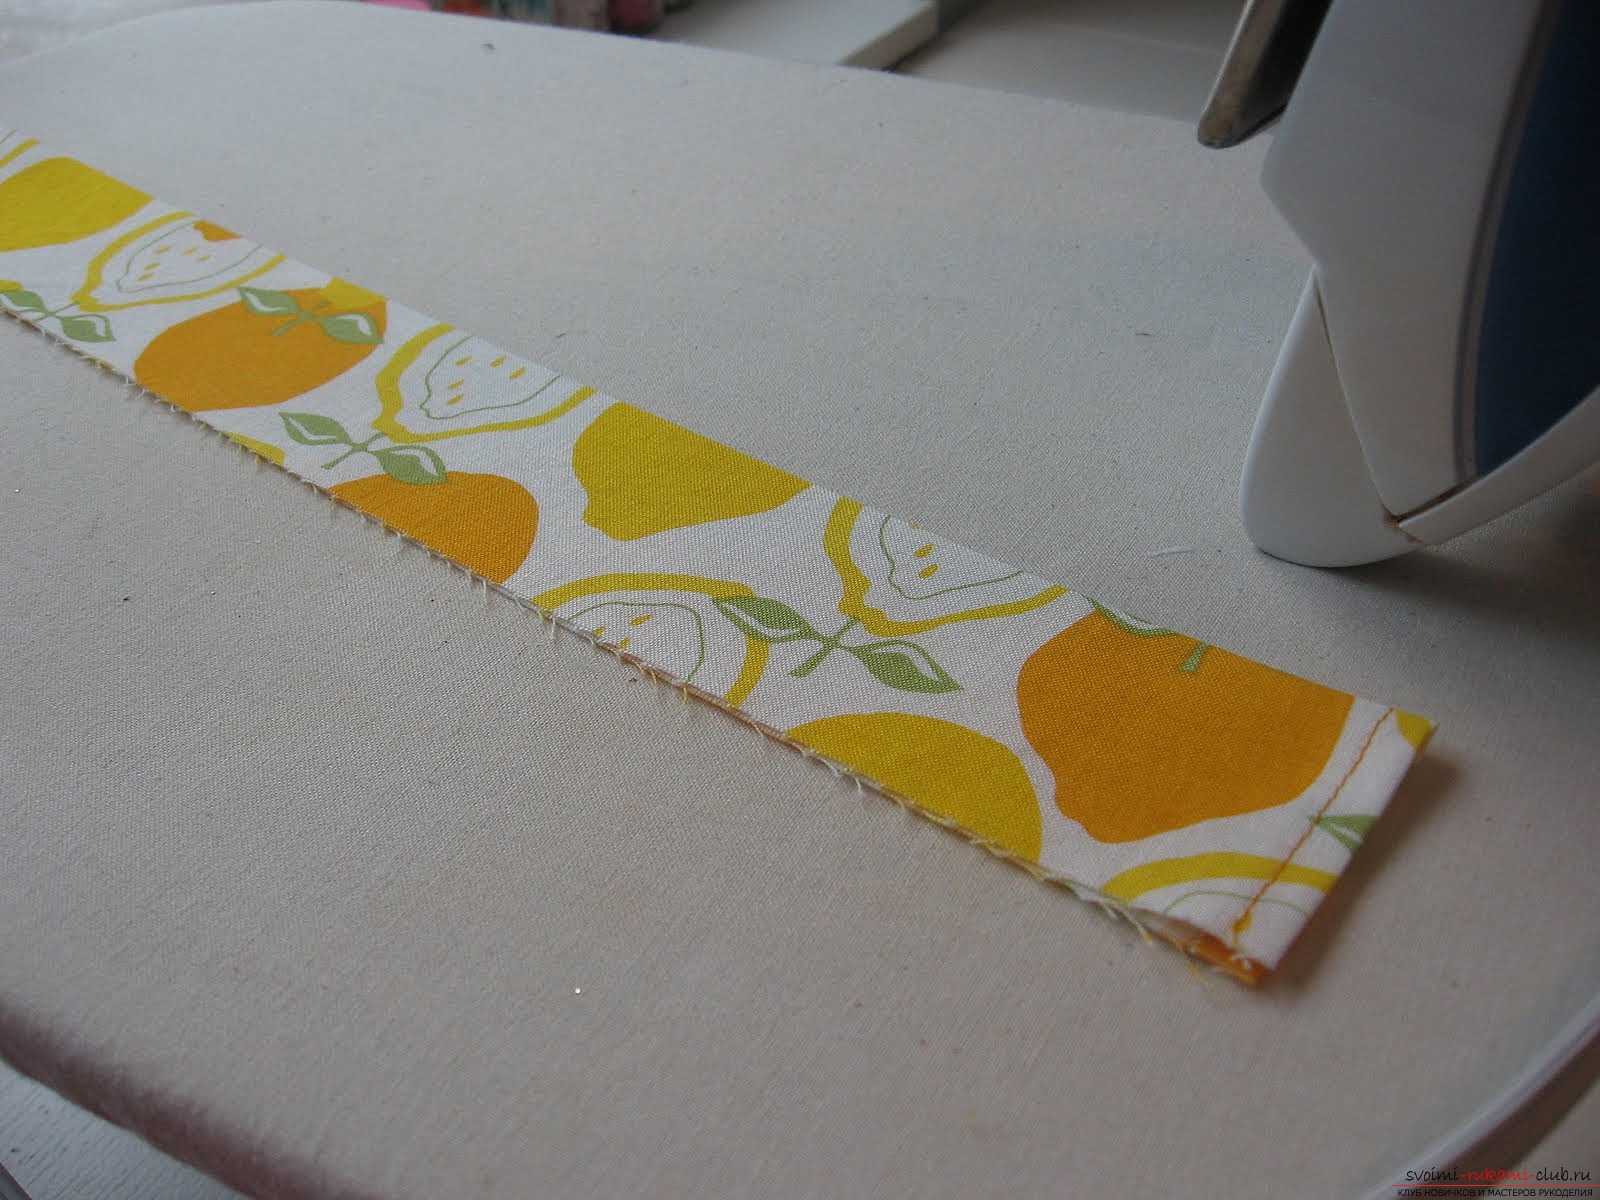 Open it back and iron it again, folding the sides along the center line.
  Fold it in half and stroke it again.
 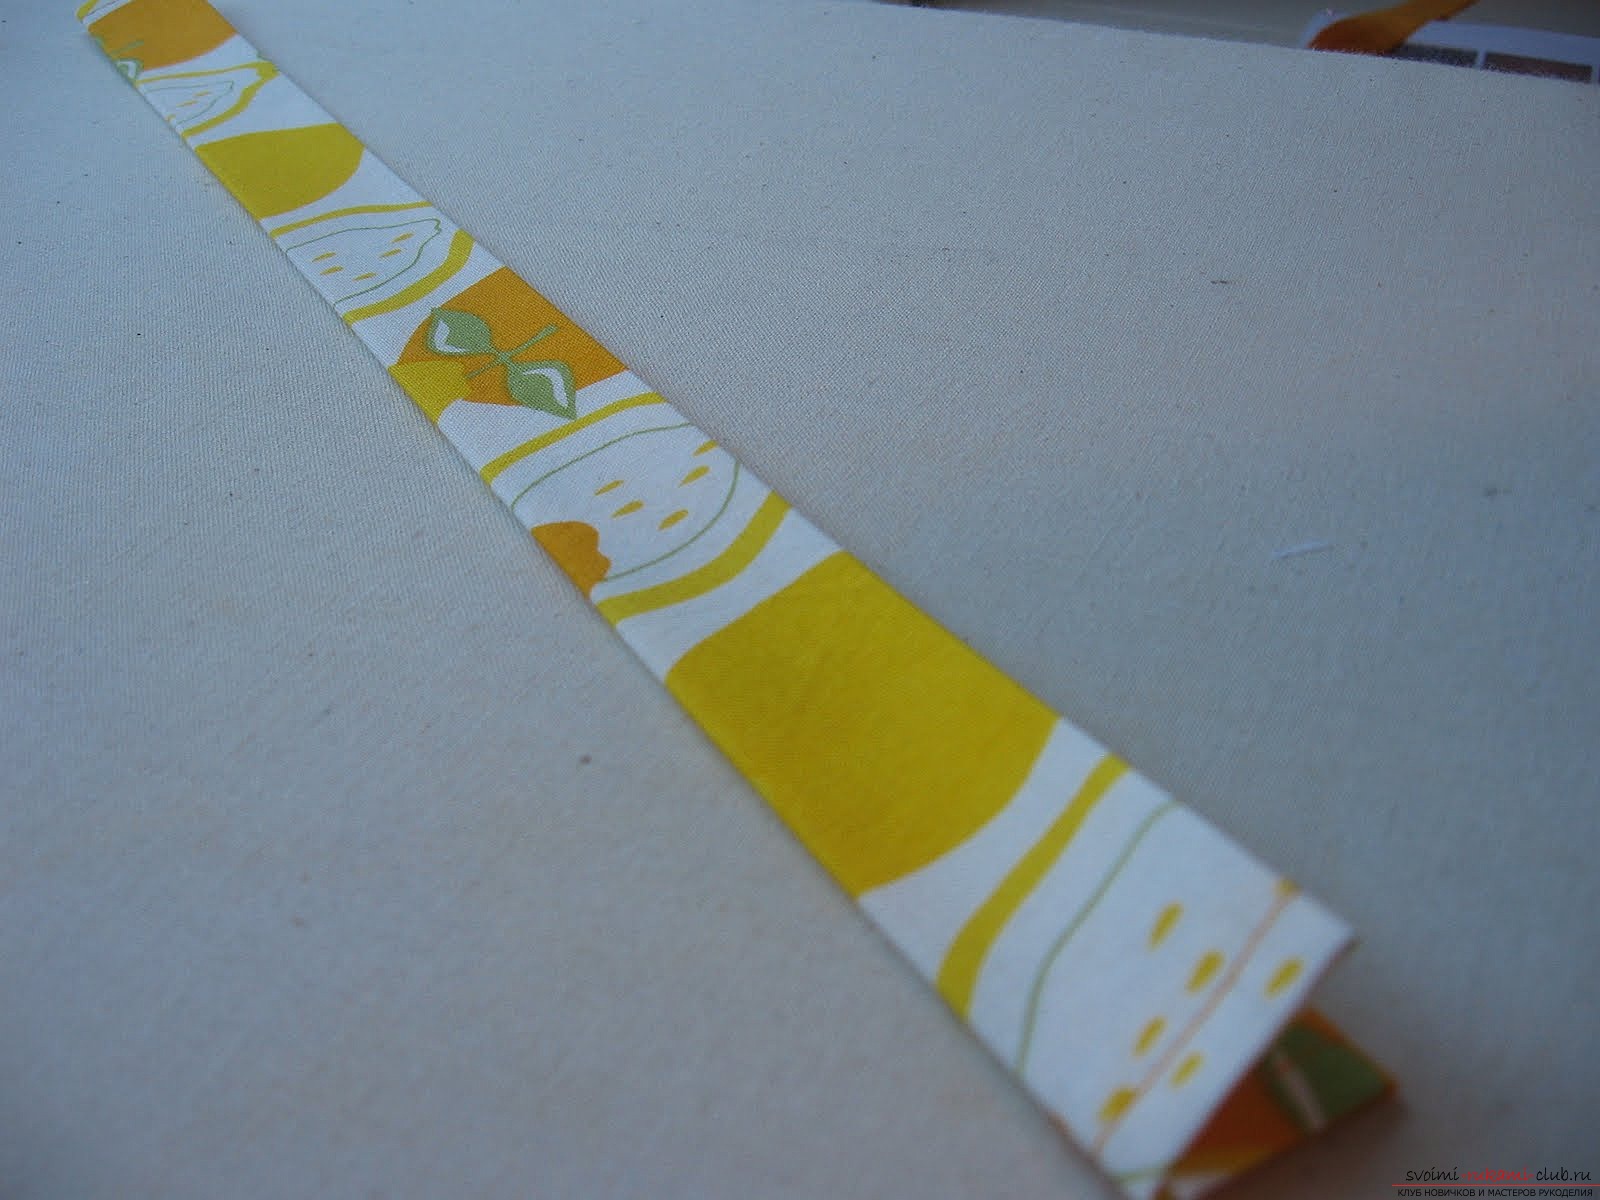 Stitch on both sides, retracting 3 mm.
  Sew a piece of barbed velcro to one end of the neck strap.
  Step 9: Fold the edges of the ruffle ribbon, stitch it.
 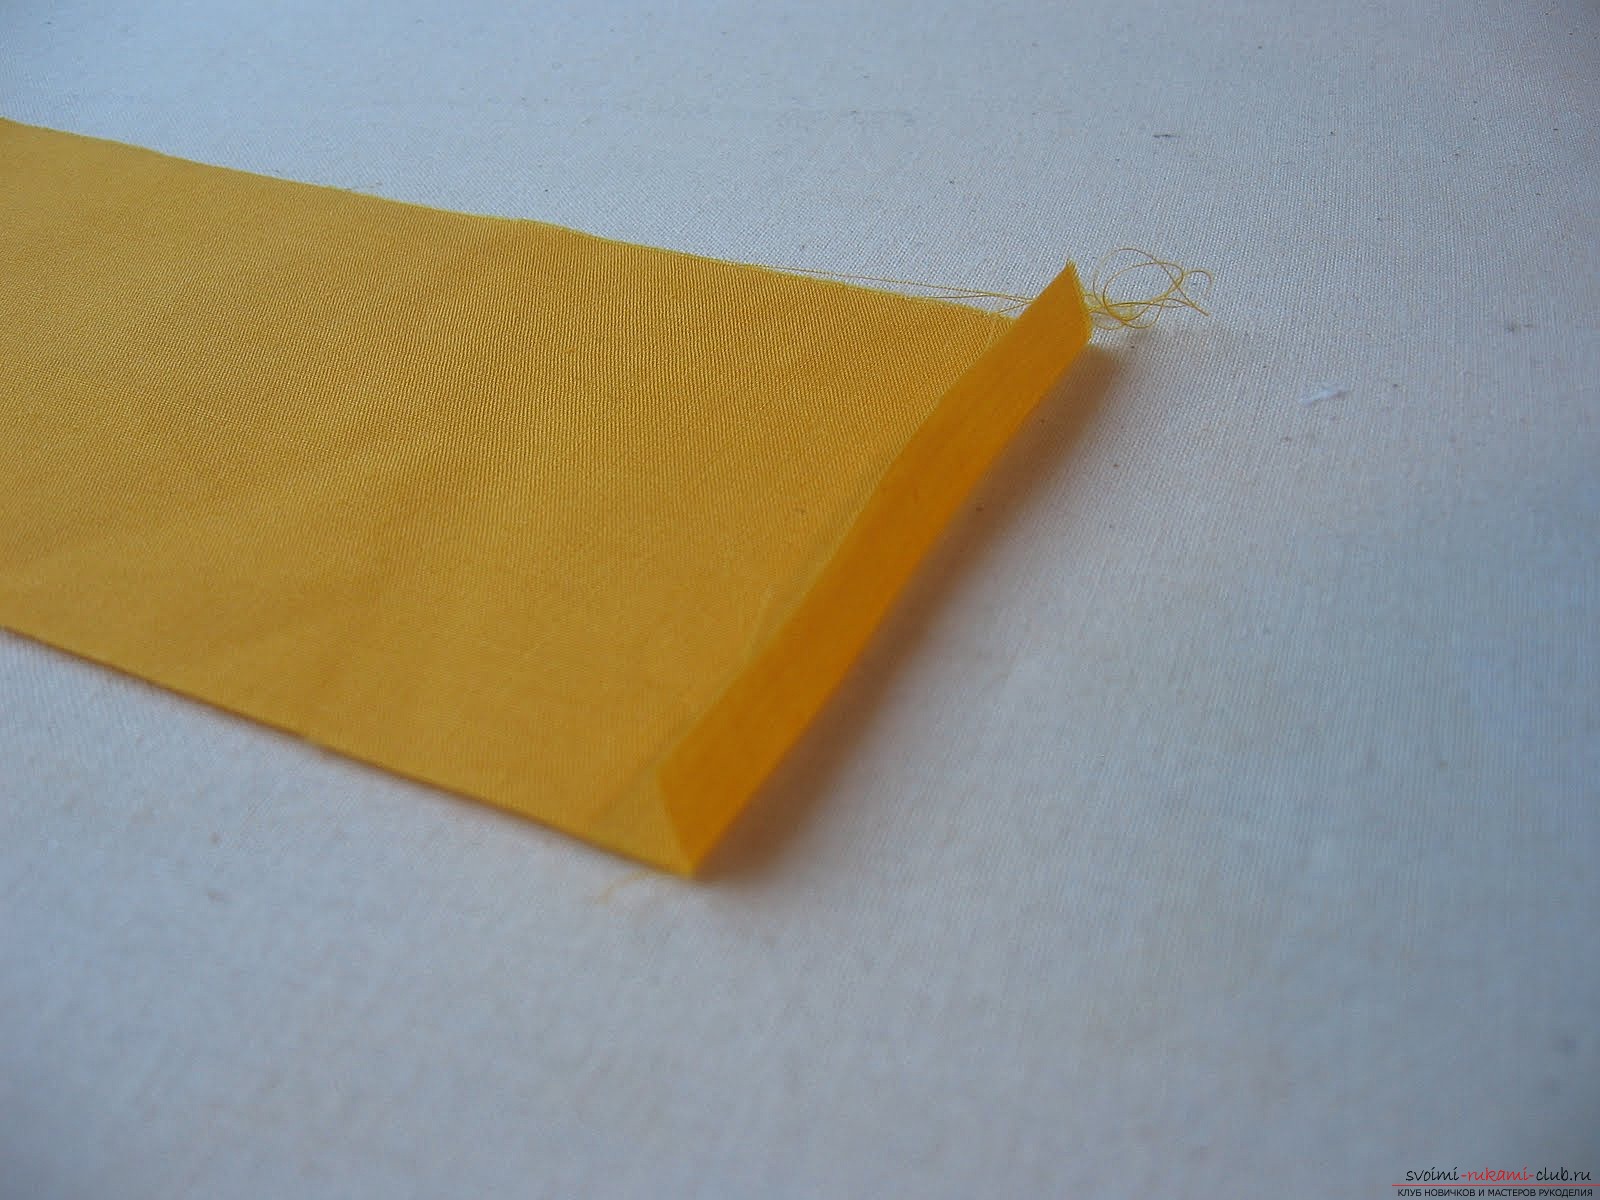 Fold in half along the length of the inside out and iron.
  Sew the edges by setting the machine to the longest stitch length and maximum thread tension. During sewing, you can still pull the thread, creating resistance.
 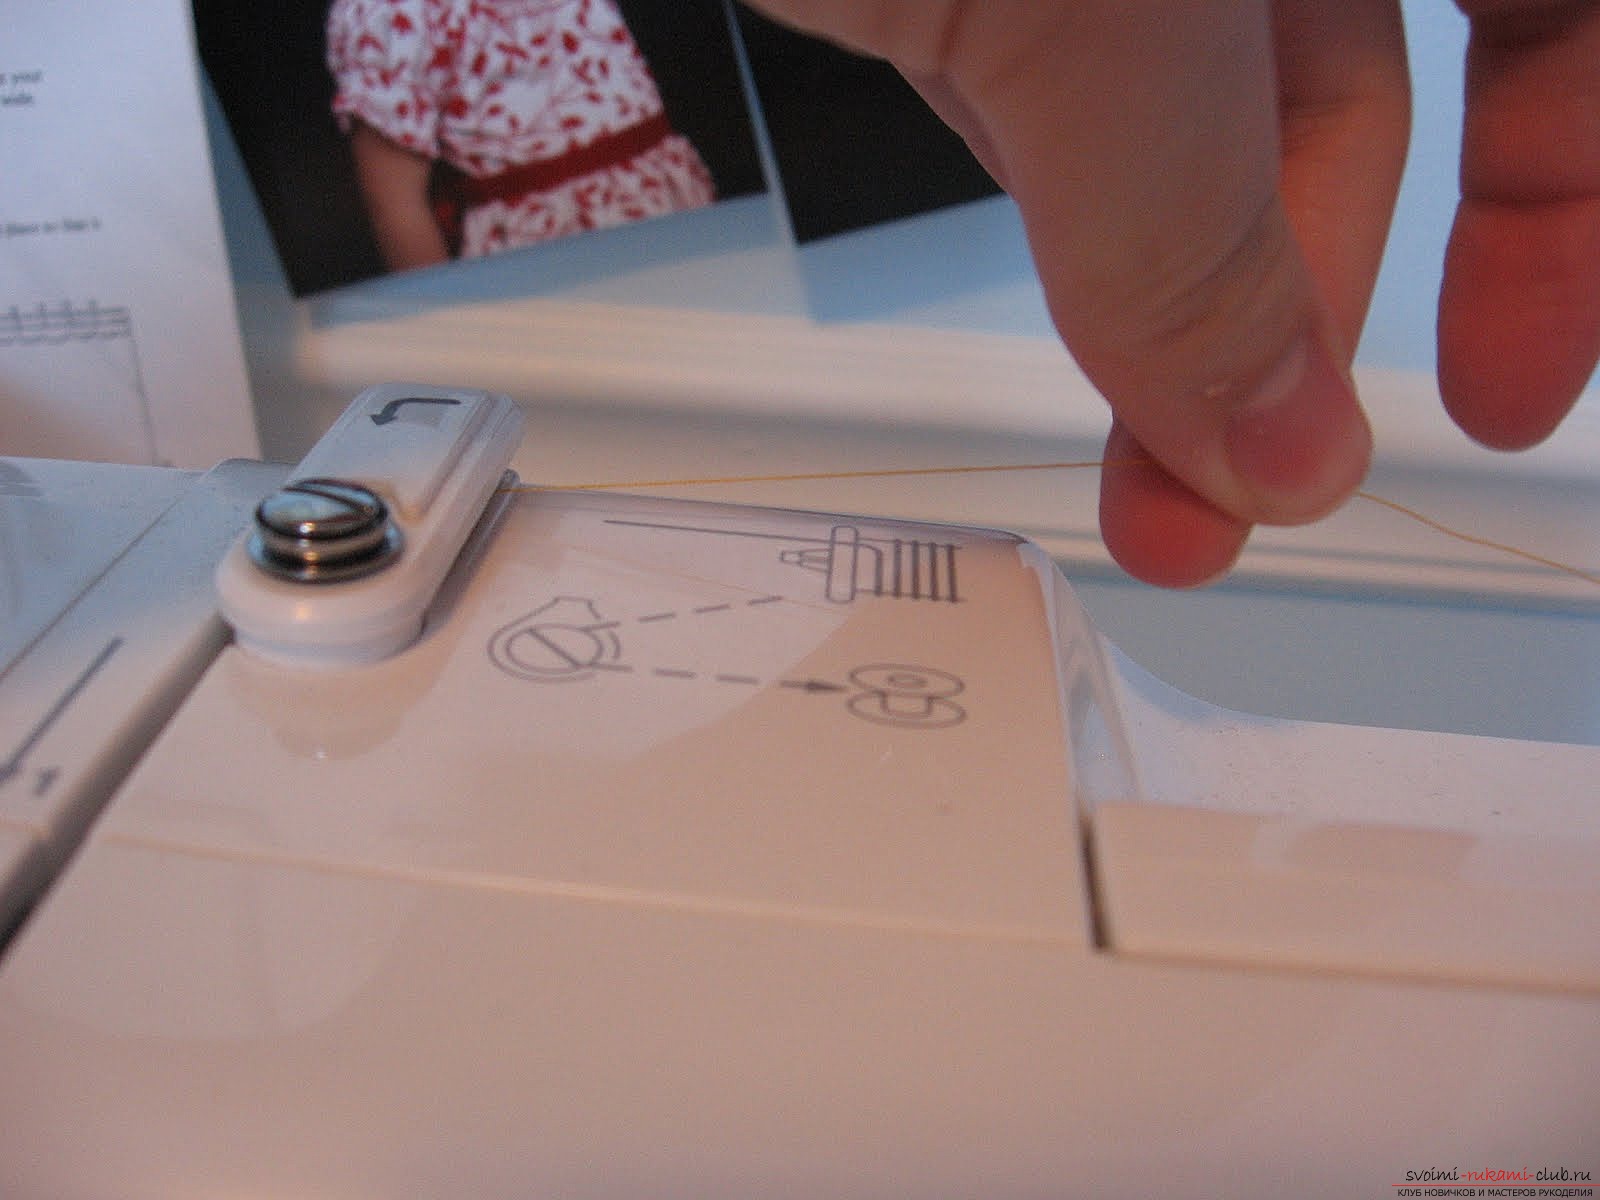 Thus, your frill will be properly assembled.
 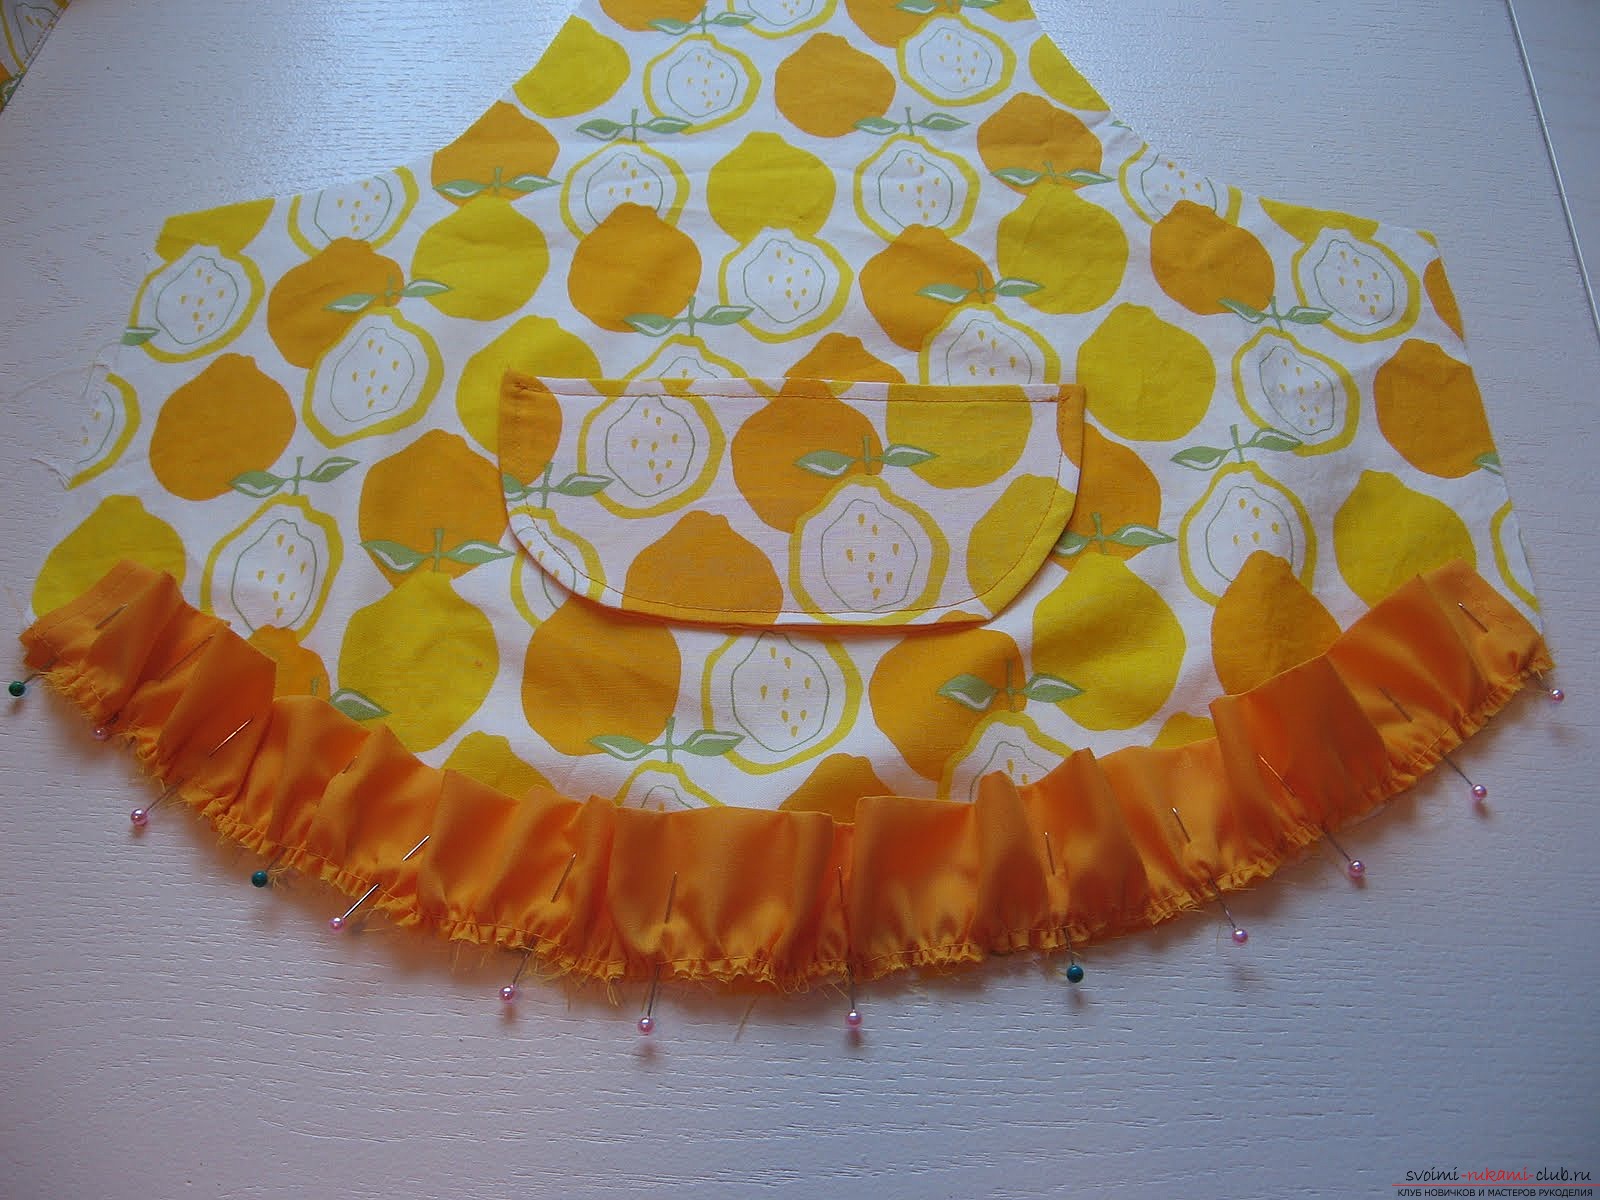 Sew the frill to the untreated bottom edge of the apron. Step 10. Putting it all together. Sew one edge of the neck strap to one of the upper corners of the product, making sure that the second edge will lie on the inside of the neck.
  Sew a piece of Velcro on the other top corner of the apron from the wrong side. This should be done before sewing the lining and the base of the apron, so that the seam is not through, that is, it remains unnoticeable from the outside.
 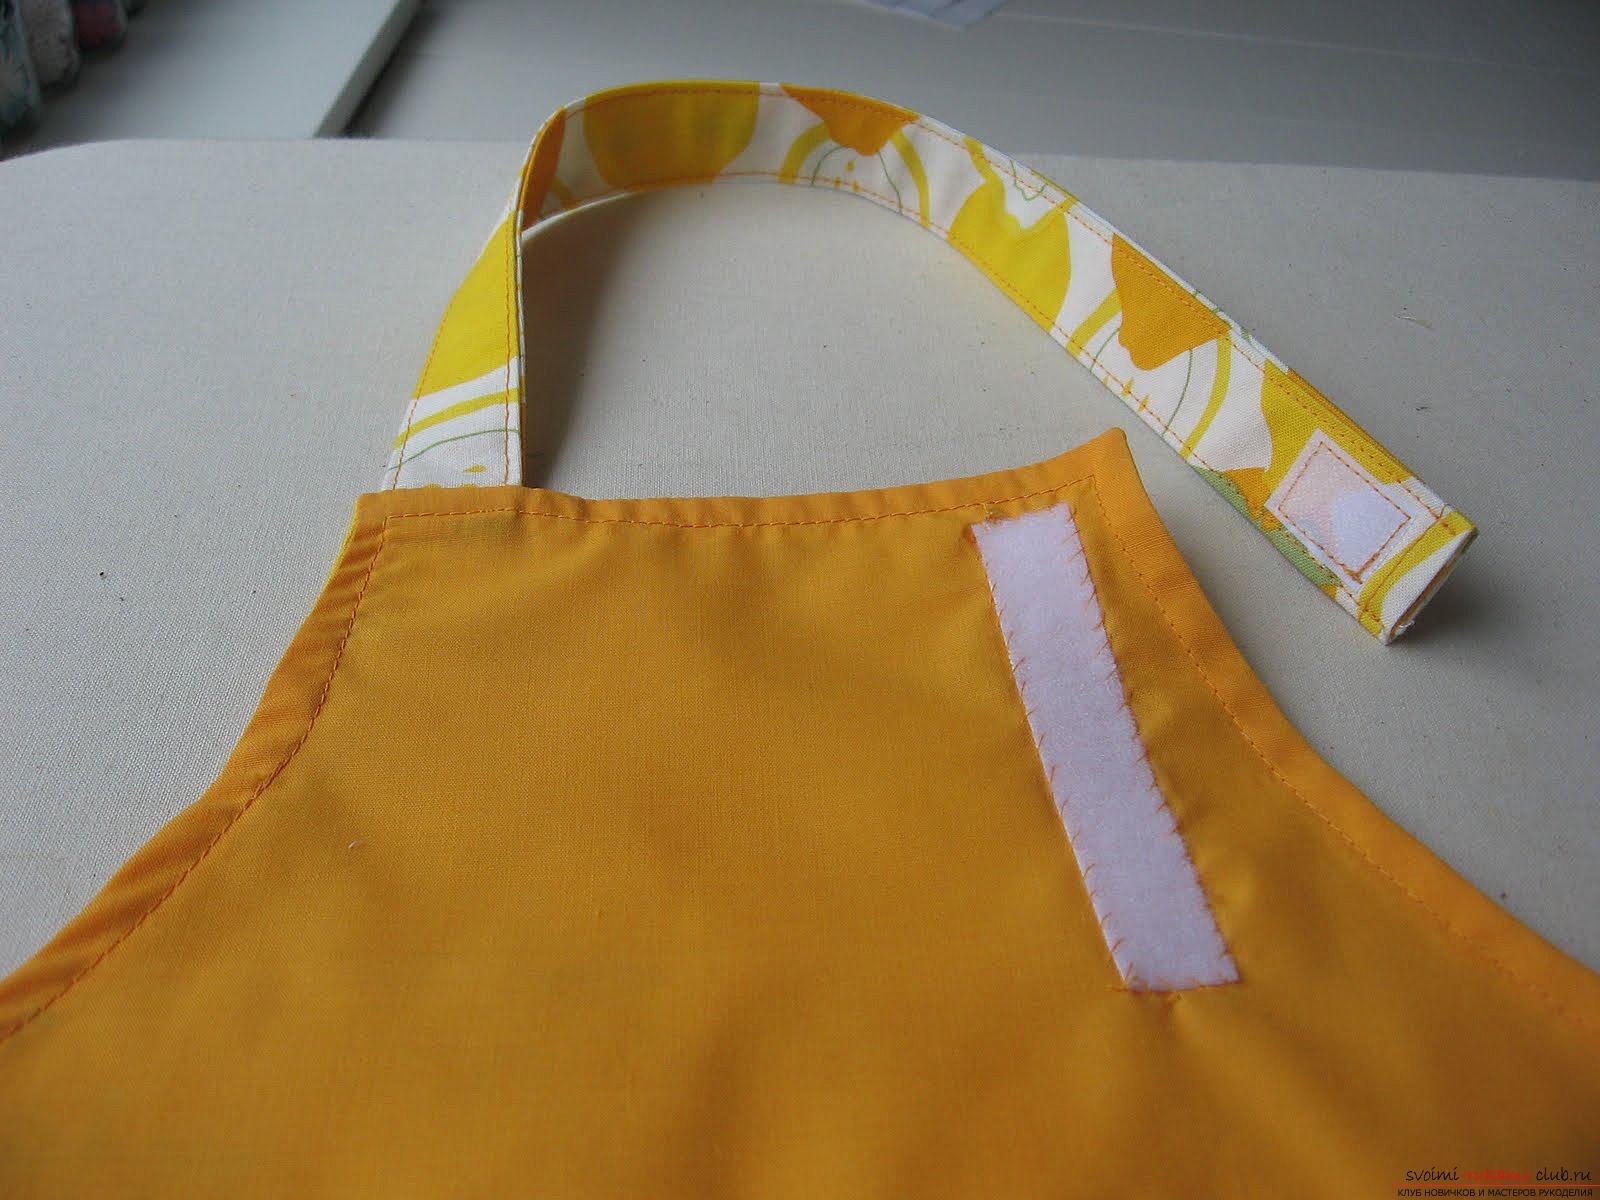 Fold the lining and the base of the apron face to face, secure with pins and sew, leaving a hole for eversion.
 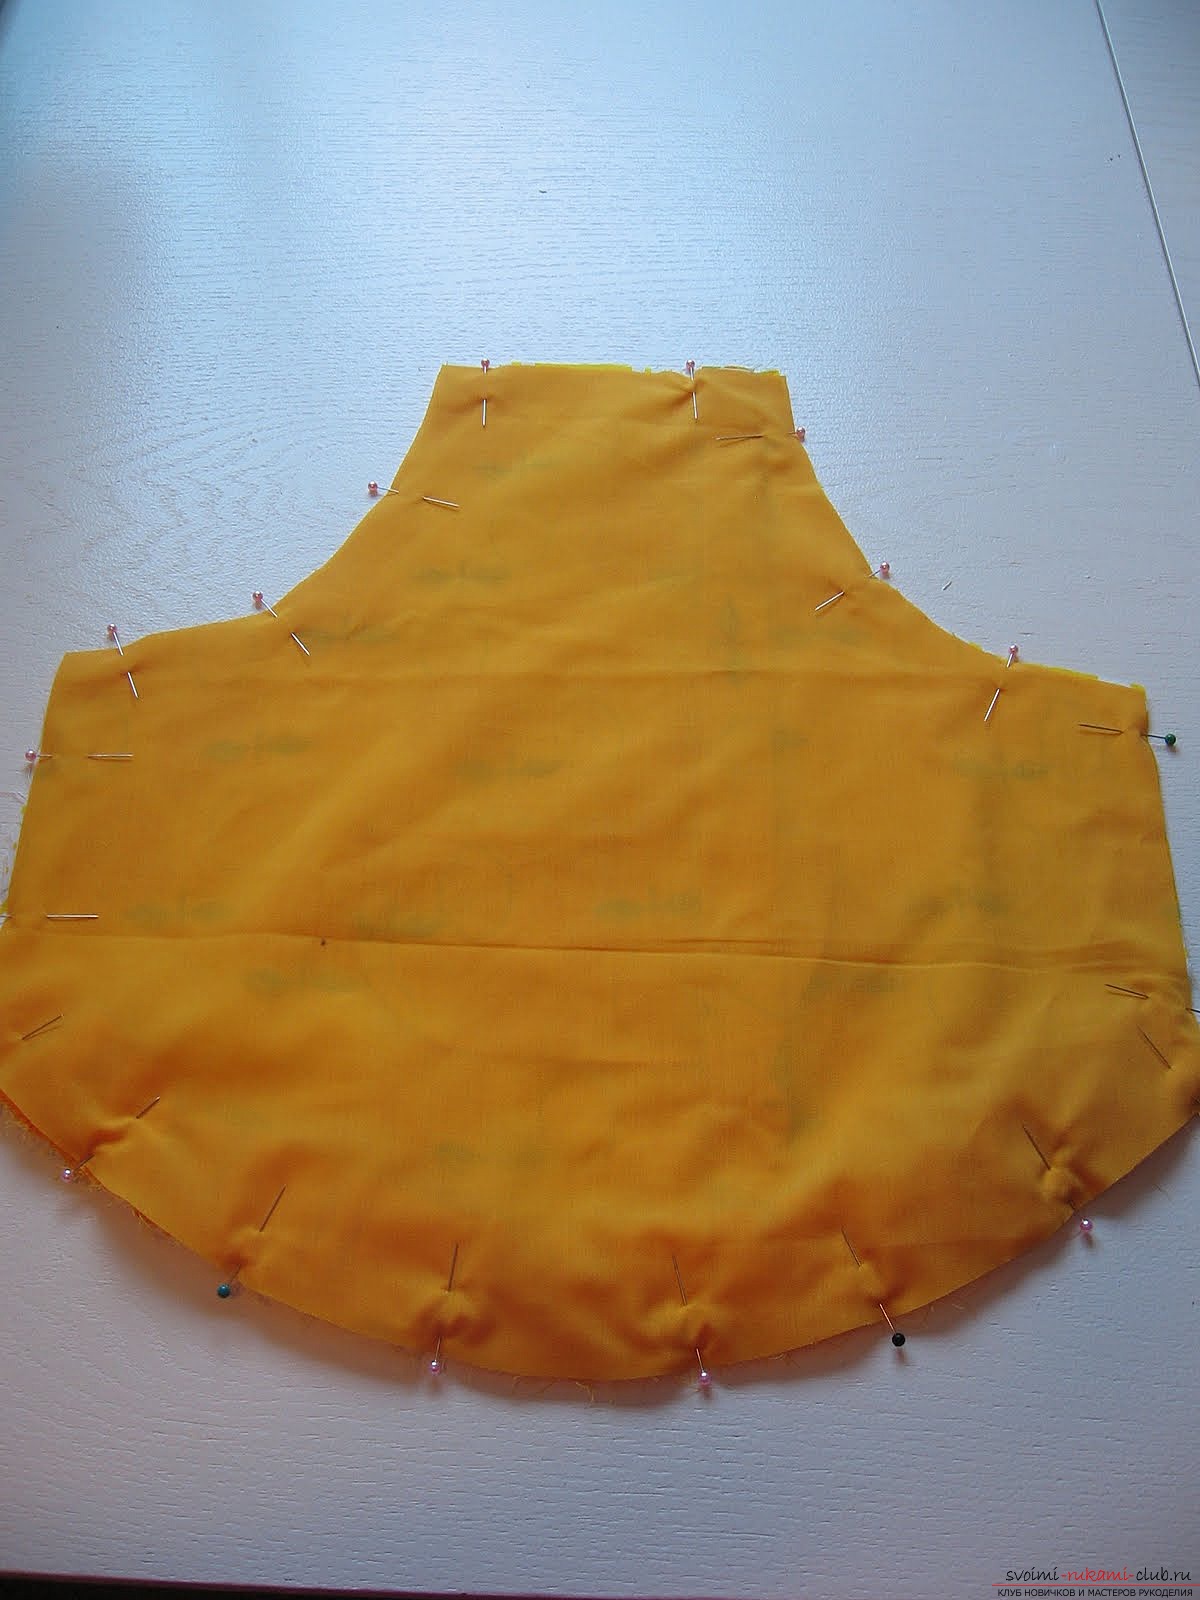 Sew, leaving 0.5 mm from the edge. Make incisions. Stitch the seams open.
 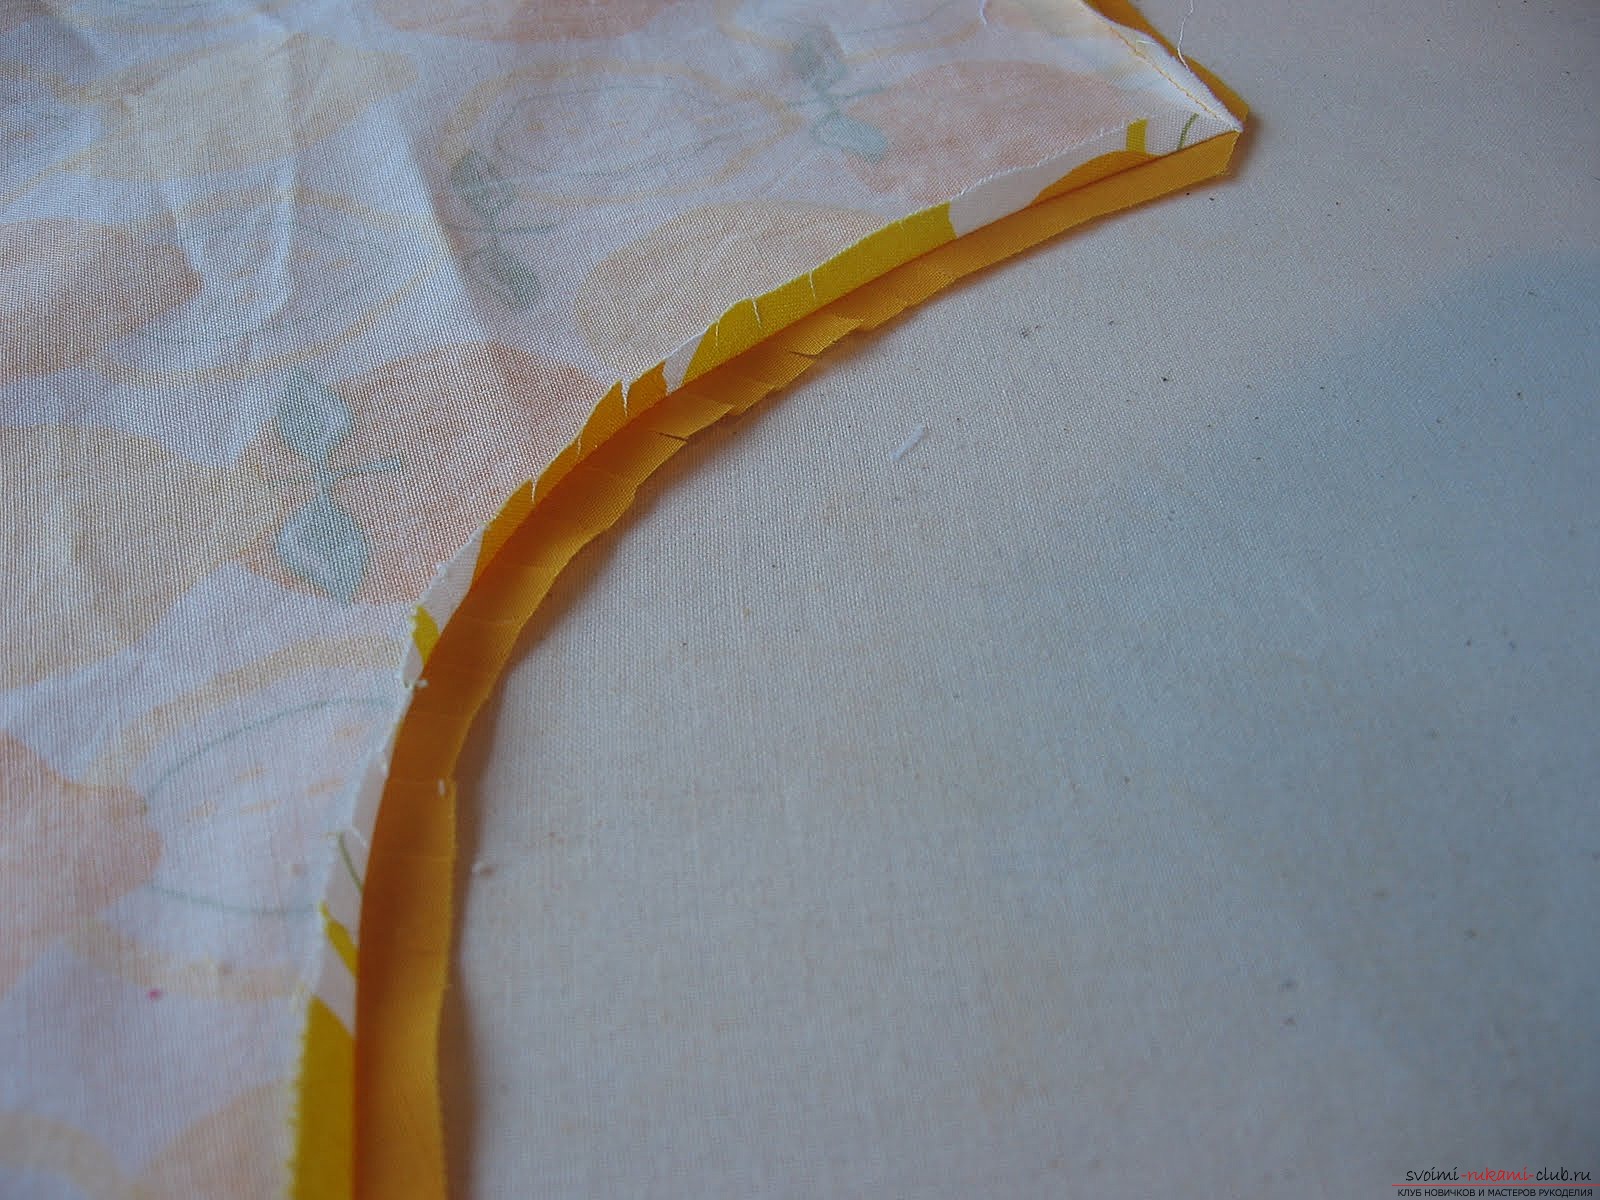 Turn and iron. Find the center of your apron again and center of the belt - fasten them together.
  Sew a belt, receding from its edges to 3 mm.
 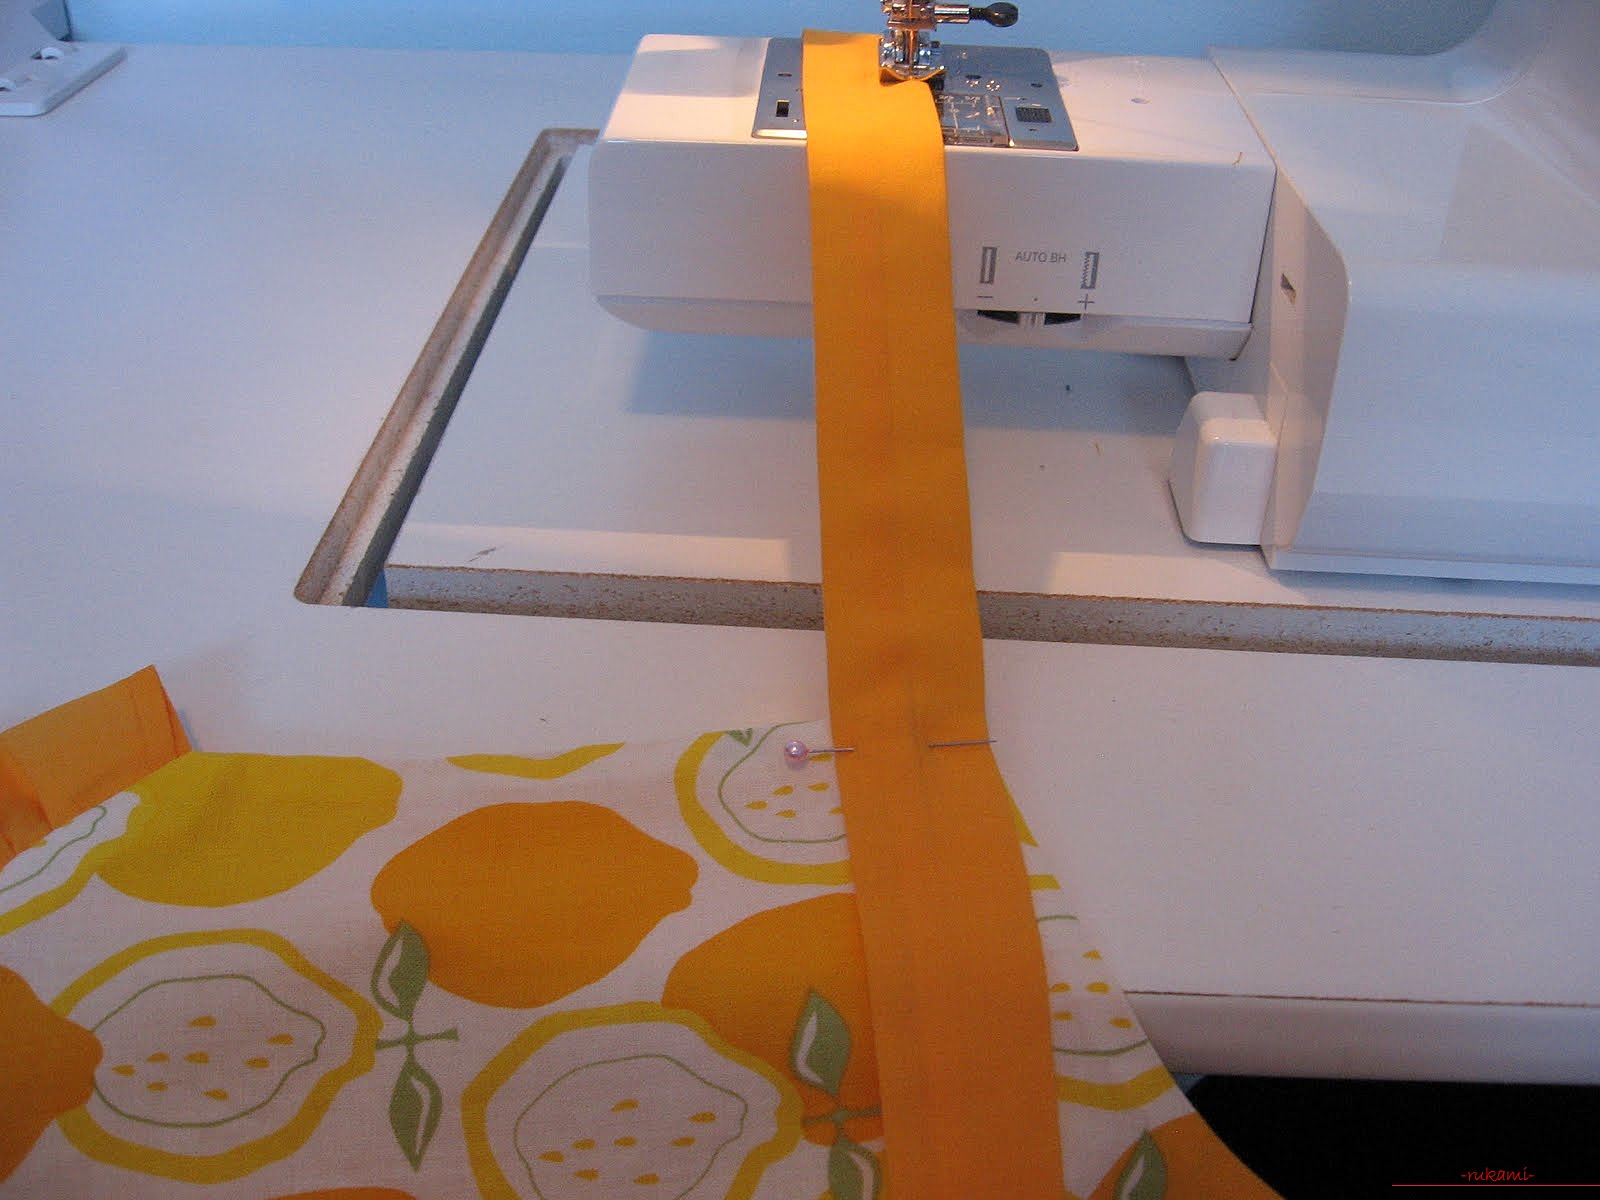 If you have enough length, you can tie it. If not, sew a velcro fastener. On the sticky baby it will be easier to put on and take off the apron yourself.
  I hope this guide will be useful for visitors to our site. Good luck with your self-made clothes!
Comments
Related posts:
 How to sew a wonderful and comfortable children's apron with your own hands on a pattern
 Home clothes with their own hands, an apron for their own homes, patterns, apron schemes for beginners
 How to sew a bright summer skirt in a floor from chiffon on a professional pattern. We sew a skirt step by step on the floor with our own hands
 We sew with our own hands a comfortable, knitted children's hat for a pattern, taking into account the features of the fabric
 How to sew an elegant, unique swimsuit with your own hands on a pattern. We sew two kinds of swimsuit for a couple of hours