
How to sew a wonderful and comfortable children's apron with your own hands on a pattern
Many are faced with a situation where a girleither the boy urgently needs an apron for on duty at school, and an apron may be required in the classroom. Find a children's apron in stores is sometimes extremely difficult or even impossible, especially in small towns and villages. You can, of course, order tailoring in the atelier, but for this it is necessary to have enough time in reserve. Besides, it will not be expensive. Therefore, the most suitable, though not the most simple, way out was to sew an apron yourself. But the sewing machine is not at all, so the following recommendations will be very useful for many. 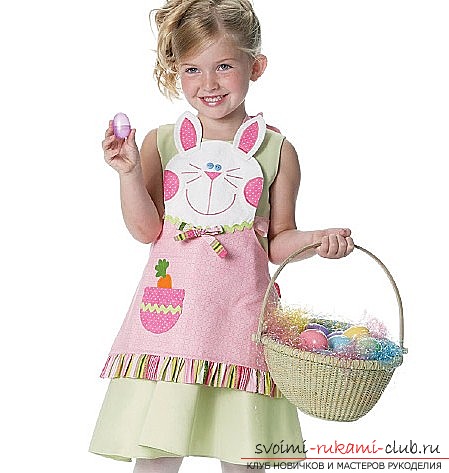 The first step is to stock up with materials for sewing our children's apron.
 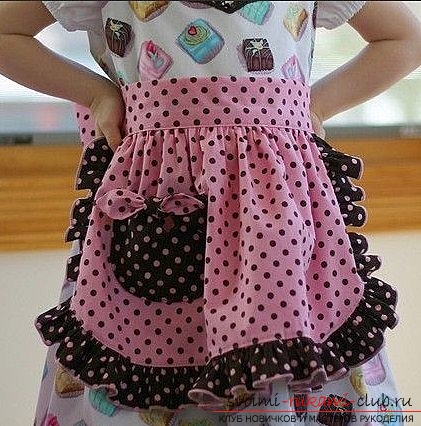 For sewing an apron you will need: 1. Pattern. The key to the success of sewing any product is a well-crafted pattern. Before you build it you will need to take measurements from your girl. The fabric is 40x43cm in size. It is not necessary to buy a new cut, you can use a dressing gown or a sarafan, which you are not going to wear. Surely this, it is unclear why you bought it, there is a thing in every woman's closet. Two strips of fabric 4x130 cm in size. They are necessary to perform the edging of the lower part of the apron and for making strings. You can use beautiful satin ribbons or cut strips from the same robe. Paper size 40x43cm. But if you do not have such a large sheet, then you can build only half of the pattern, and then display it. Soft pencil.6. Sewing centimeter or long ruler. Sharp scissors. Threads, needles, chalk.
  The whole sewing process can be divided into the followingstages: 1. Pattern. First you need to build a pattern according to the required dimensions. It is entirely possible to carry out only half of it on paper. Then the pattern should be fixed on the fabric and circled all sides except the one along which the two halves will be joined. Then shift the pattern and circle the second half.
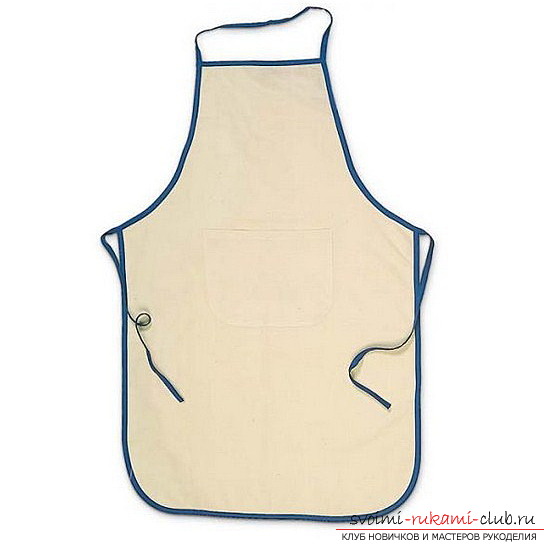
 2. Sewing. Bottom edging. First you need to process the bottom part. The main thing is to do it very smoothly and accurately. Now the first thing to do is to fold the "bottom" of the apron with a "strip" of fabric. Stitching. Further, the unworked edges of the apron are tucked and it remains only to flash them with an invisible seam. Upper edging. It is executed in exactly the same way as the bottom one. After that, you can sew the strings on the sides and at the top. So quickly and simply we made an excellent apron for the girl without any expense. That's all! The apron for your child is ready!
Comments
Related posts:
 How to sew a comfortable and warm children's overalls with a fleece
 How to sew a bright, spectacular gypsy costume with your own hands. Professional advice on sewing a gypsy costume for a pattern
 A sailor's children's suit, how to sew a sailor's suit for a boy with his own hands, how to sew a cap and collar with his own hands.
 This master class will teach how to sew with your own hands a children's fox costume for a girl
 How to sew a cozy slippers with your own hands. Step-by-step description of the work