Technique for creating a scarf using wool felting – wet felting for beginners
With the help of wet felting you can make a variety of objects, including ruffles.
Technique for creating a scarf using wool felting – wet felting for beginners
 Today we will try to do them using an examplea version of a small scarf, which has parameters of 60 centimeters in length. The role of ruffle – use in a scarf, frills on a skirt, for collars or vest sleeves. Ruffles are made according to different patterns – from one row or several. Let's try to make our own! For this we need certain material:
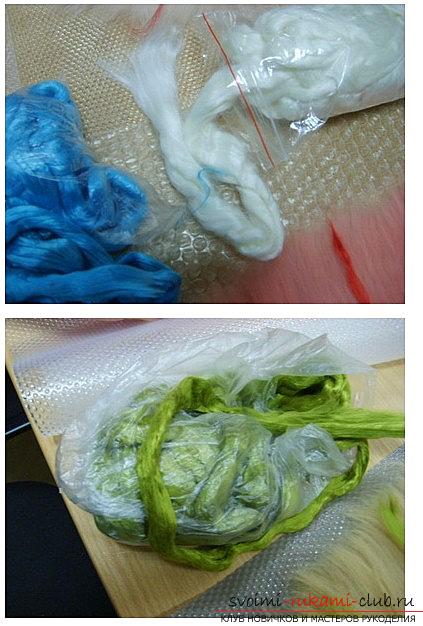
- Six in the amount of 50 grams
- Mesh (mosquito)
- A piece of silk
- A piece of lace
- Piece of organza
- A piece of silk fiber
- Latex gloves
- Film (pimples)
Let's begin our work.We produce lace felting without using (additional) processing. It is advisable to cut off the edges of the dense parts of the organza, otherwise – the material will not shrink. The same should apply to silk – then the edge for the fabric will be cut. The lace that is on the organza needs to be placed on the edges of the lace and felted using a needle. Thus, the edge of the shaggy surface lies against the wool. Felting a scarf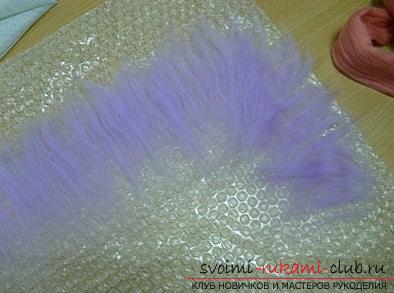 So what do we do?We take the basis for the color of the coat. Next, we lay out the wool using bubble wrap. Wool shrinks by a third, so we determine the size of the scarf by adding about a third of the material for each side. The wool must be spread out evenly using thin strands. There should be no bald fields. We place the wool especially carefully in the turns, otherwise it won’t fit. The outlines of our future scarf product appear.
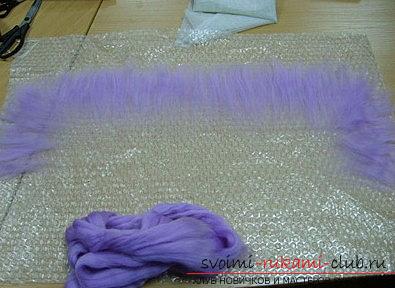 After preparing the perimeter of the work,lay out the central part. The strands must be laid out vertically or lengthwise, and their edges should only be touched along the wool that has already been laid out. This must be done so that holes do not appear. After laying out the center in a vertical pattern, we continue to lay out the center in a horizontal pattern.
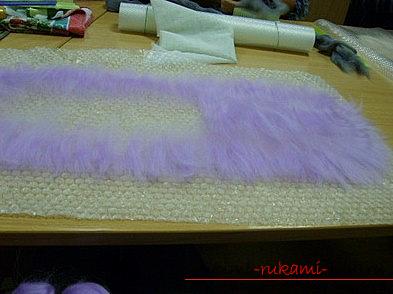 Silk processing
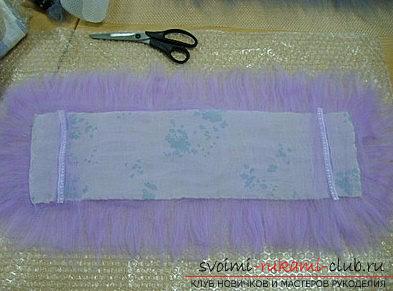
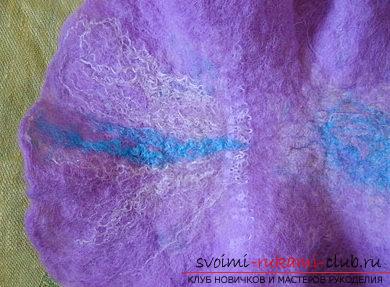
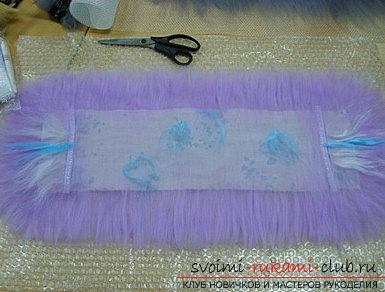 After this – lay out the silk in the formpiece. You can also complement it with lace. after that – Let's use the next layer of wool and go a little onto the silk surface. We complete the layout and add silk fibers to give the product beauty. You can also make a scarf with organza.
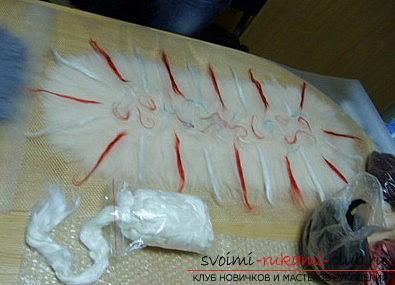 You need to cover the scarf with a mosquito net andthen wet it. Wait until the product is saturated with water, but do not overdo it! Otherwise, you will ruin the product. The water should be at a warm temperature, up to 60 degrees. Next, you need to apply soap (liquid, without a cream base). You can also use economic options, such as fairies. Next – You must put on gloves and rub gently over the surface of the product until pellets form. In this way you need to rub for up to three minutes, you need to remove the spool from the grid. You need to rub using the direction of the center.
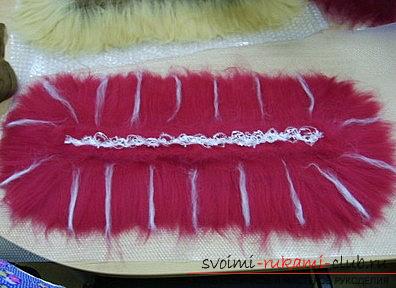 Finishing work
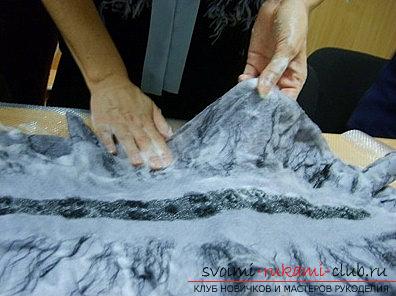 After this procedure is completed,It is necessary to remove the mesh and carefully turn our workpiece over to the other side. Also start the felting process using your hands. Here the center can be rubbed using horizontal and vertical movements. Shuttlecocks must only be moved along, using the direction of the fibers (wool). Thus, the appearance of shuttlecocks will begin, which will sit in the central part. The more this happens, the stronger the shuttlecocks will be. Hold the shuttlecock and then wipe the area nearby. You only need to rub in lengthwise movements!
 For an hour and a half you repeat andcombine the movements of rubbing the center, then the shuttlecocks. Wait for the central part to settle. The product will be ready at the moment when, when trying to pinch off part of the fibers, most of the product does not come off. You need to rinse the scarf, and then – dry.The product is completely ready!
Comments
Related posts:
 Felting a Christmas snowman with your own hands – wet and dry felting techniques
 New Year felting of toys on the Christmas tree with their own hands: felting technique and a master class
 New Year's reindeer Rudolph – wool felting technique and DIY master class
 Lesson on the correct selection of needles for different types of felting, for dry felting out of wool, how to choose the right size of the needle for felting by photo and description.
 Felting panda out of wool for beginners, master class and photos