This quilling master class will teach you how to make a card with your own hands.
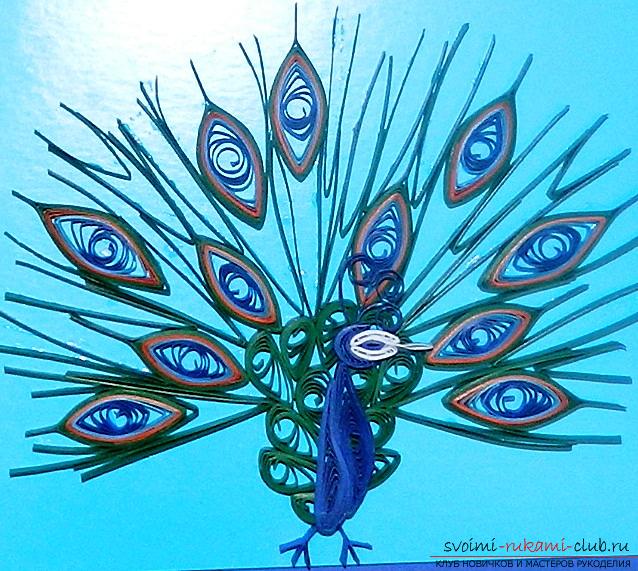
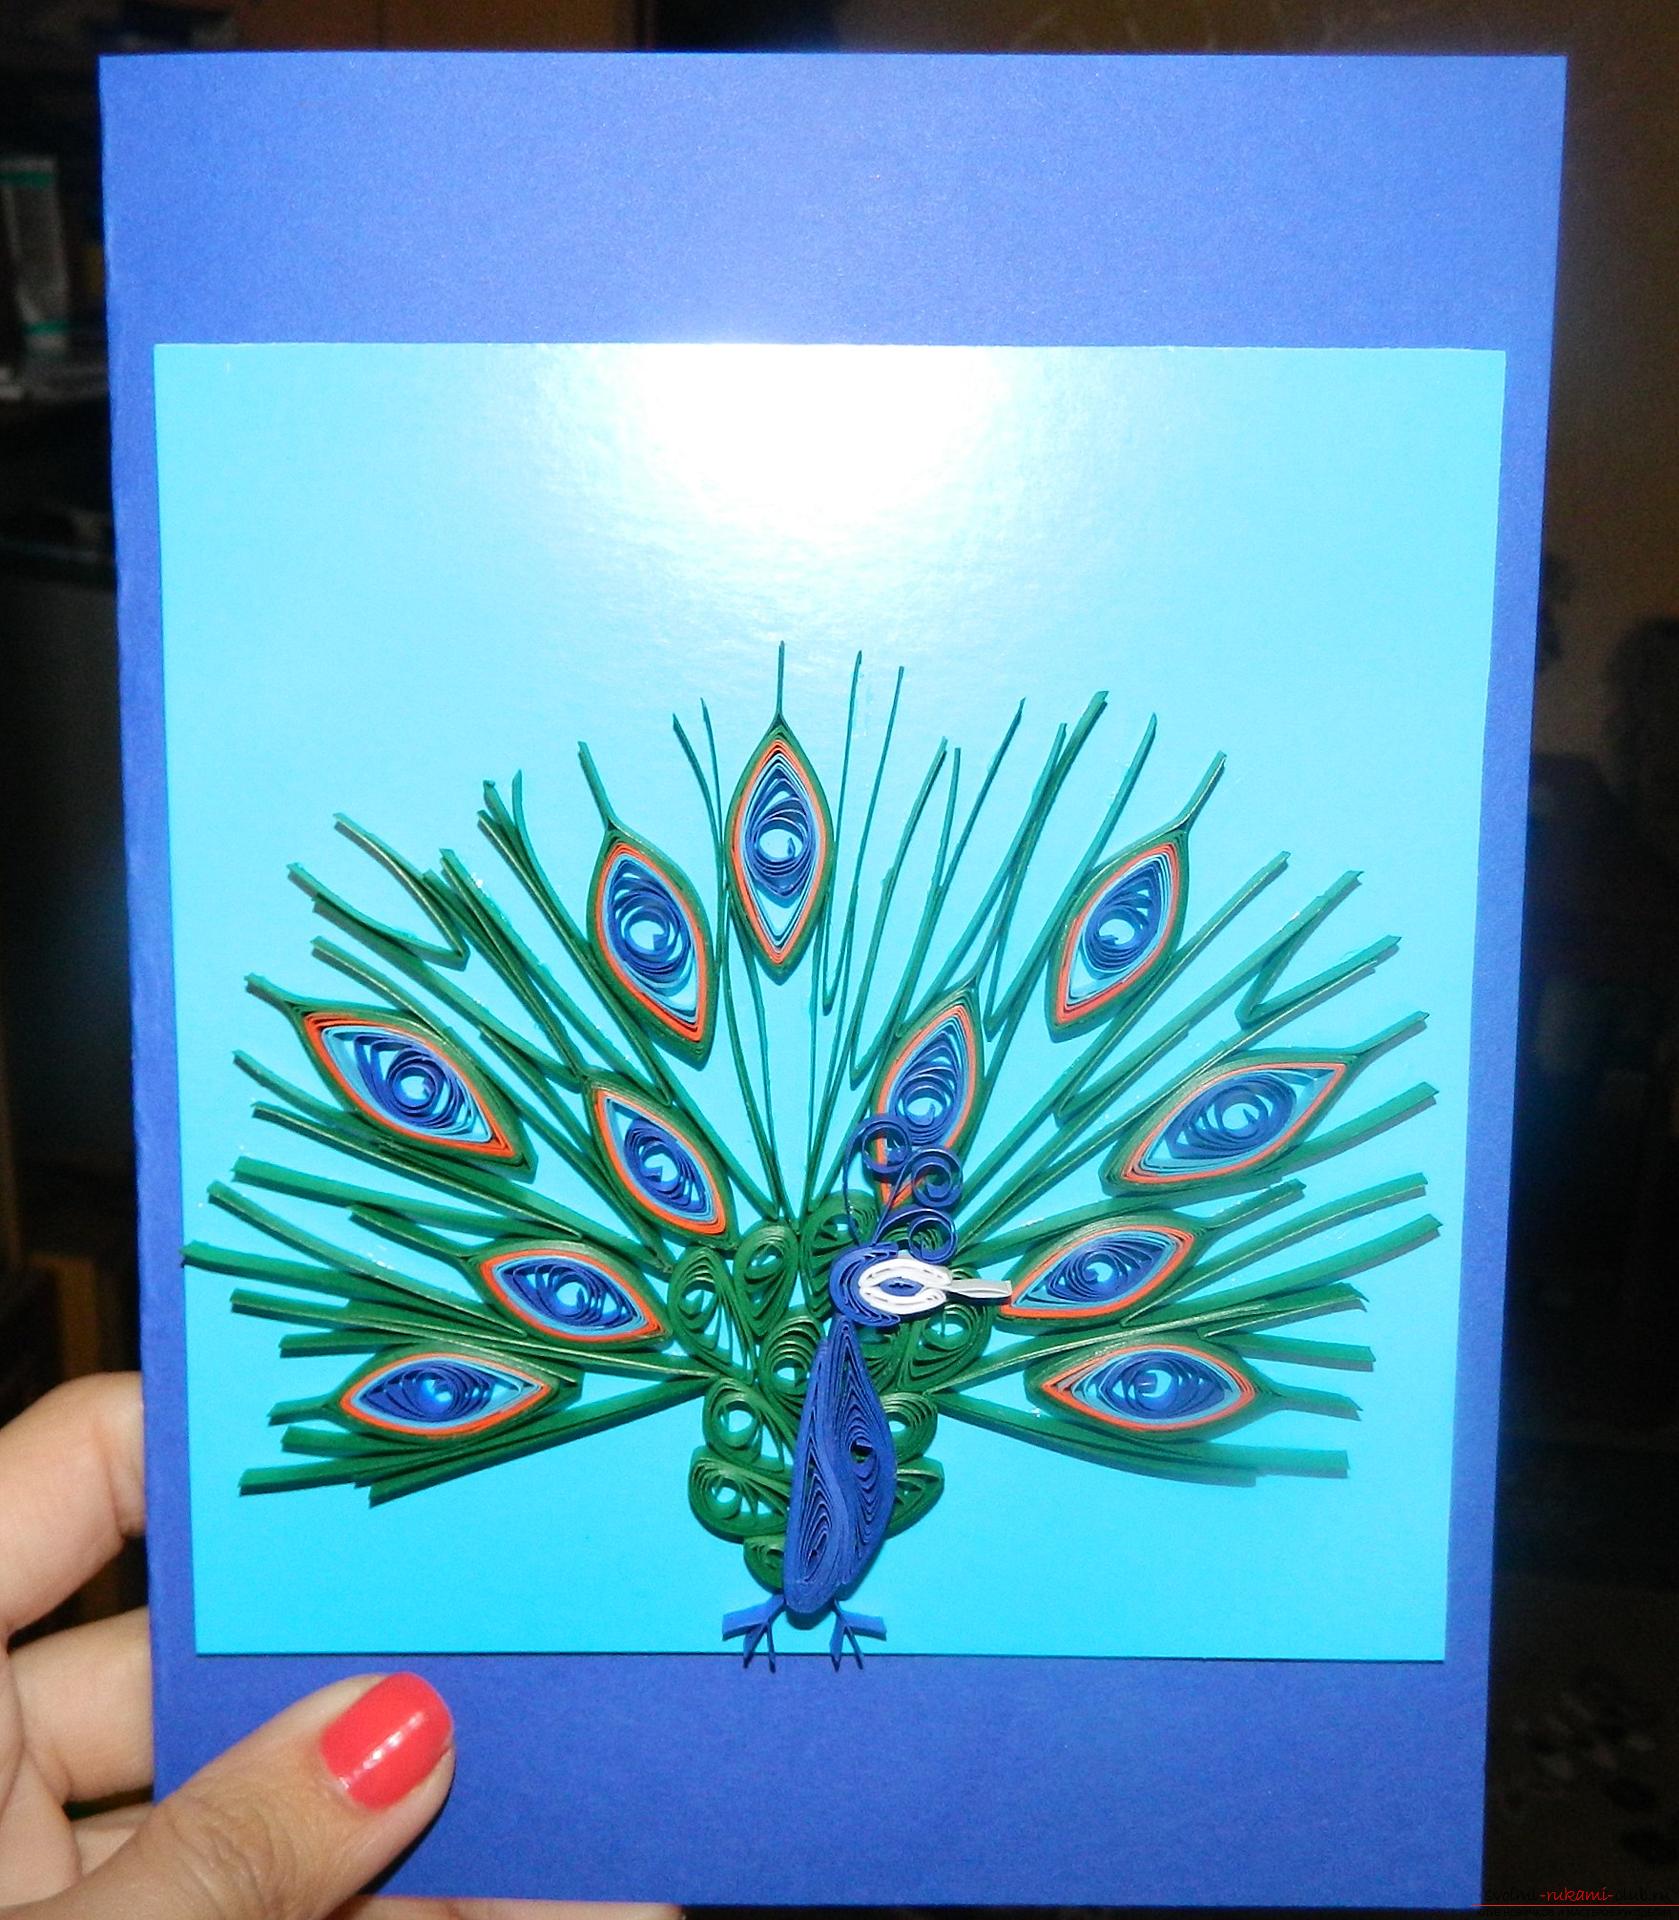 What do you need to make this postcard? 1.A4 size cardboard sheet, blue. 2. Blue cardboard. 3. Double-sided tape. 4. Quilling paper - orange, blue, green, white, light blue. 5. Scissors, special transparent glue. First, take the blue cardboard, fold it in half to get a blank for the postcard. Then cut out a square of 14x14 cm from the blue. Then, using double-sided tape, attach it to the base of the postcard. When the base of the postcard is ready, make all the details for the peacock. Next, you need quilling paper, of which we will need 10 cm blue, 10 cm light blue, 15 cm orange and 20 cm green. Connect the blue with the blue using glue, then attach the orange, then the green. Make 11 of these elements, giving each of them the shape of an "eye". Now use two 50 cm pieces of blue quilling paper and form two parts for the peacock's body. To make the head, roll the blue paper and shape it into a crescent moon so that you can insert an eye. Take three 2 cm pieces of blue quilling paper and twist them to make the peacock's crest.
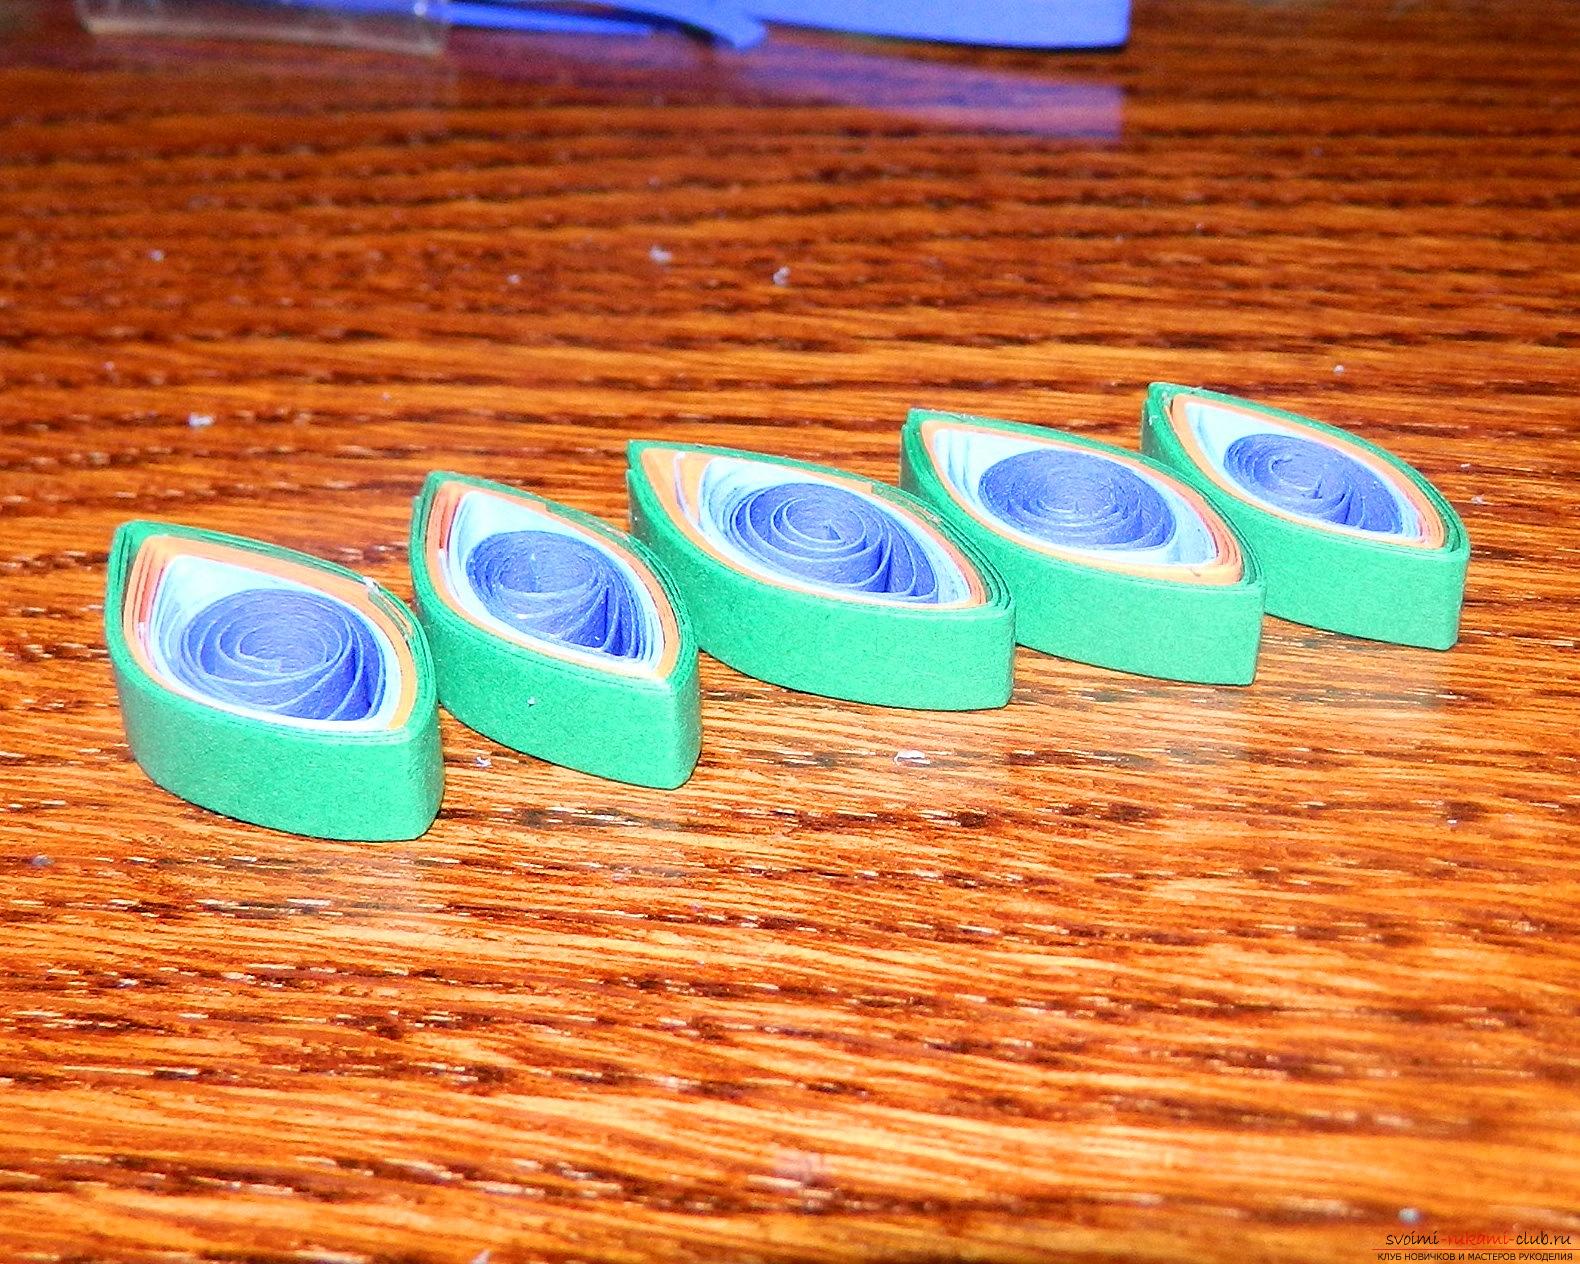 To make the elements for the eye, take 5 cmwhite quilling paper and 2 cm of black, make two small rolls of white and one small black. Then insert the resulting element (as in the picture) into the blue roll and glue it. For the tail, you will need 12 green rolls of the same size. From blue paper, make the peacock's paws as in the photo.When all the elements are ready, you can beginattach the peacock to the base. First, form the tail from green rolls, giving them the shape of a drop. Then, from pieces of green quilling paper 2-3 cm long, complement the peacock's tail, inserting elements in the shape of an eye in a chaotic order. Then form and attach the body, head and crest from feathers. The handmade card is ready!
Comments
Related posts:
 This master class will teach you how to make a postcard based on the pictures of chewing gum love is your own.
 This master class will teach you how to make a quilling postcard – valentine – with your own hands.
 This master class will teach you how to make a postcard with your own hands in quilling technique.
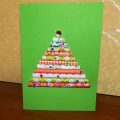 This master class will teach you how to make your own hands a New Year greeting card.
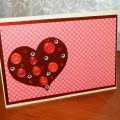 This master class with the description will teach you how to make your own heart-postcard.