
This master class will tell you how to create crochet decorations - knitted bracelets
Knitted ornaments always look original andinteresting. But it is advisable not to combine them with other knitted objects - it will already be busted. It is better to wear them separately, with sewn things. Each knitted handmade jewelry is individually and unrepeatably. It carries in itself the warmth of the hands and the spark of the creator's imagination. This master class shows how you can create a beautiful bracelet from a knitted lace ribbon and several glass beads. In order to create such a bracelet it is necessary:
- thread, it is desirable to take the thread is not too thick, well suited "Iris", "Narcissus" or "Rose";
- hook number 1 or 2 (depends on the thickness of the thread);
- monofilament or thin thread in the color of the bracelet;
- 7 glass beads.
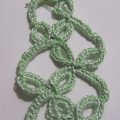
Let's start creating our bracelet. First, you need to tie the base of the bracelet - a lace ribbon. Begin knitting as standard - from the chain, which in our case will consist of seven loops. 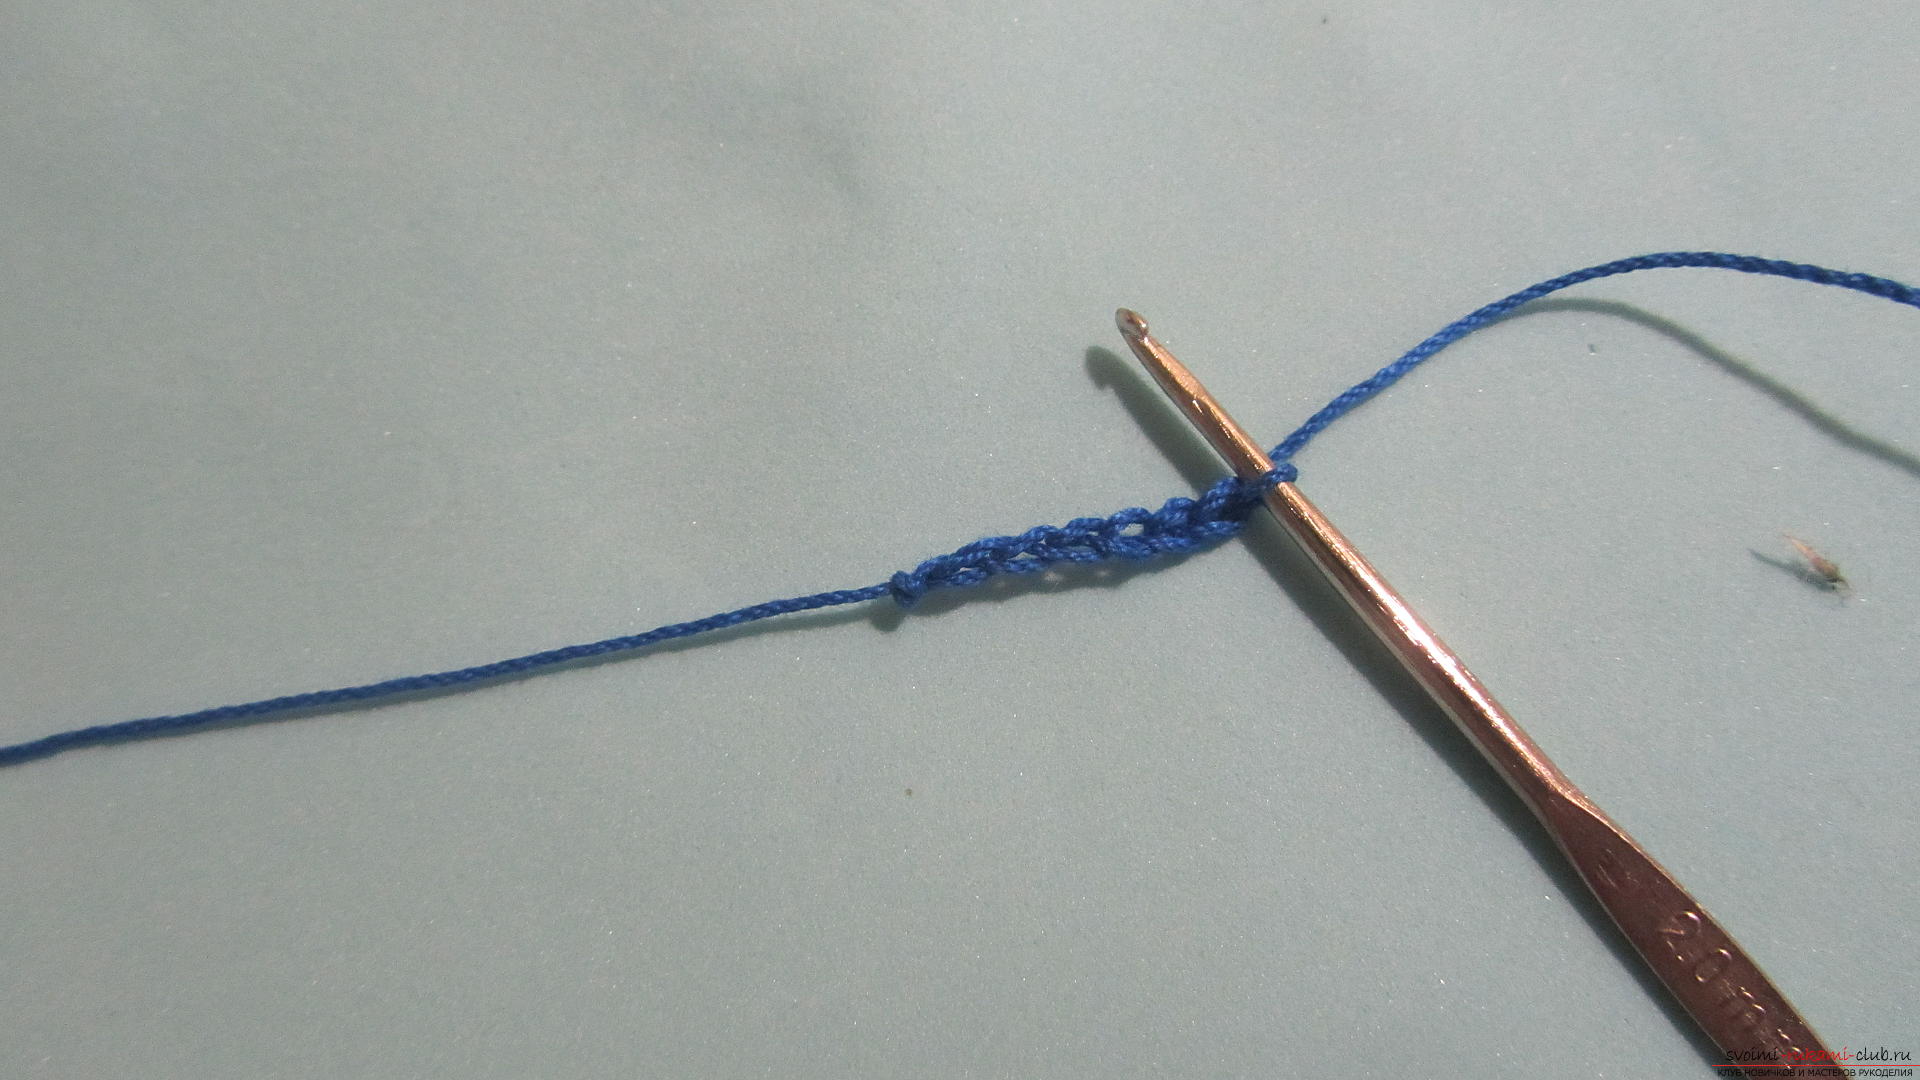 Now we will form the first row of tape - we will fasten a column with one crochet to the first (the furthest from the hook) loop of the original chain.
  Next, the third row will start again with a chain, but consisting of four loops.
 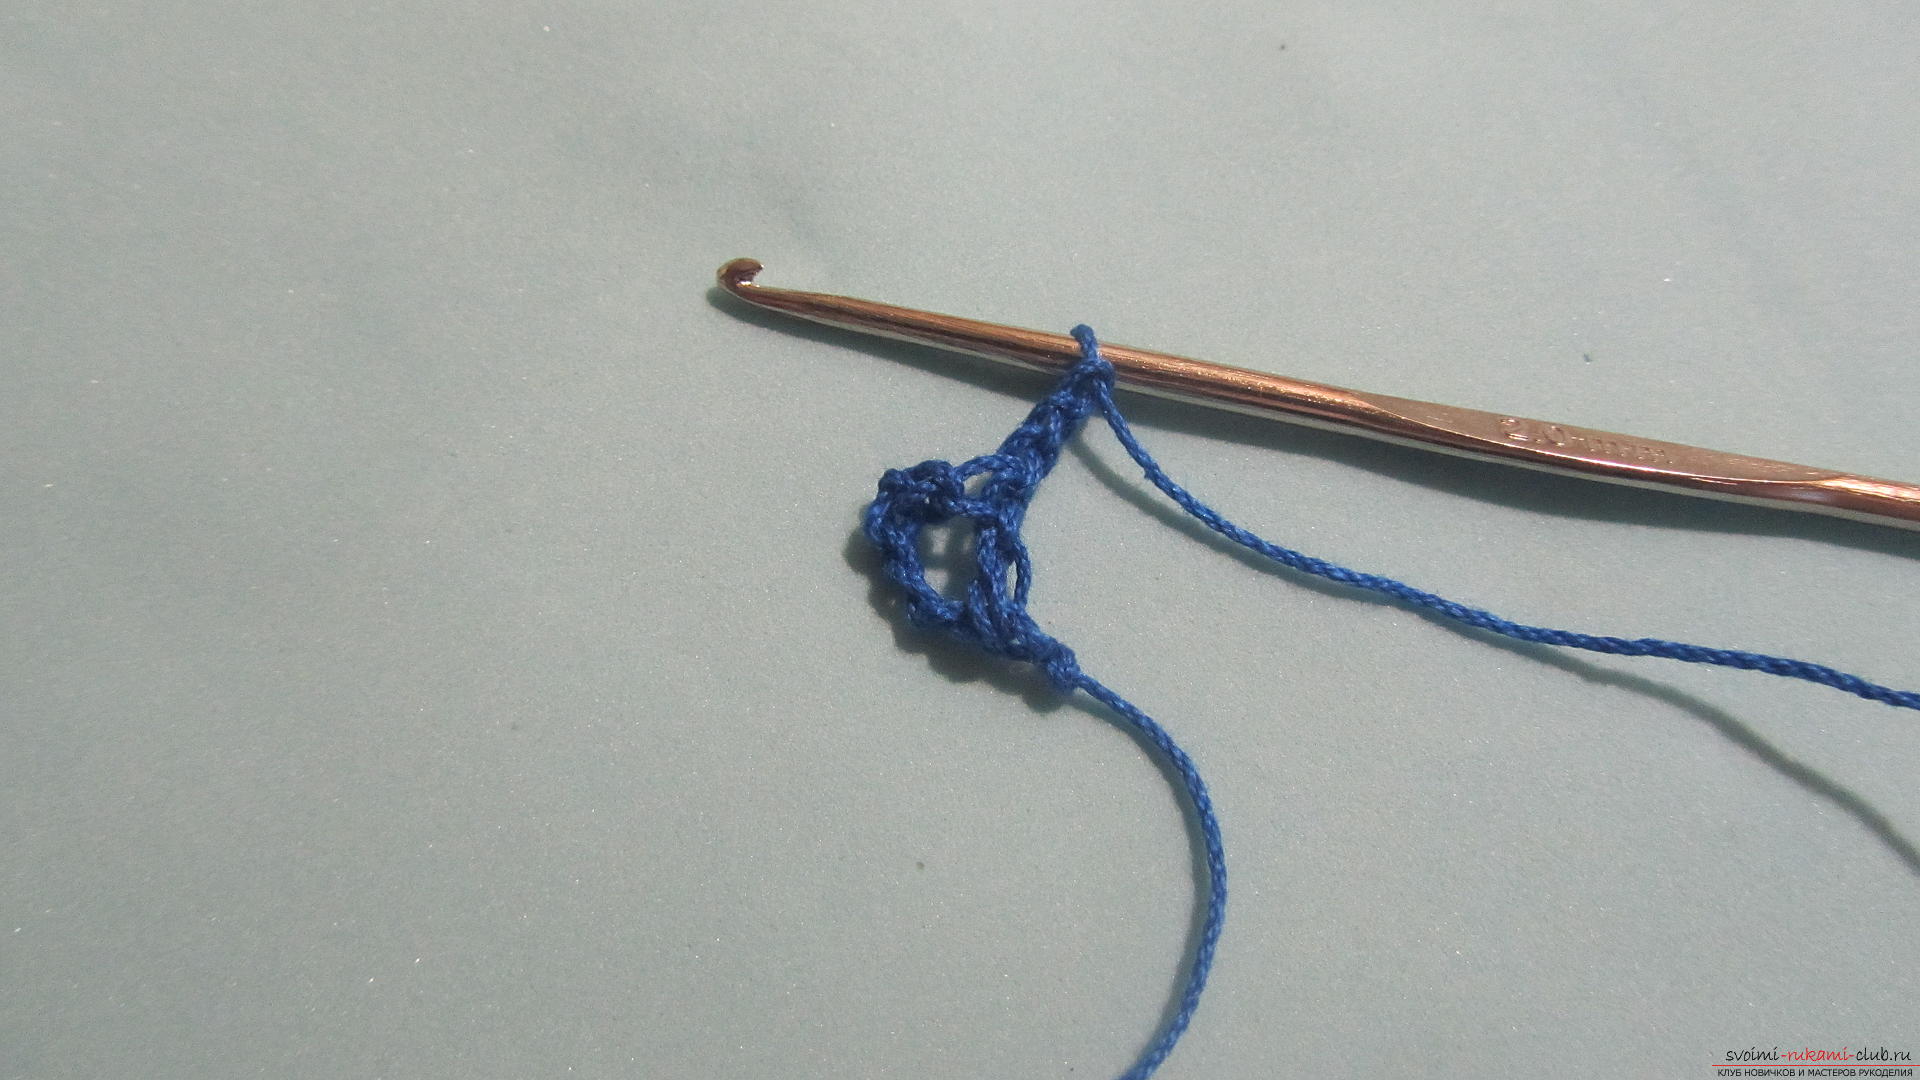 And again we finish the row with a column, in which there will be one cape.
 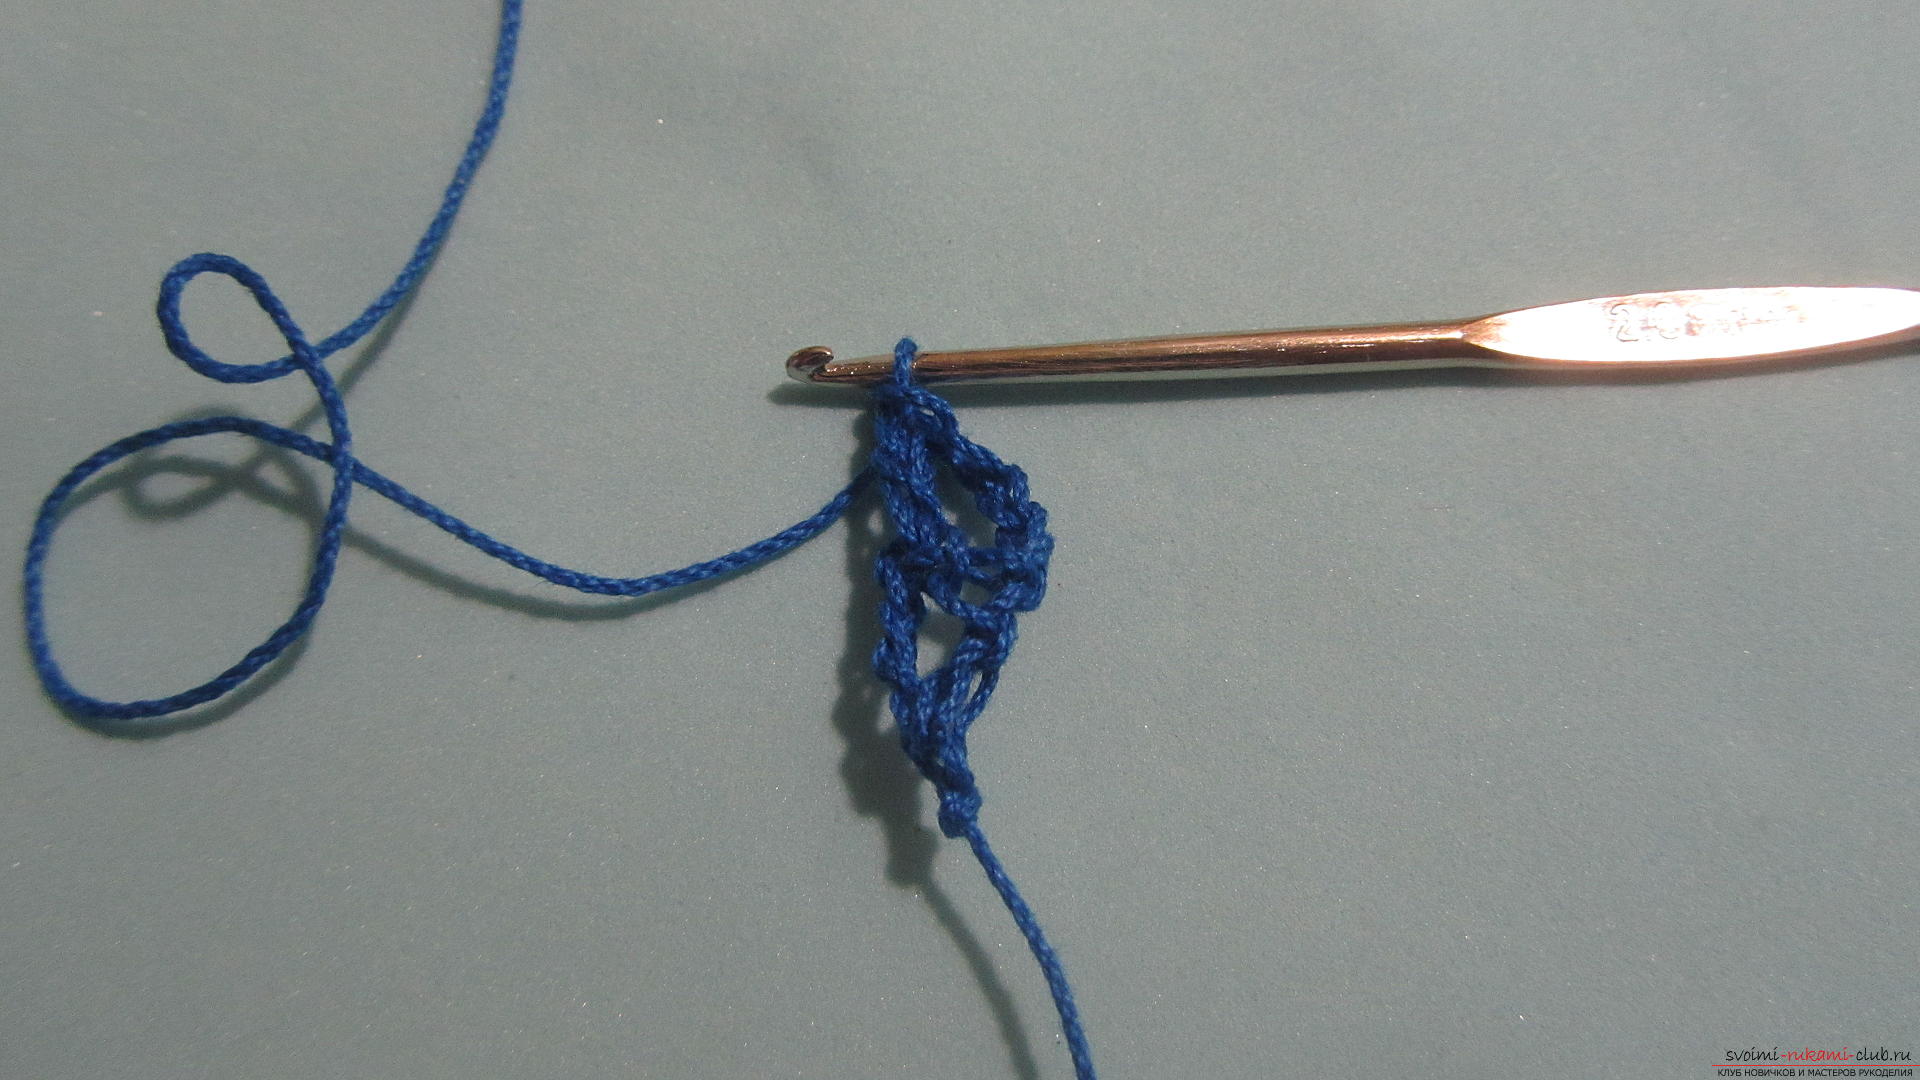 The next chain will not form a new series. It will be the continuation of the third row, and will be attached to the side of the ribbon. So, we'll link the six loops.
 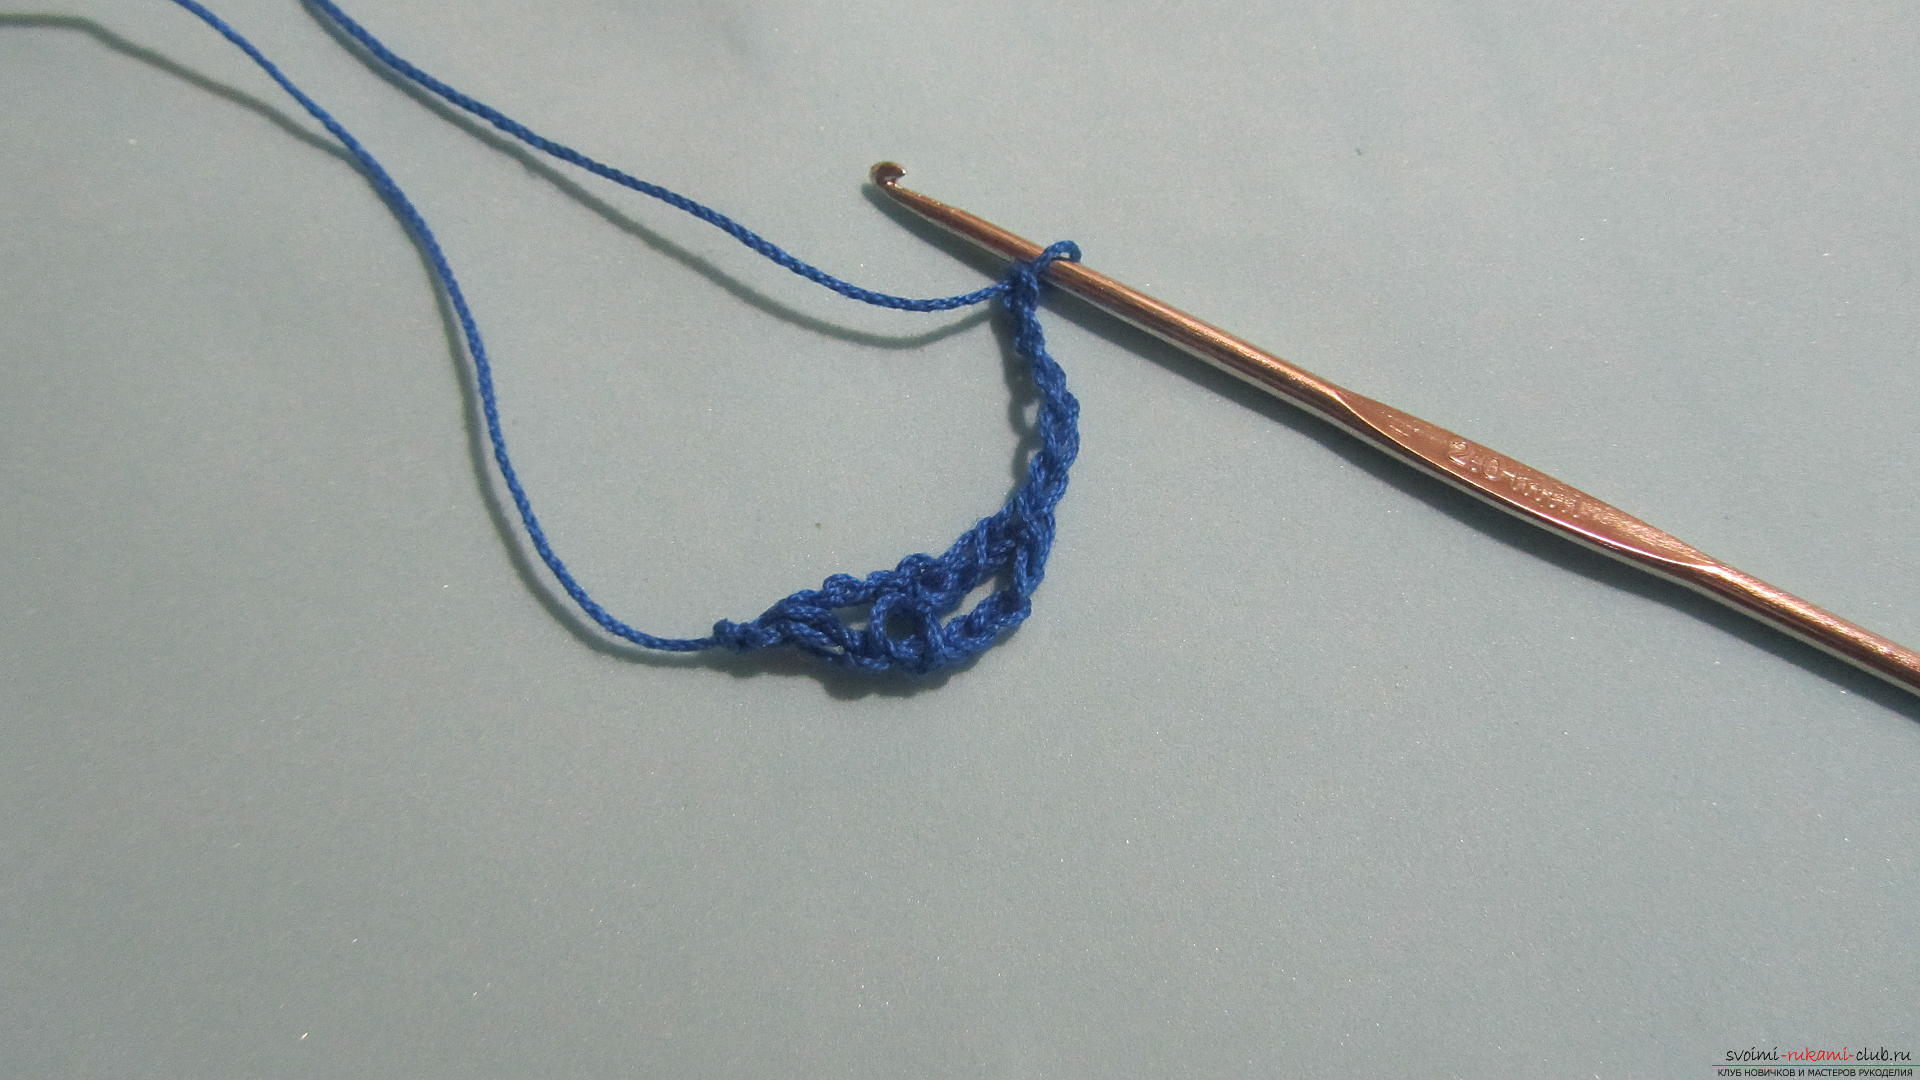 And, as already mentioned, we will attach it to the side of the knitting with a connecting post. We fasten the chain in the middle, between the first and second rows of braids.
 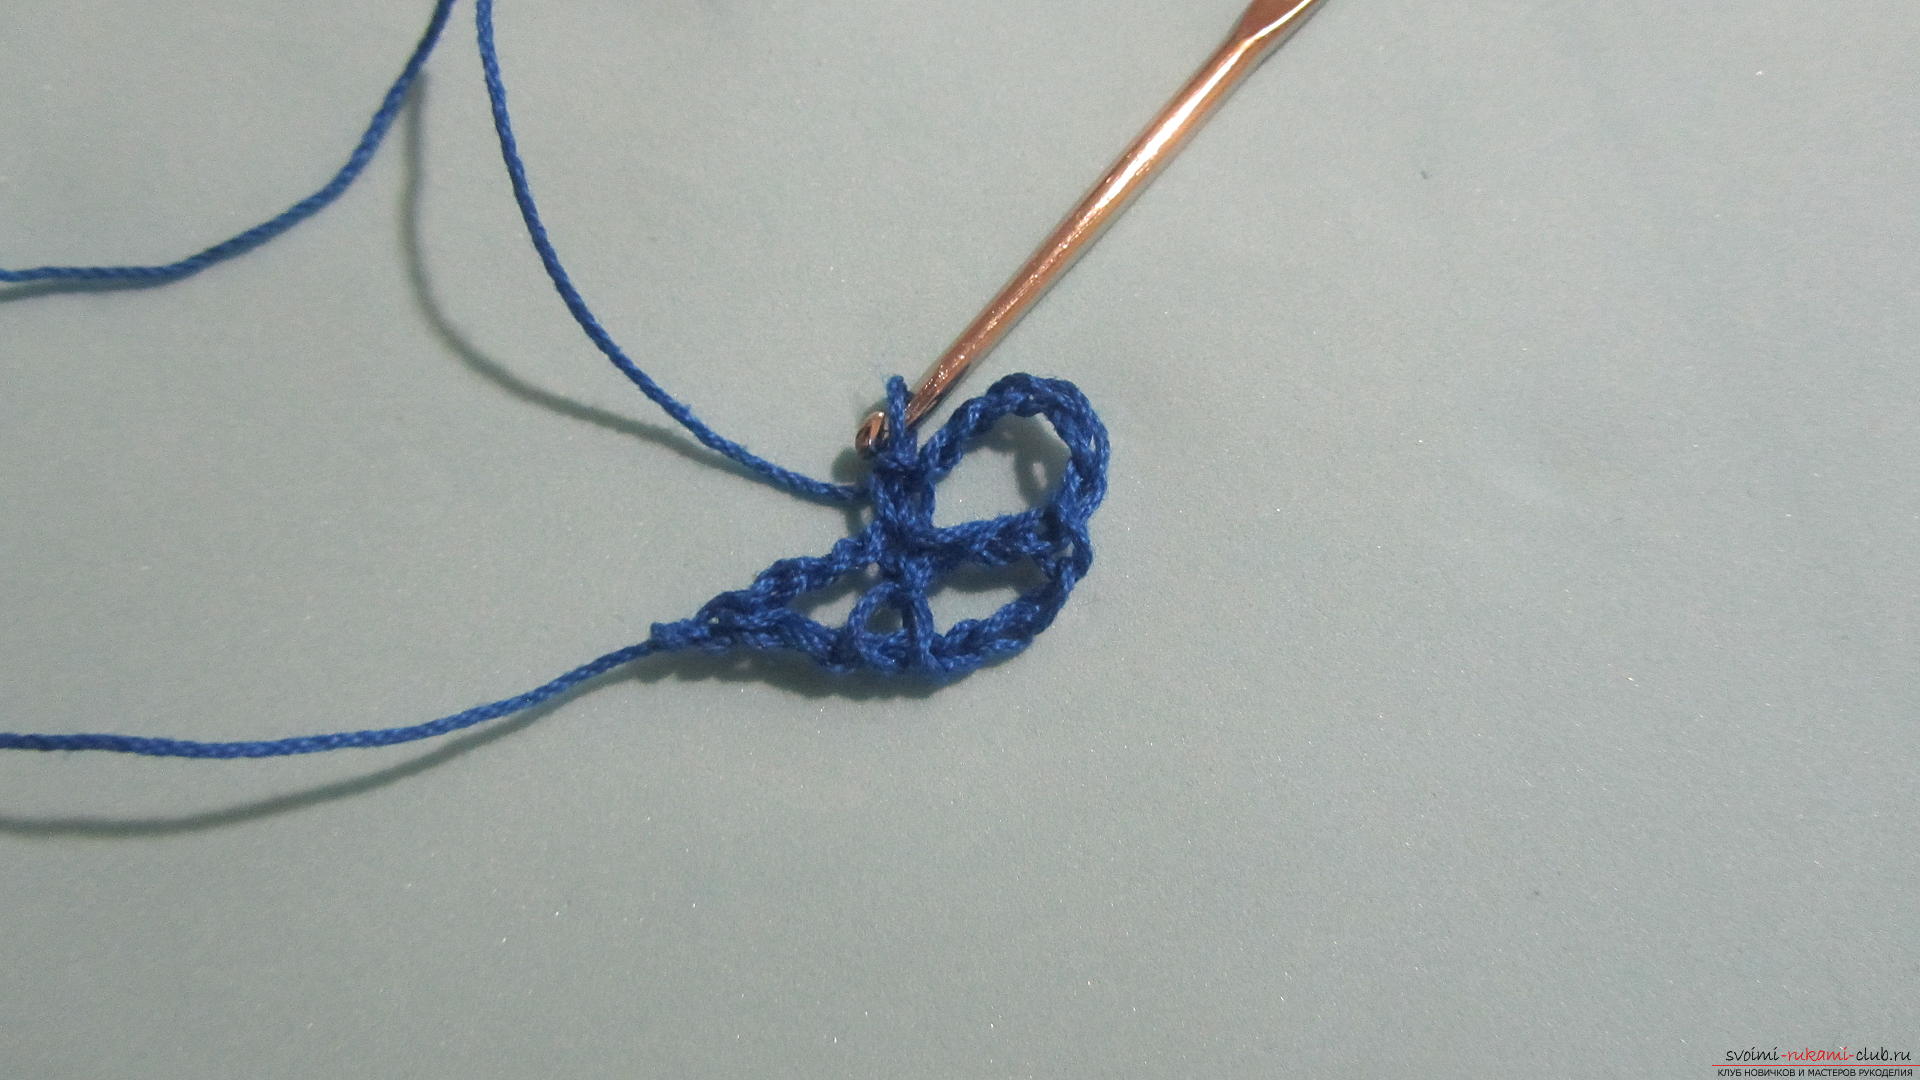 Again, we bind a chain of three loops - this will be a series for lifting.
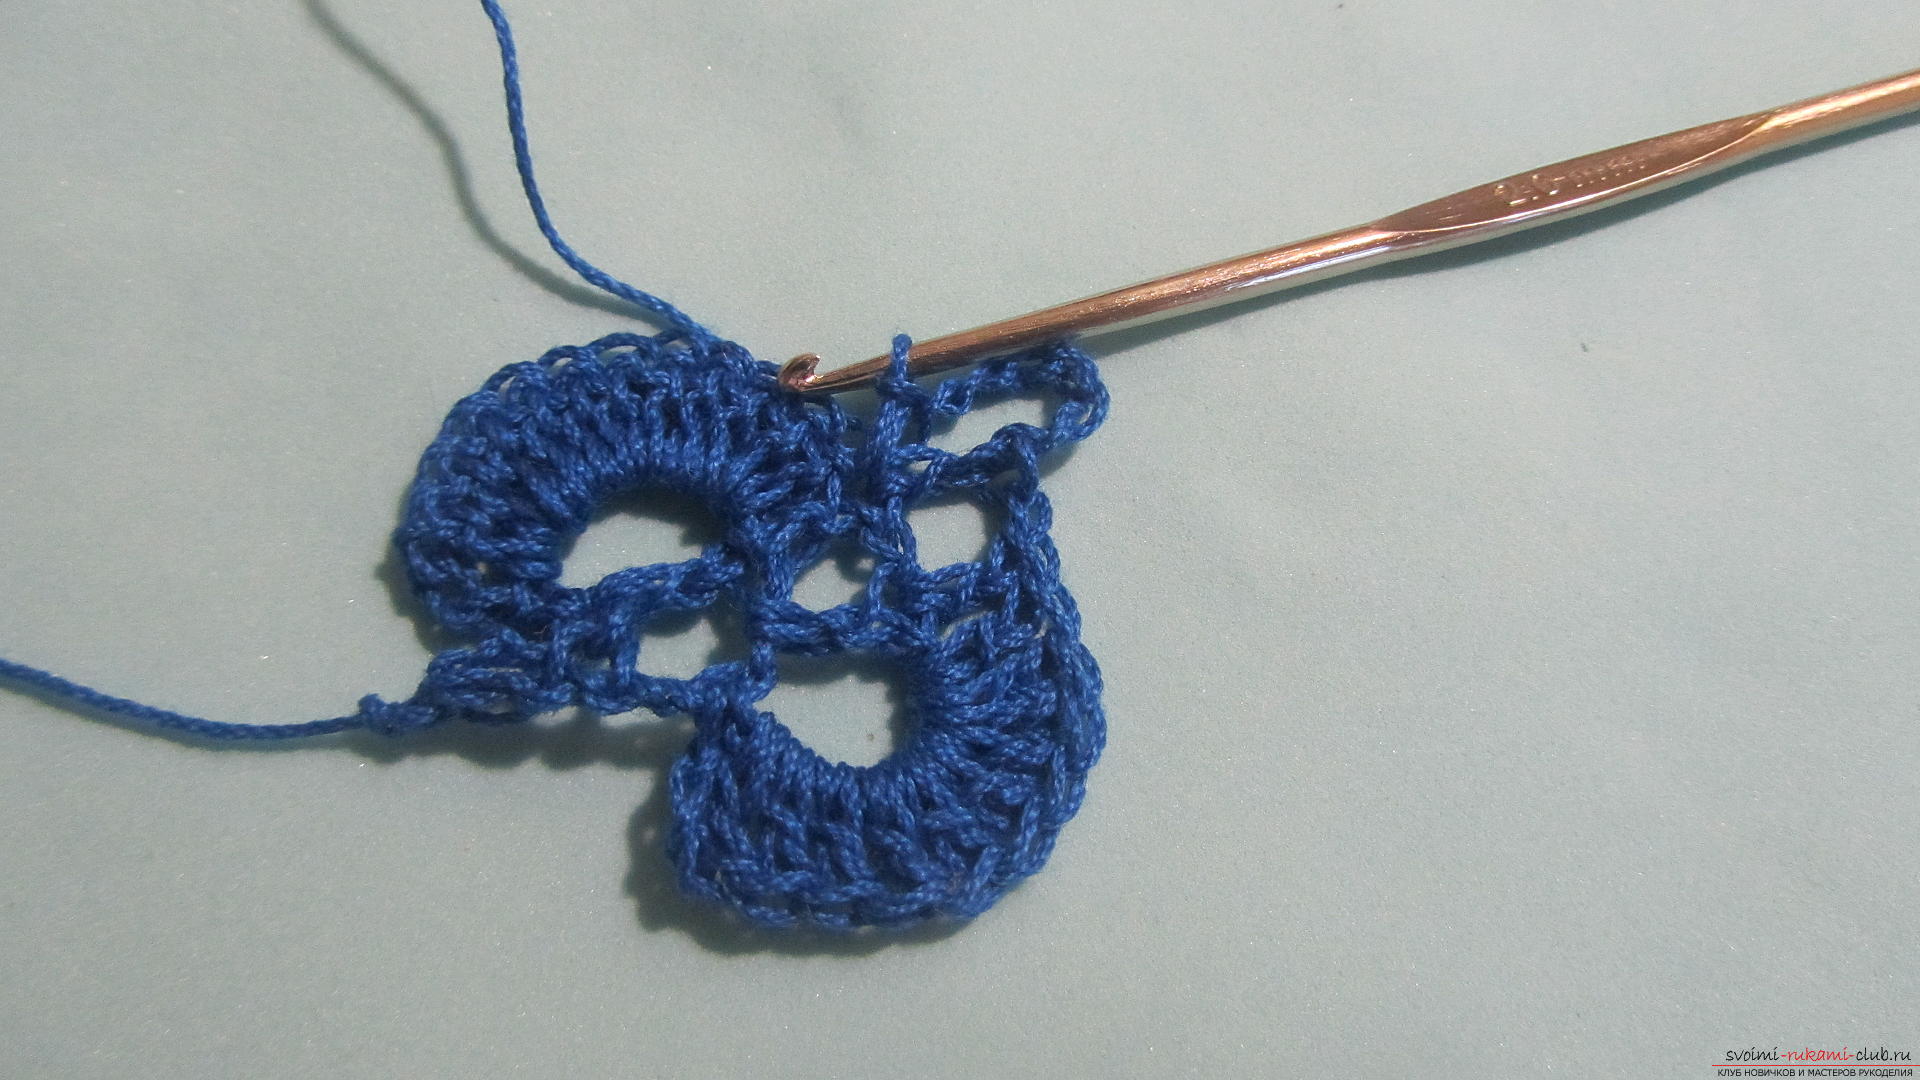
 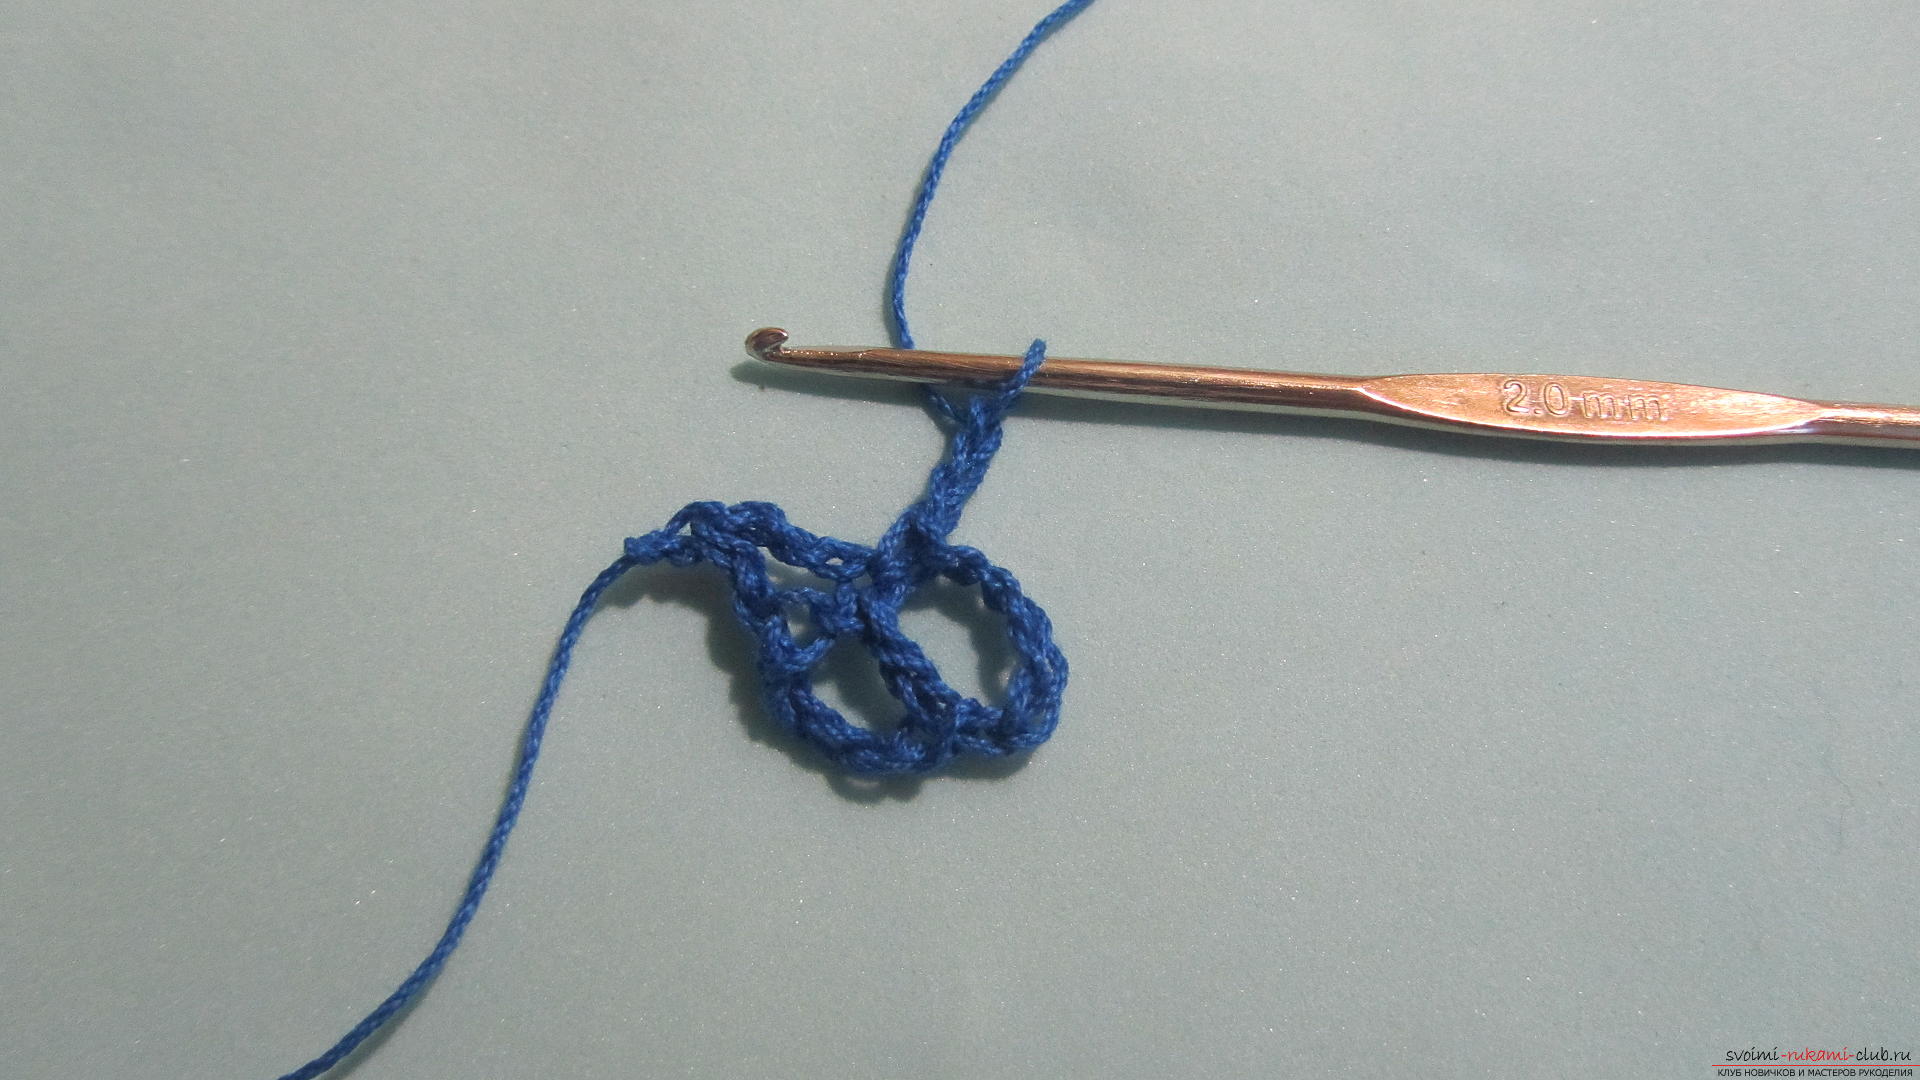 In the formed loop we will connect 11 columns with one crochet.
 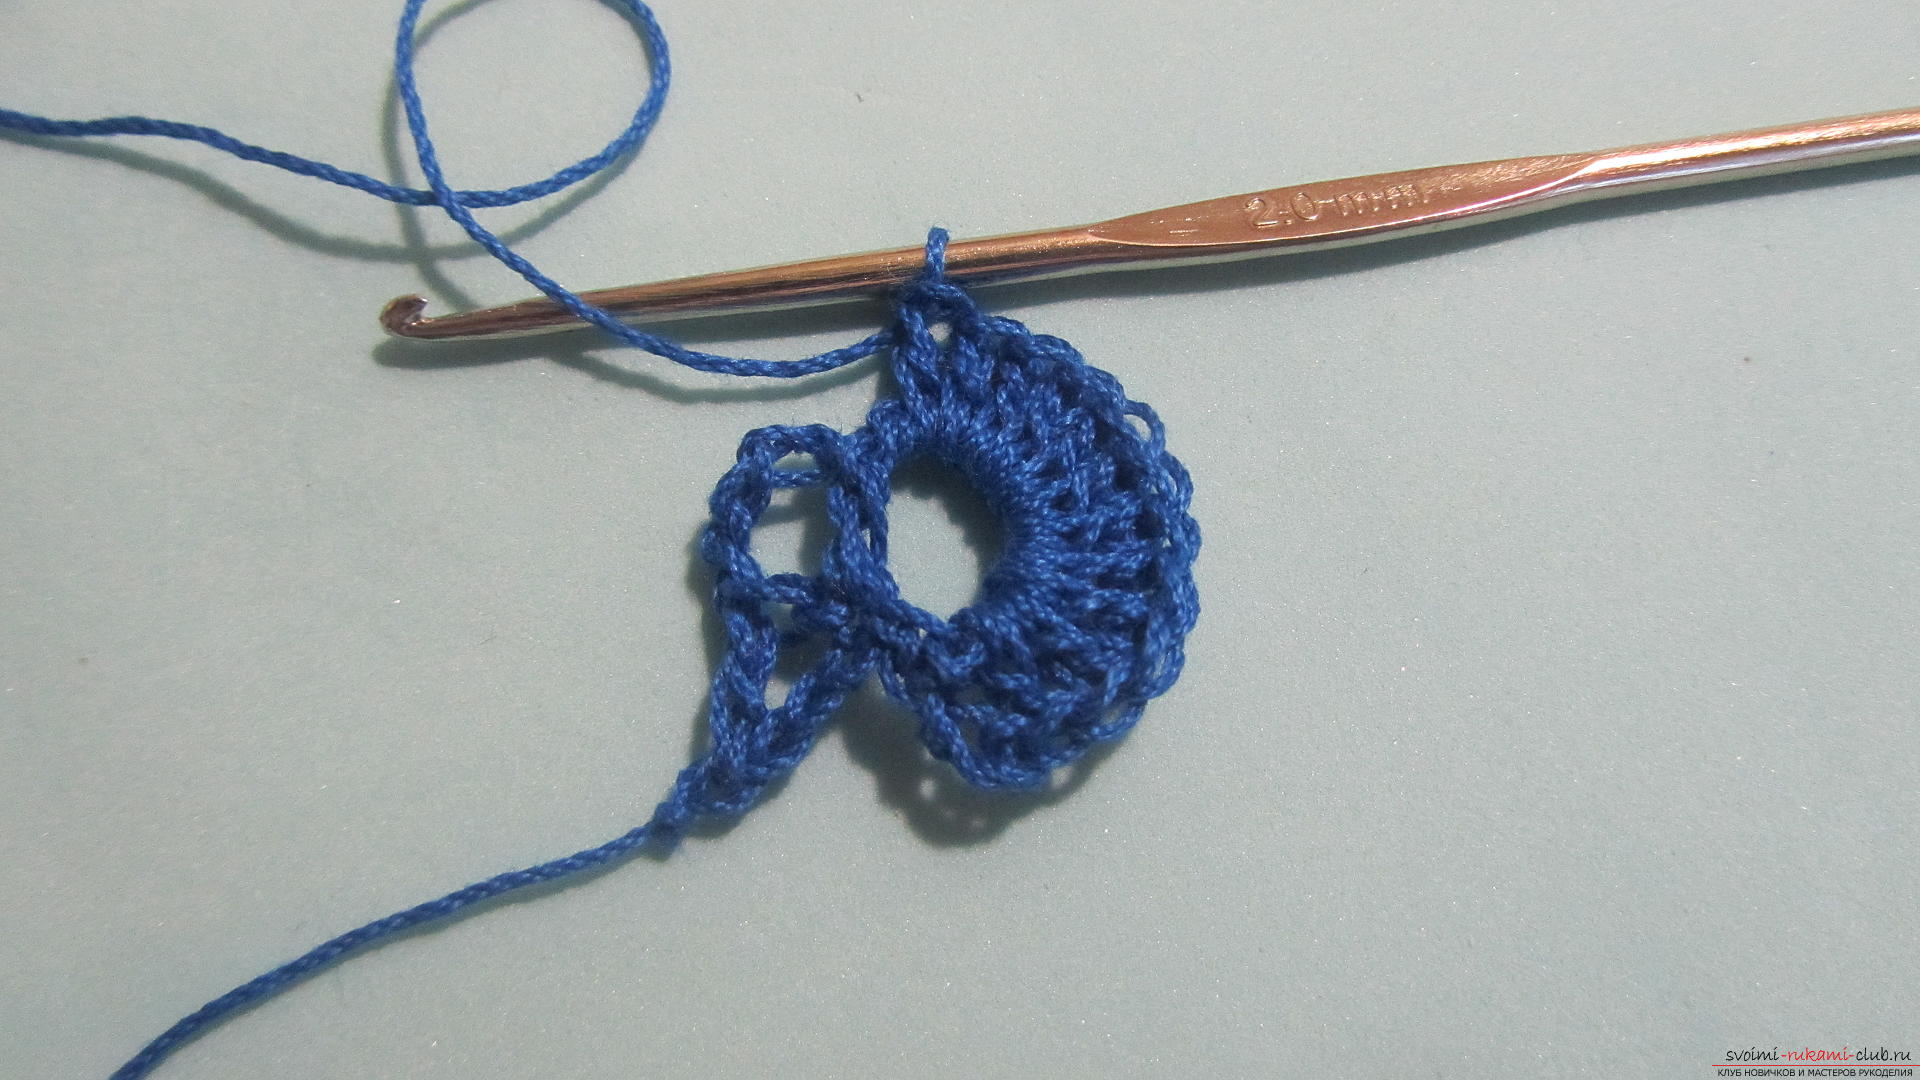 We will tie the twelfth column in a column of braid.
 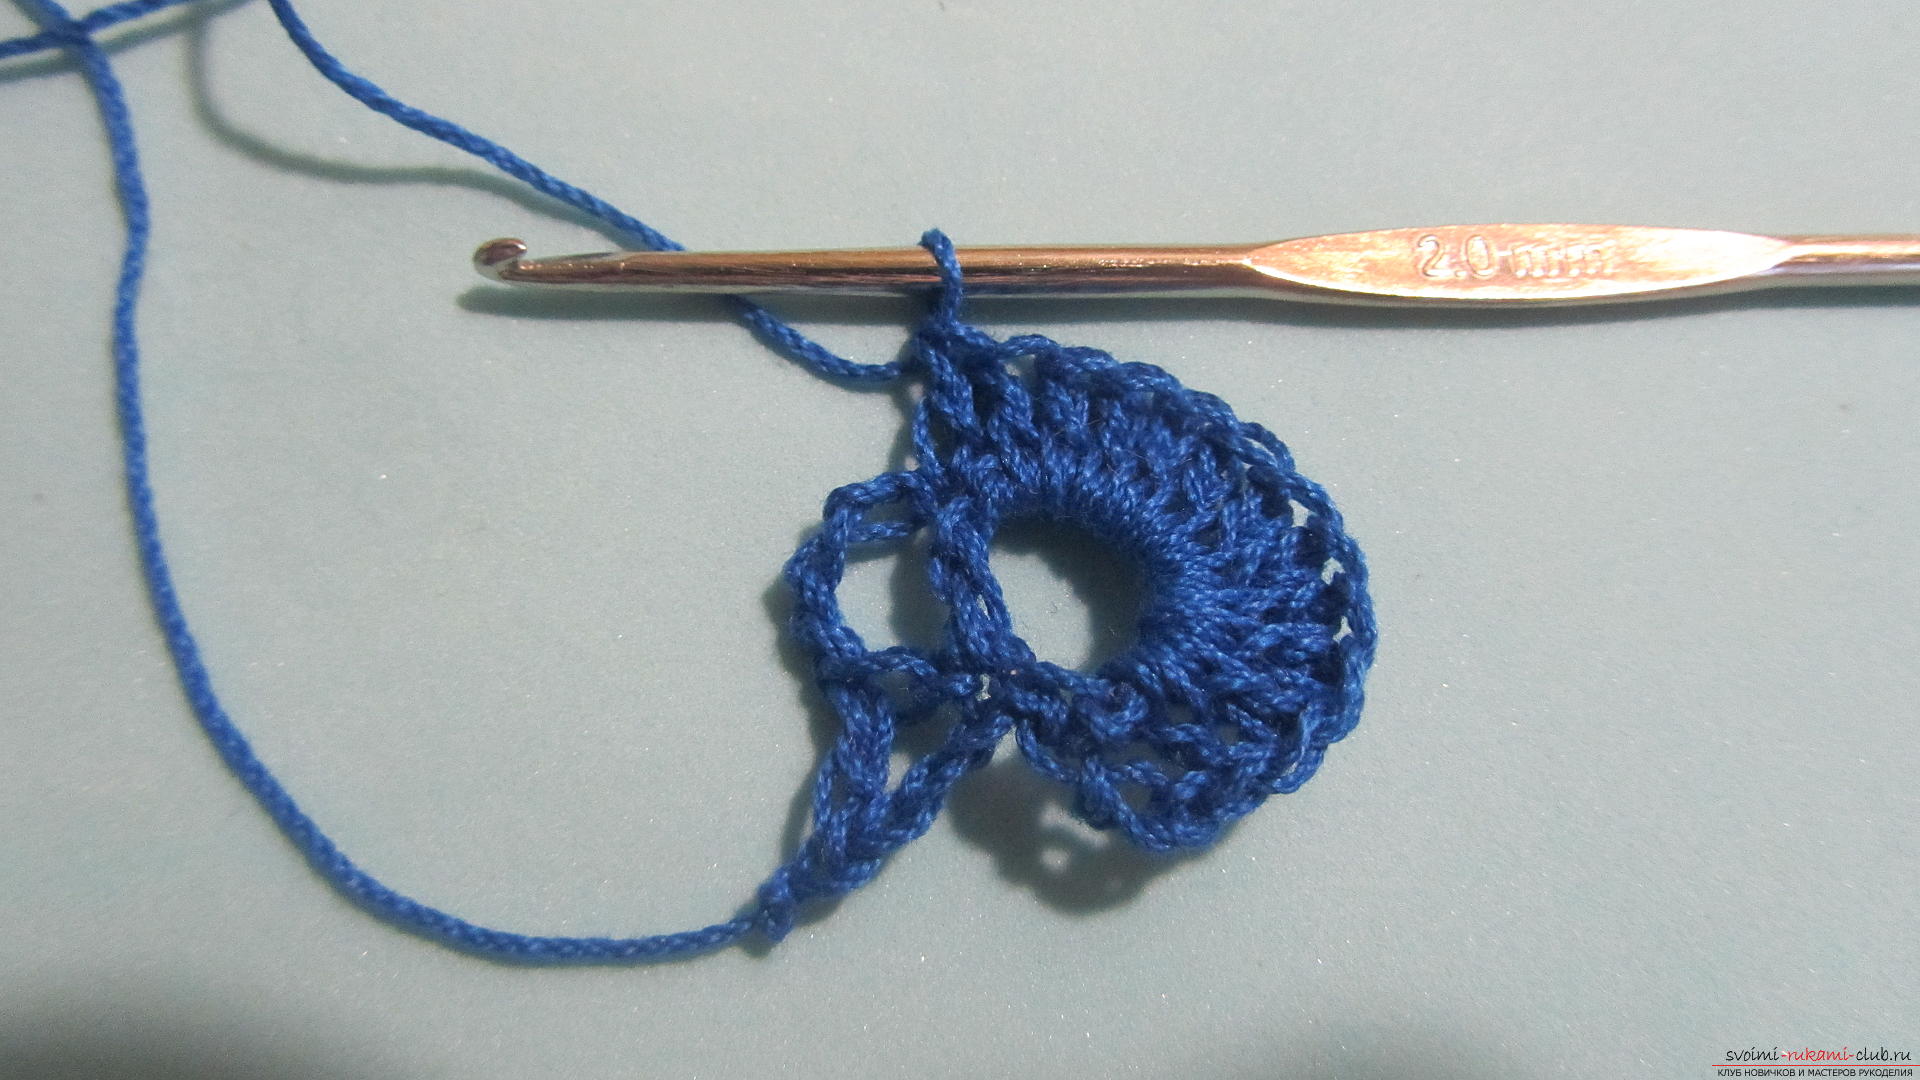 We finish the series, tying another column with a crochet and dividing it with the previous air loop.
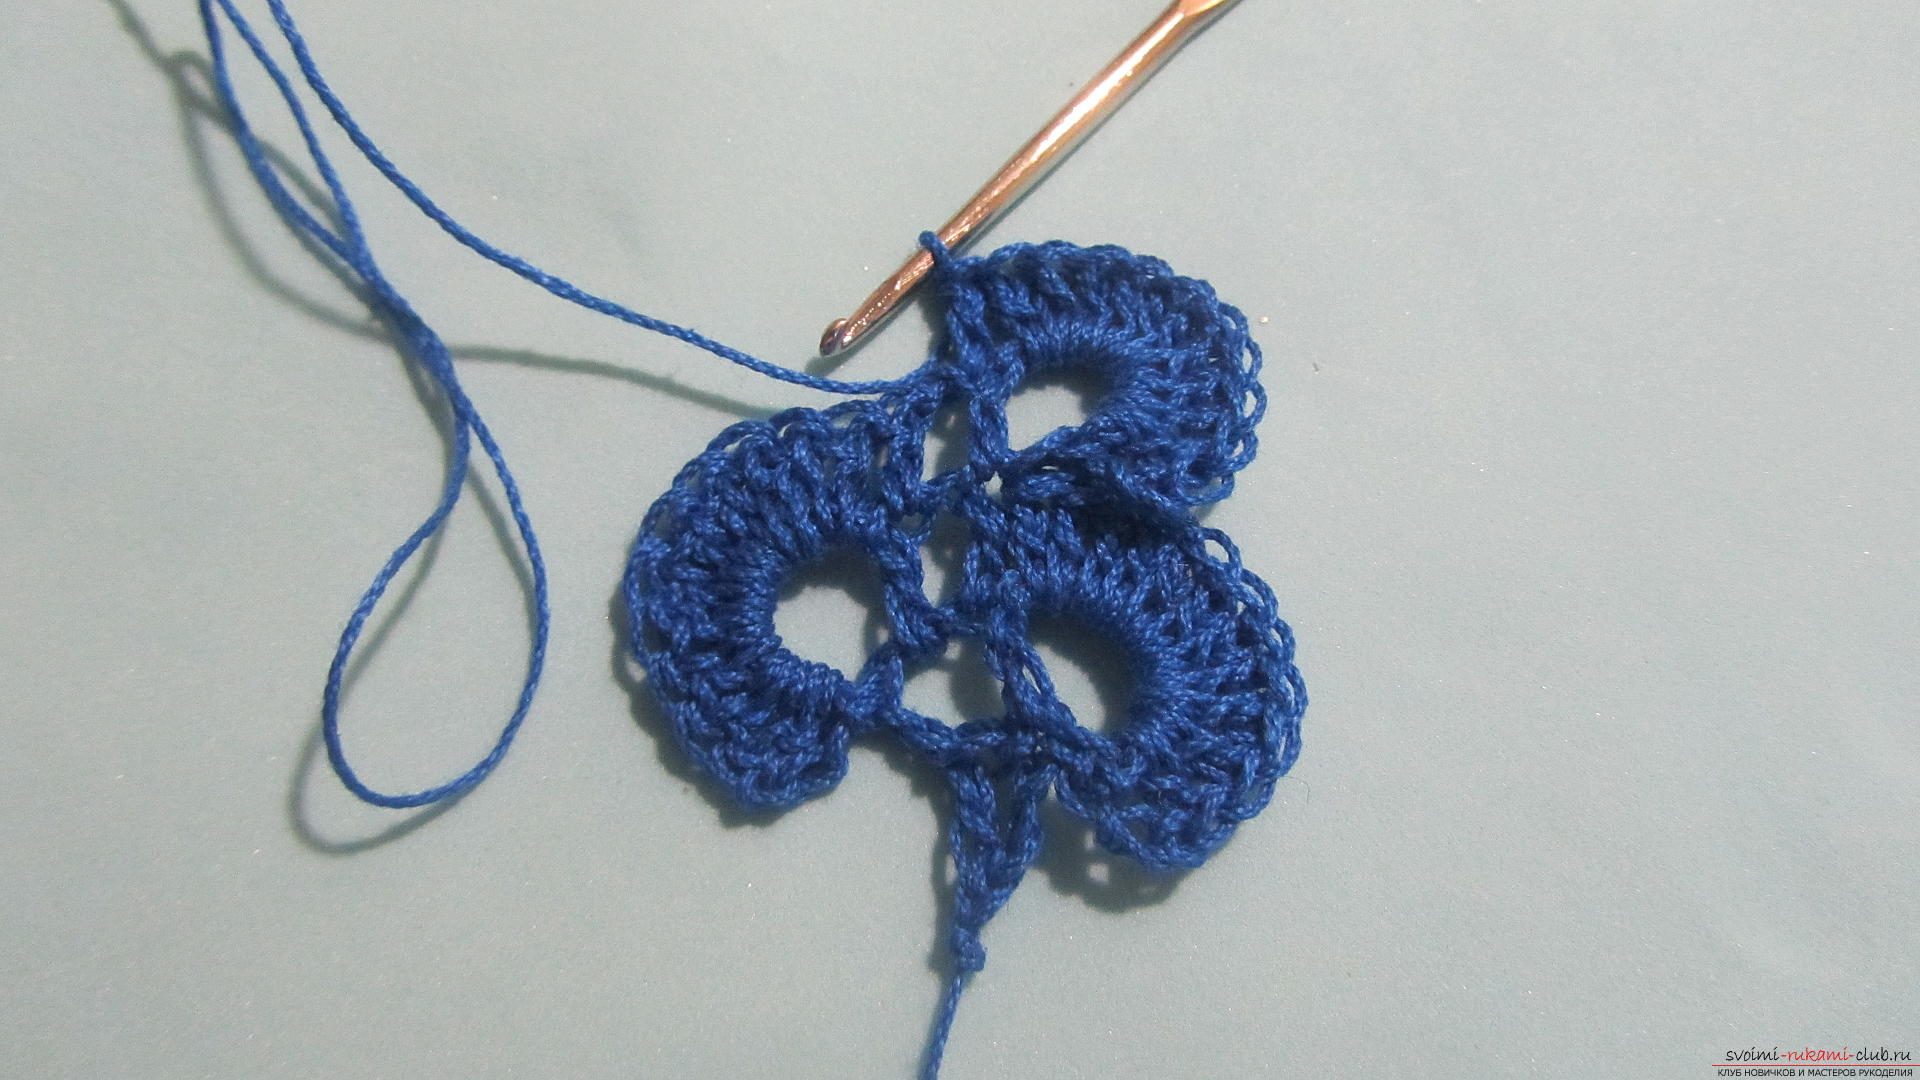
 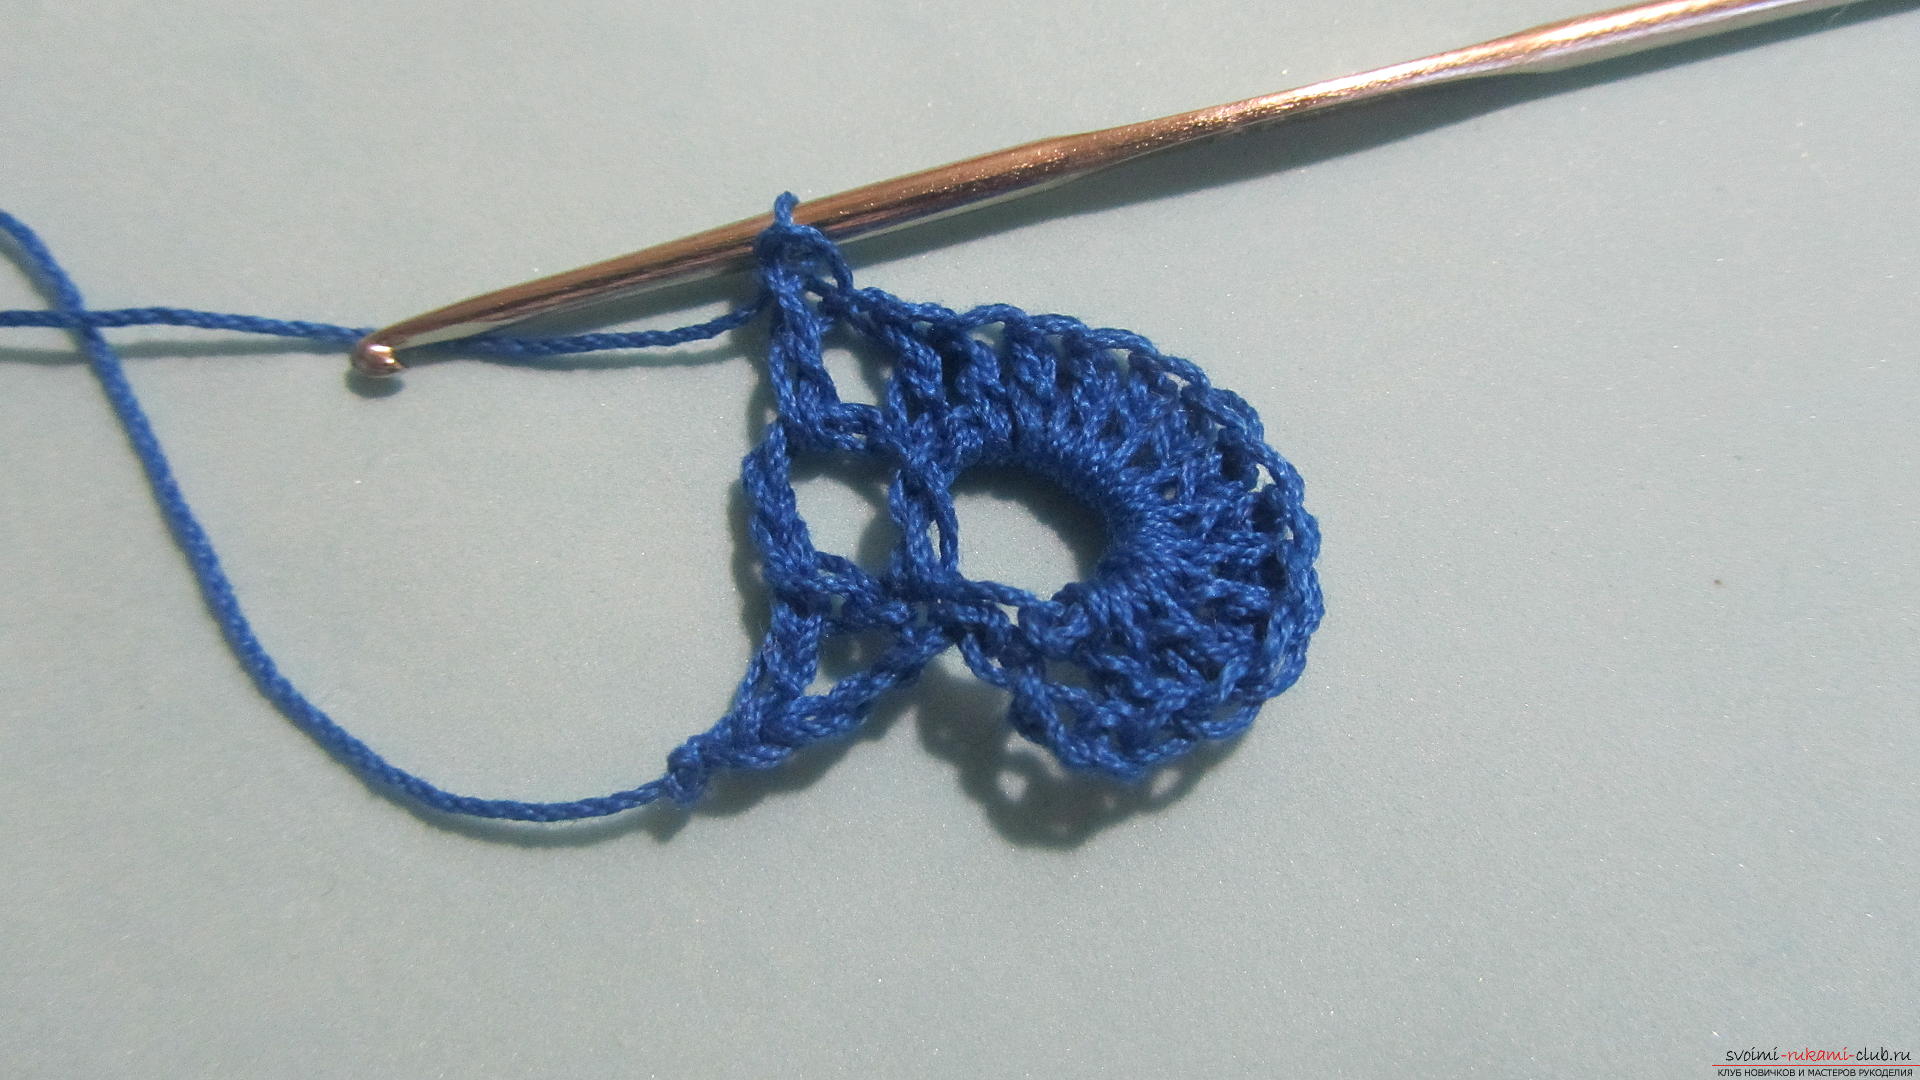 We tie the same loop with the columns to the other side. We type a chain of six loops.
  We form the loop using a column without a crochet.
 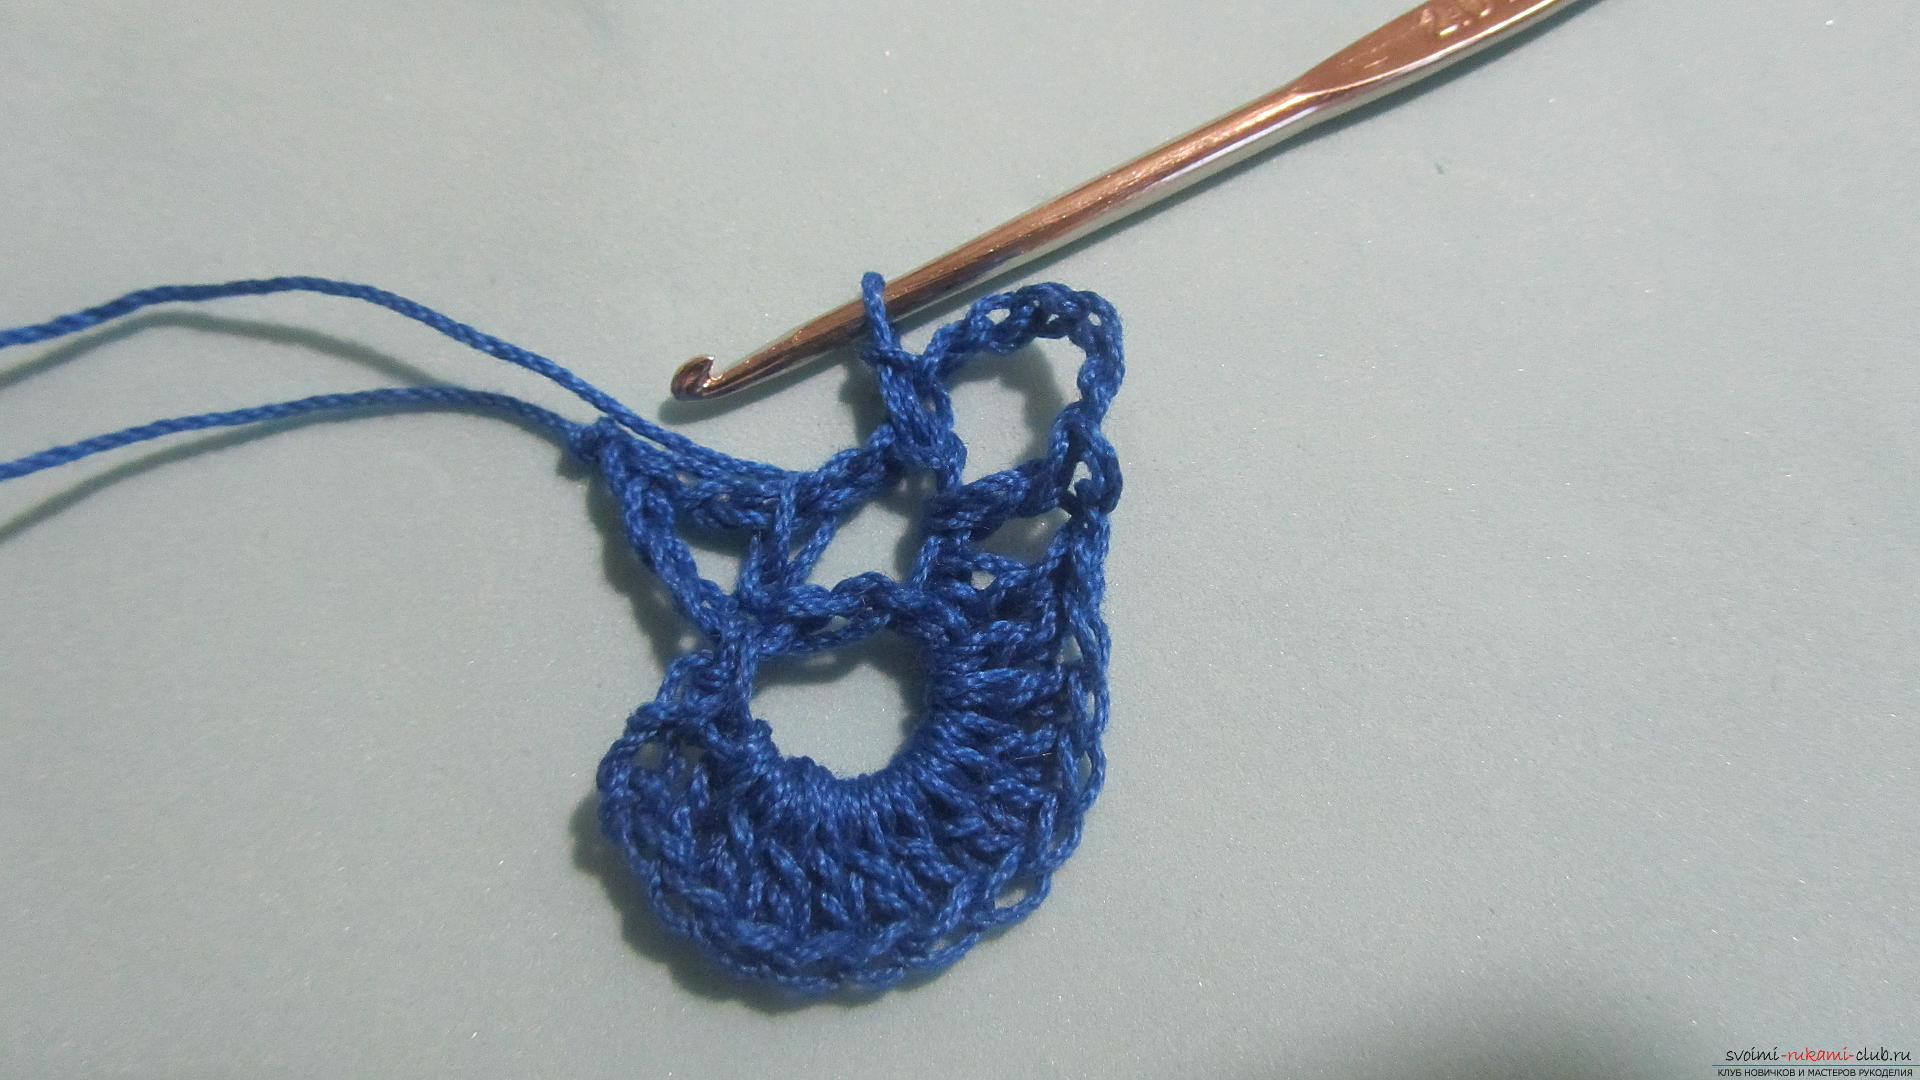 Three loops, eleven bells, the twelfth column in braid.
 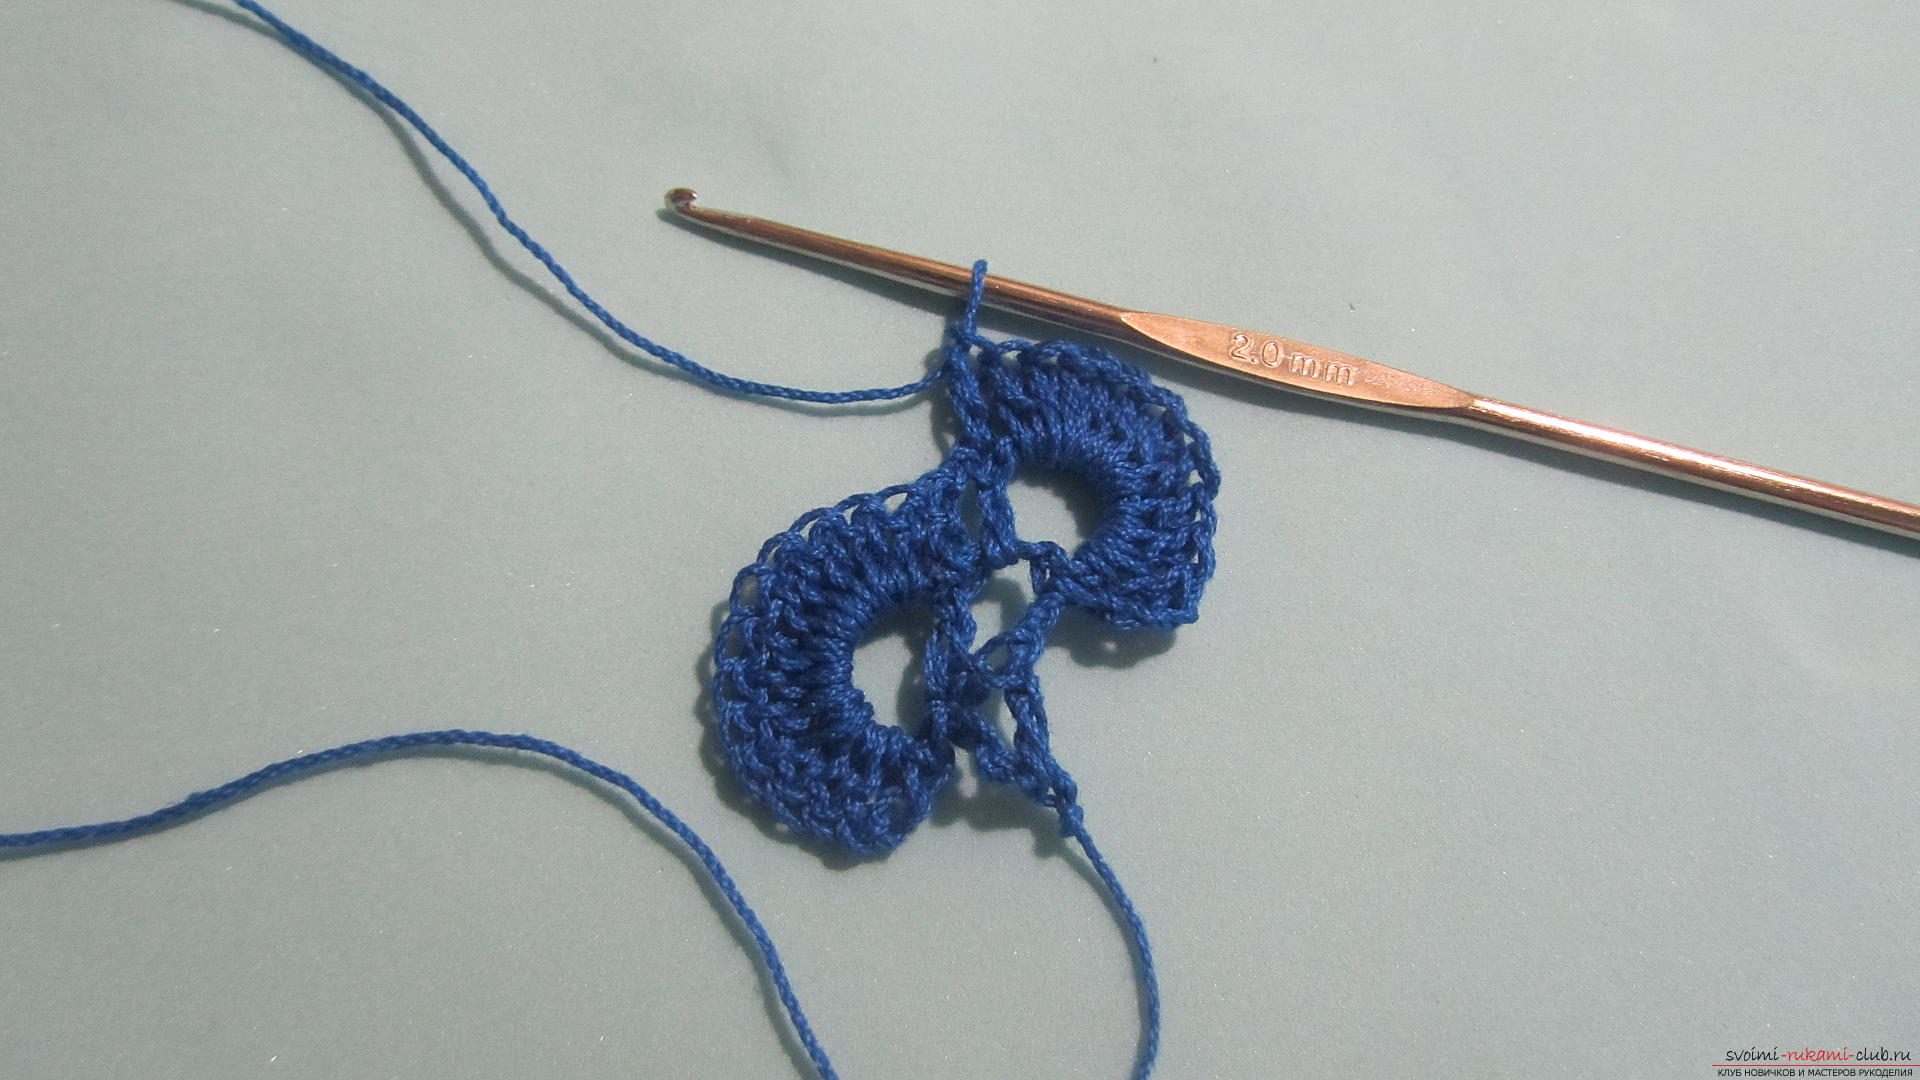 And we connect the series - loop and column.
  And again the loop to the side.
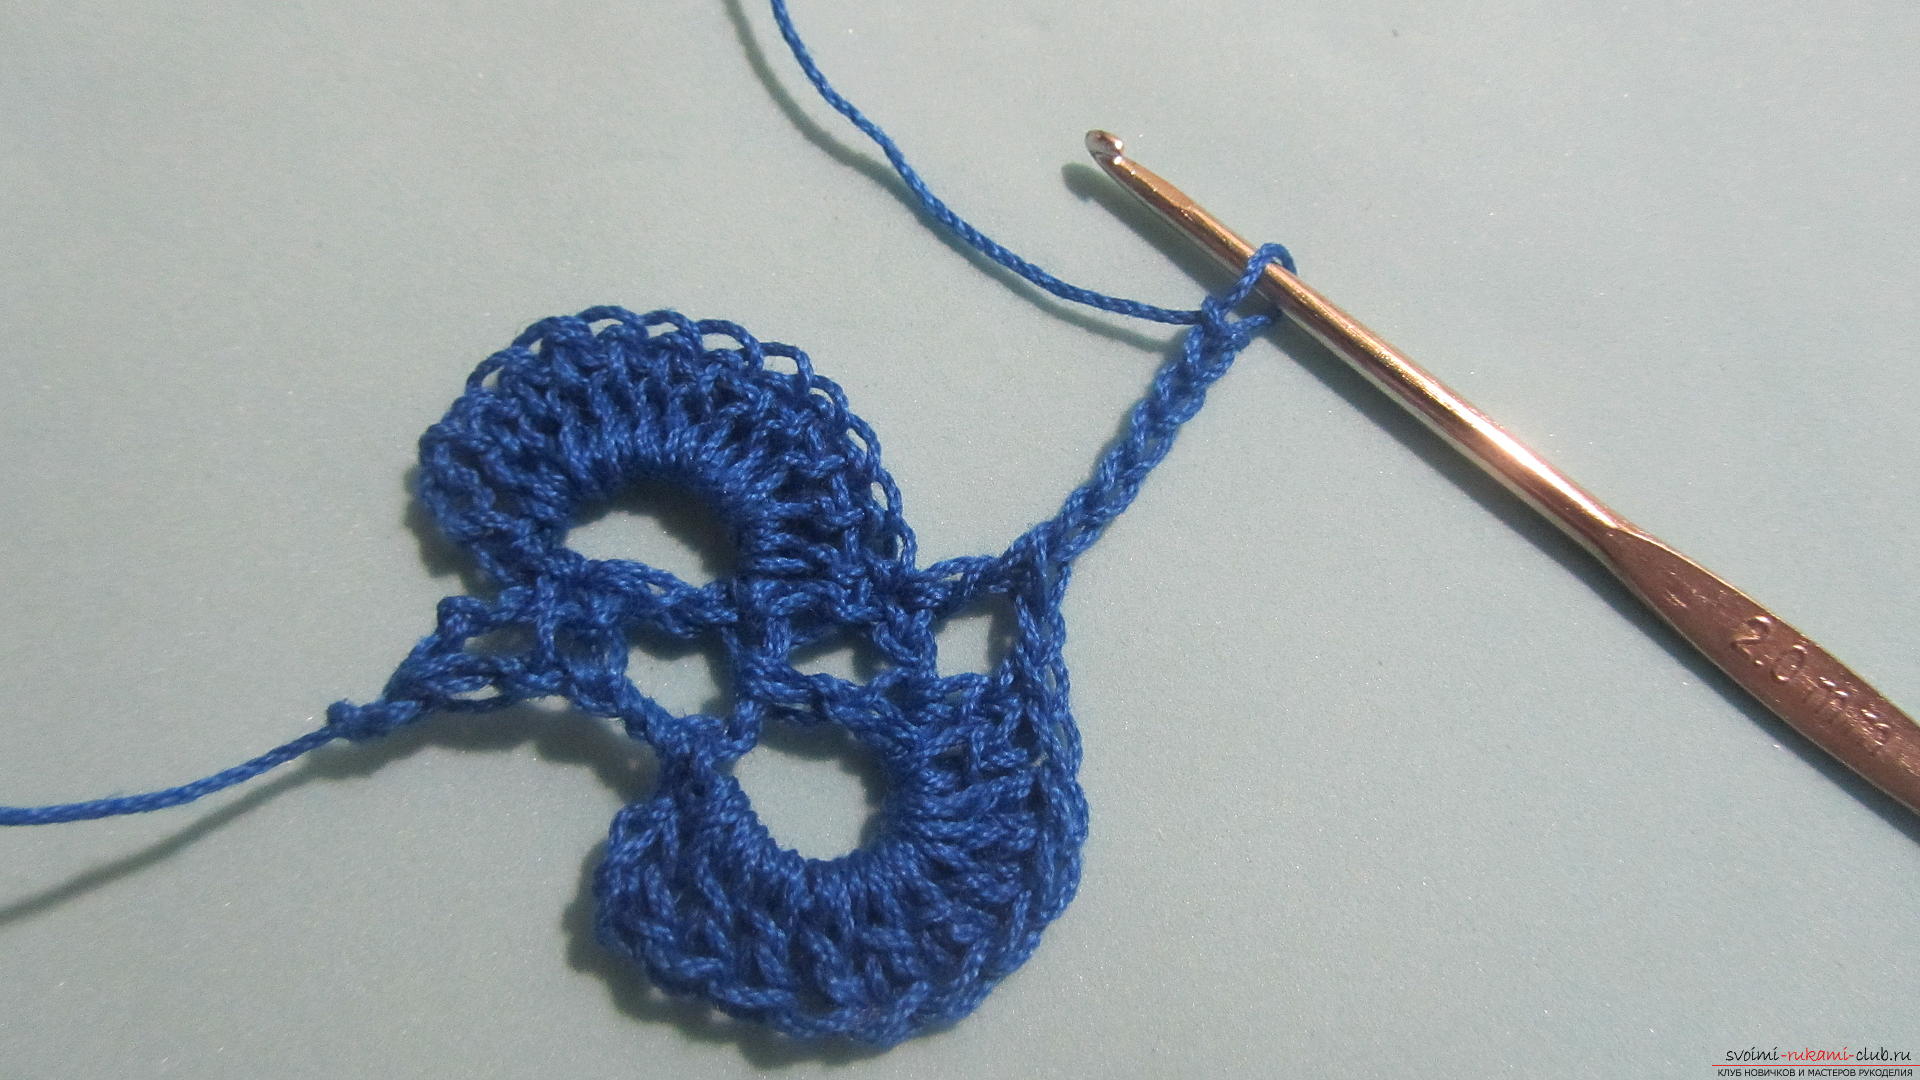
 In total, the bracelet turns 19 loops in different directions. But it is necessary to try on a bracelet on the arm during knitting.
 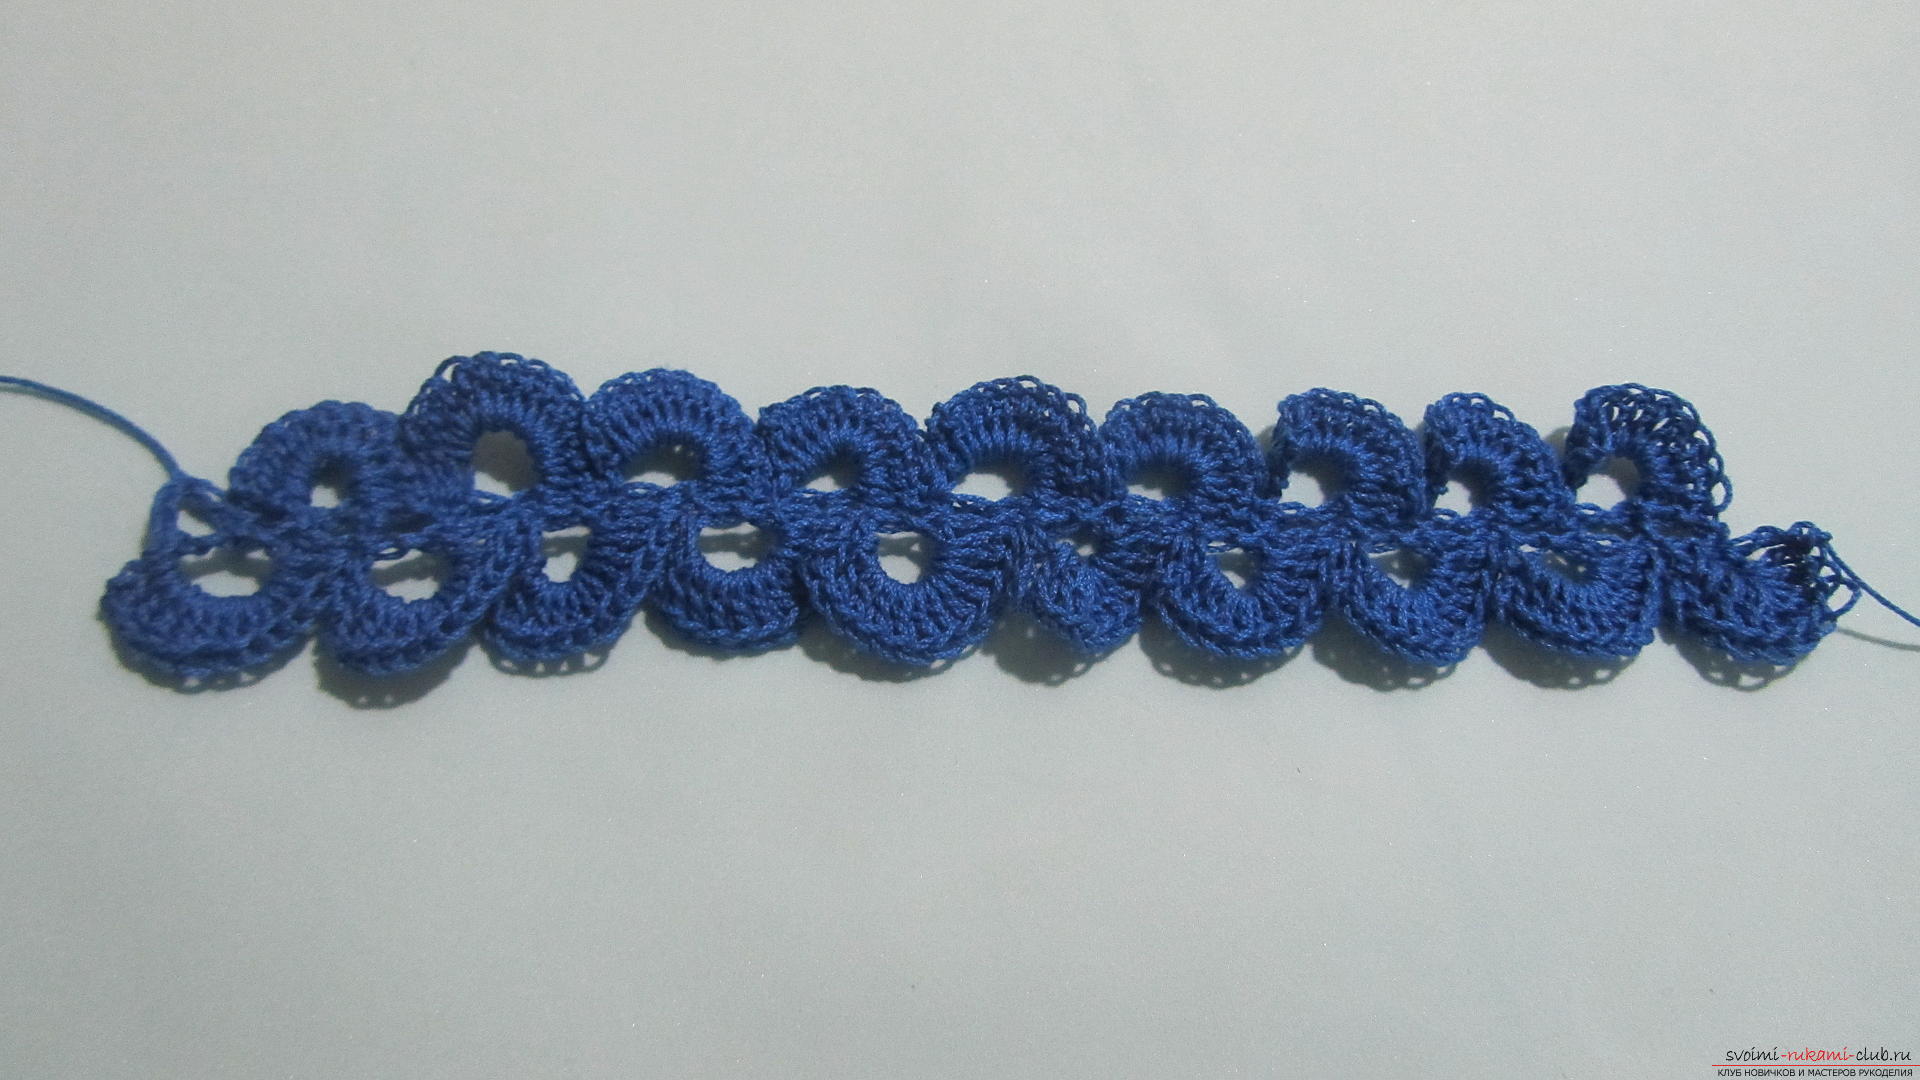 Using a needle with a large eye, hide the thread.
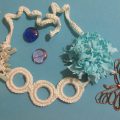
  Let's try our beads on the bracelet.
 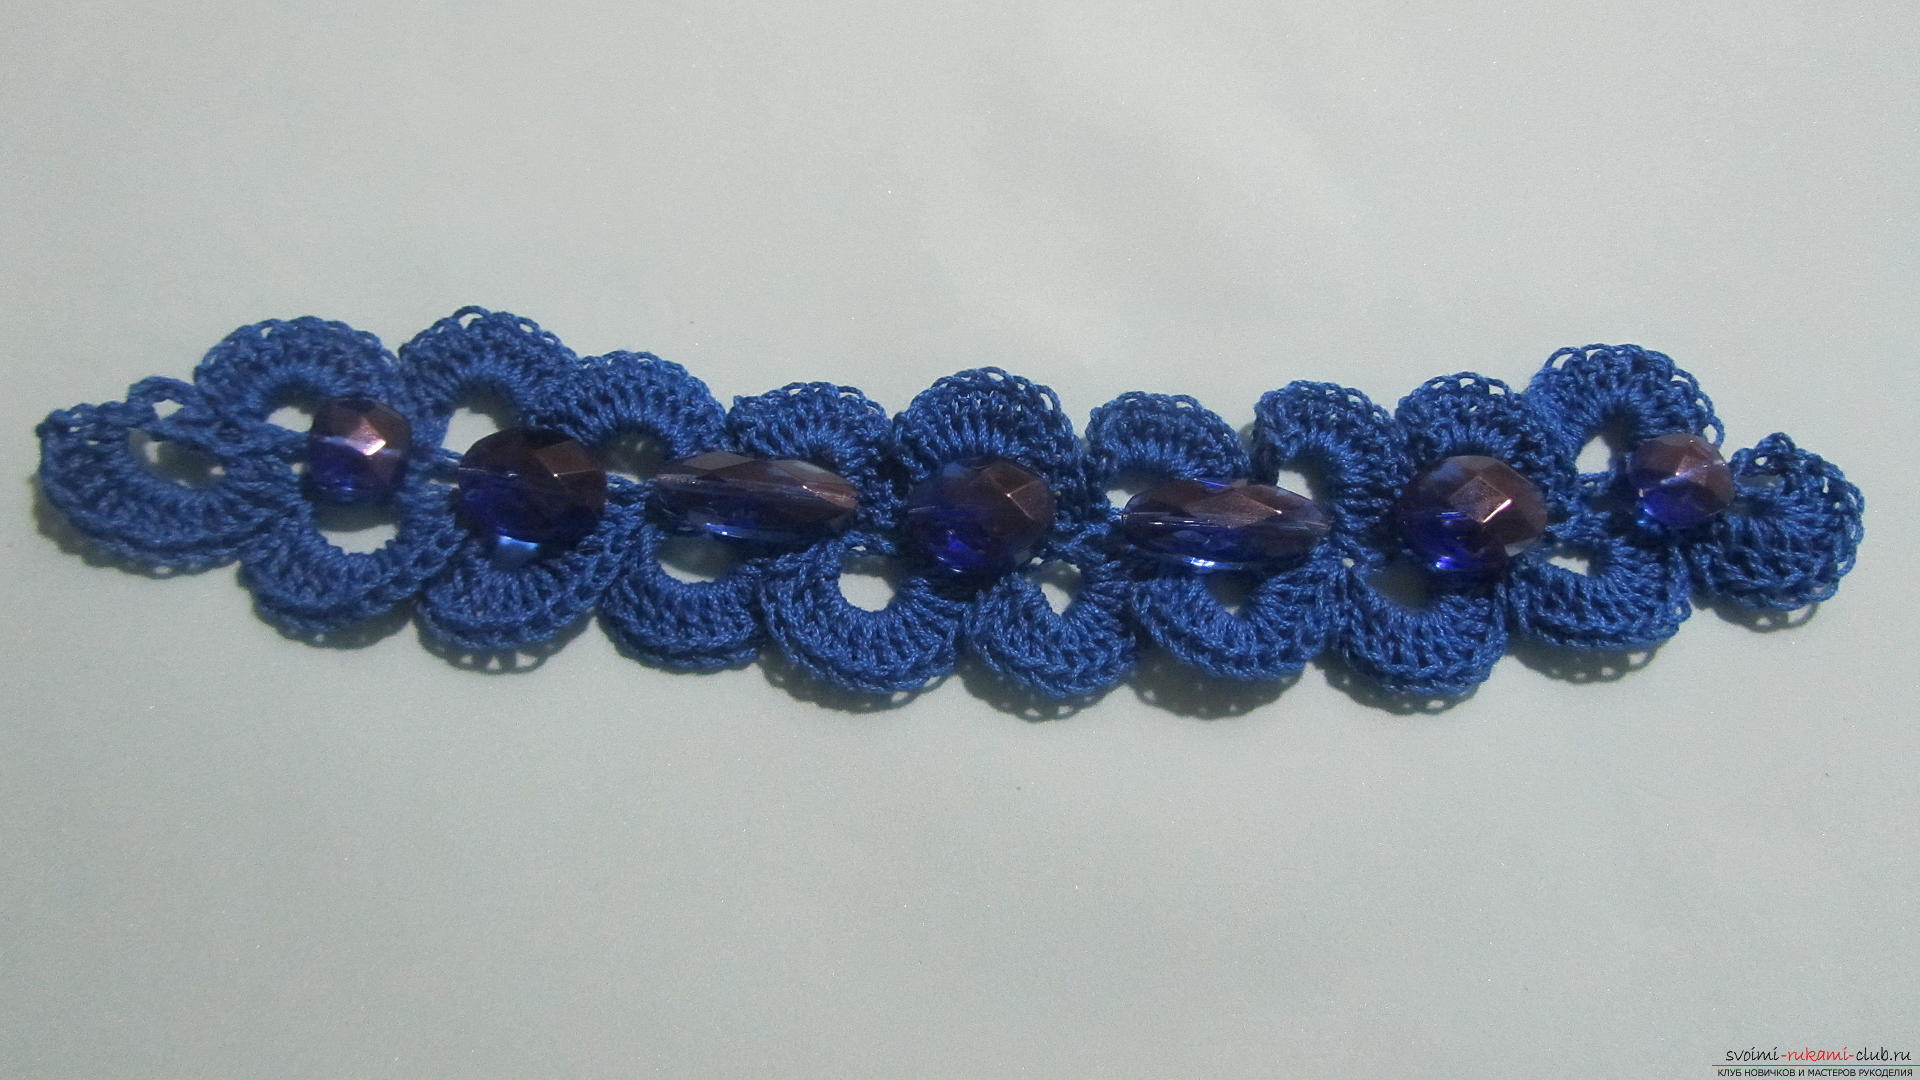 Keeping the pattern, we will shift the beads from the bracelet to the table.
 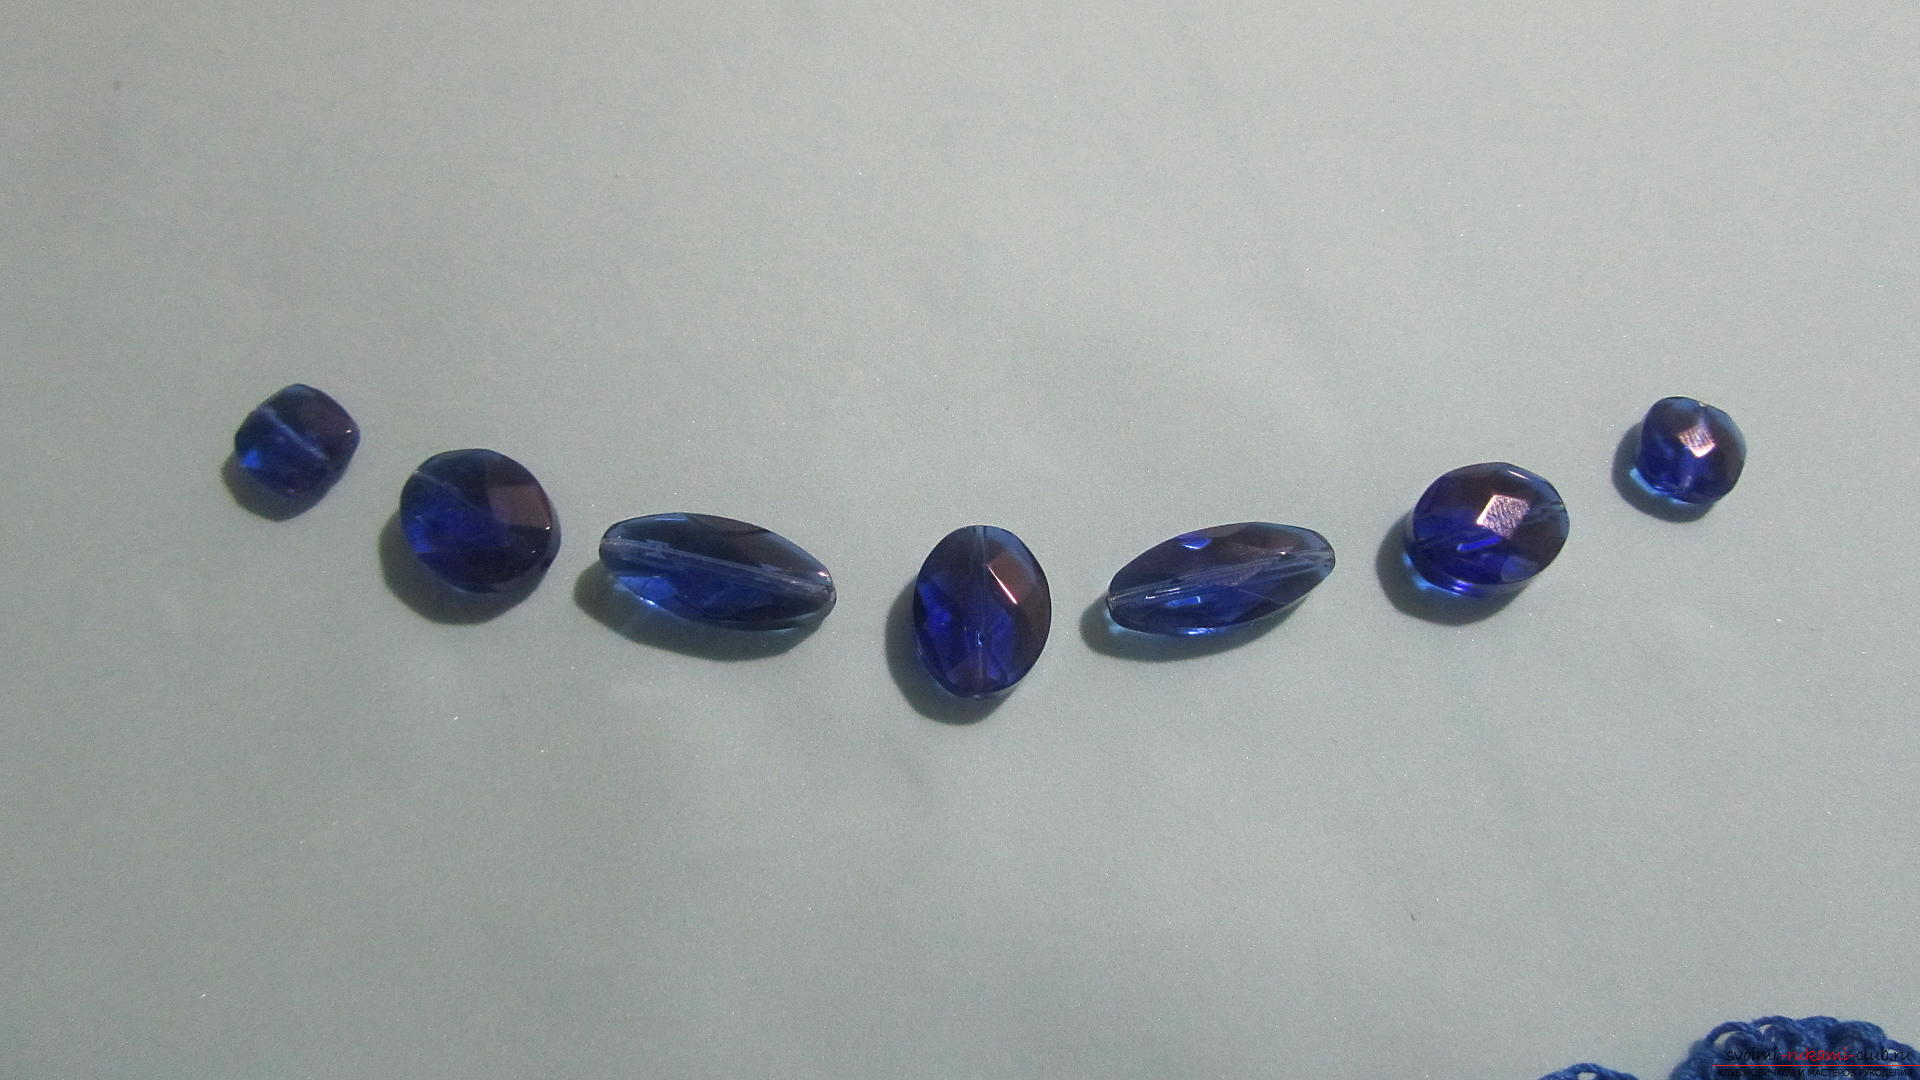 Sewing beads is best monofilament - it's notcan be seen neither on the front side, nor on the purl. If there is no monofilament, then you need to pick up the threads exactly in the color of the strings of the bracelet. Sew the first bead. It should be placed closer to the edge, because it is on it that the bracelet will be fastened.
 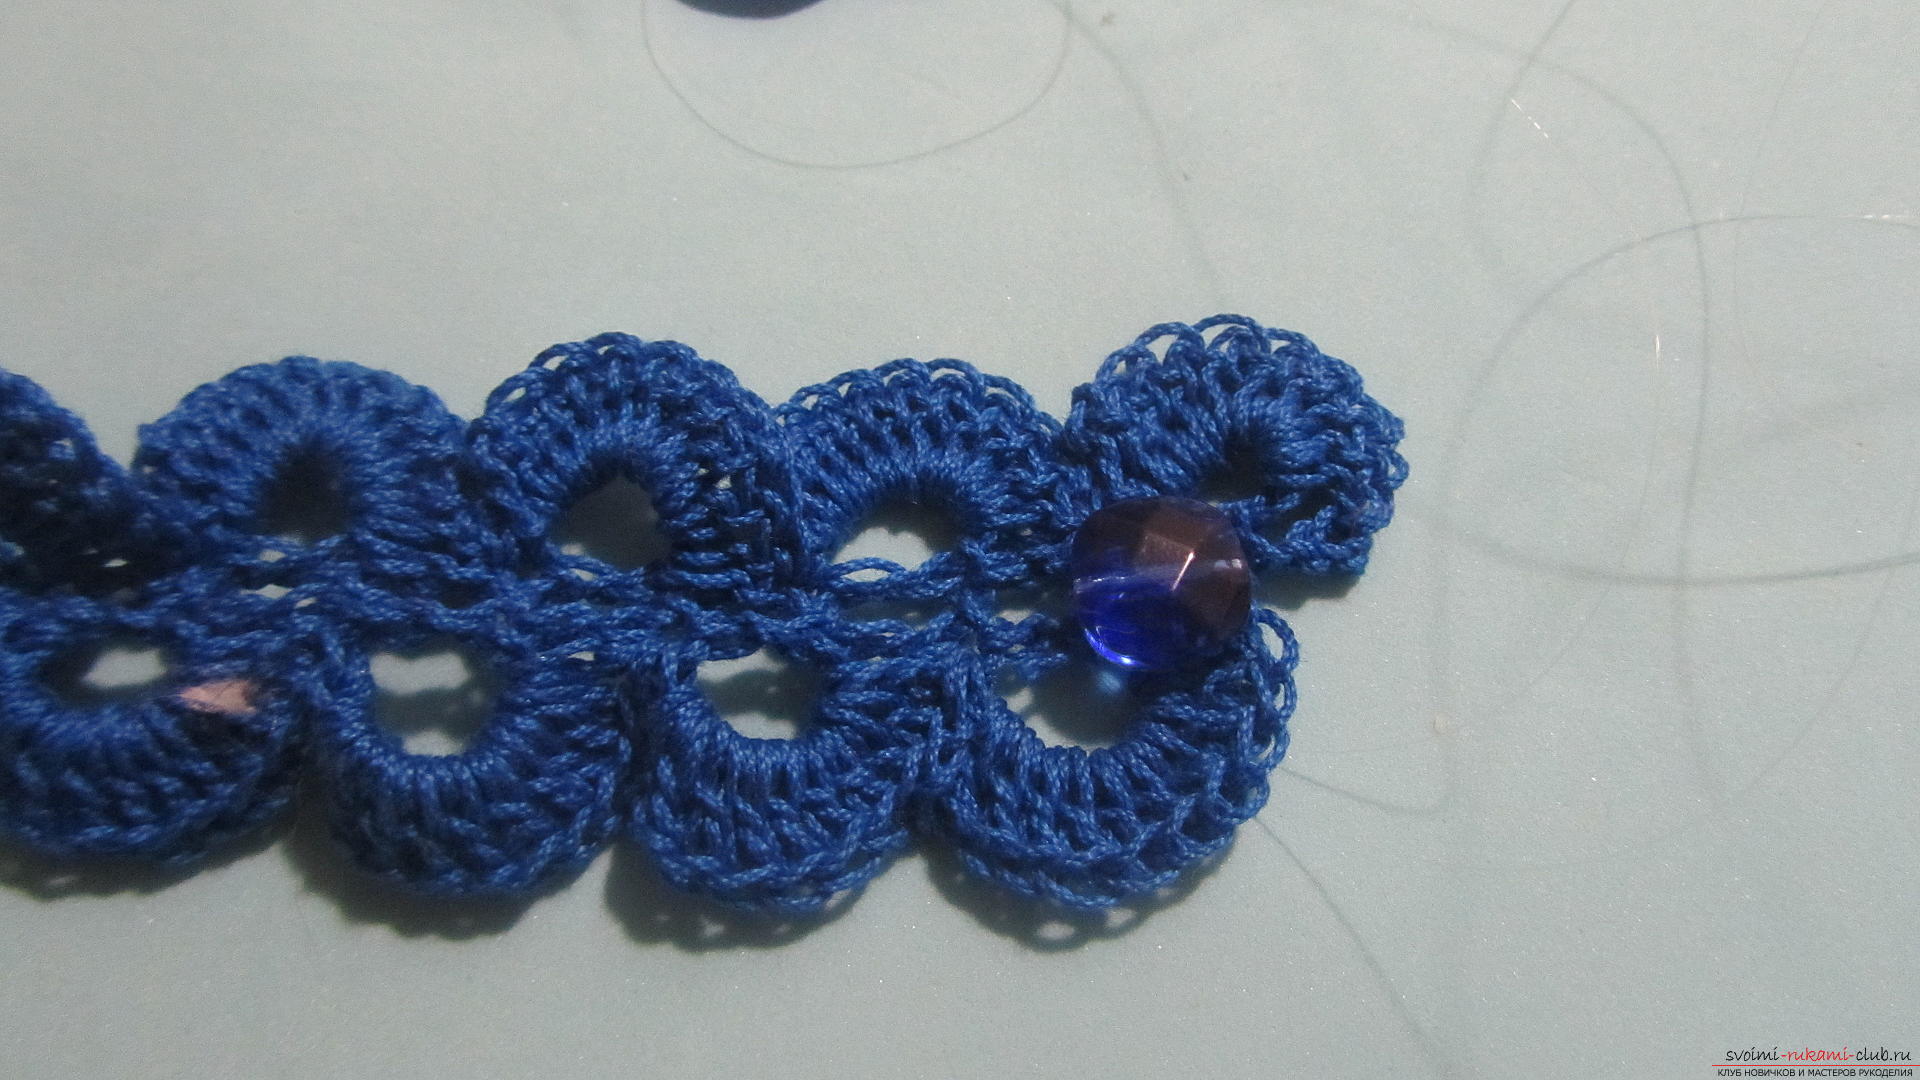 Work is easier with just two needles - sewingbeads on both sides so that it is easier to observe symmetry. Therefore, sewing the first bead, immediately sew the latest. It is better to sew it a bit further from the edge. This is to ensure that one loop of the braid is free. In it we will fasten our first bead. Then sew the second bead.
 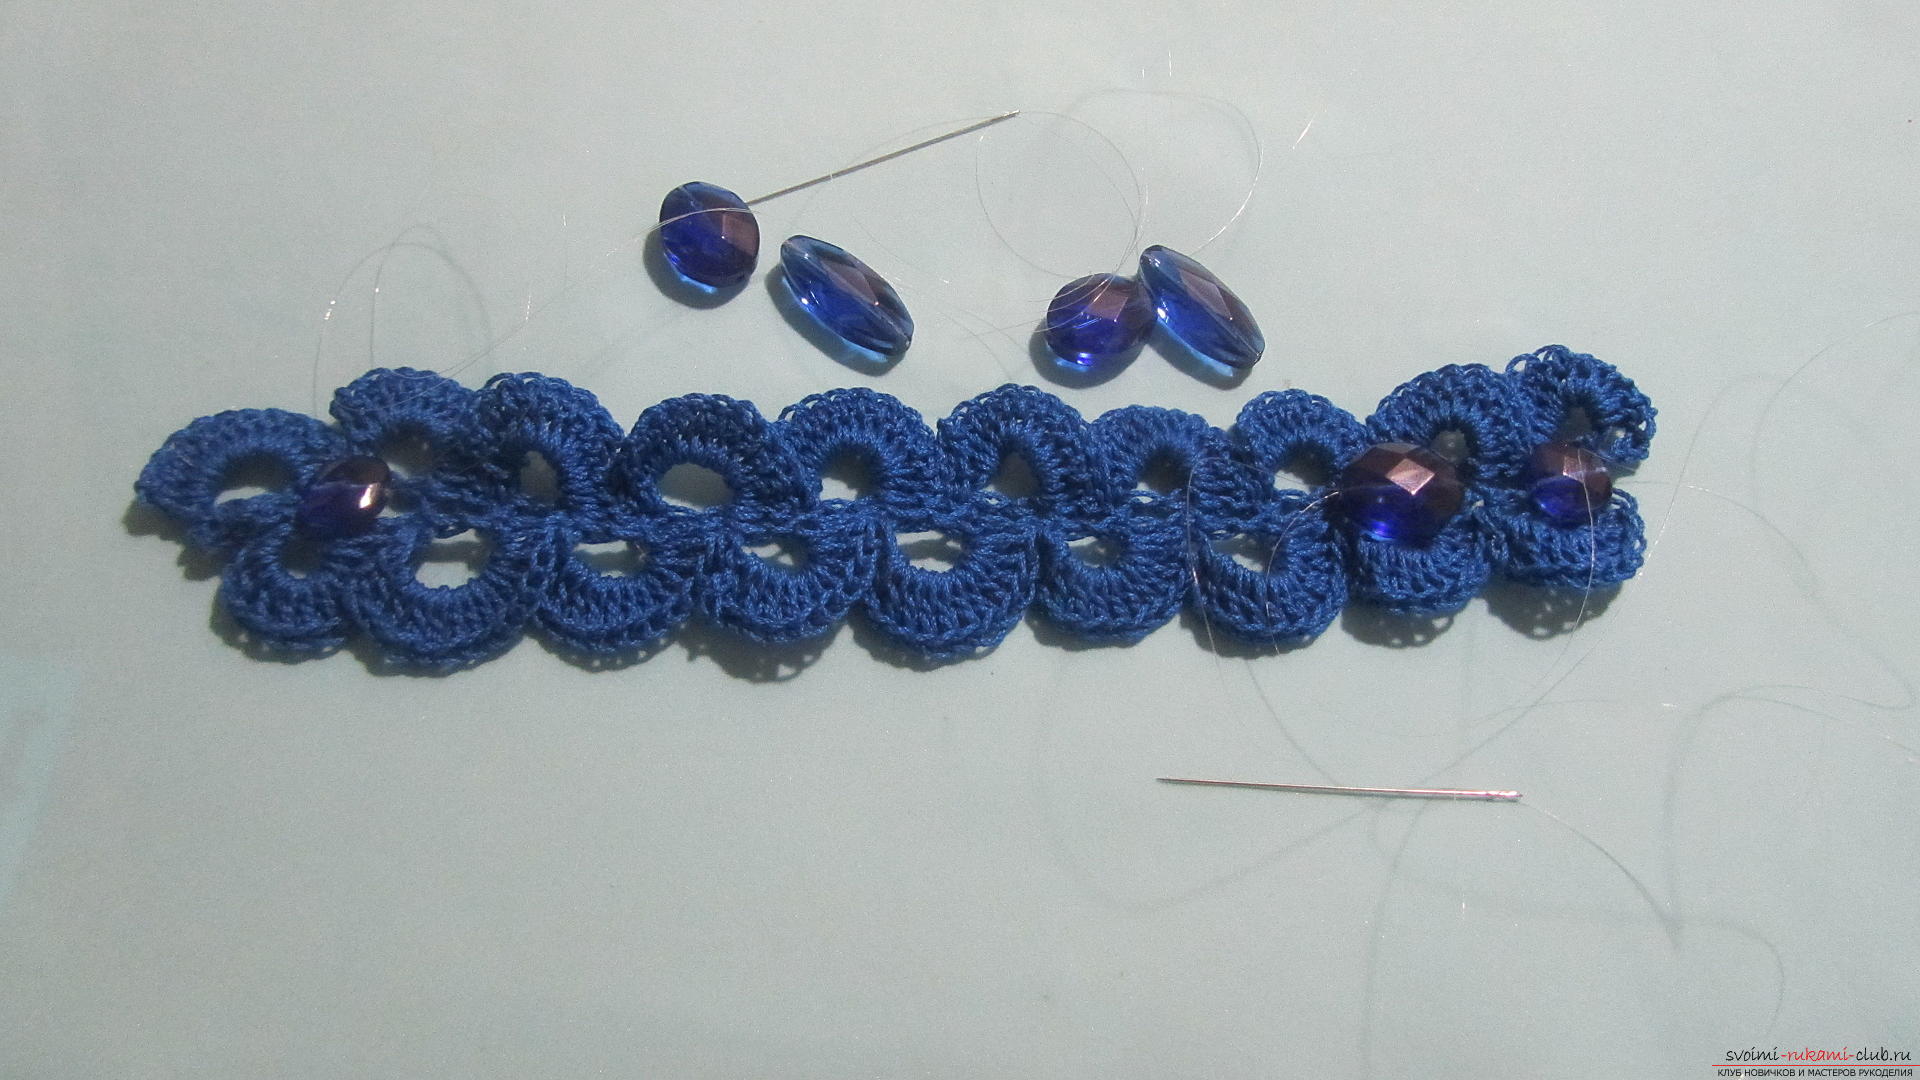 And immediately the penultimate.
 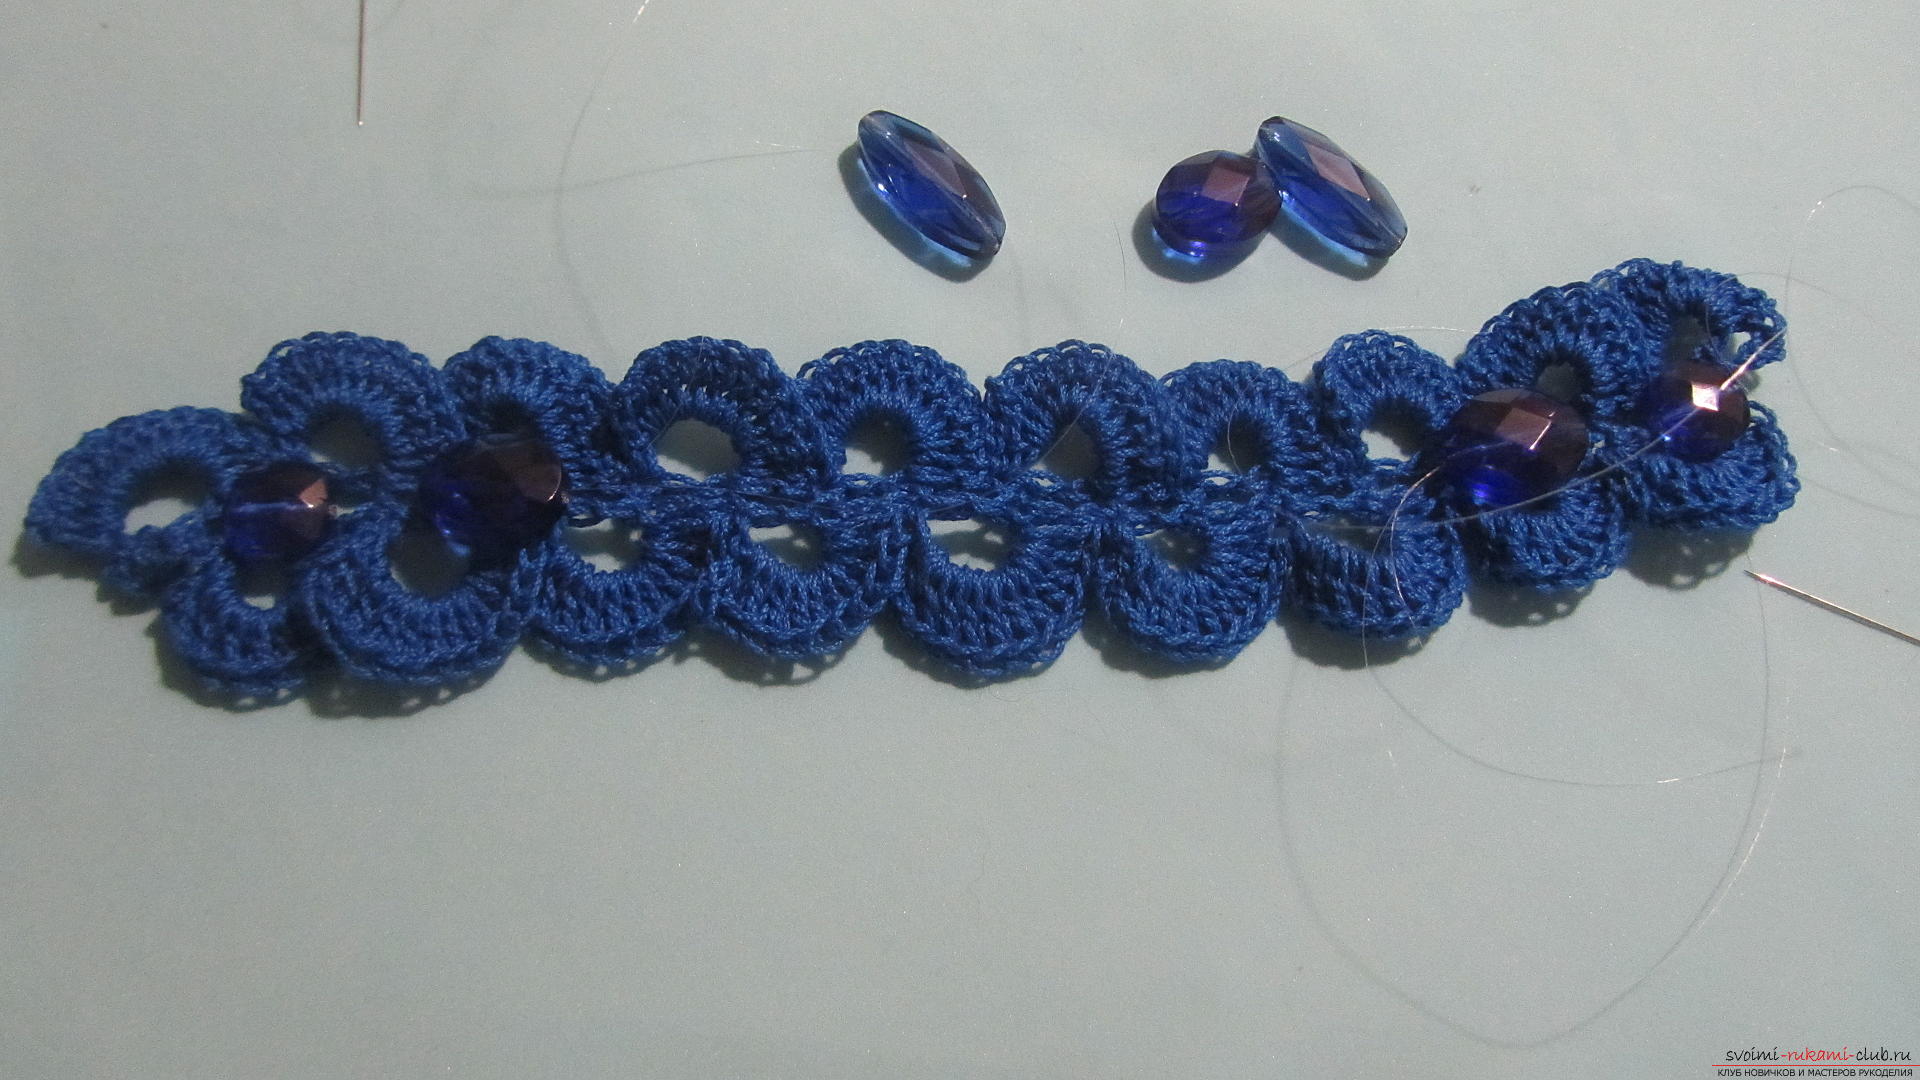 Now third beads.
 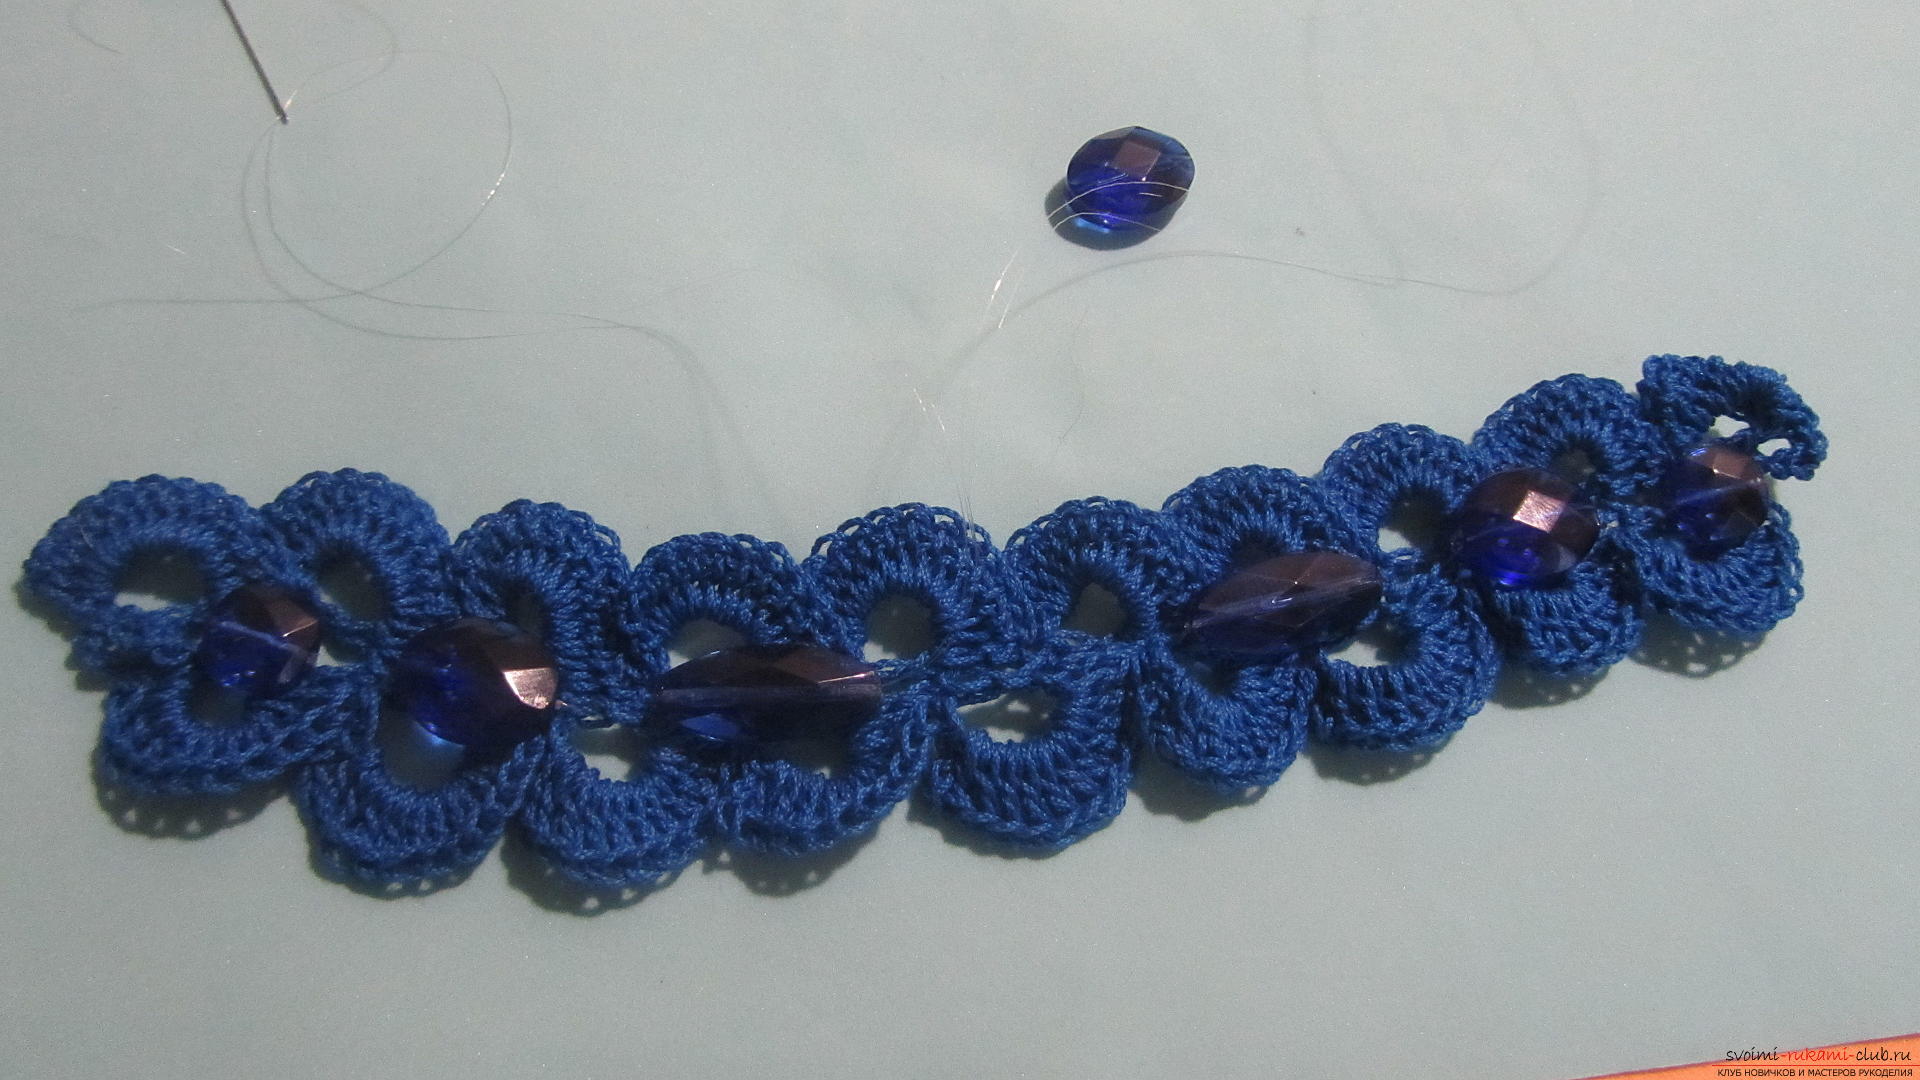 And central. We sew it, slightly tilting it.
 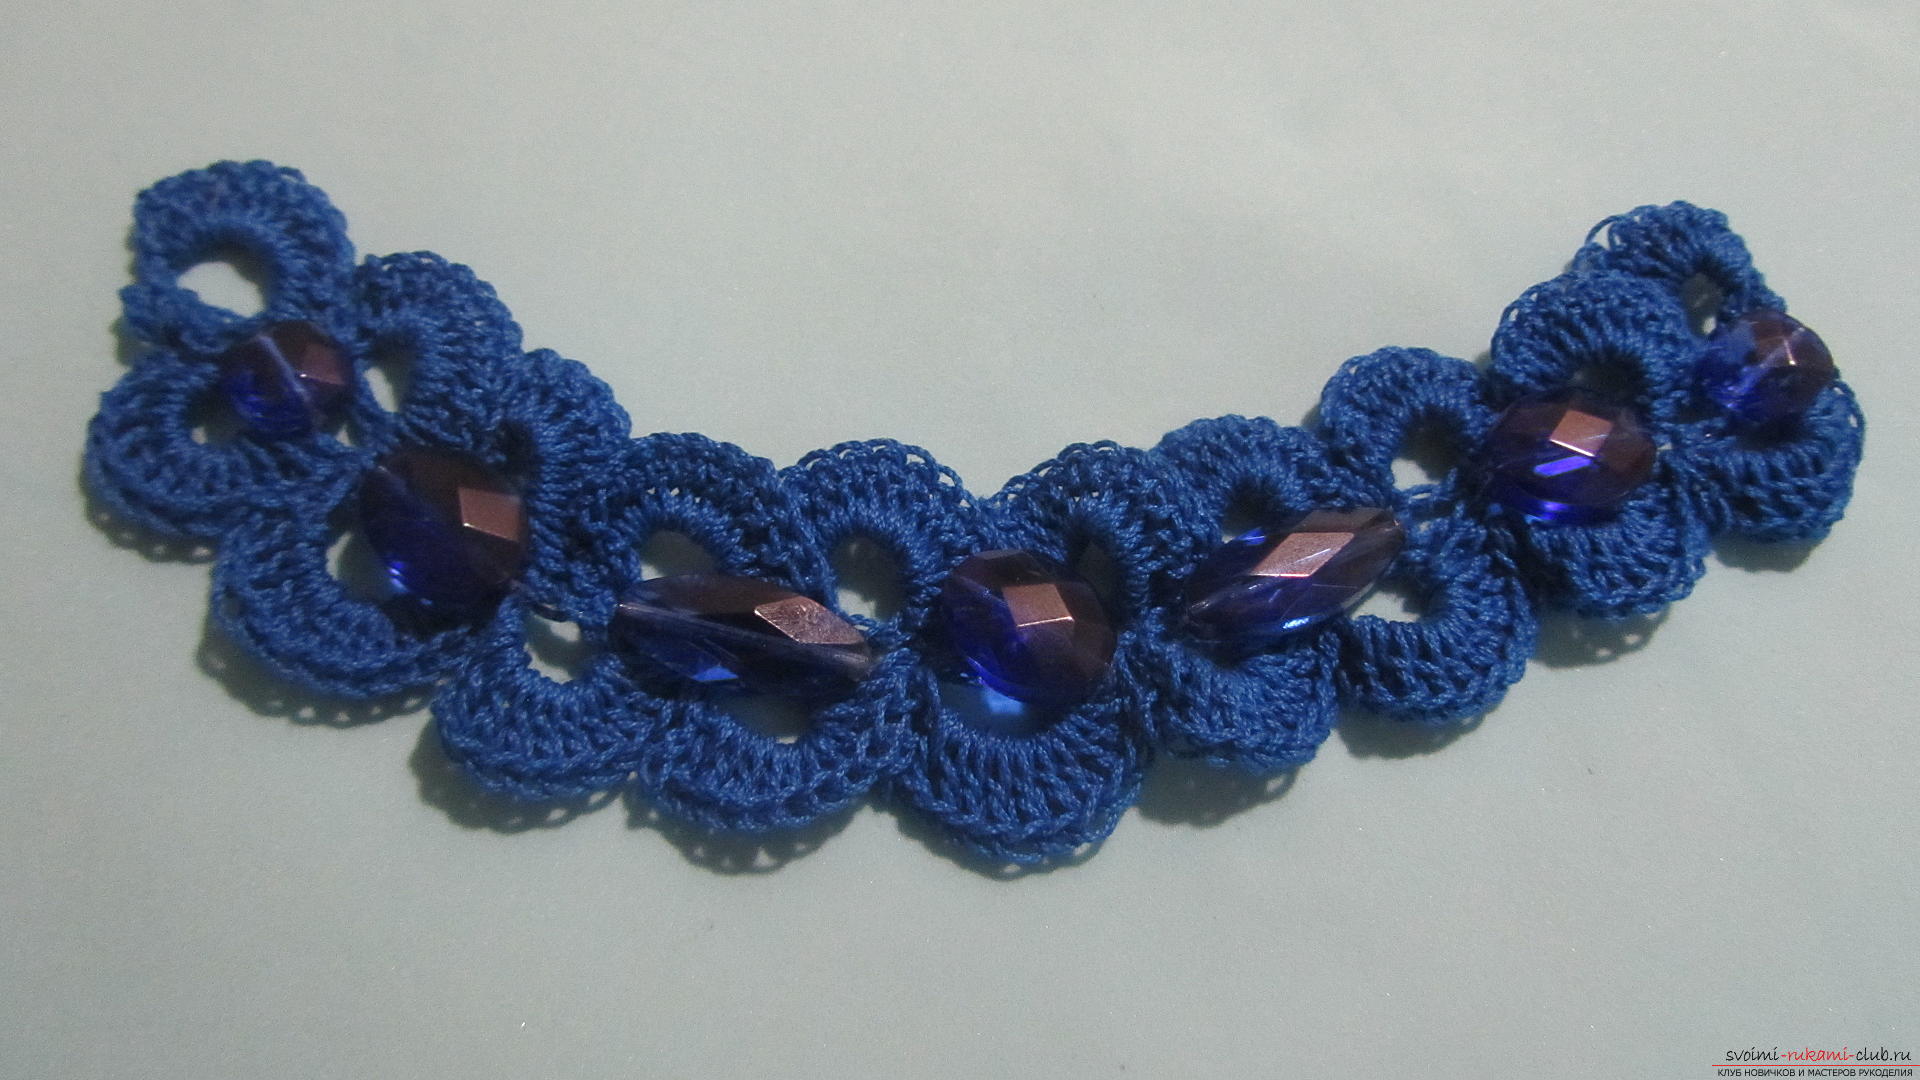 Here's a pretty bracelet turned out. Slightly fantasizing, you can change it. For example, use beads of contrasting shade or different colors and textures. You can trim the edges with beads in tone. This is just the basis and one of the options for decoration. All the rest is your imagination and creativity.
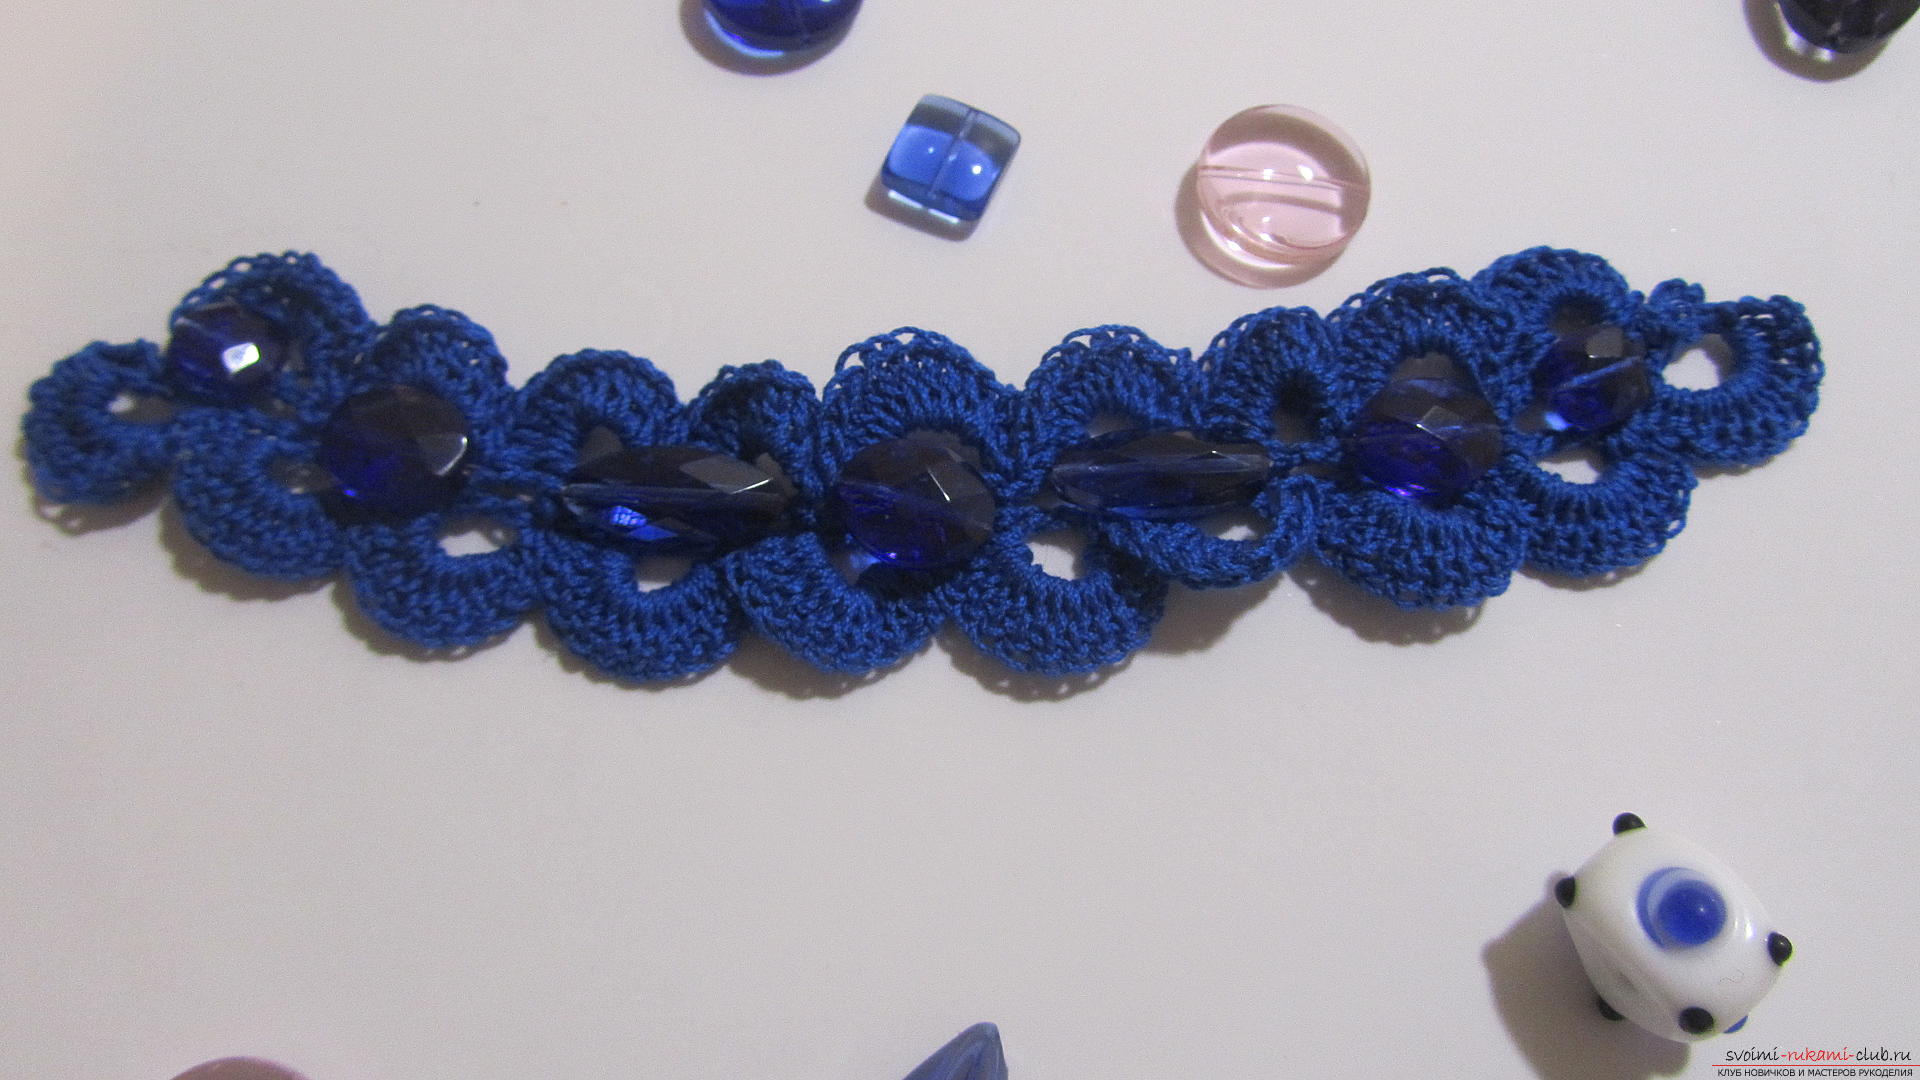
Comments
Related posts:
 This master class in knitting is designed for lovers - he will teach how to tie a heart crochet
 This detailed workshop will tell you how to tie a dog crochet and how to knit an amigurumi.
 This master class will tell you how to create a crochet knitted braid in the technique of ribbon lace
 This master class with a diagram, photo and description will tell you how to crochet the Kitty hat for girls.
 This master class will teach you how to make jewelry yourself, a homemade necklace can be crocheted