This master class will teach you how to make a wedding sieve with your own hands, decorate it
Today I want to offer MK on the creation of a "wedding sieve" independently from improvised means, which can be found in any home. 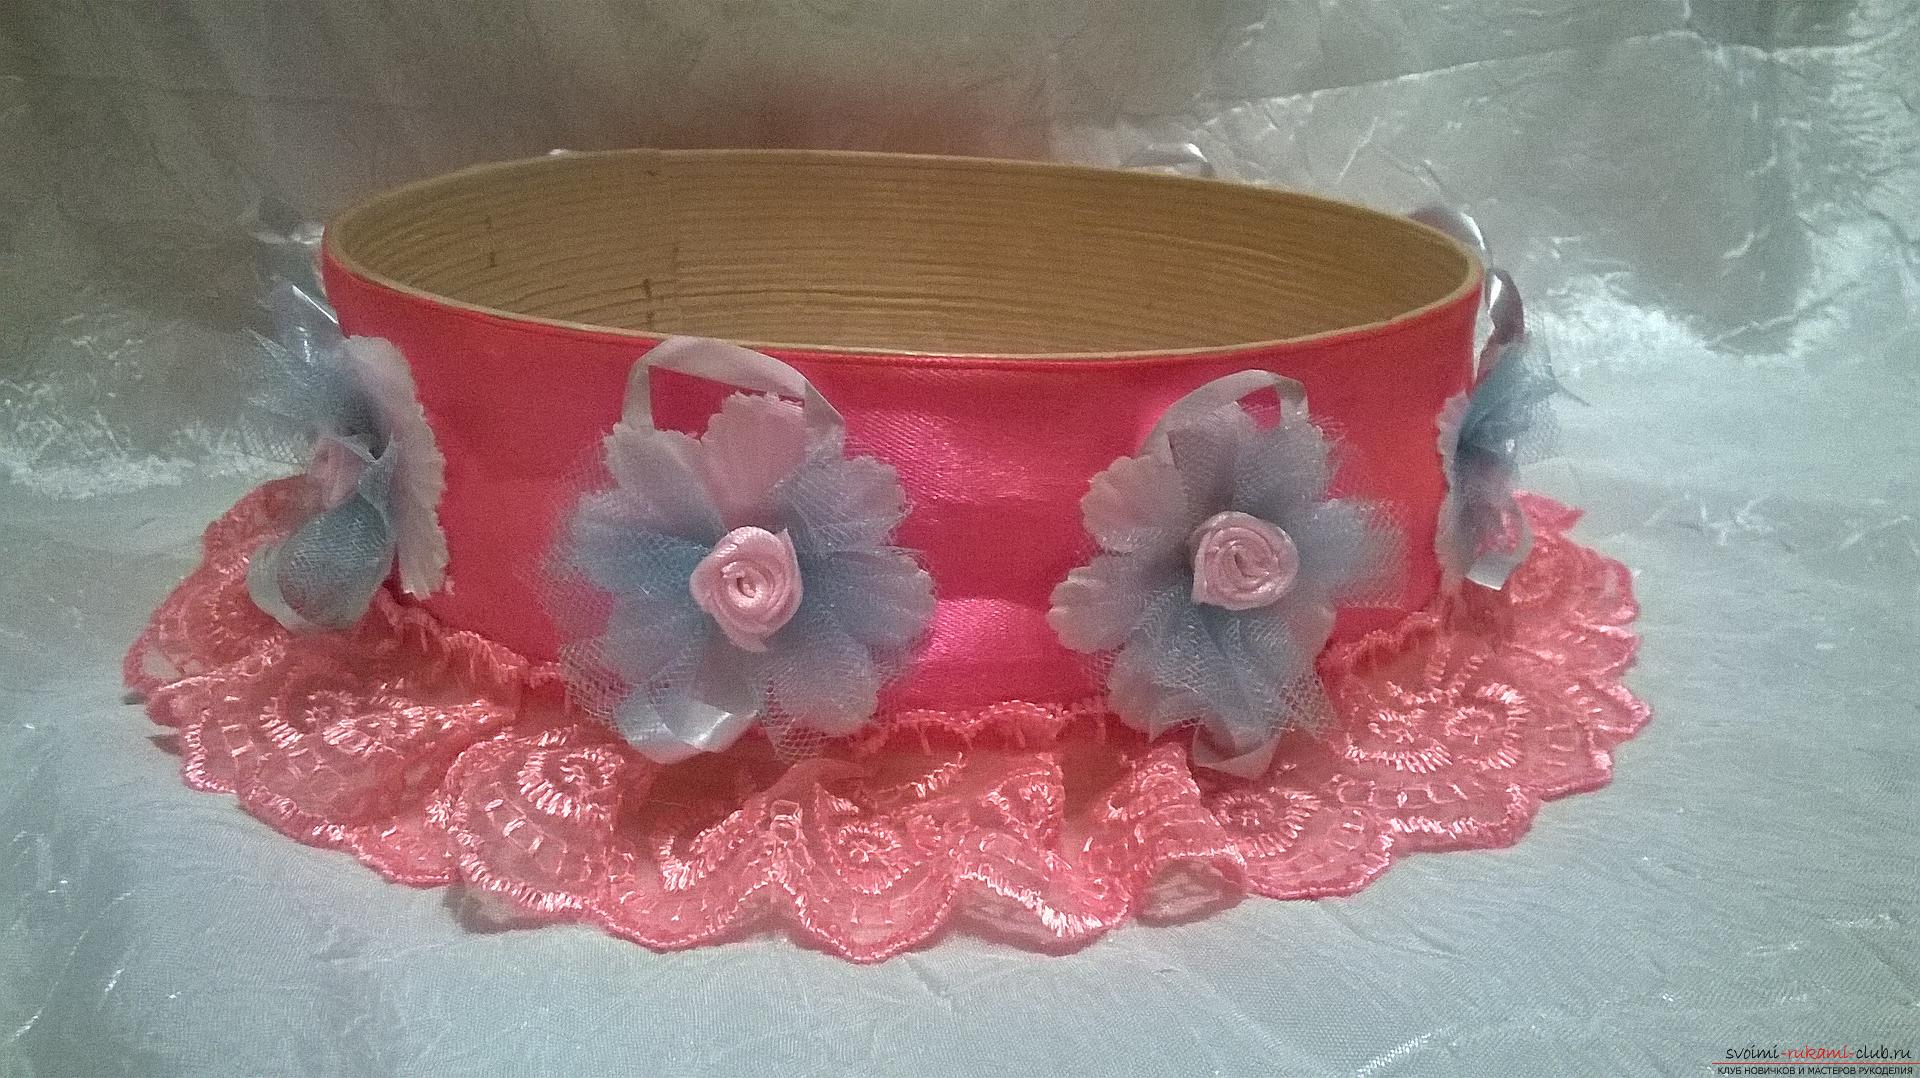 Fig. 1 In this sieve is usually poured candy, money, grain and nuts. When young people leave the bride's house, the girl's mother sprinkles them from the wedding screen with the symbols of family prosperity from head to foot. A wedding is a wonderful and bright day, so you want everything to be great! And even simple trifles, for example, a sieve, should not be ordinary, but beautifully decorated elements for the wedding. To make your own hands giving an abundance of newlyweds "wedding sieve", you will need:
- a conventional sieve;
- satin ribbon 5 cm wide;
- Adhesive gun and any good quick-drying glue;
- kapron lace in the color of the ribbon;
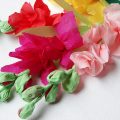
- satin roses in the size 1-1.5 cm in color ribbon and lace;
- boutonnieres of blue color.
Take a simple wooden sieve. To the uppermost edge, glue the satin ribbon. I took a pink color. After gluing the main ribbon, take the lace you have chosen. At the bottom of the tape, glue the lace very carefully. Every 1.5-2 cm, make small creases (wrinkles) to make small waves.  Fig. 2 When the work on the whole circle with the lace is finished, trim it 1.5 cm longer than the first joint and make the last 1.5 cm of lace from the last 1.5 cm. Cut off the edge of the lace is not glued, only the top - like the entire sieve.
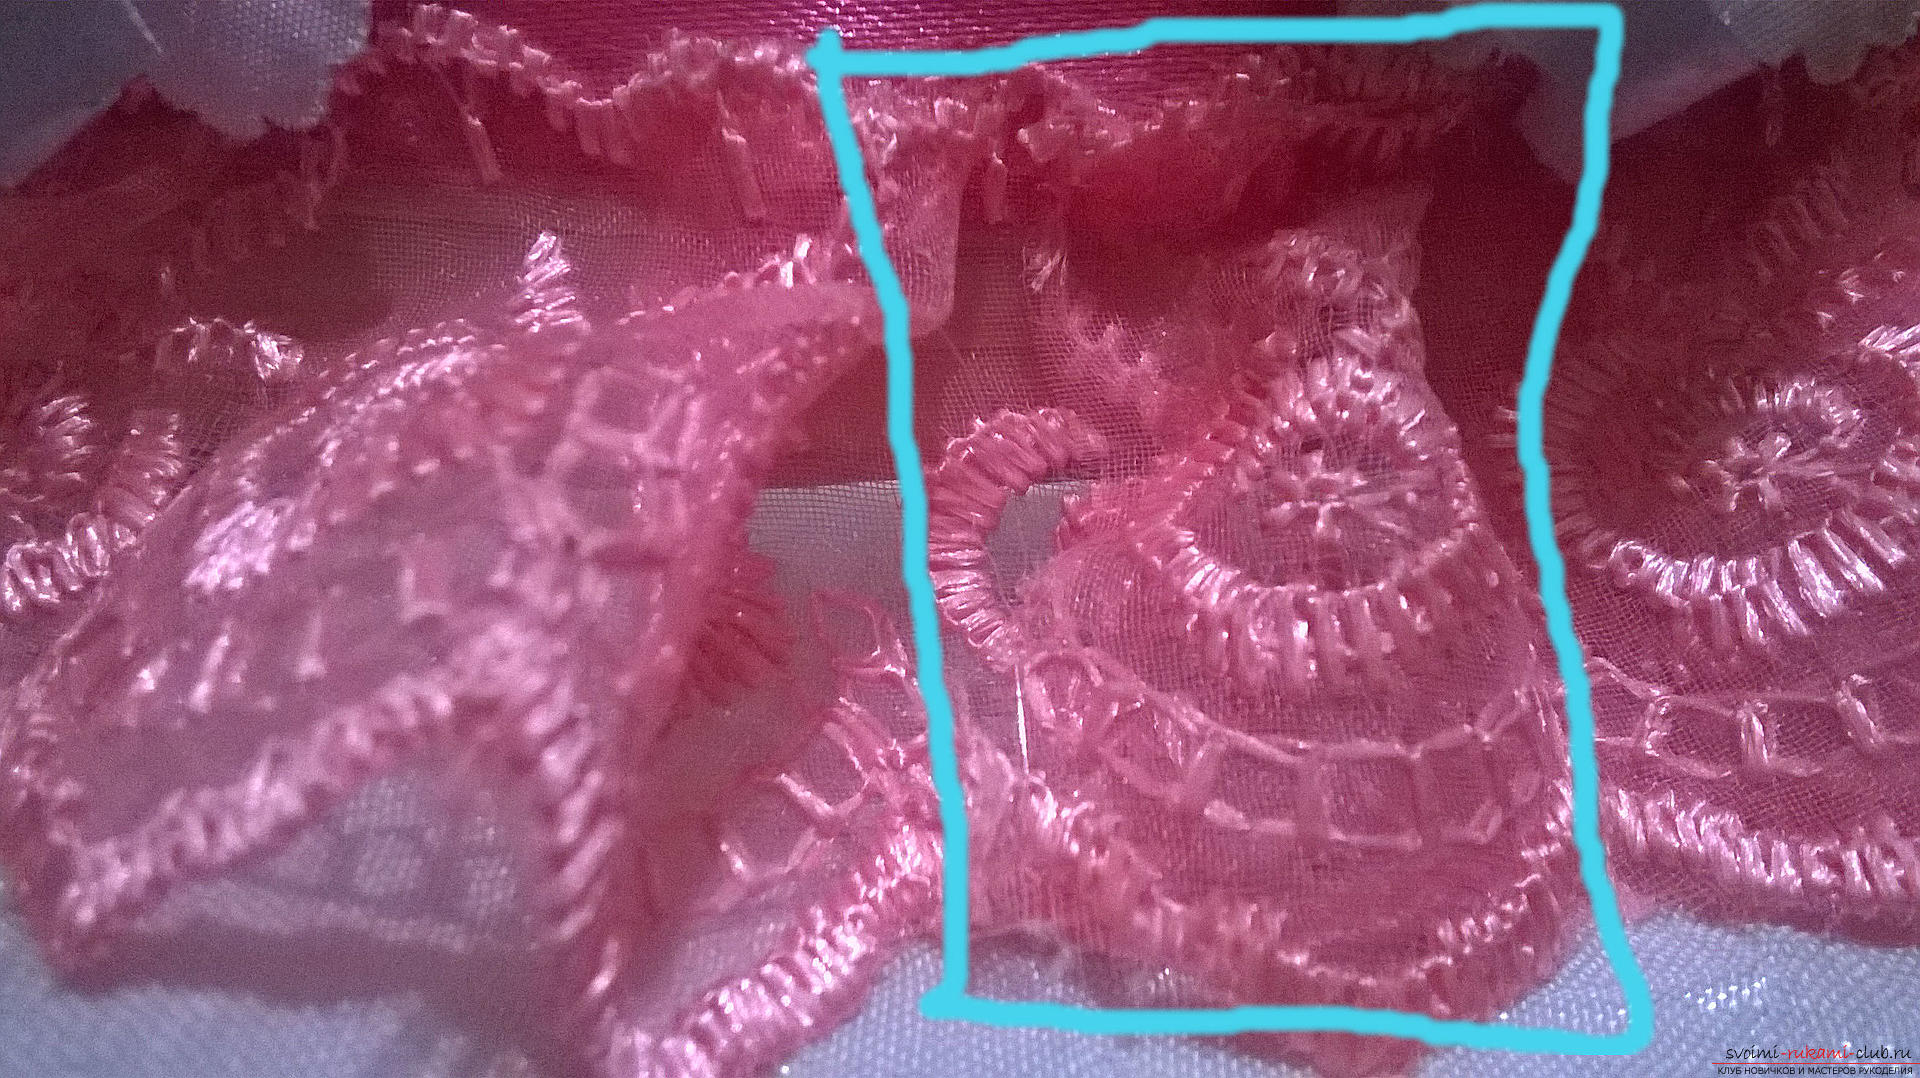
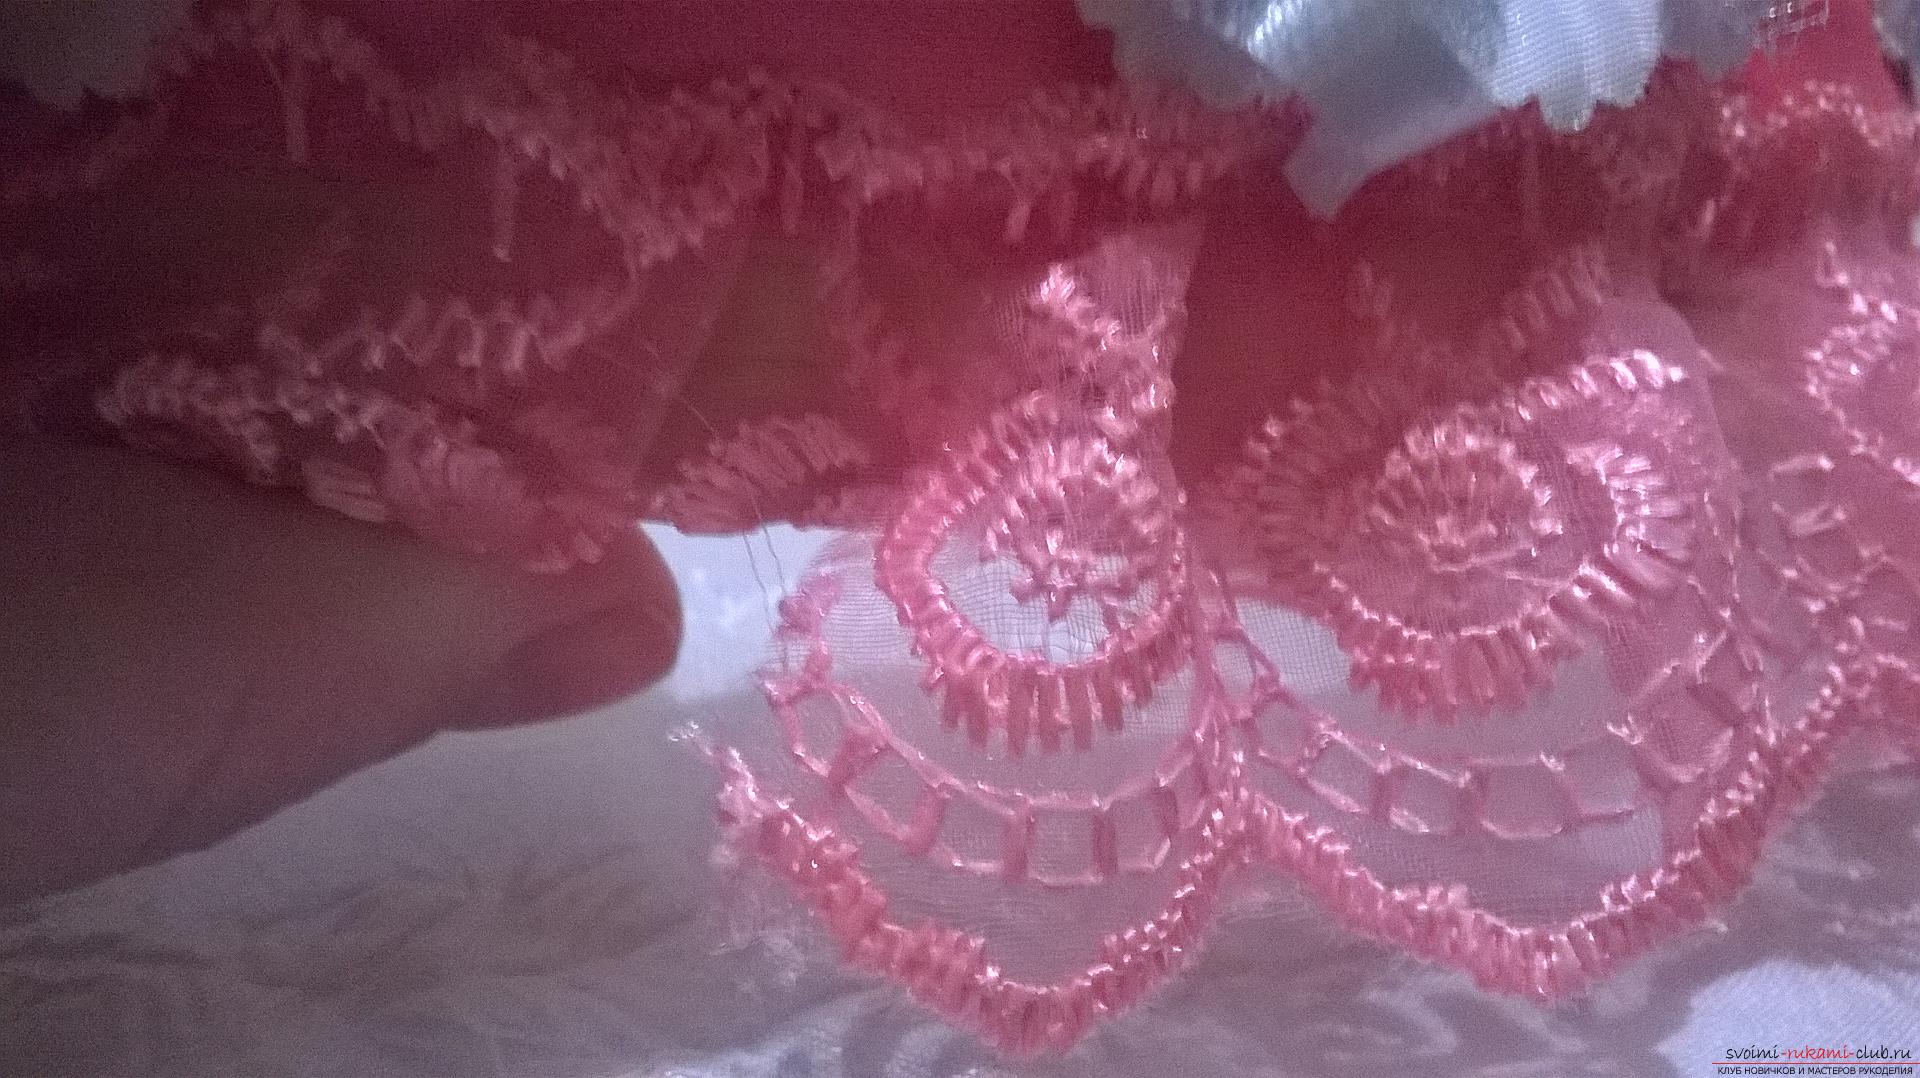 Fig. 3 and Fig. 4 There will be a small place under the lace that is not decorated. It can be left just like that - under the lace this place will not be visible.
 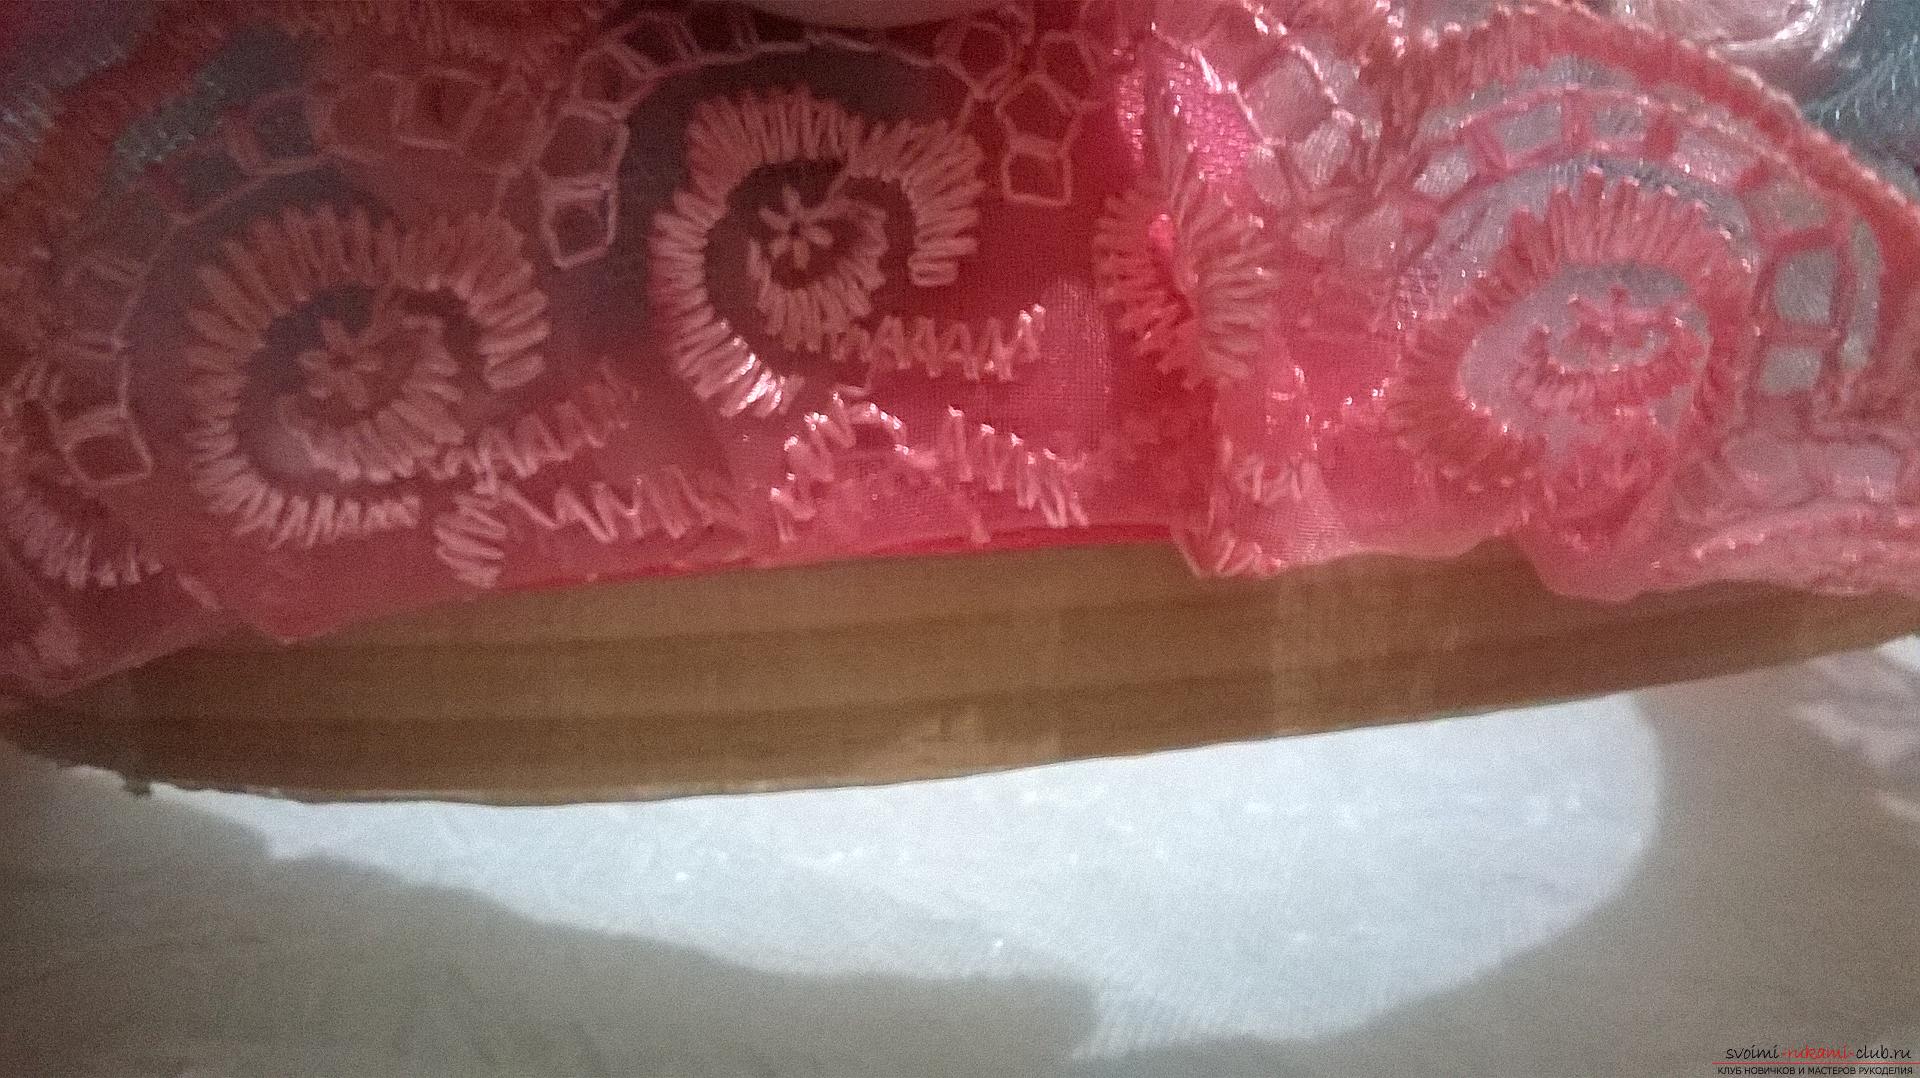 Fig. 5 Then take the sieve and prepare the blue-colored buttonholes - I removed from mine my artificial blue flowers with which they were sold.
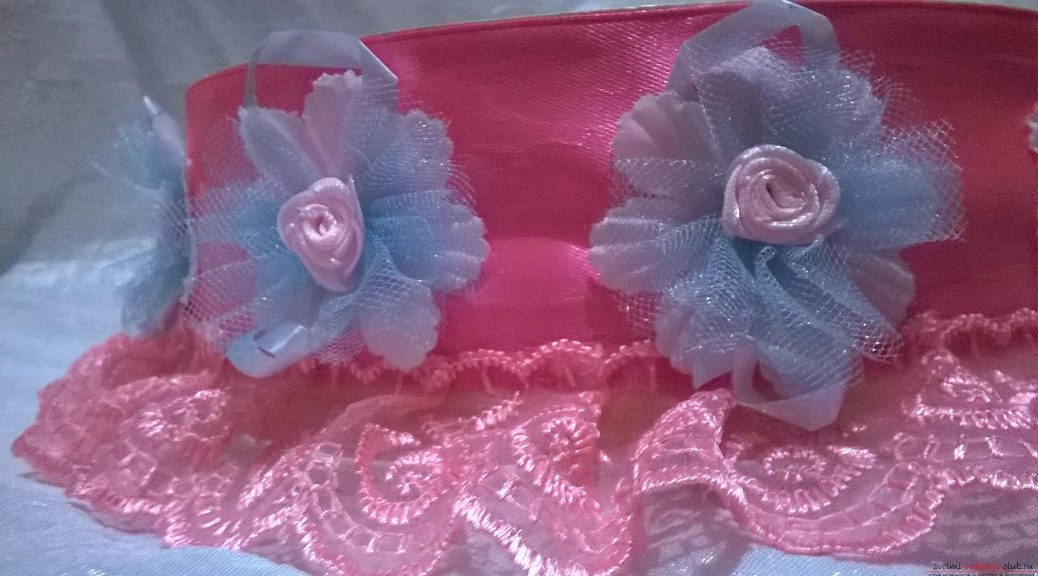
 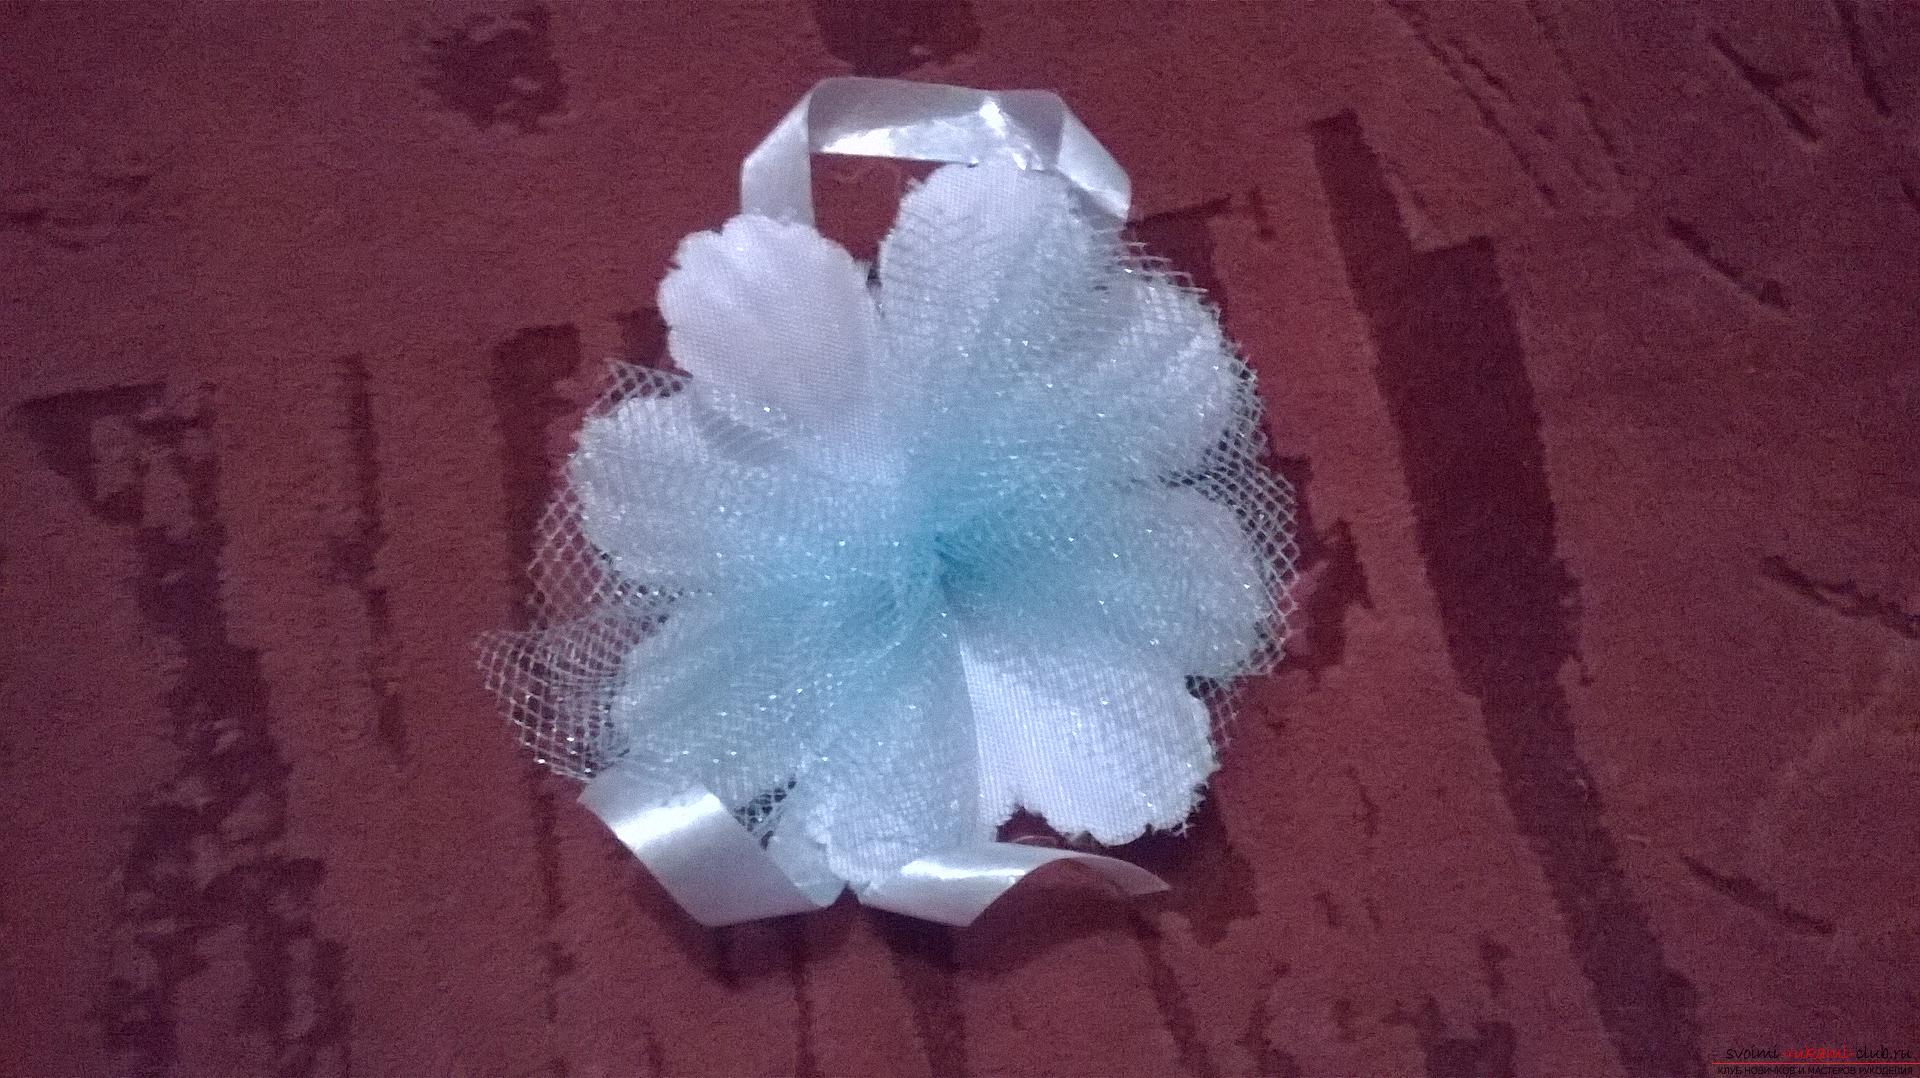 Fig. 6 Glue the buttonholes around the circle, leaving a distance of 3 cm between them (on the tape, you can pre-plan the small location of each flower).
 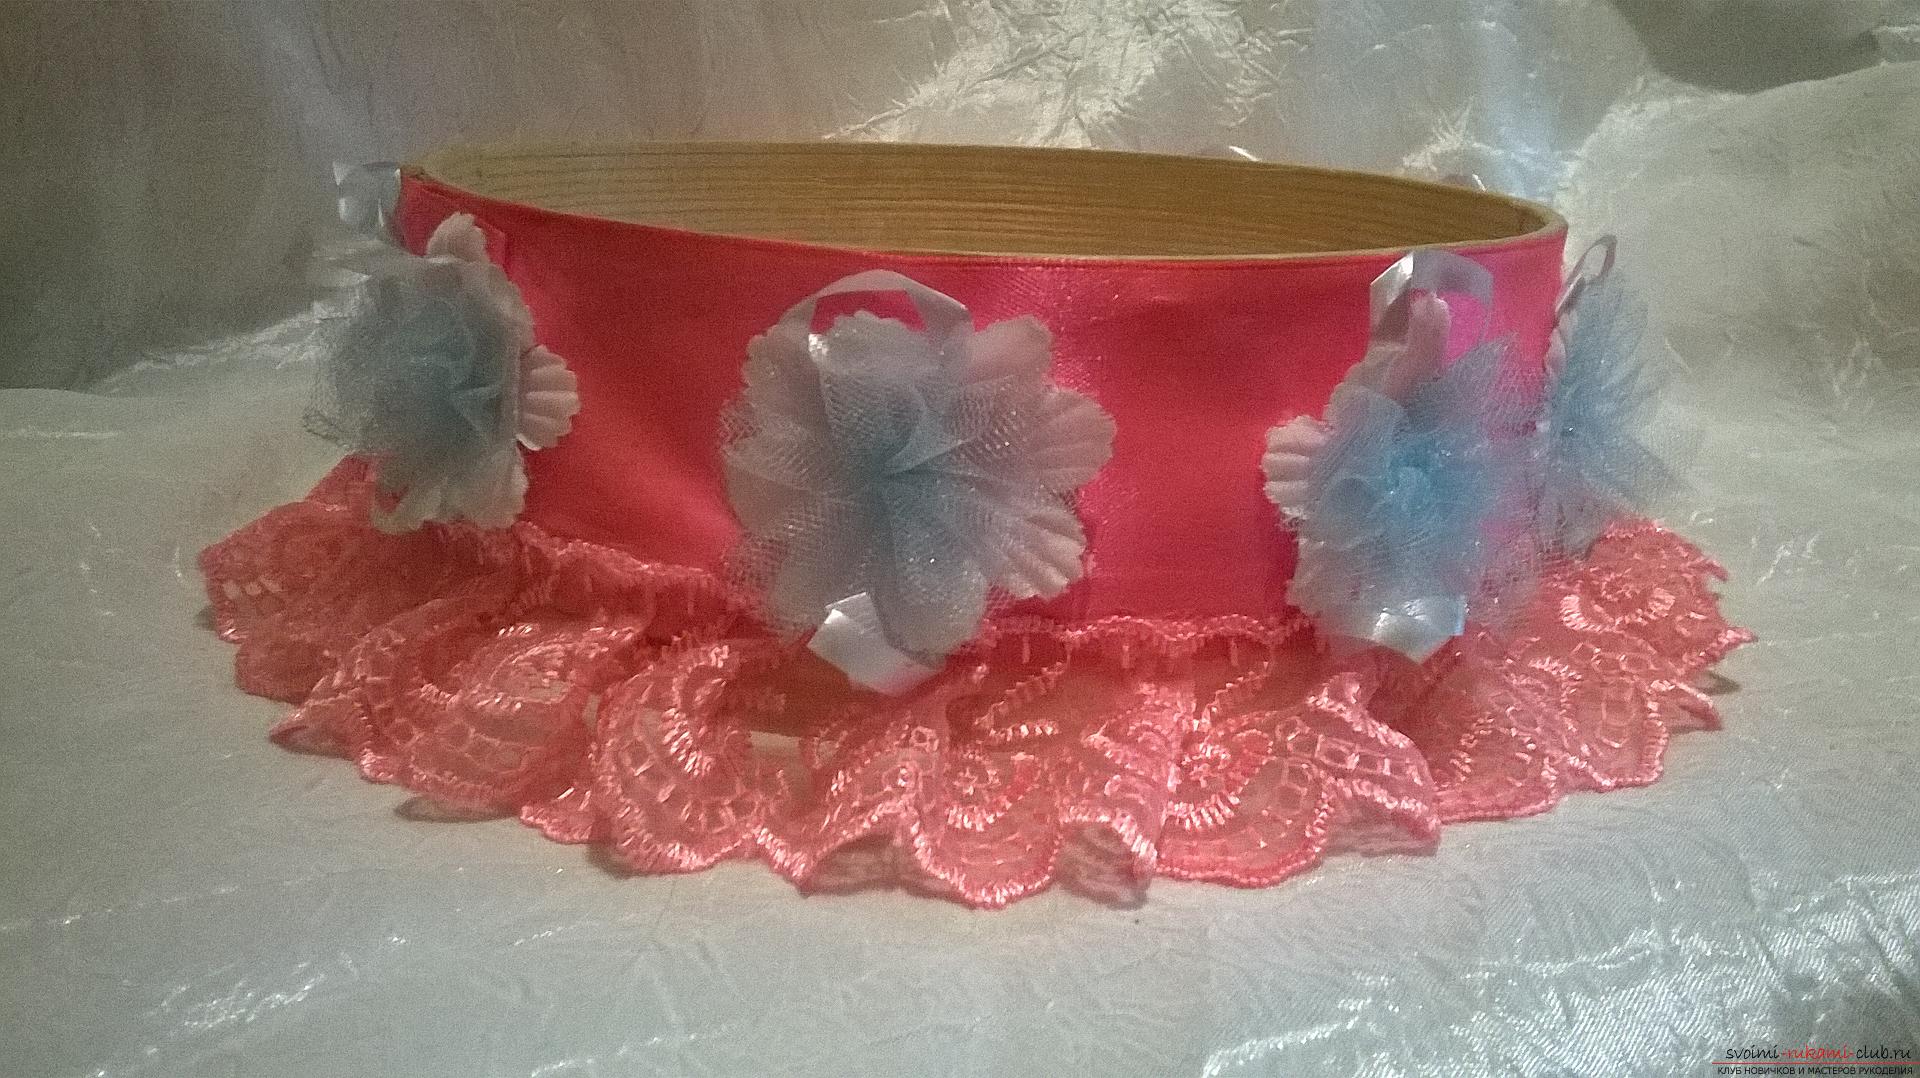 Fig. 7 Our strainer is almost ready! Remained the smallest thing - to paste small satin flowers on blue buttonholes. I took the flowers also pink.
 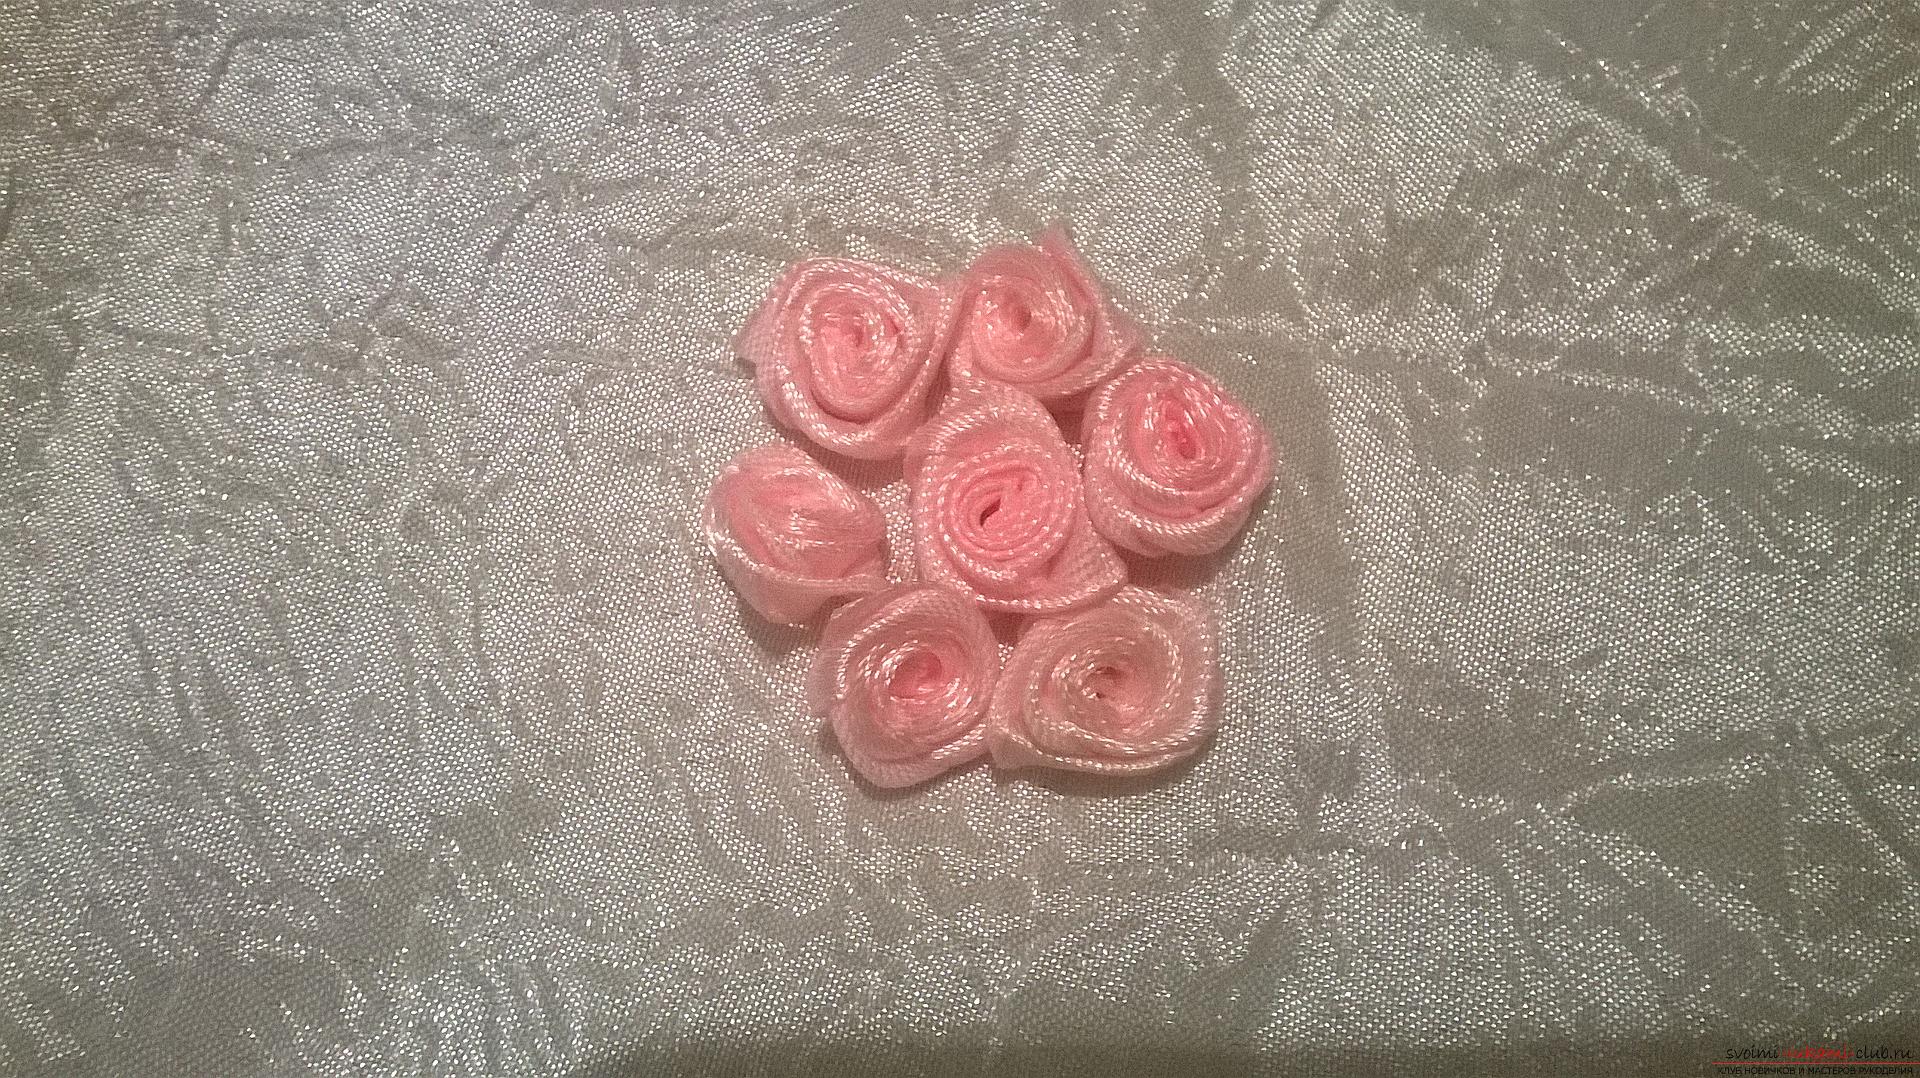 Fig. 8 First, apply a small droplet of glue on the back of the rose.
 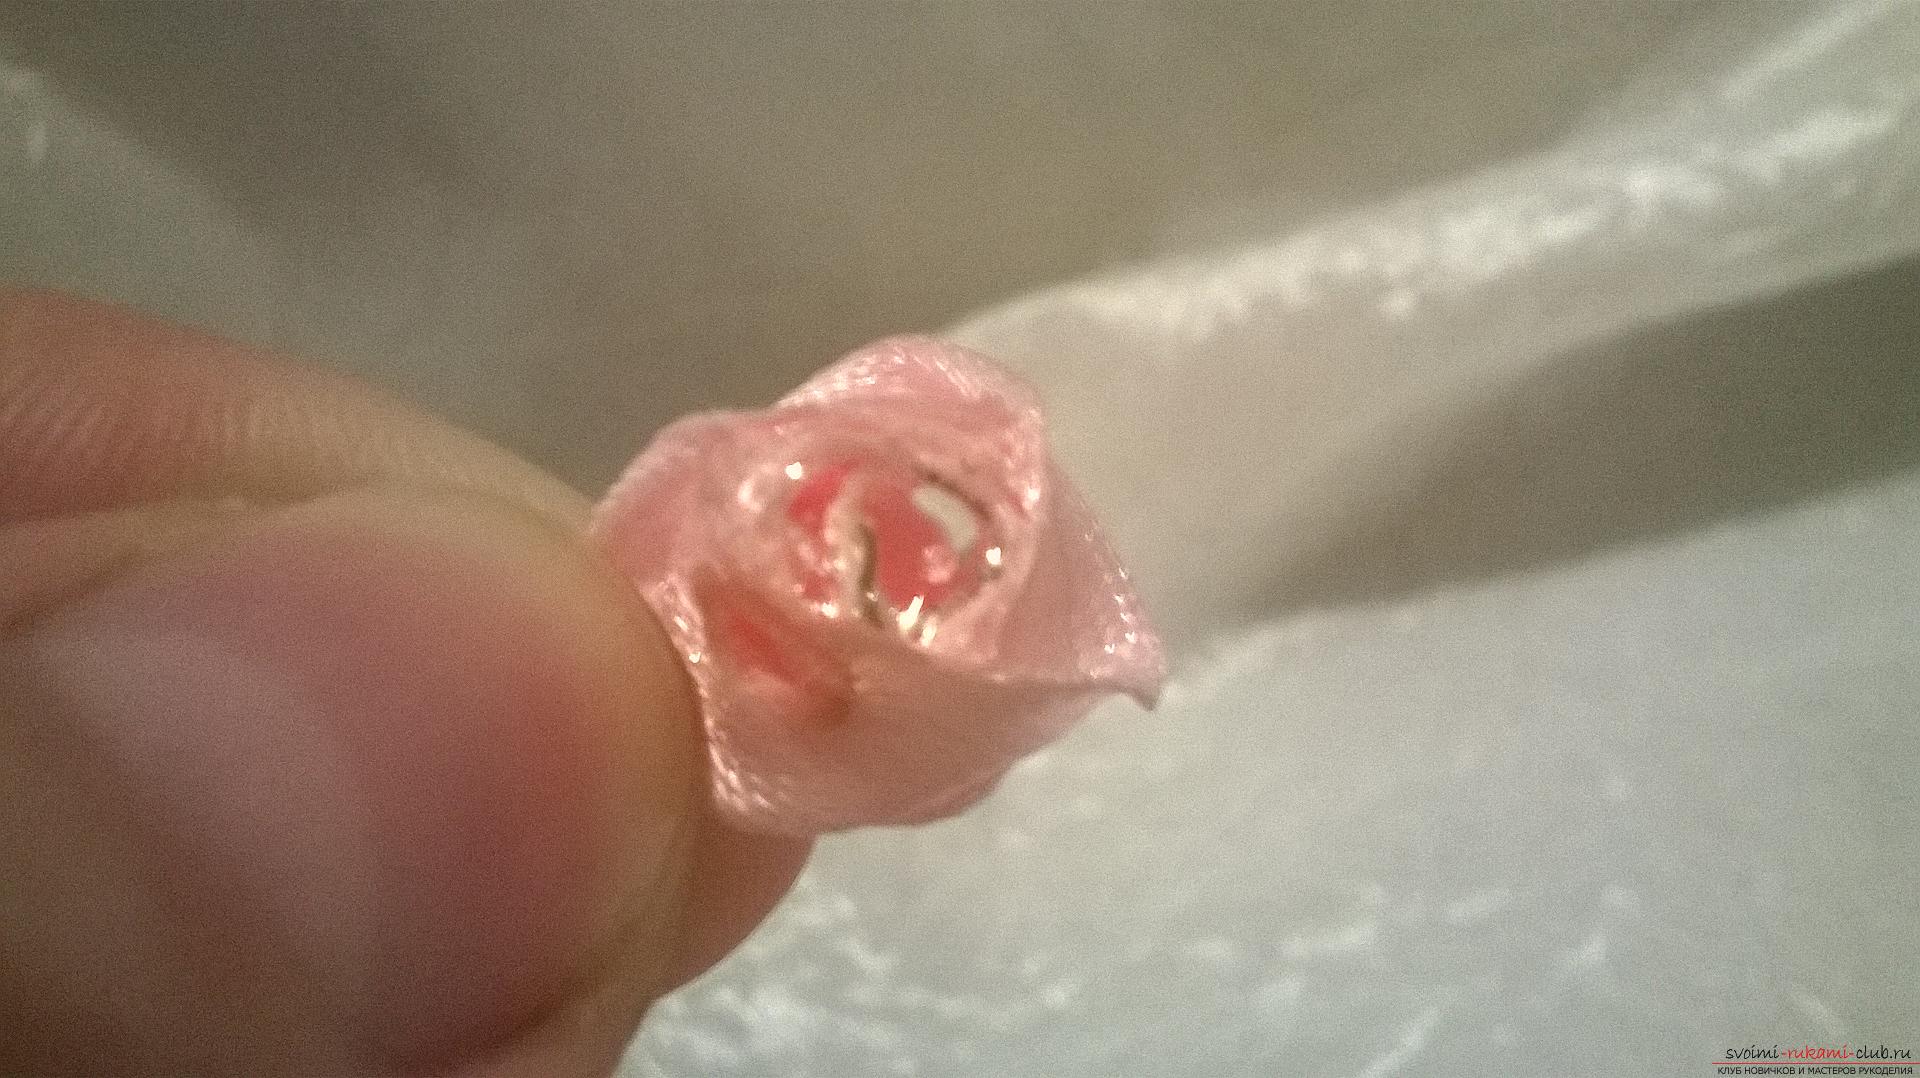 Fig. 9 The second hand at this time you need to push the net on the buttonhole ...
 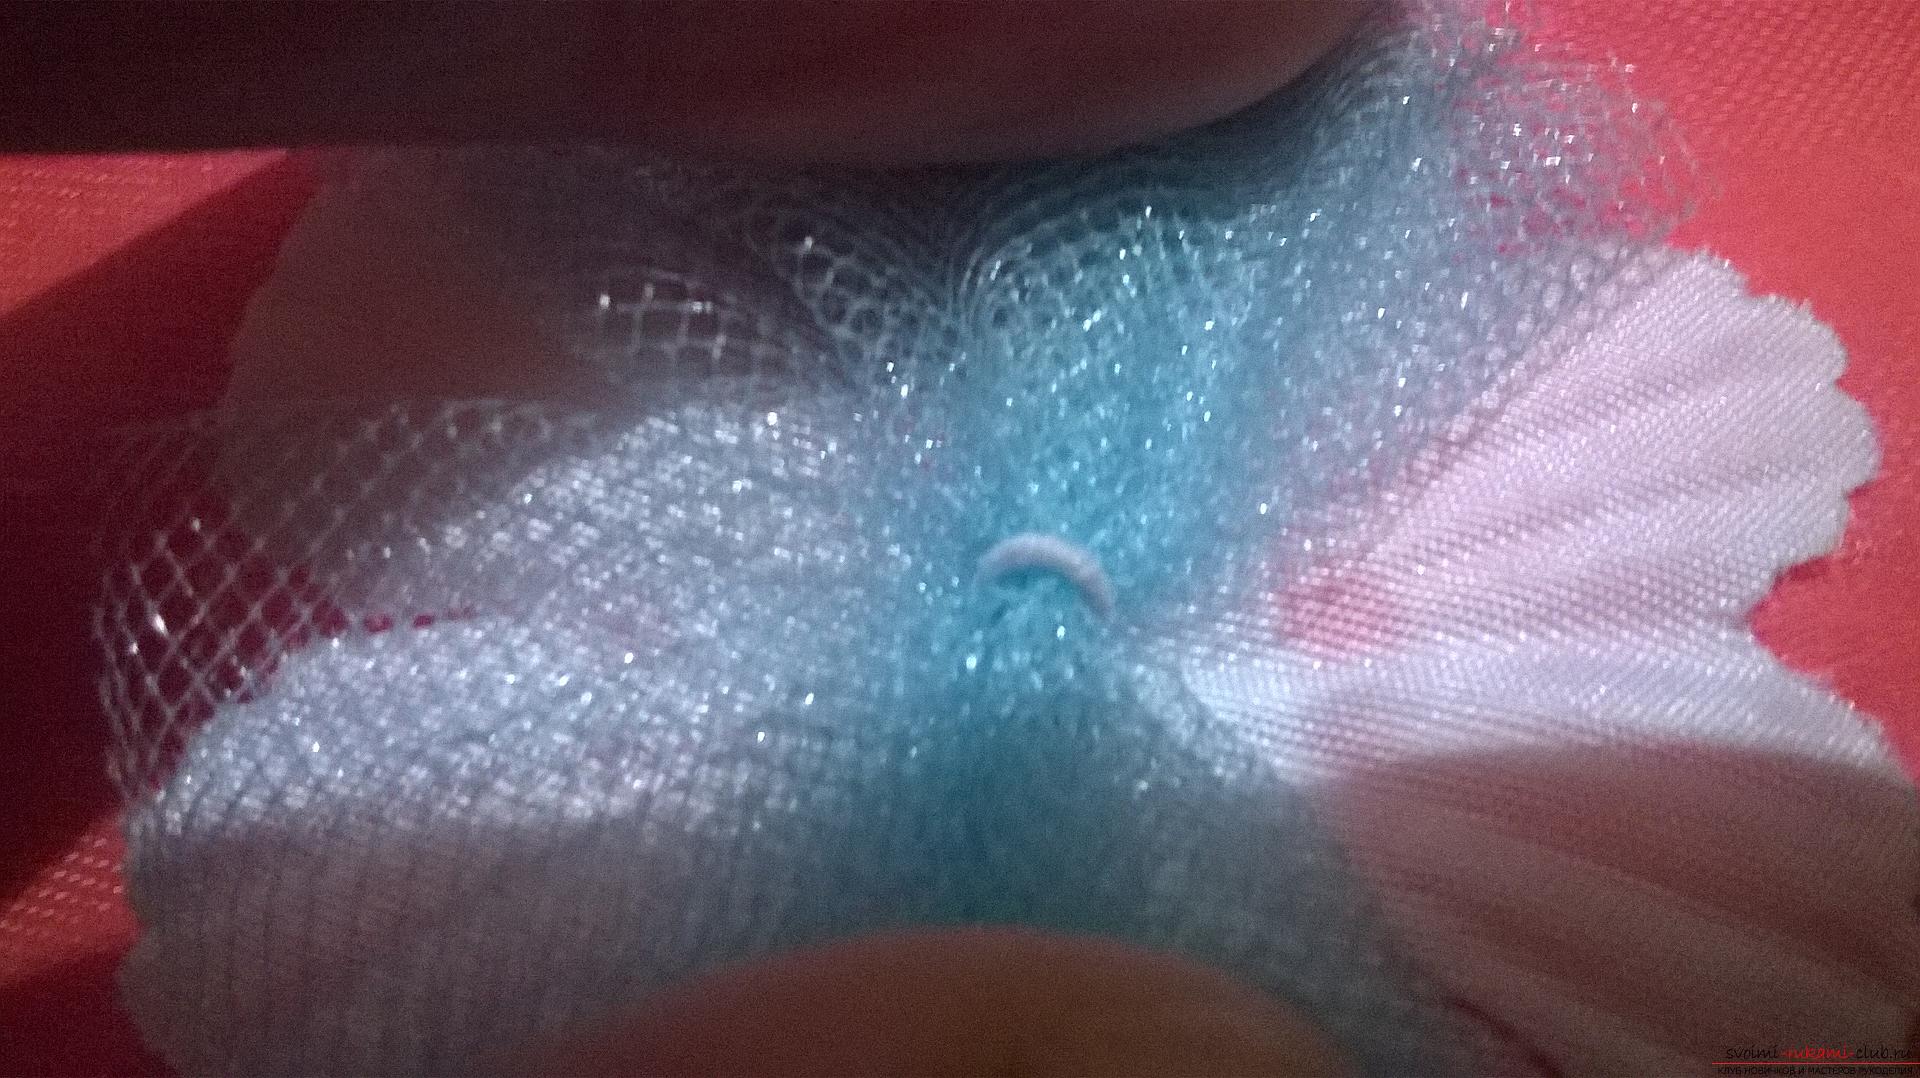 Fig. 10 ... and in the center, where it is connected, glue our roses.
 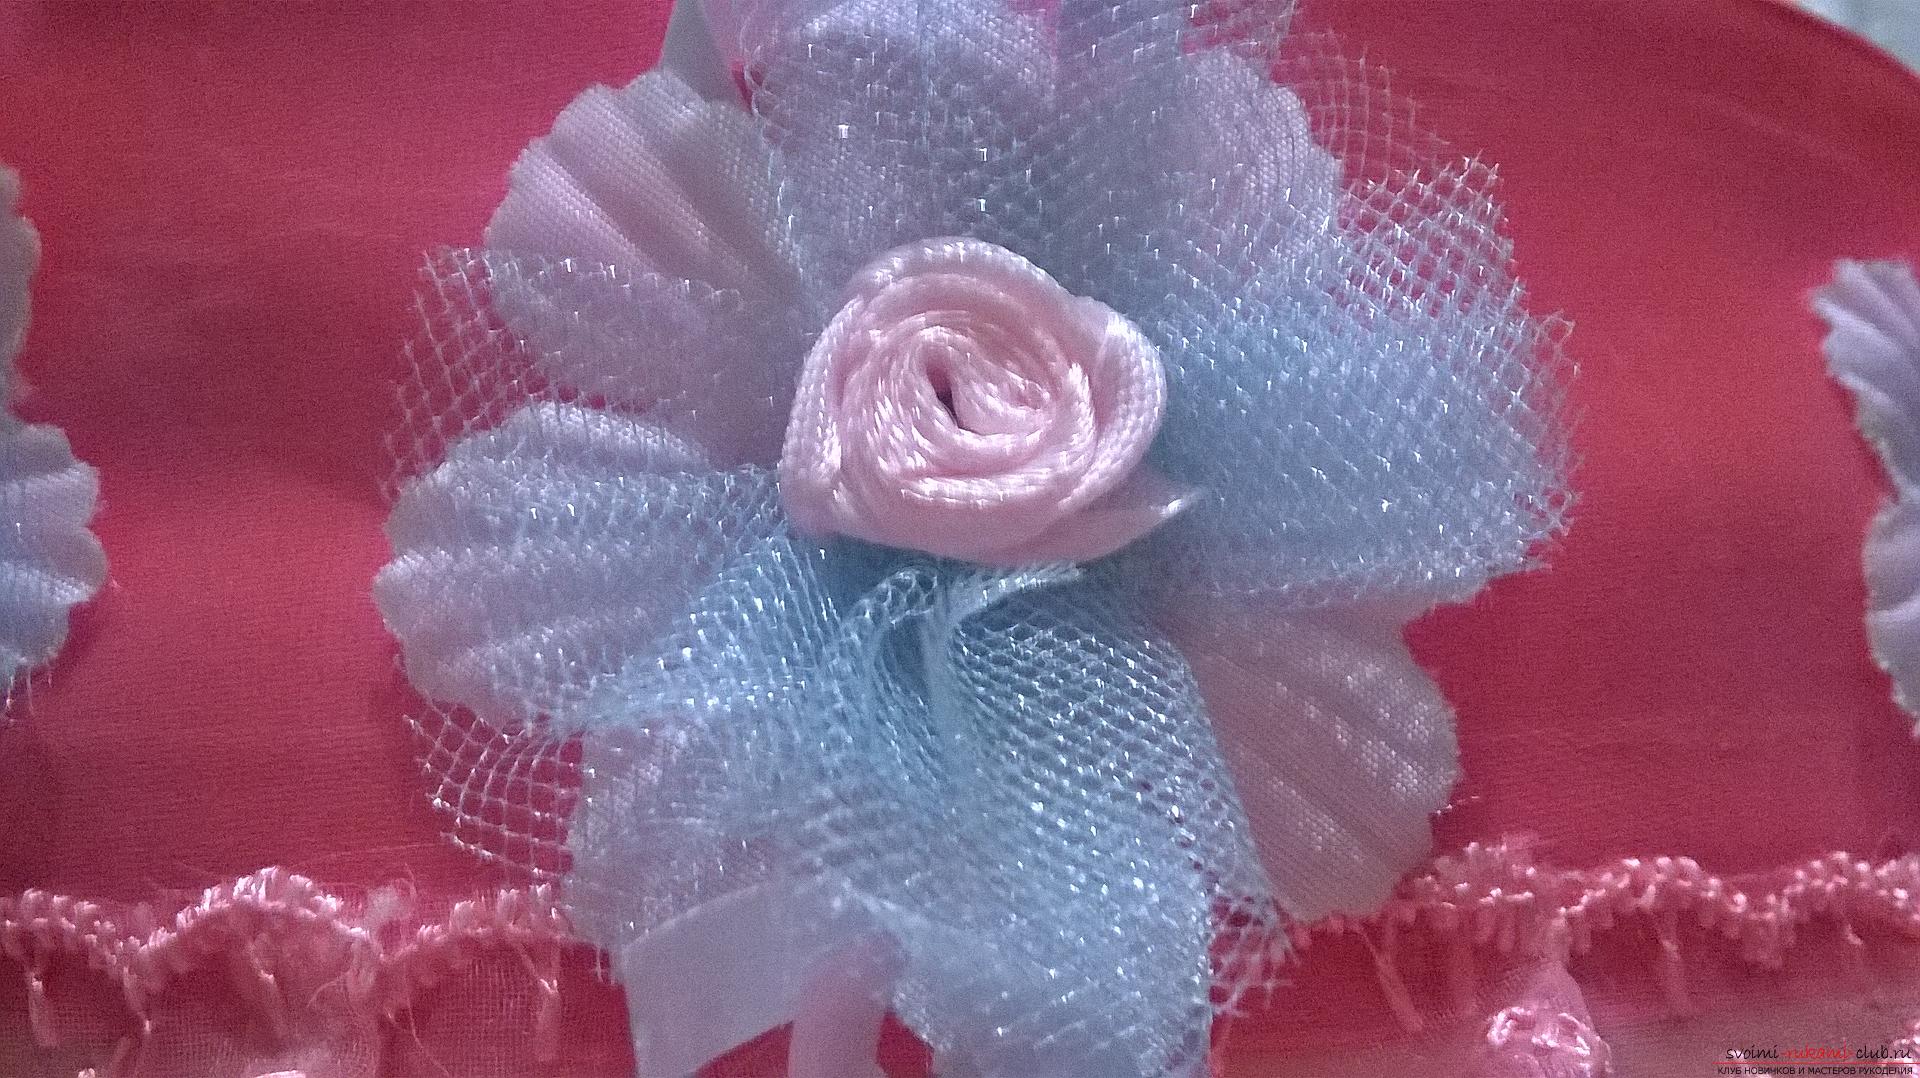 Fig. 11 I did not decorate the inner part of the sieve, because it will be filled to the top with all sorts of gifts and it will not be visible. That's all! Our magic, "wedding sieve", bringing young prosperity is ready!
 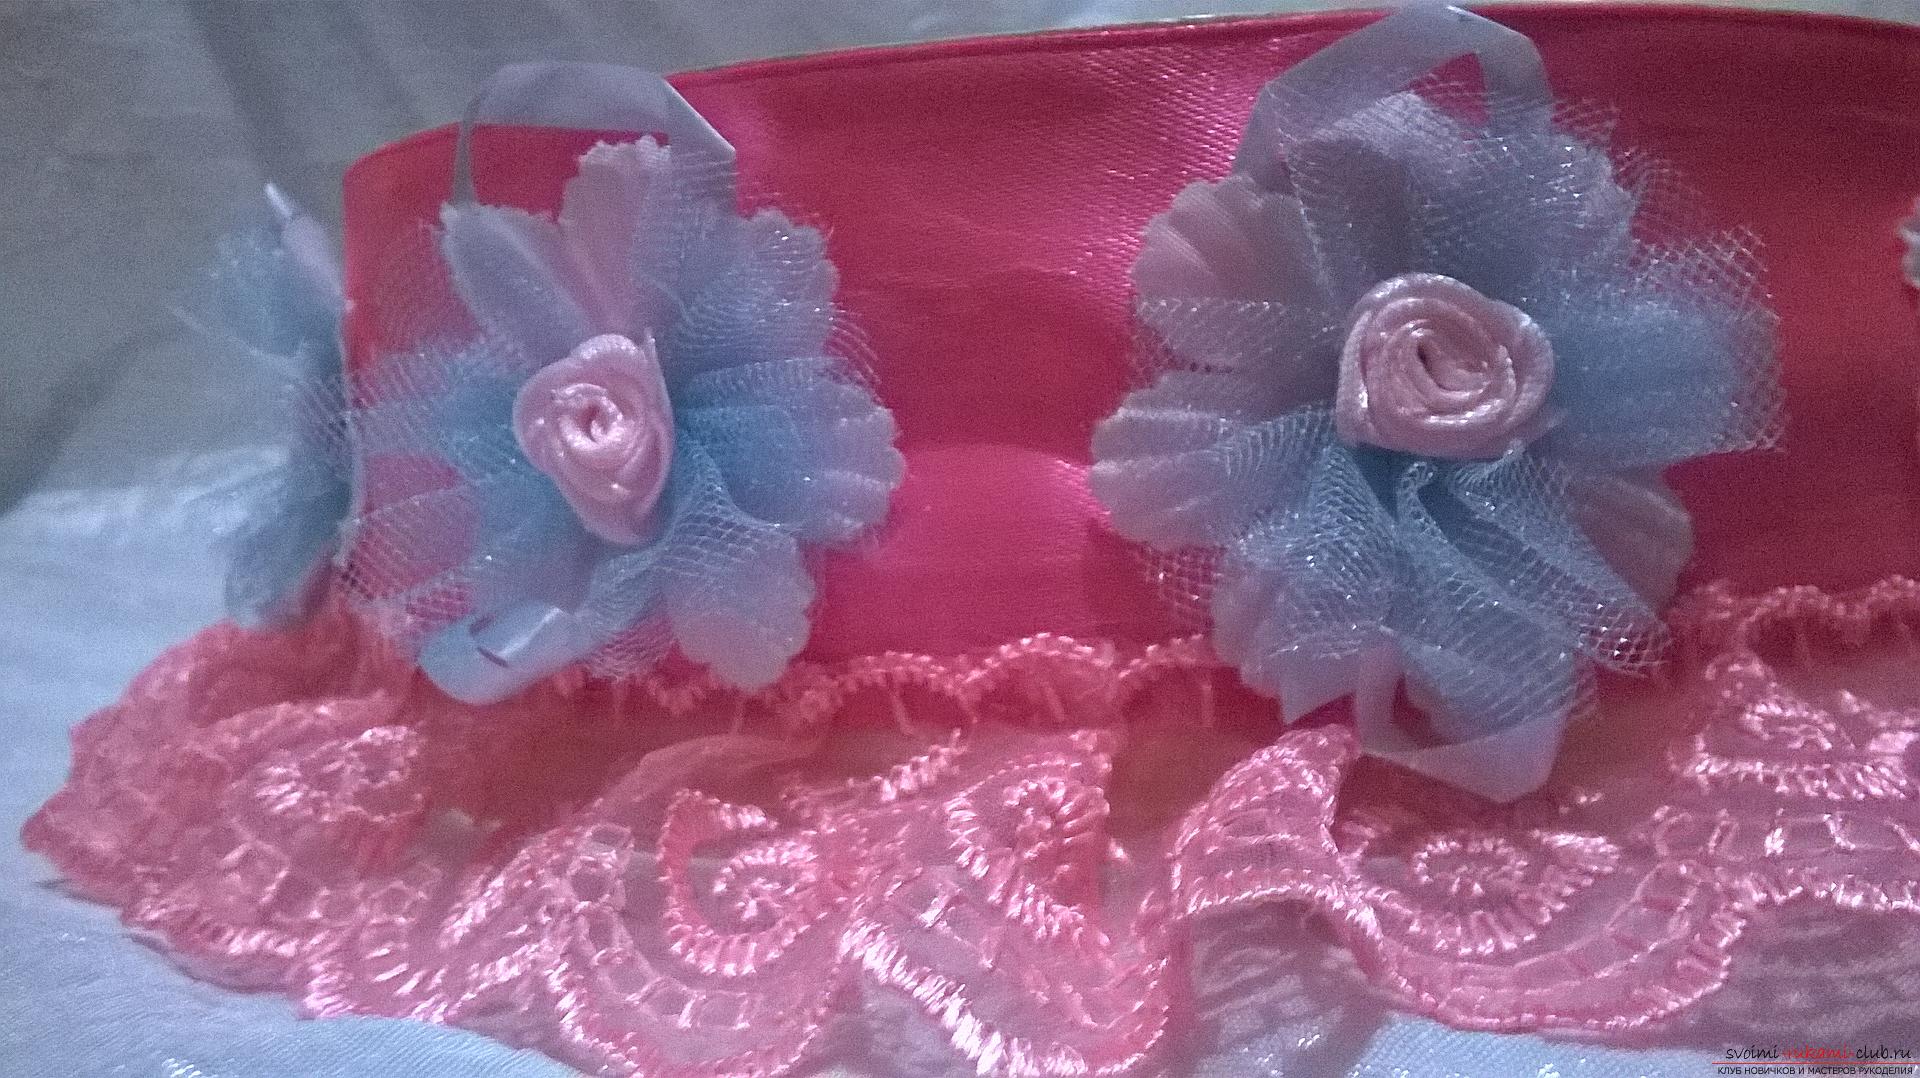 Fig. 12 Thank you very much for your attention to my MK.
Comments
Related posts:
 This master class will teach you how to make gladiolus flowers from paper with your own hands.
 This master class Valentine will teach you how to make your own heart with bullfinches made of felt.
 This master class will teach you how to make your own hands a New Year greeting card.
 This master class with a description and photo will teach you how to make crafts from felt by yourself.
 This master class will teach you how to make a hare from your toe with your own hands.