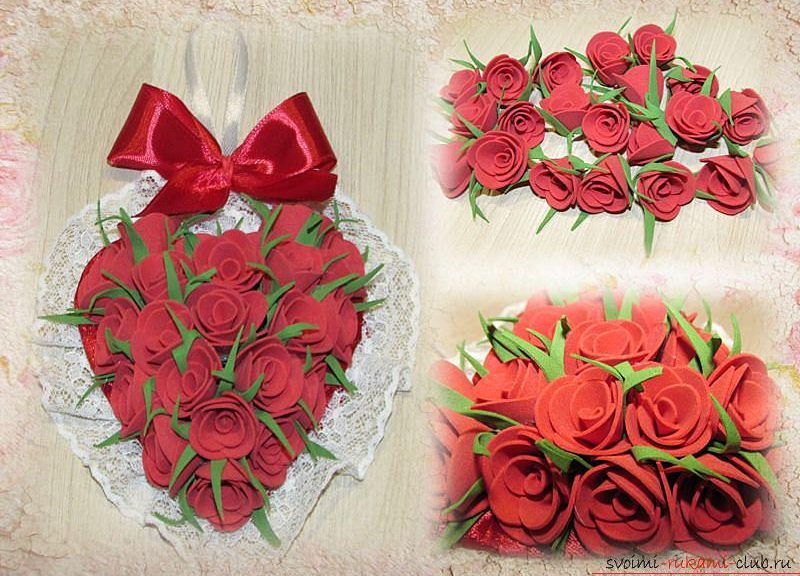
This master class will teach you how to make a valeninka "Rose bouquets for your beloved" with your own hands
You can confess your love not only to a friend, to your husband, but to your mother, your best friend, your sister. Made by own hands and presented with the soul of the valentine's heart touches every person. 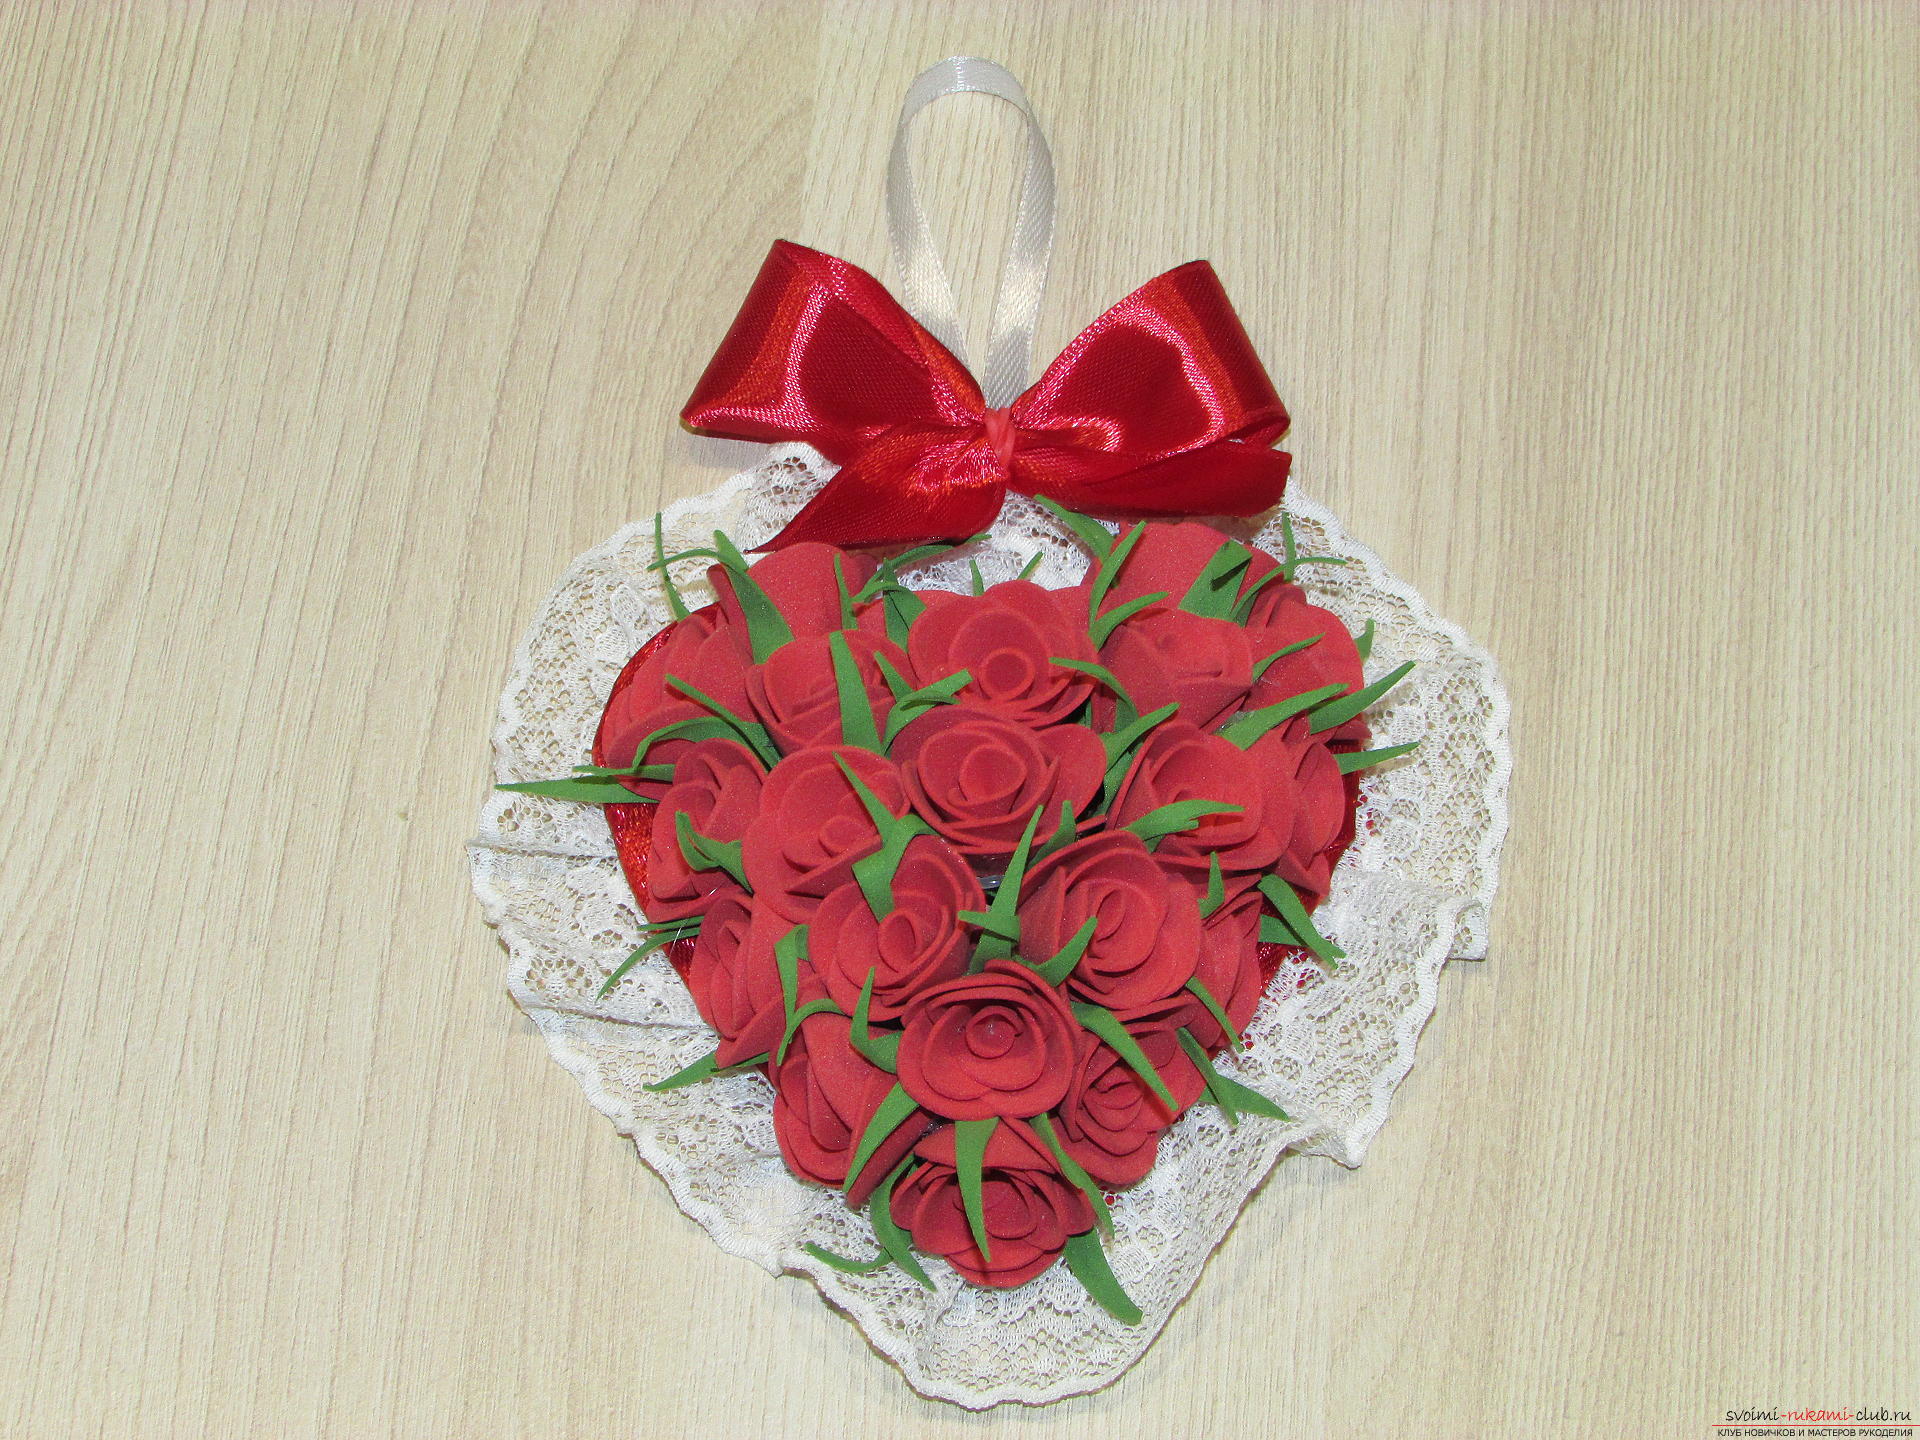 Valentine, which I propose to make, is more suitable for the weaker sex, because in her there is a whole bouquet of roses! And every girl is pleased to receive flowers. So, we need:
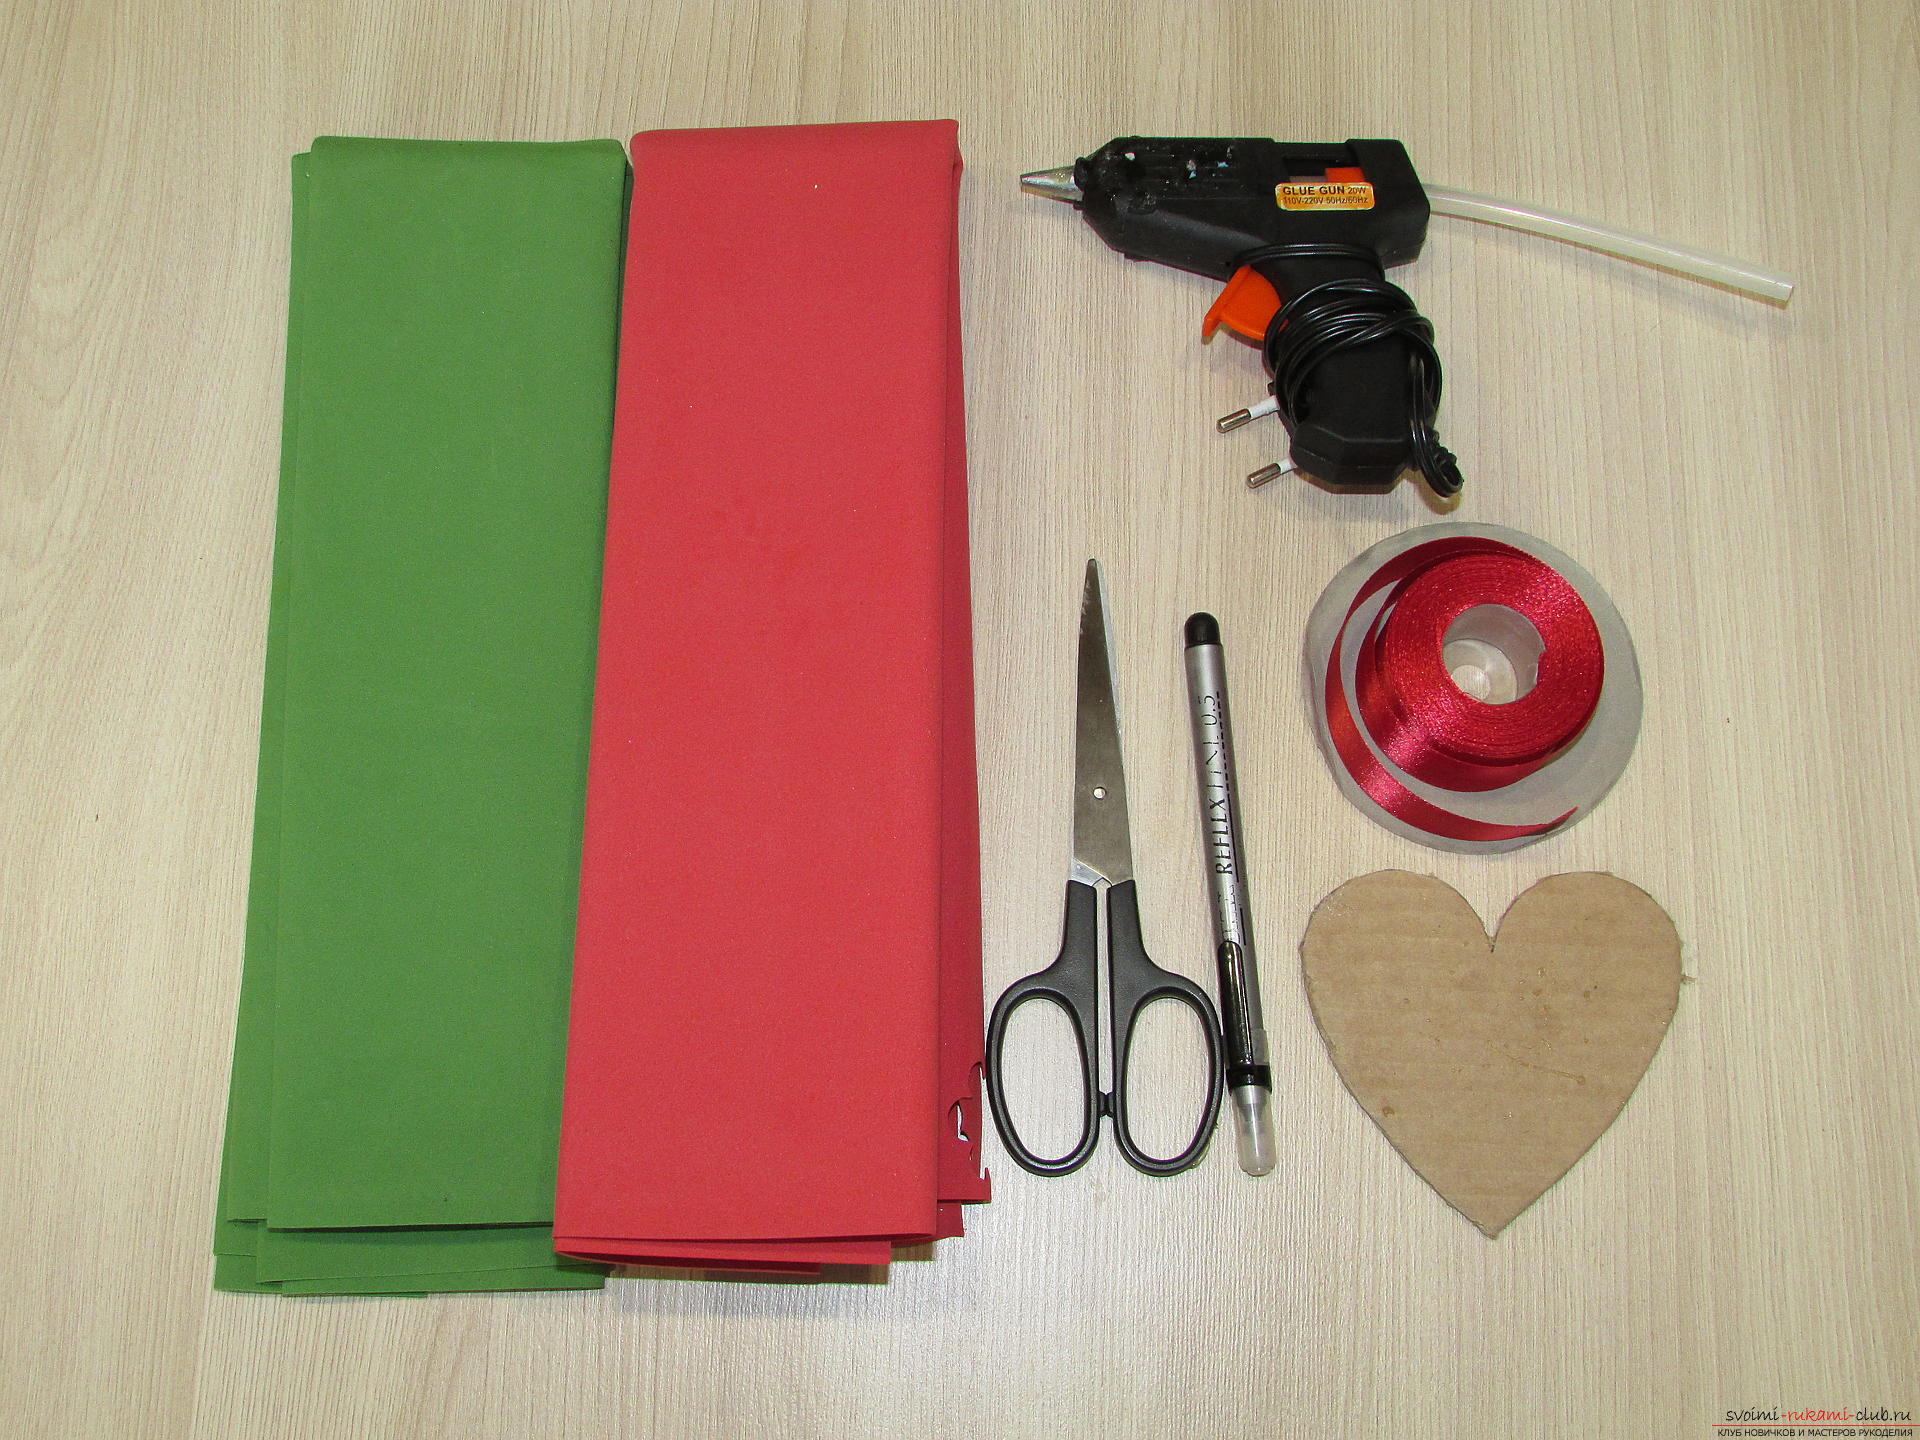
- Cardboard;
- Foamiran;
- Satin ribbons;
- Lace;
- Felt;
- Glue;
- Scissors.
 Cut out the cardboard blank of the future valentine in the shape of the heart.
 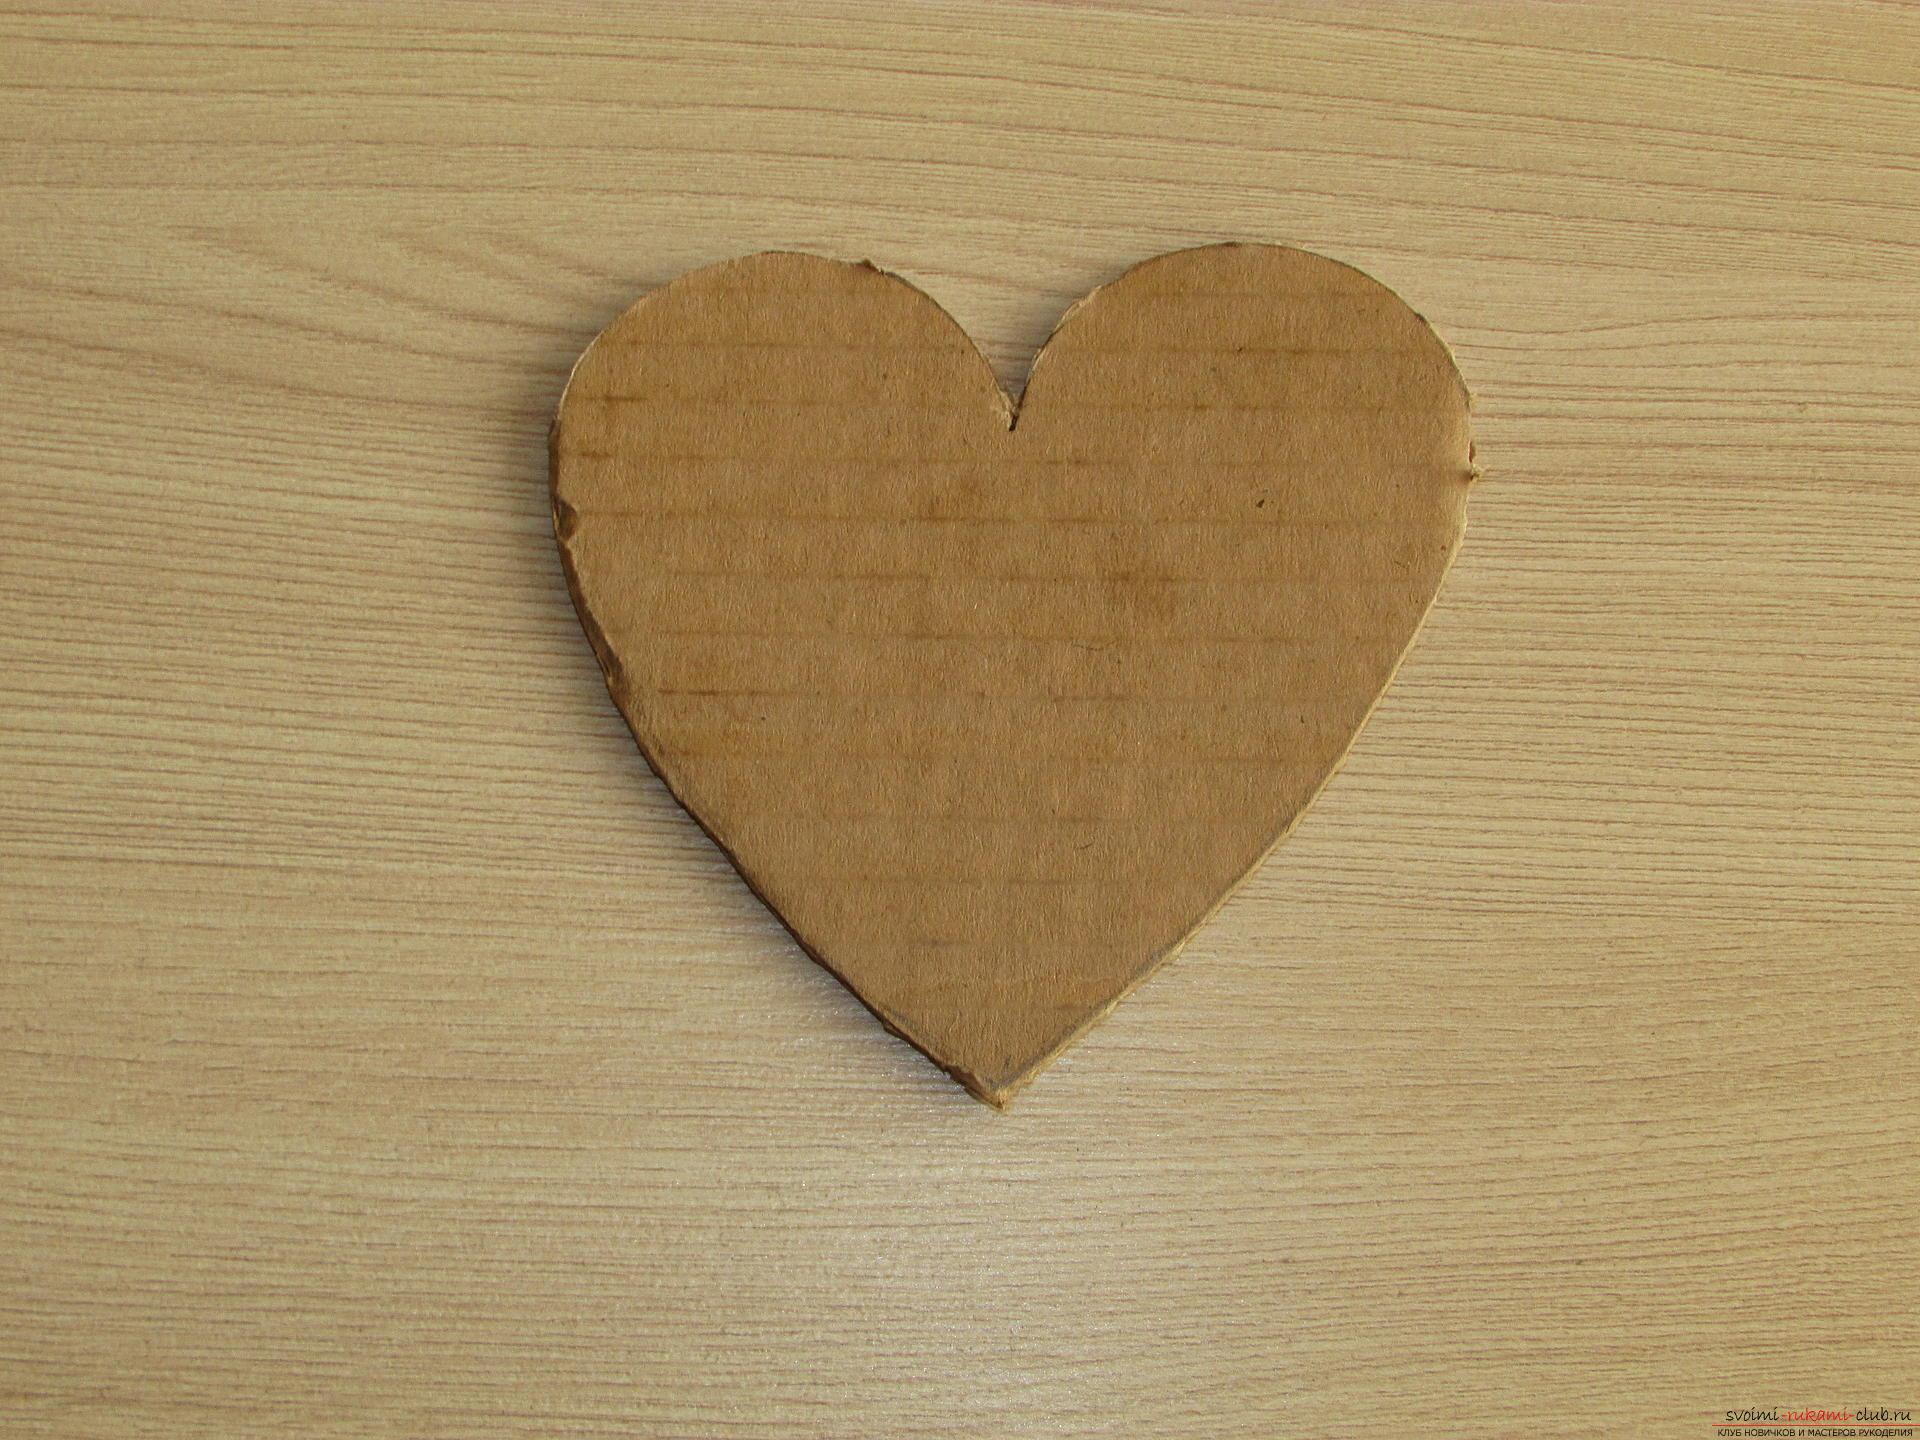 The edges of the blank are pasted with a red satin ribbon.
 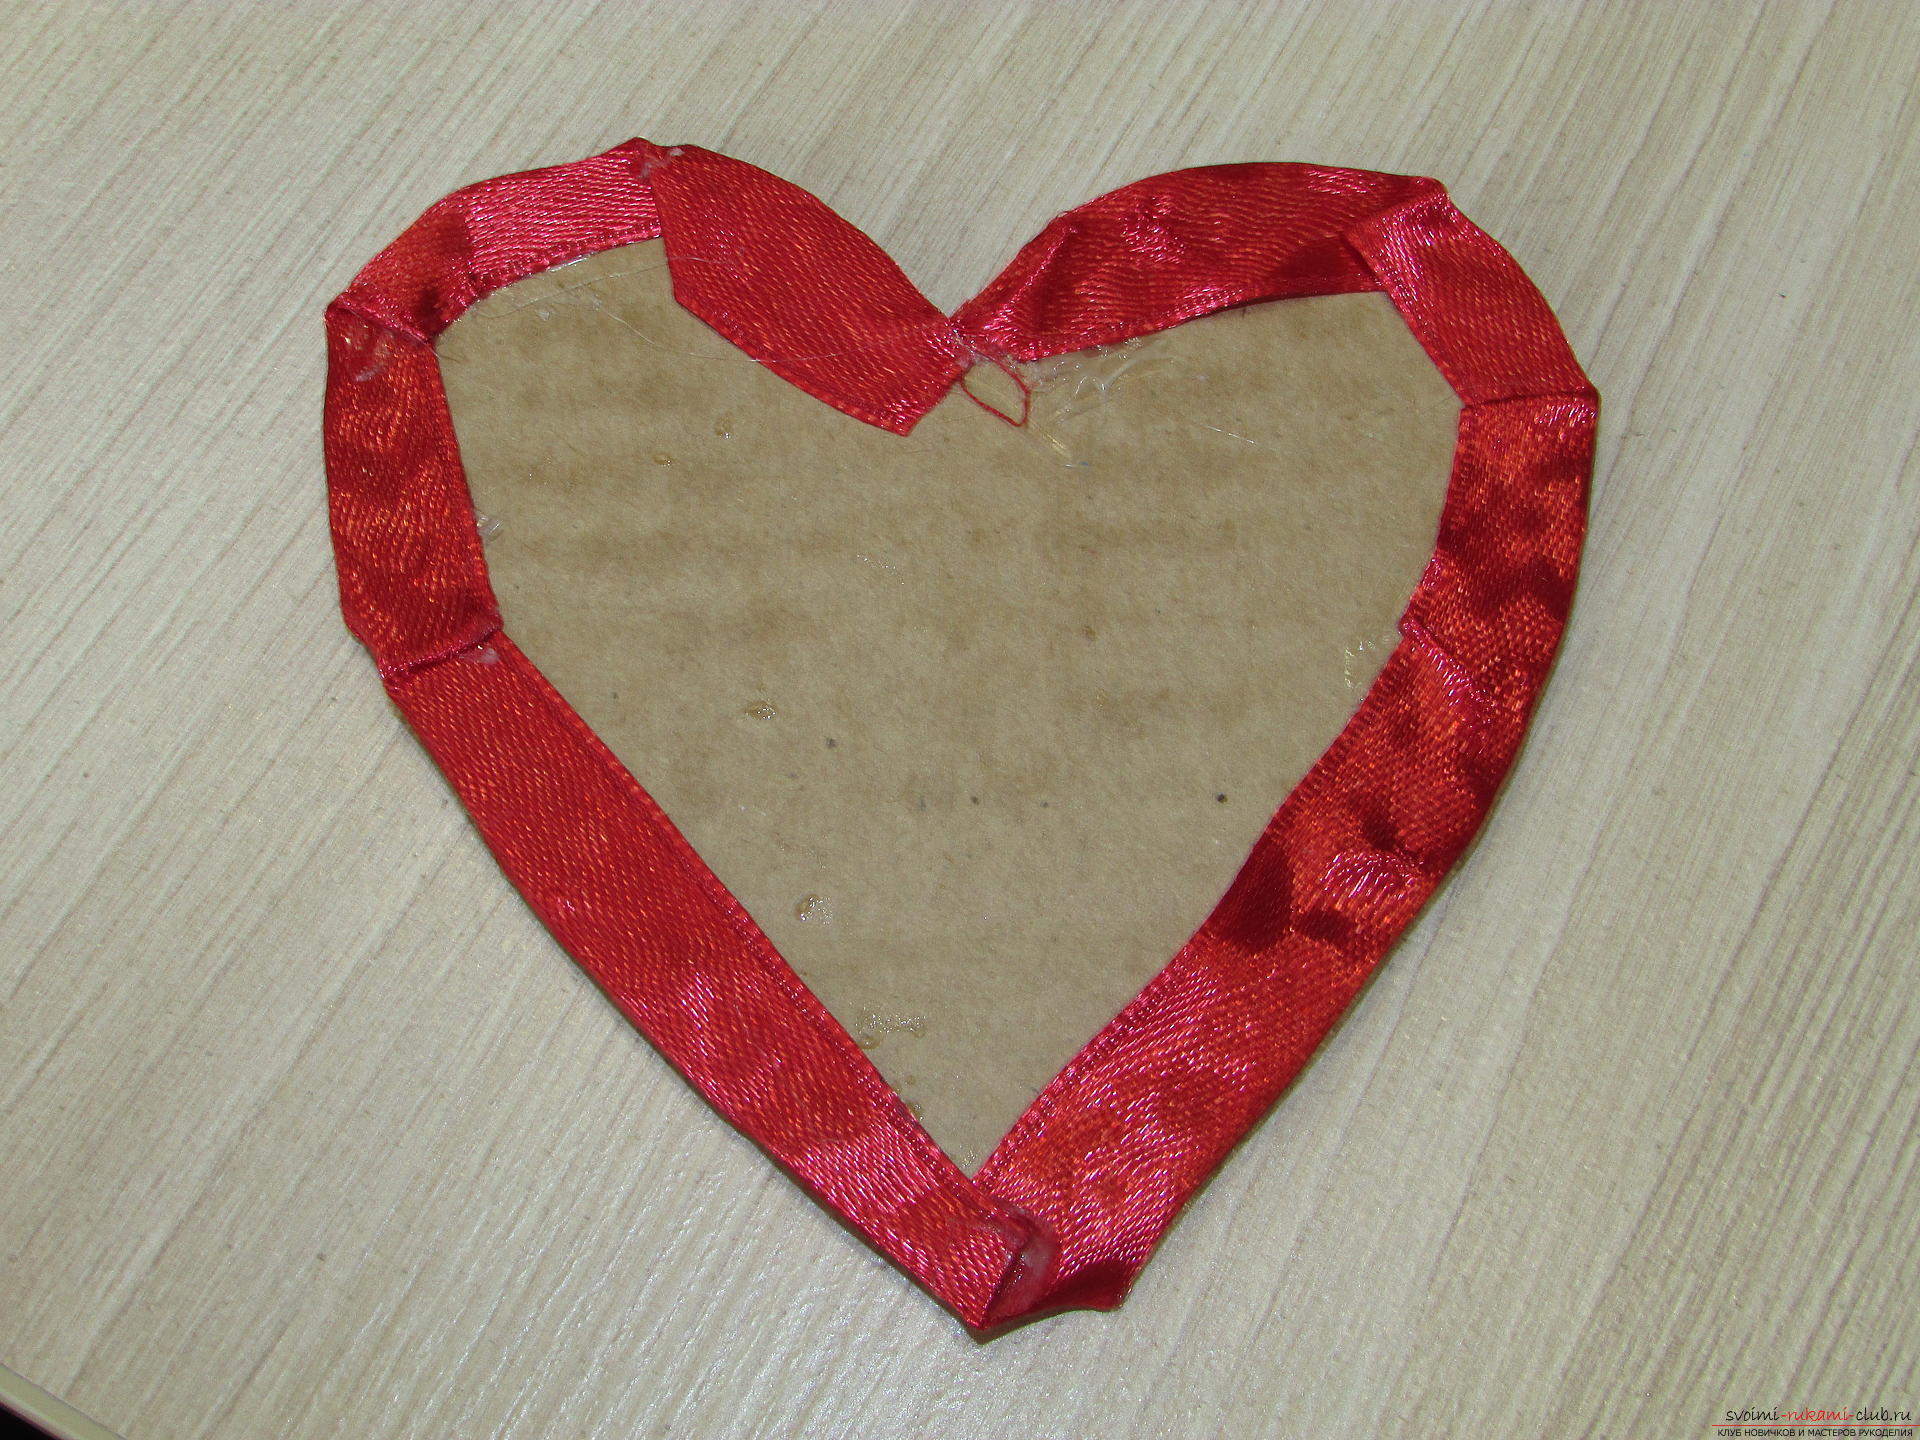 We decorate the edge of the workpiece with lace. We glue it with a hot pistol, making wrinkles.
 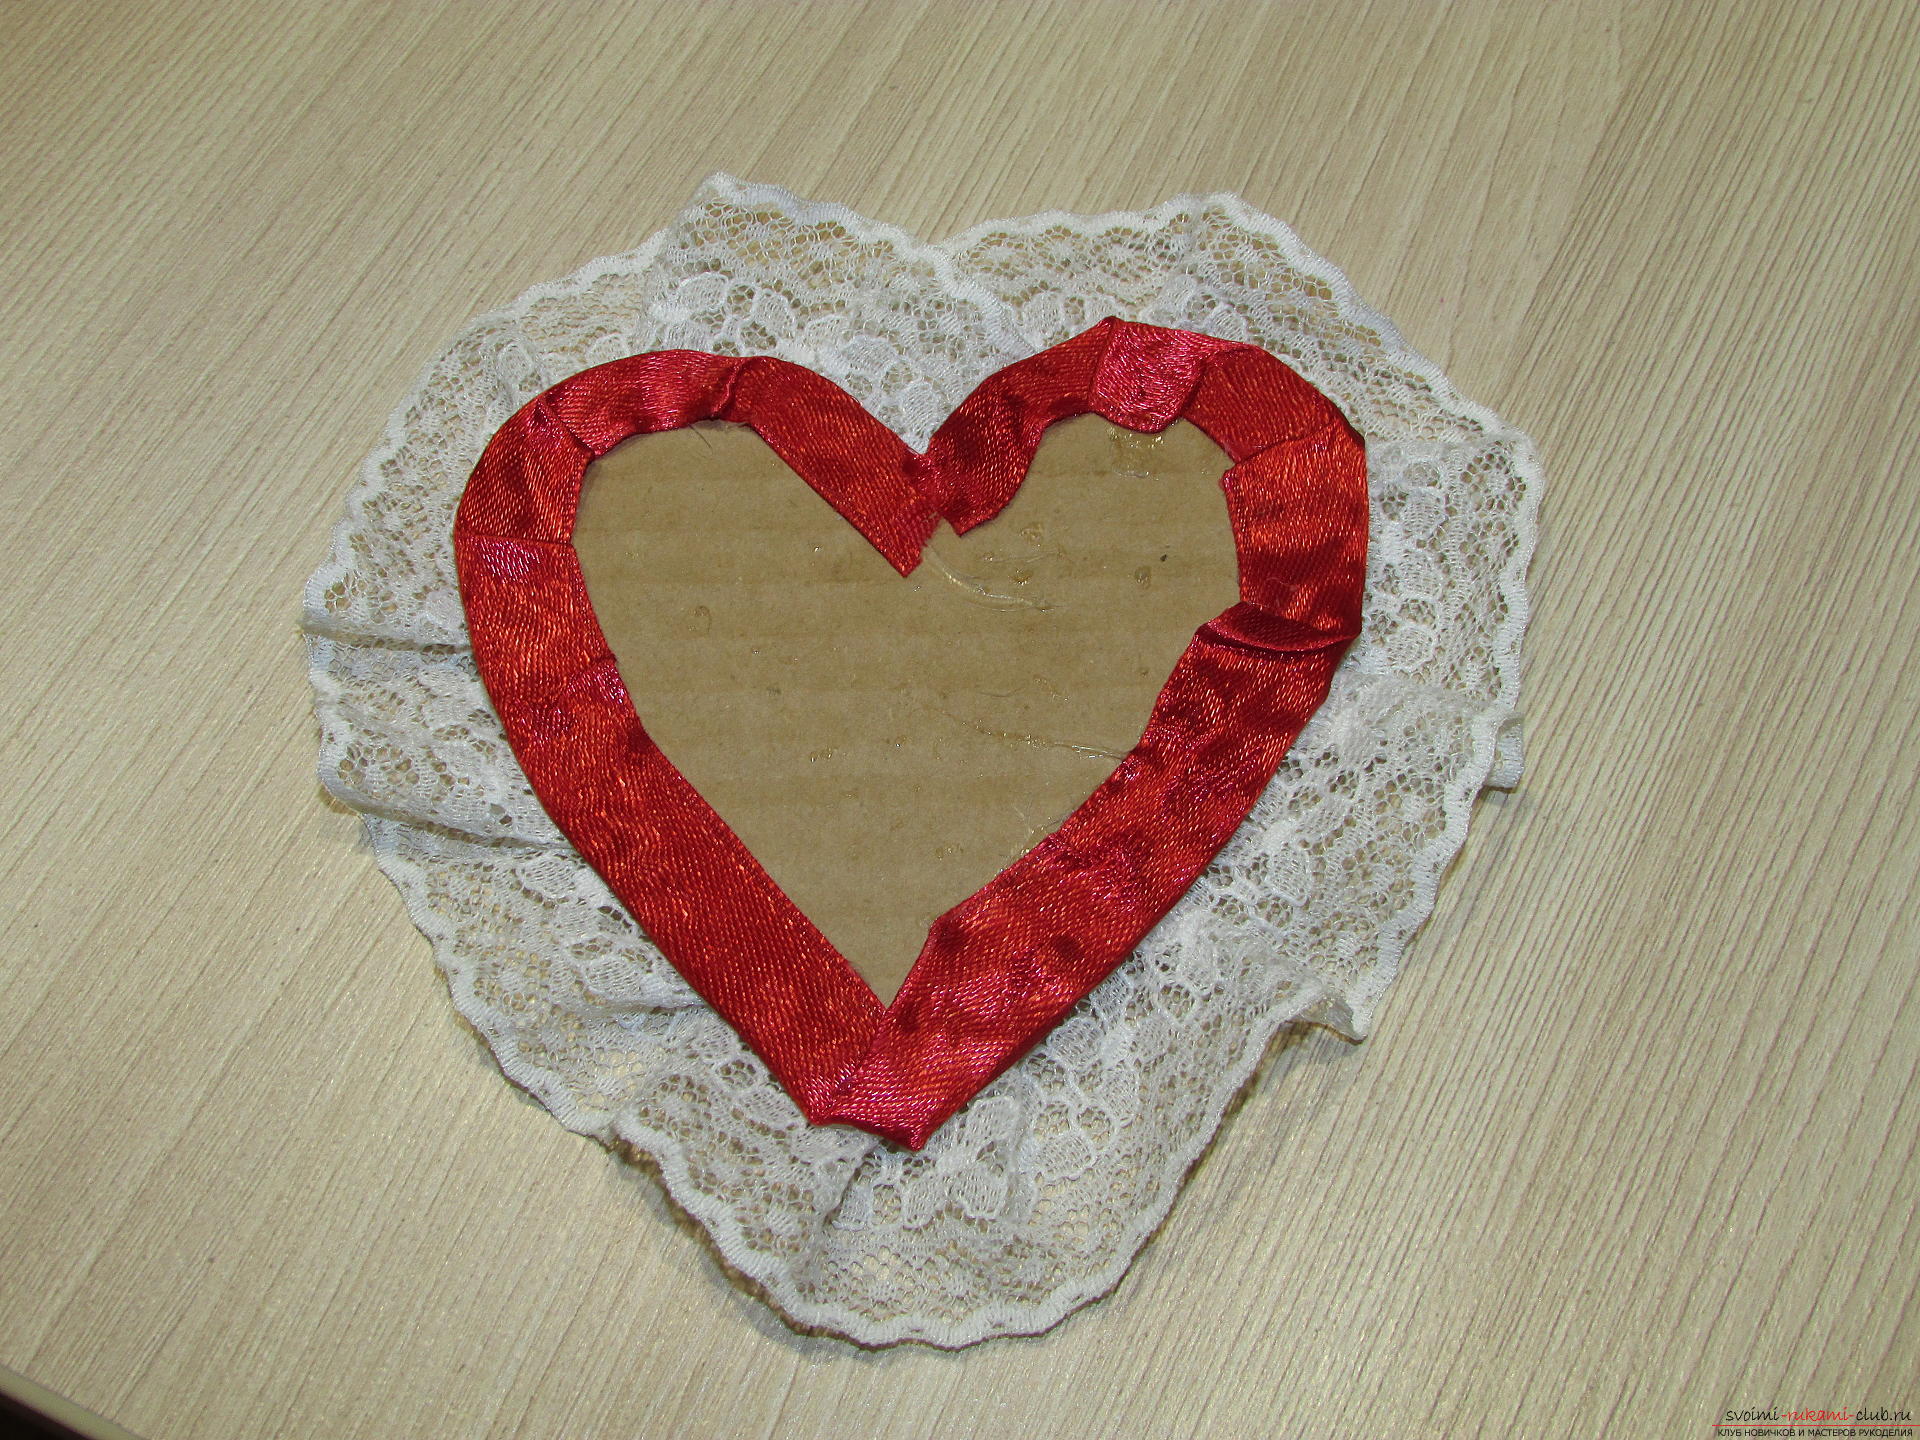 Immediately glue the loop, and the wrong side of the future valentines decorate with red felt.
 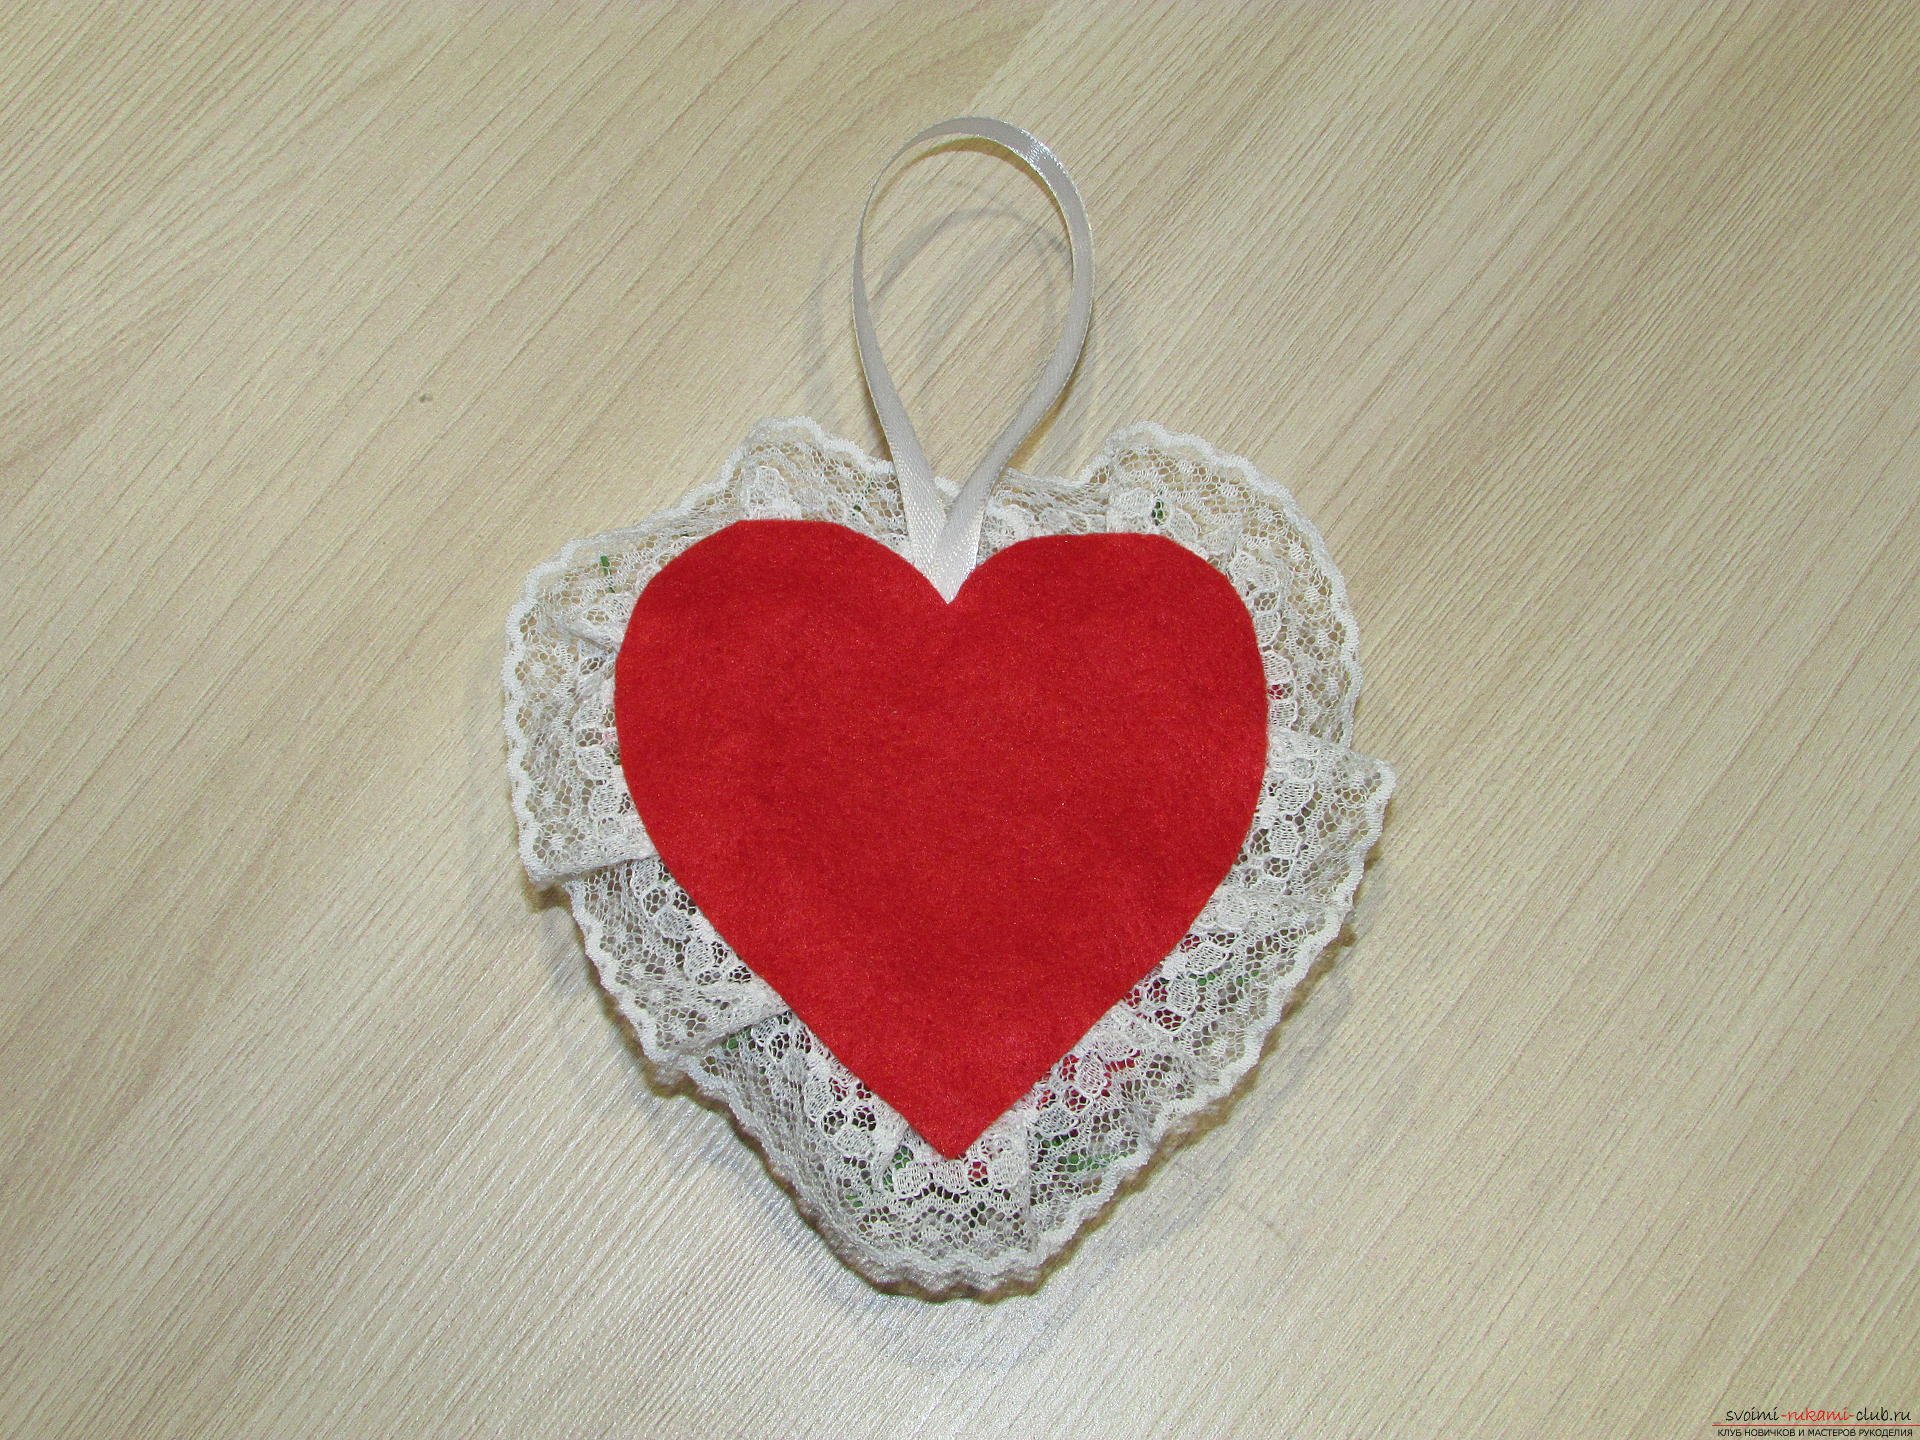 Now our valentine will be beautiful andneat and with the front, and on the wrong side. We put the workpiece aside and proceed to make the flowers. It took 23 flowers for my heart. Each flower took 8 petals. We cut the fauamir into strips about 2 cm wide.
 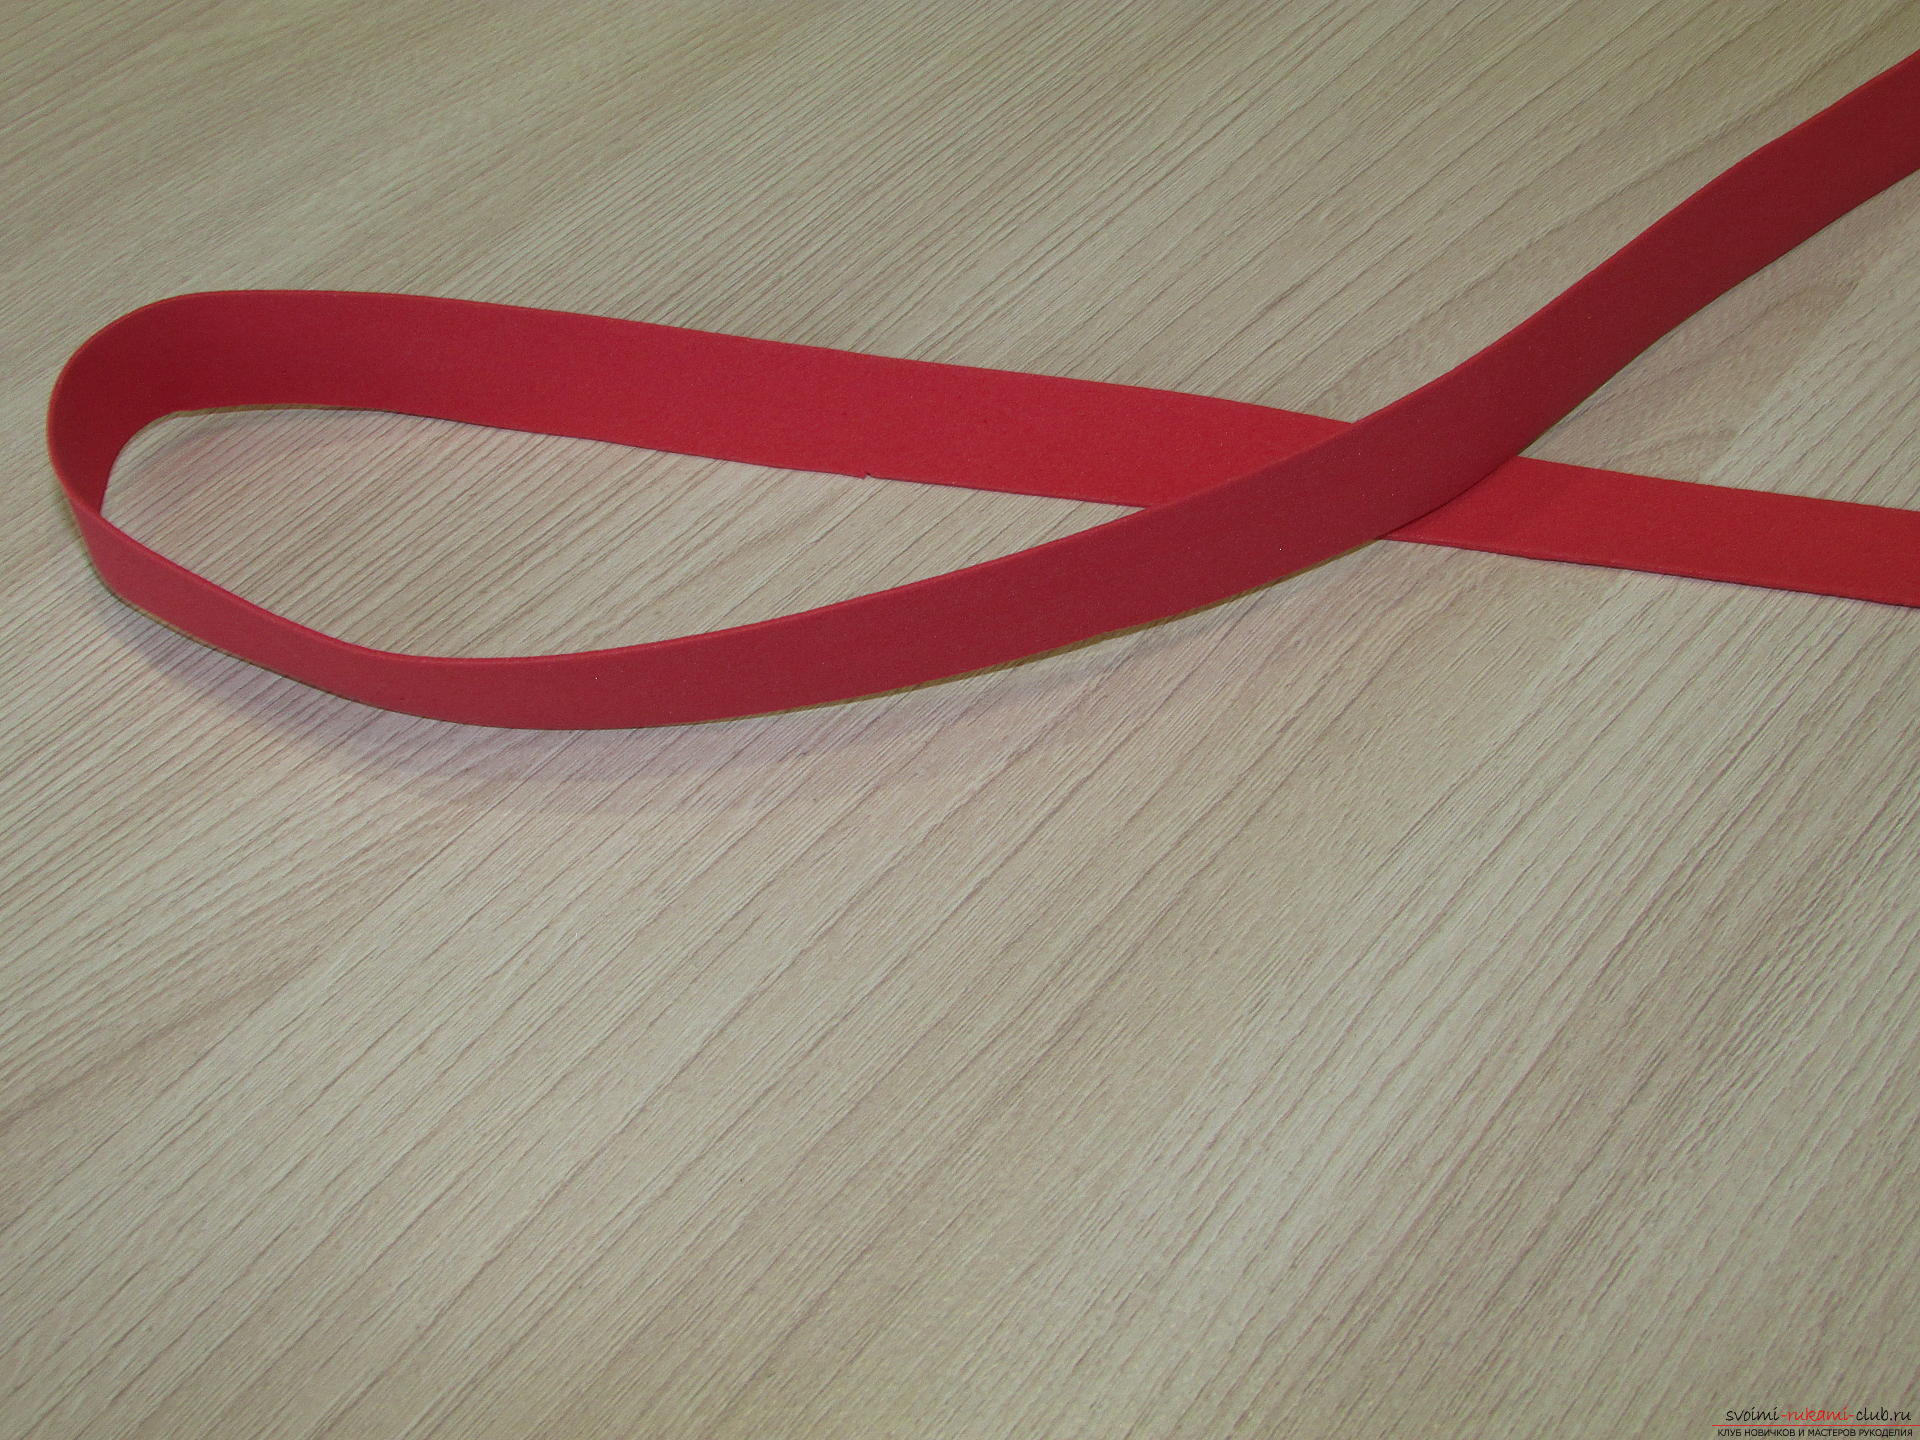 We cut these strips into squares - 184 pieces.
 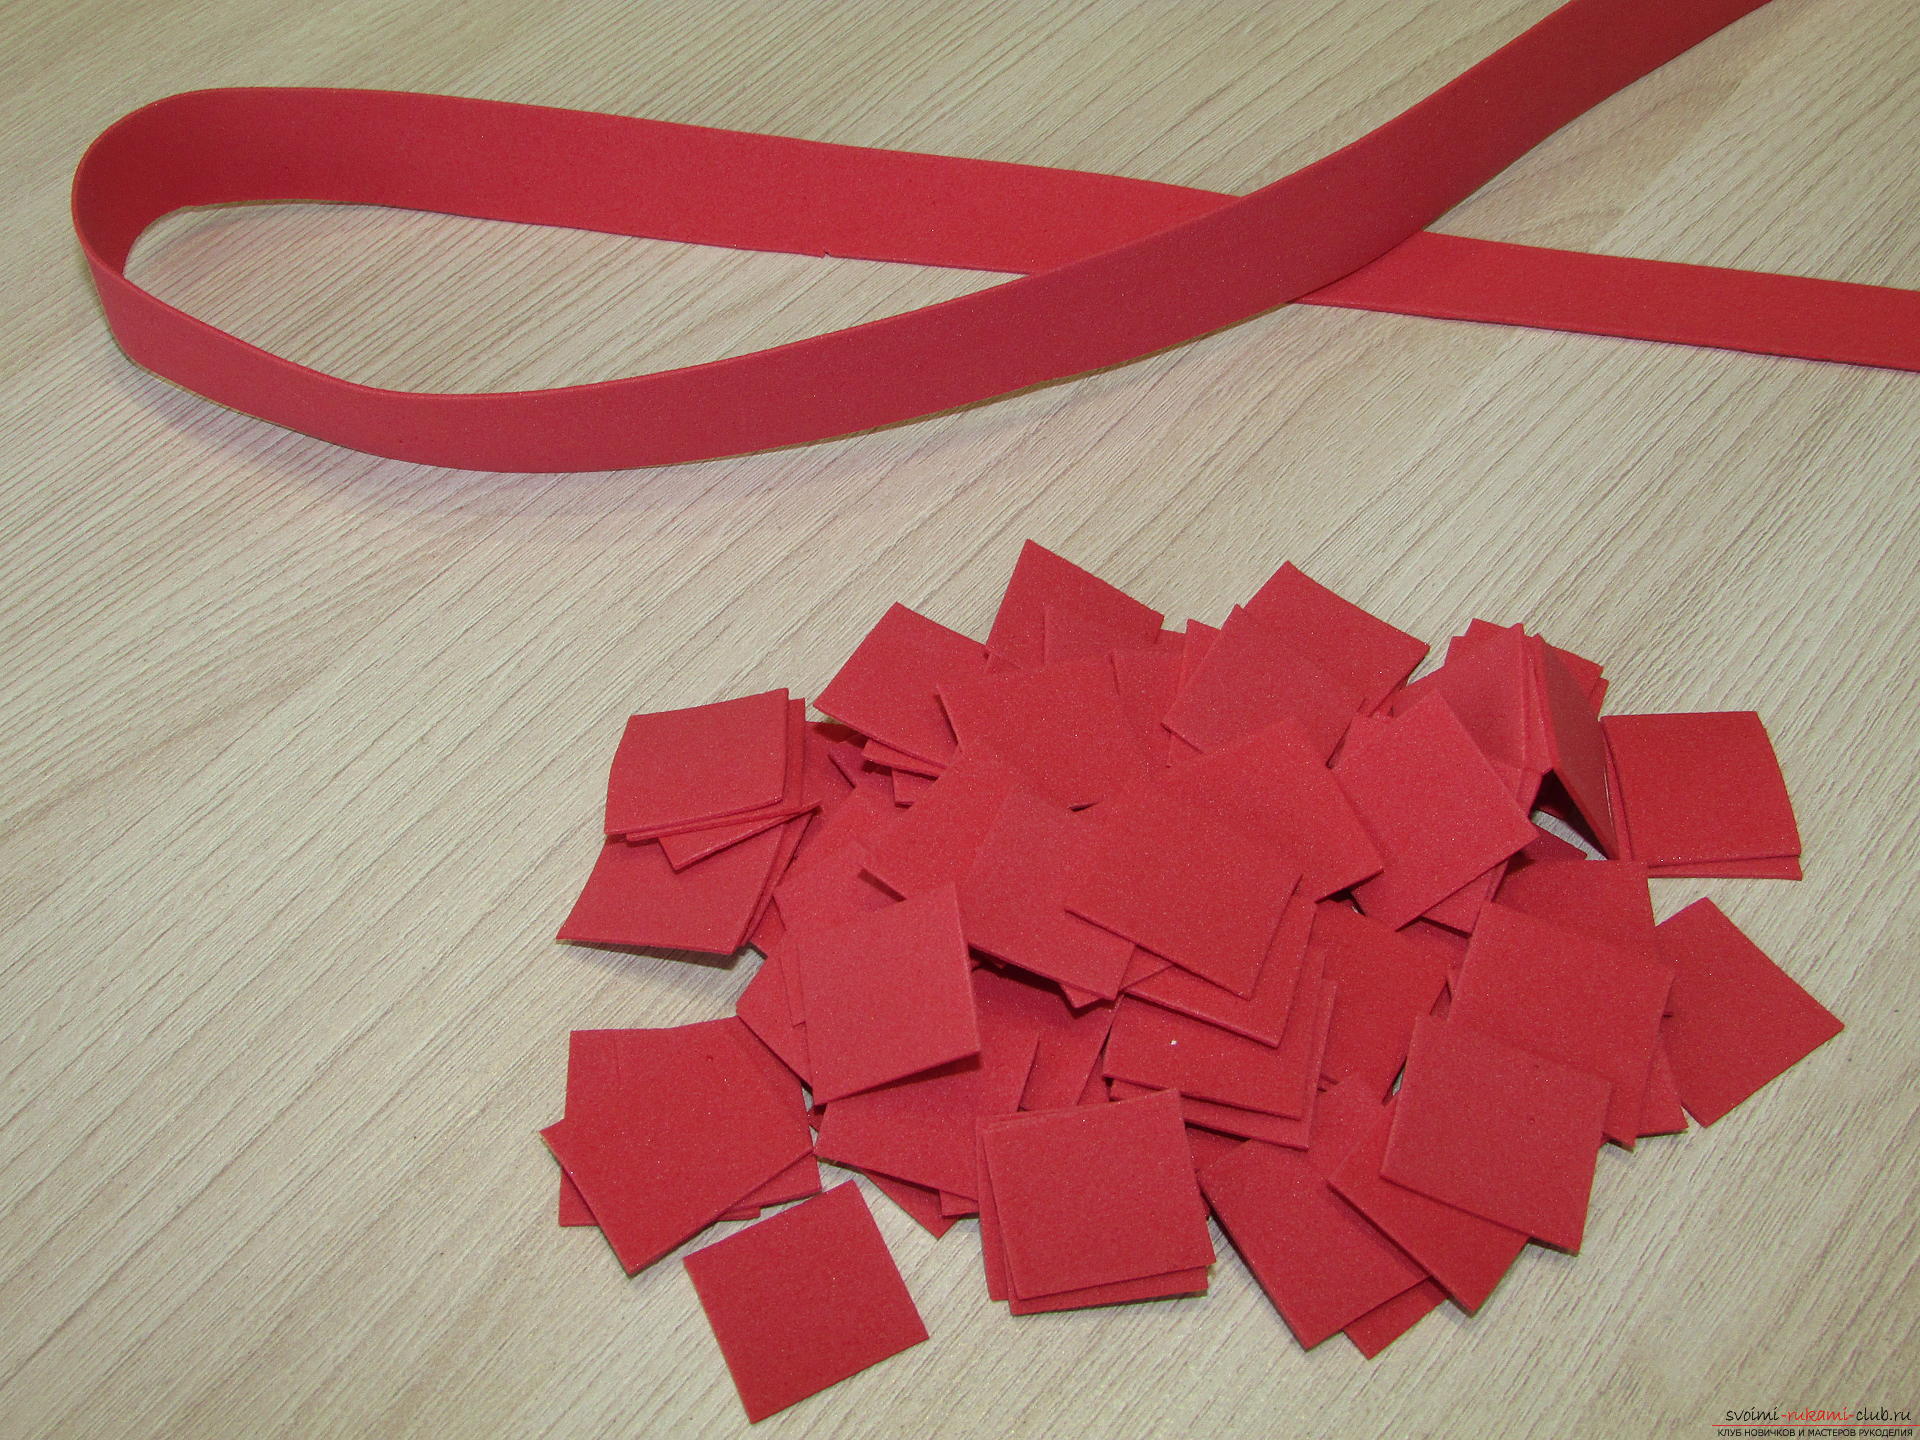 From each square we cut the petals in the form of a droplet. To do this, simply cut three corners of the square.
 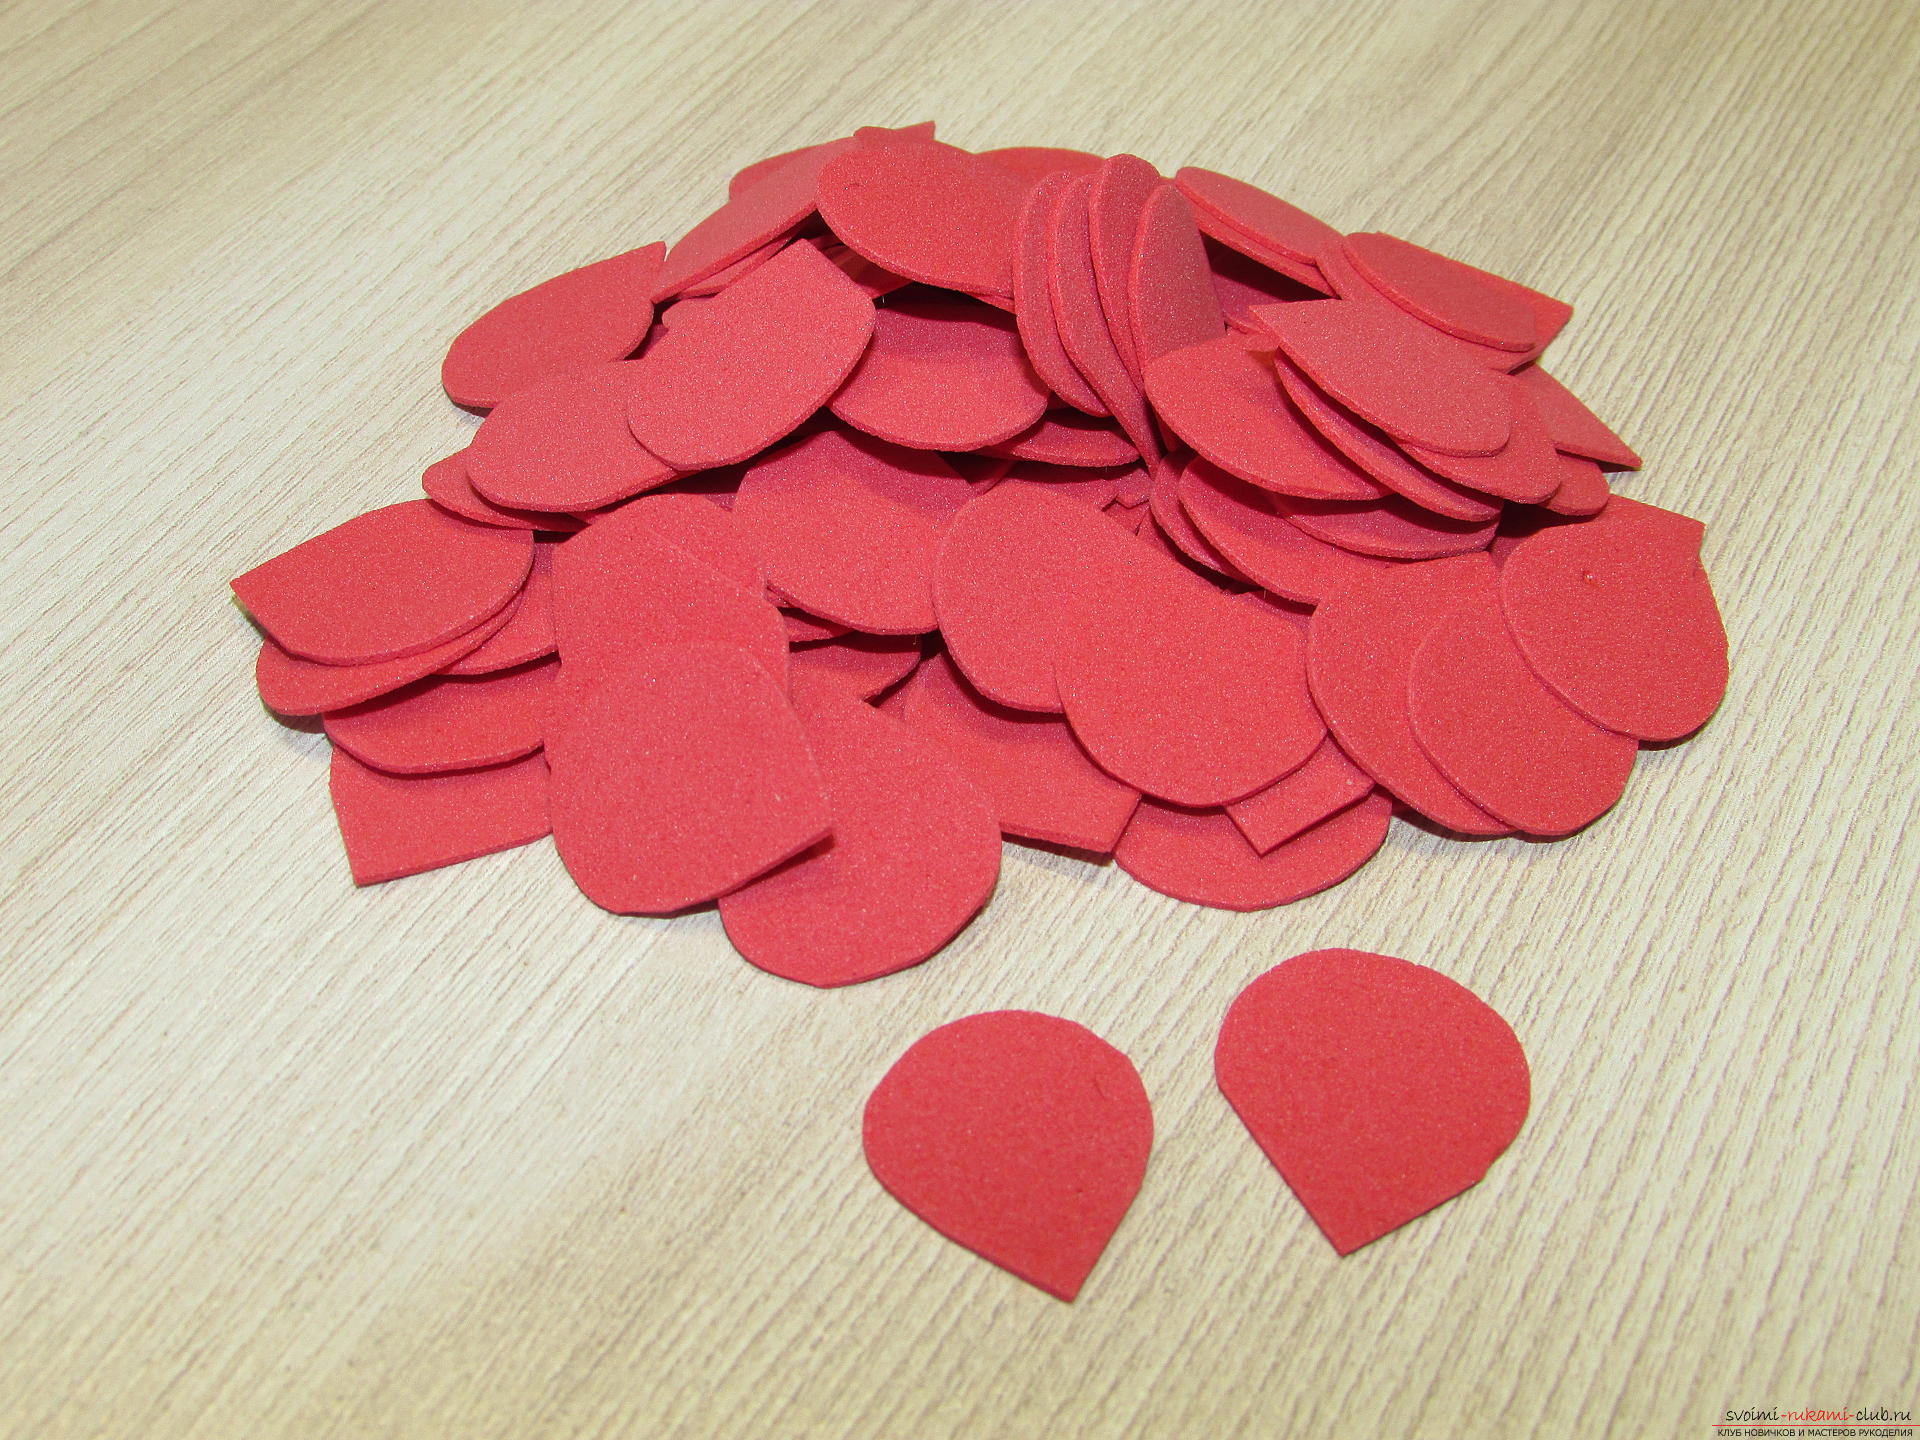 Since the flowers are small in size, we do notWe will process petals with iron, and immediately proceed to assembly. The first petal is simply rolled into a tube. Next, using a drop of glue, glue alternately the remaining 7 petals.
 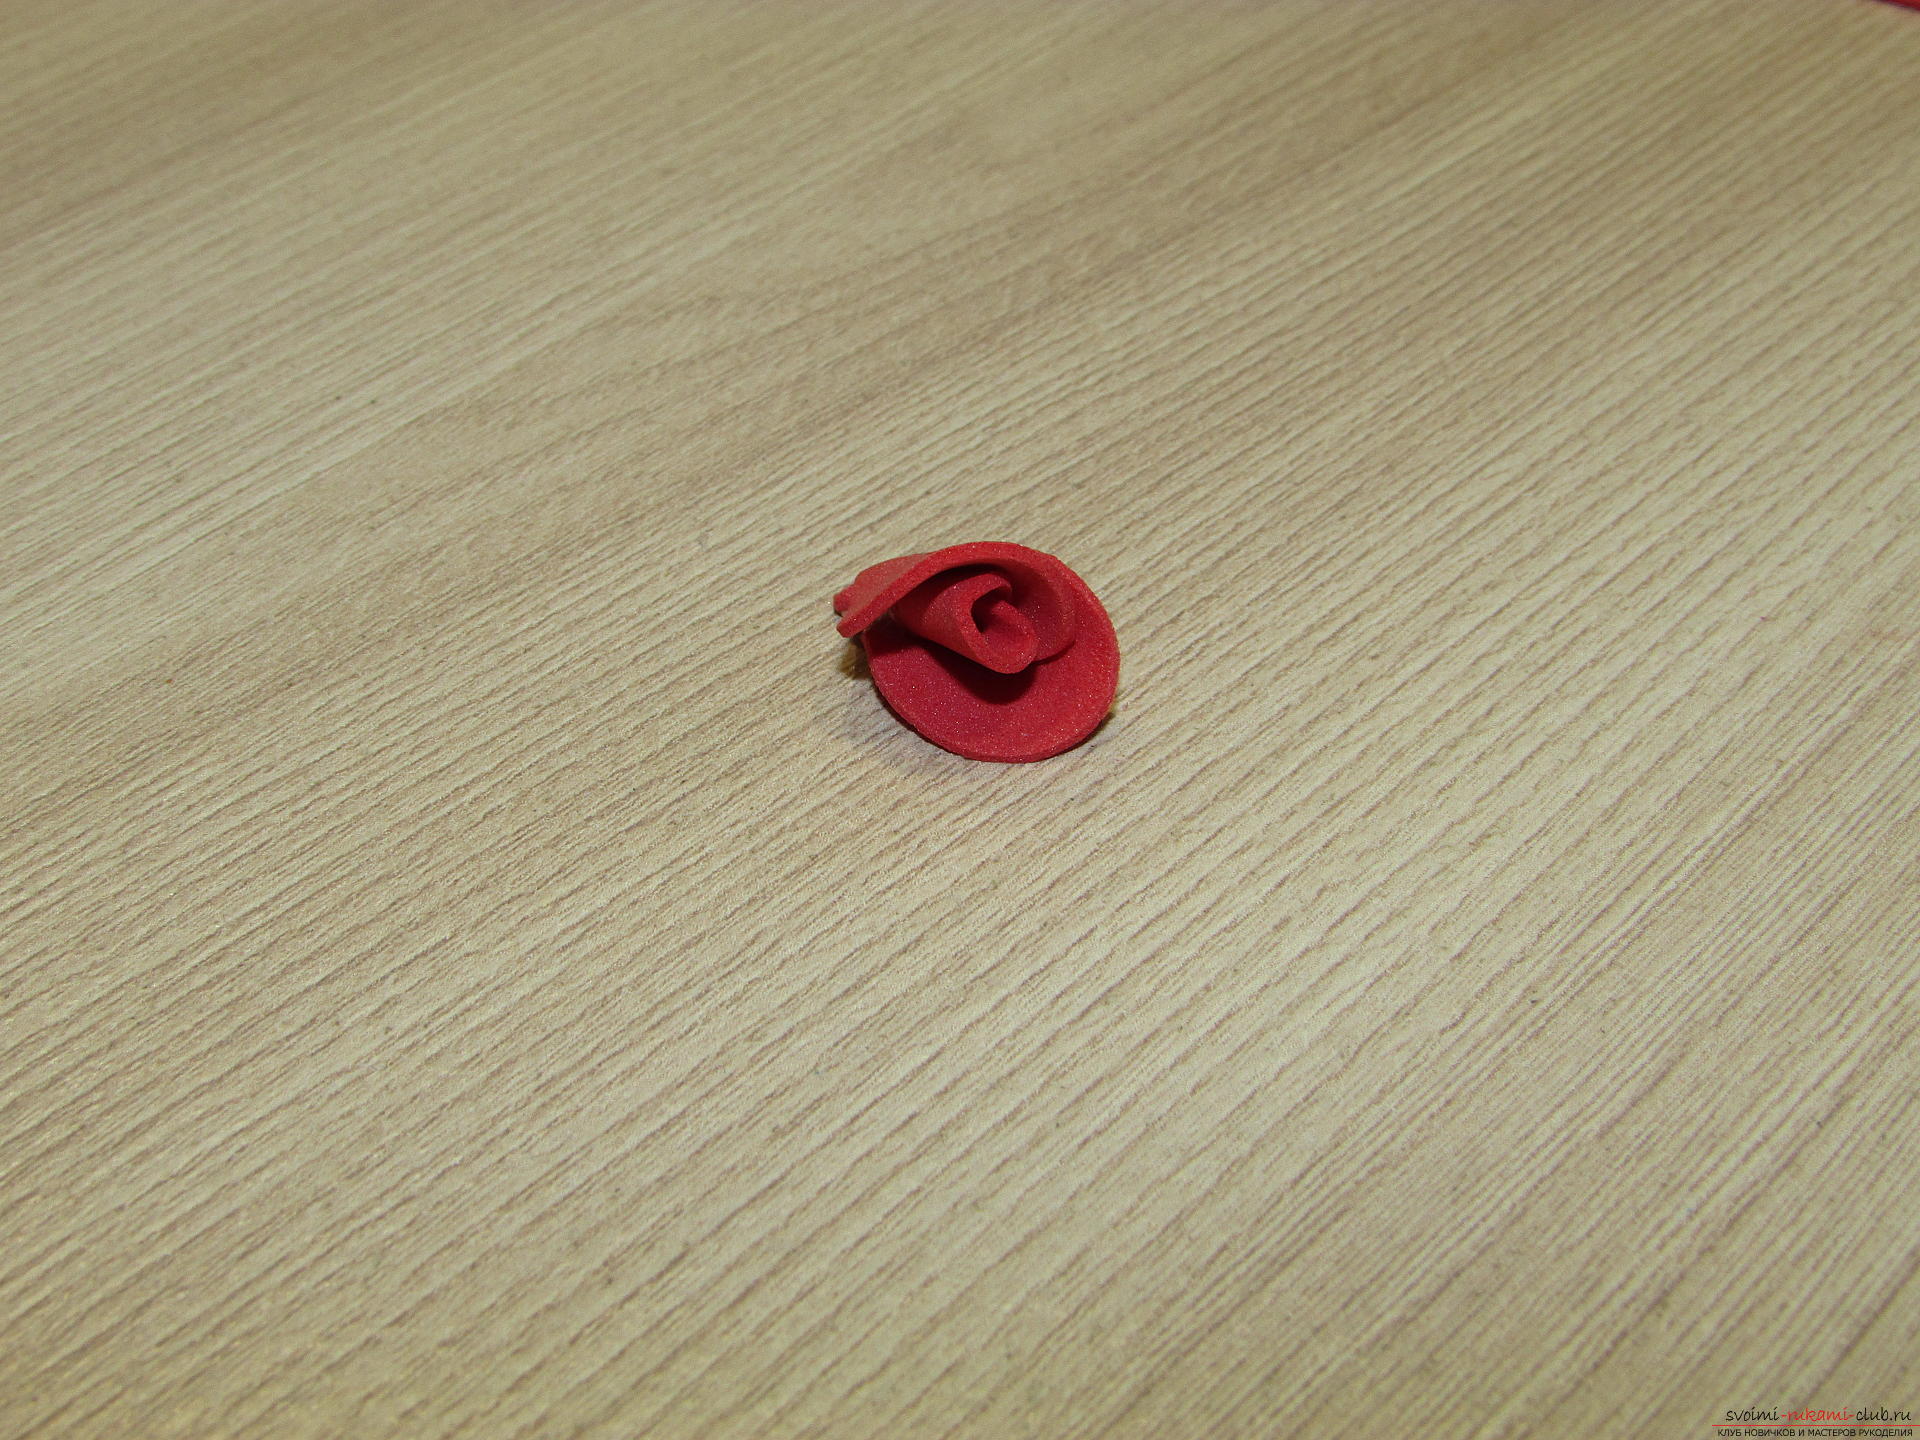 The flower is ready.
 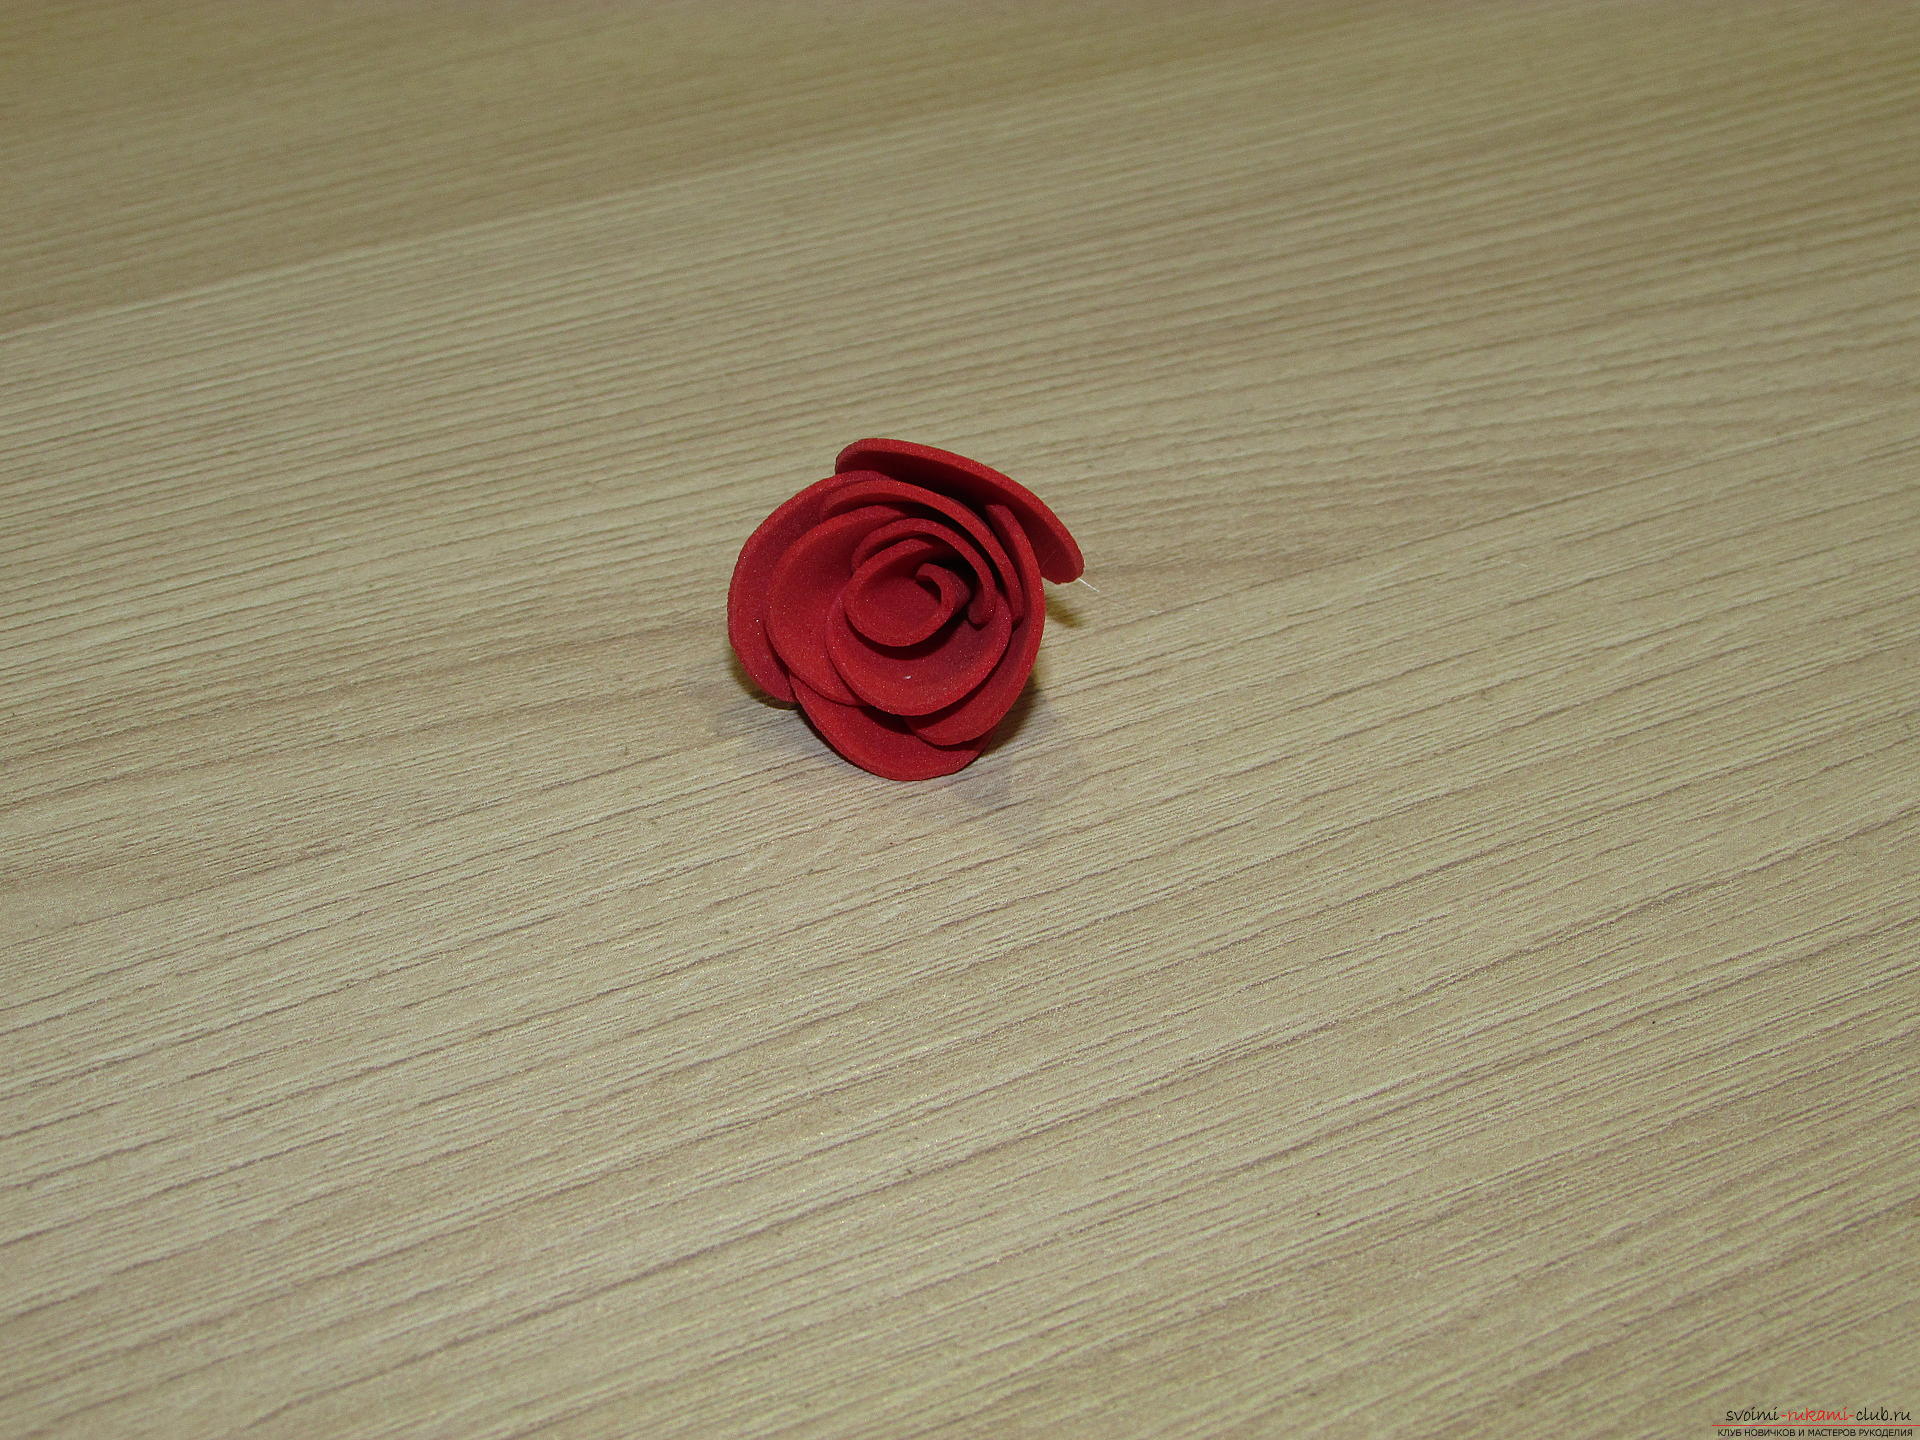 By the same principle we collect the remaining 22 flowers.
 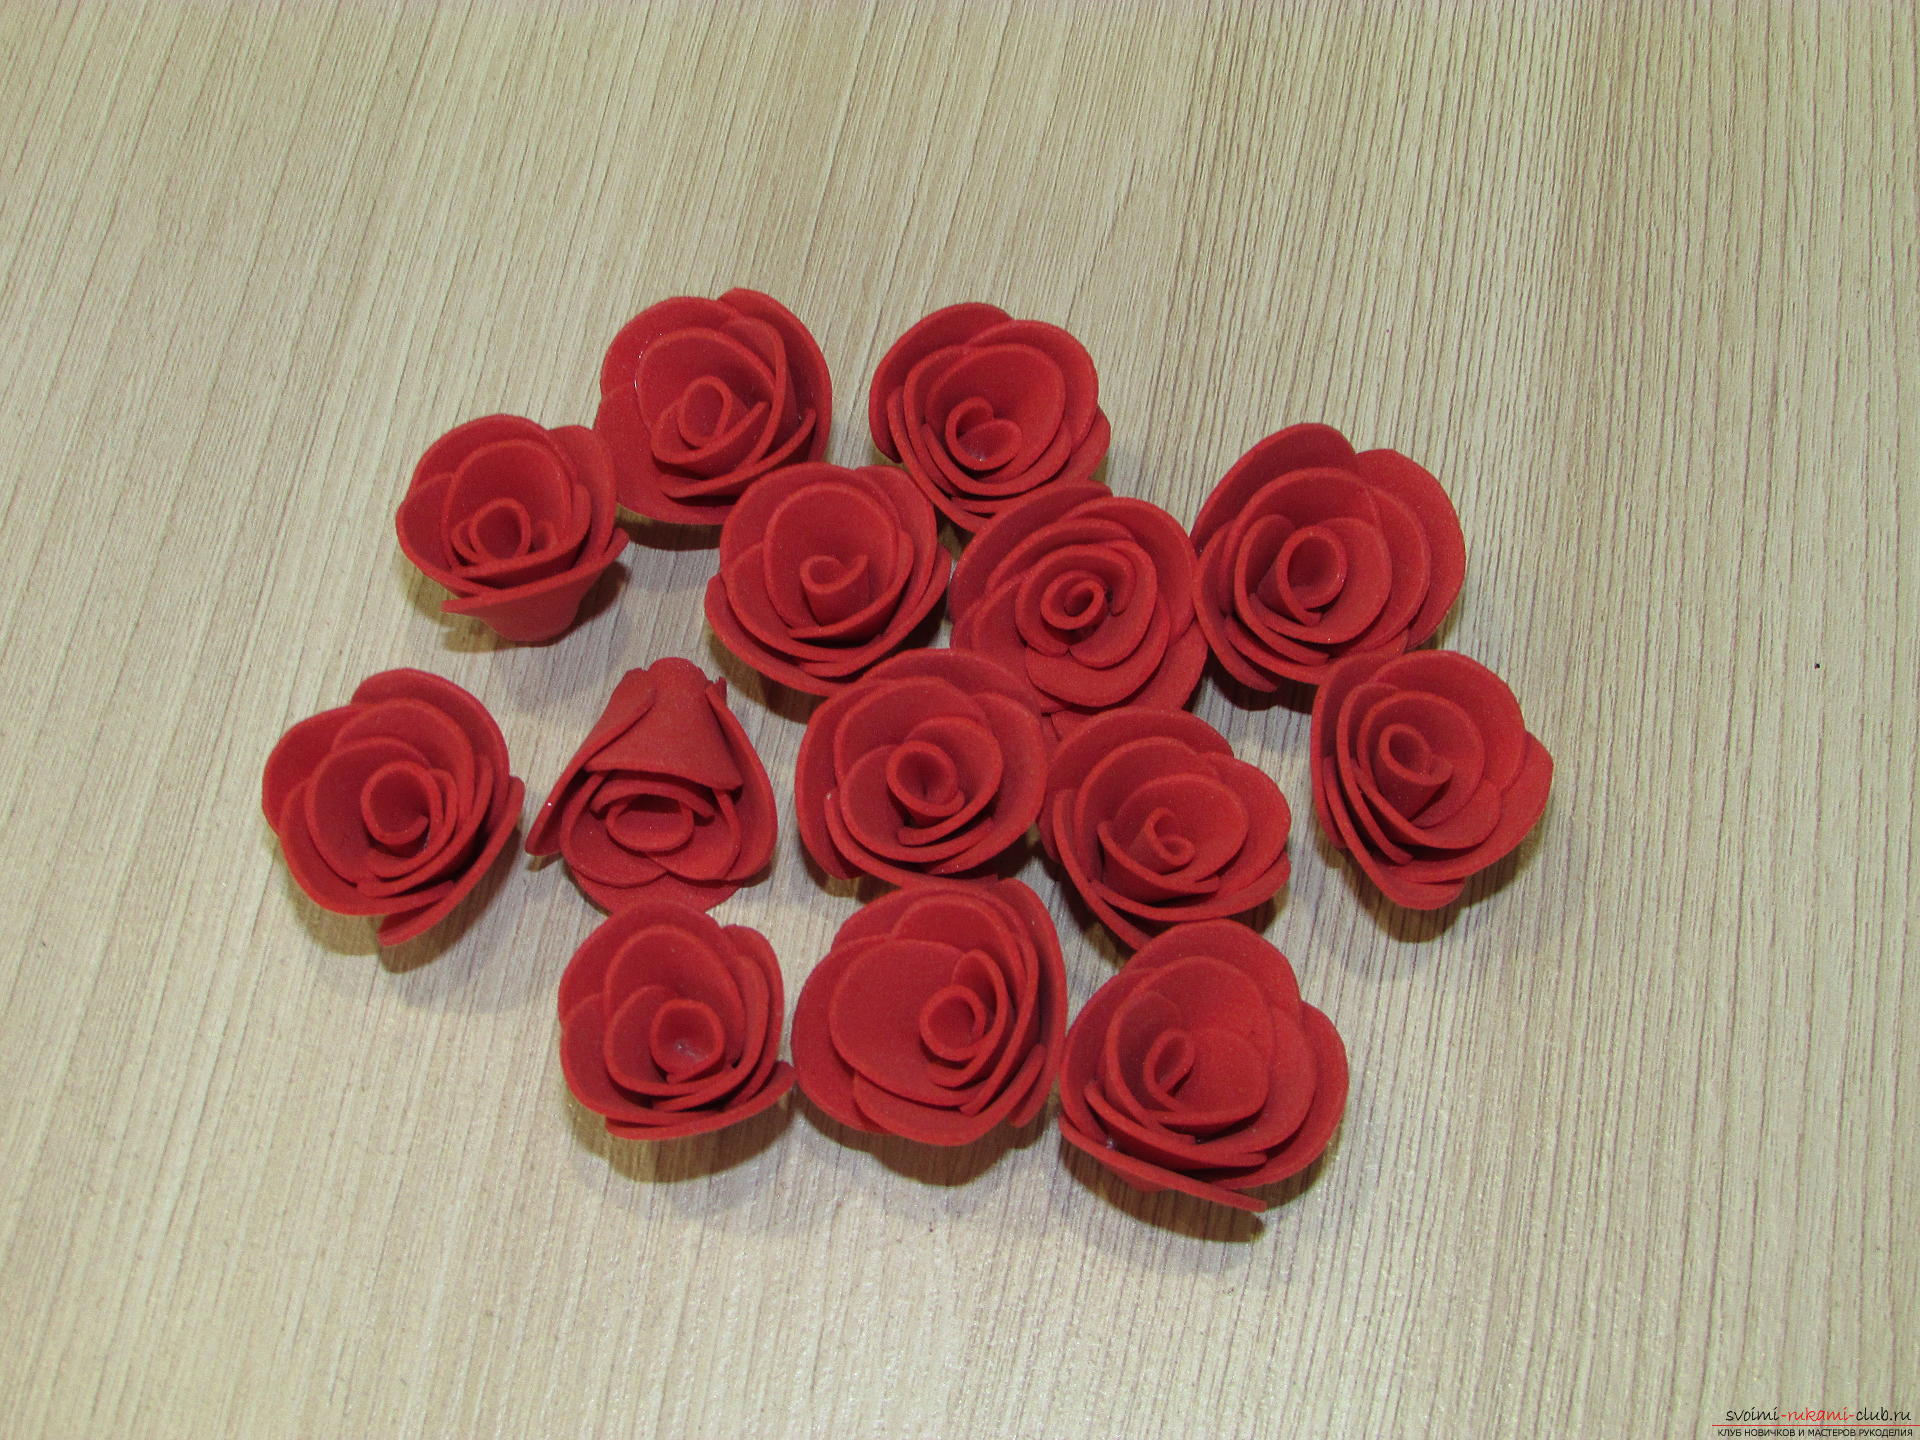 Give the roses a little liveliness. Take a strip of green foamiran width of 2.5 cm and cut thin triangles.
 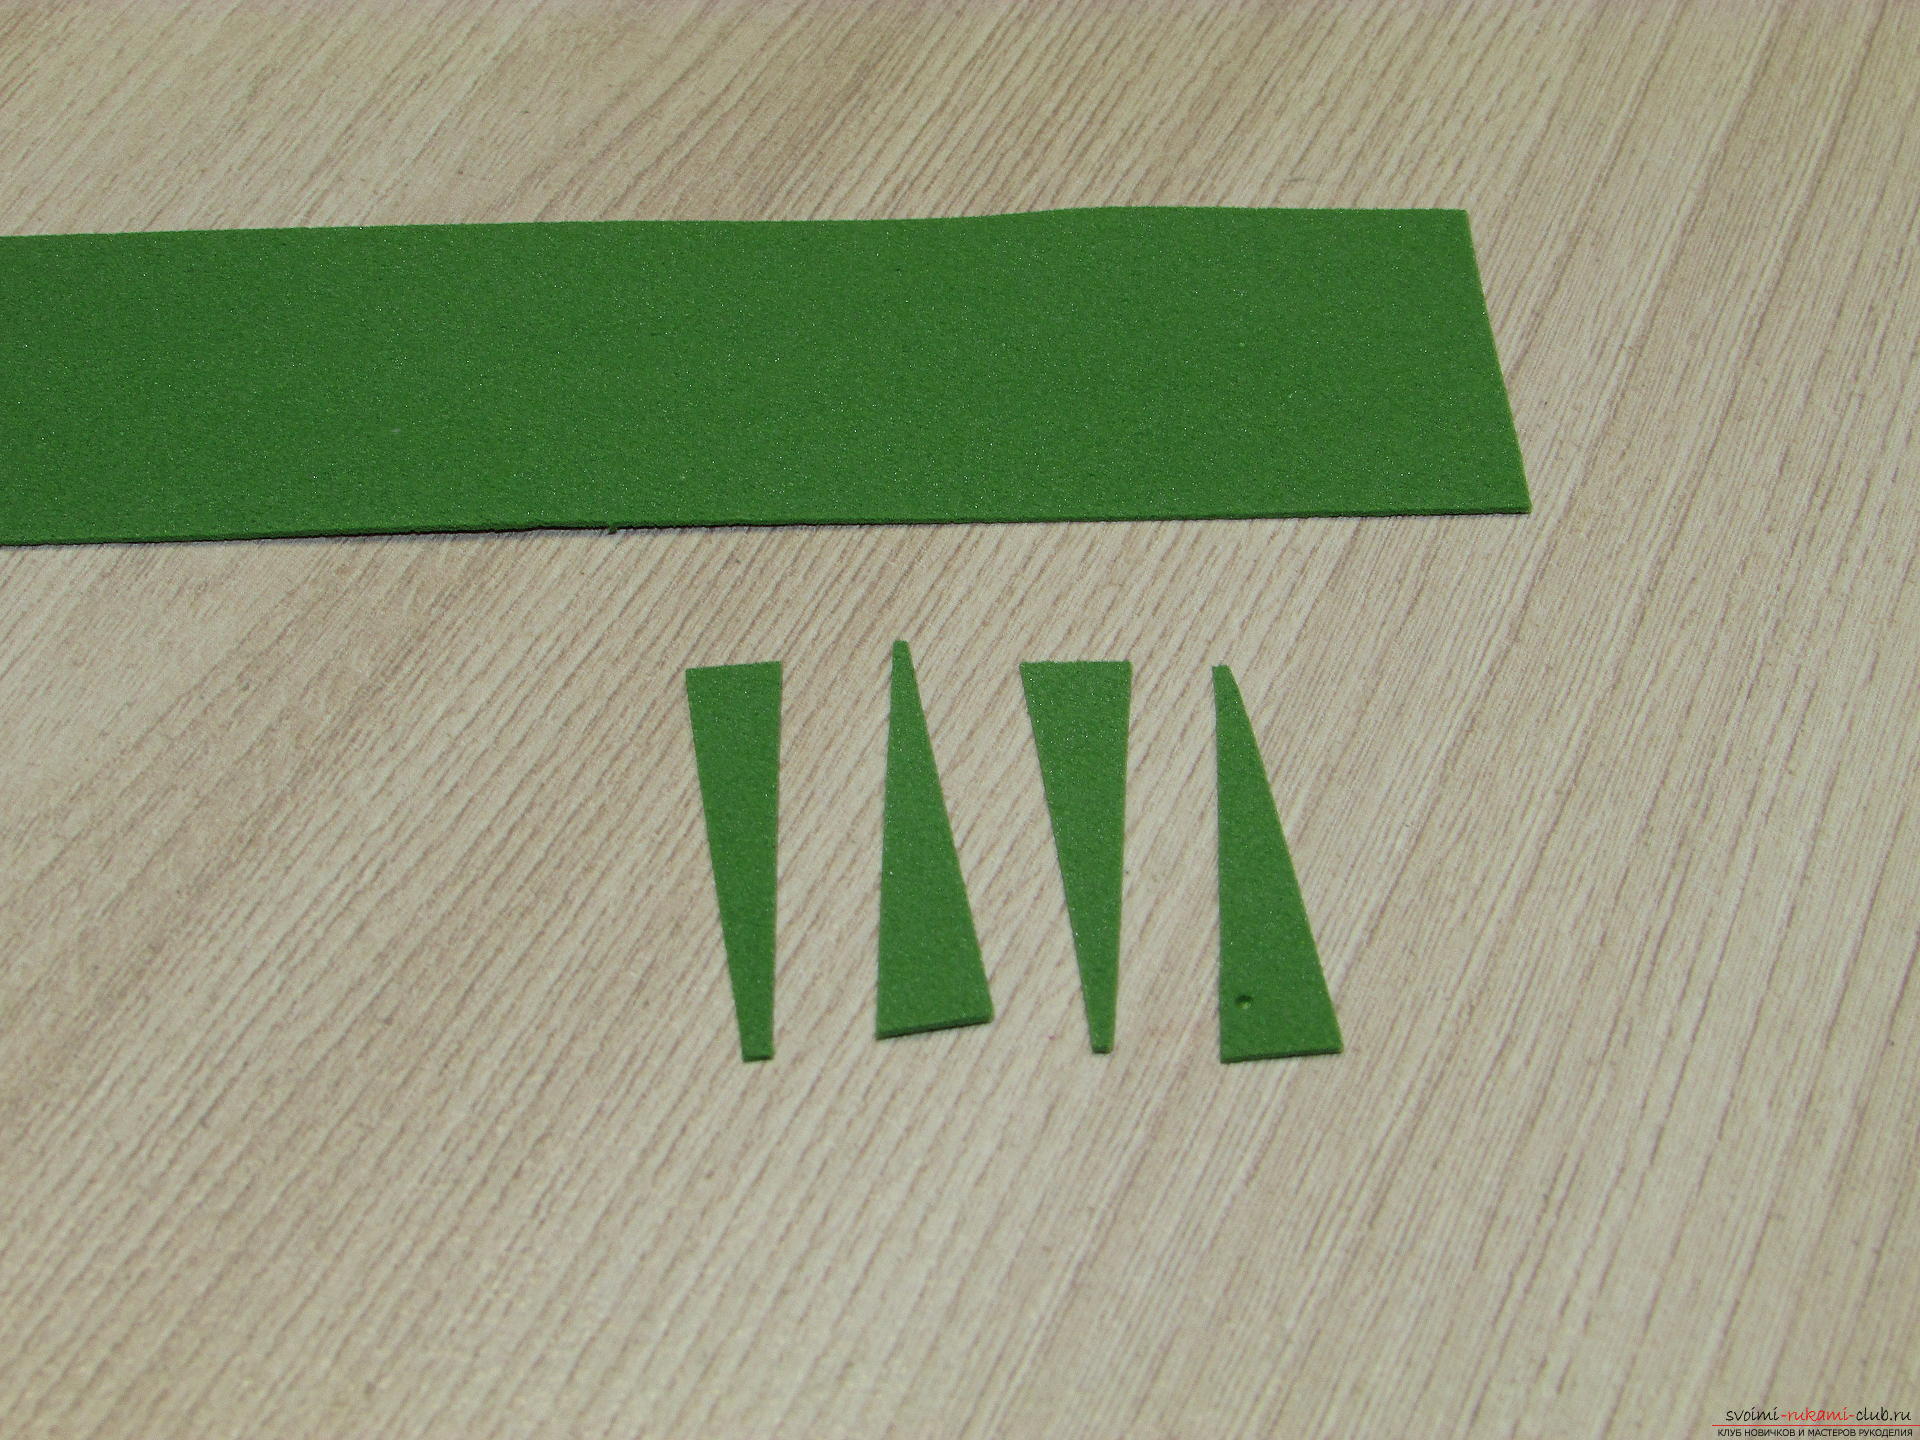 Slightly scroll each triangle between the fingers to make the ends twisted and wrinkled.
 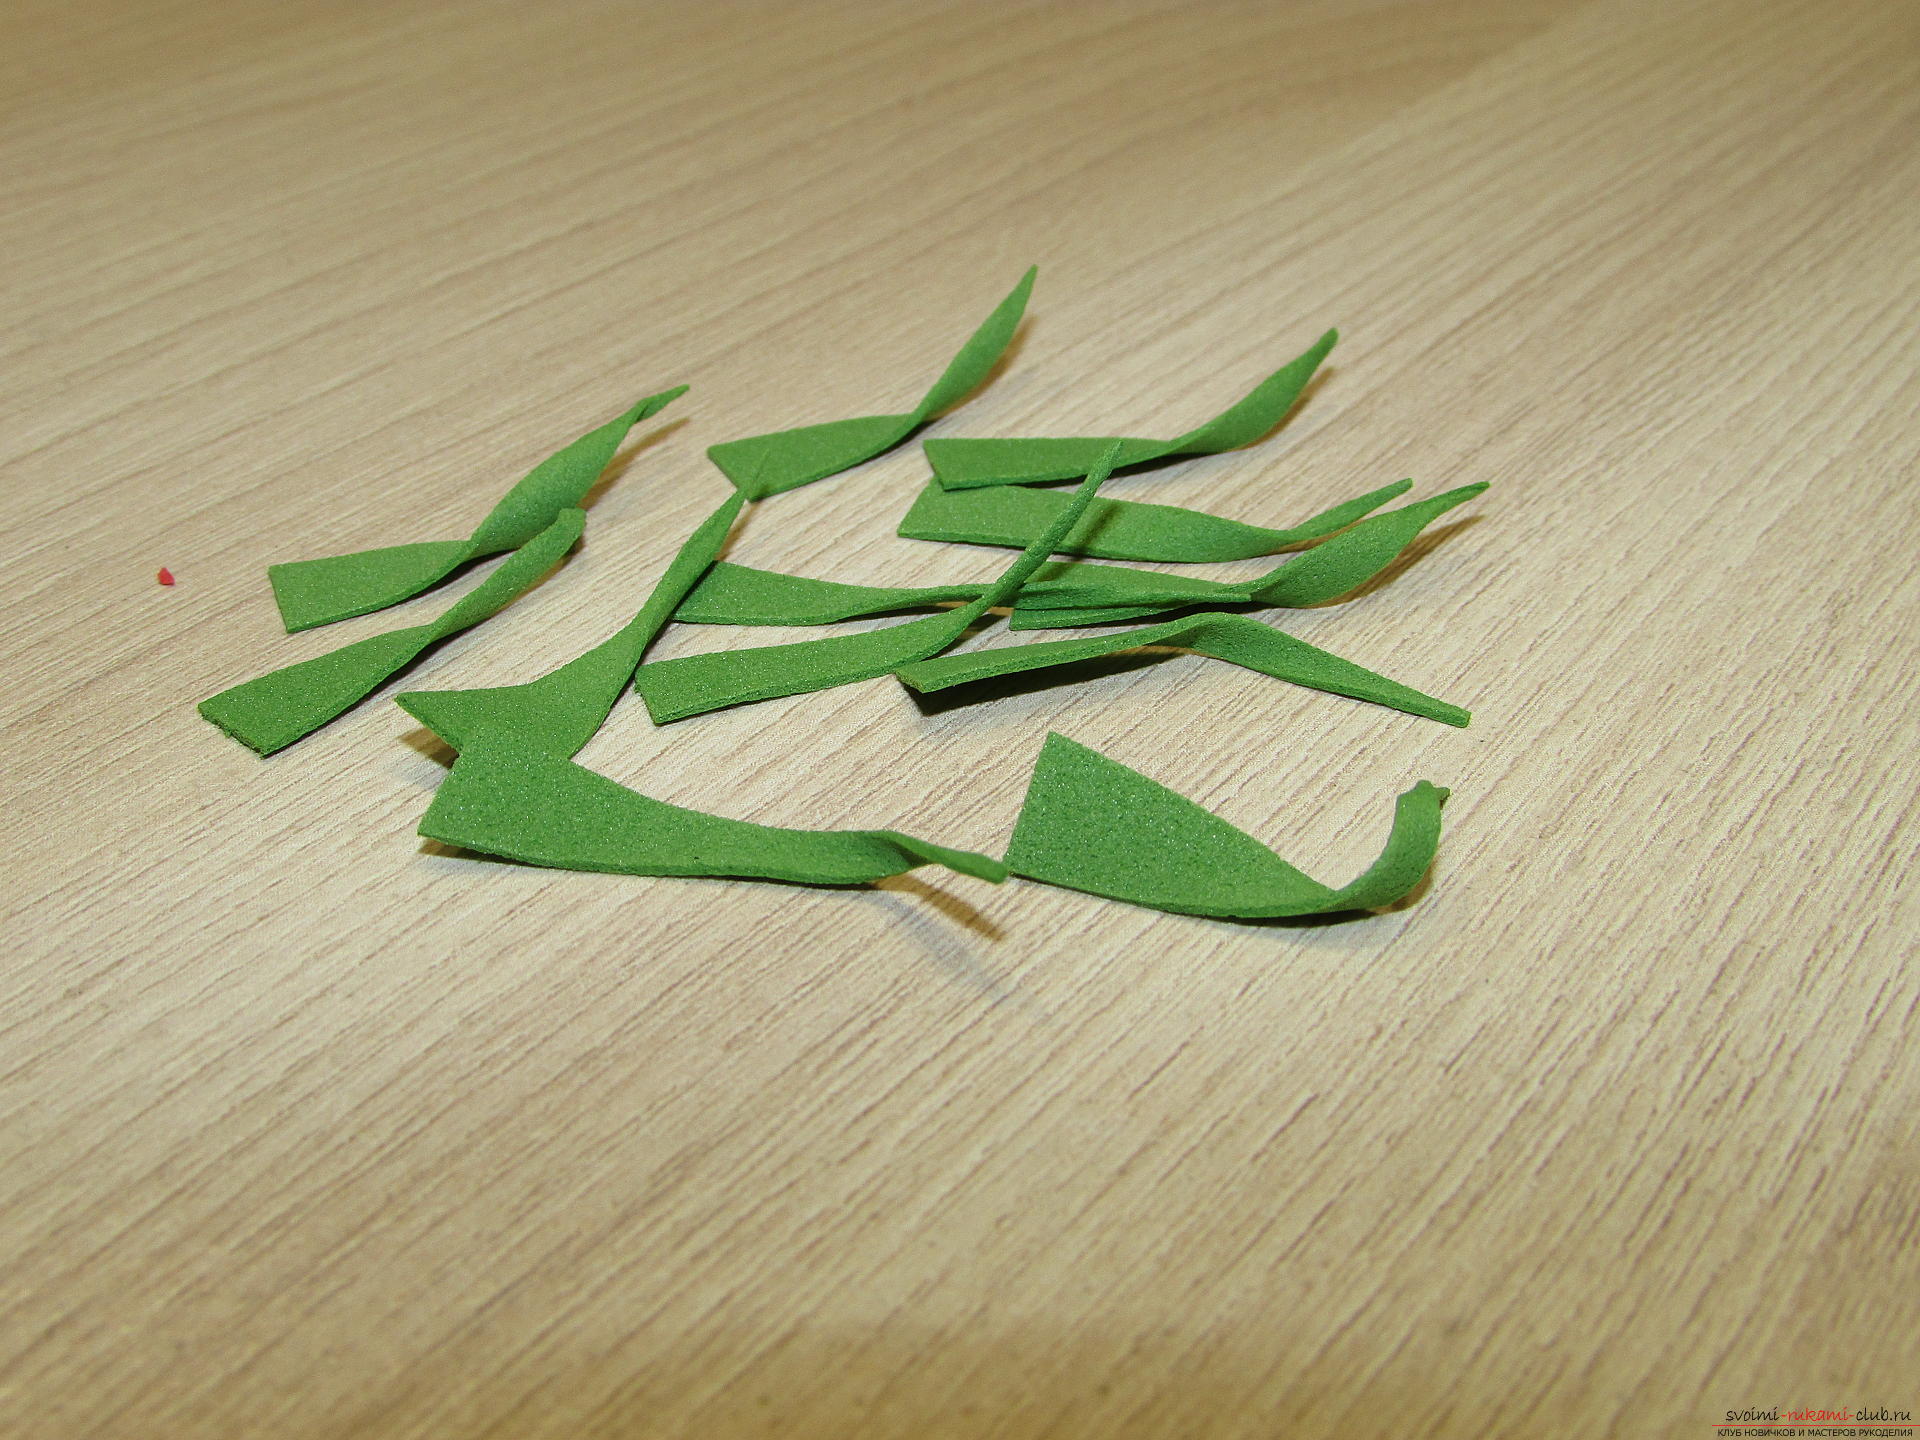 We glue to each rose three such green leaflets. This is an improvised sepal.
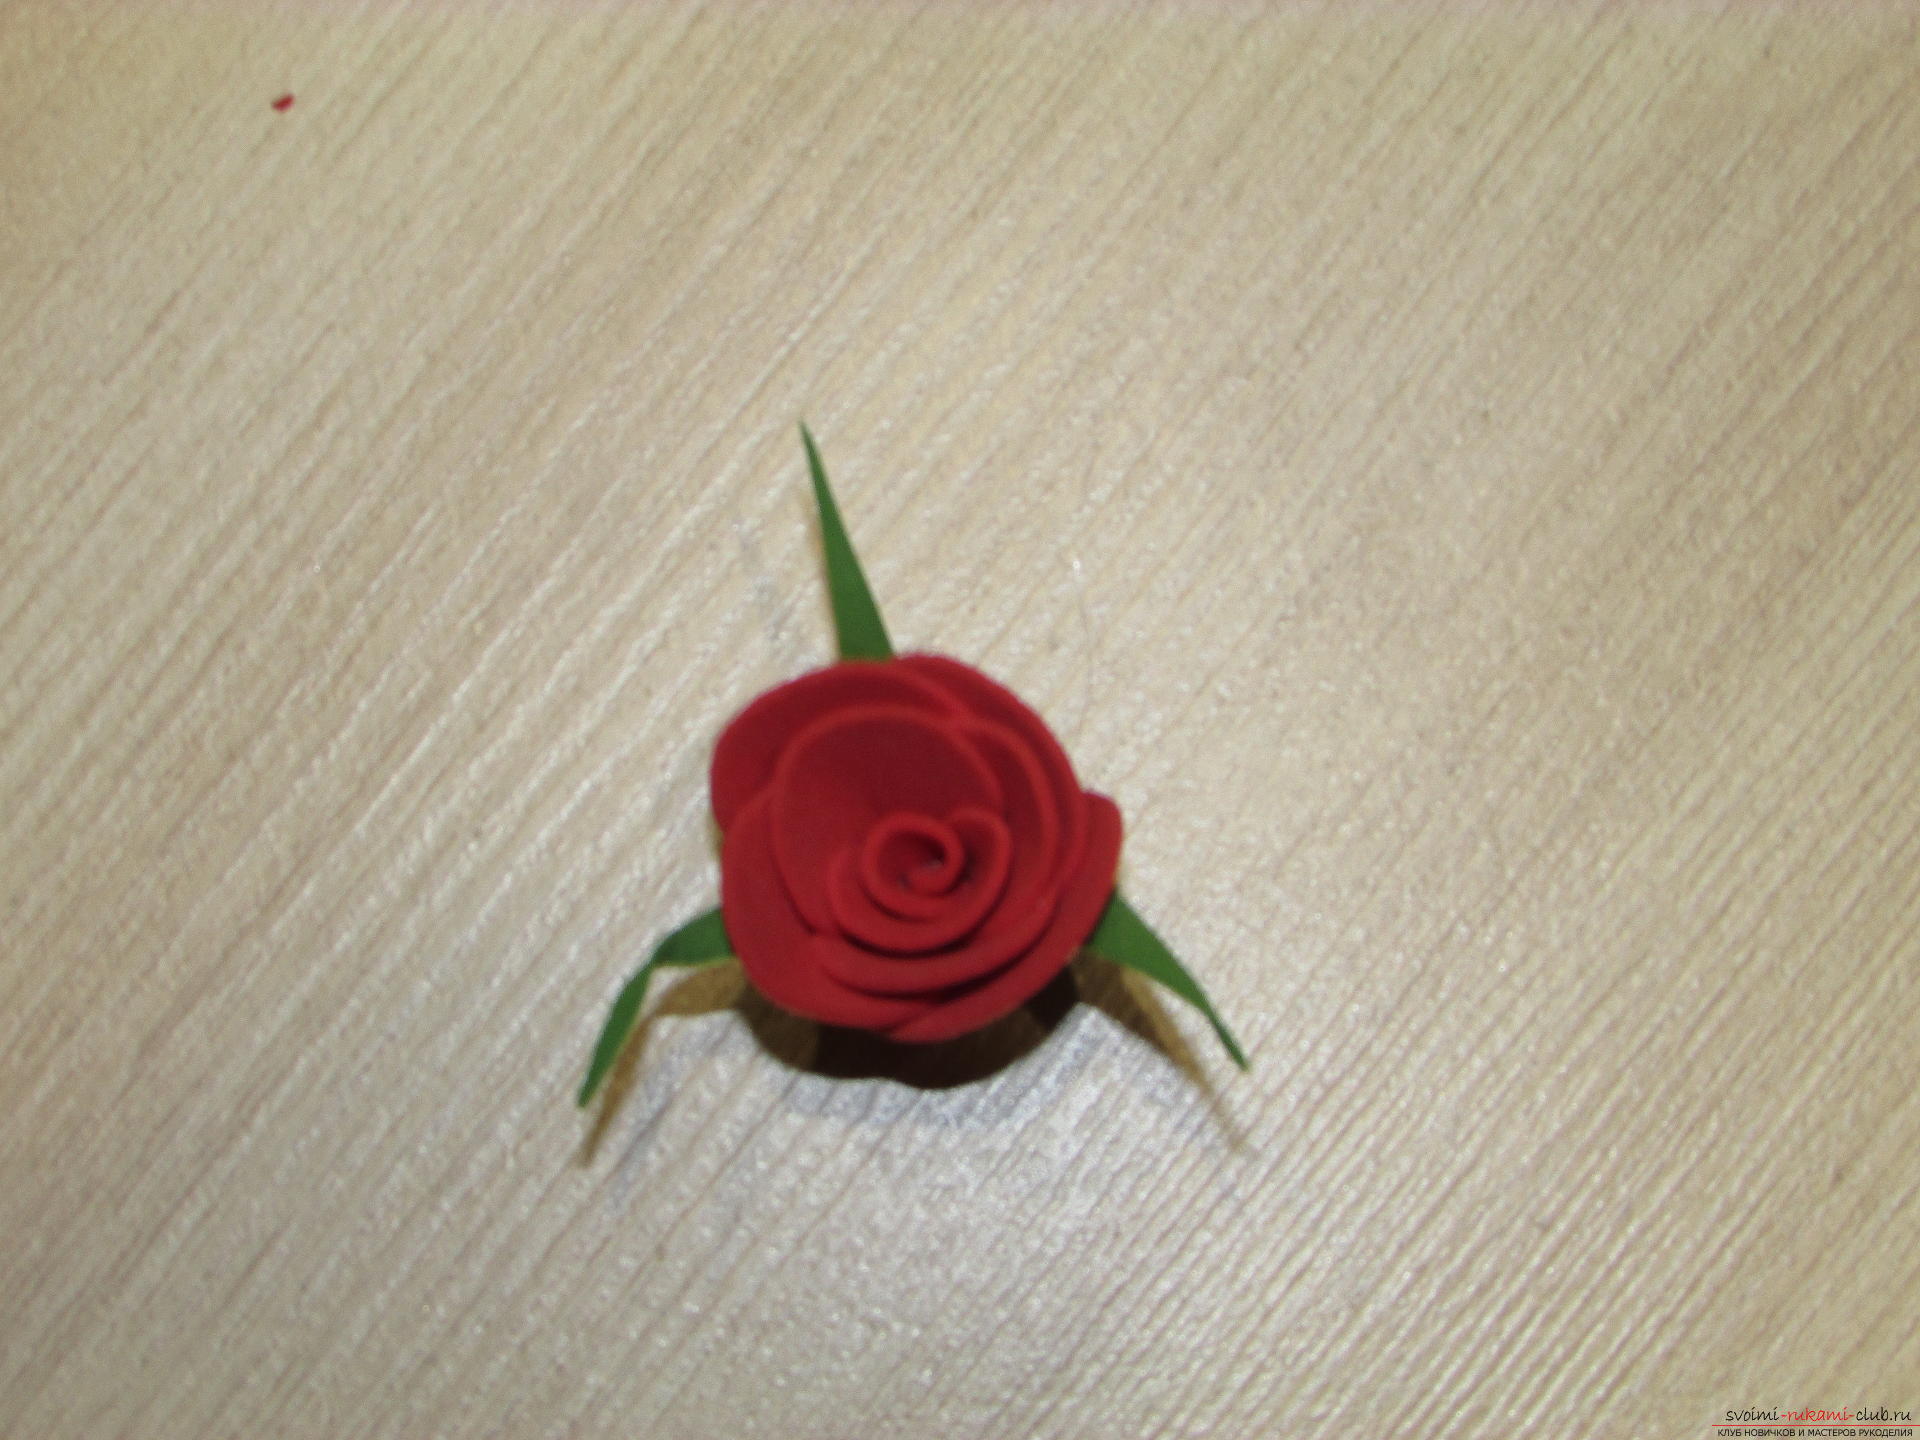
 Well, the flowers are ready, we begin to collect the bouquet. We begin to glue the roses on the contour of the heart, laying them on the side.
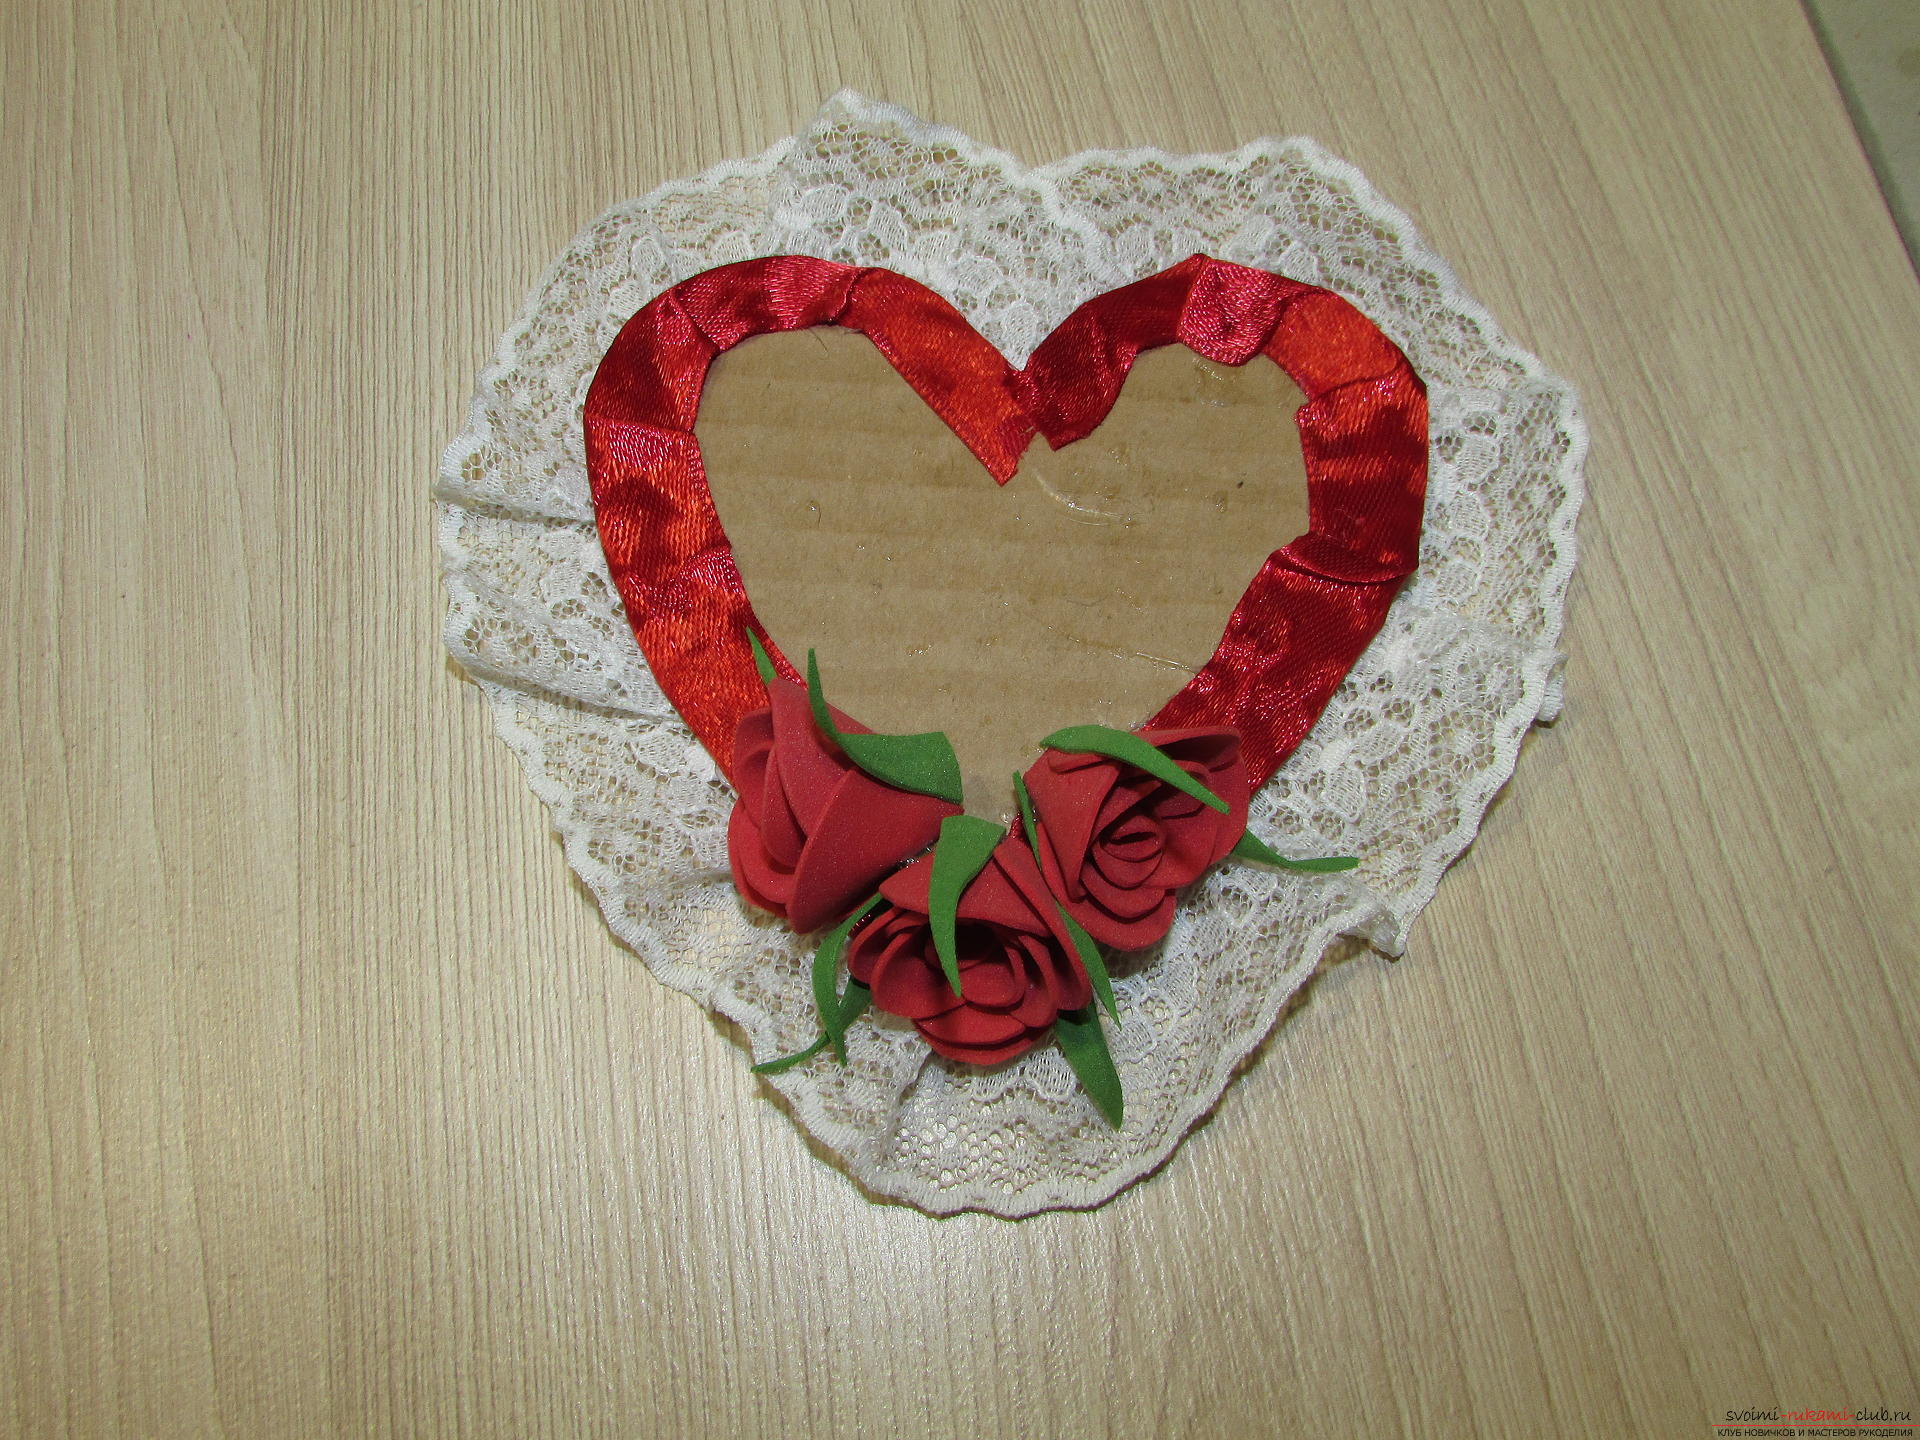
 Now fill the middle of the heart.
 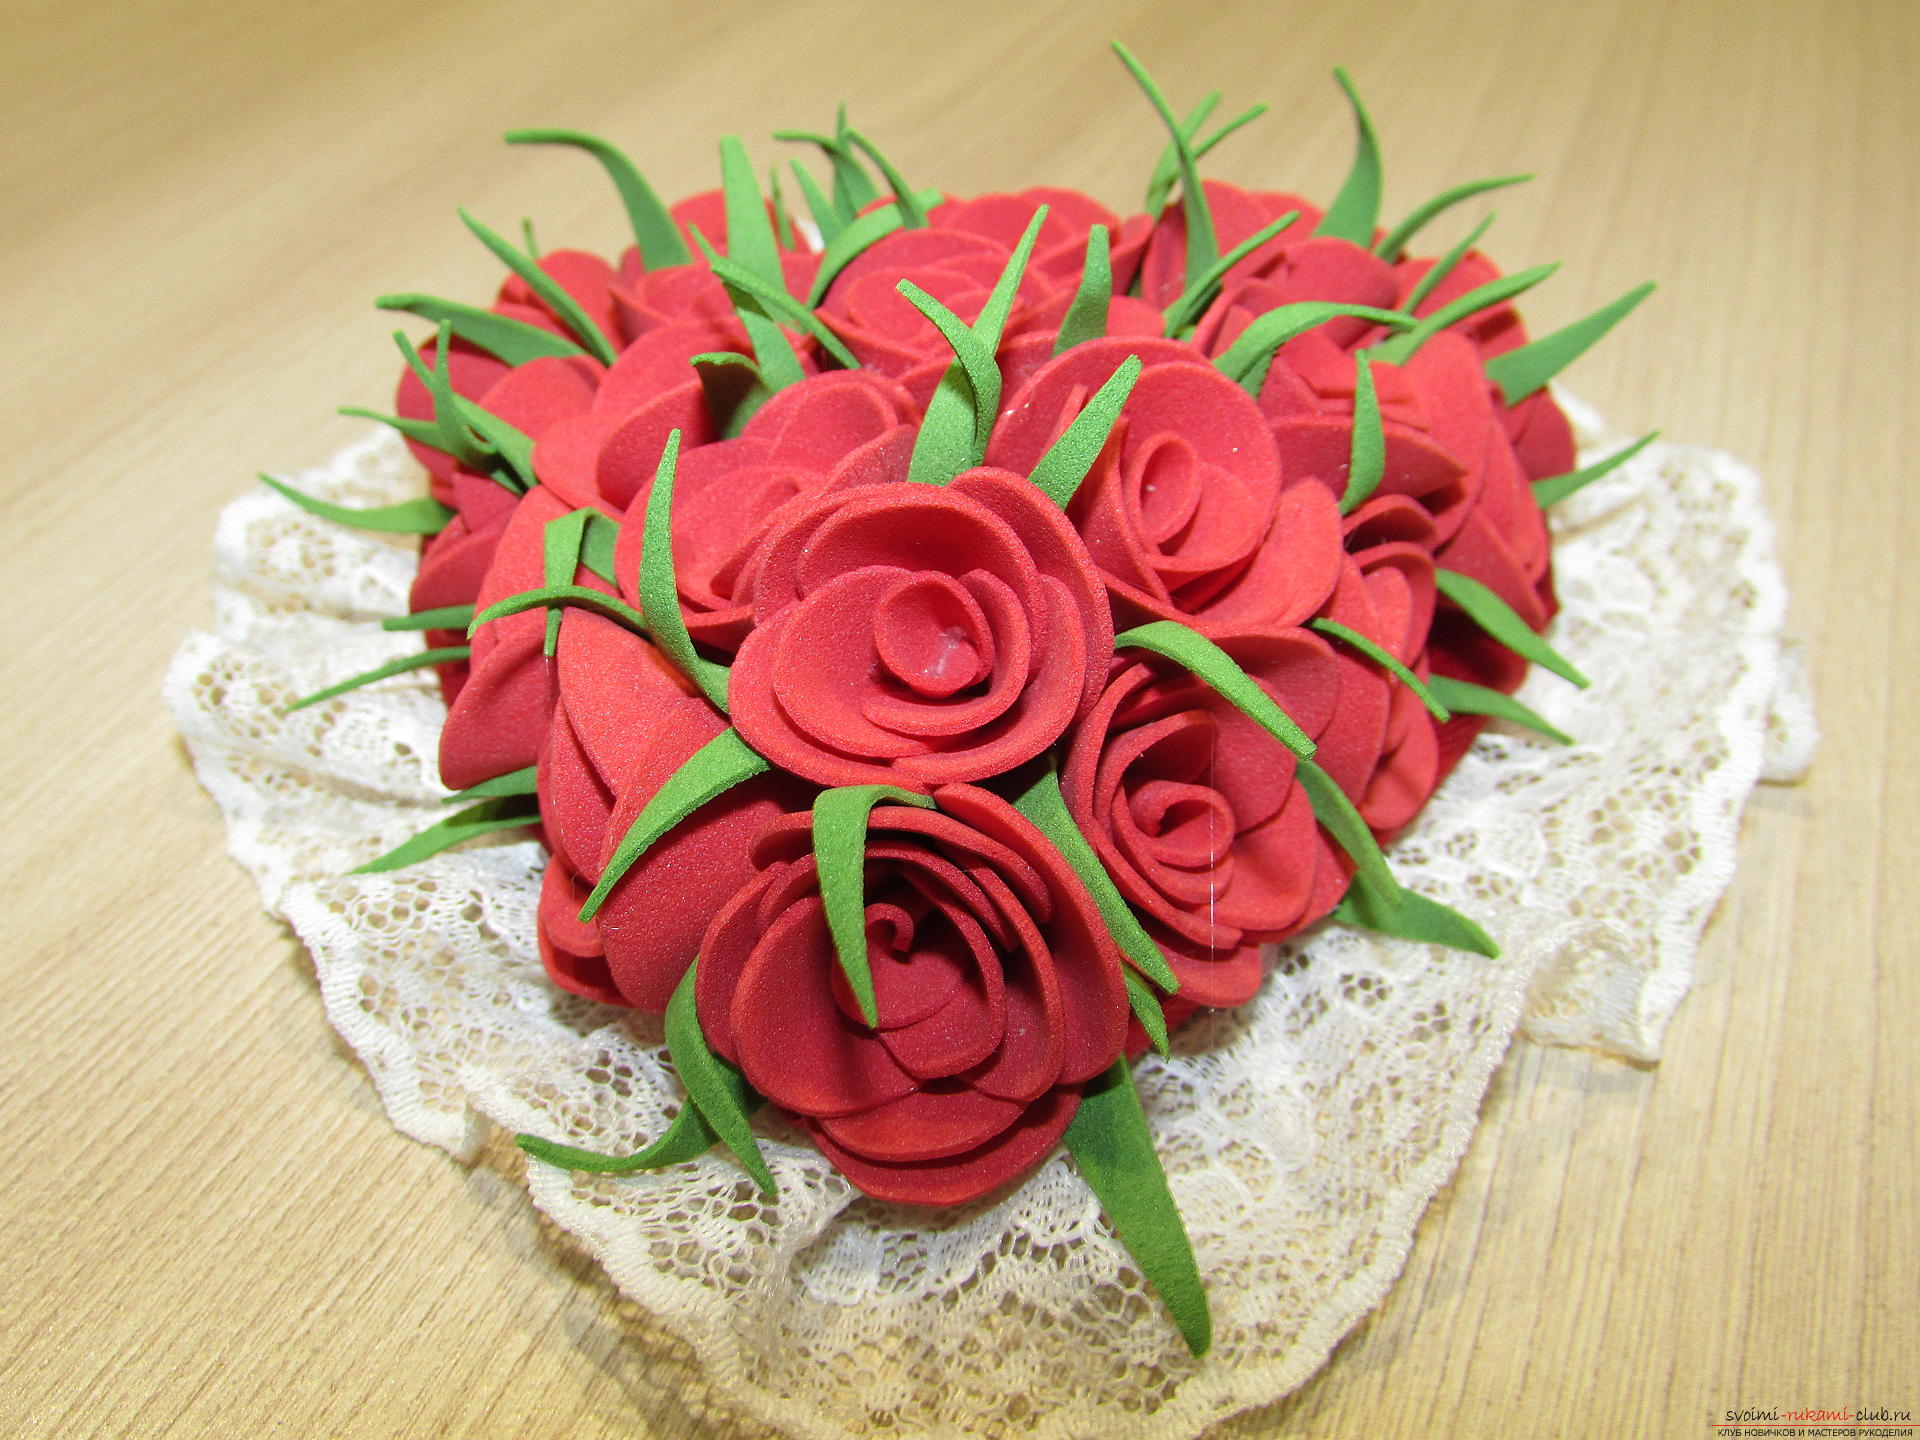 Here such beauty at us has turned out! We glue a bow from a satin ribbon or organza.
 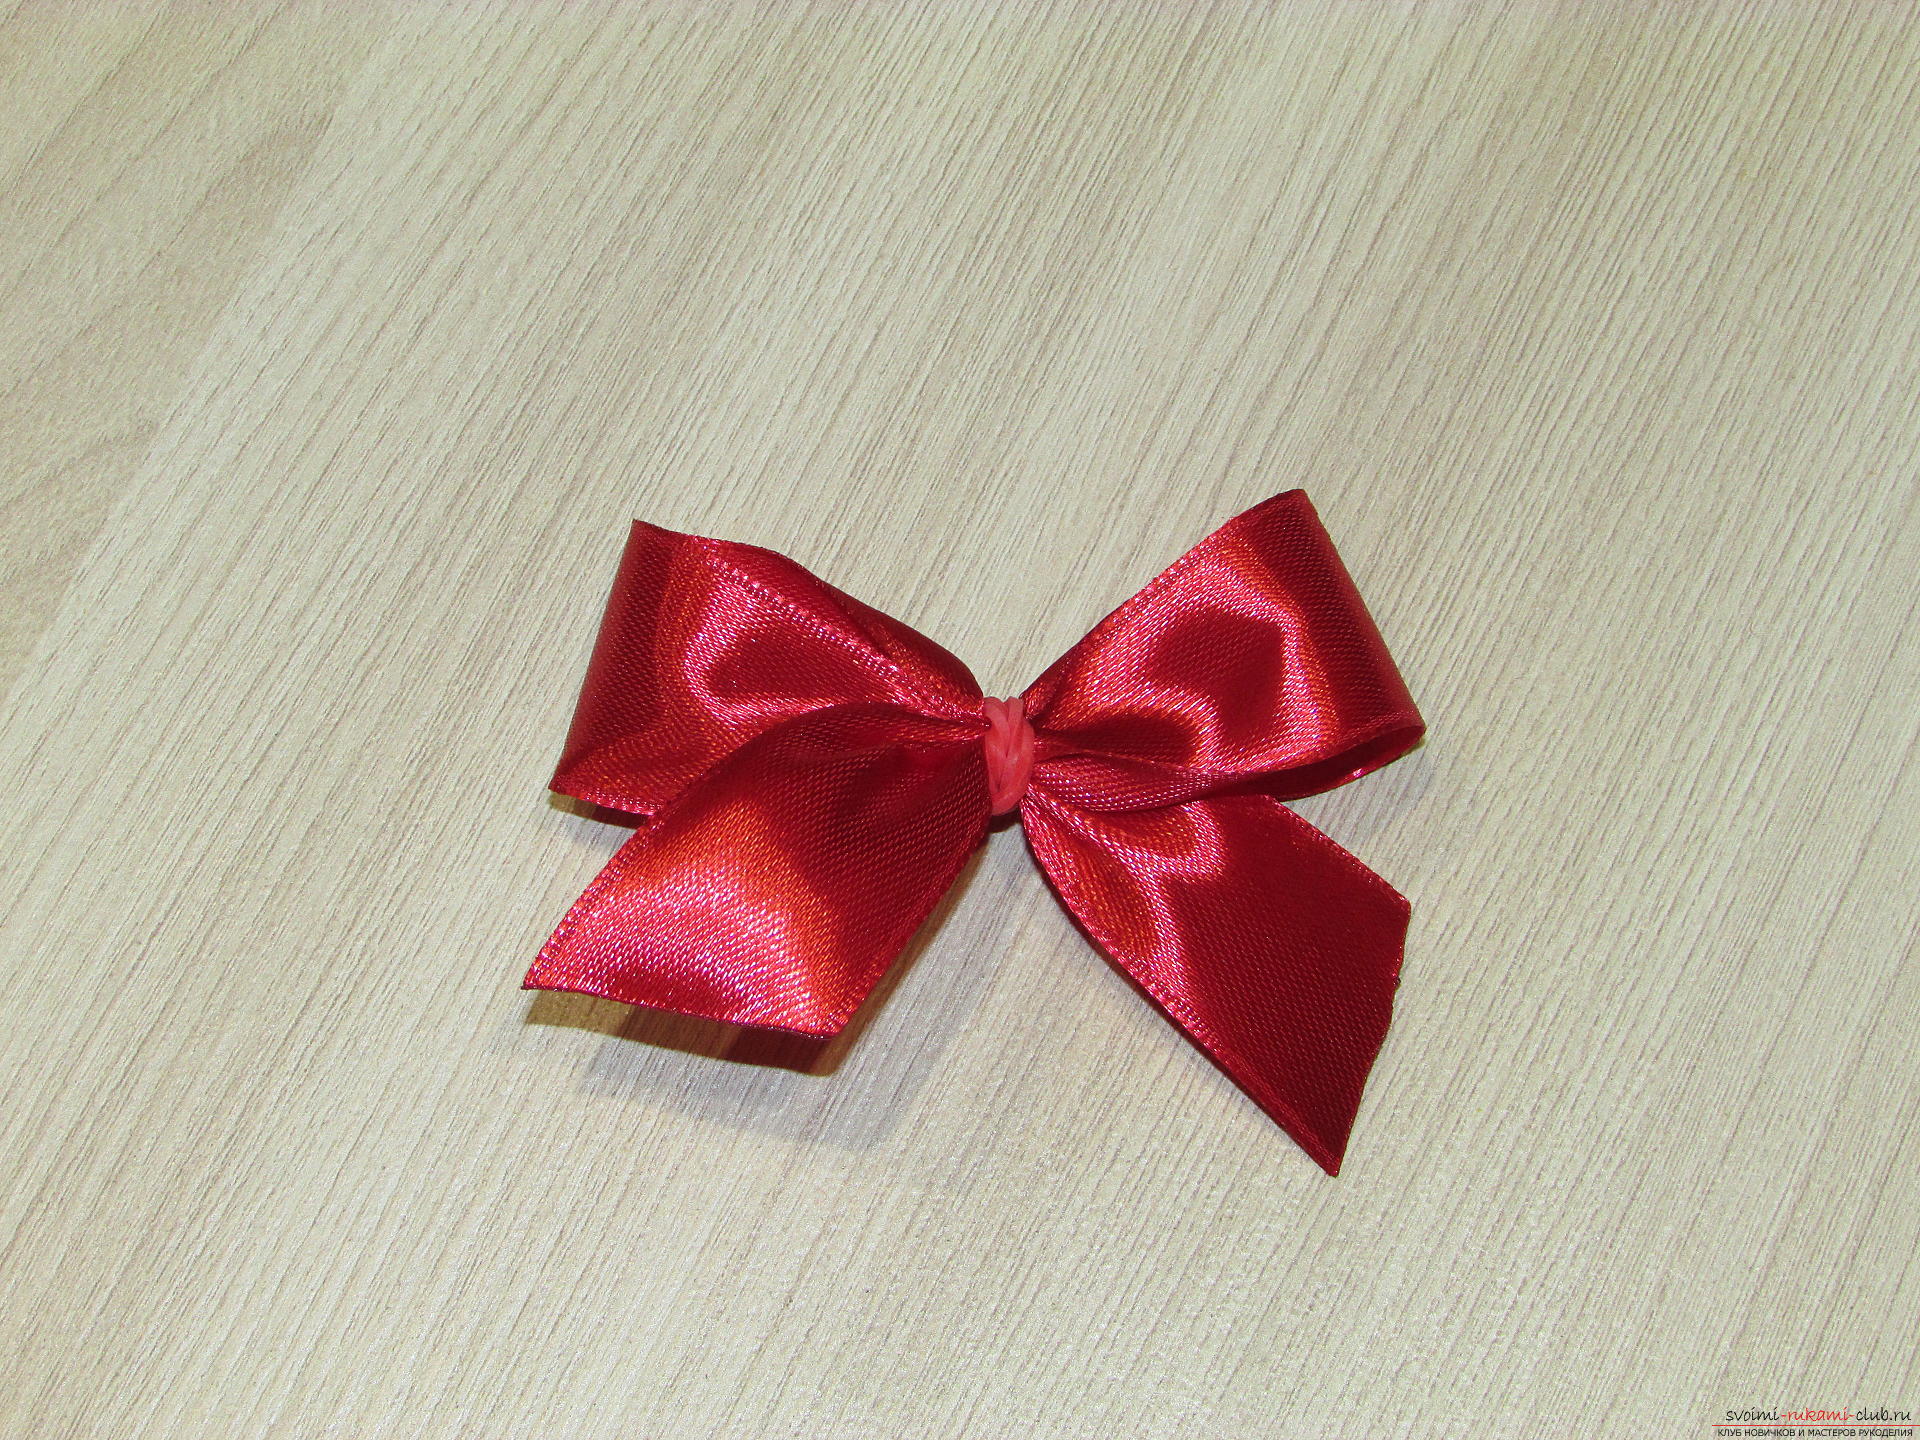 If desired, you can glue a bouquet of a note with a declaration of love.
  Dare! With a holiday of you and love!
Comments
Related posts:
 This detailed master class will teach you how to make a gift box-wrap yourself.
 This master class will teach you how to make gladiolus flowers from paper with your own hands.
 This master class Valentine will teach you how to make your own heart with bullfinches made of felt.
 This master class will teach you how to make a hare from your toe with your own hands.
 This master class will teach you how to make your own original valentine.