
This master class will teach you how to make a craft with your own hands – iron cart
The work takes place in several stages and begins with the manufacture of prefabricated parts.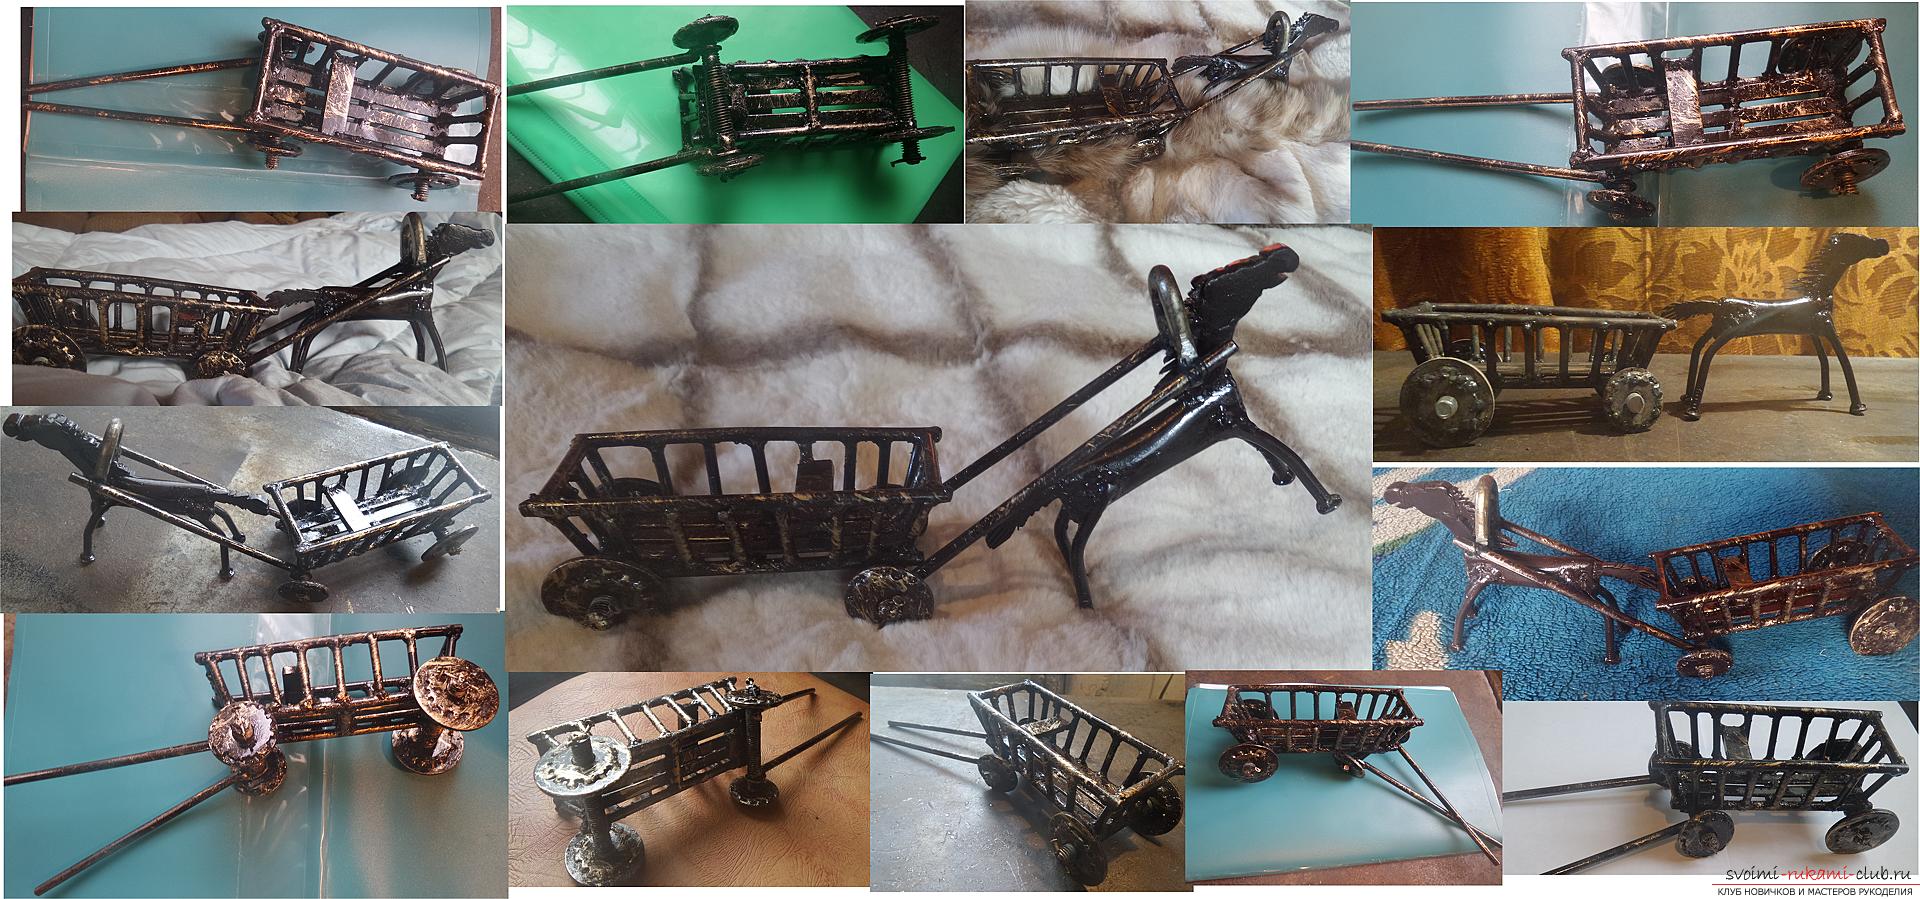 Wheels and chassis:
- 2 washers with a diameter of 4.5 cm;
- 2 washers with a diameter of 3.5 cm;
- 4 washers with a diameter of 1.5 cm;
- The hairpin is 10 mm thick.
- Small thin carnations 1.5 cm long – 4 things.
Shafts:
- 2 washers with a diameter of about 1 cm.
- 2 nails are two hundred.
The basis:
- 7 nails of two hundred;
- Thin strip of iron. Taken from the frame of a spring mattress.
- Nails 15mm long – 5 items.
- Sheet iron five – 2 small pieces.
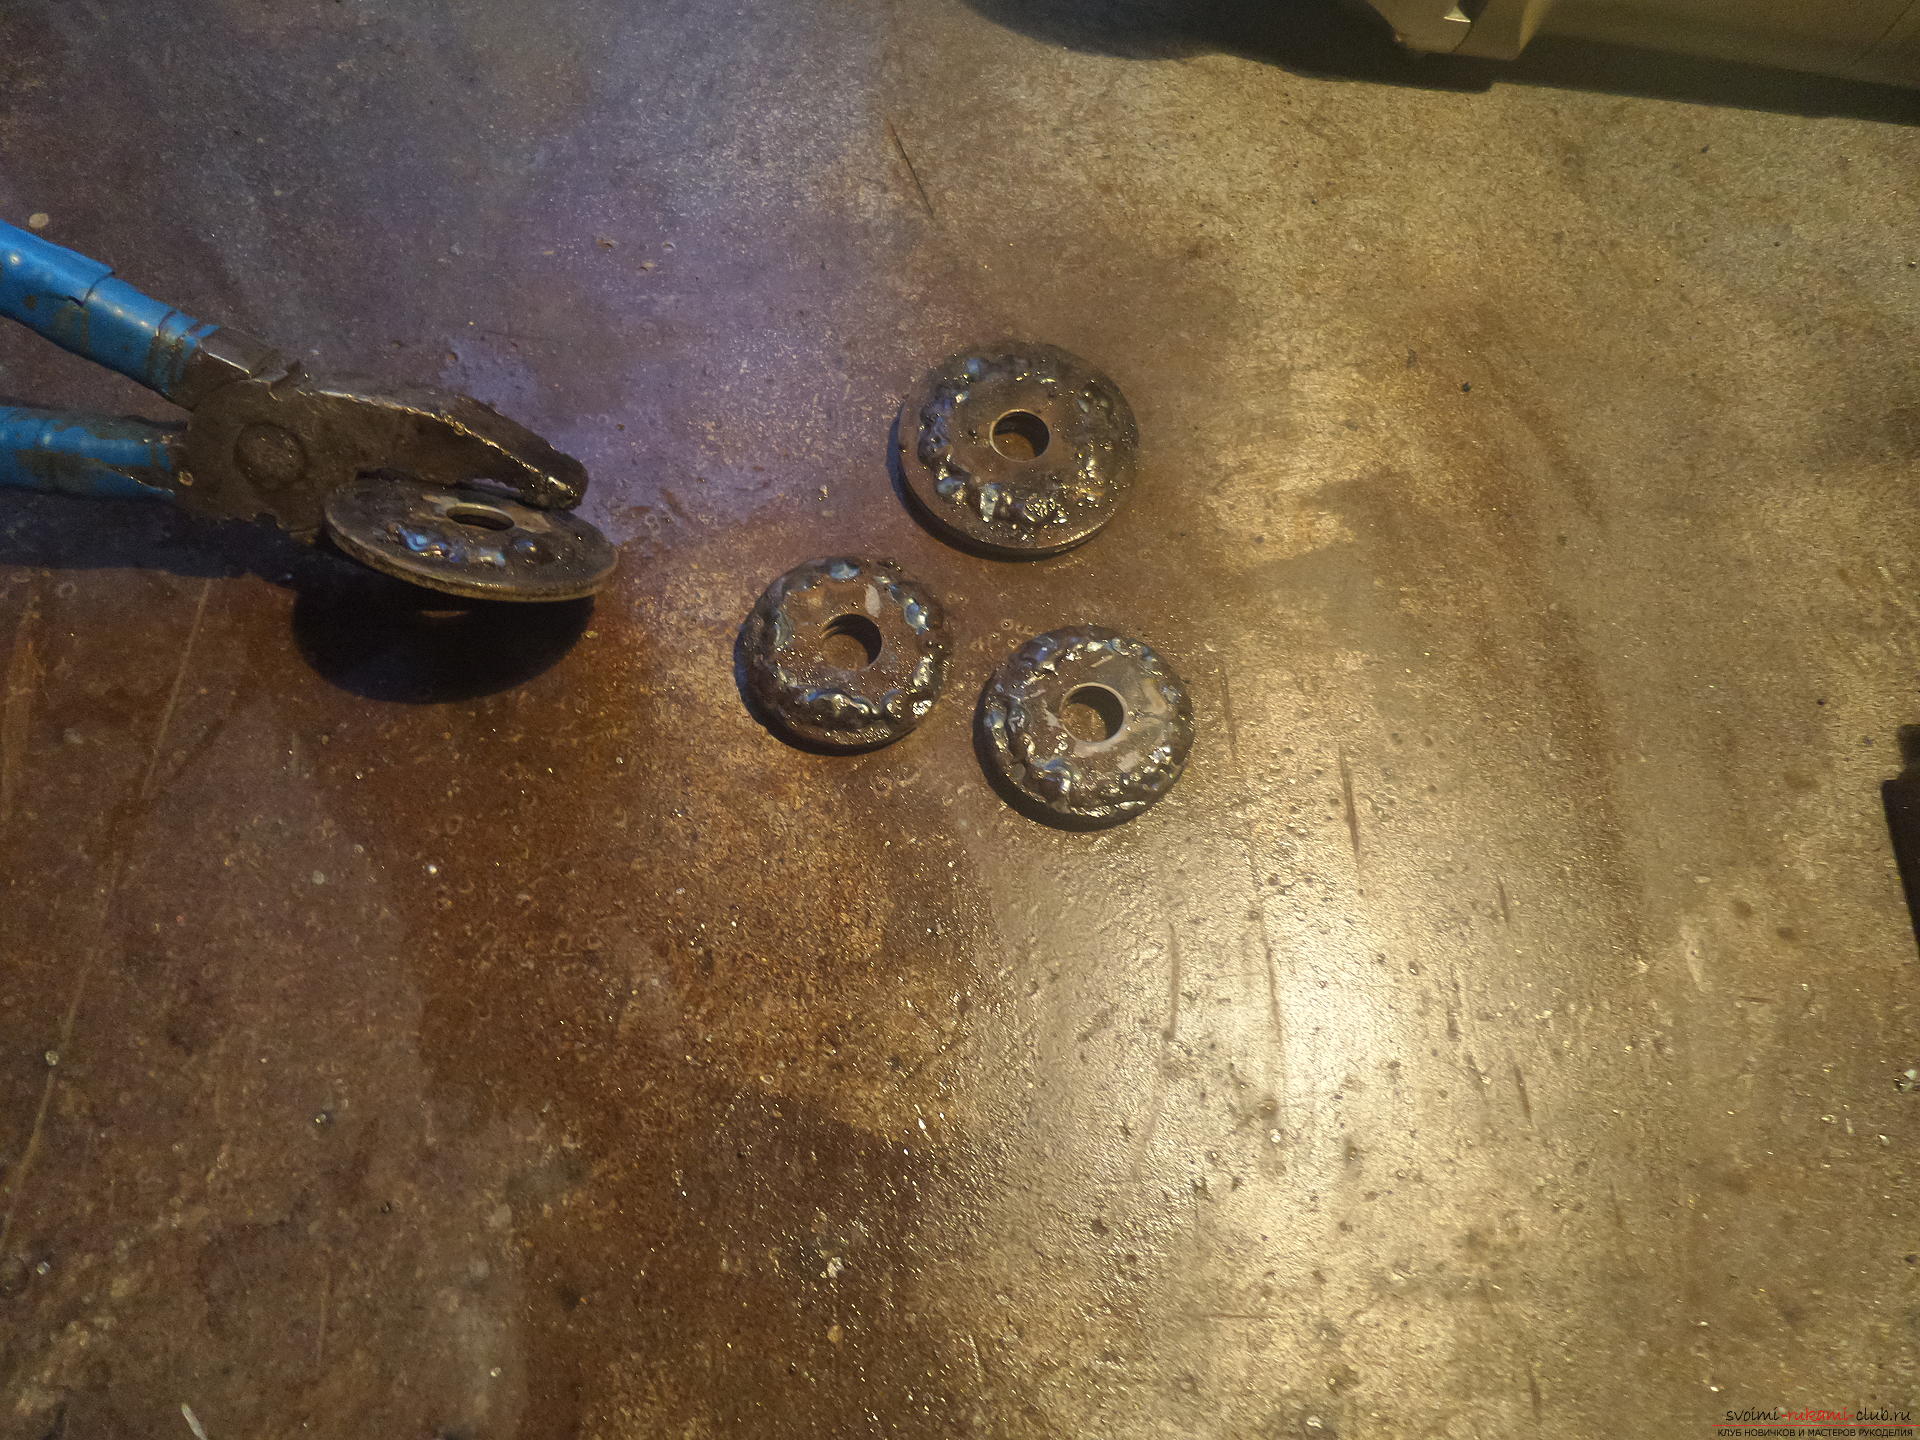
It starts with the wheels. Each washer must be sanded on both sides.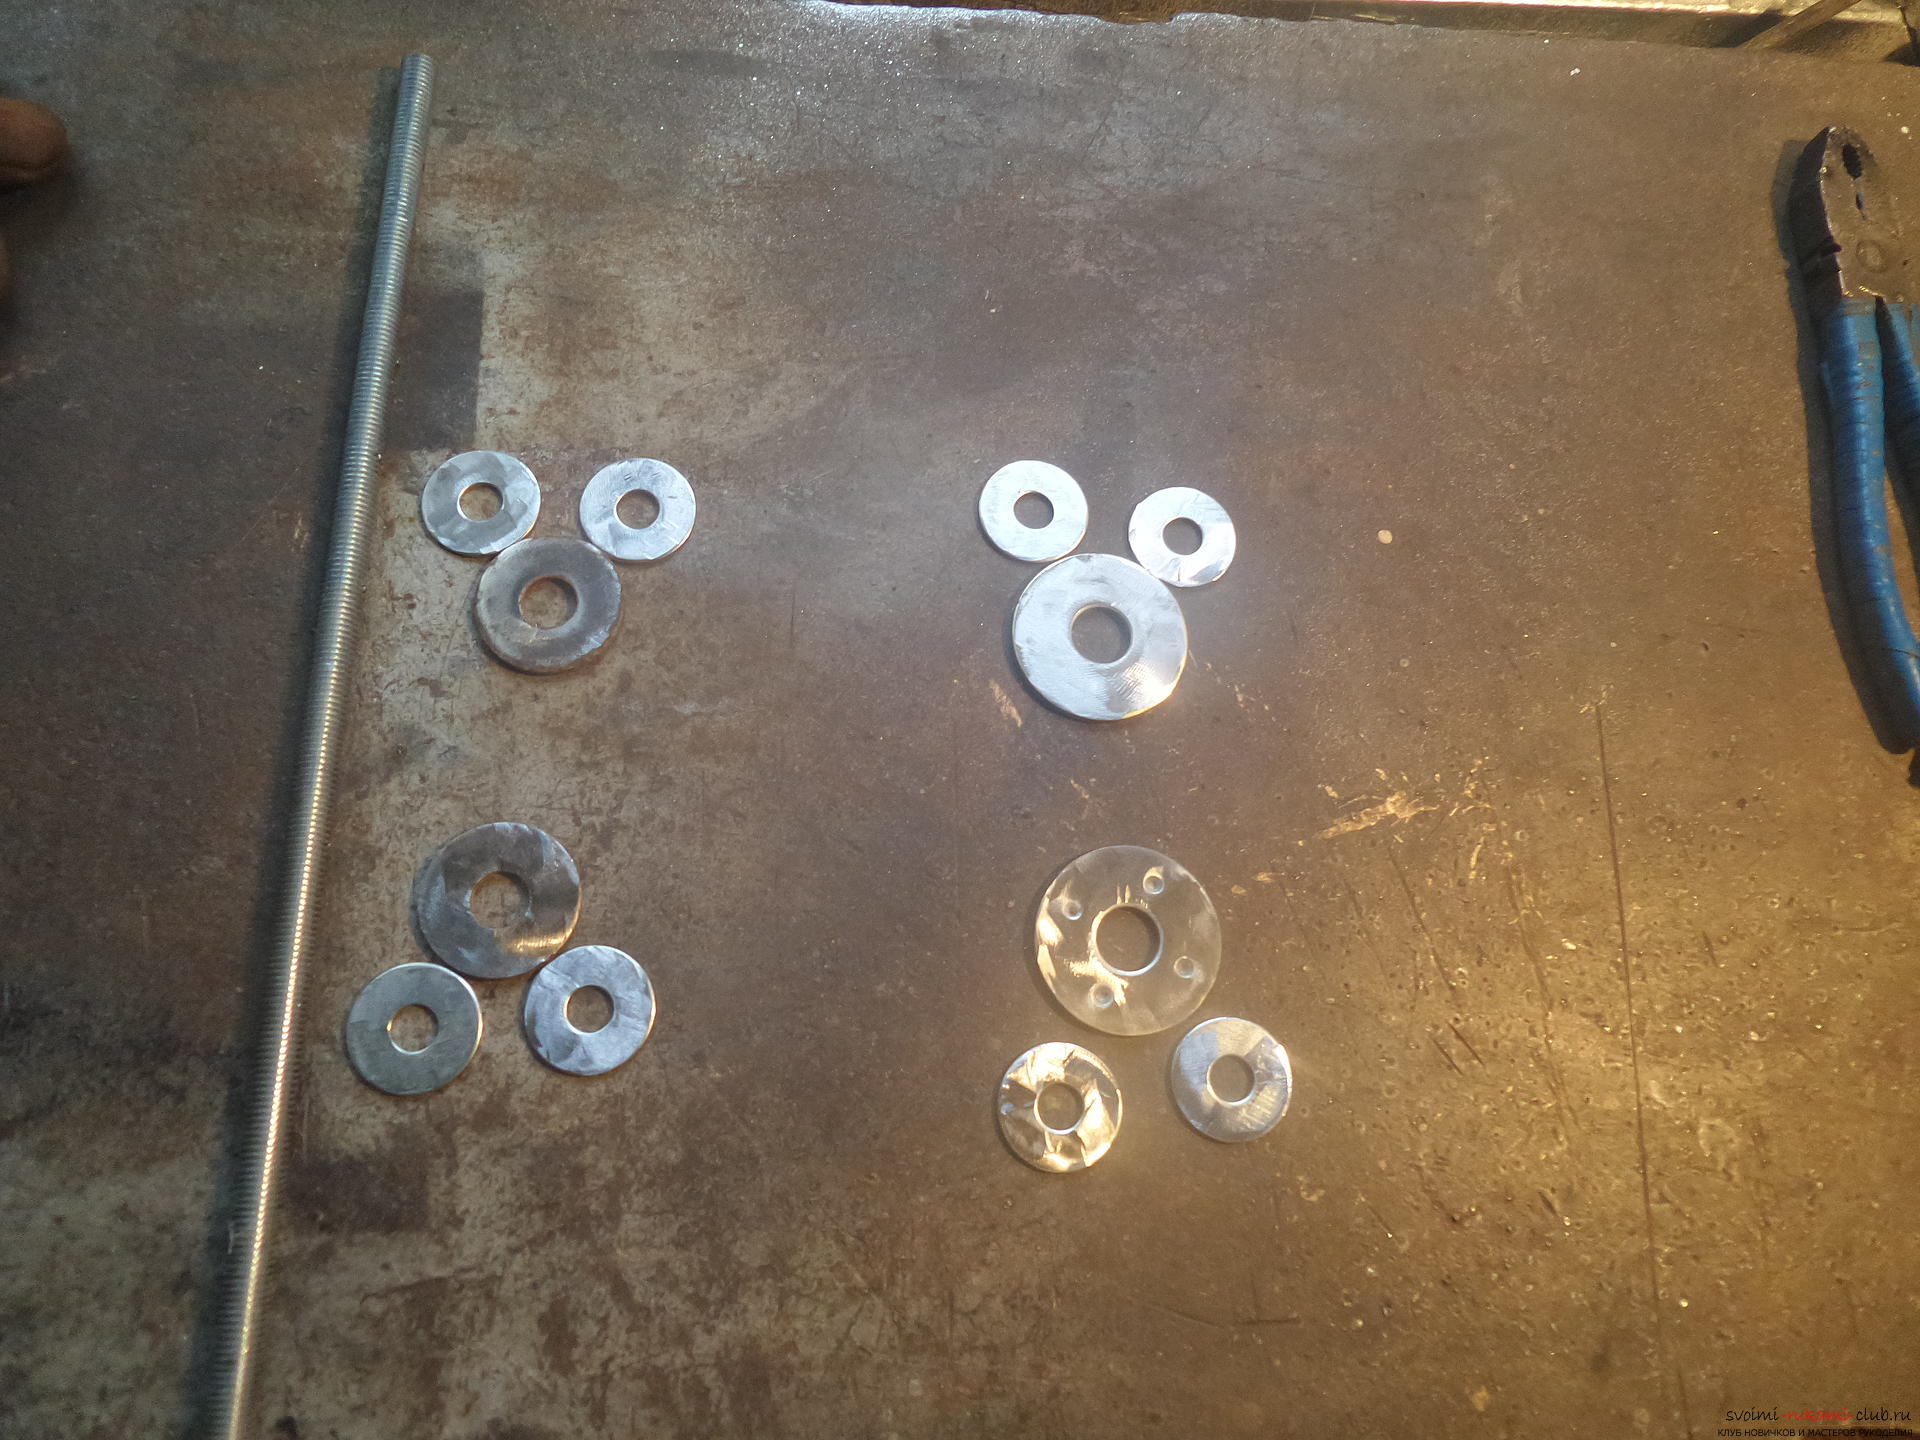 Then each wheel is firmly welded from 1 large washer and two on the edge. This is necessary both to thicken the element and to adjust the washer hole to fit the stud by 10.
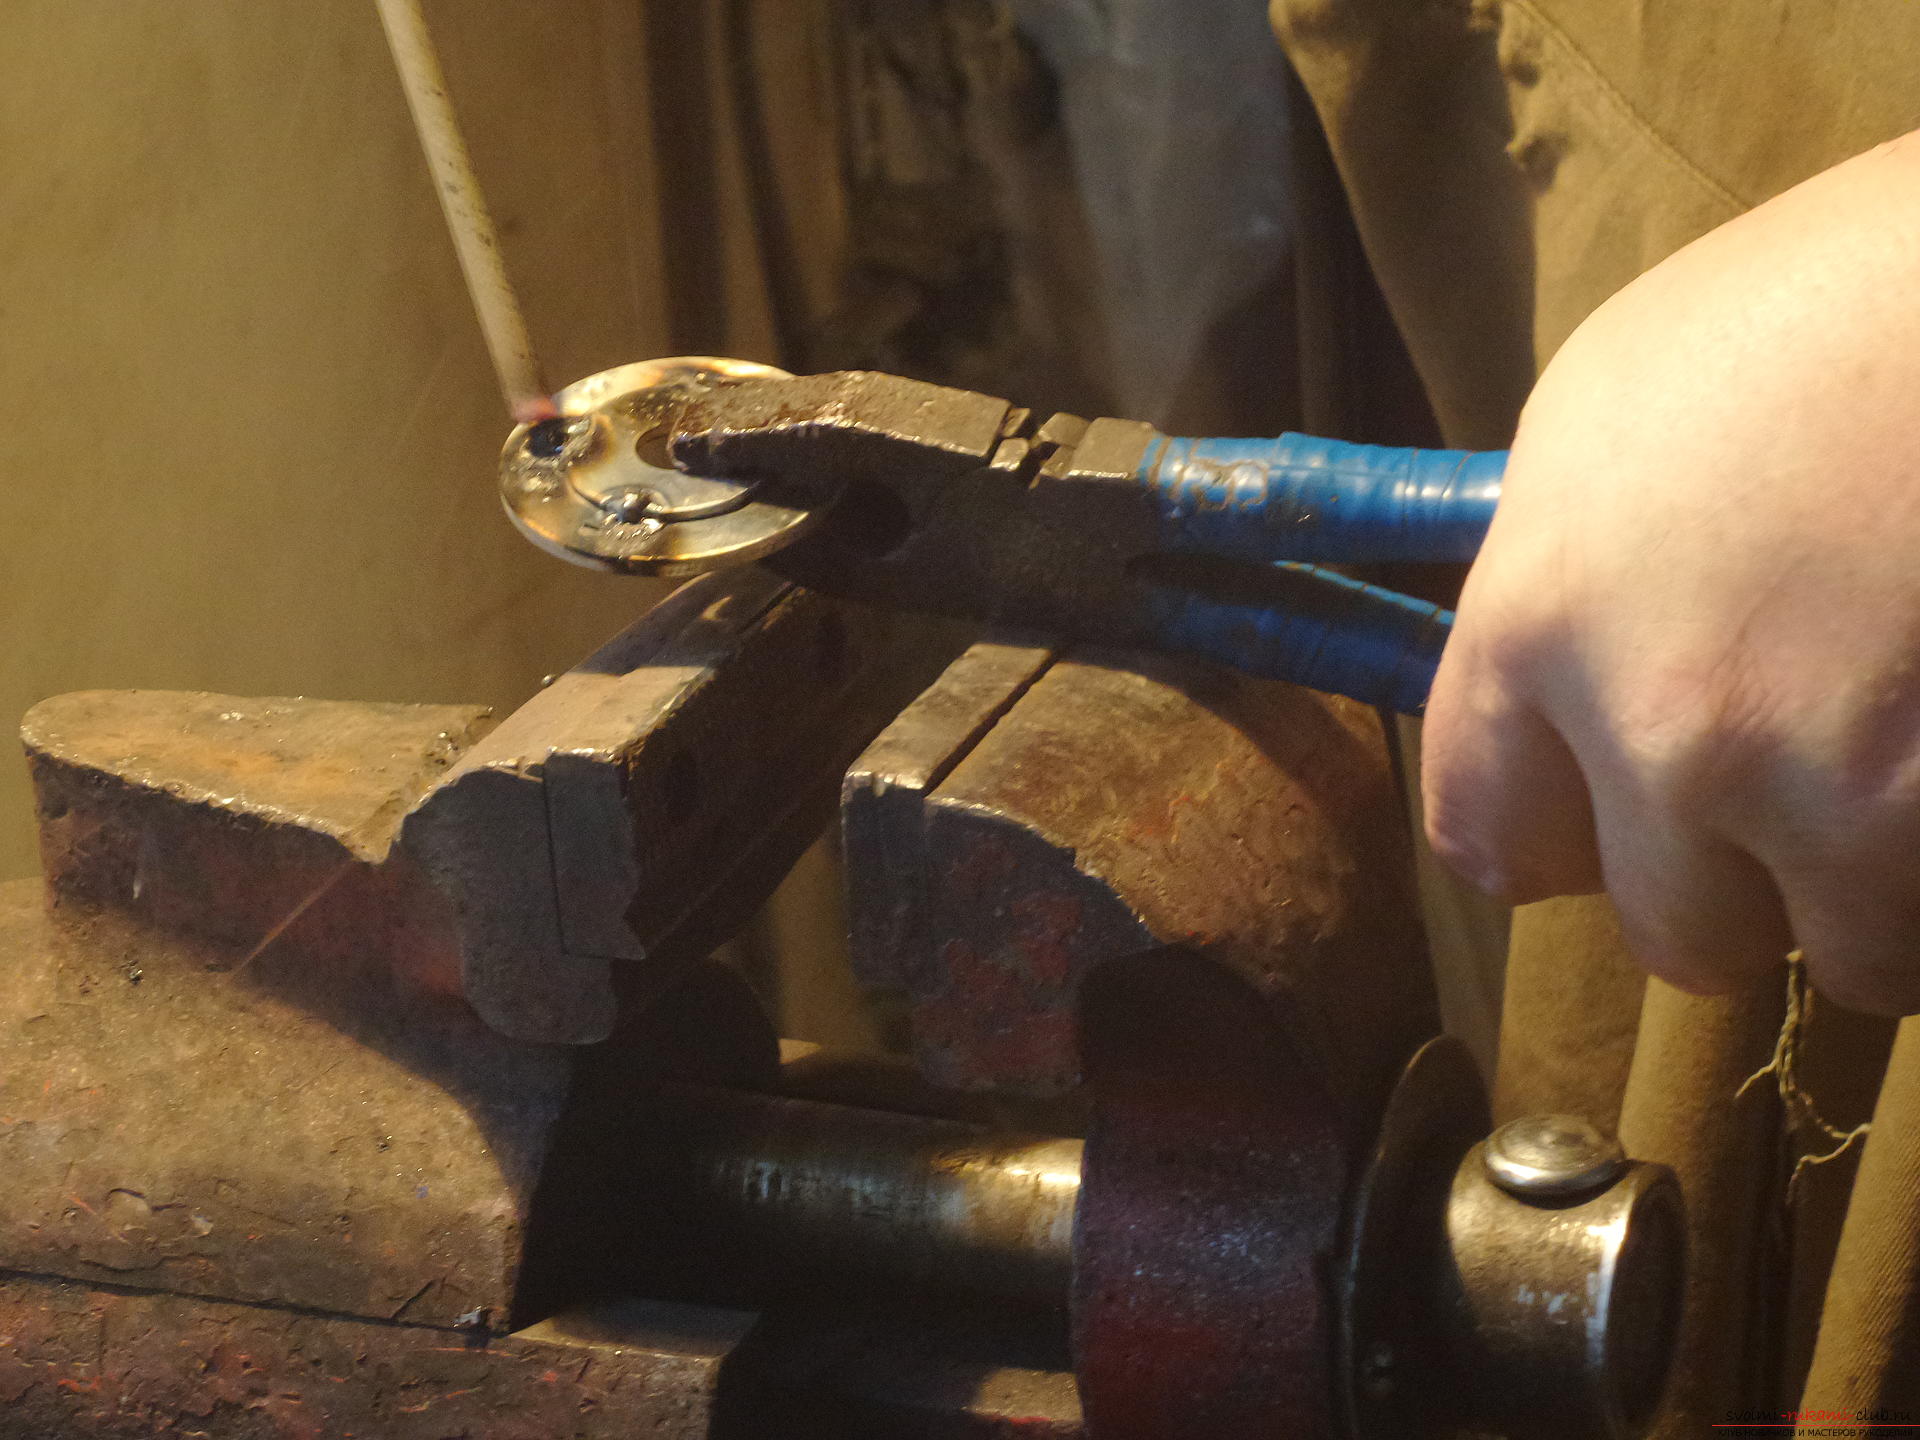
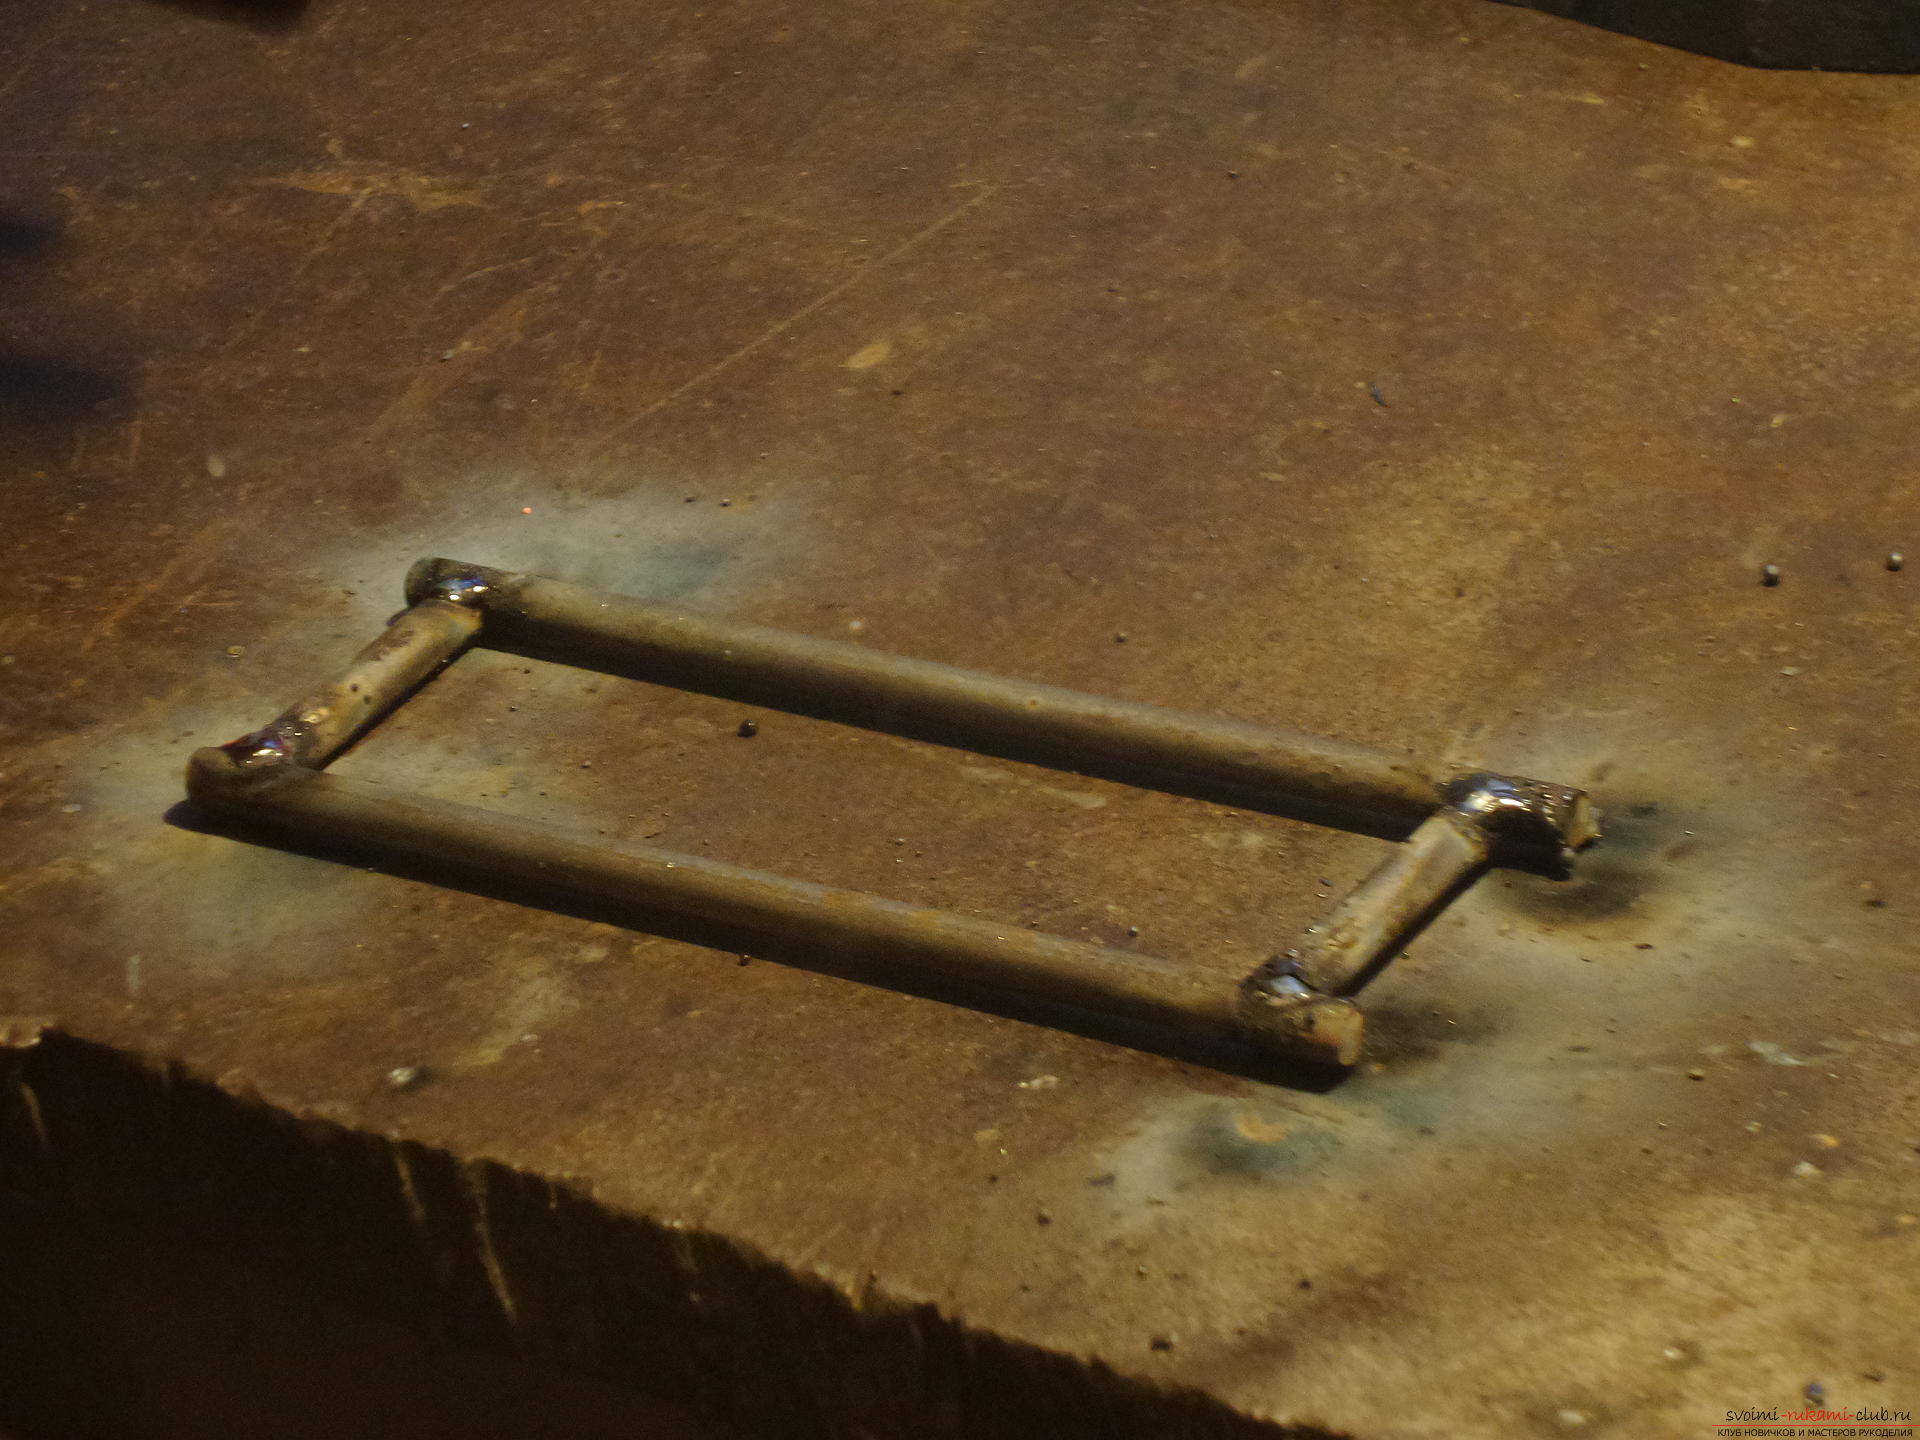
 The frame of the cart, the long sides, are made from the largest nails, a 13 cm mark is placed on them. First you need to cut off the caps and sharp ends and sand them.
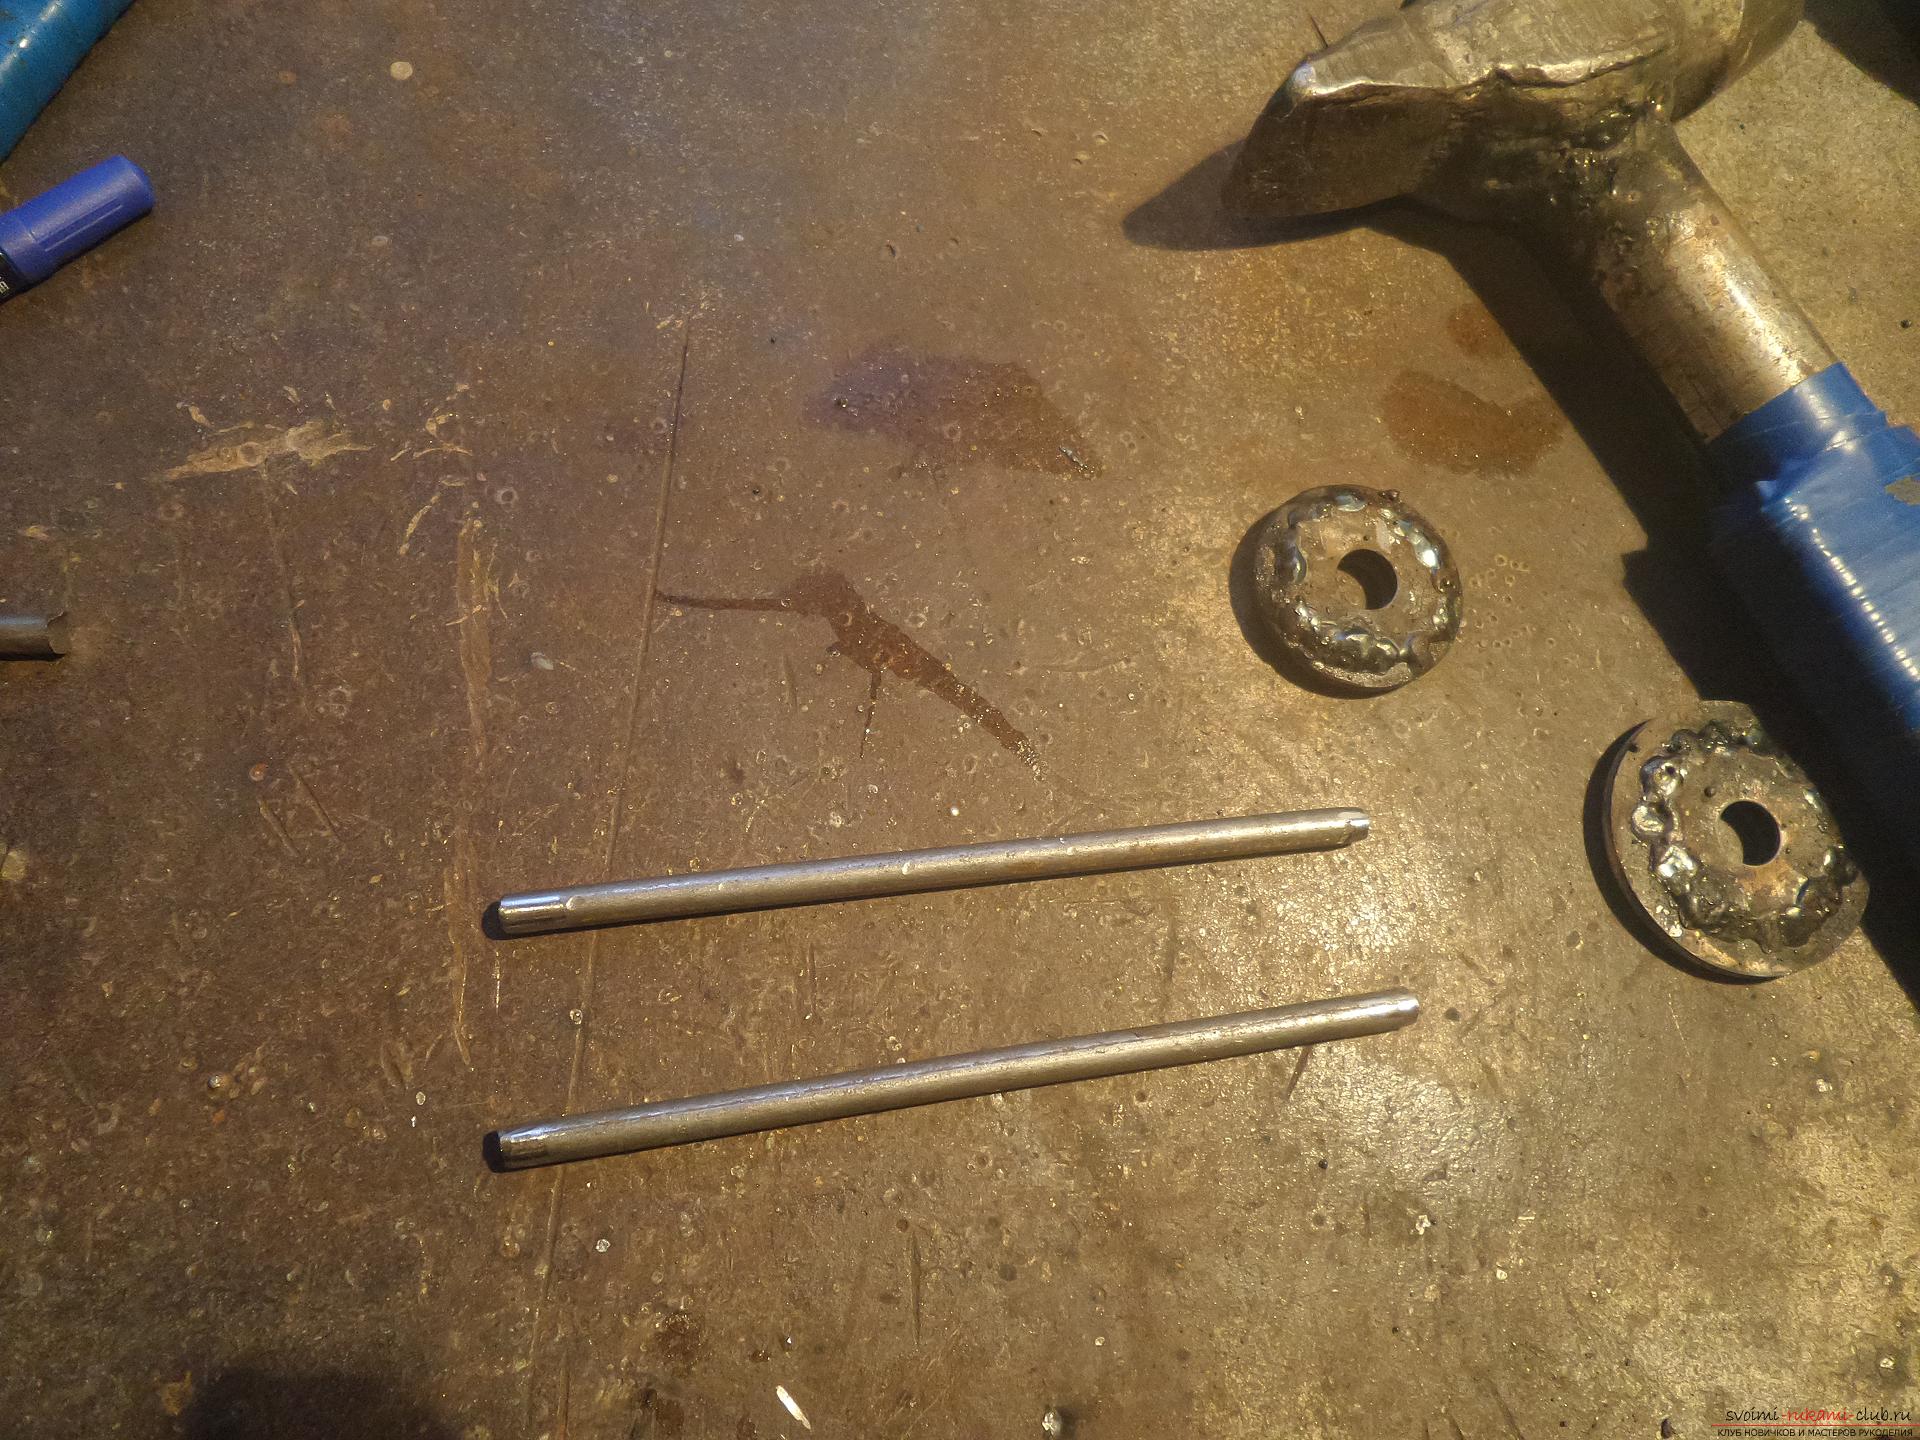 The same should be done with the remains of those two nails that can be measured against each other. They form the width of the cart – 3.5 cm.
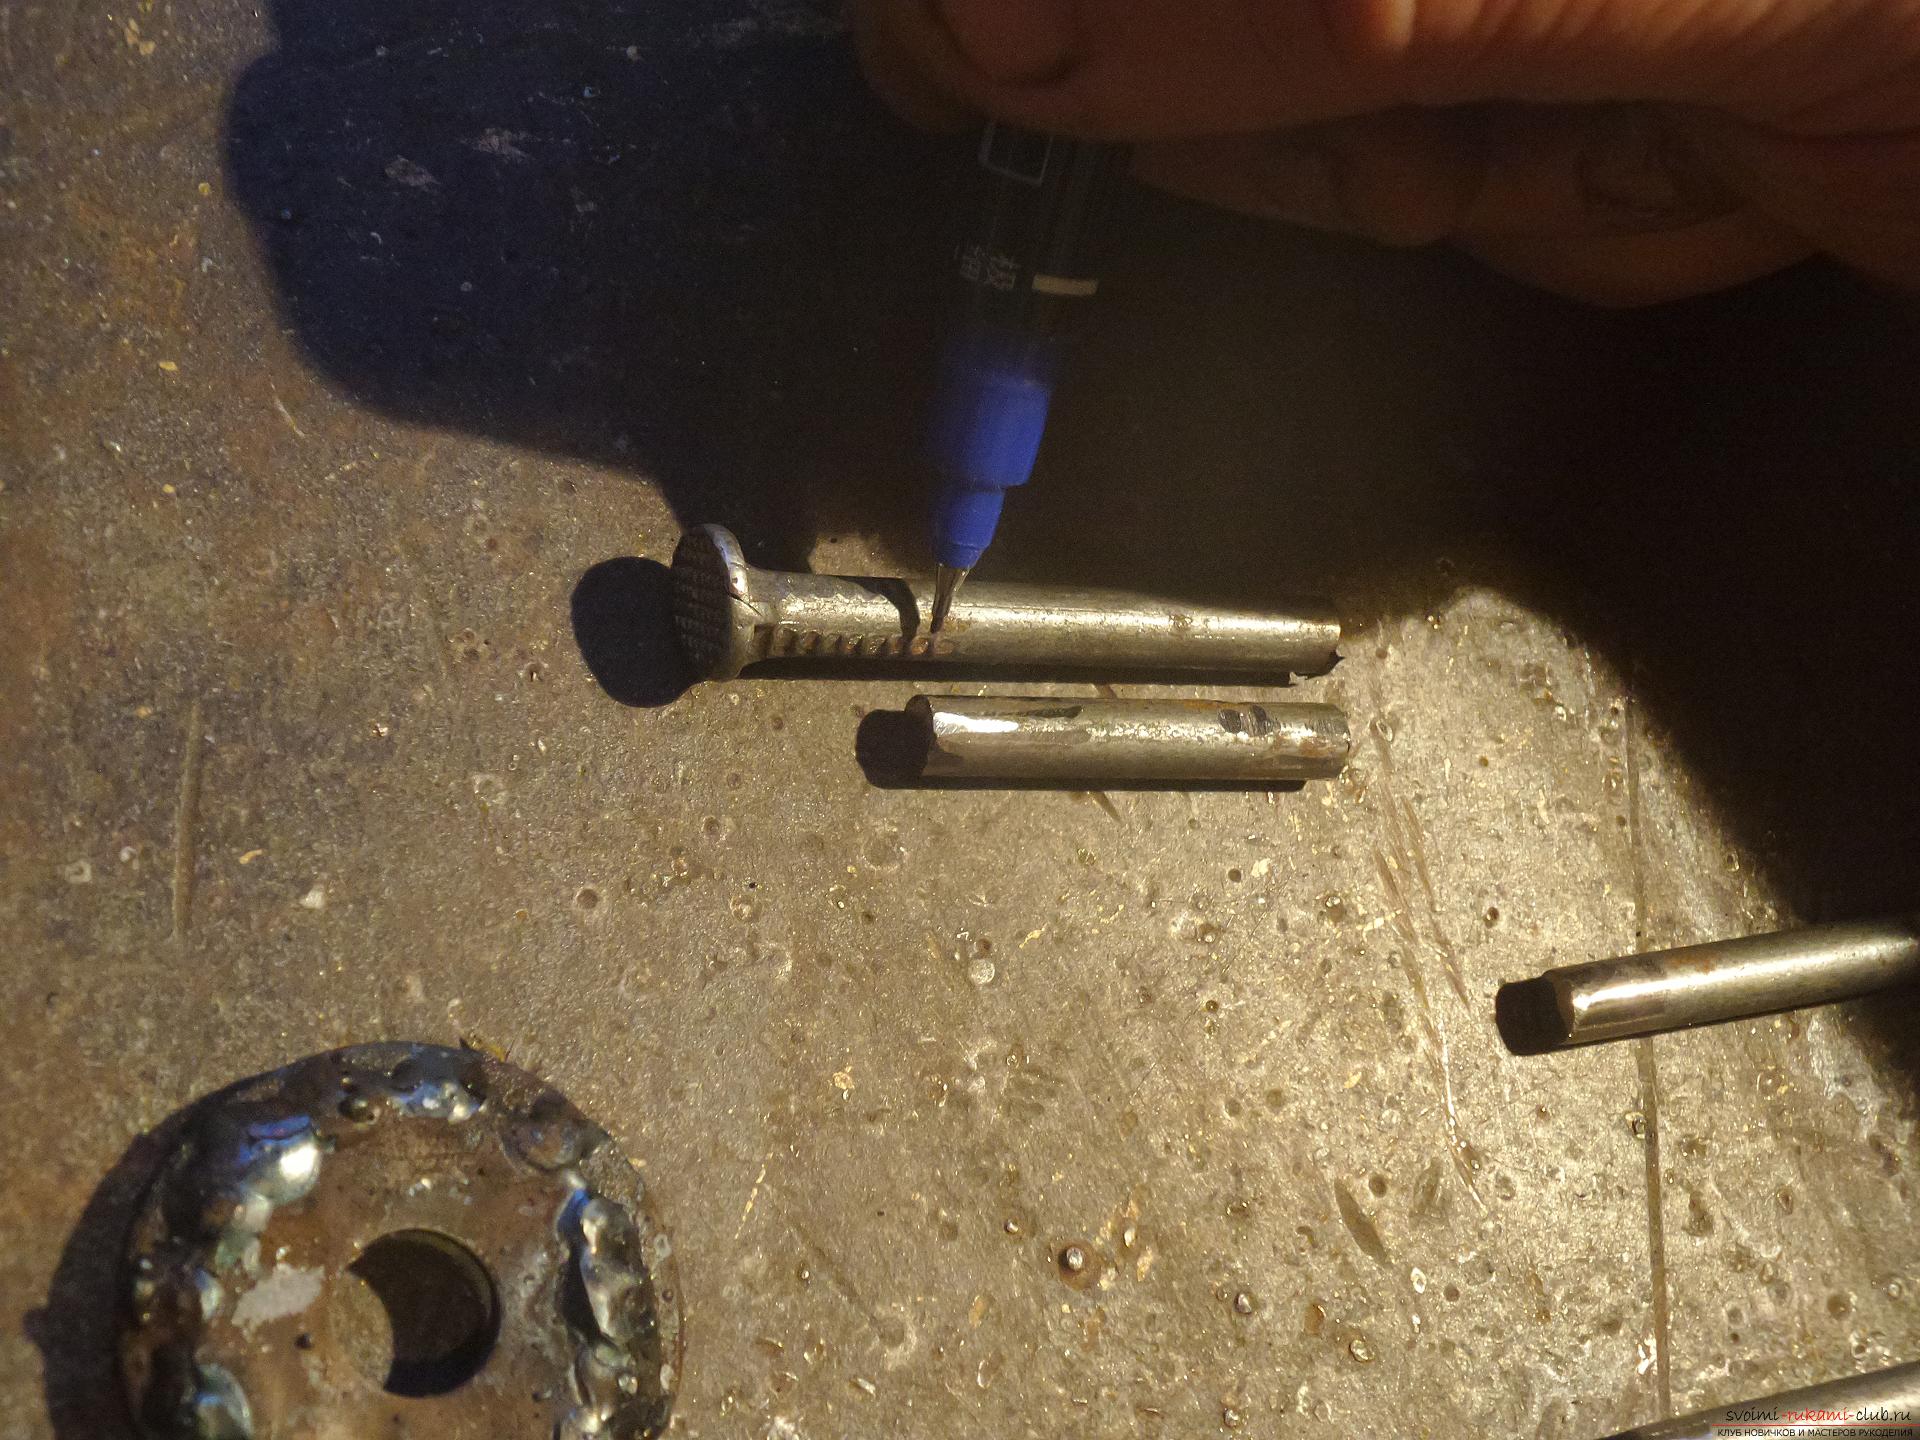 You need to weld a rectangle from the finished sticks.
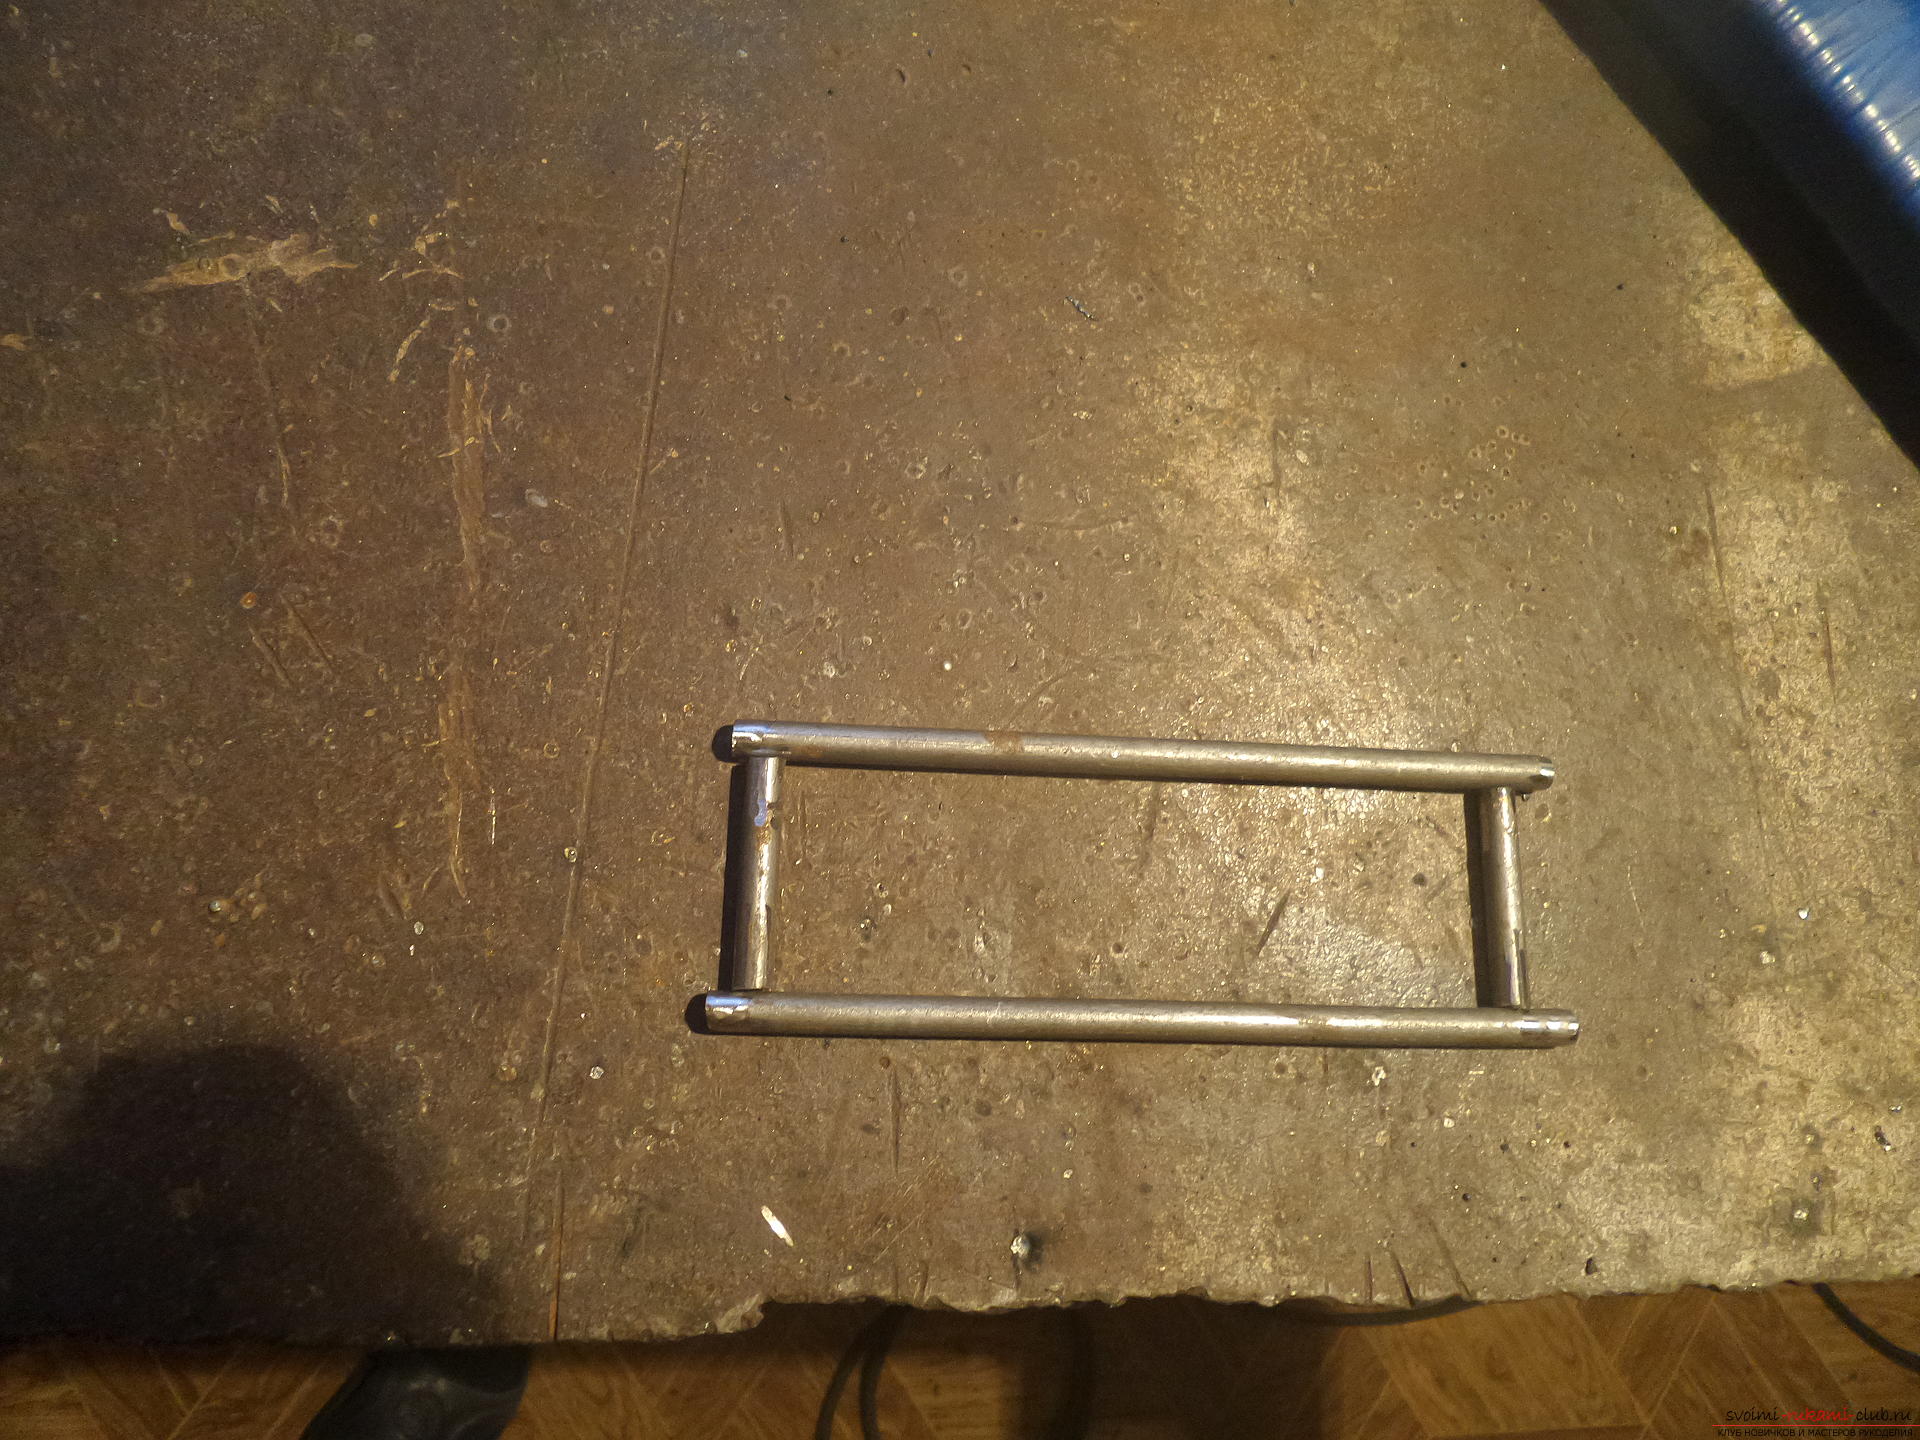
 To imitate log boards, a frame from a spring mattress is used.
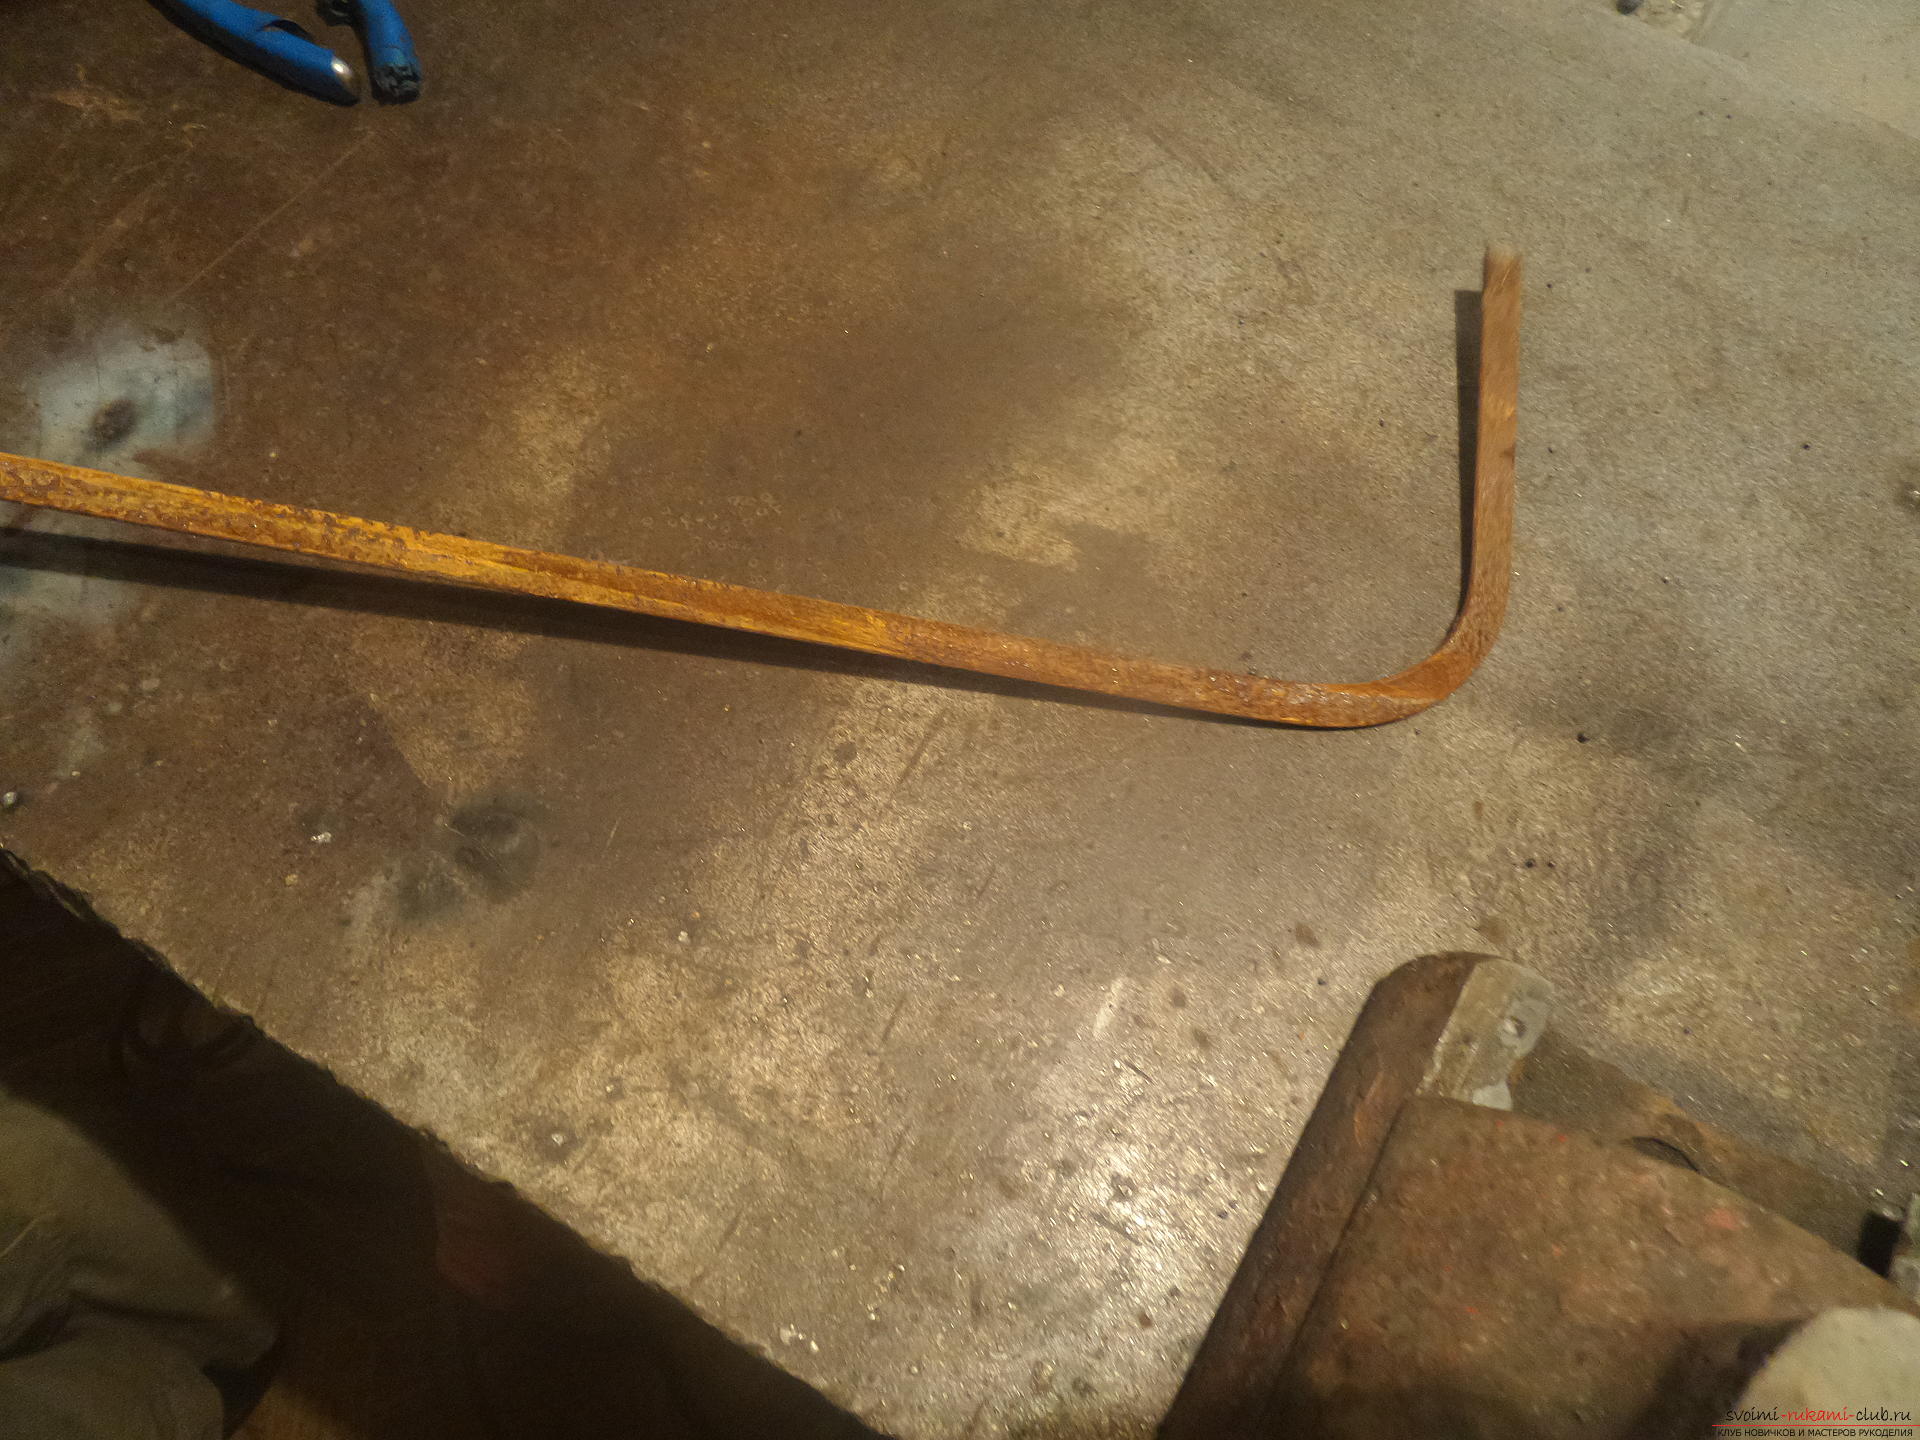 It’s convenient to navigate not only using a ruler, but also “by eye,” trying it on to the longitudinal poles.
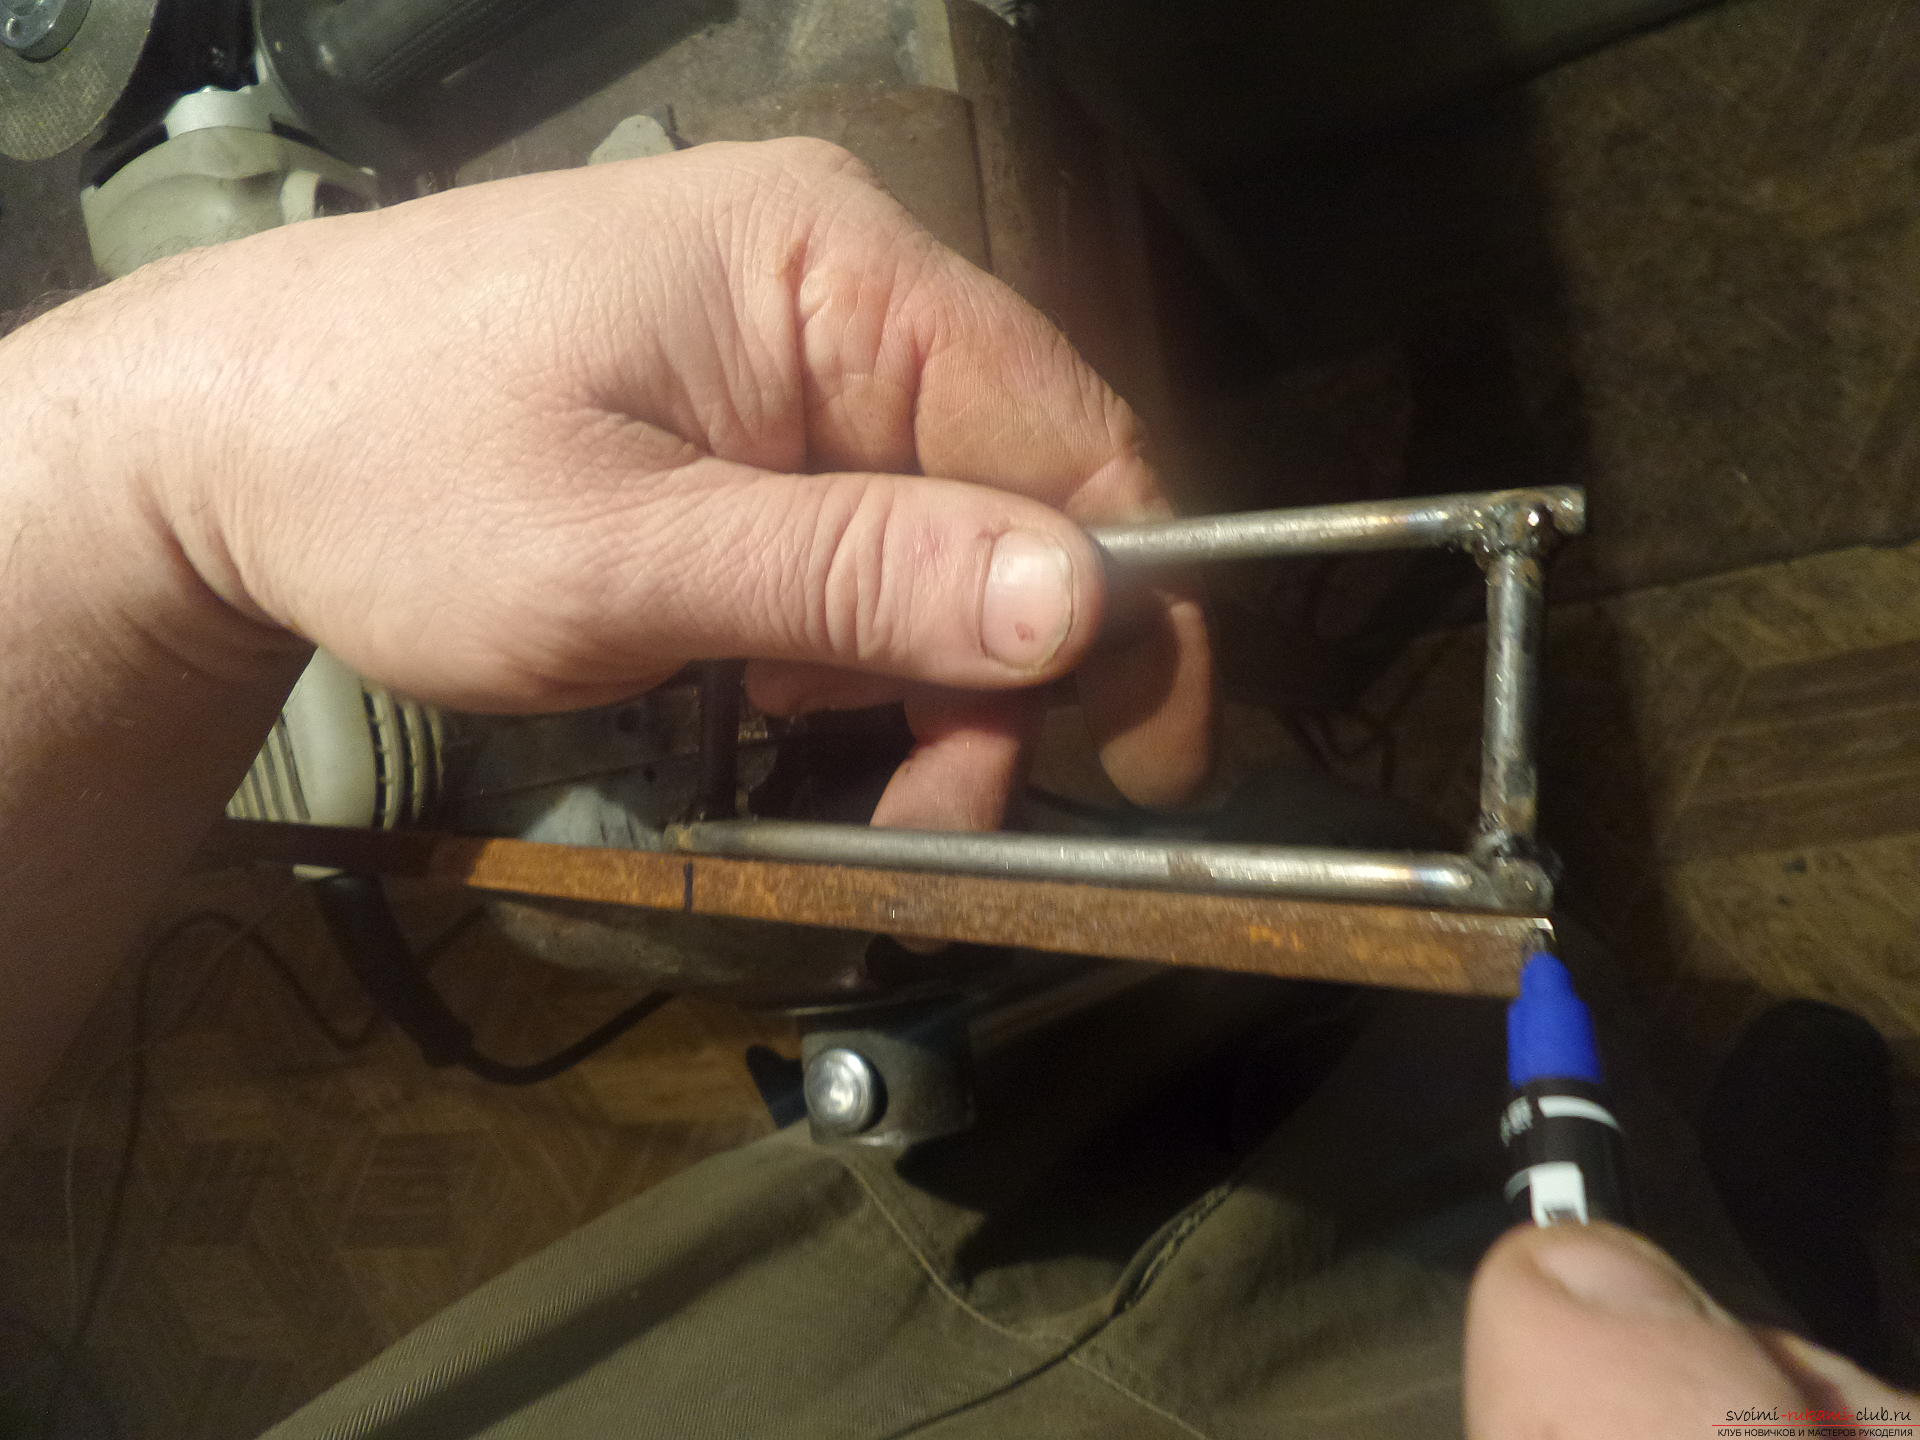 The base of the cart can easily accommodate 3 “boards”.
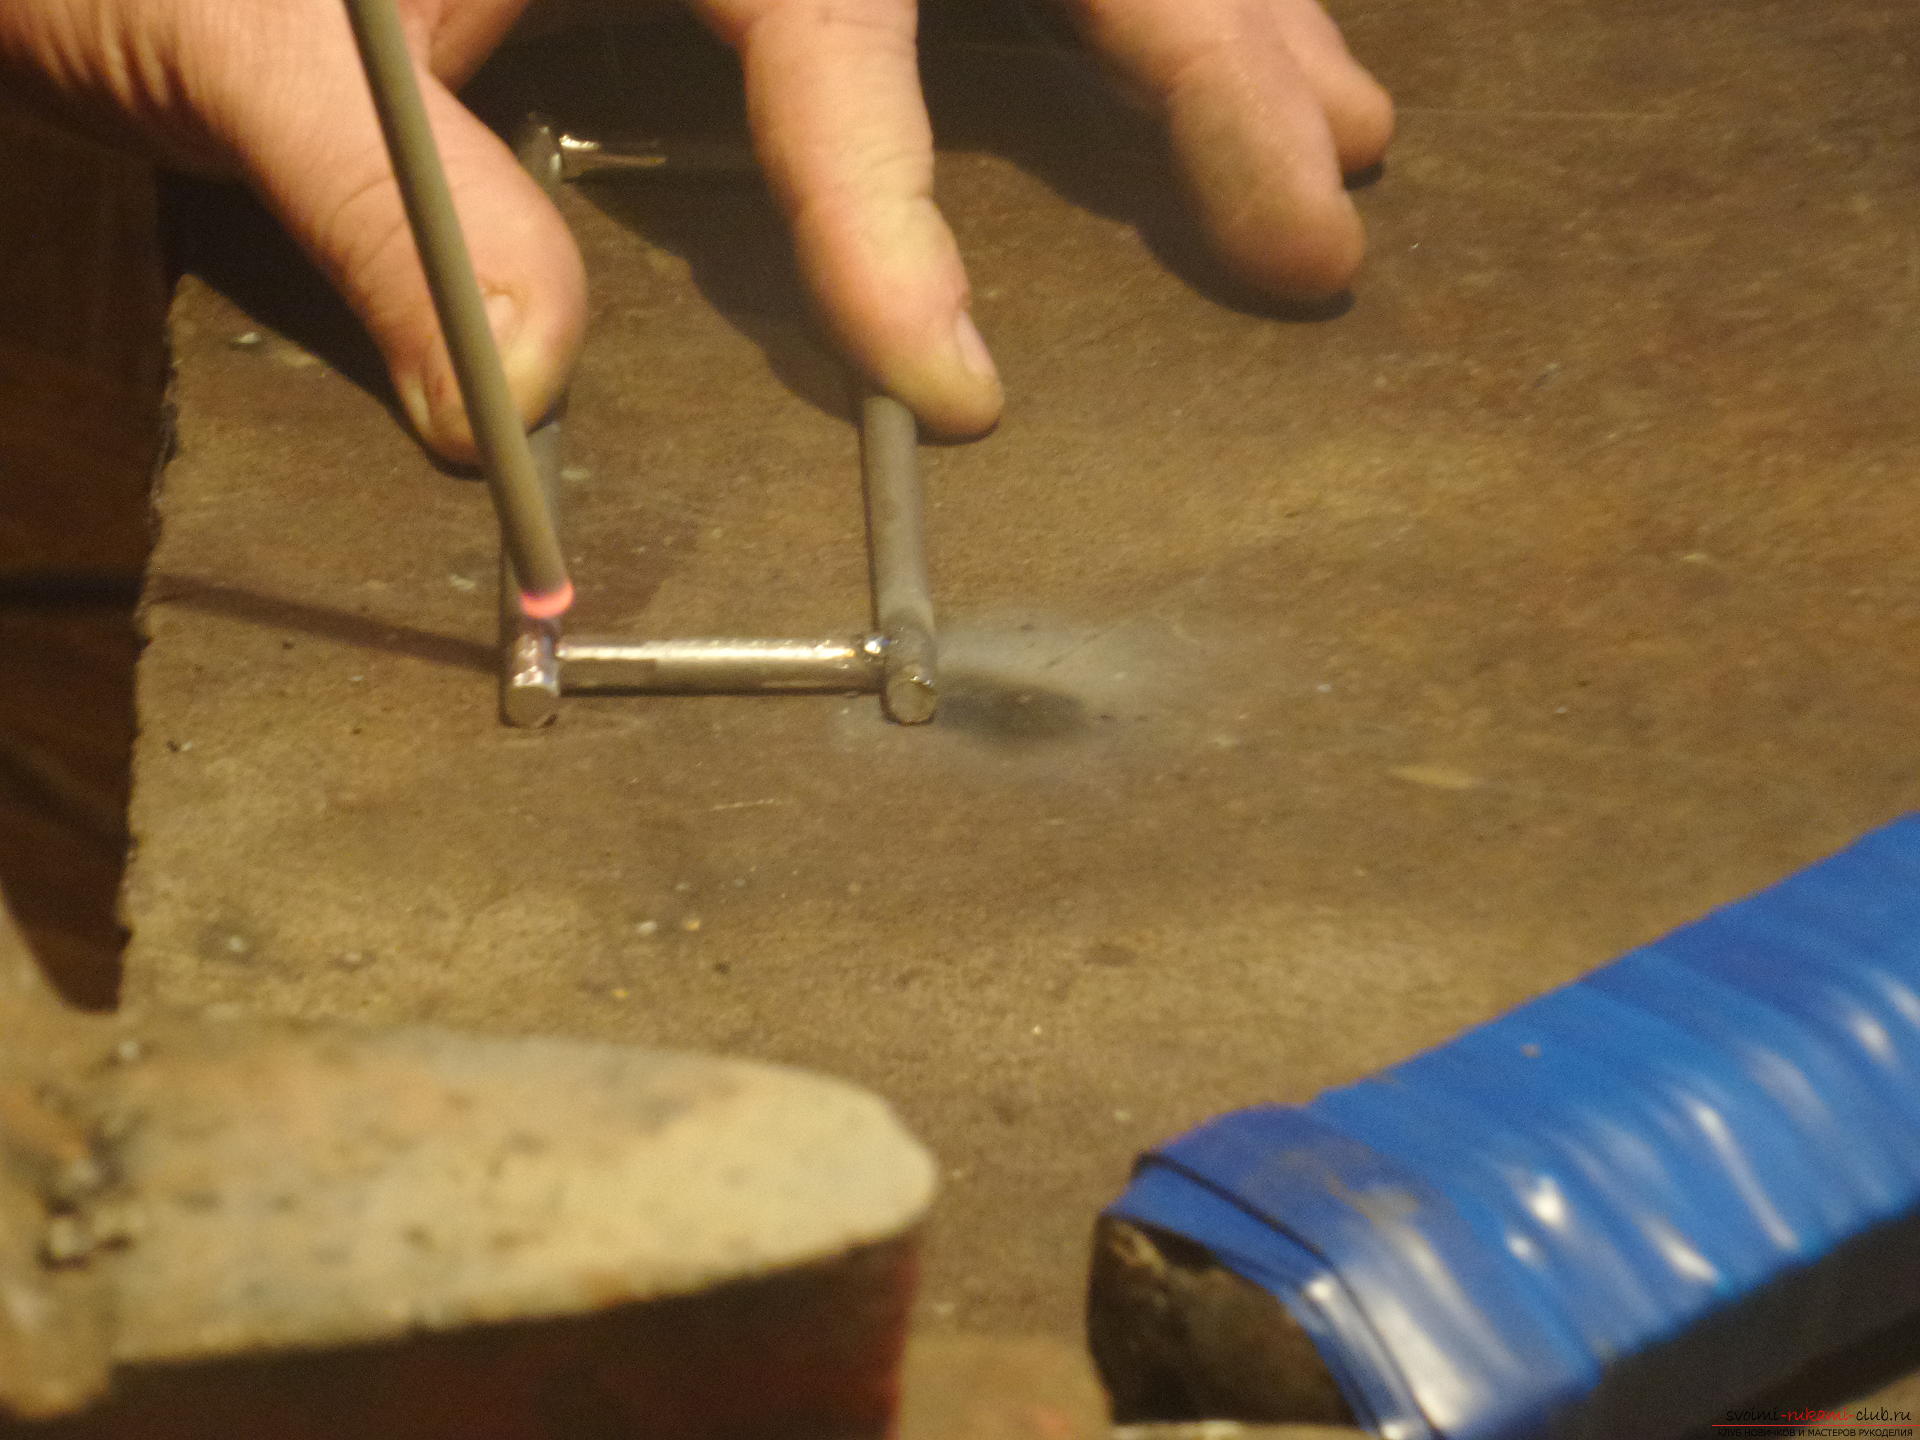
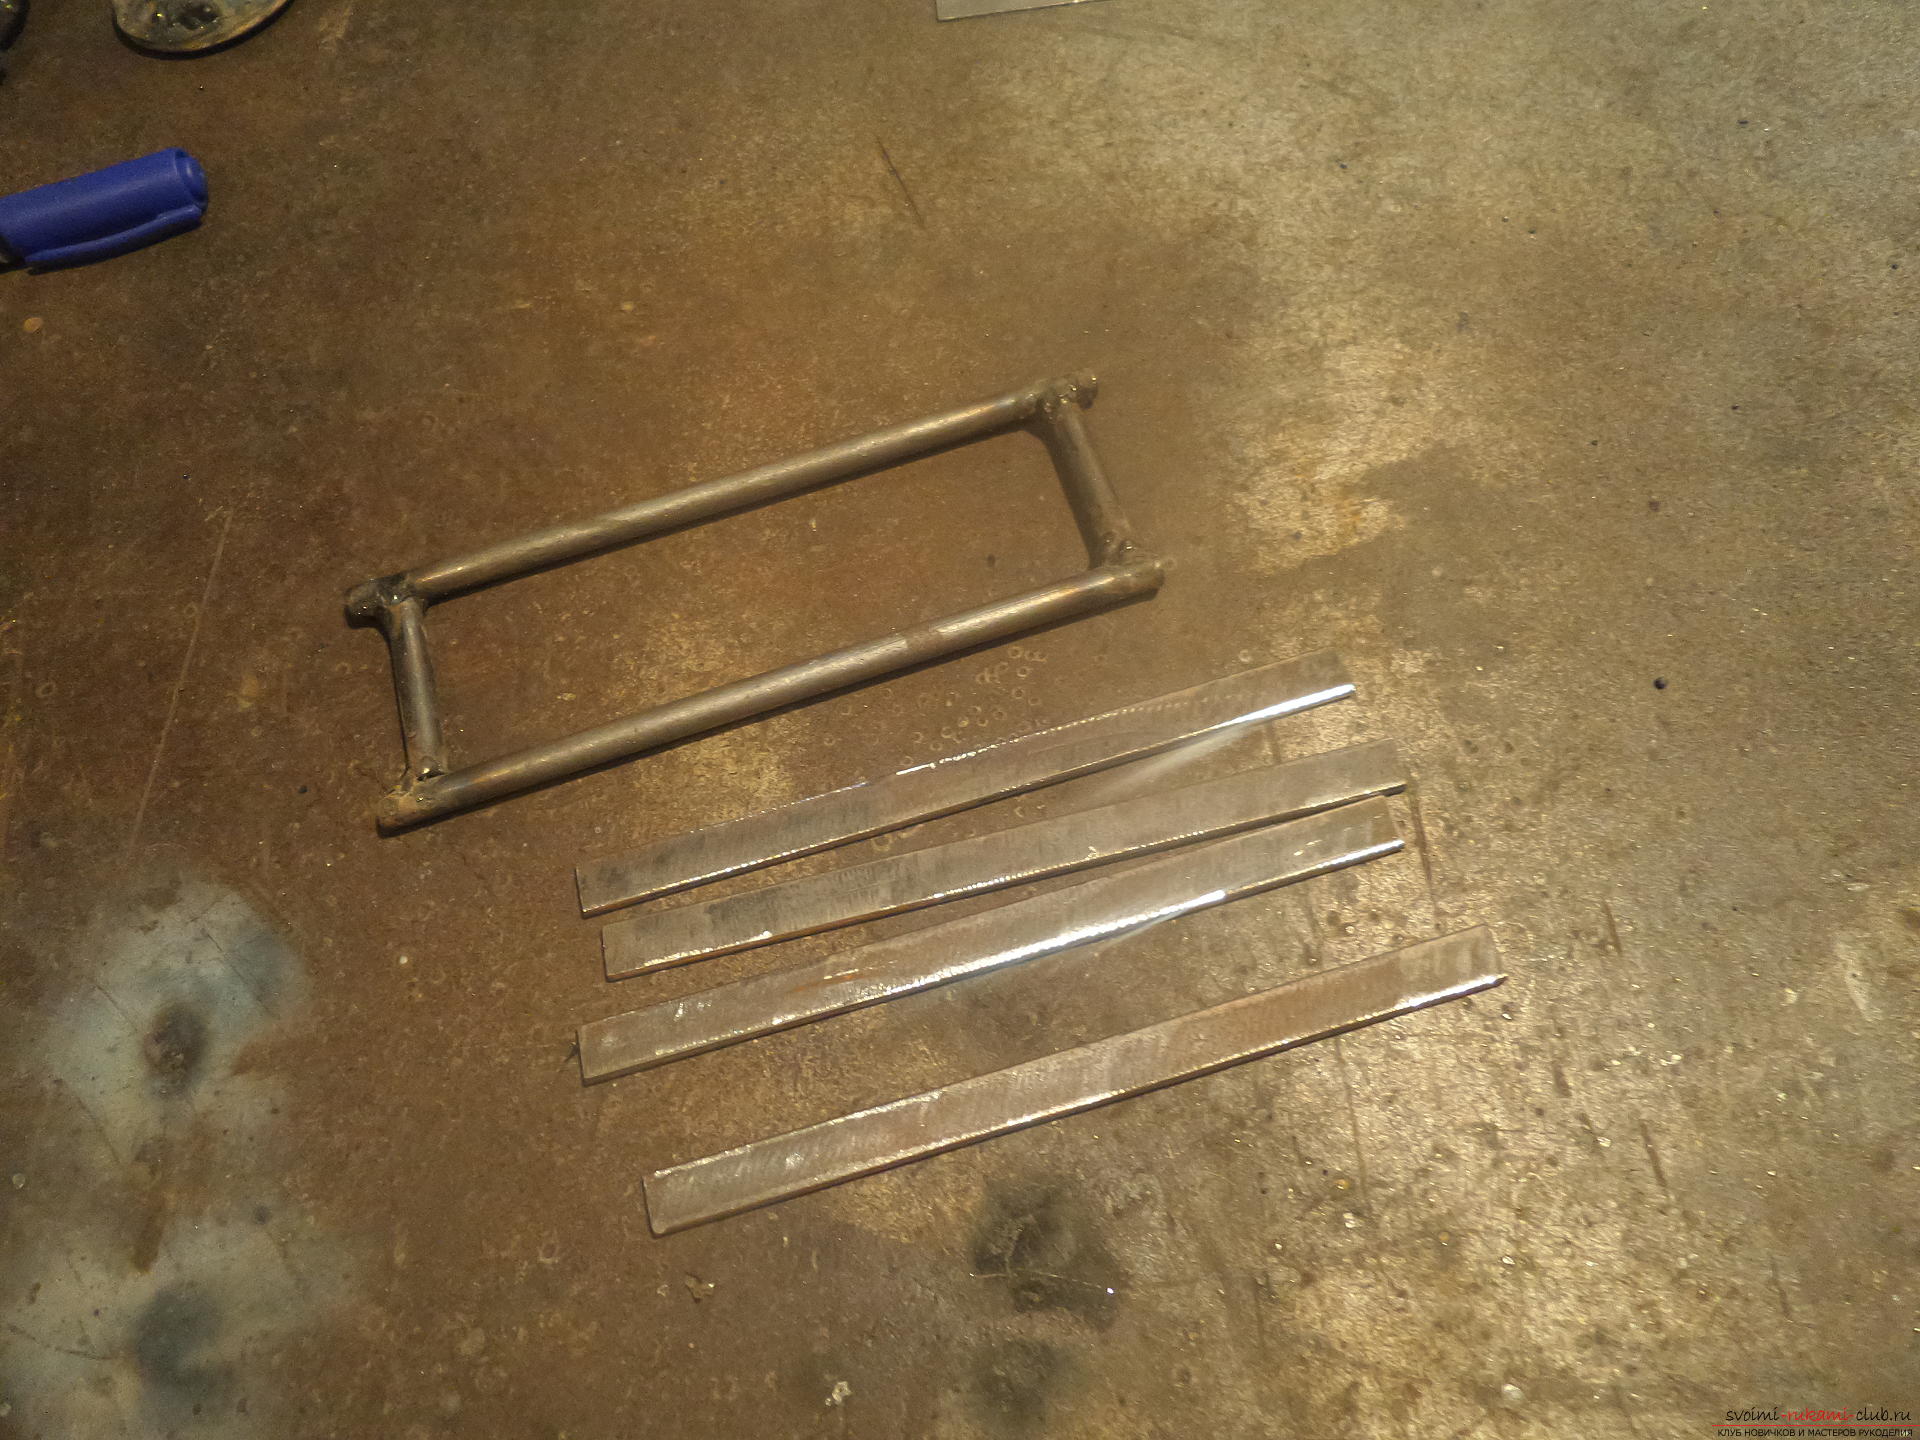 Welding work begins with carefully welding a small stick, a piece of a large nail, to the middle.
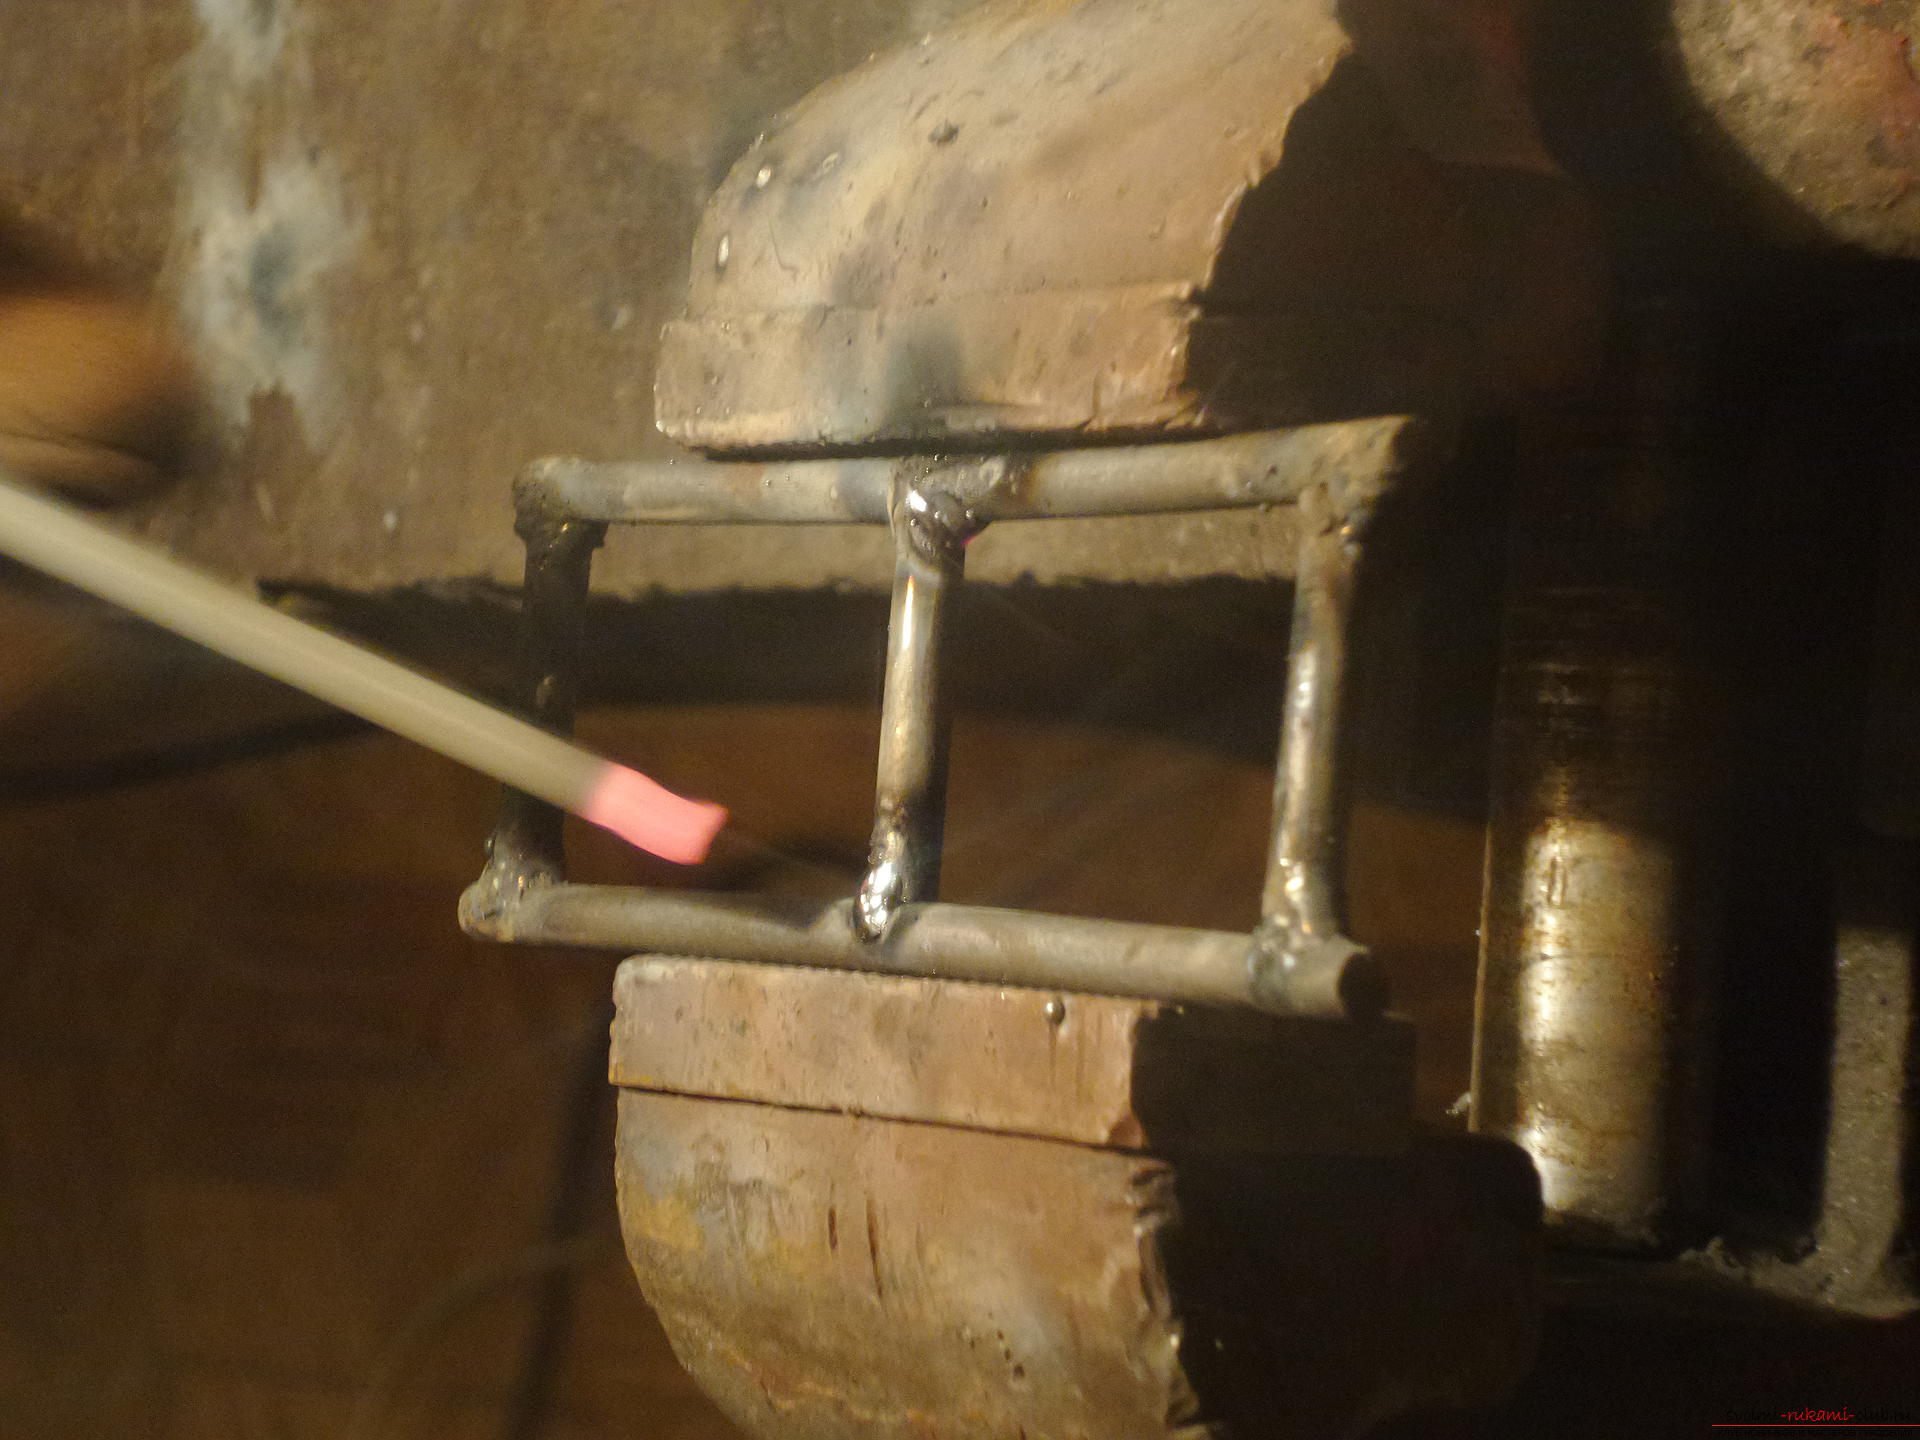 Then the first “board” is added. to the base and boil thoroughly.
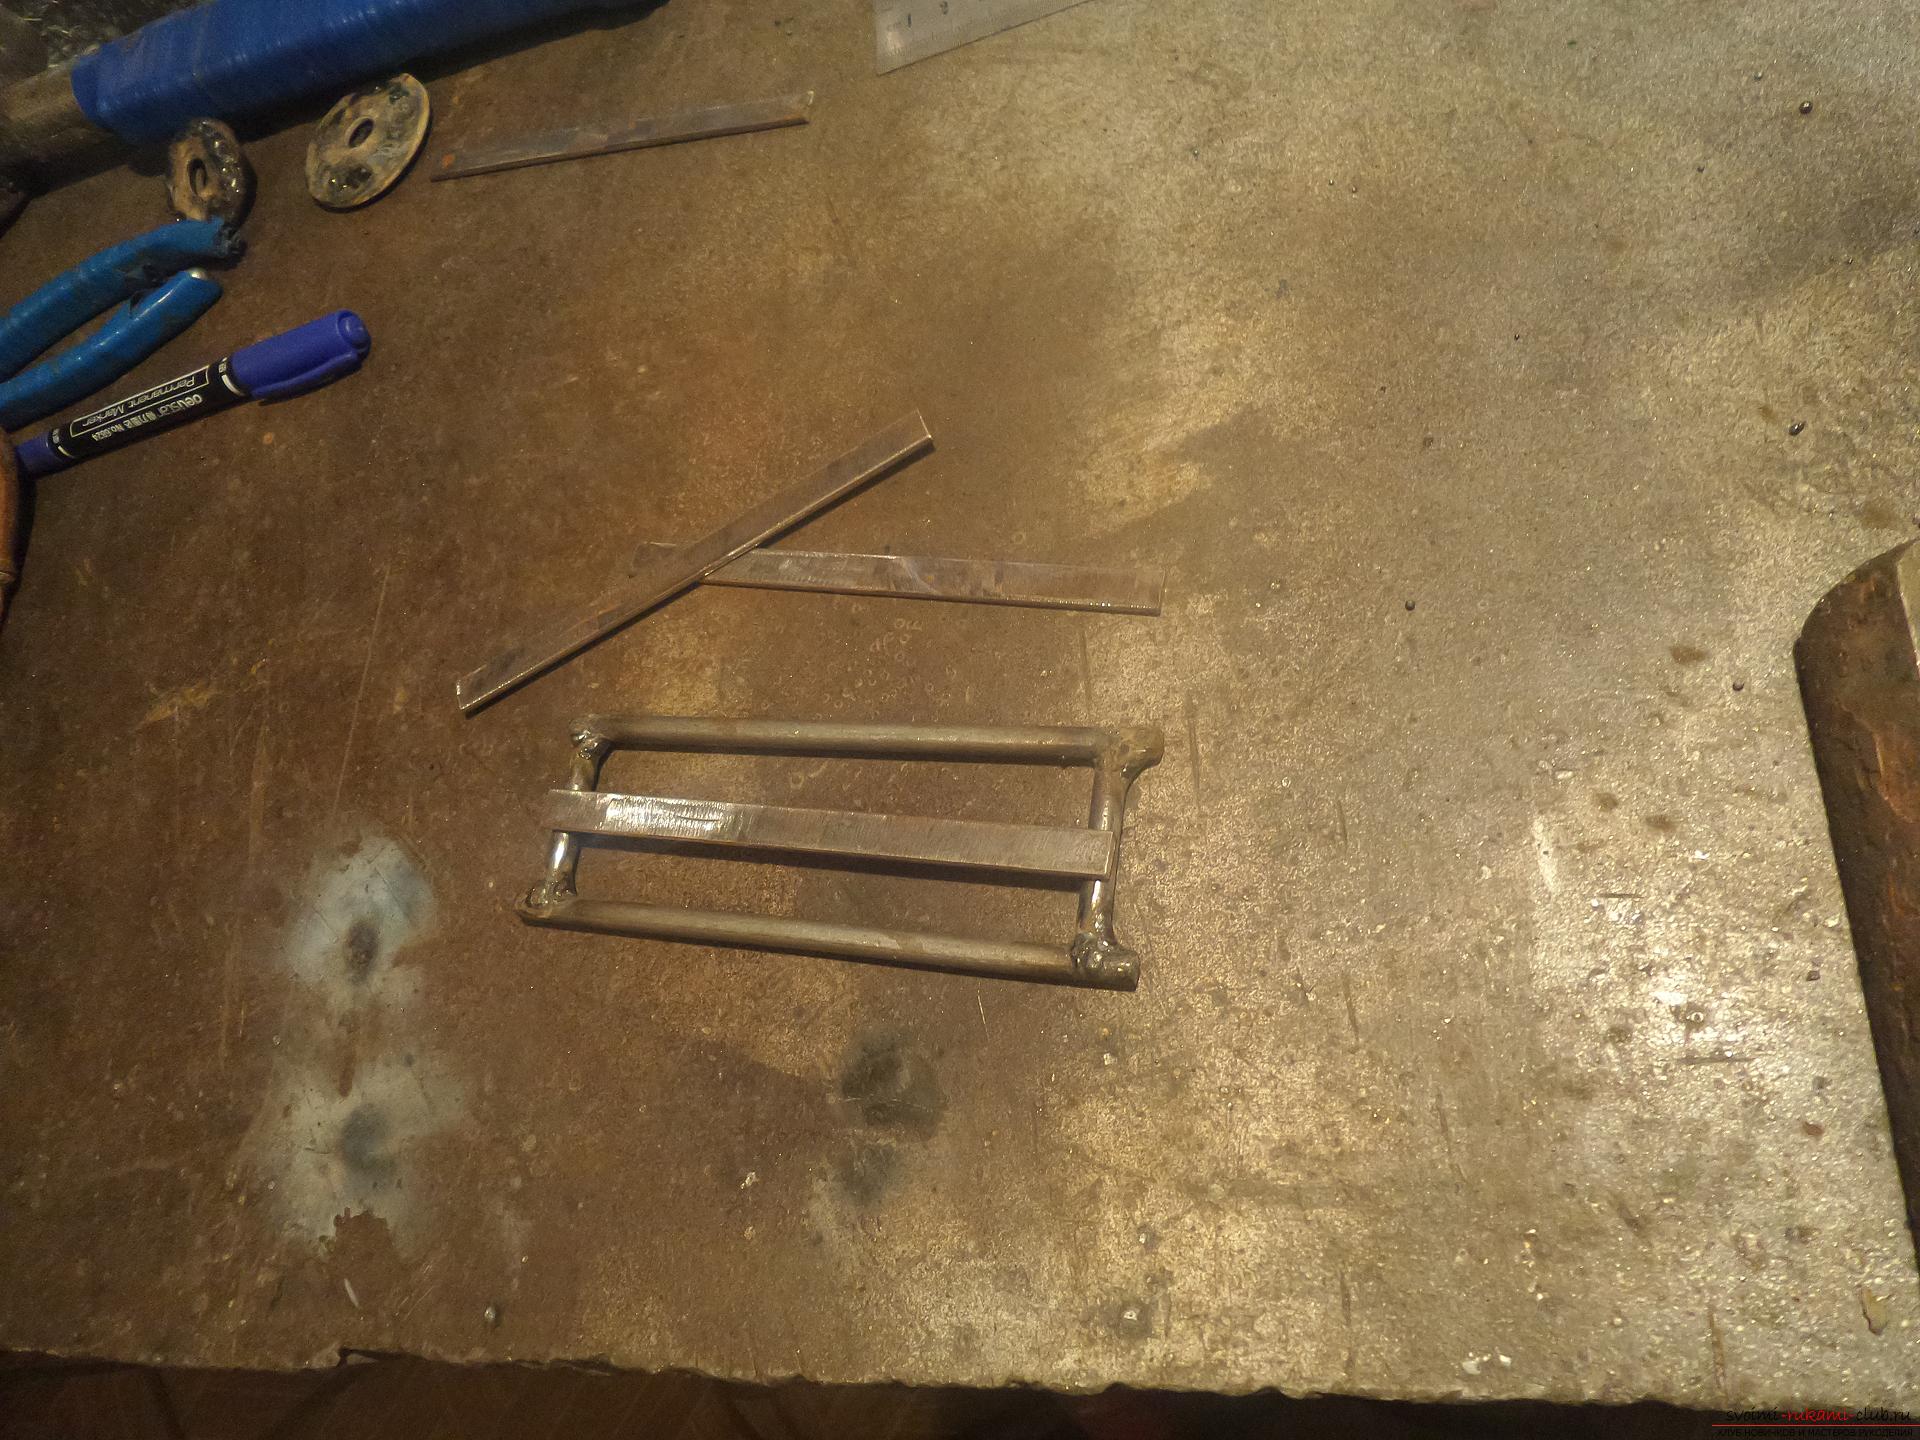
 The upper frame is made in the same way: from two large posts and two small ones.
 Wall sticks consist of five 150-thread nails, cut 3 cm each. Total – 20 small poles.
 The parts are ready, it’s time to try on and weld the upper frame.
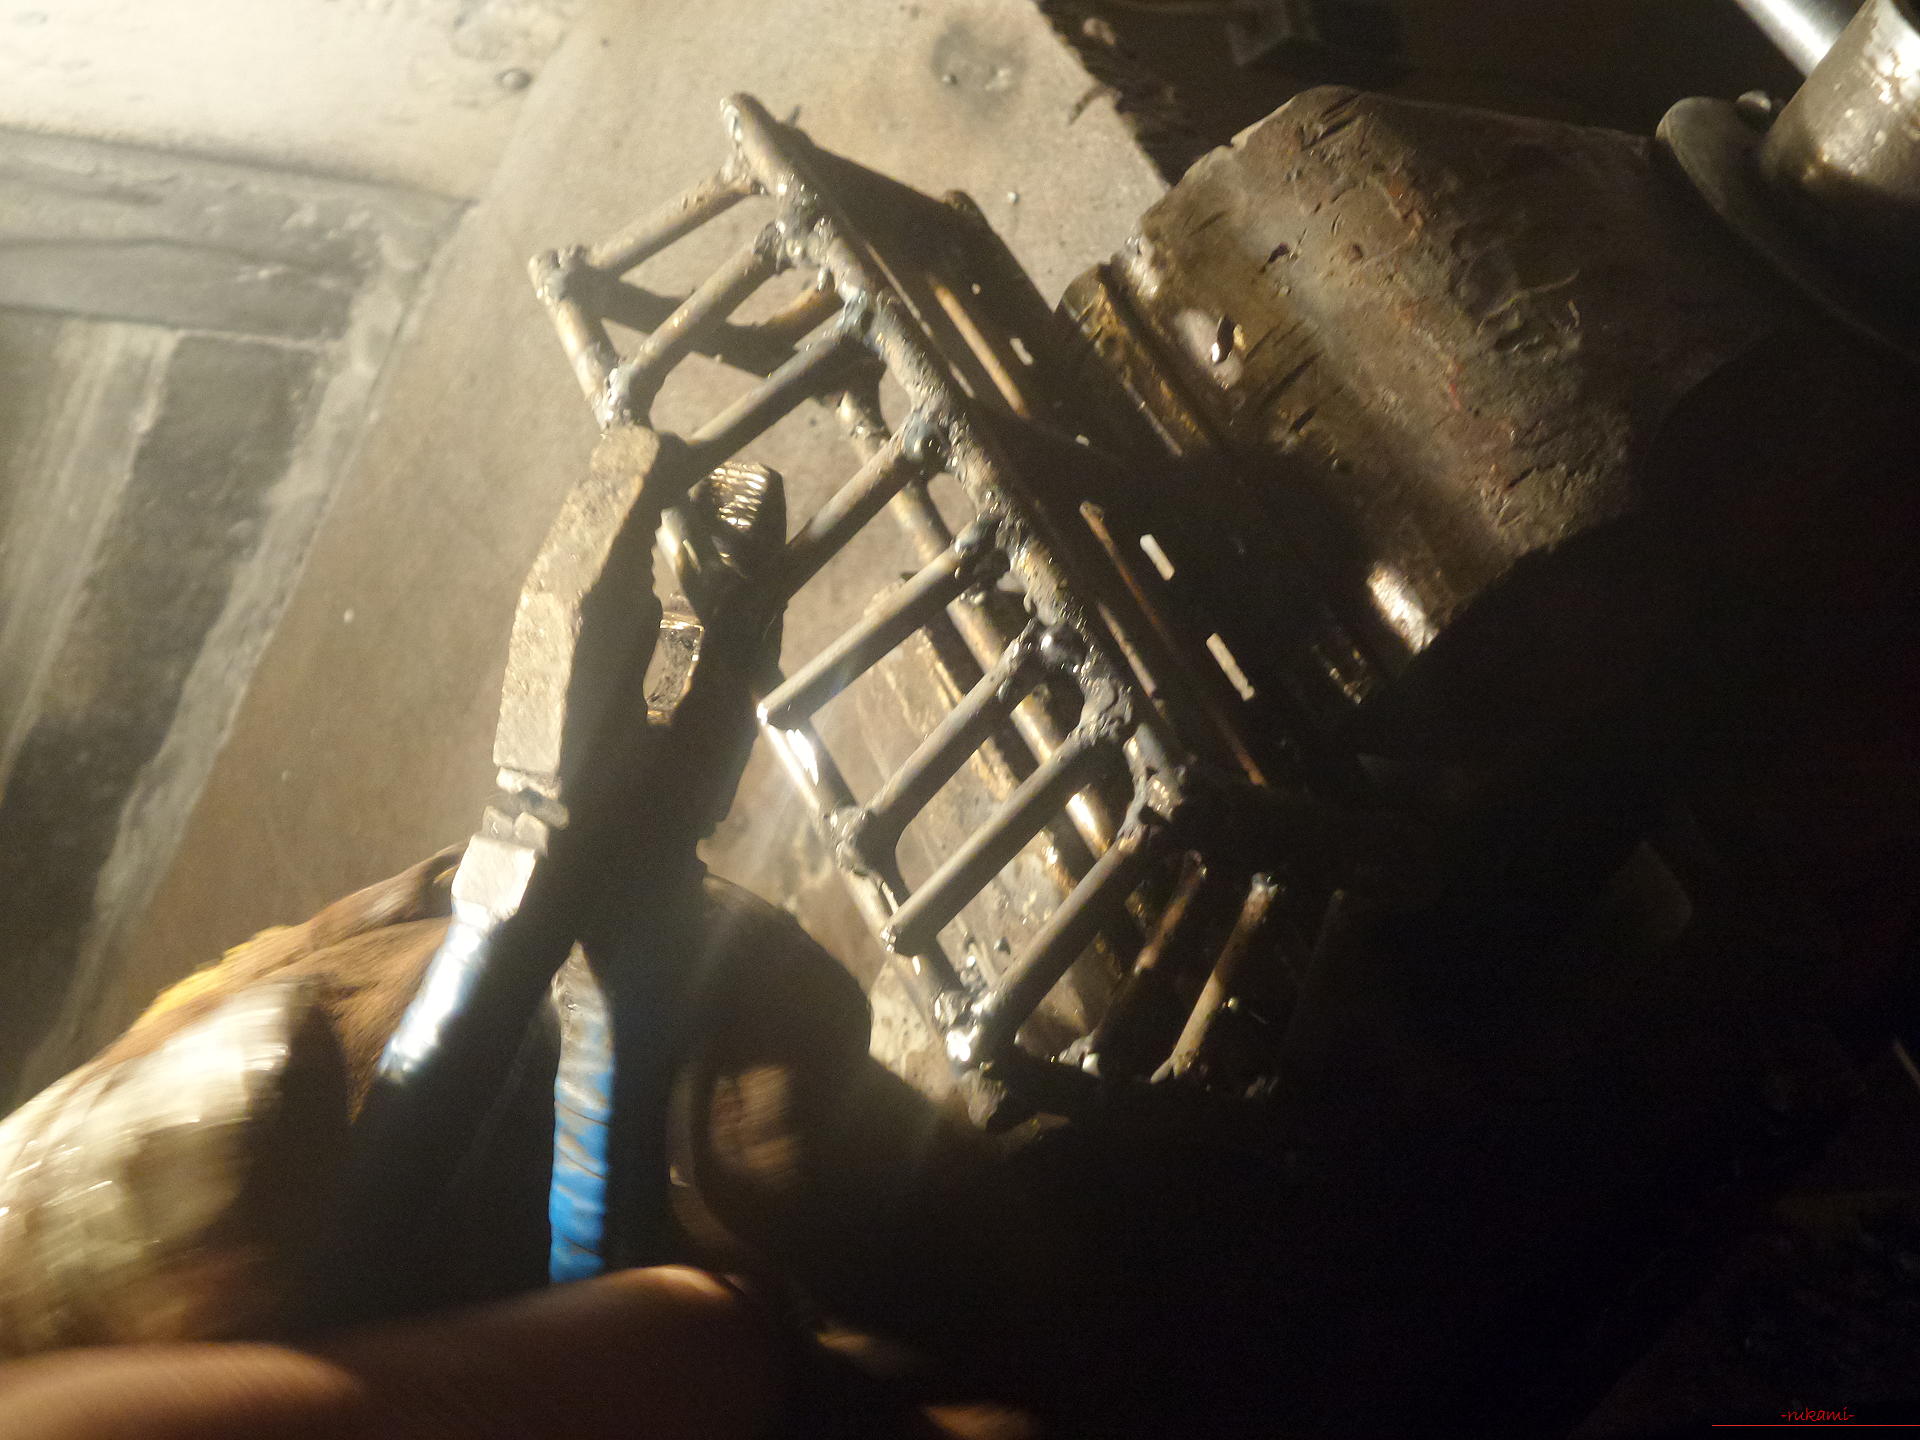
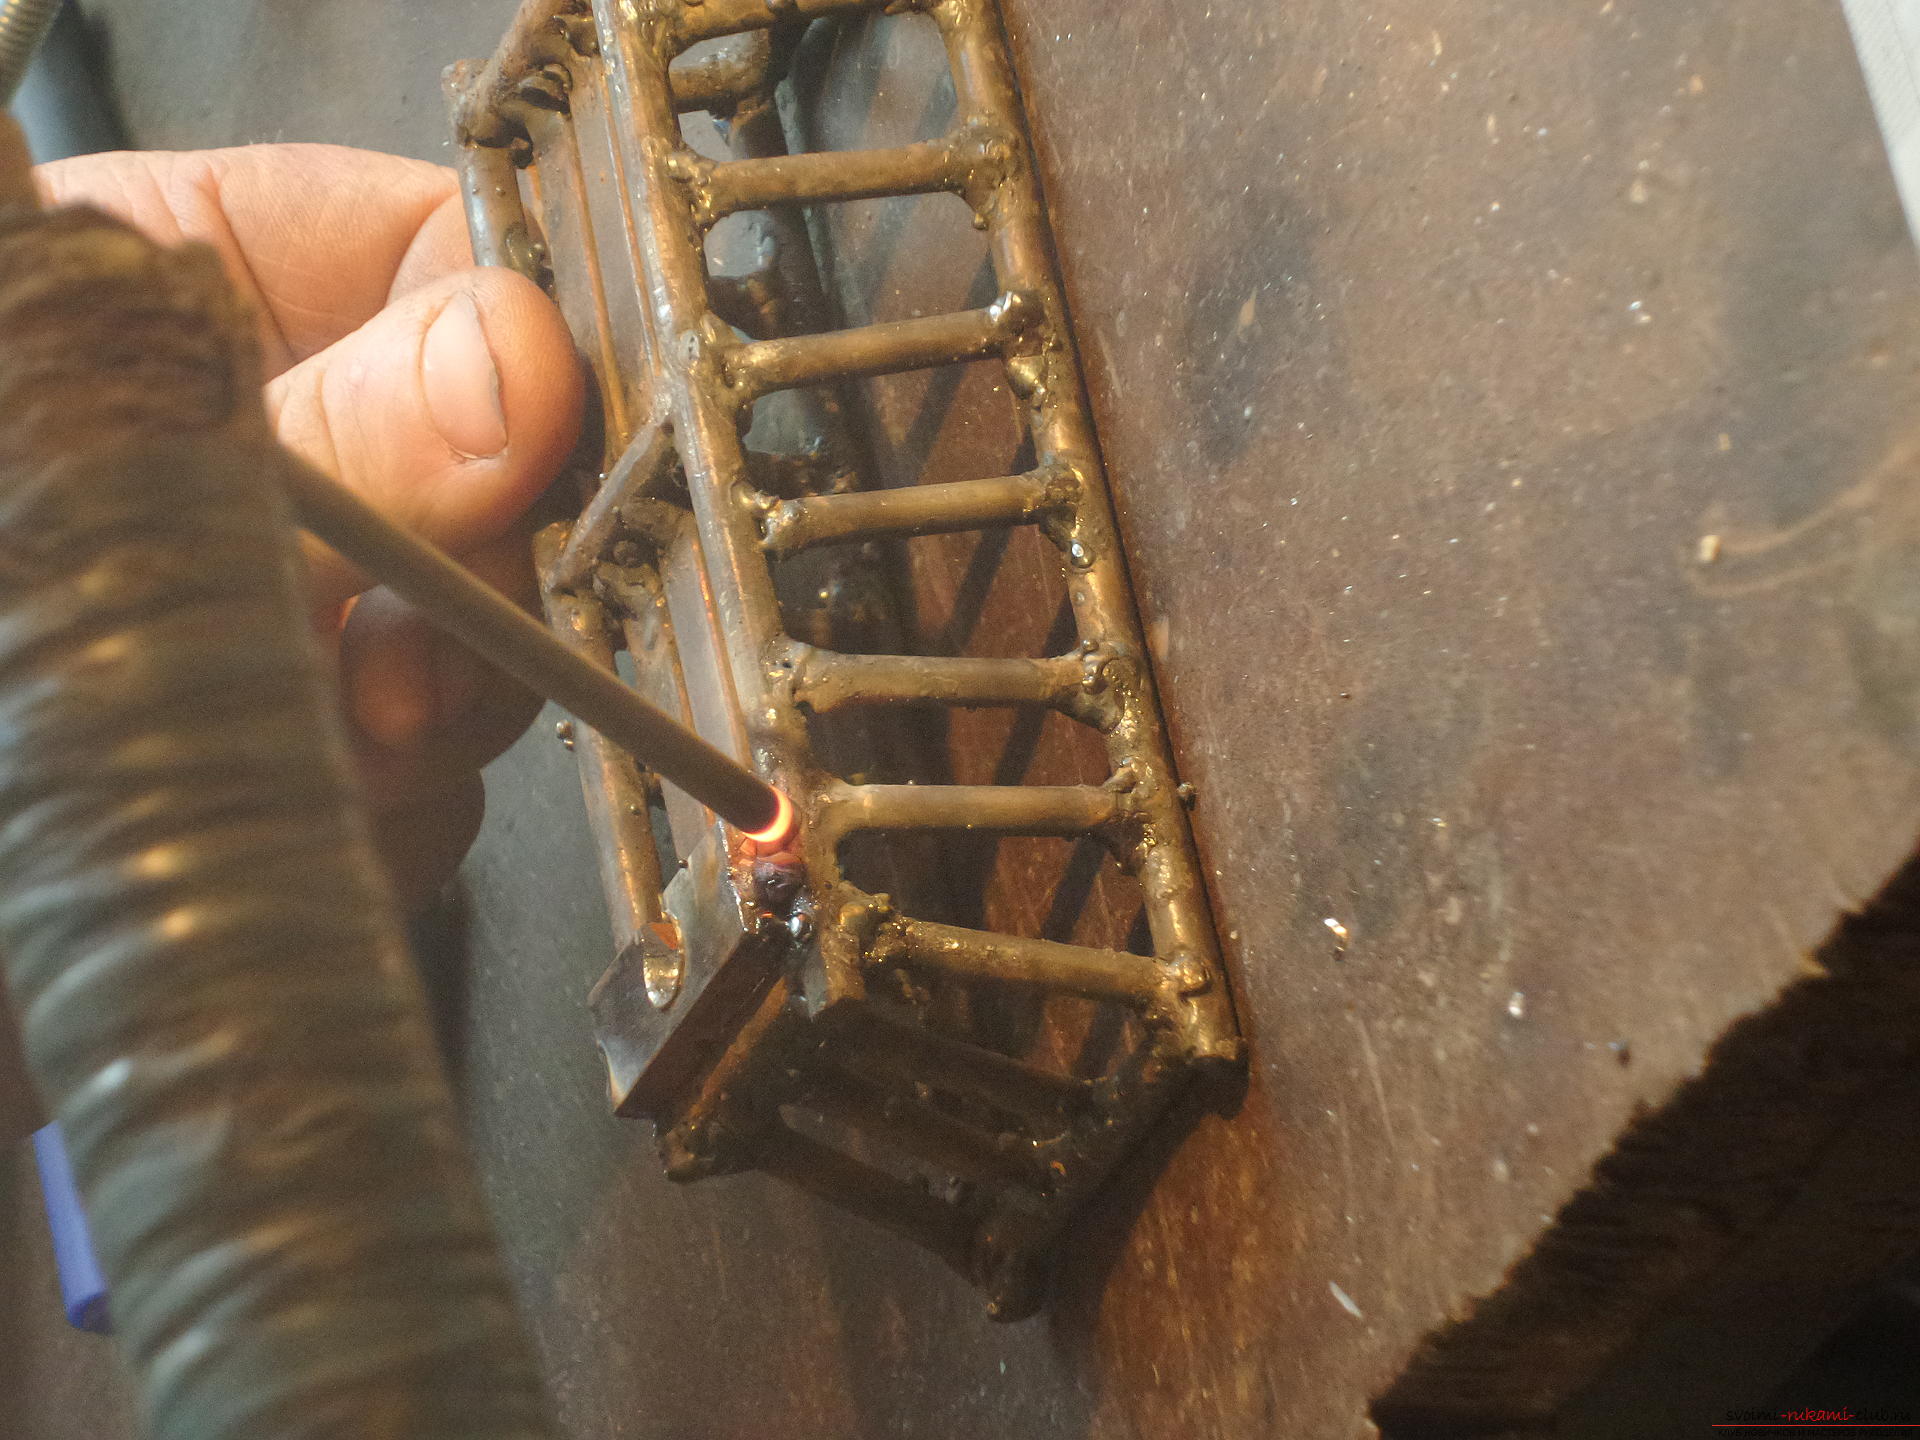
 Welding of the posts begins from the narrowest side, and the side posts are welded first, then the 2 central posts.
 Only after this will it be possible to weld the upper frame.
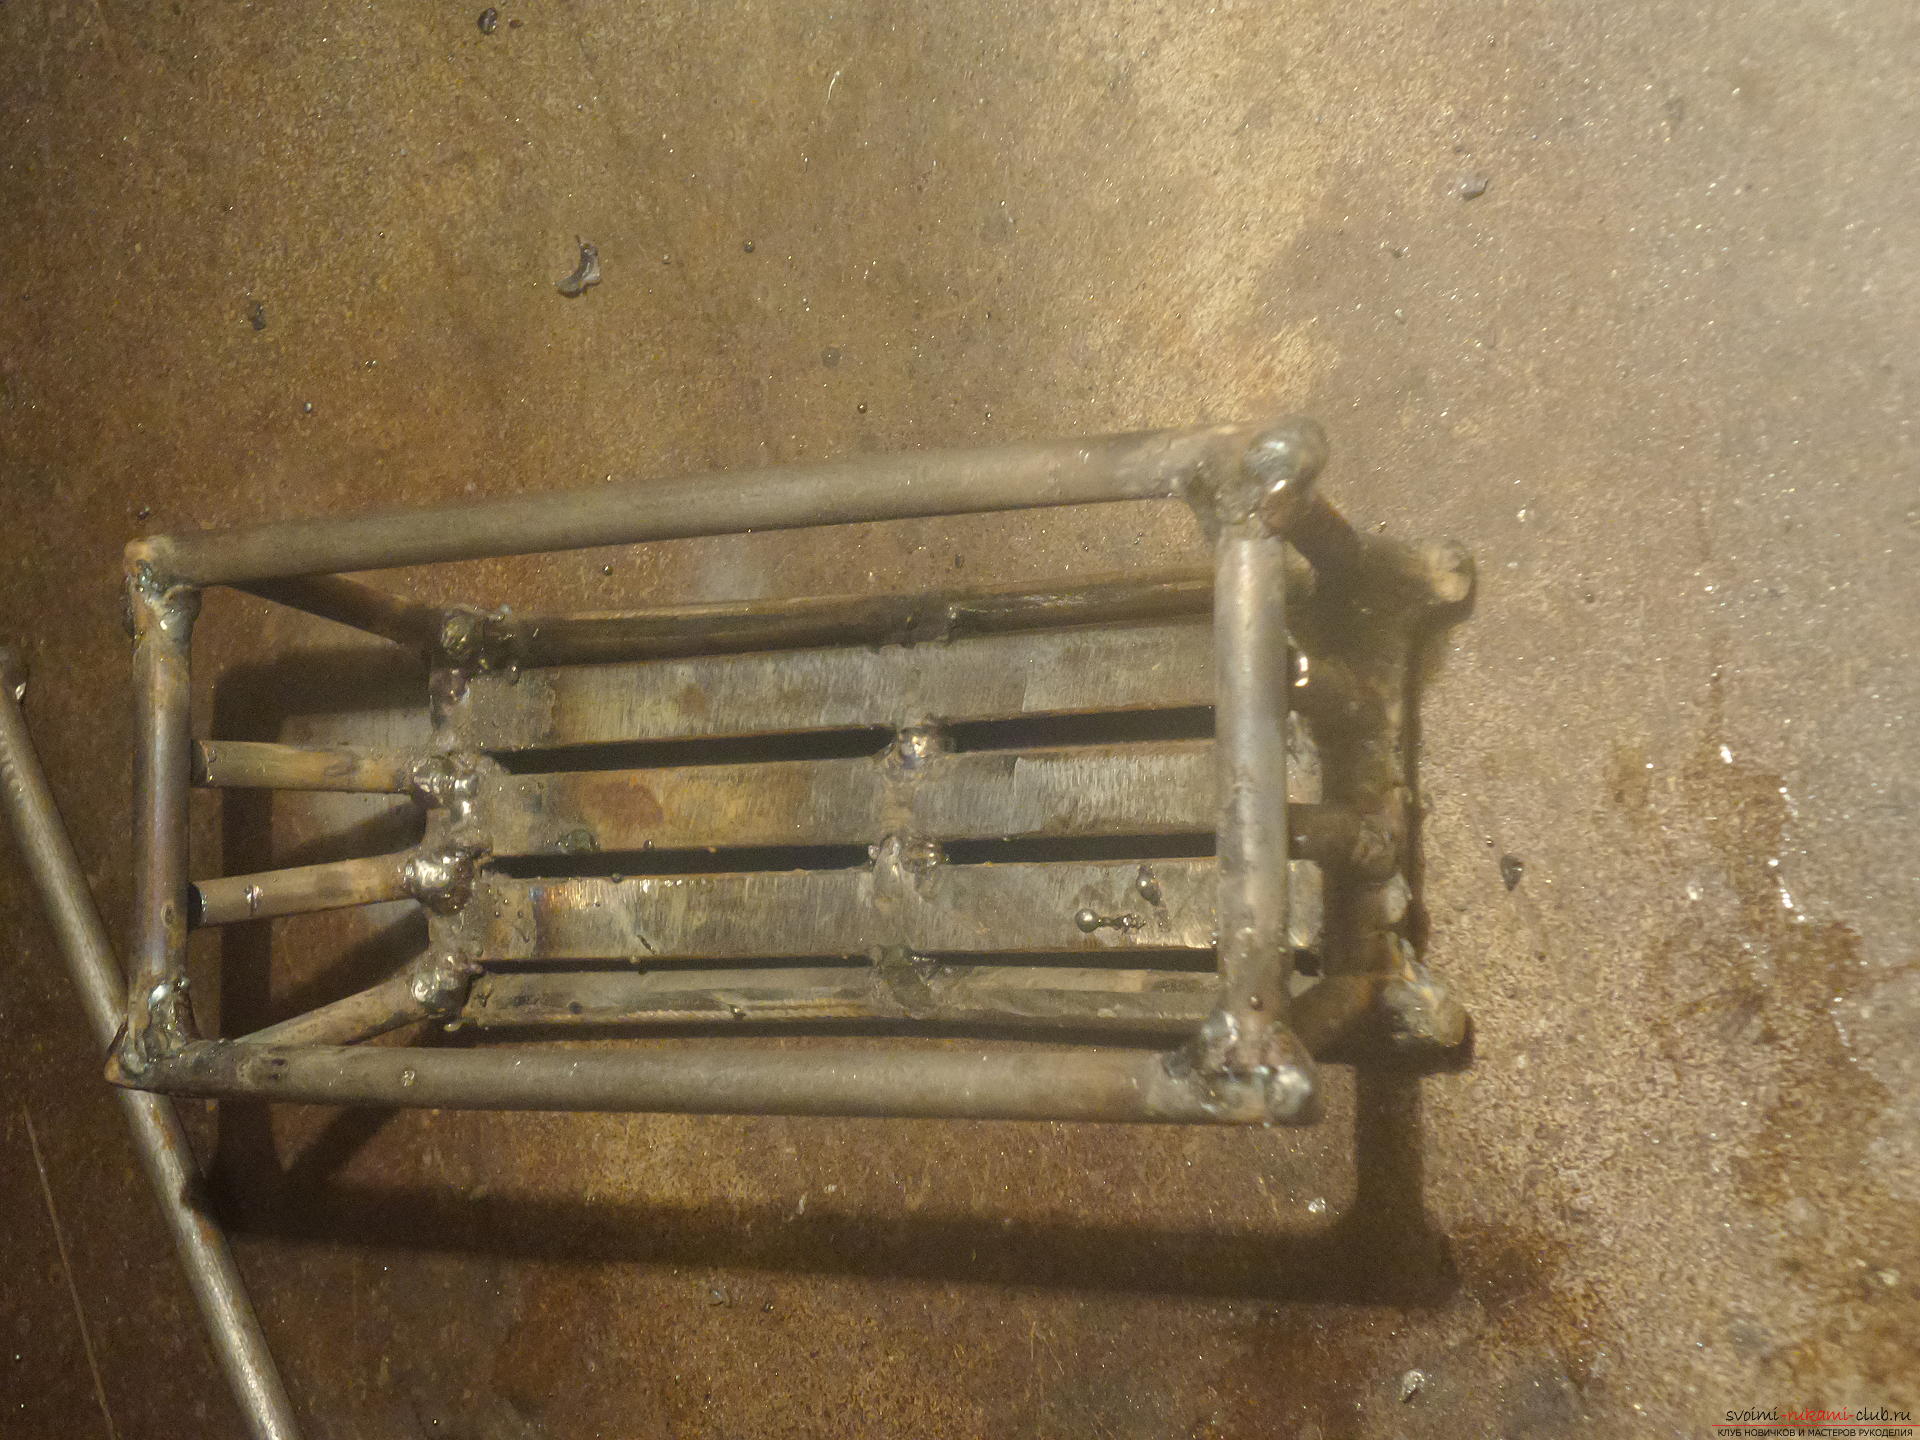 You can weld the side posts in two ways: by pre-cutting them or by welding the bottom of the nails. Then the upper part is cut off, bent under the base and welded.
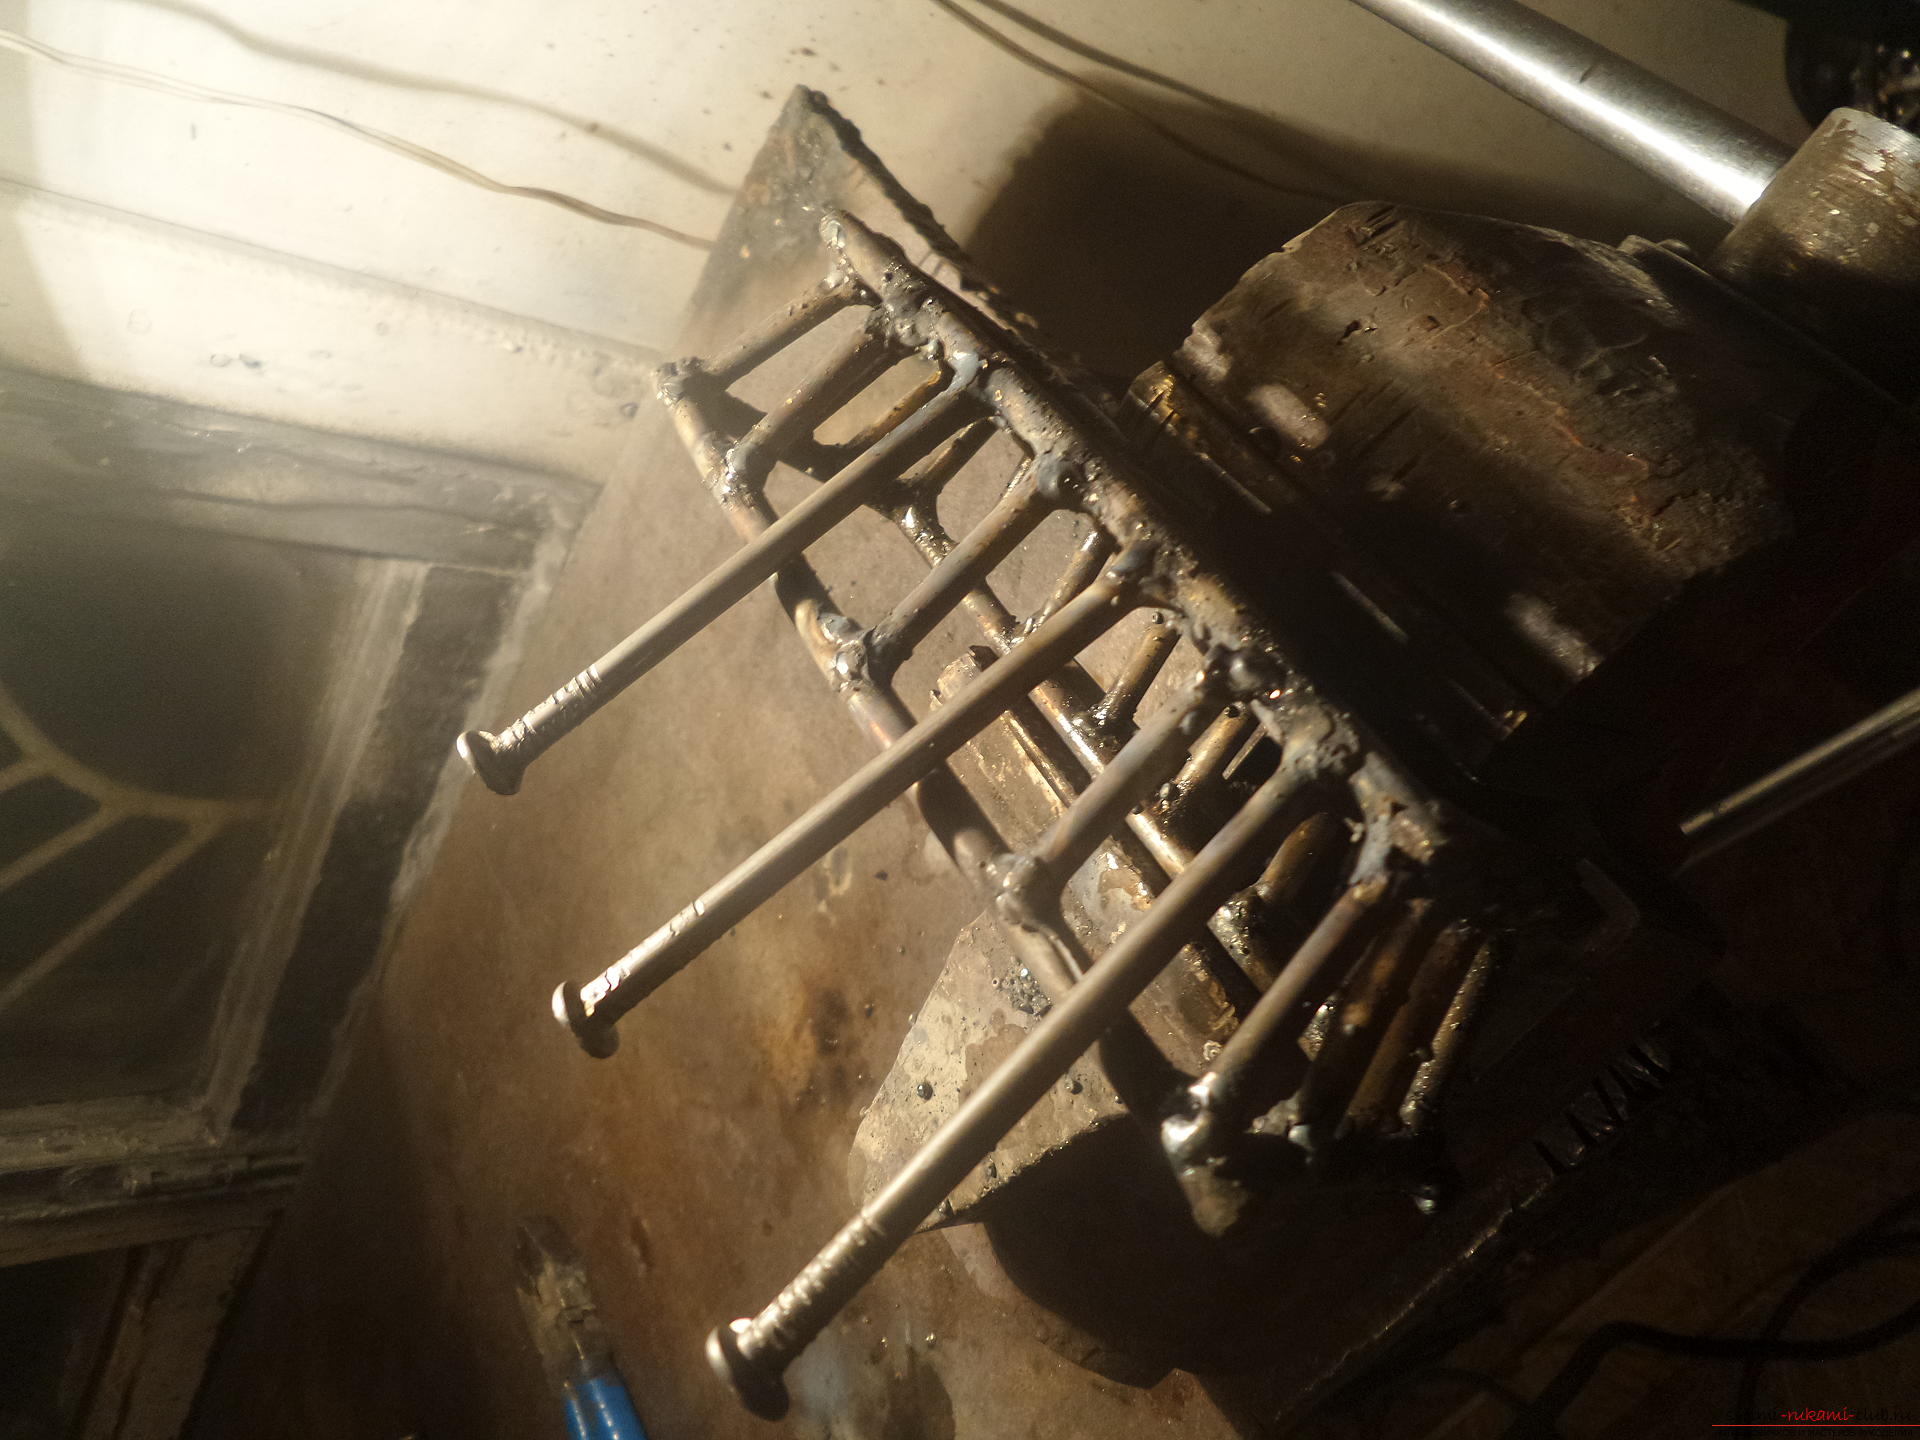
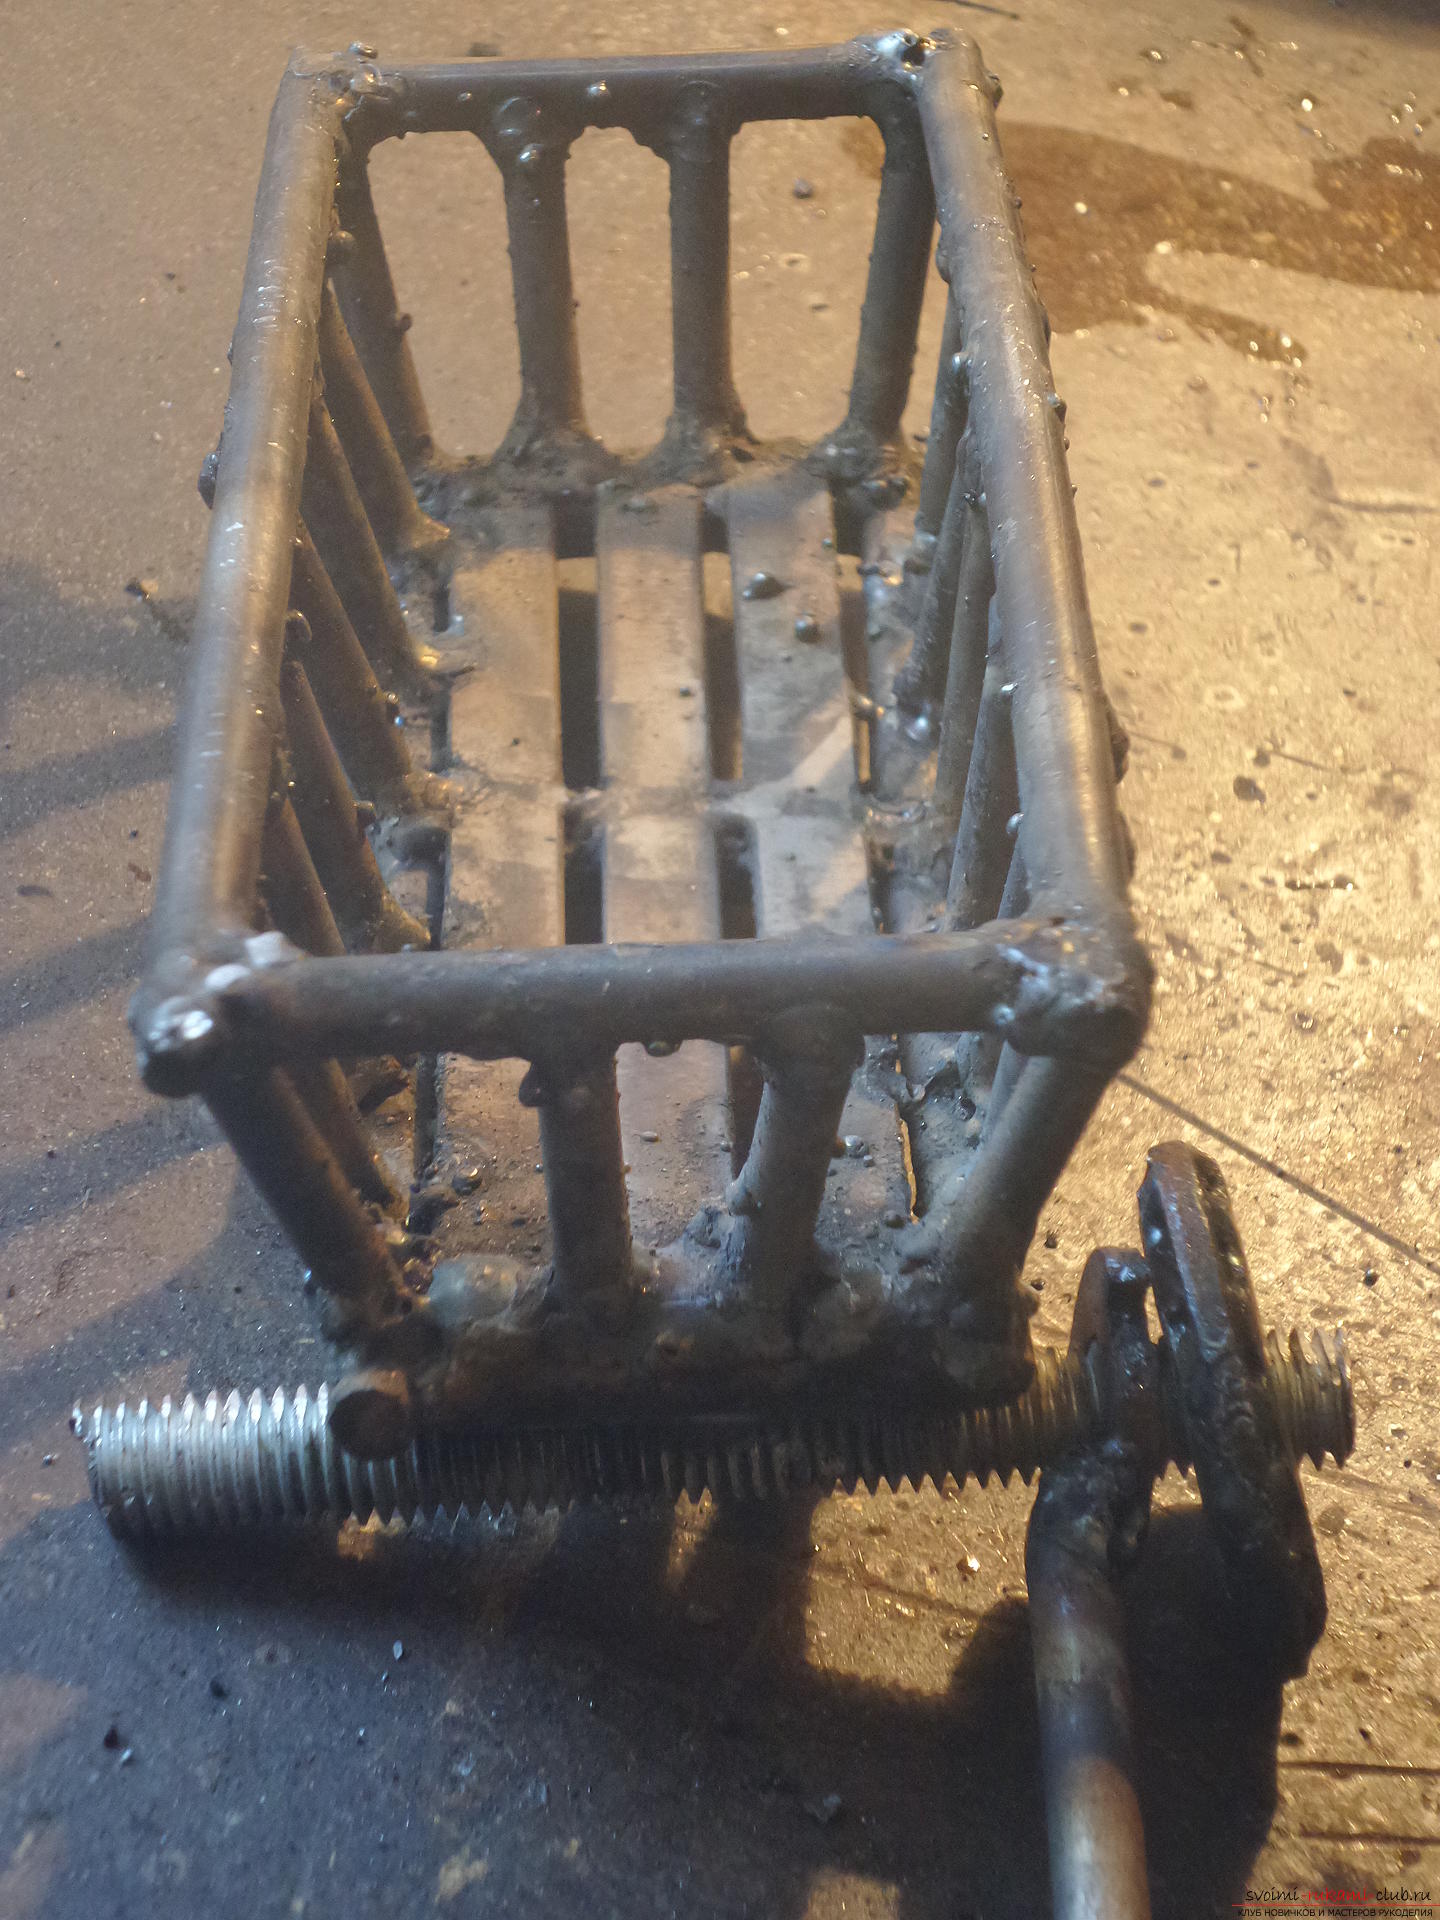
 A cart without wheels.
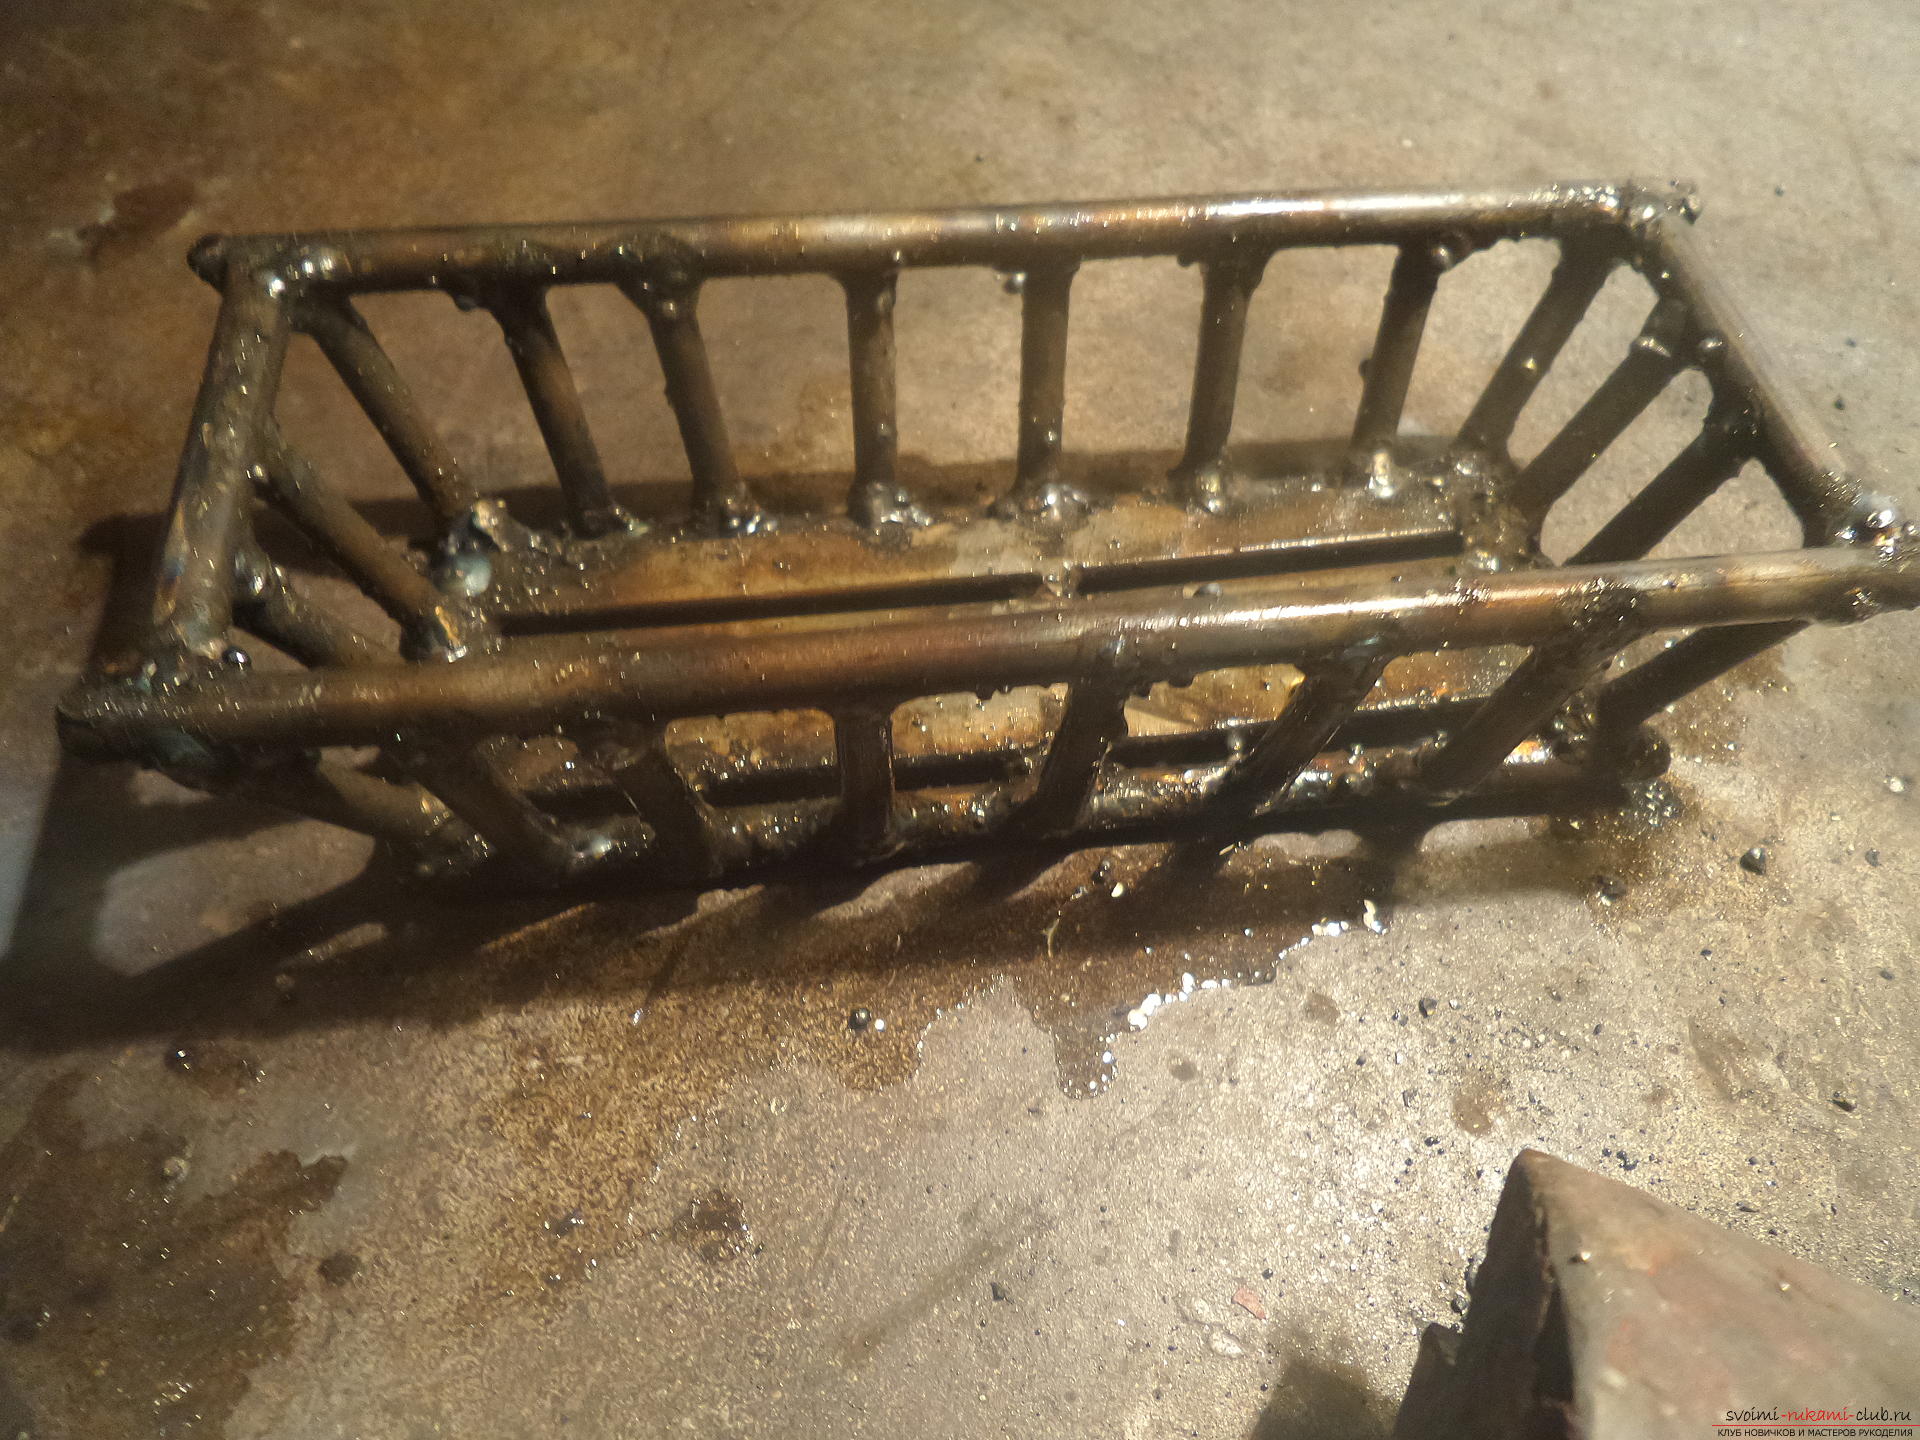 Let's start creating the movement mechanism. The front wheels should turn on the basis of an iron piece, which you will have to work with further. Its length and center are outlined.
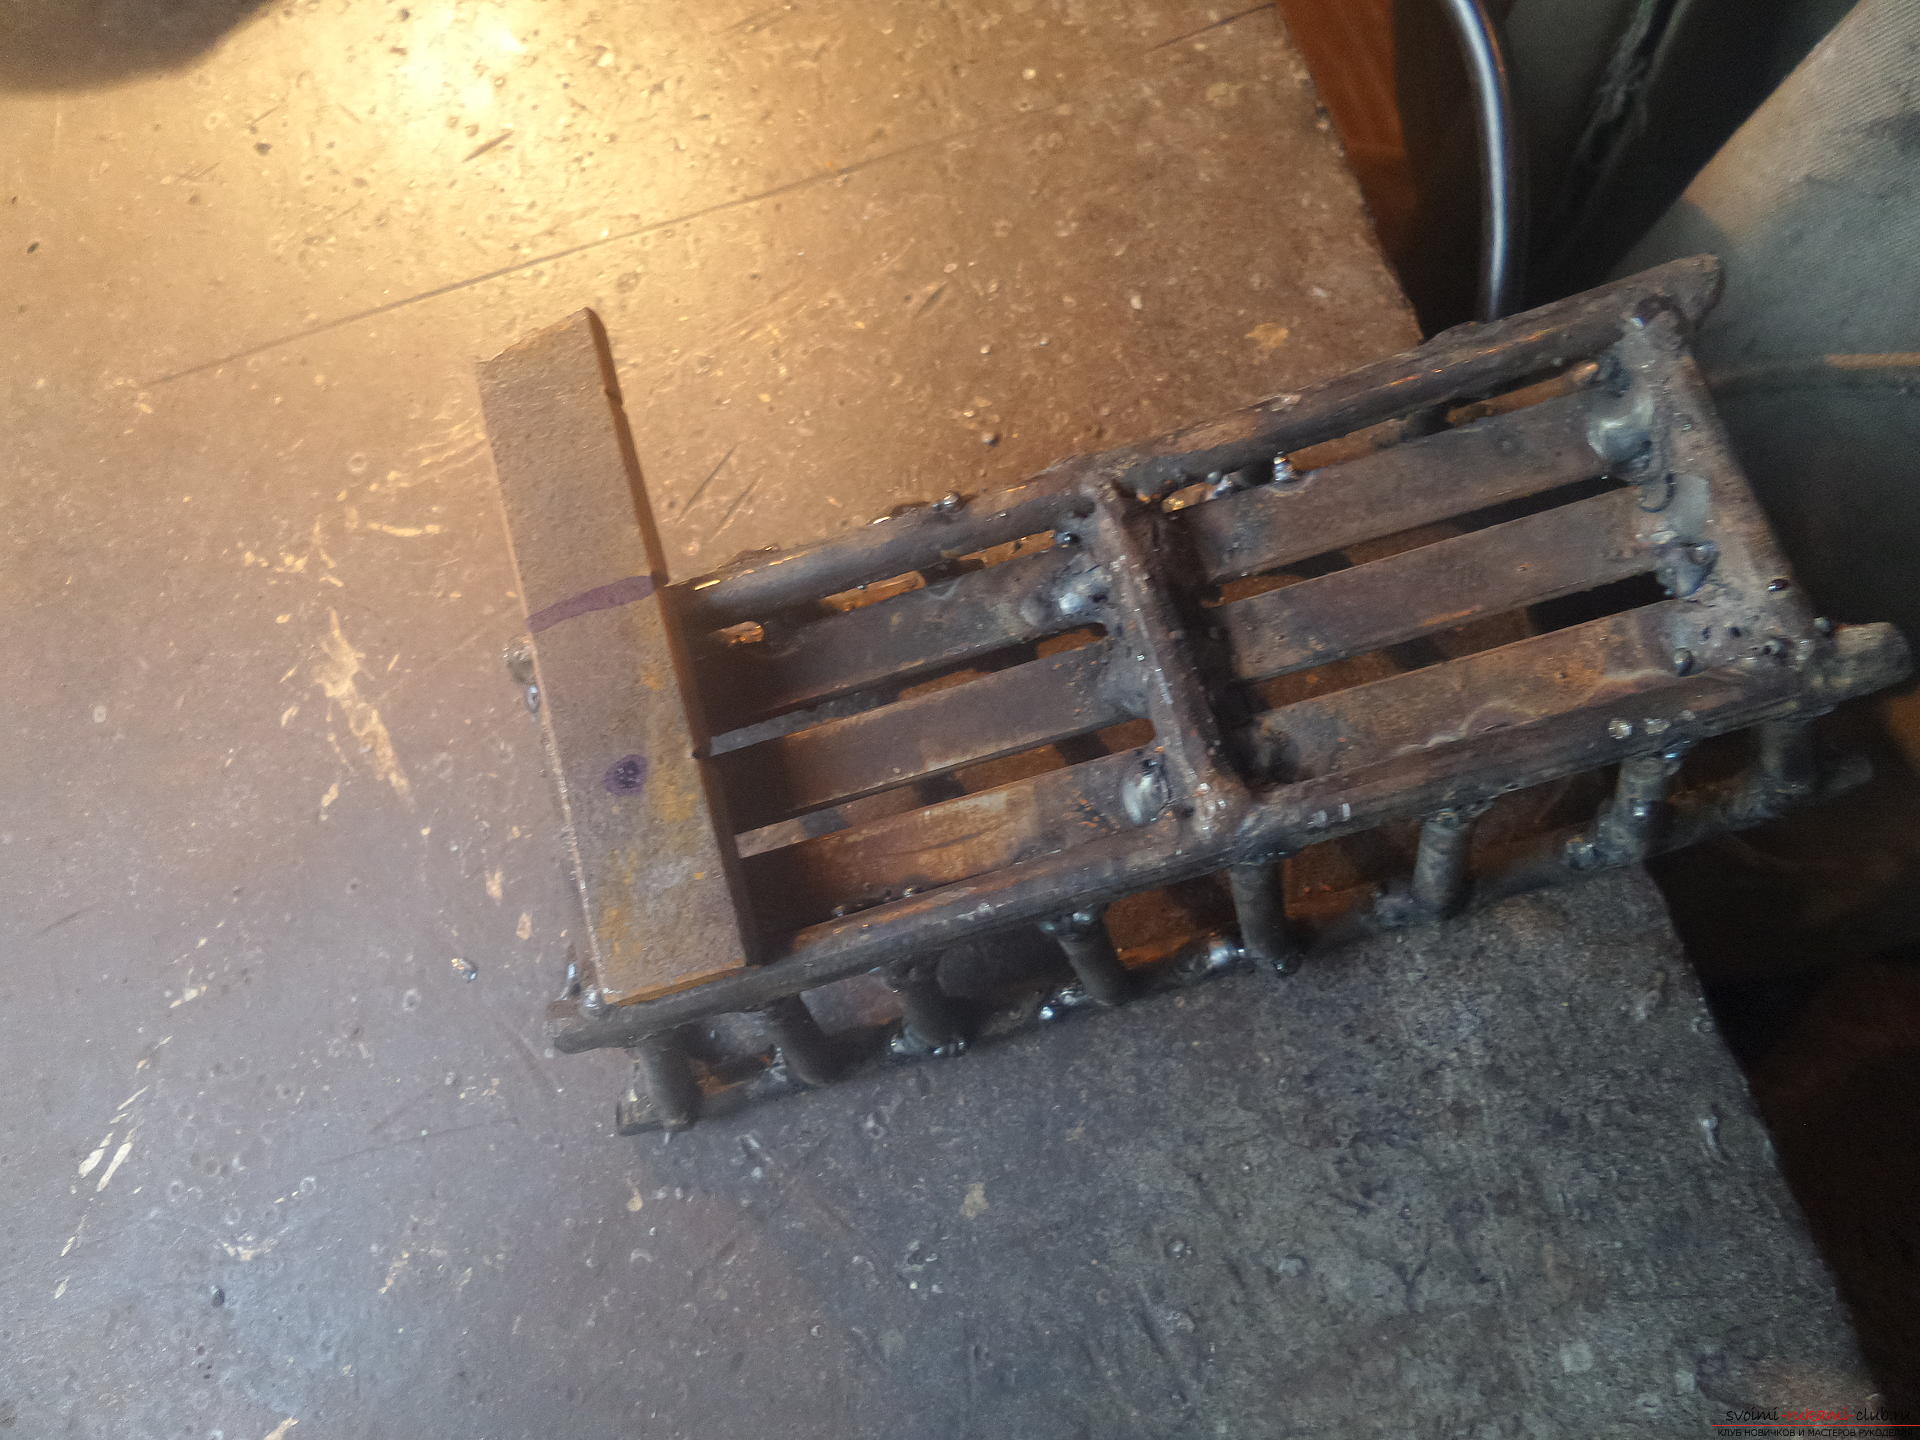 The required part is cut off, and a hole half a centimeter in diameter is drilled according to the mark.
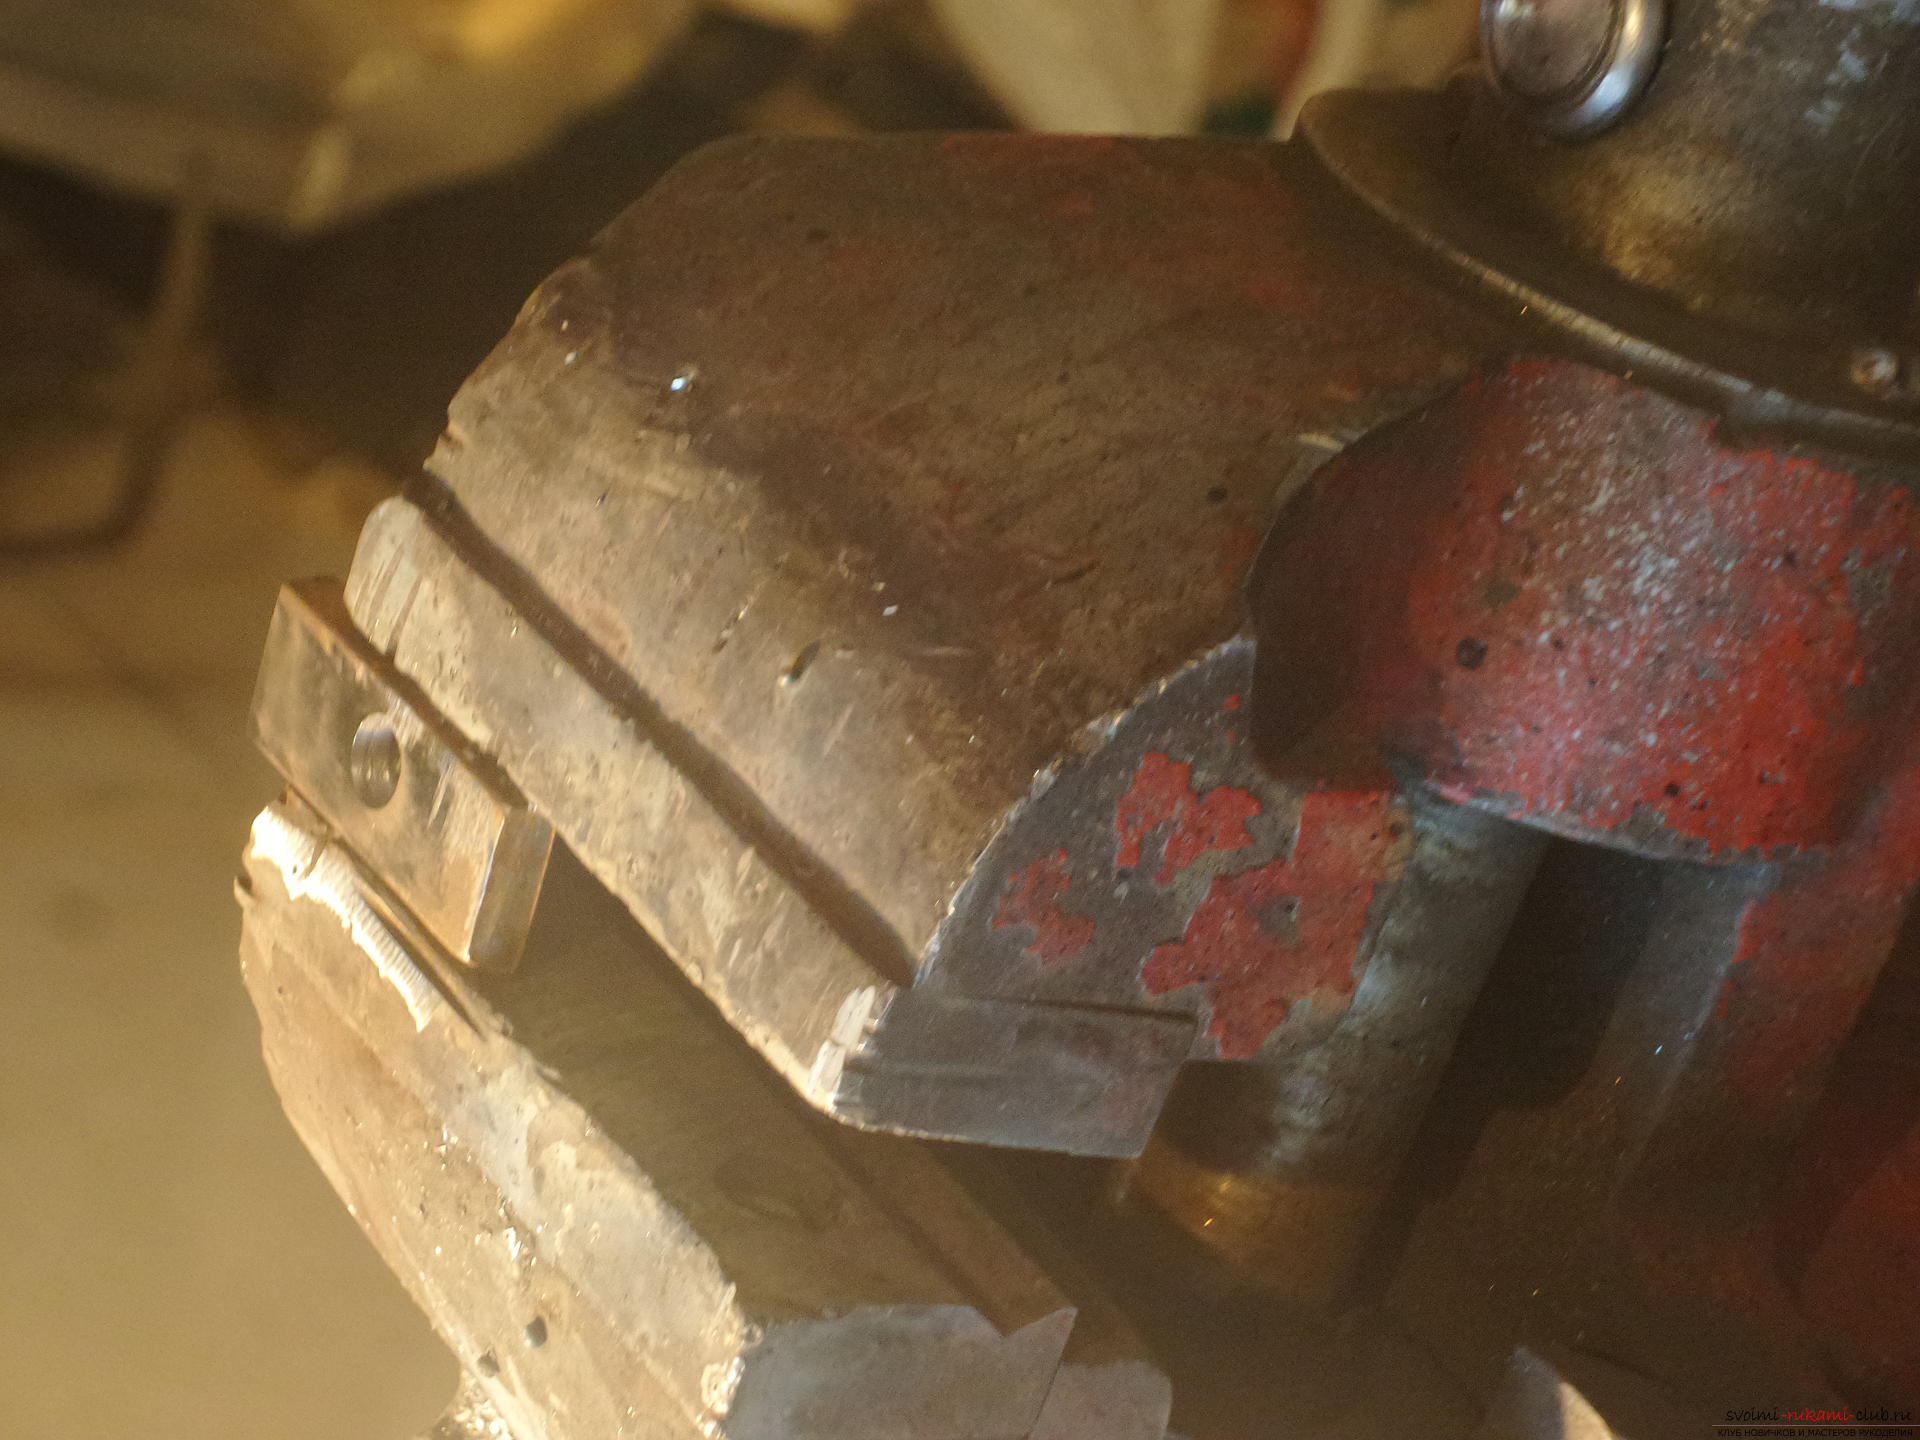 Now you need to try on a large nail in this hole, additionally making an incision in the part. The length of the nail will allow the front wheels to turn.
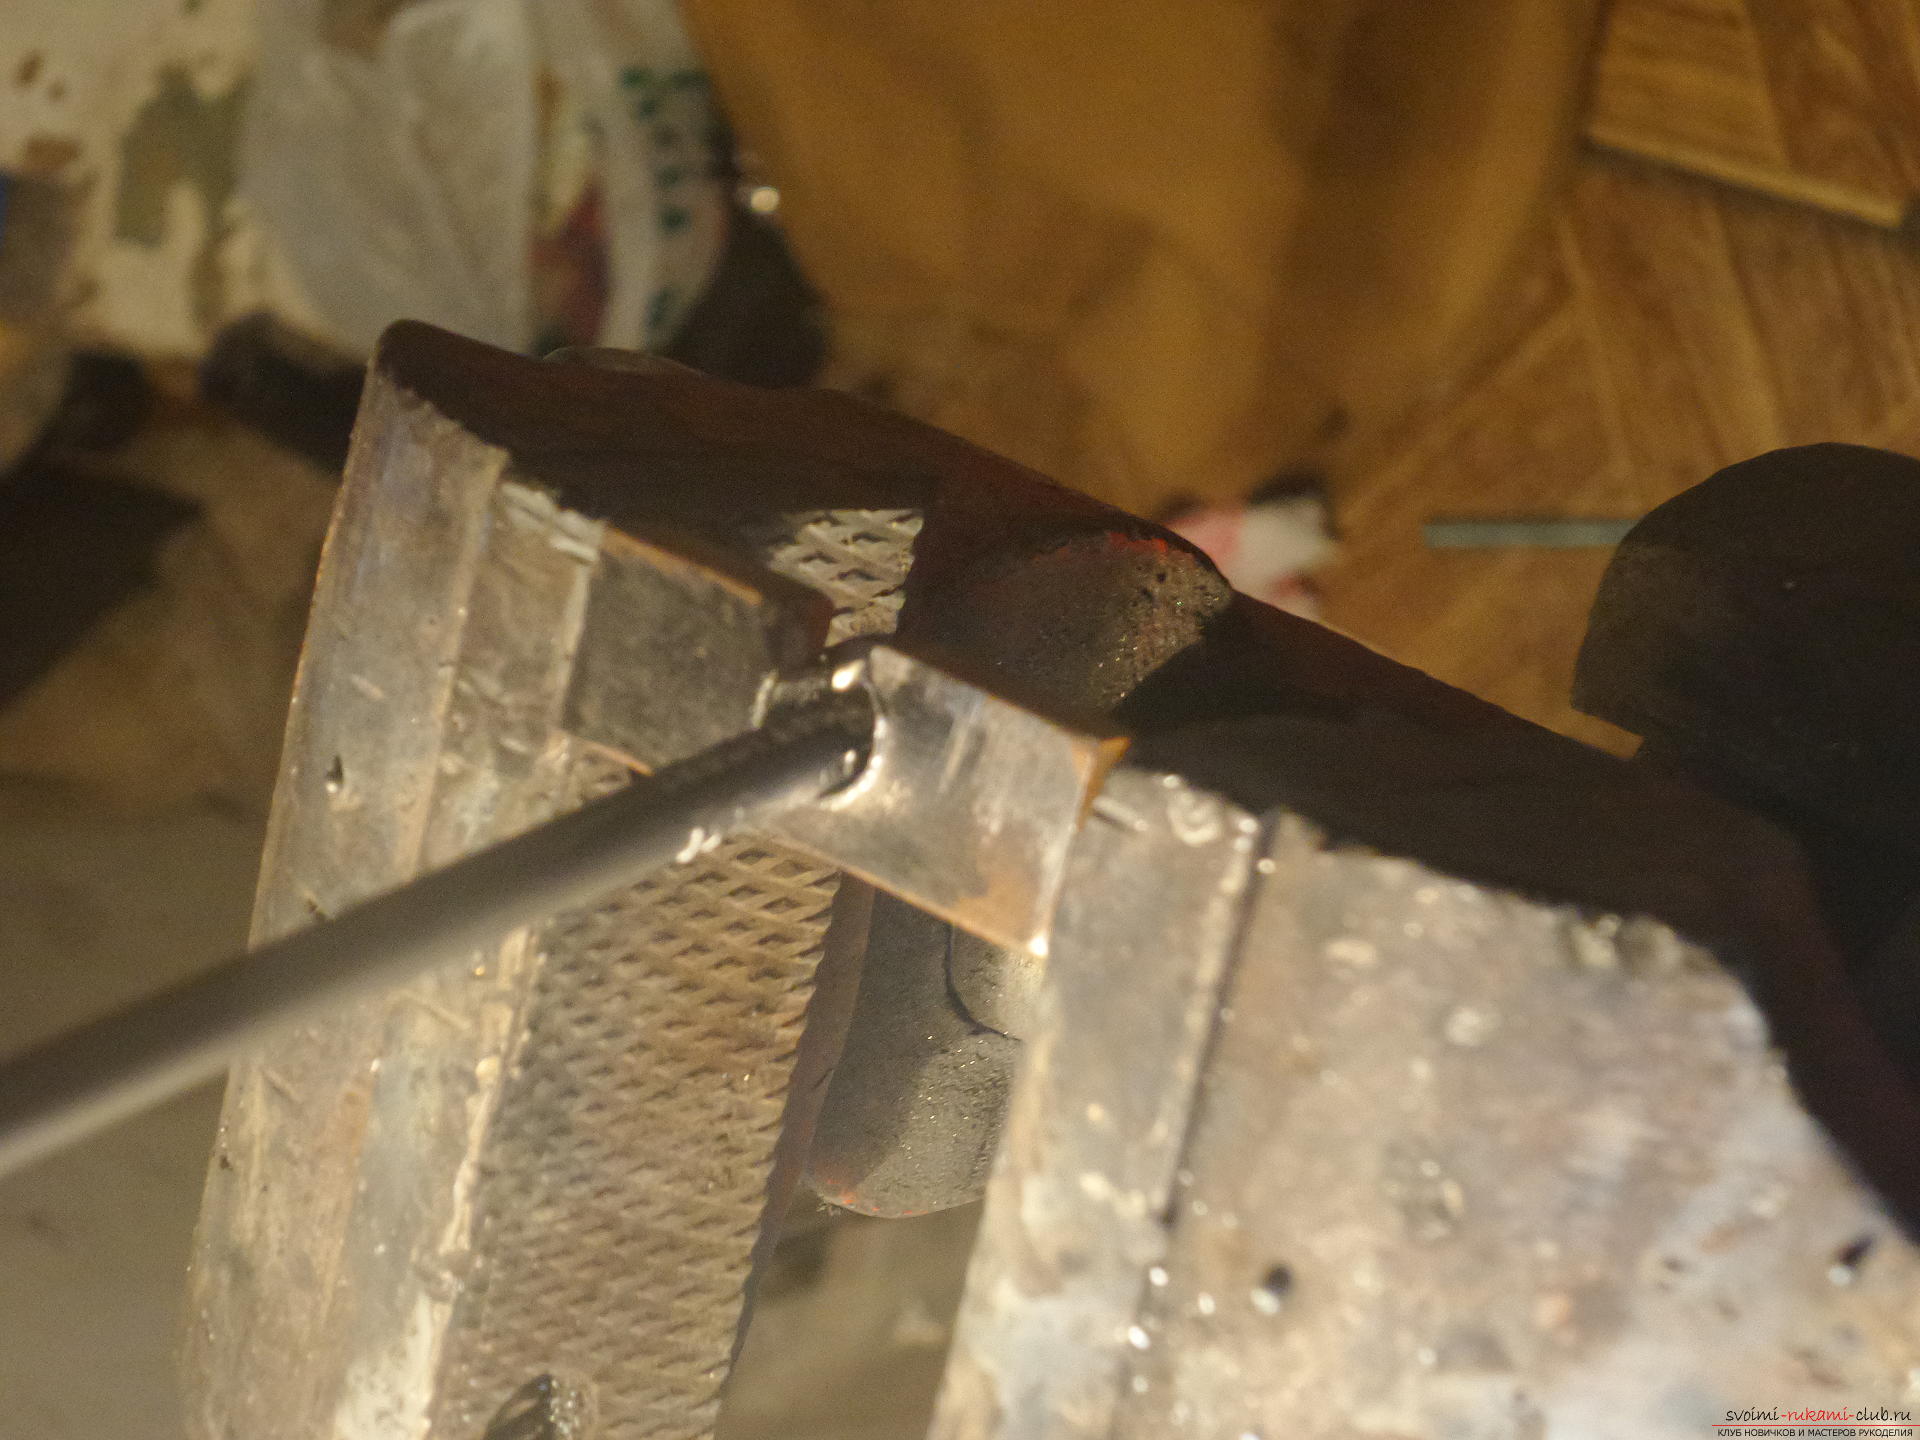 But for now we need to weld the iron part to the base.
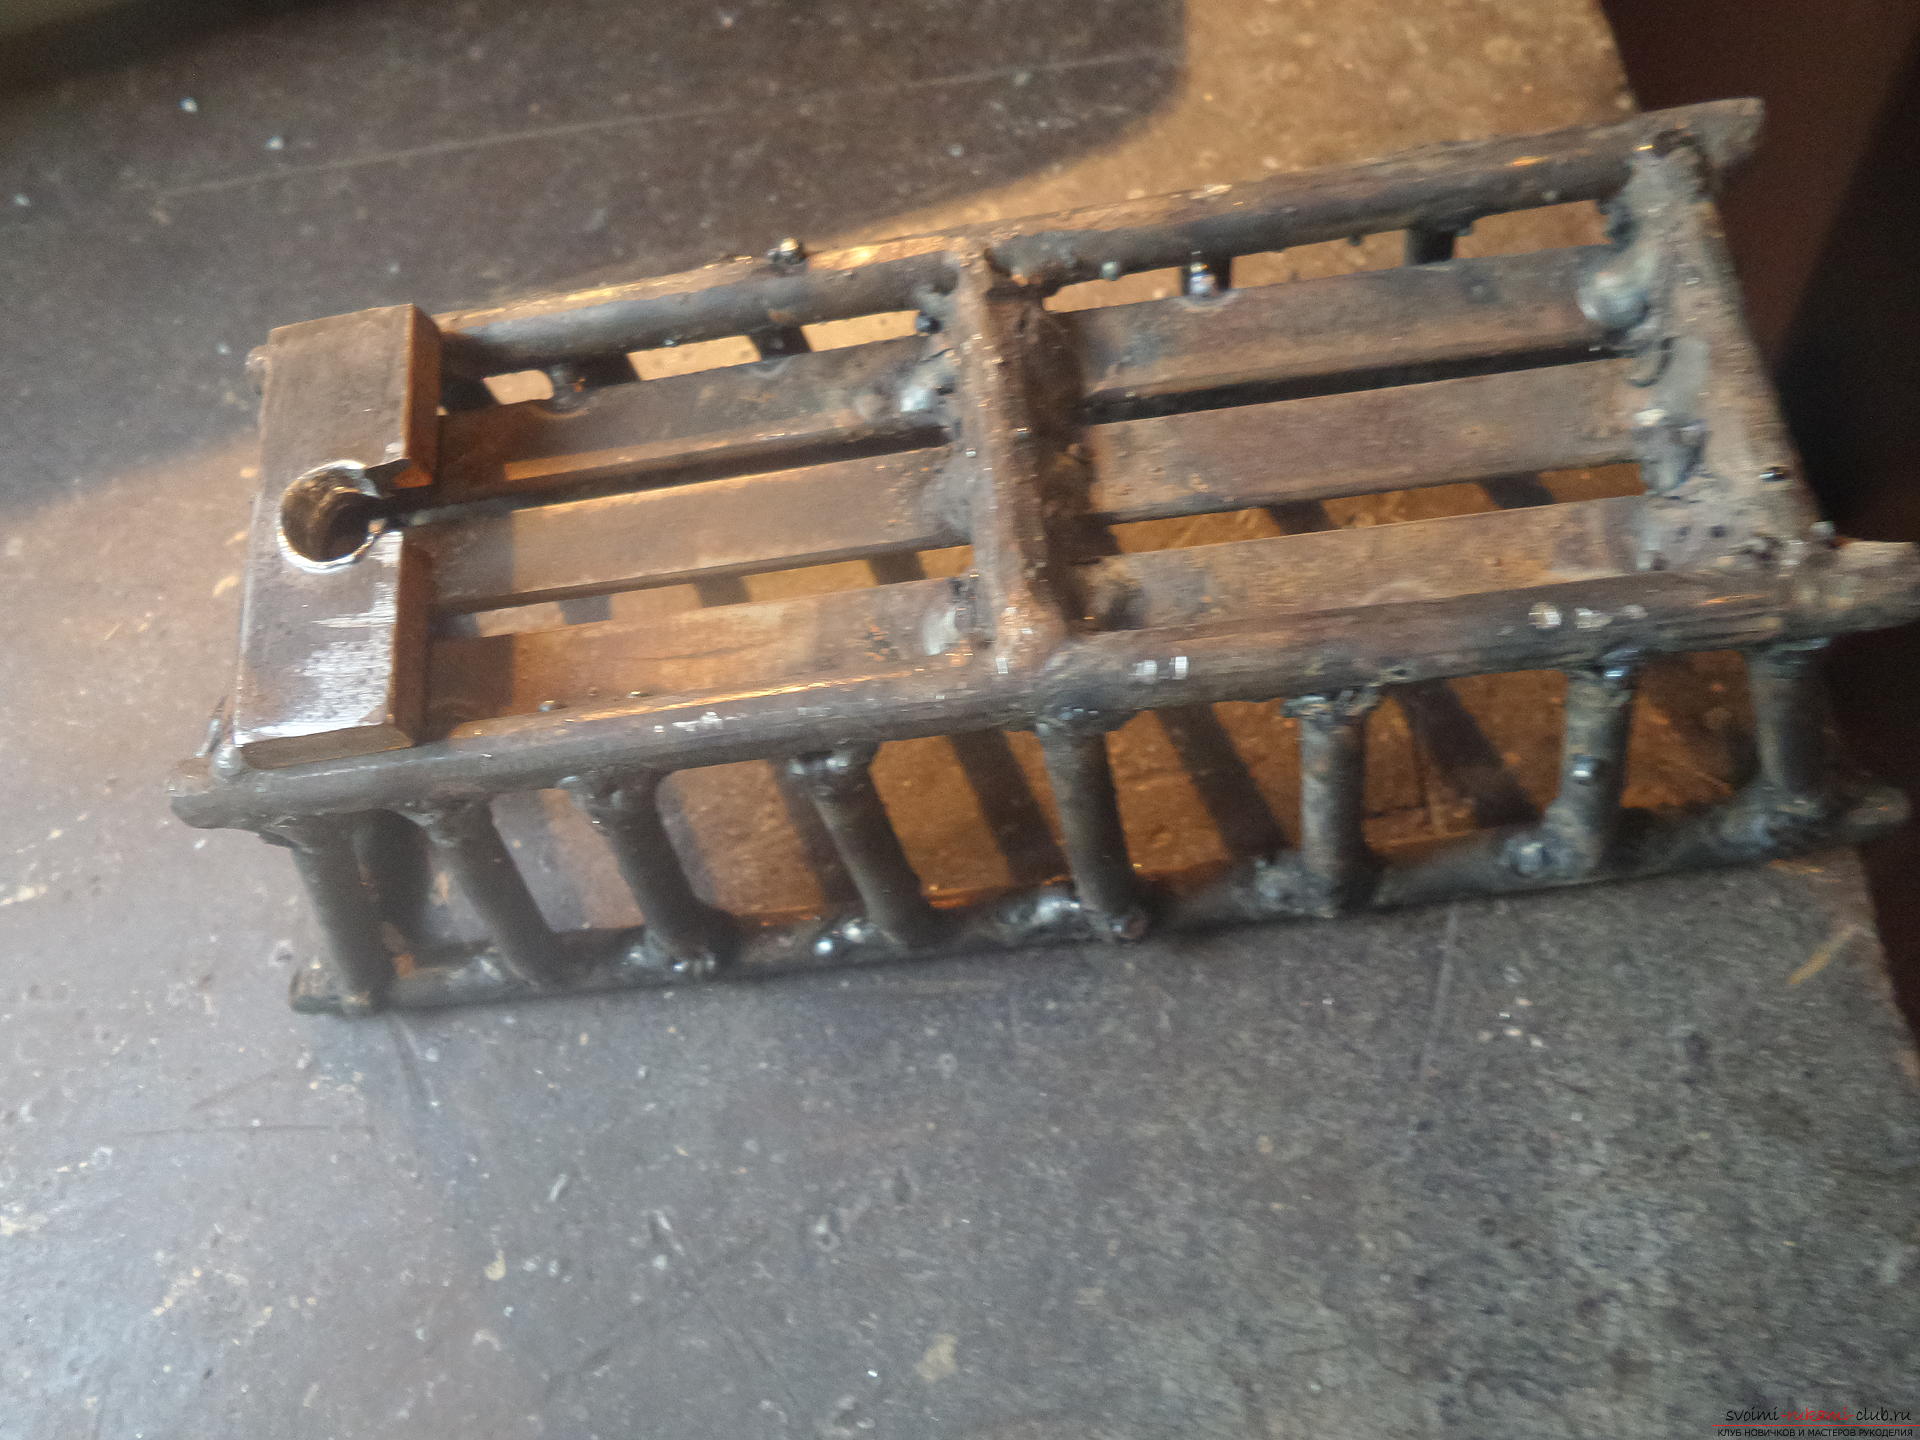
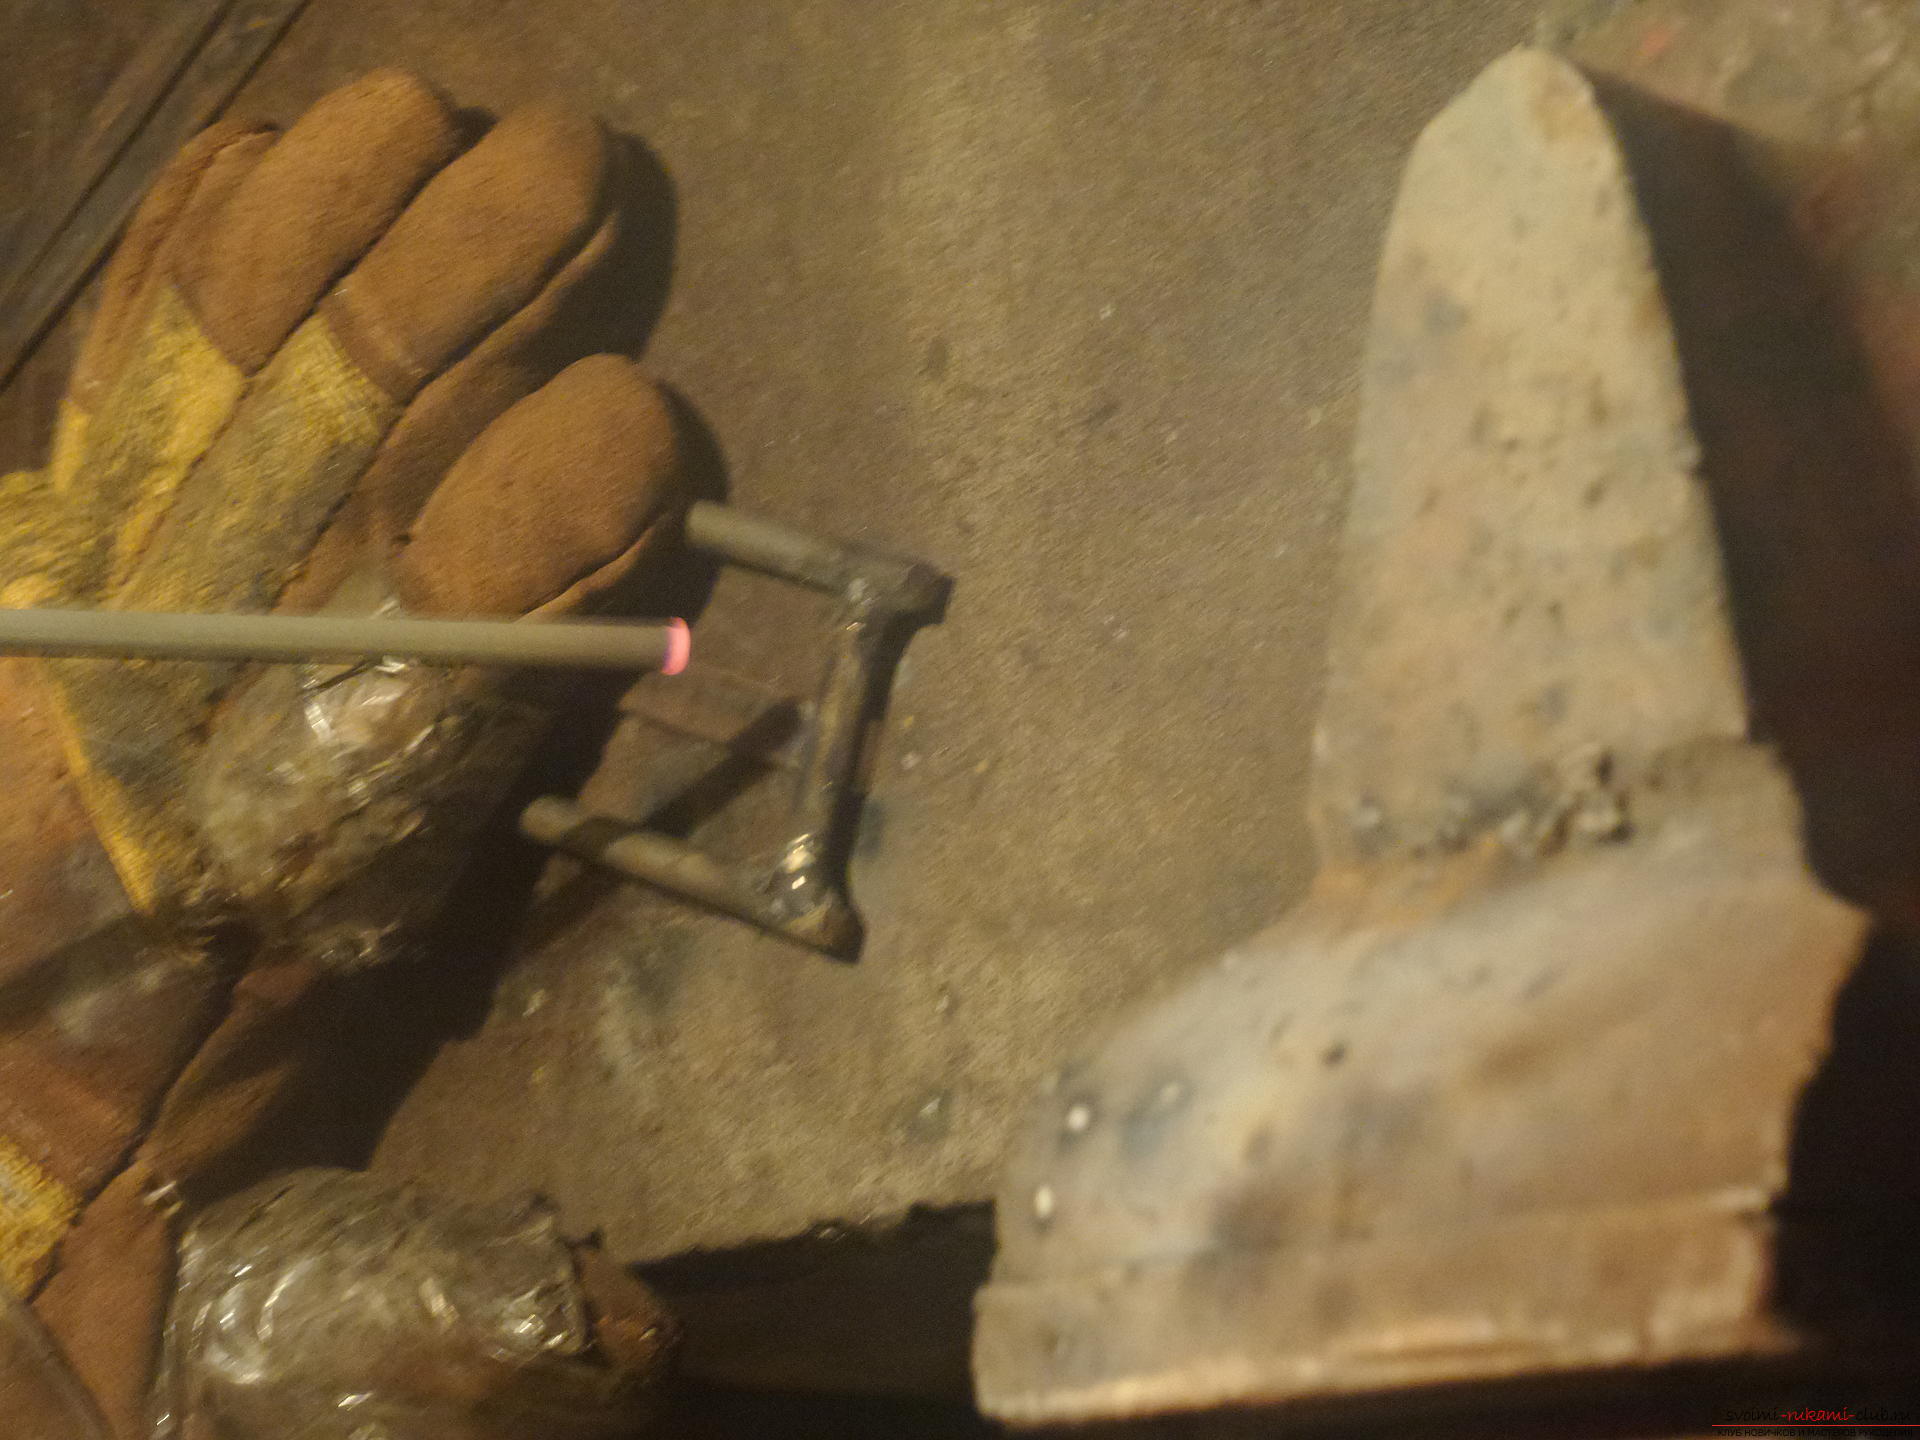
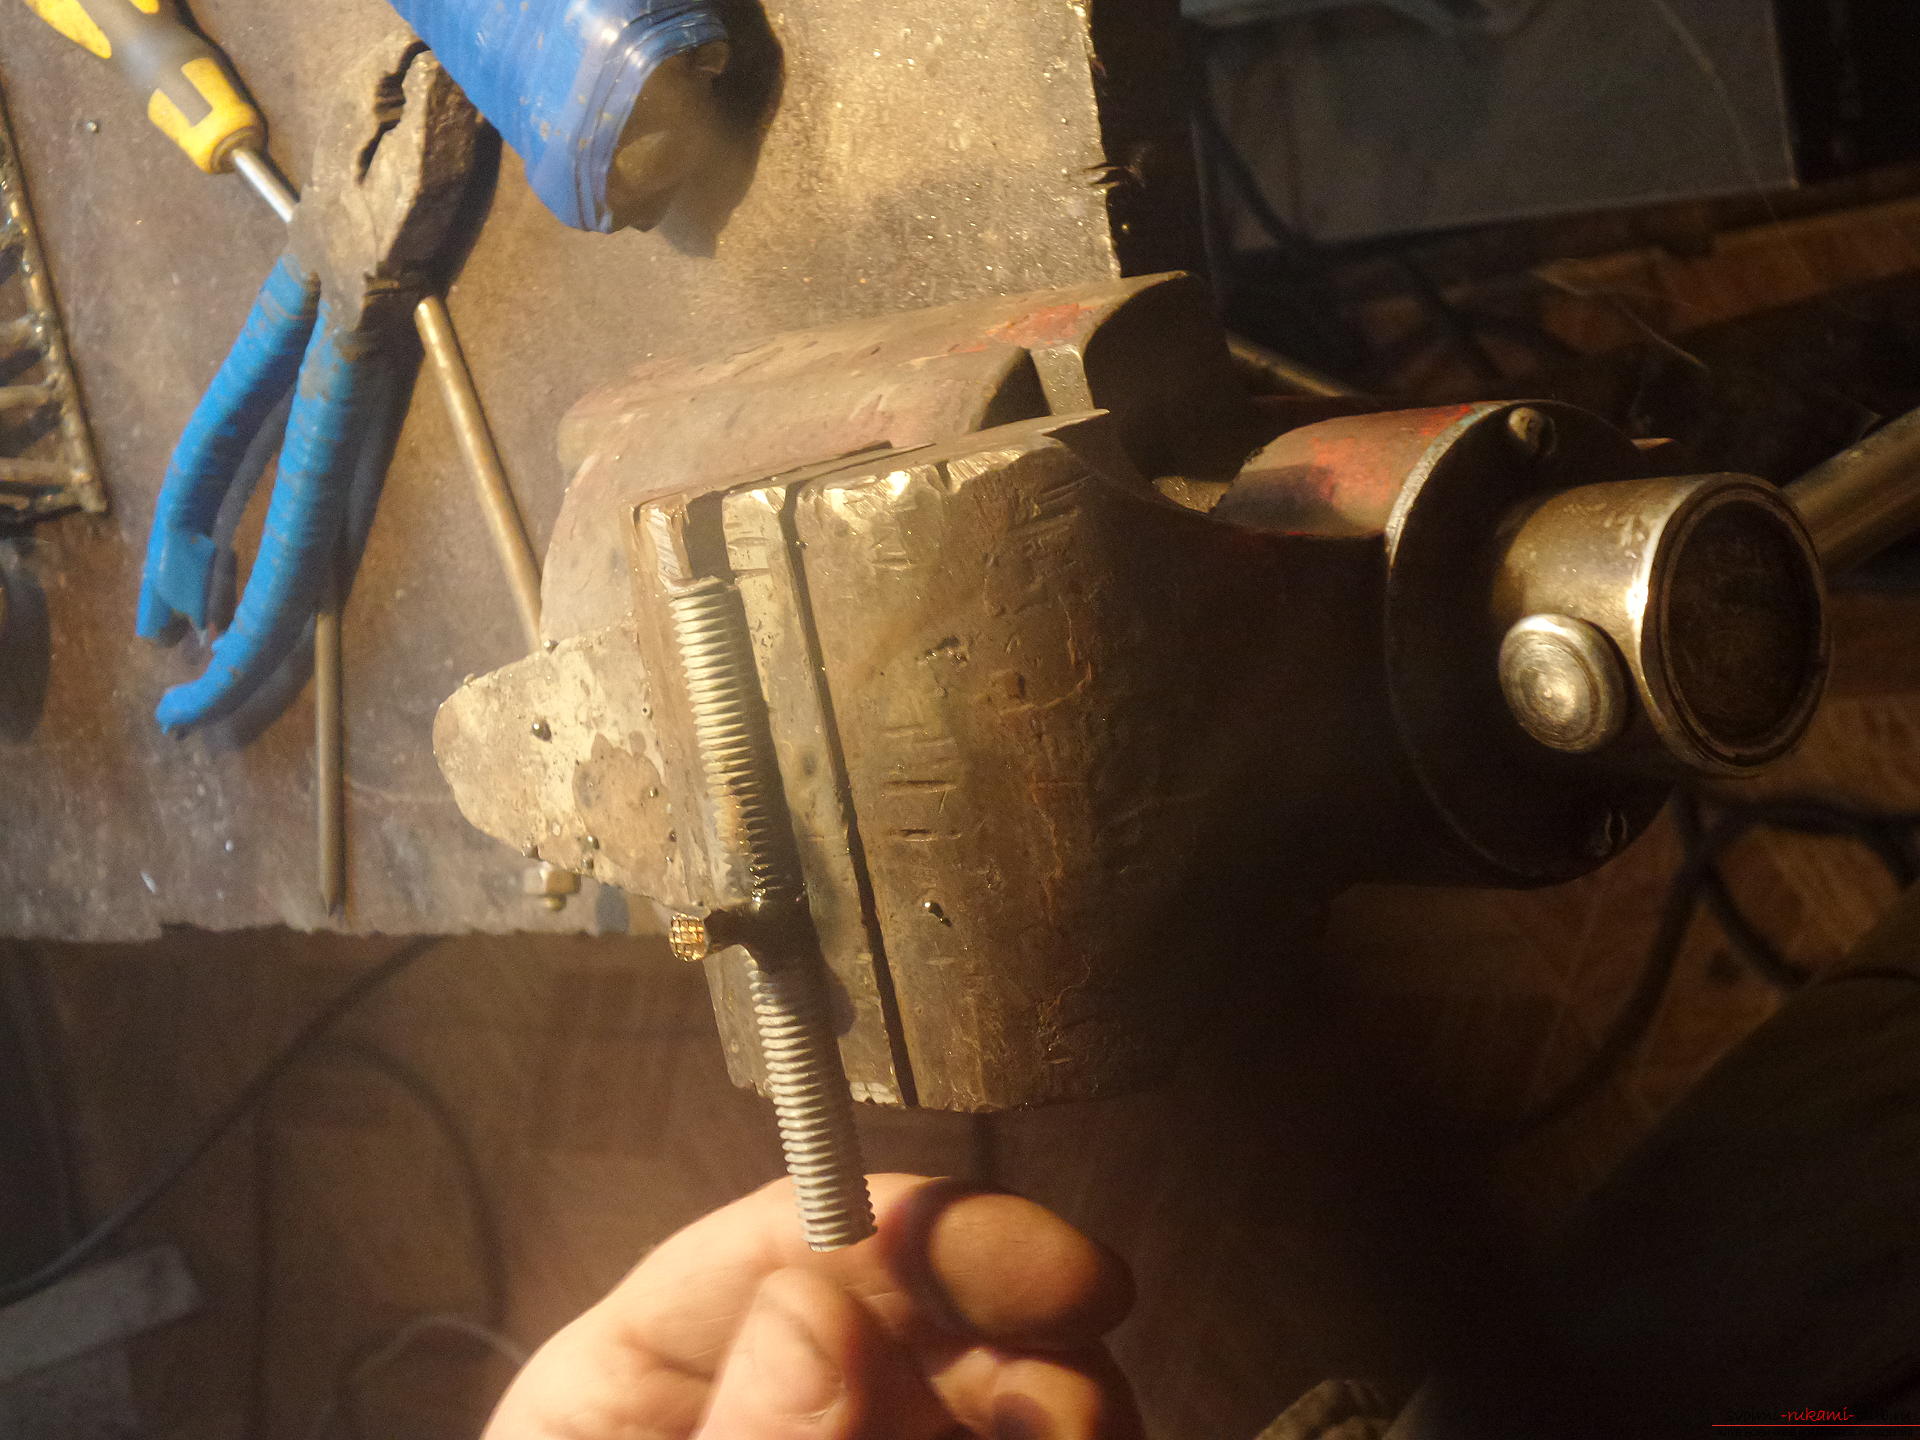
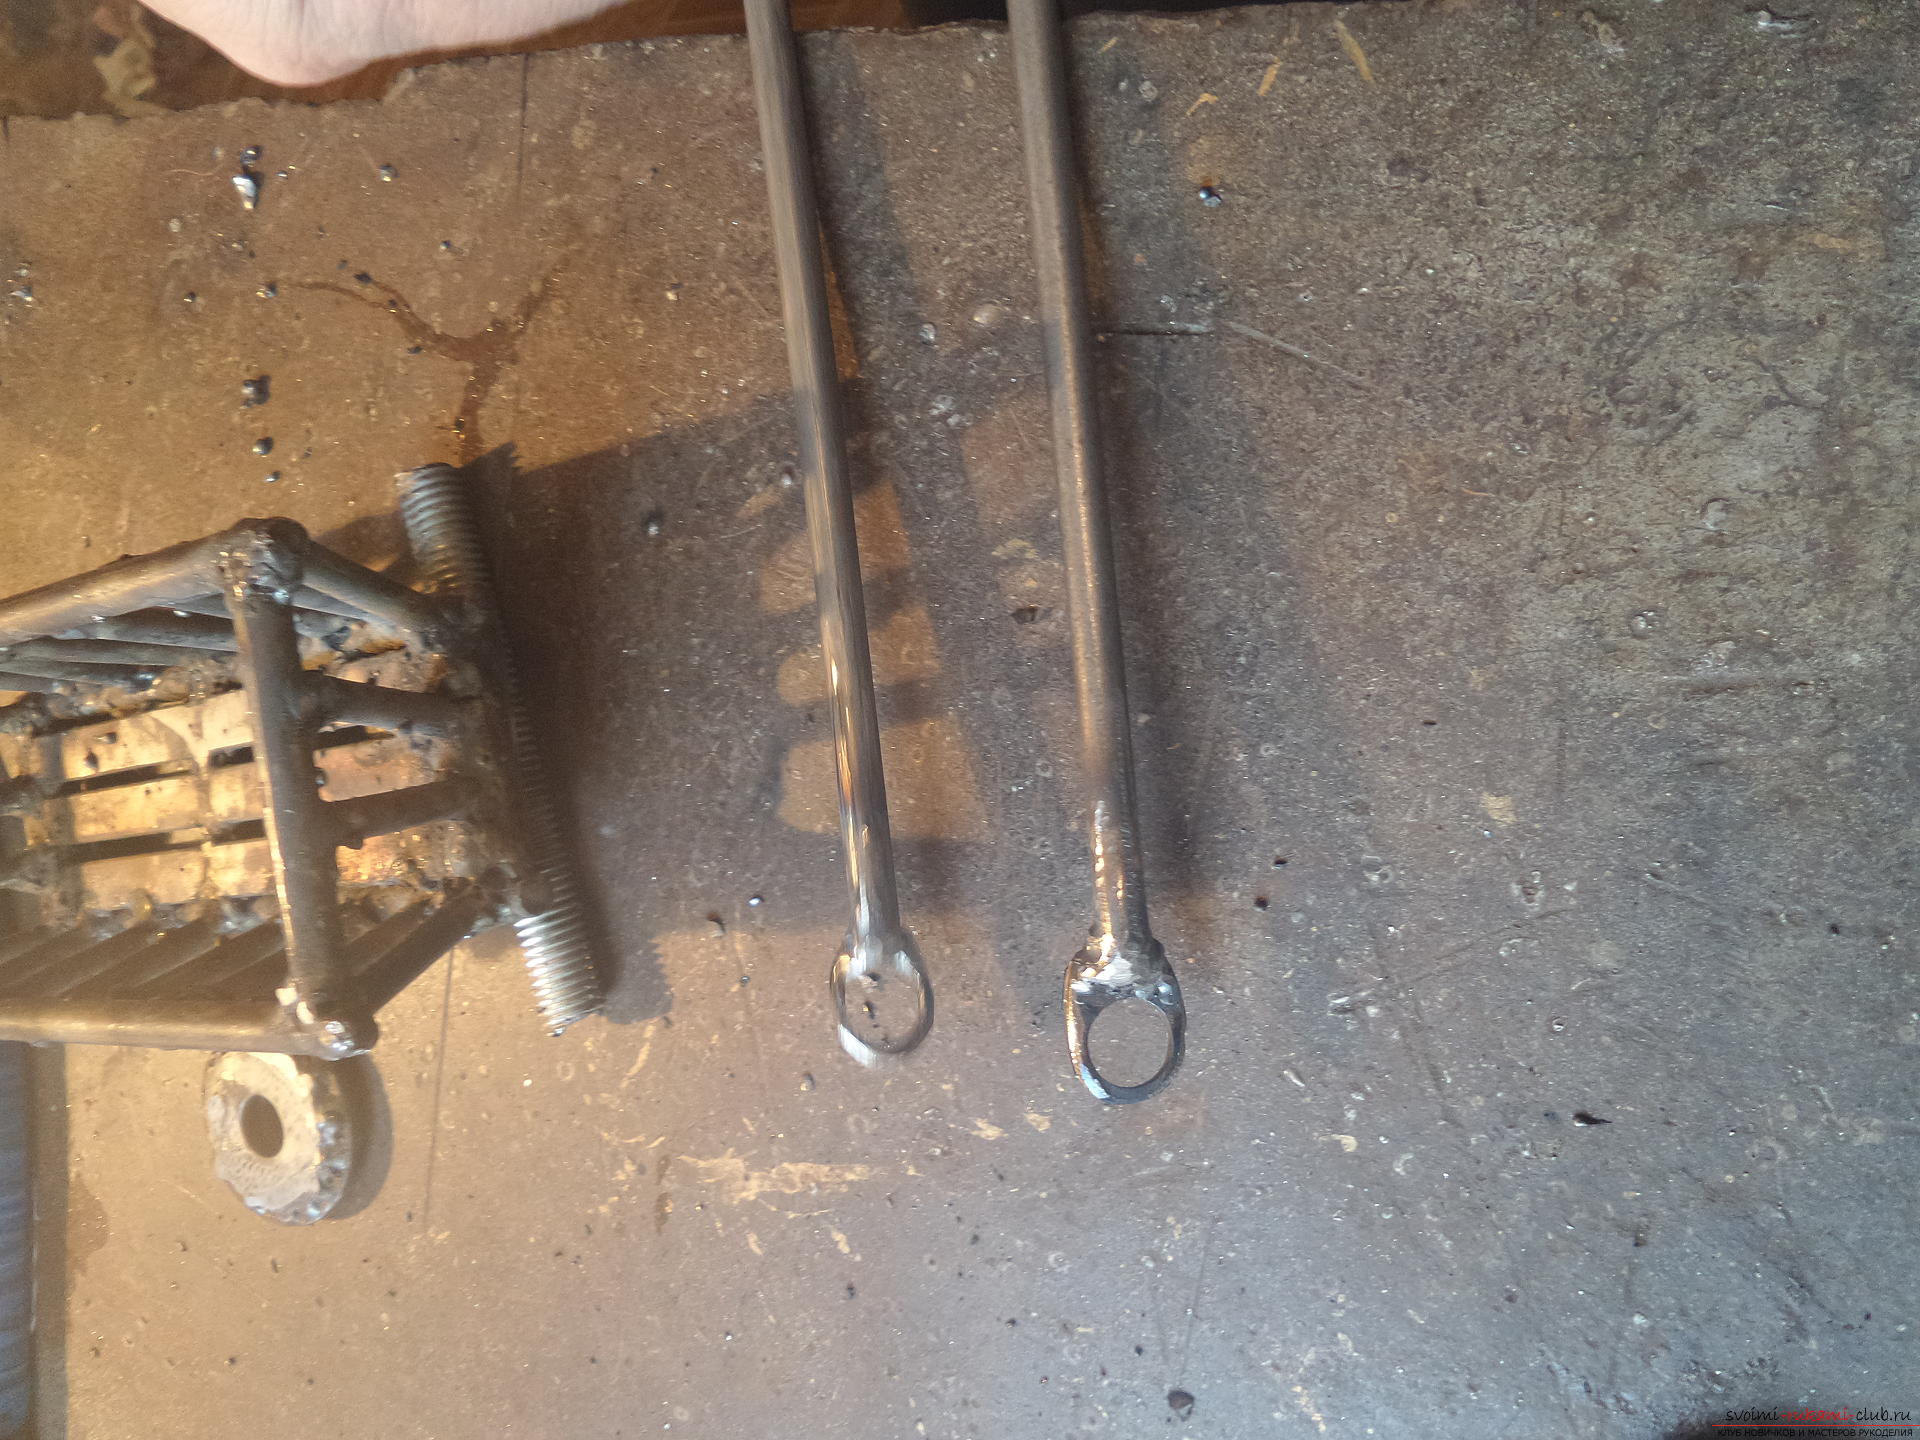
 Working with a hairpin: length measurement 8.5 cm, sharpening the middle for welding.
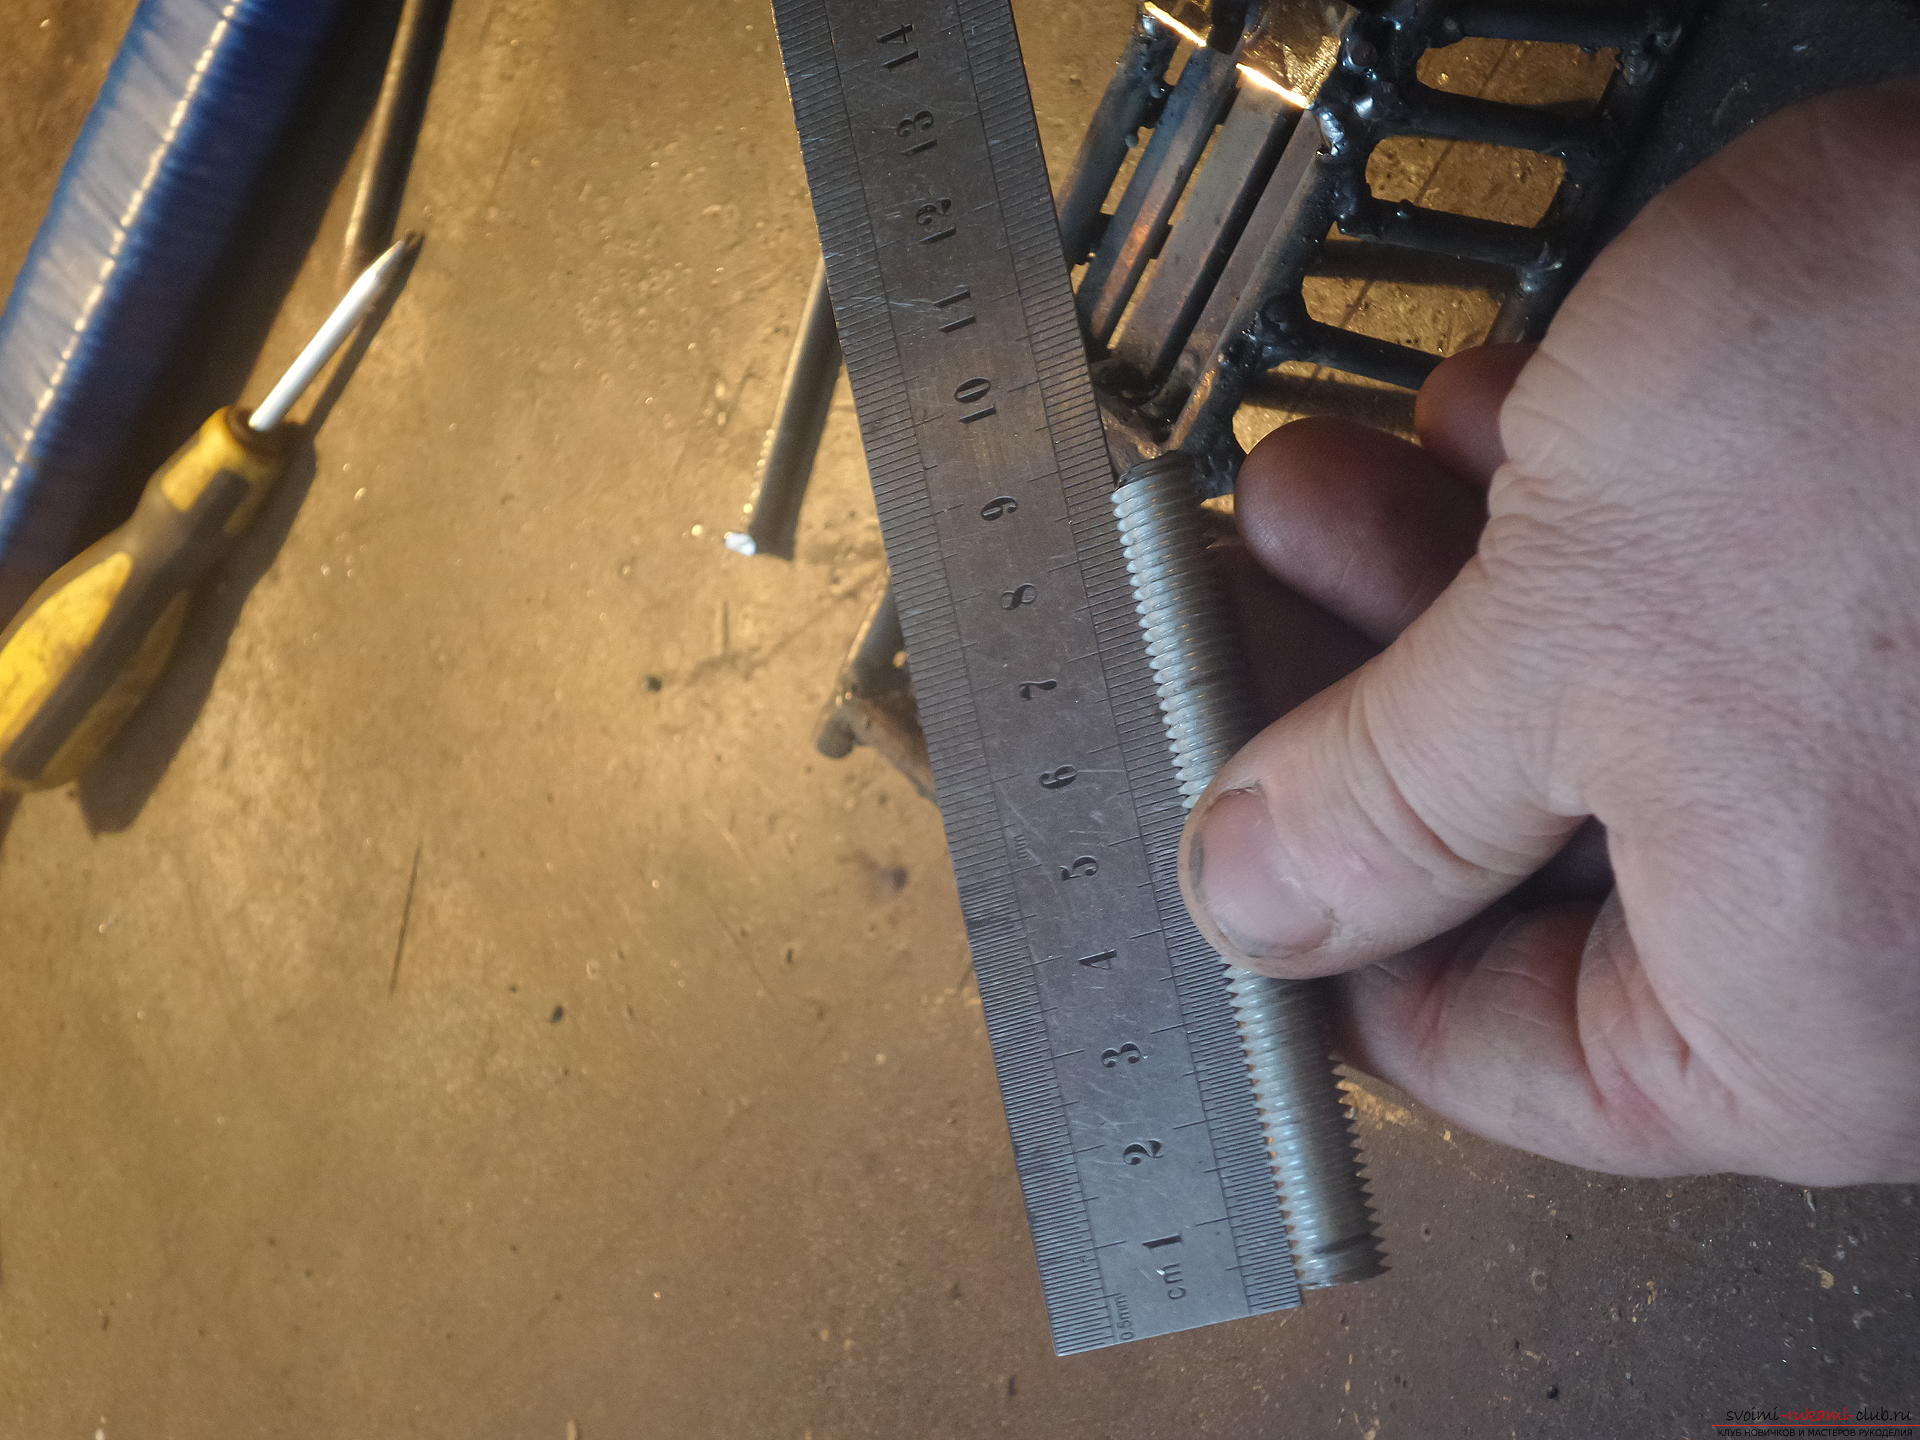
 As for the nail – it must be greatly shortened and sharpened so that the cap remains at one end. Then it must be welded.
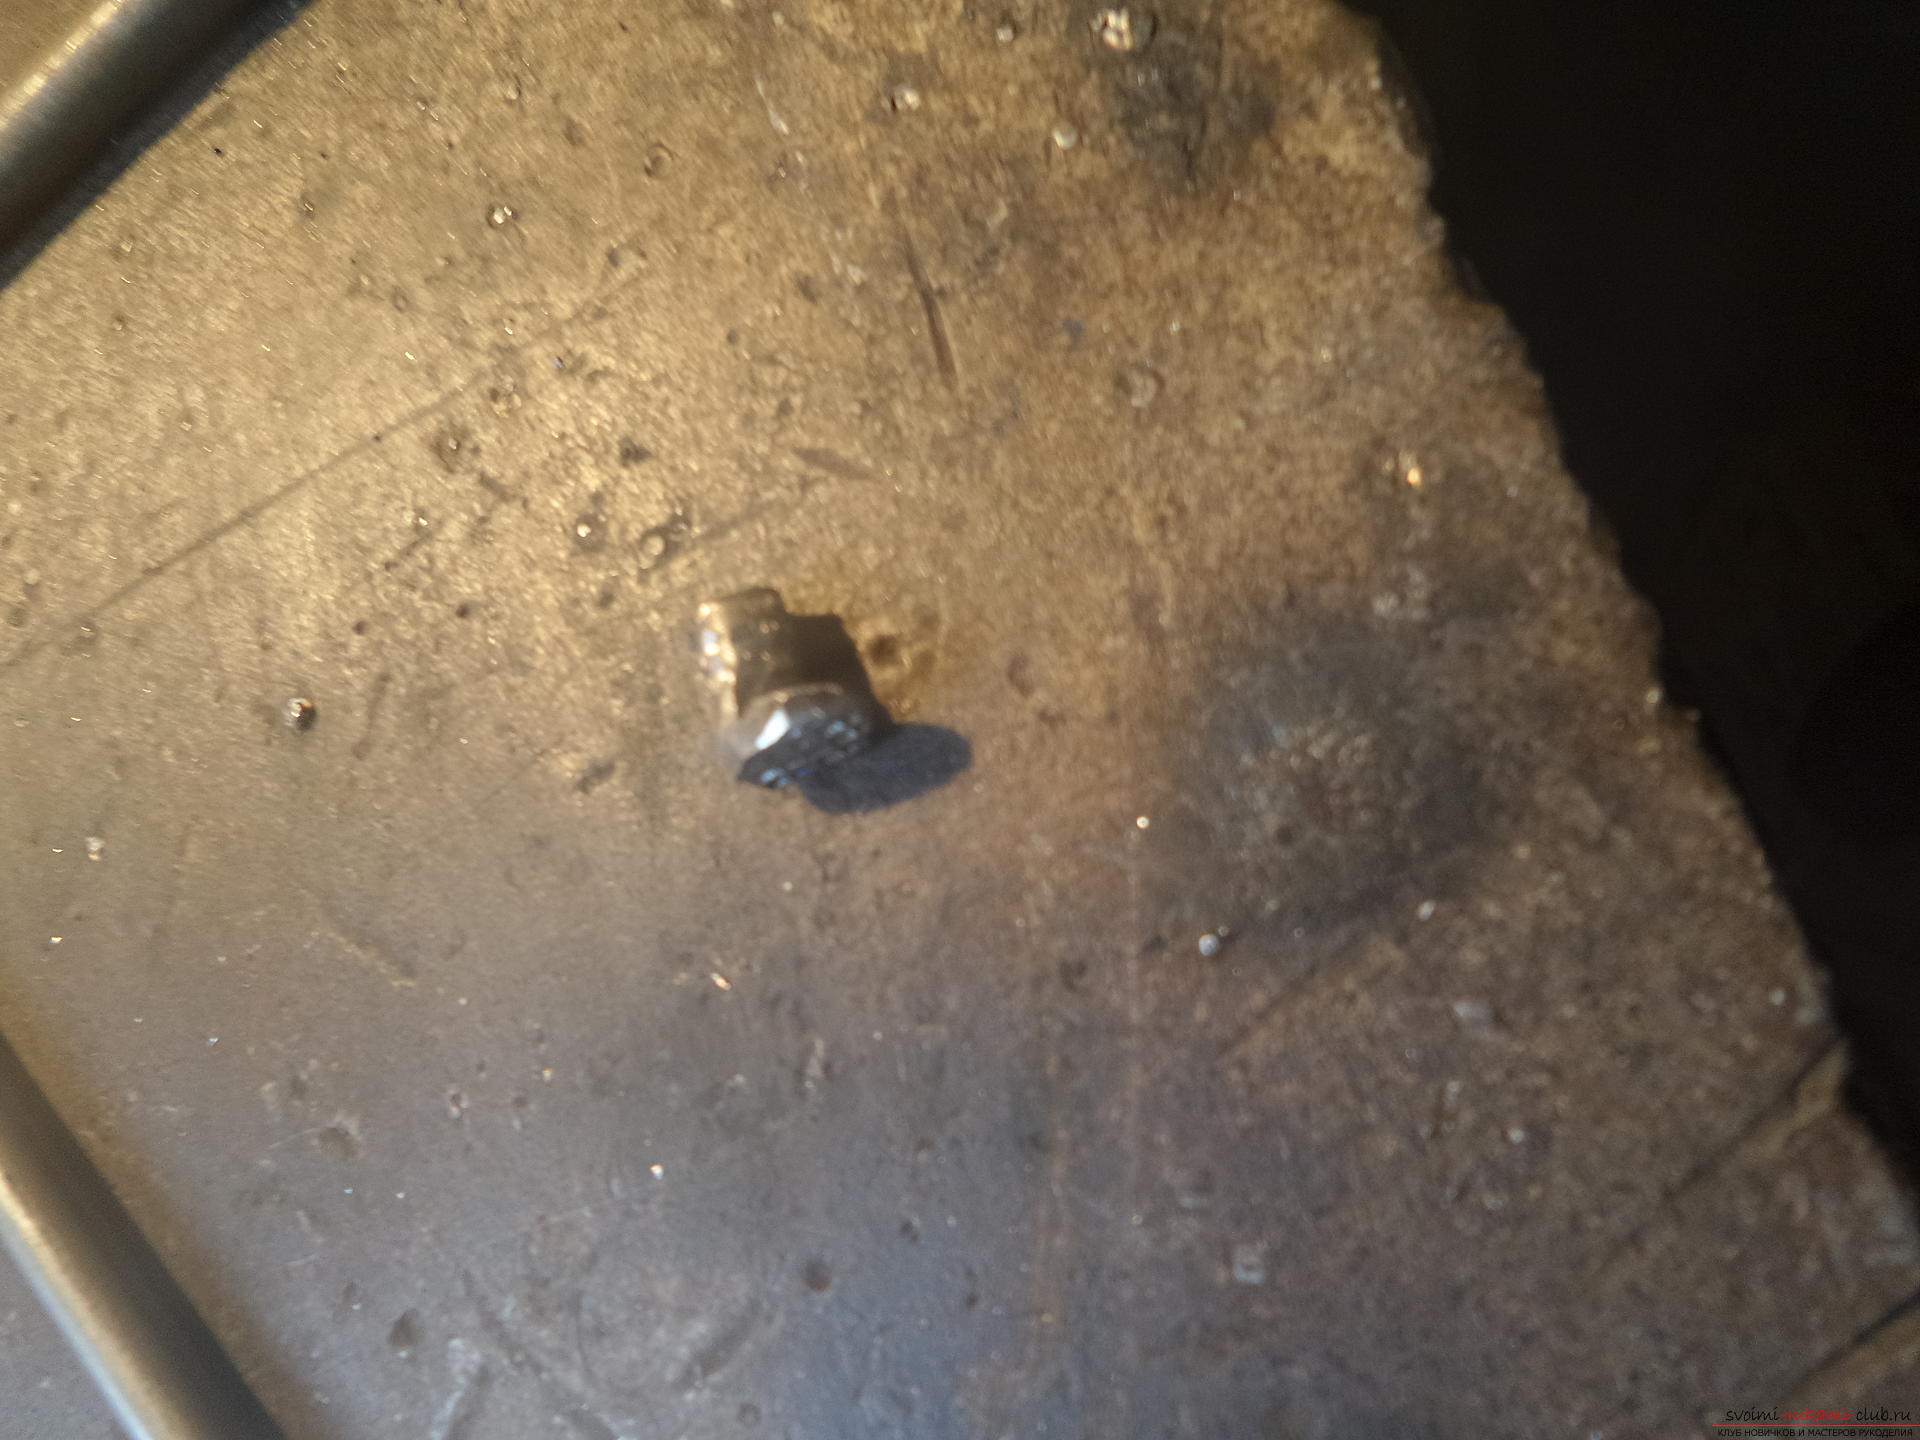
 The appendage welded to the stud must be sharpened so that the thickness is optimal and it rotates freely in the hole.
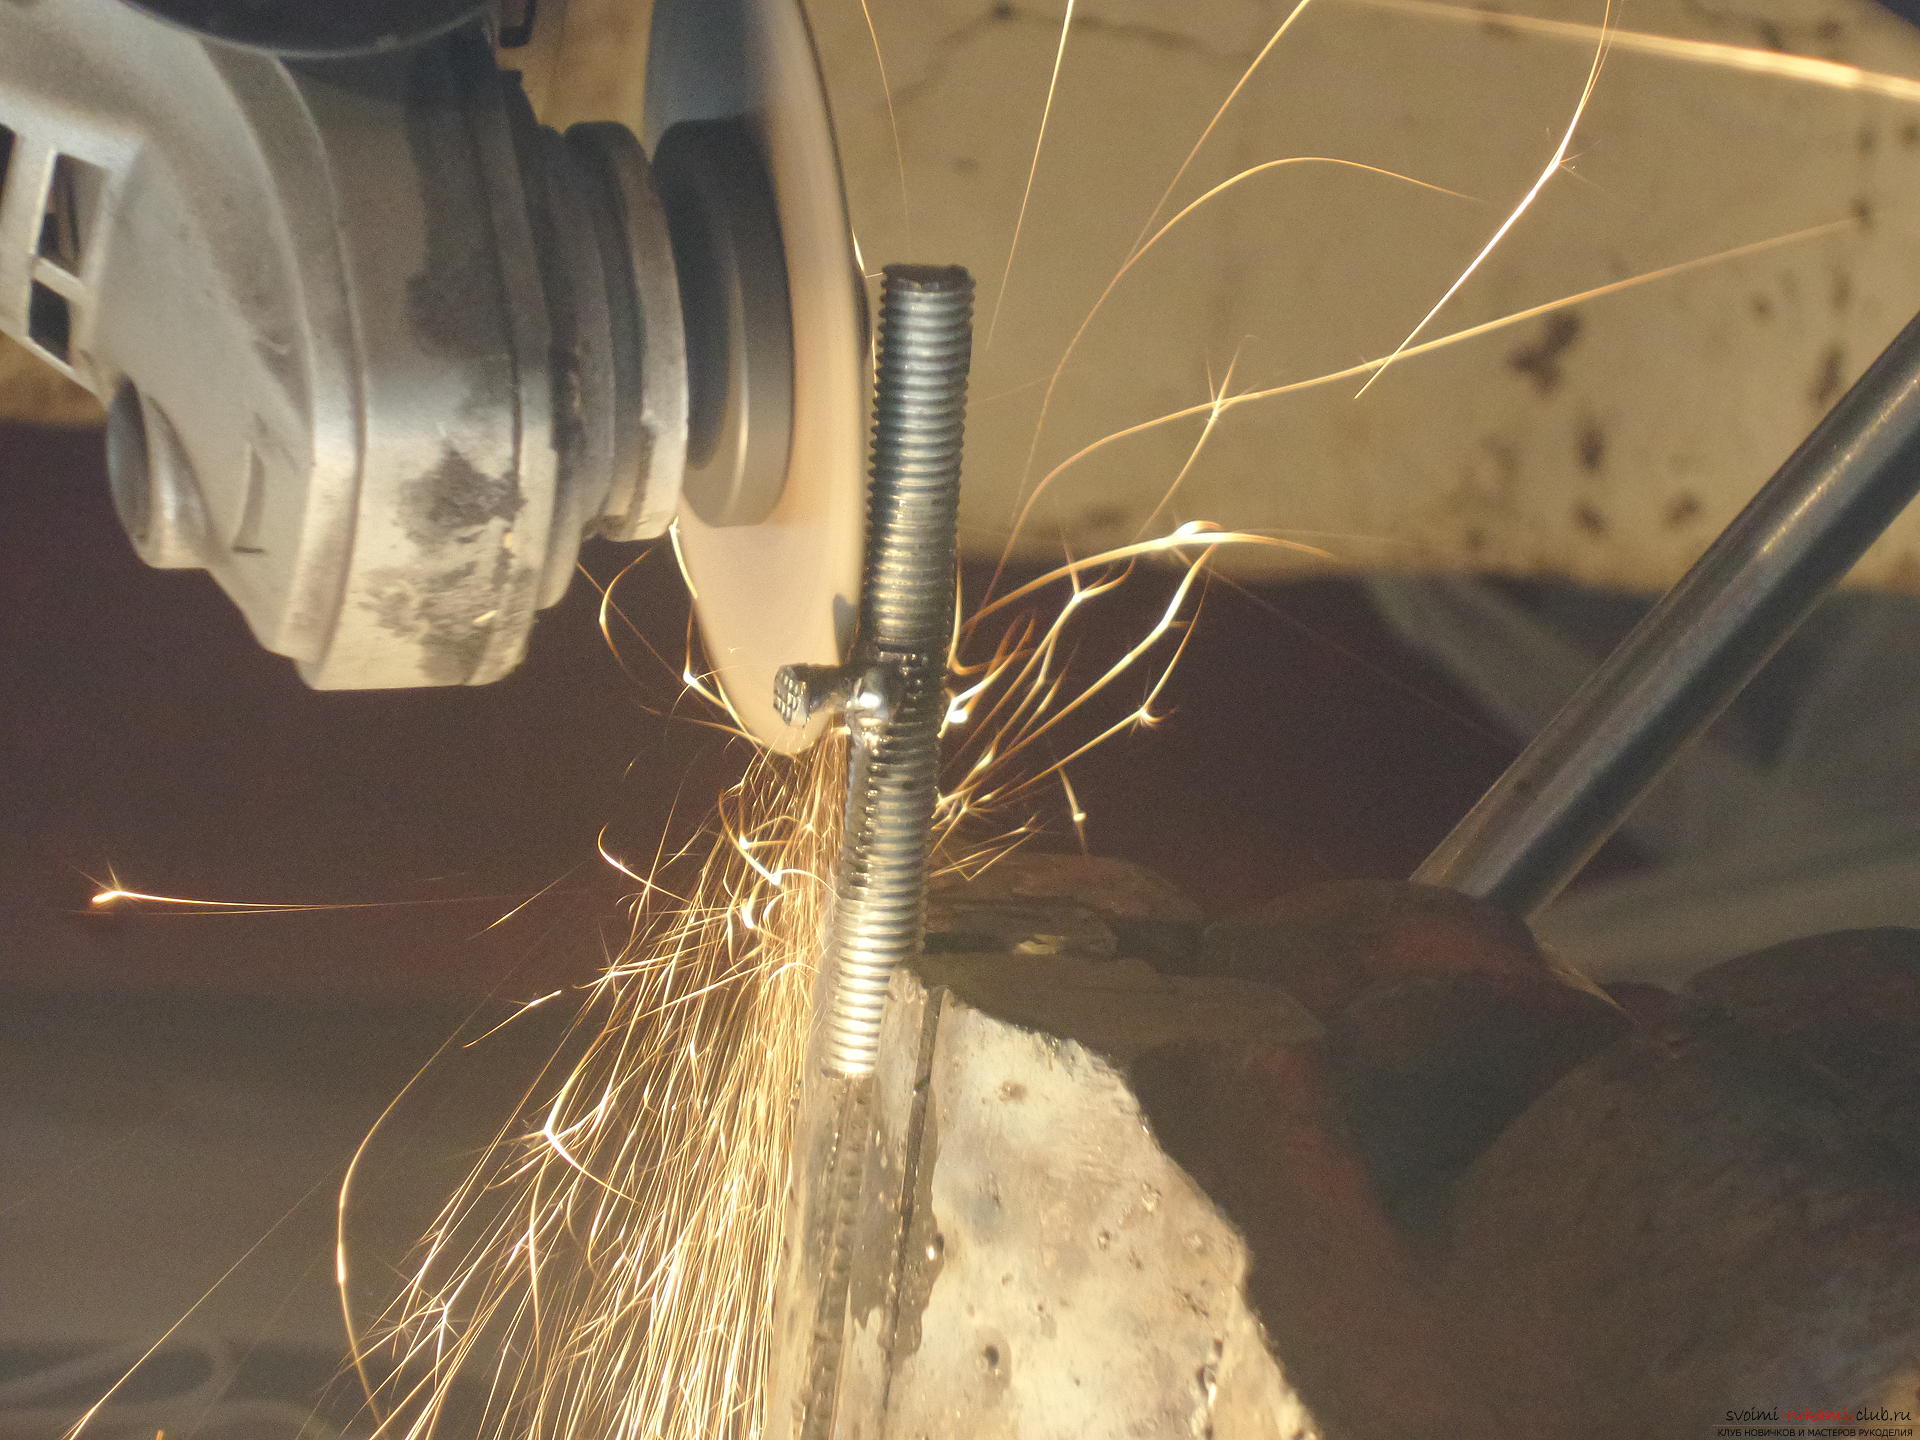 Next, a small piece is attached to the back of the iron rectangle so that the pin holds and can rotate freely.
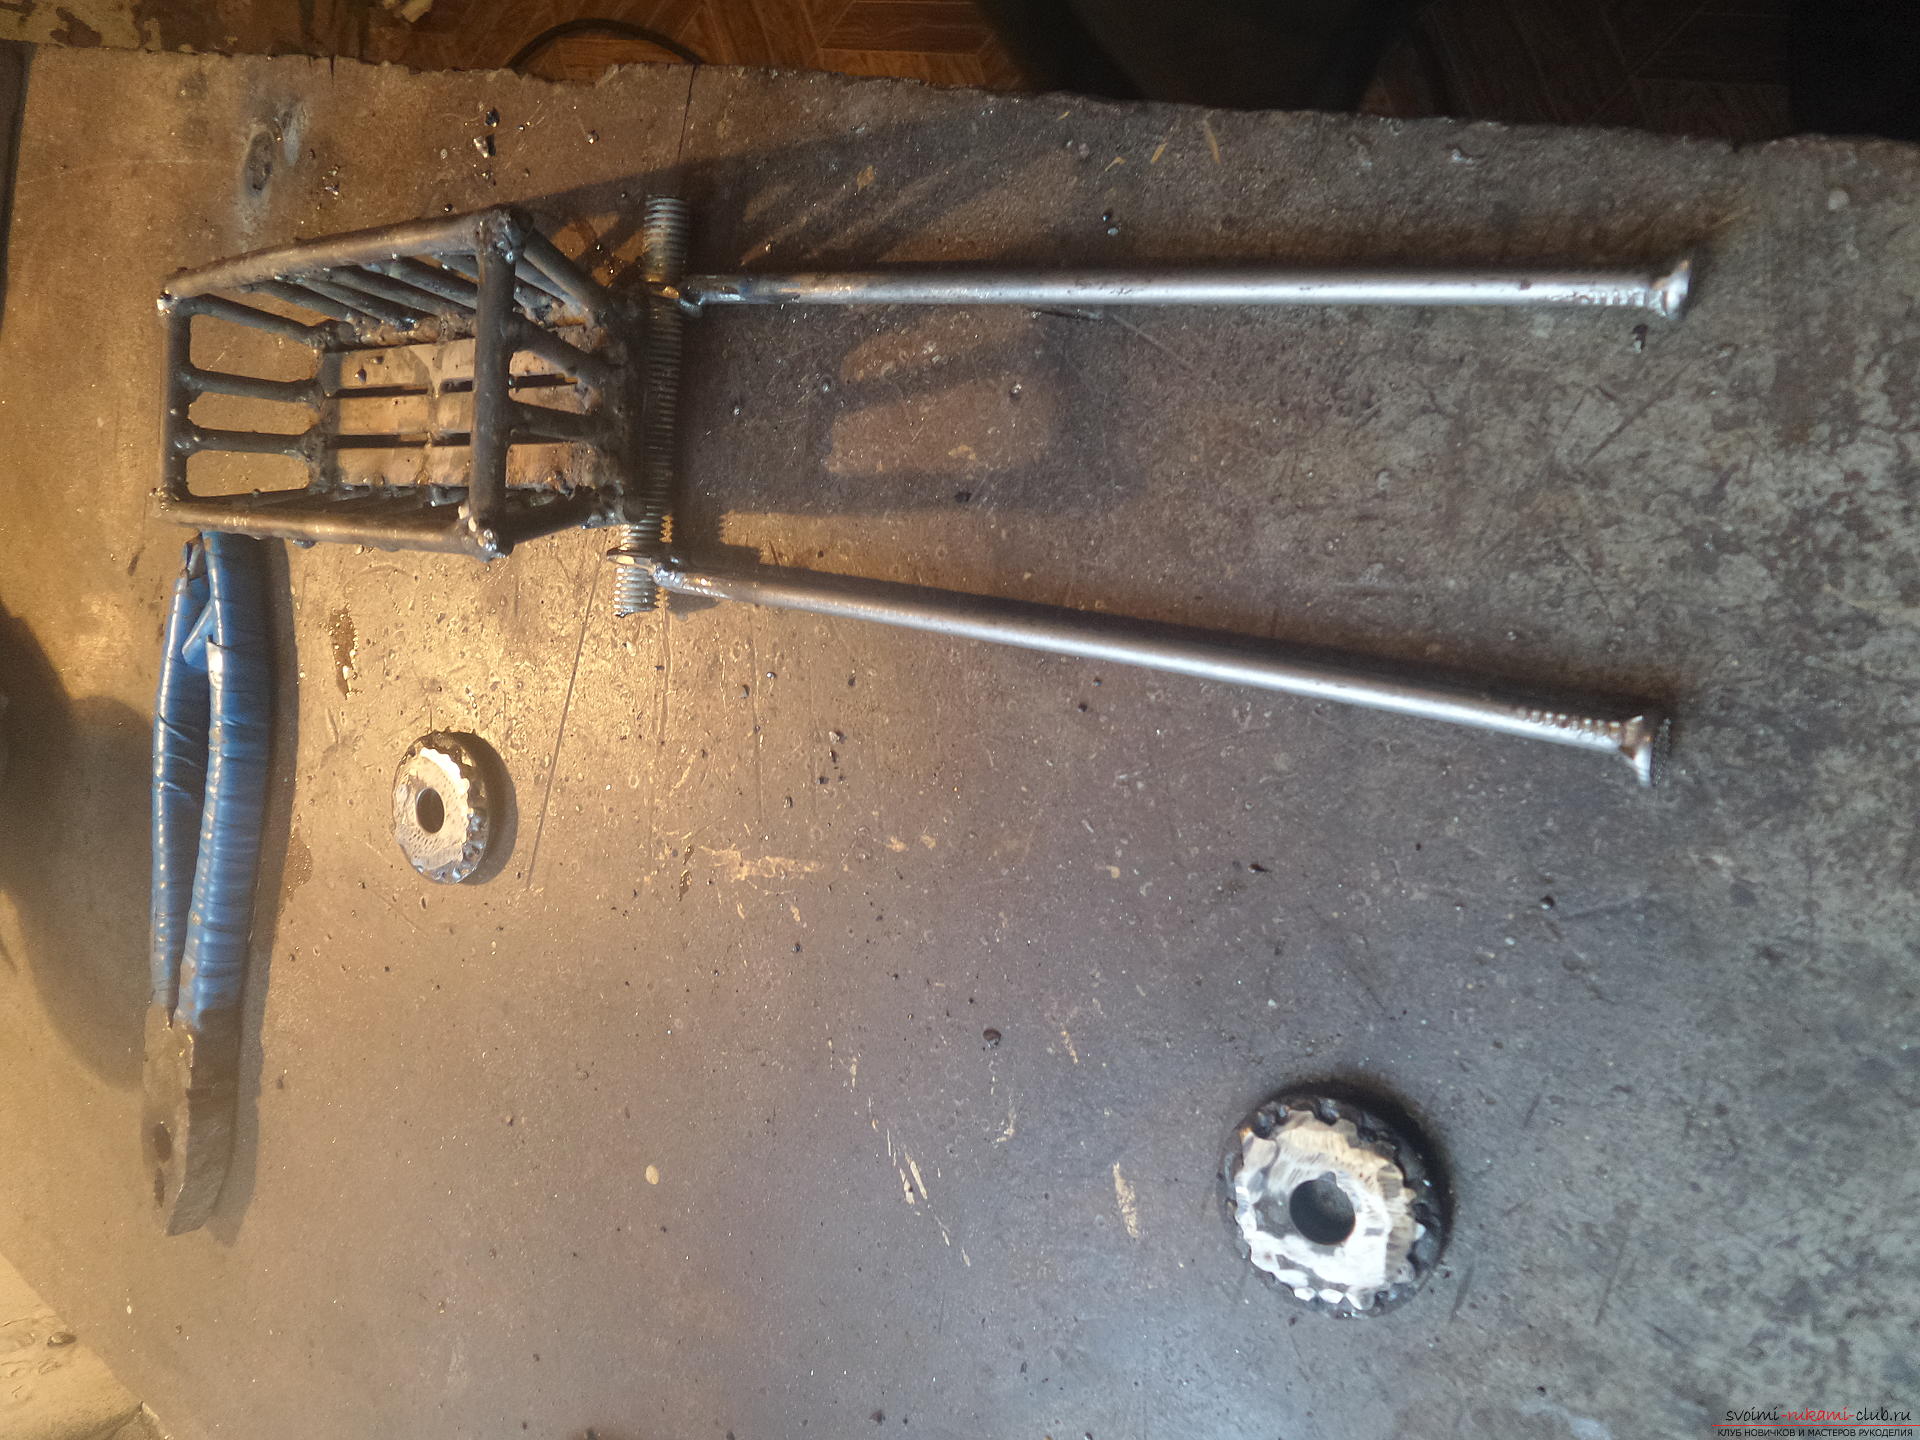
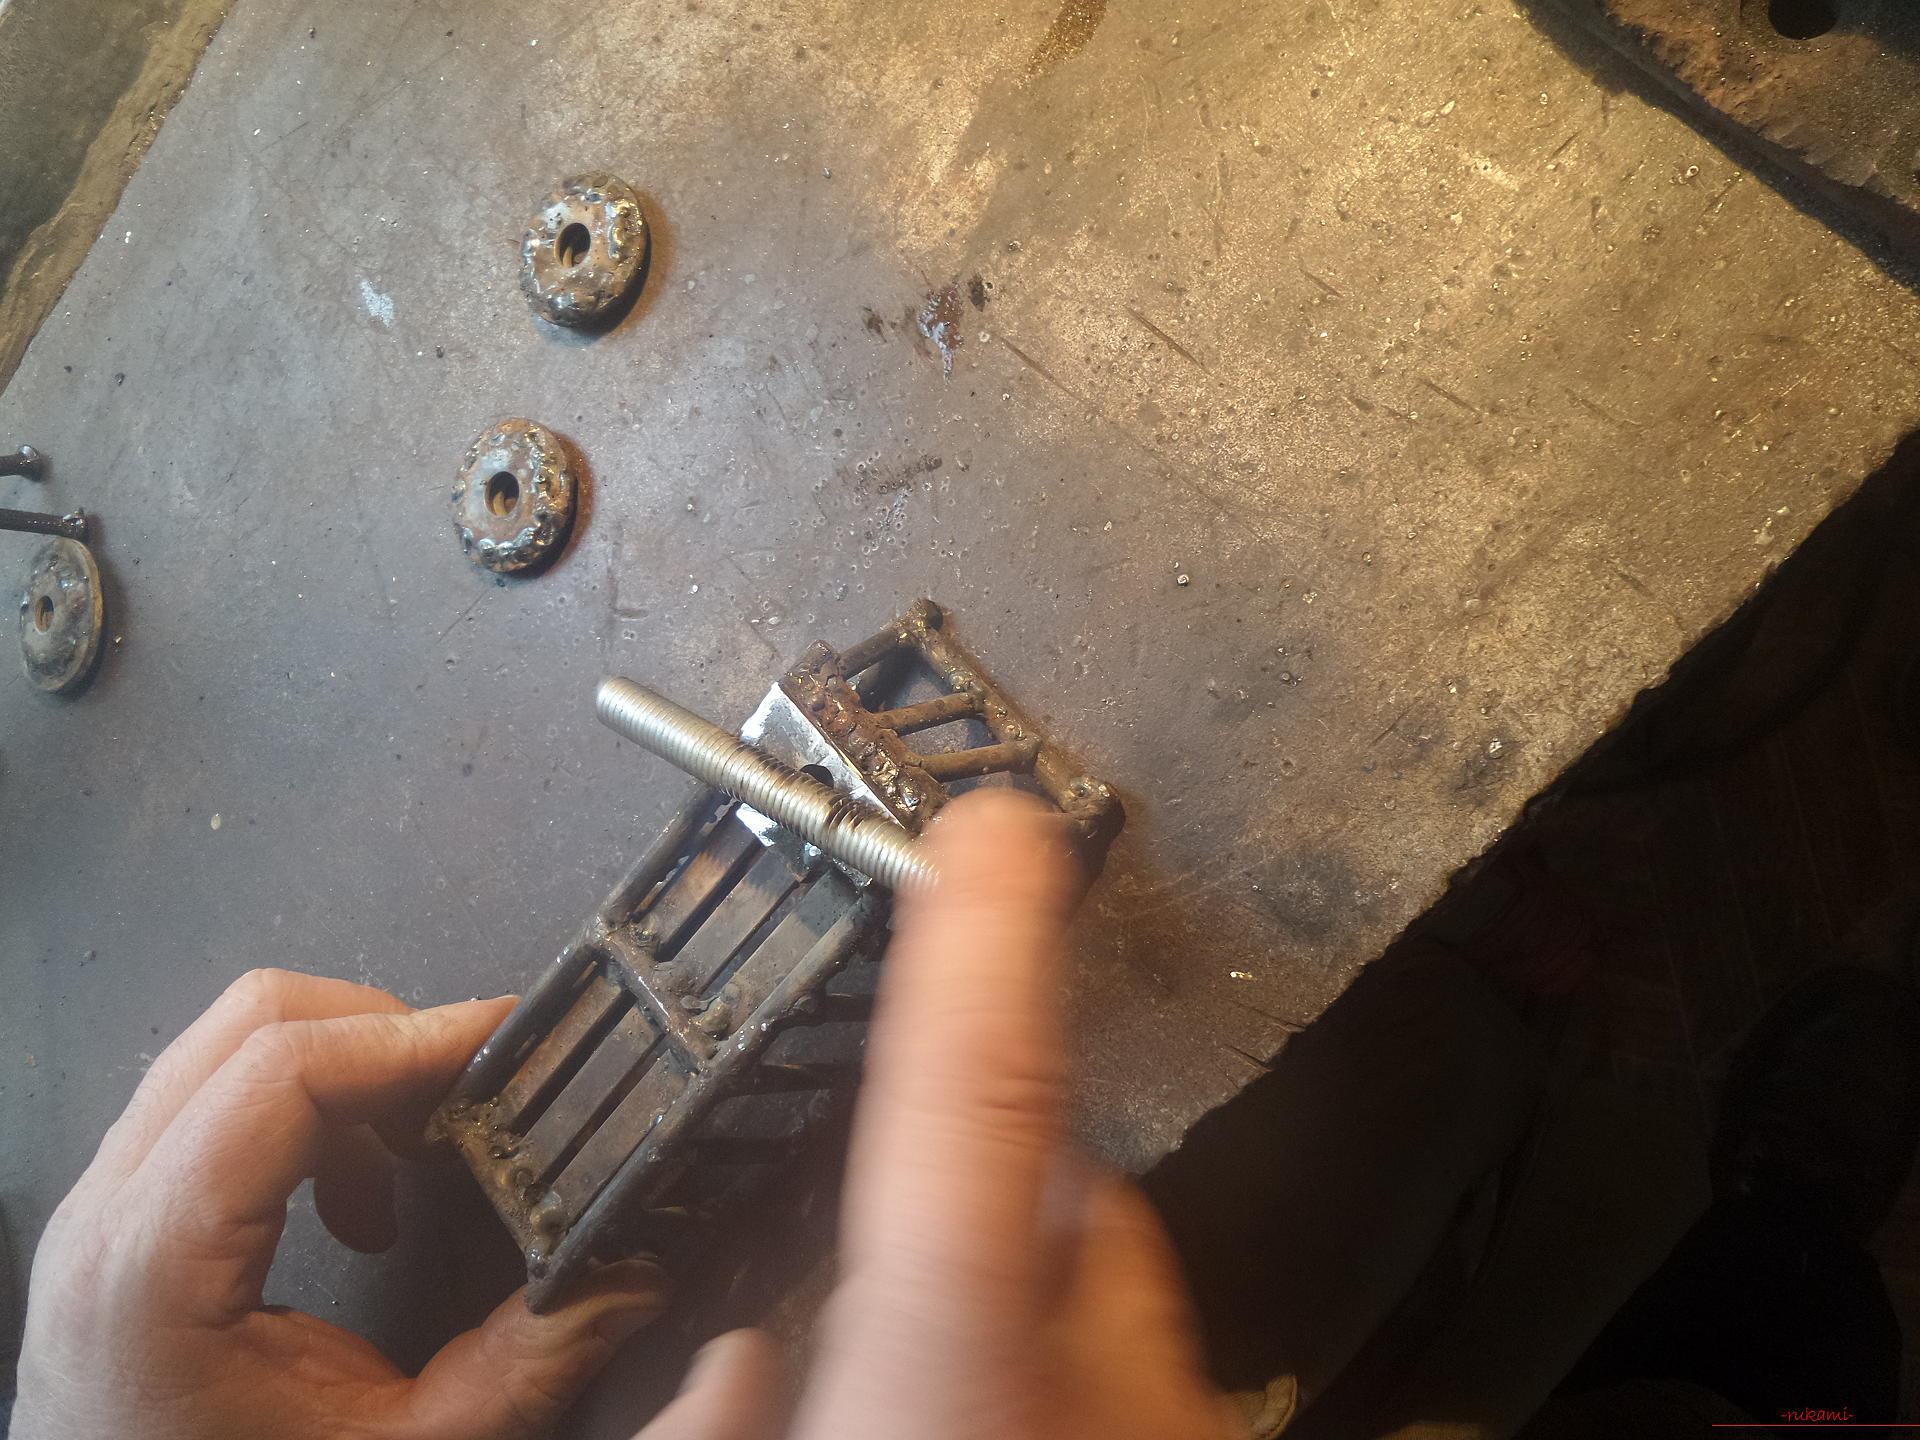 Before adding wheels, you need to make shafts. Washers are welded to two hundred nails and then sharpened to make them compact in size.
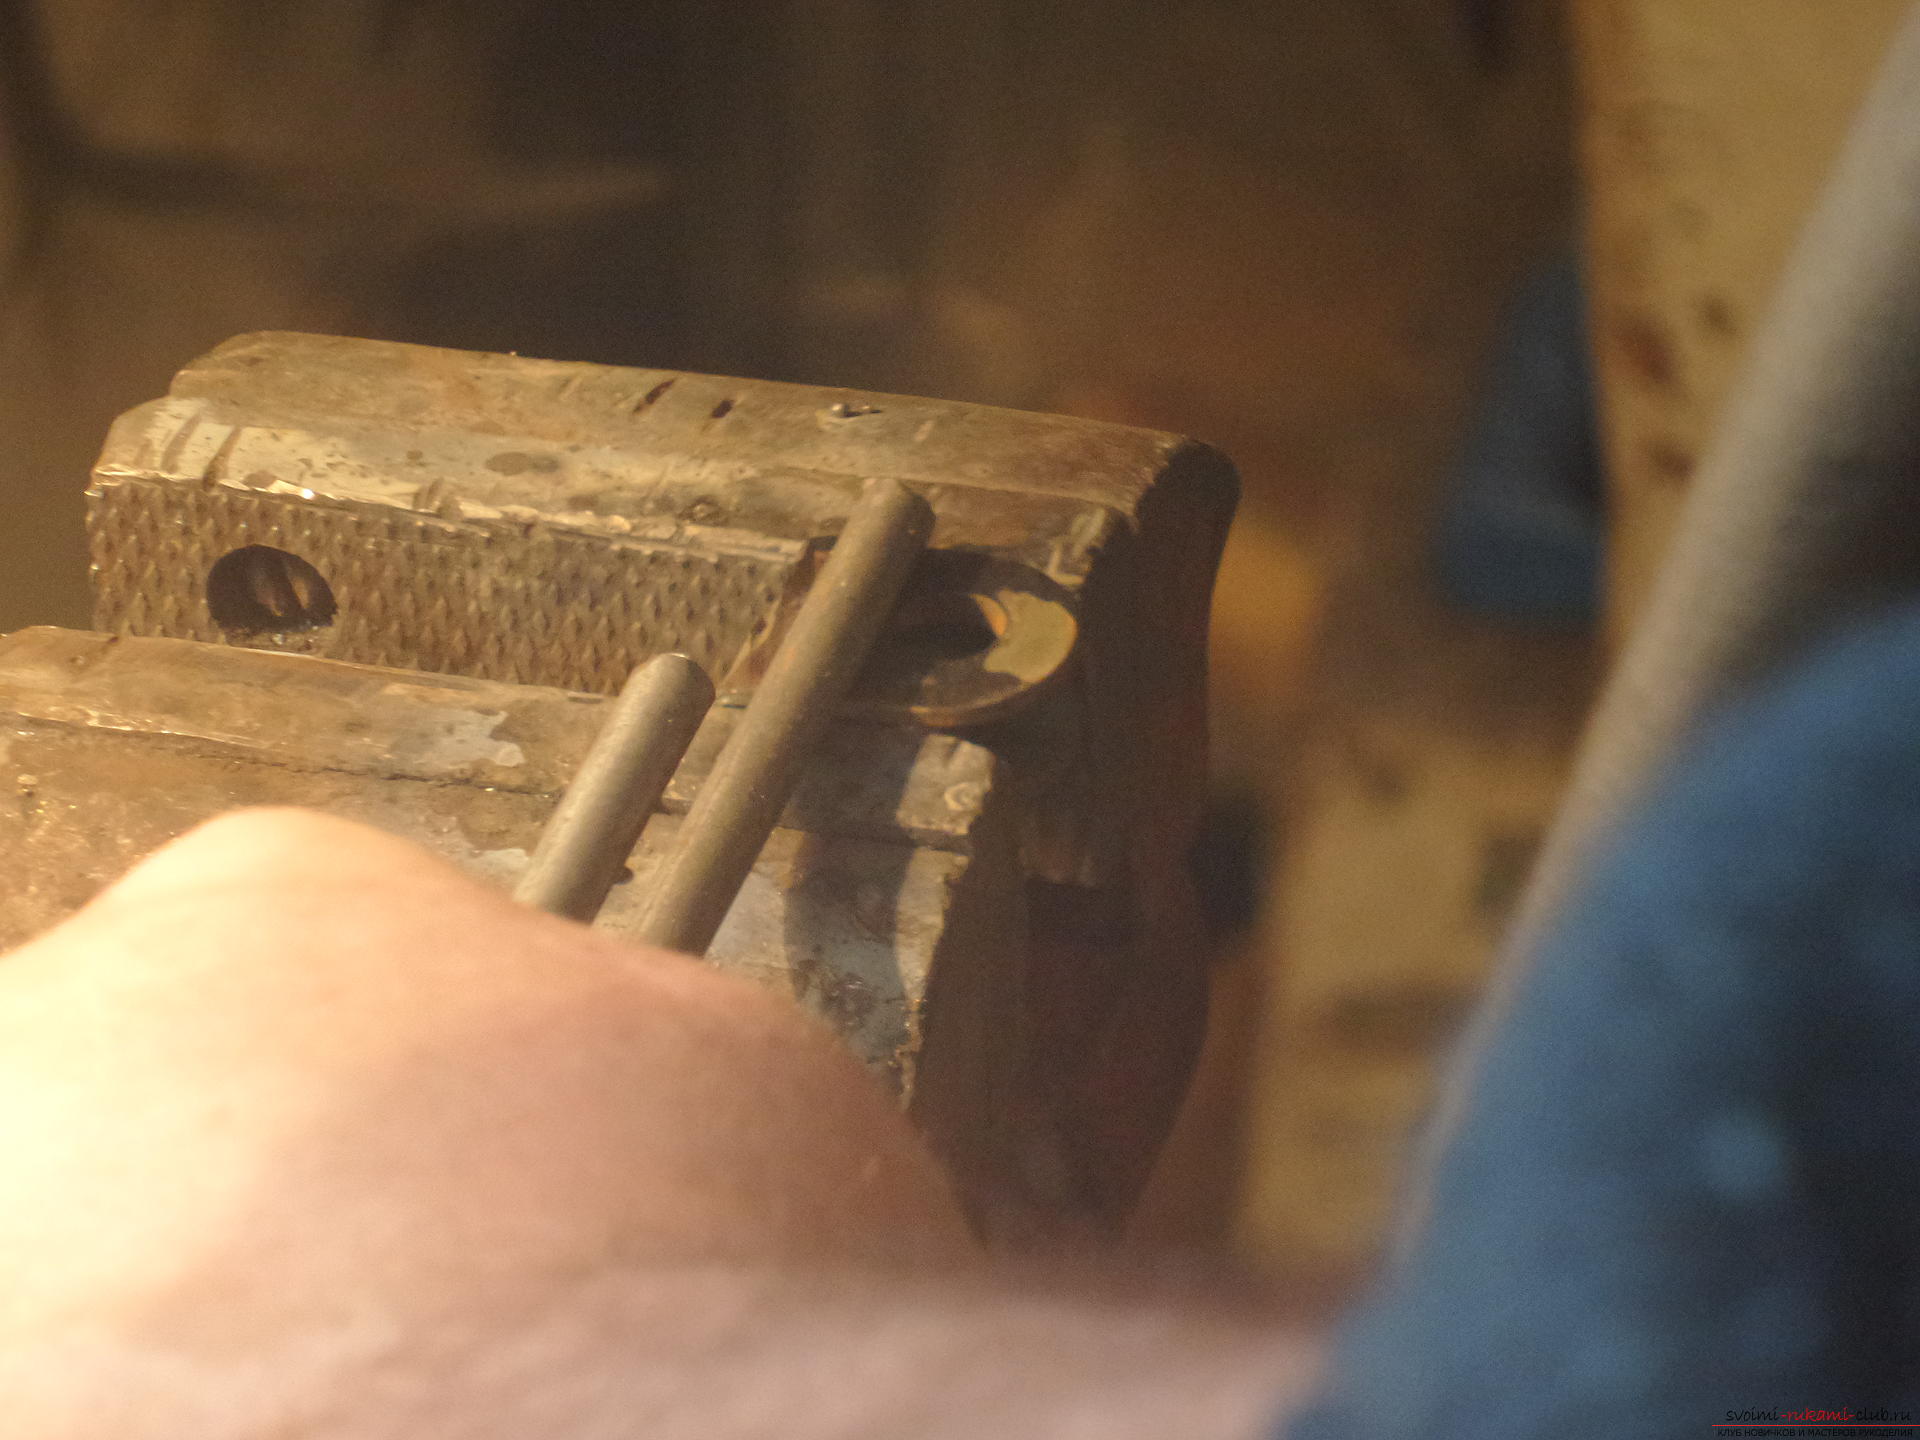
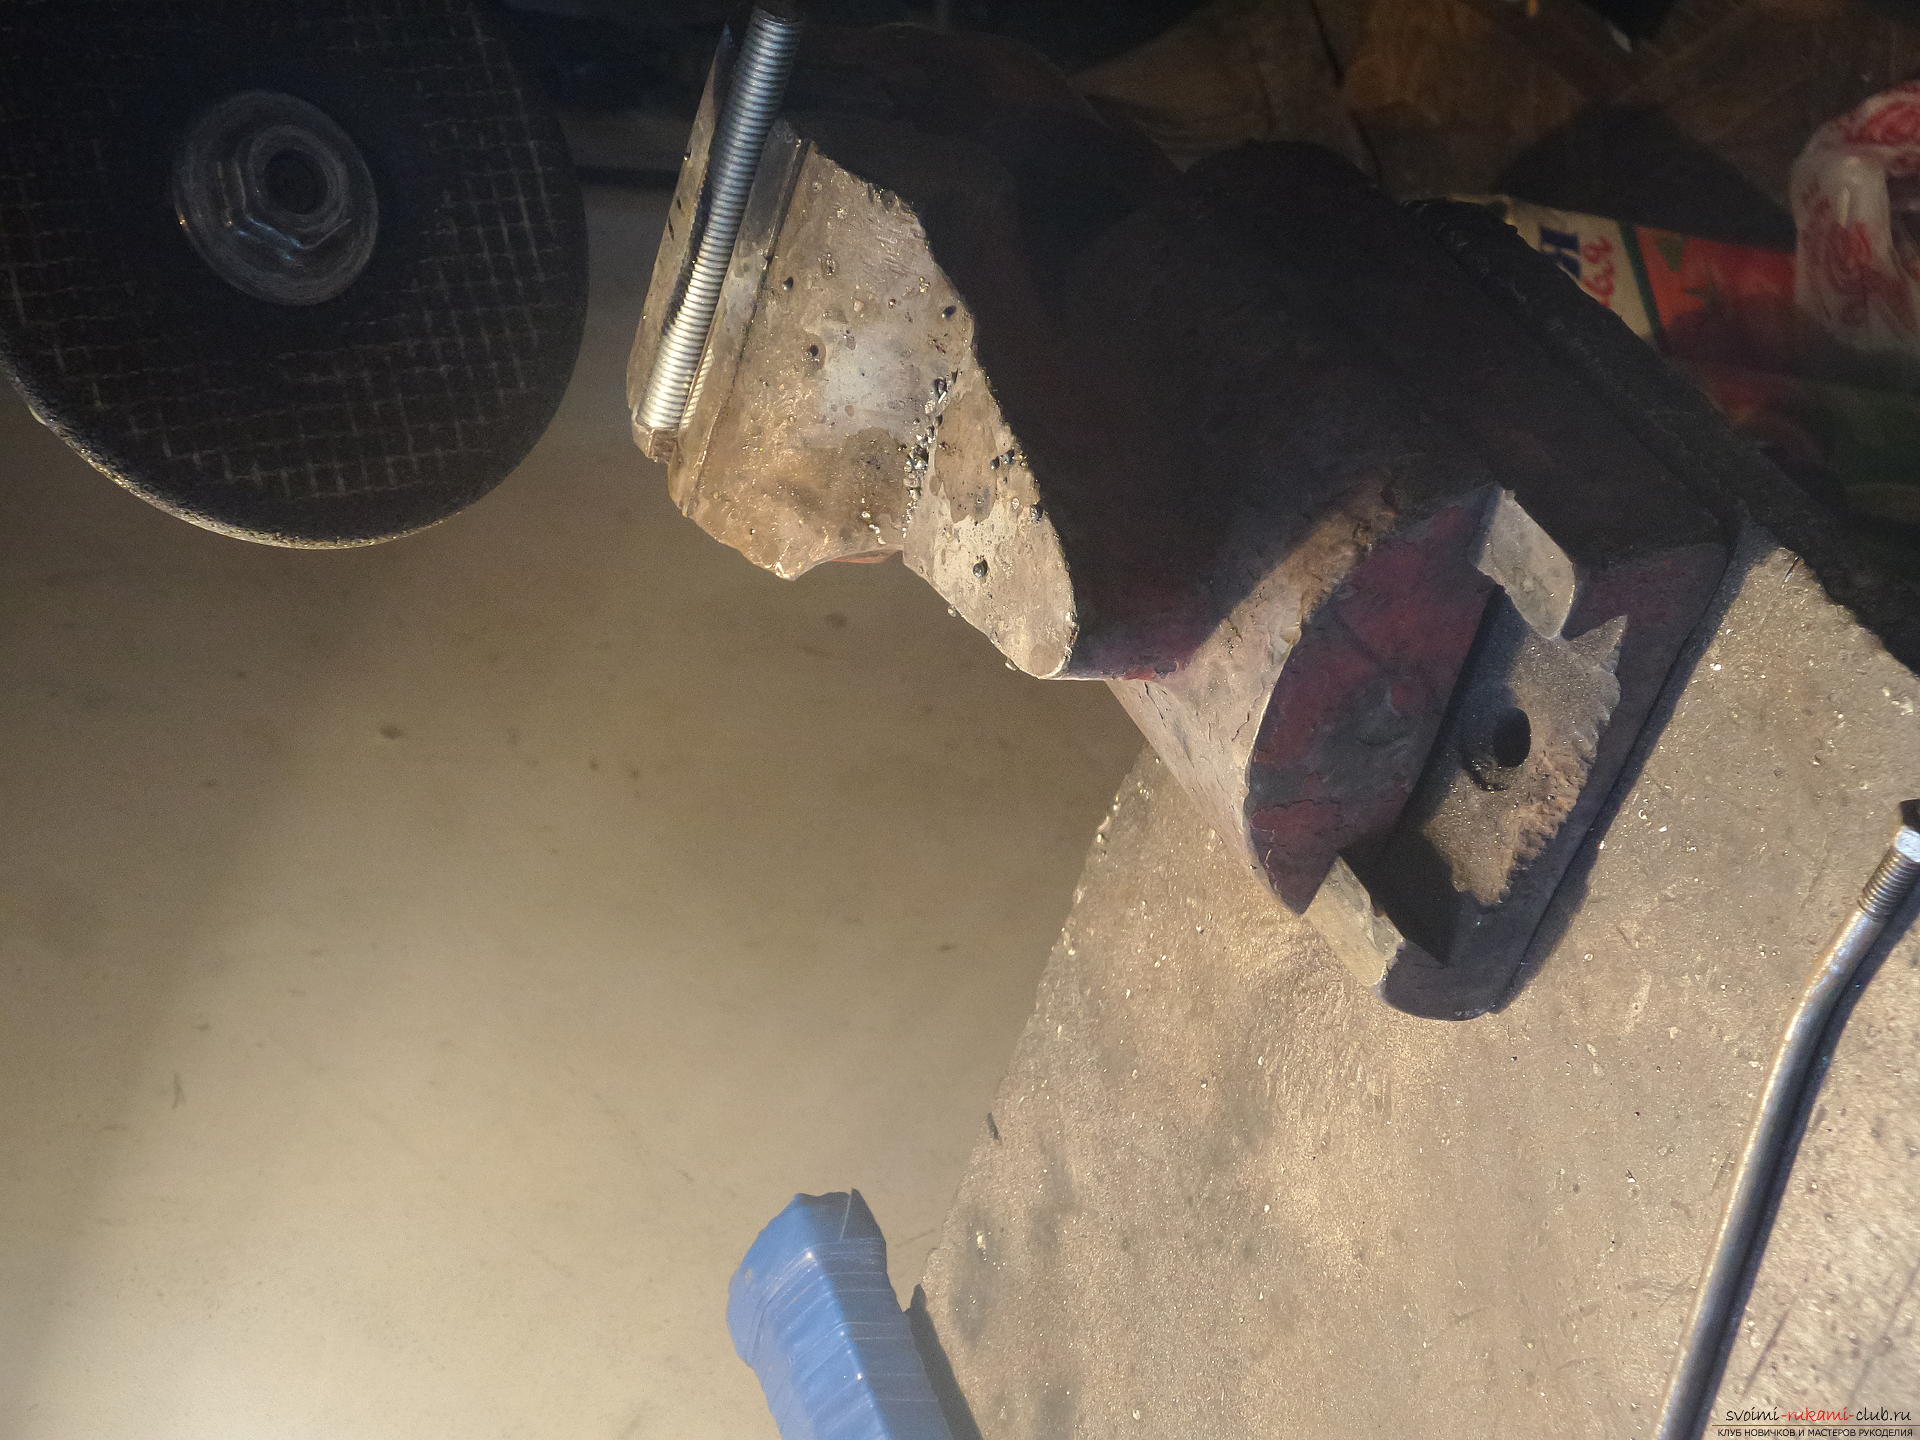
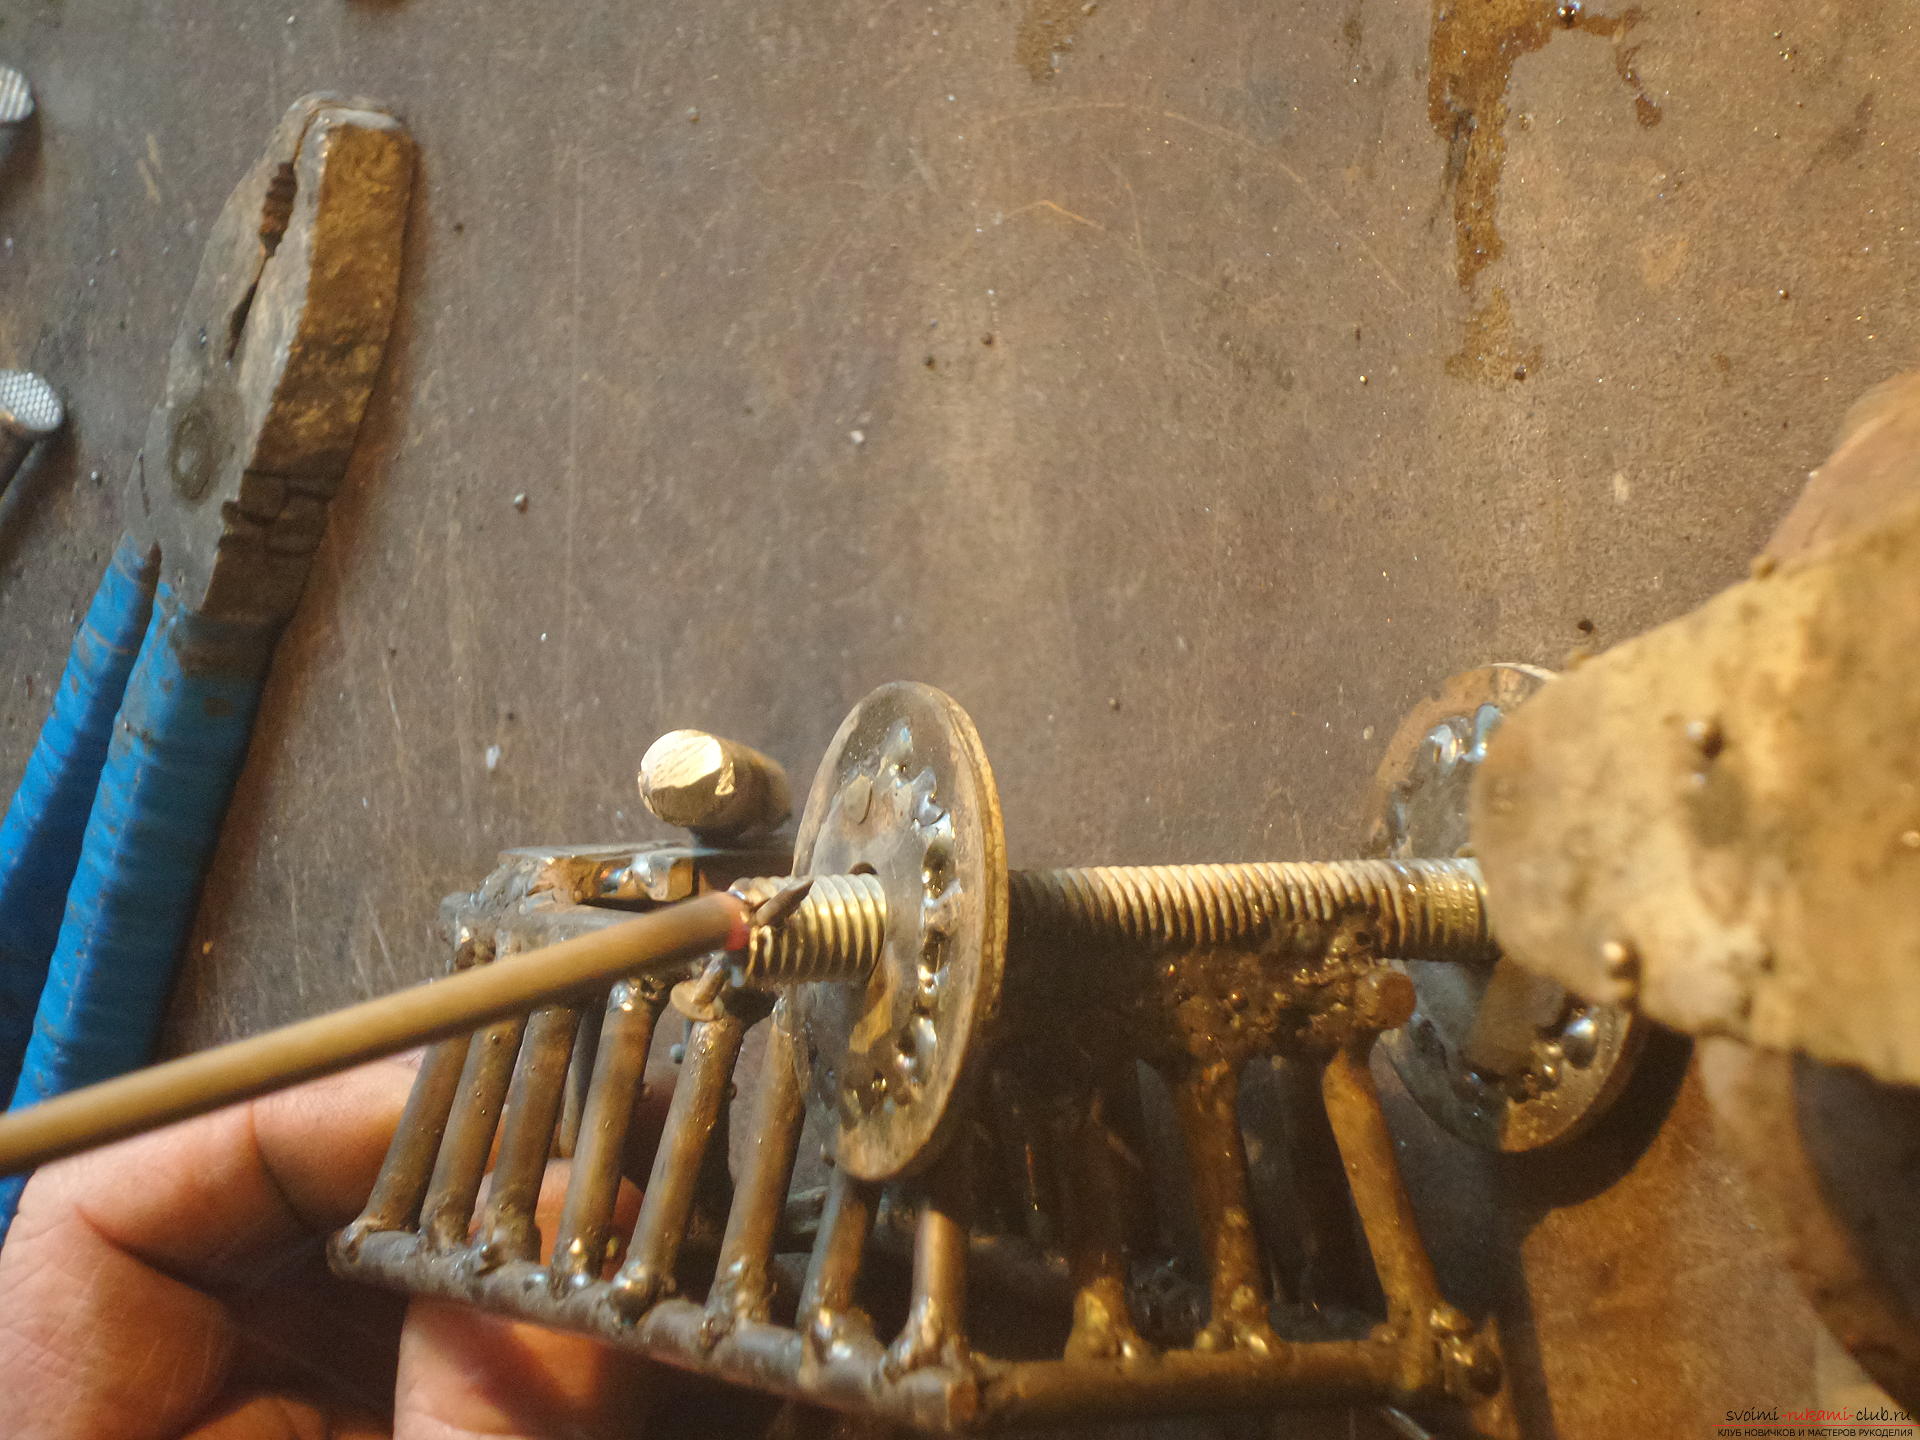
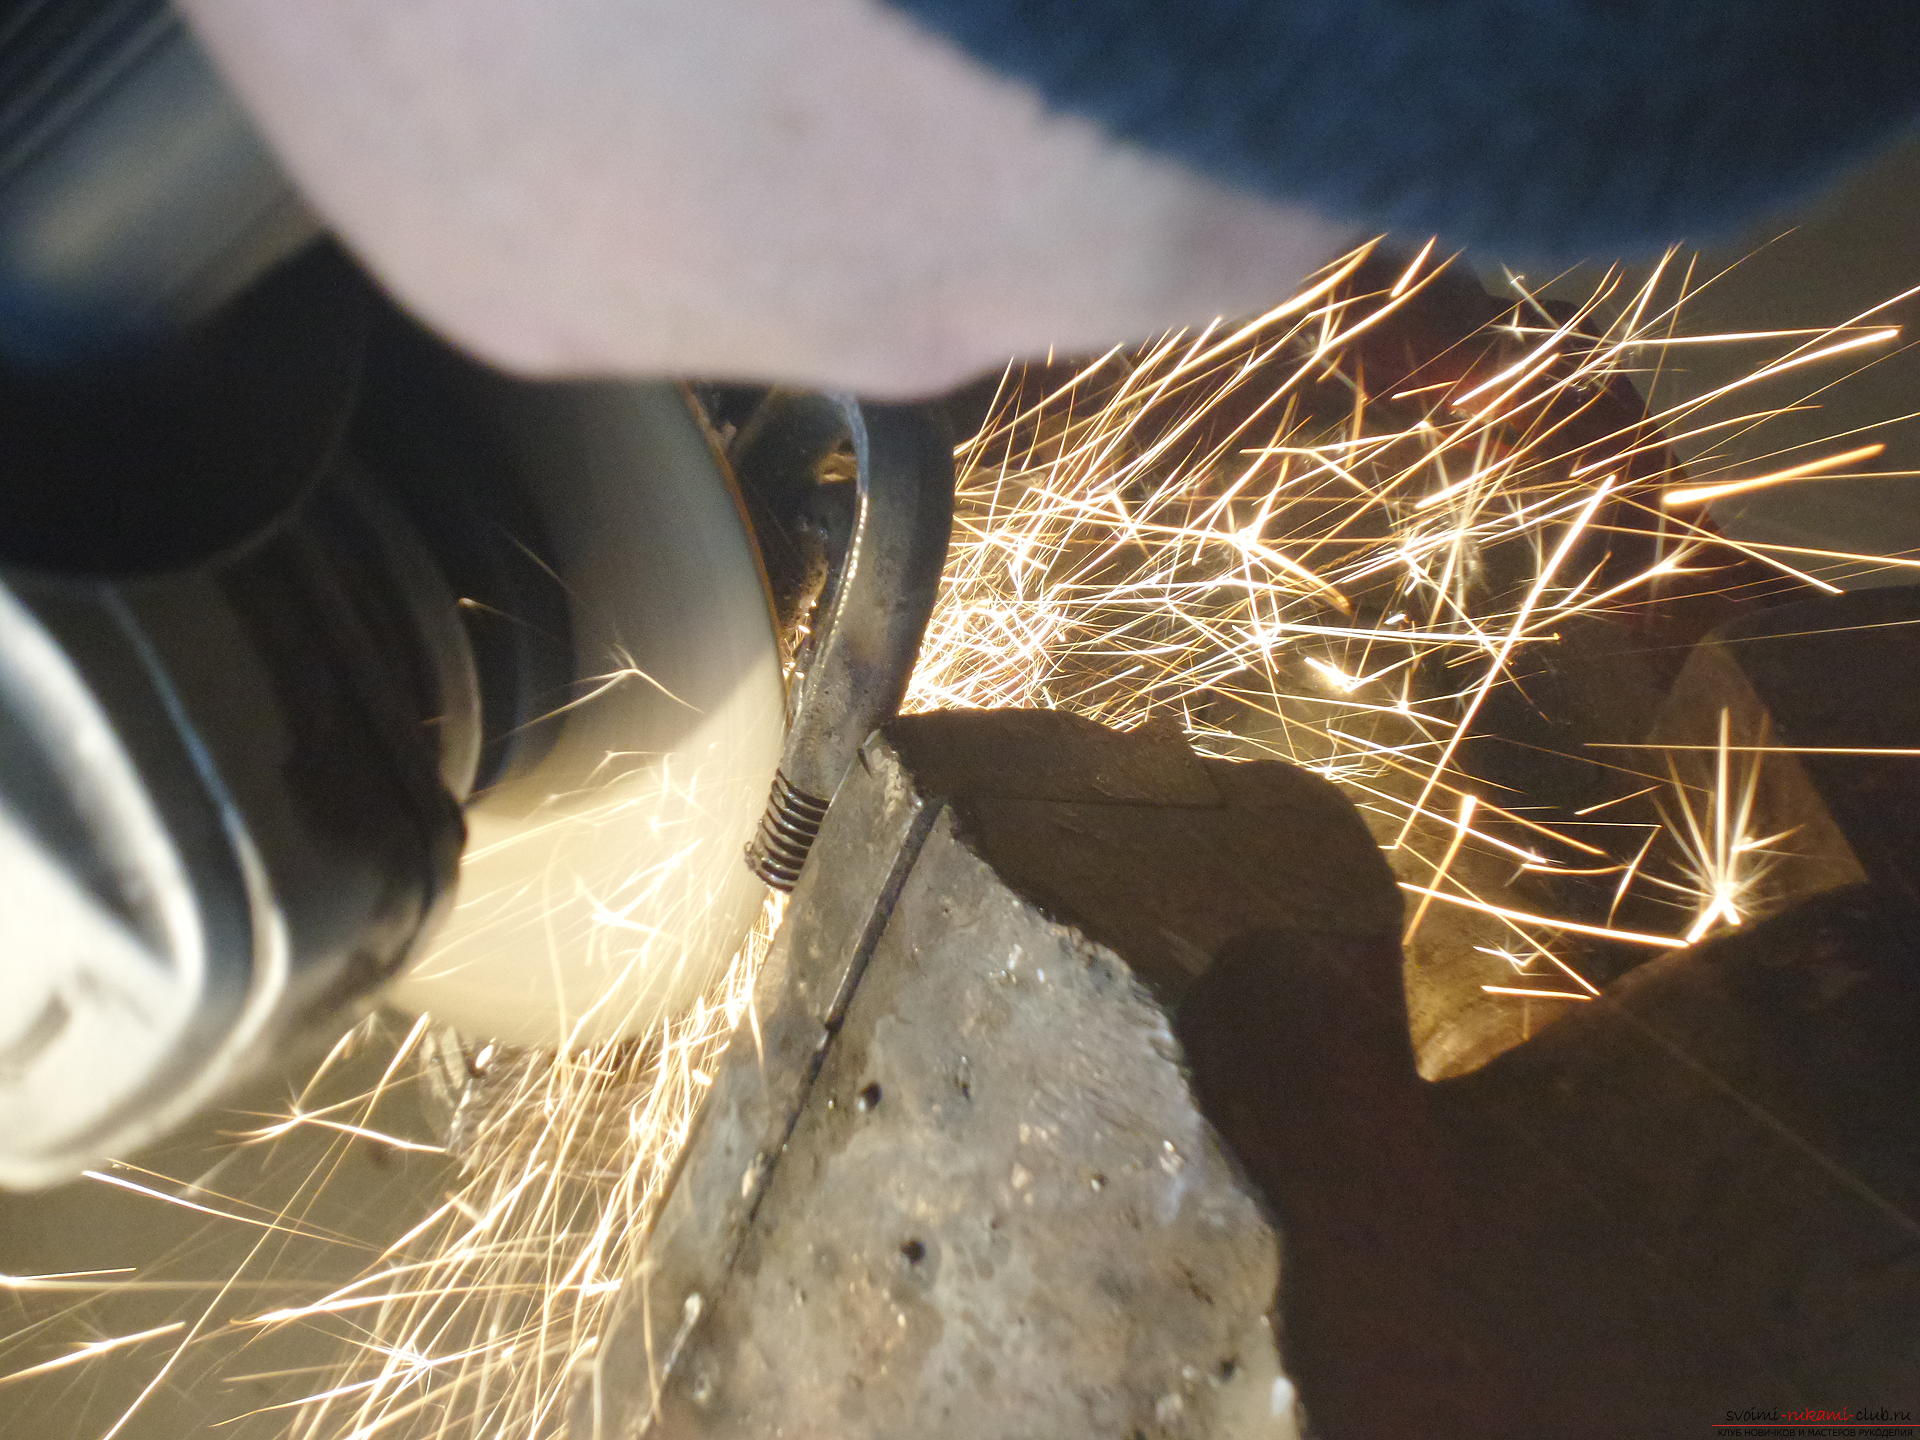
 Now you need to weld the rear stud.
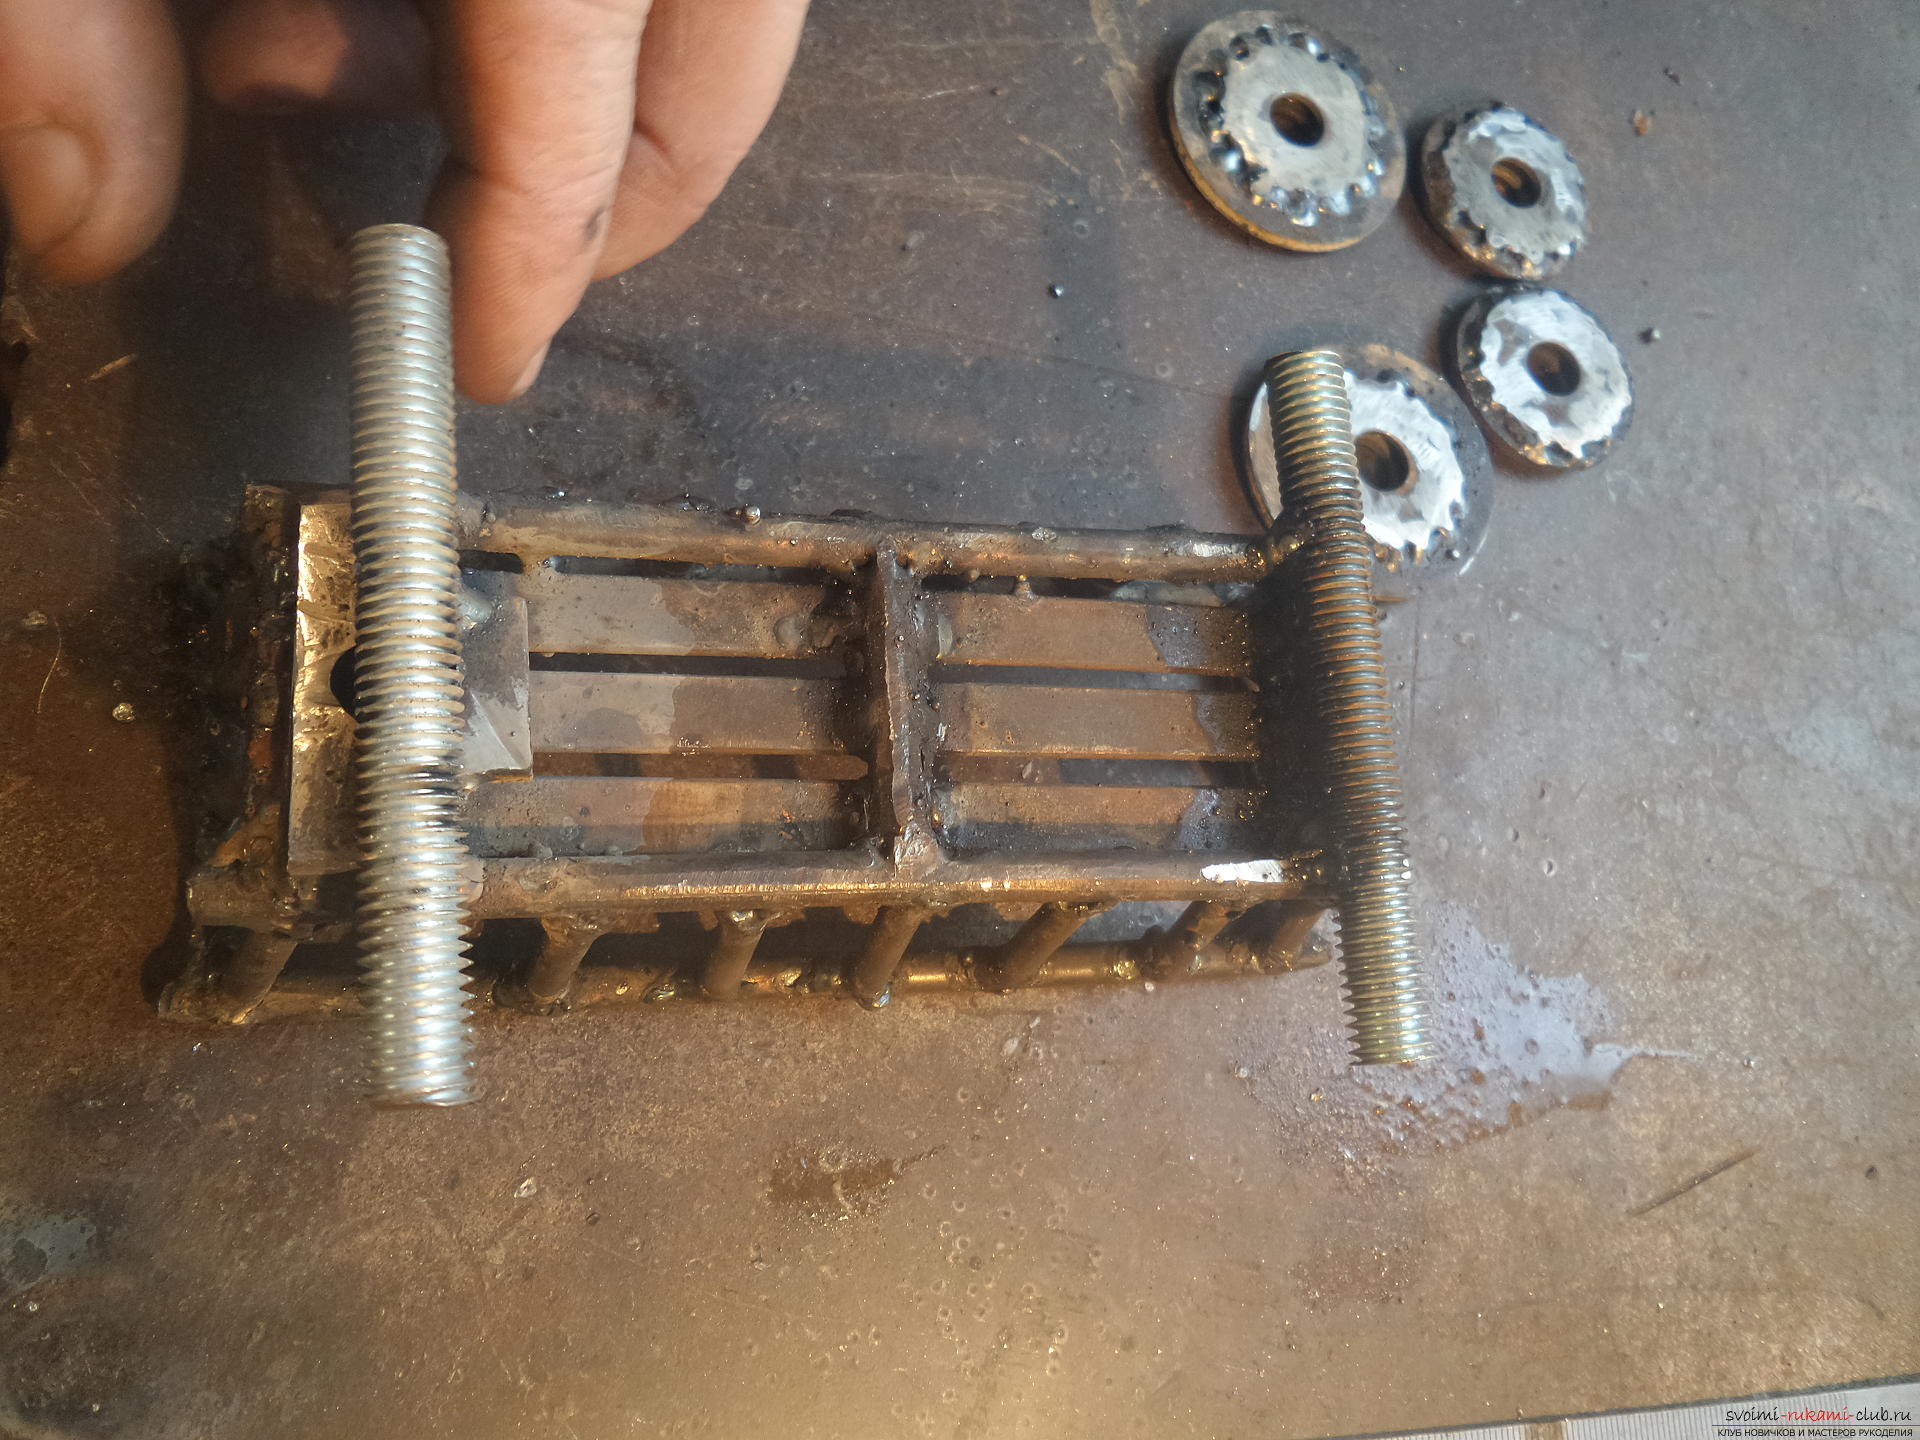 The easiest way to make the rear wheels is to put on each one, make a cut with a grinder, and weld a small nail into the hole, which will not allow them to fall out.
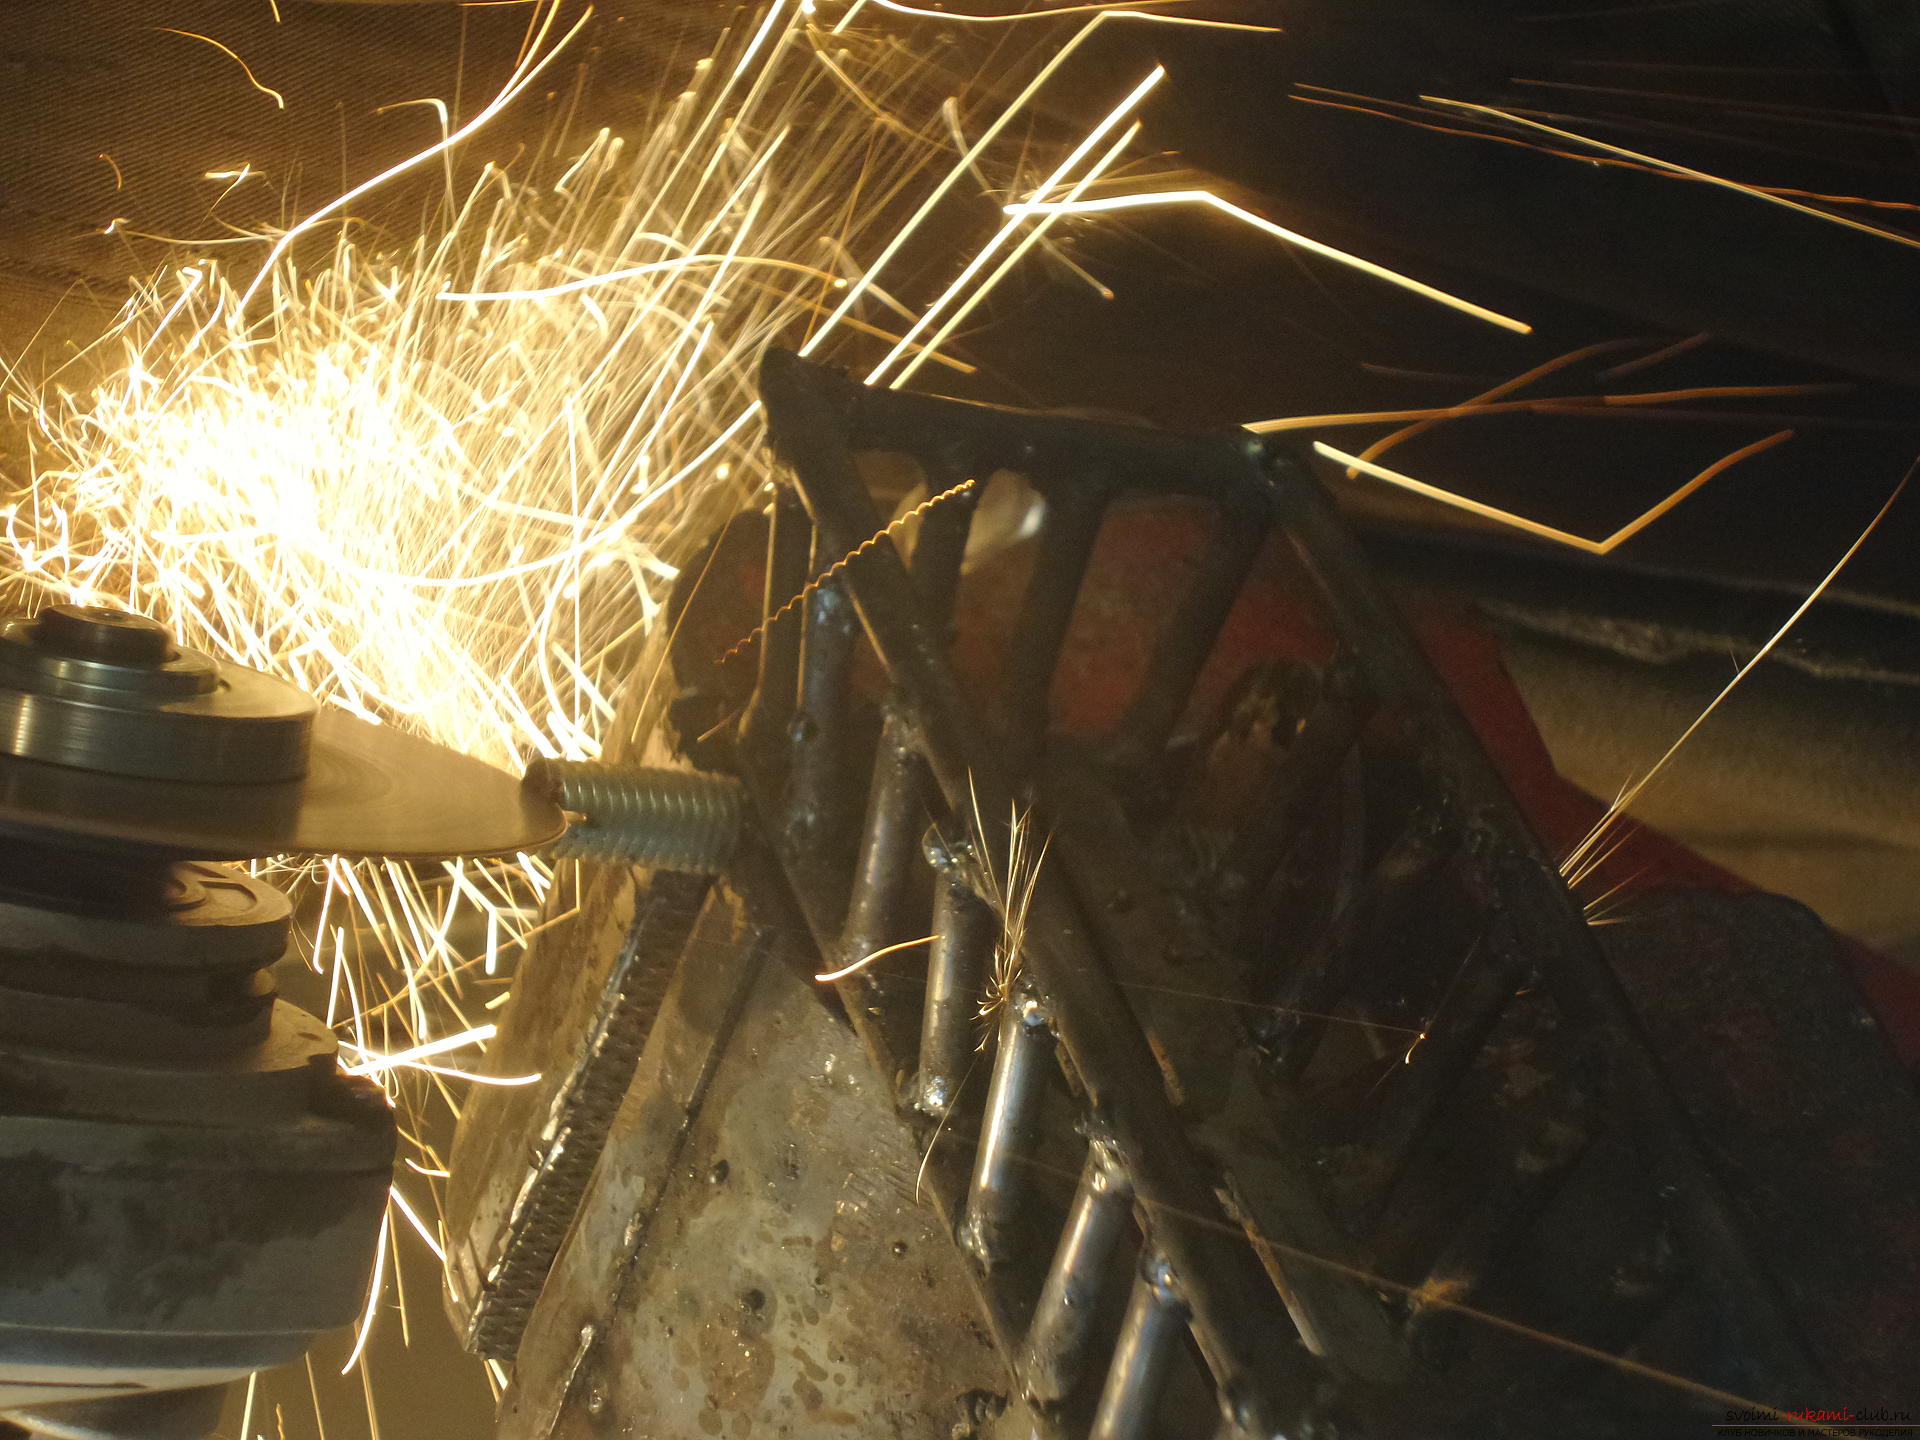
 Soldering on the studs is very necessary: they will not allow the wheel to touch the side of the cart.
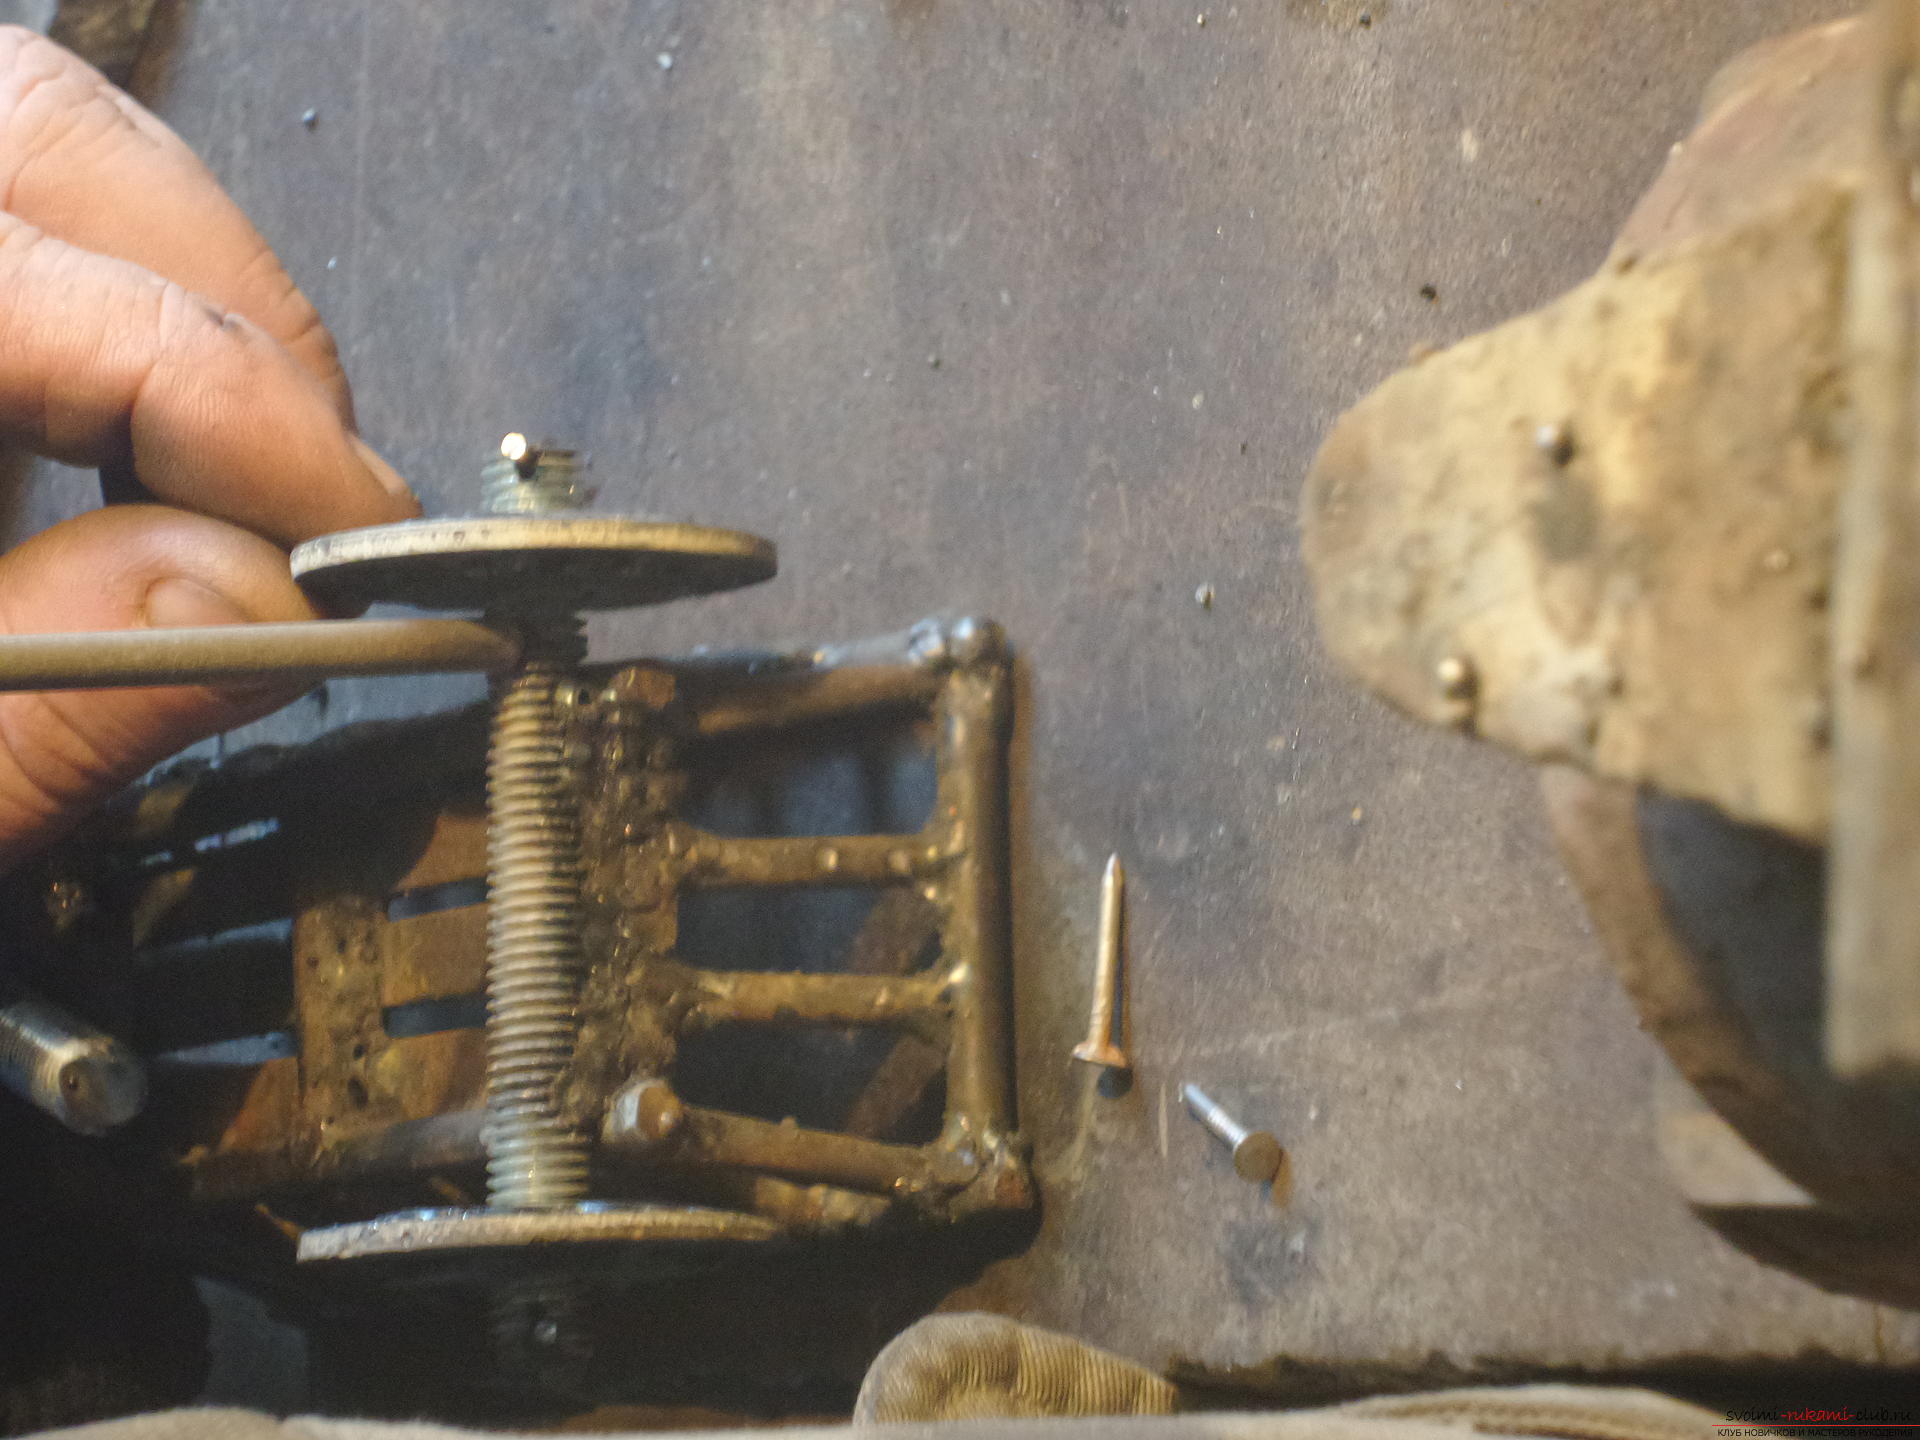 The front wheels are welded in the same way. Only soldering is needed in front of the shafts.
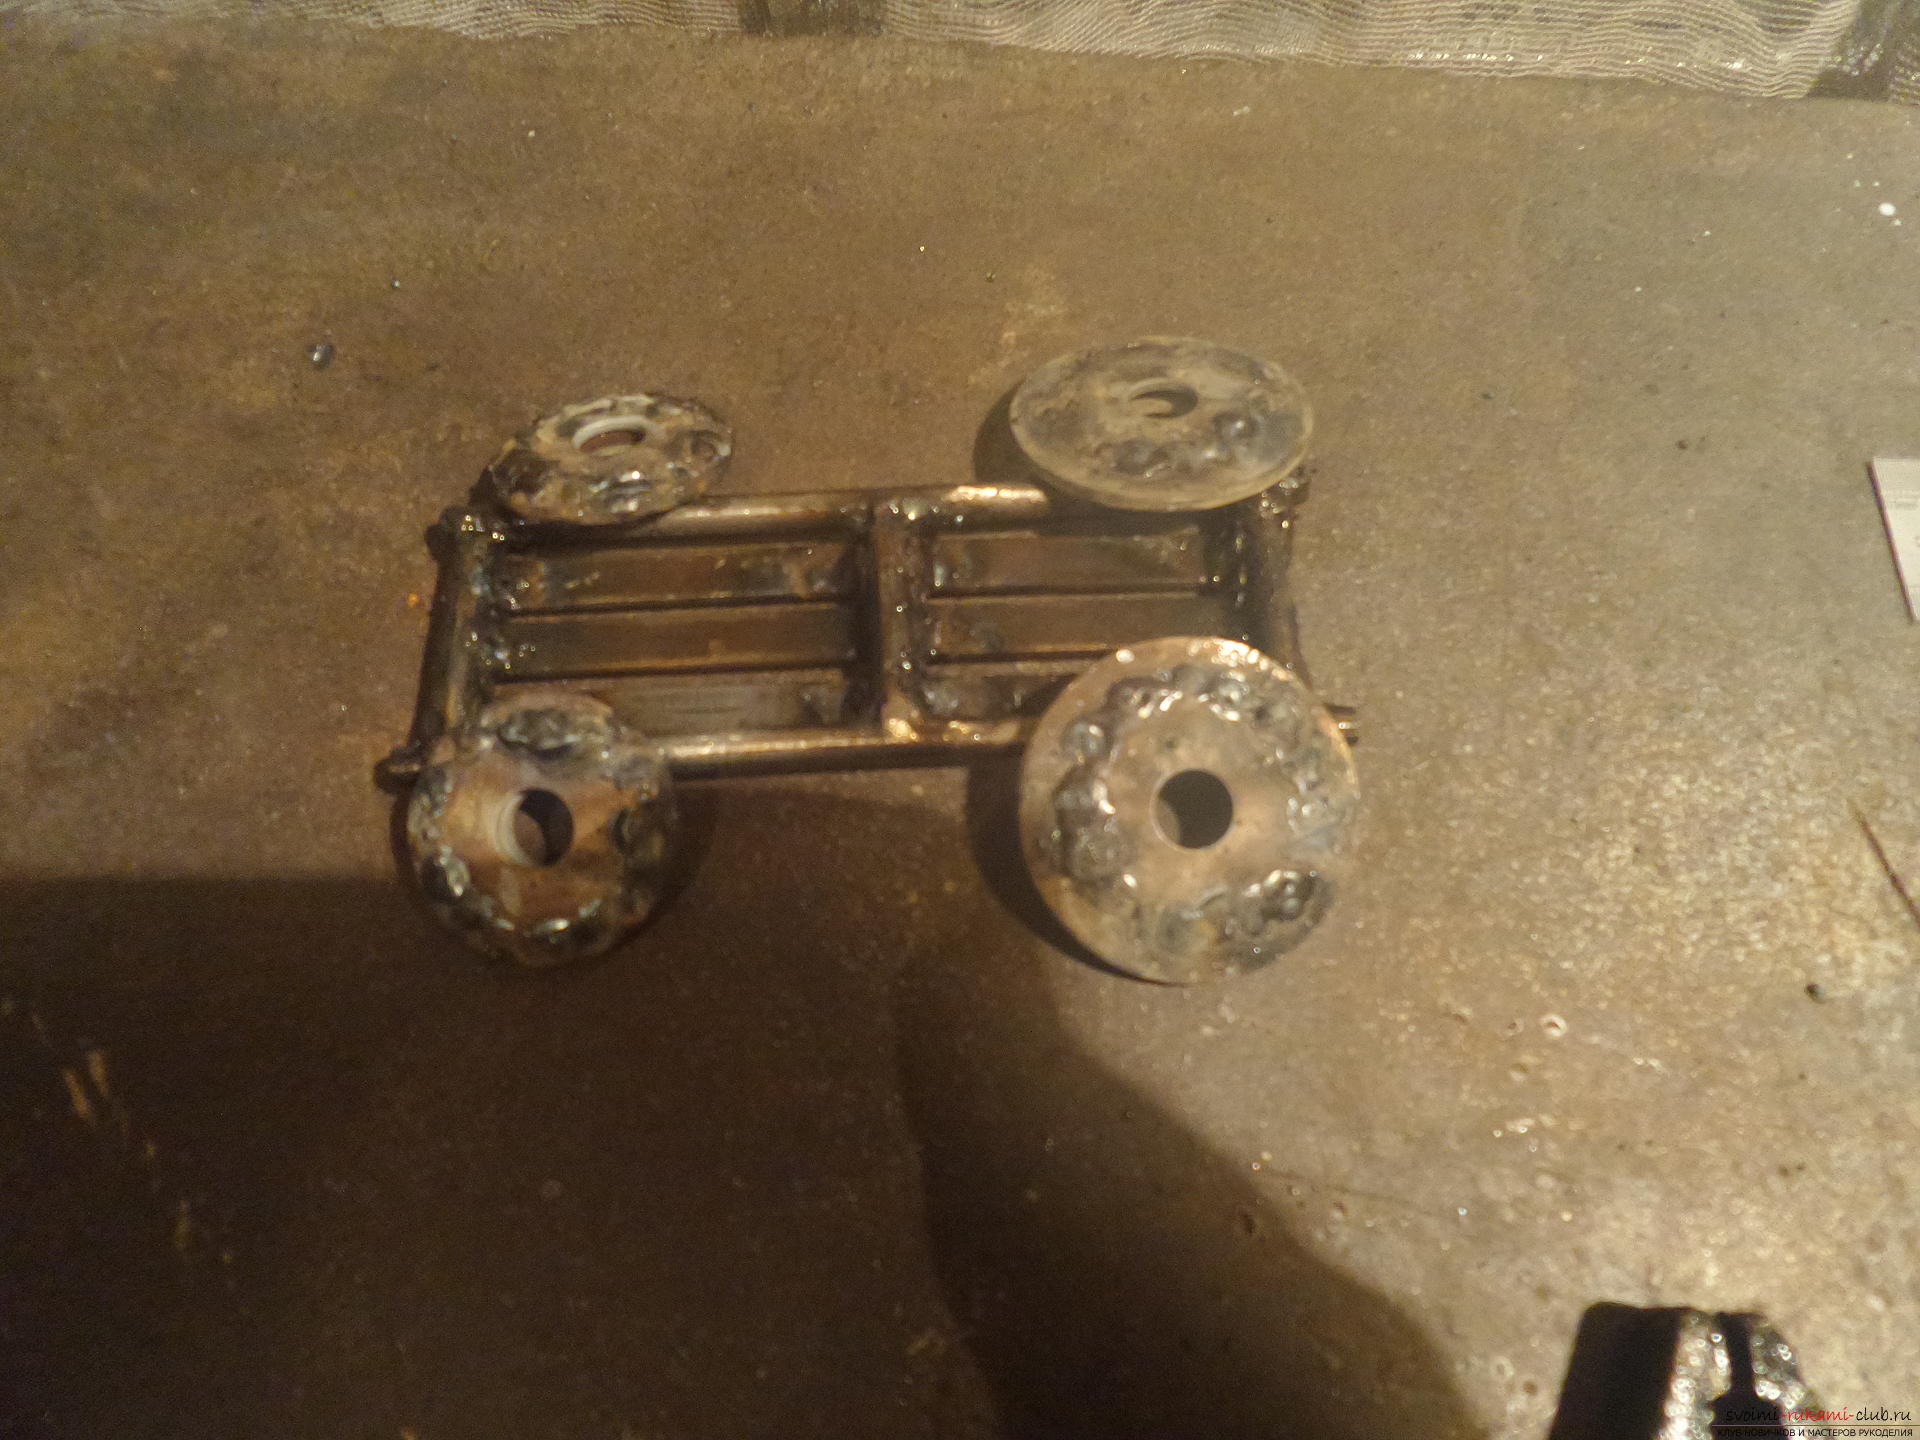
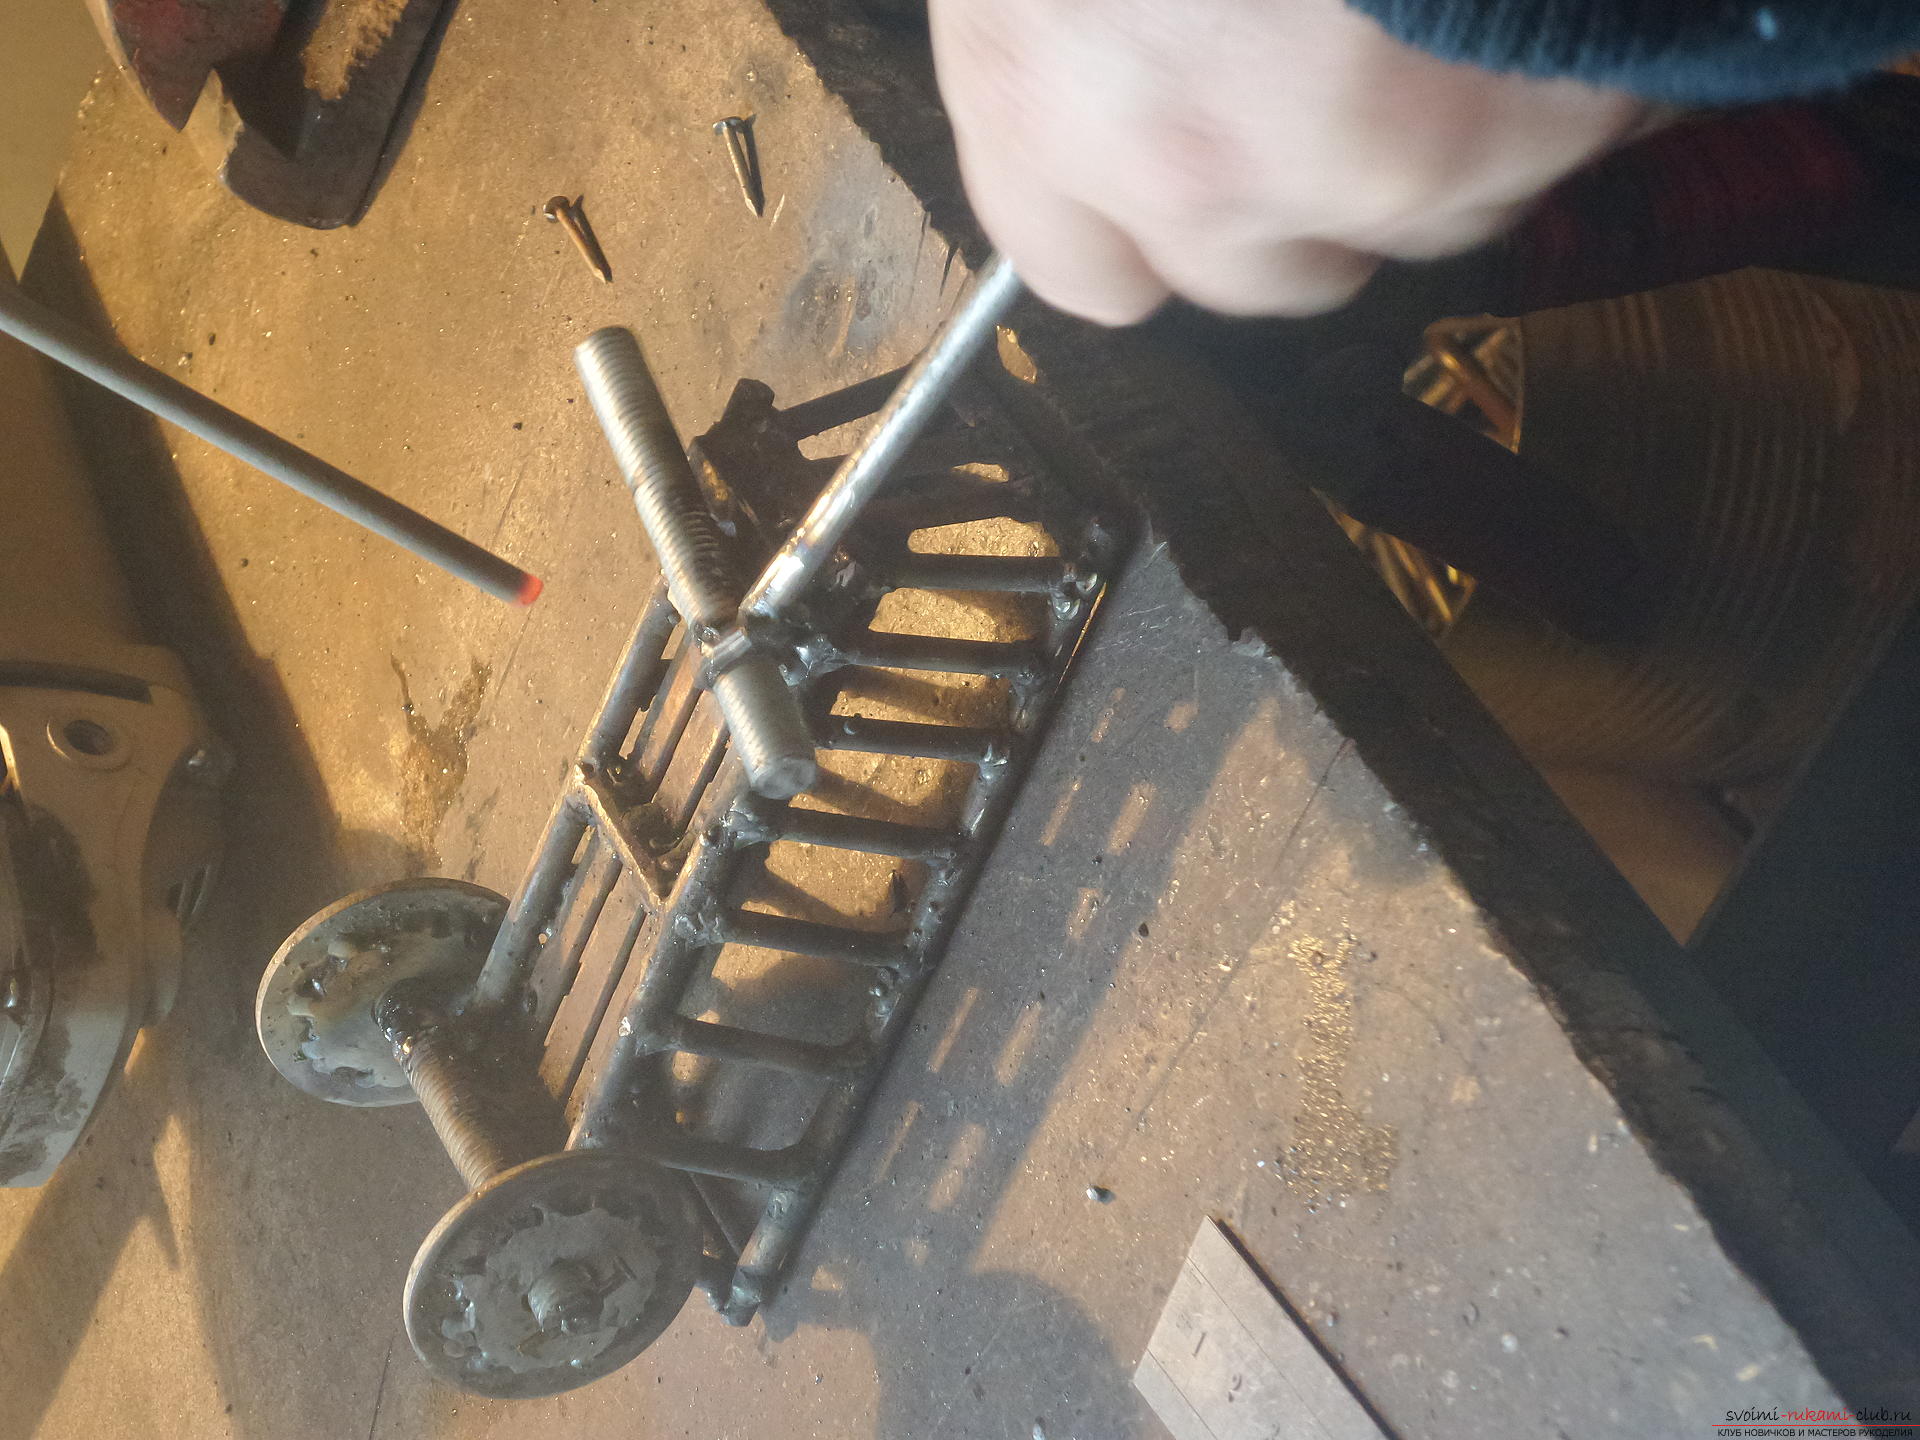 Here is the result!
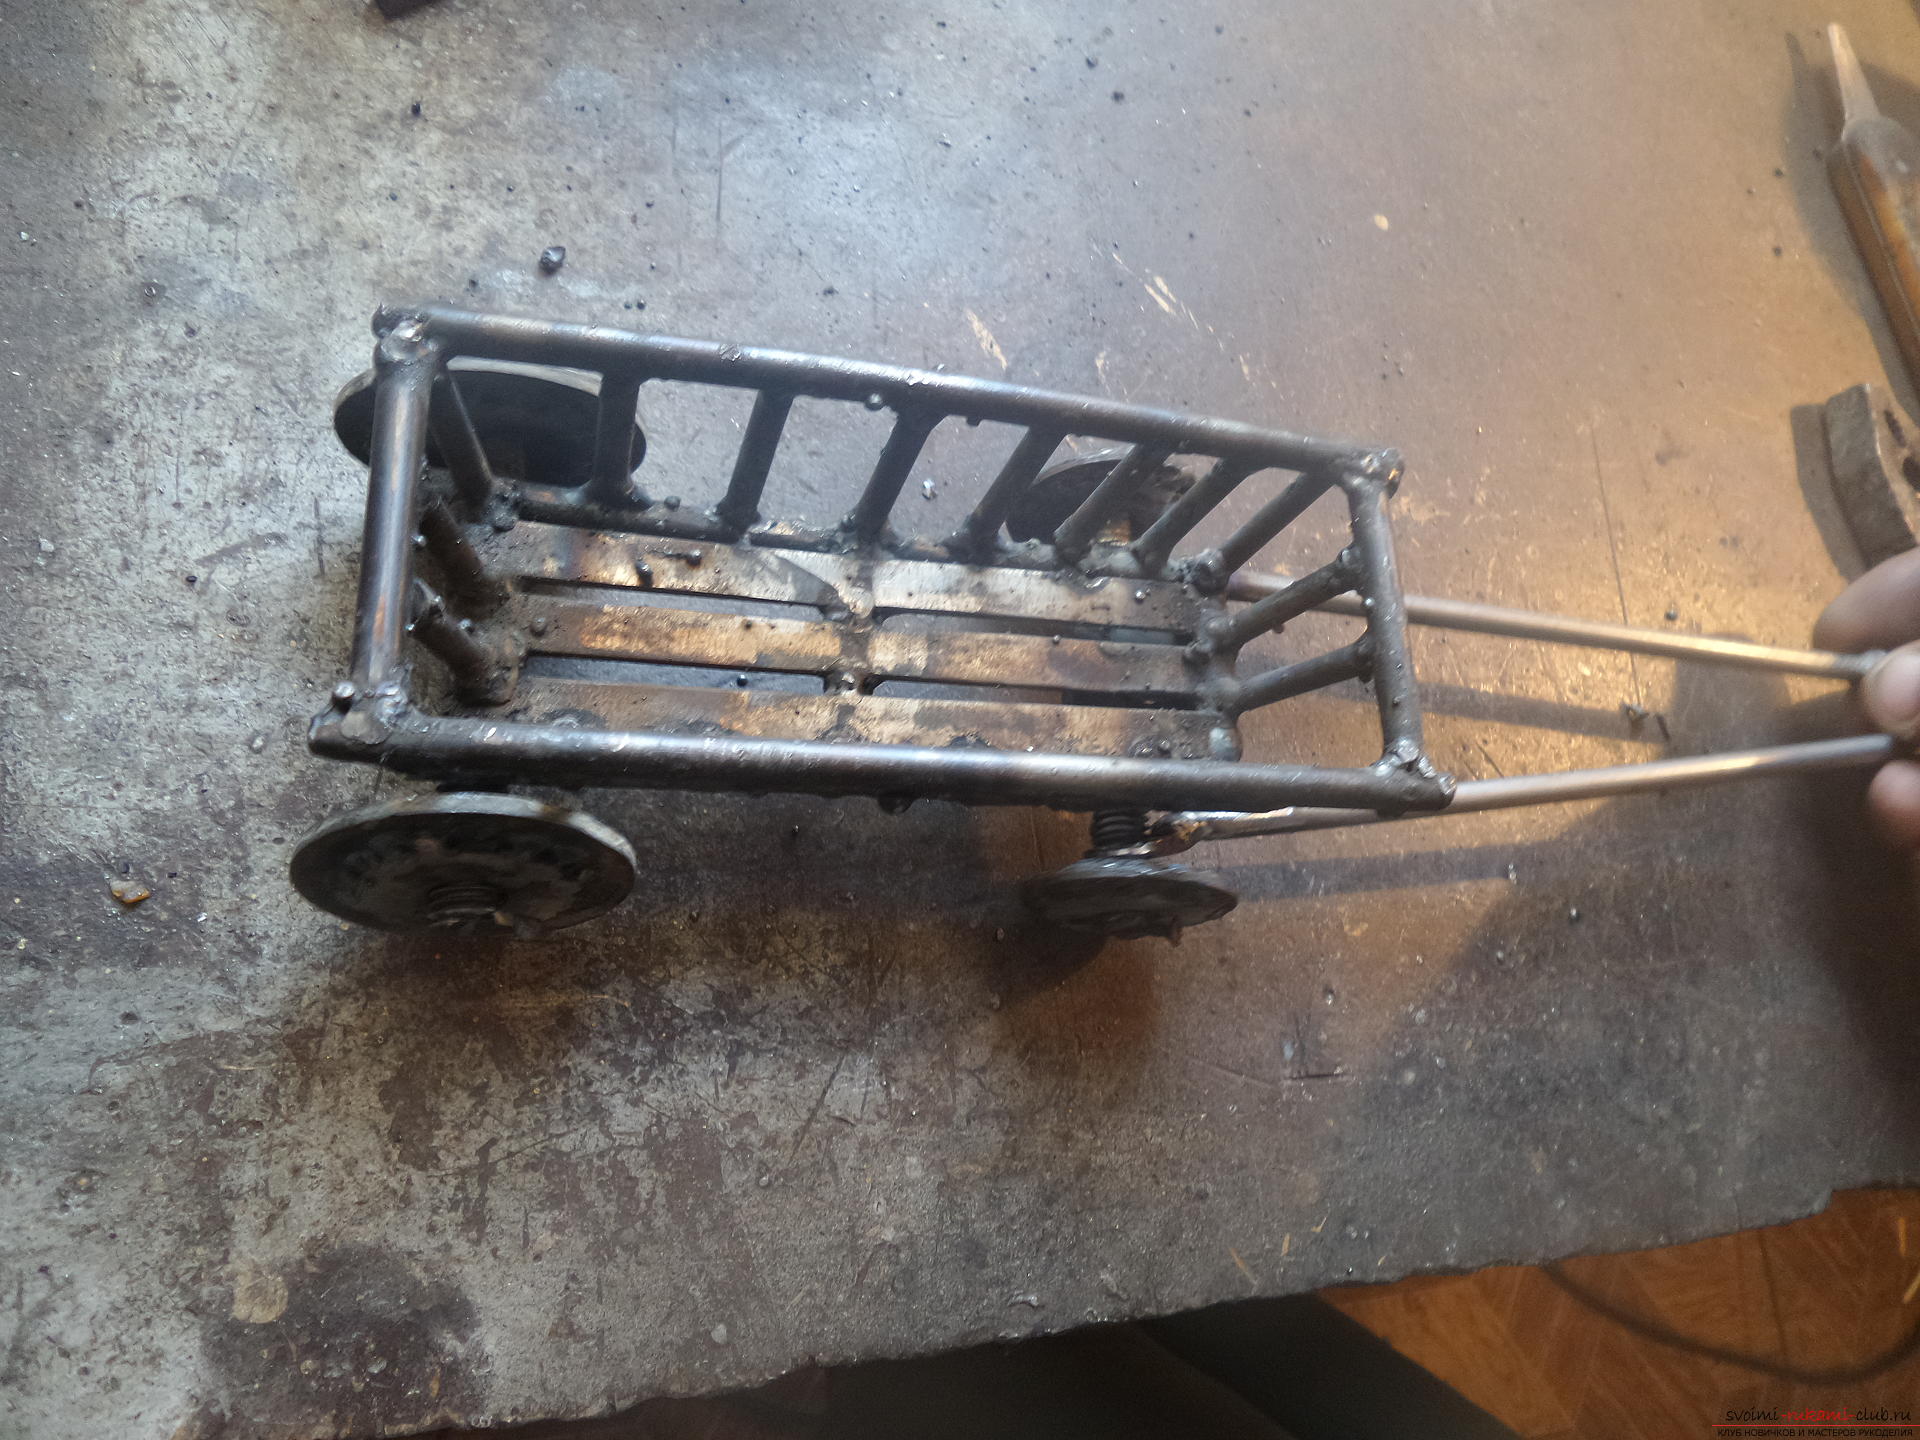 In order to attach a cart to a horse you need toBend and sharpen the pin to 8 and weld it to the shafts. You can add a shank - a nail that acts as a clamp for better fastening to the mane.
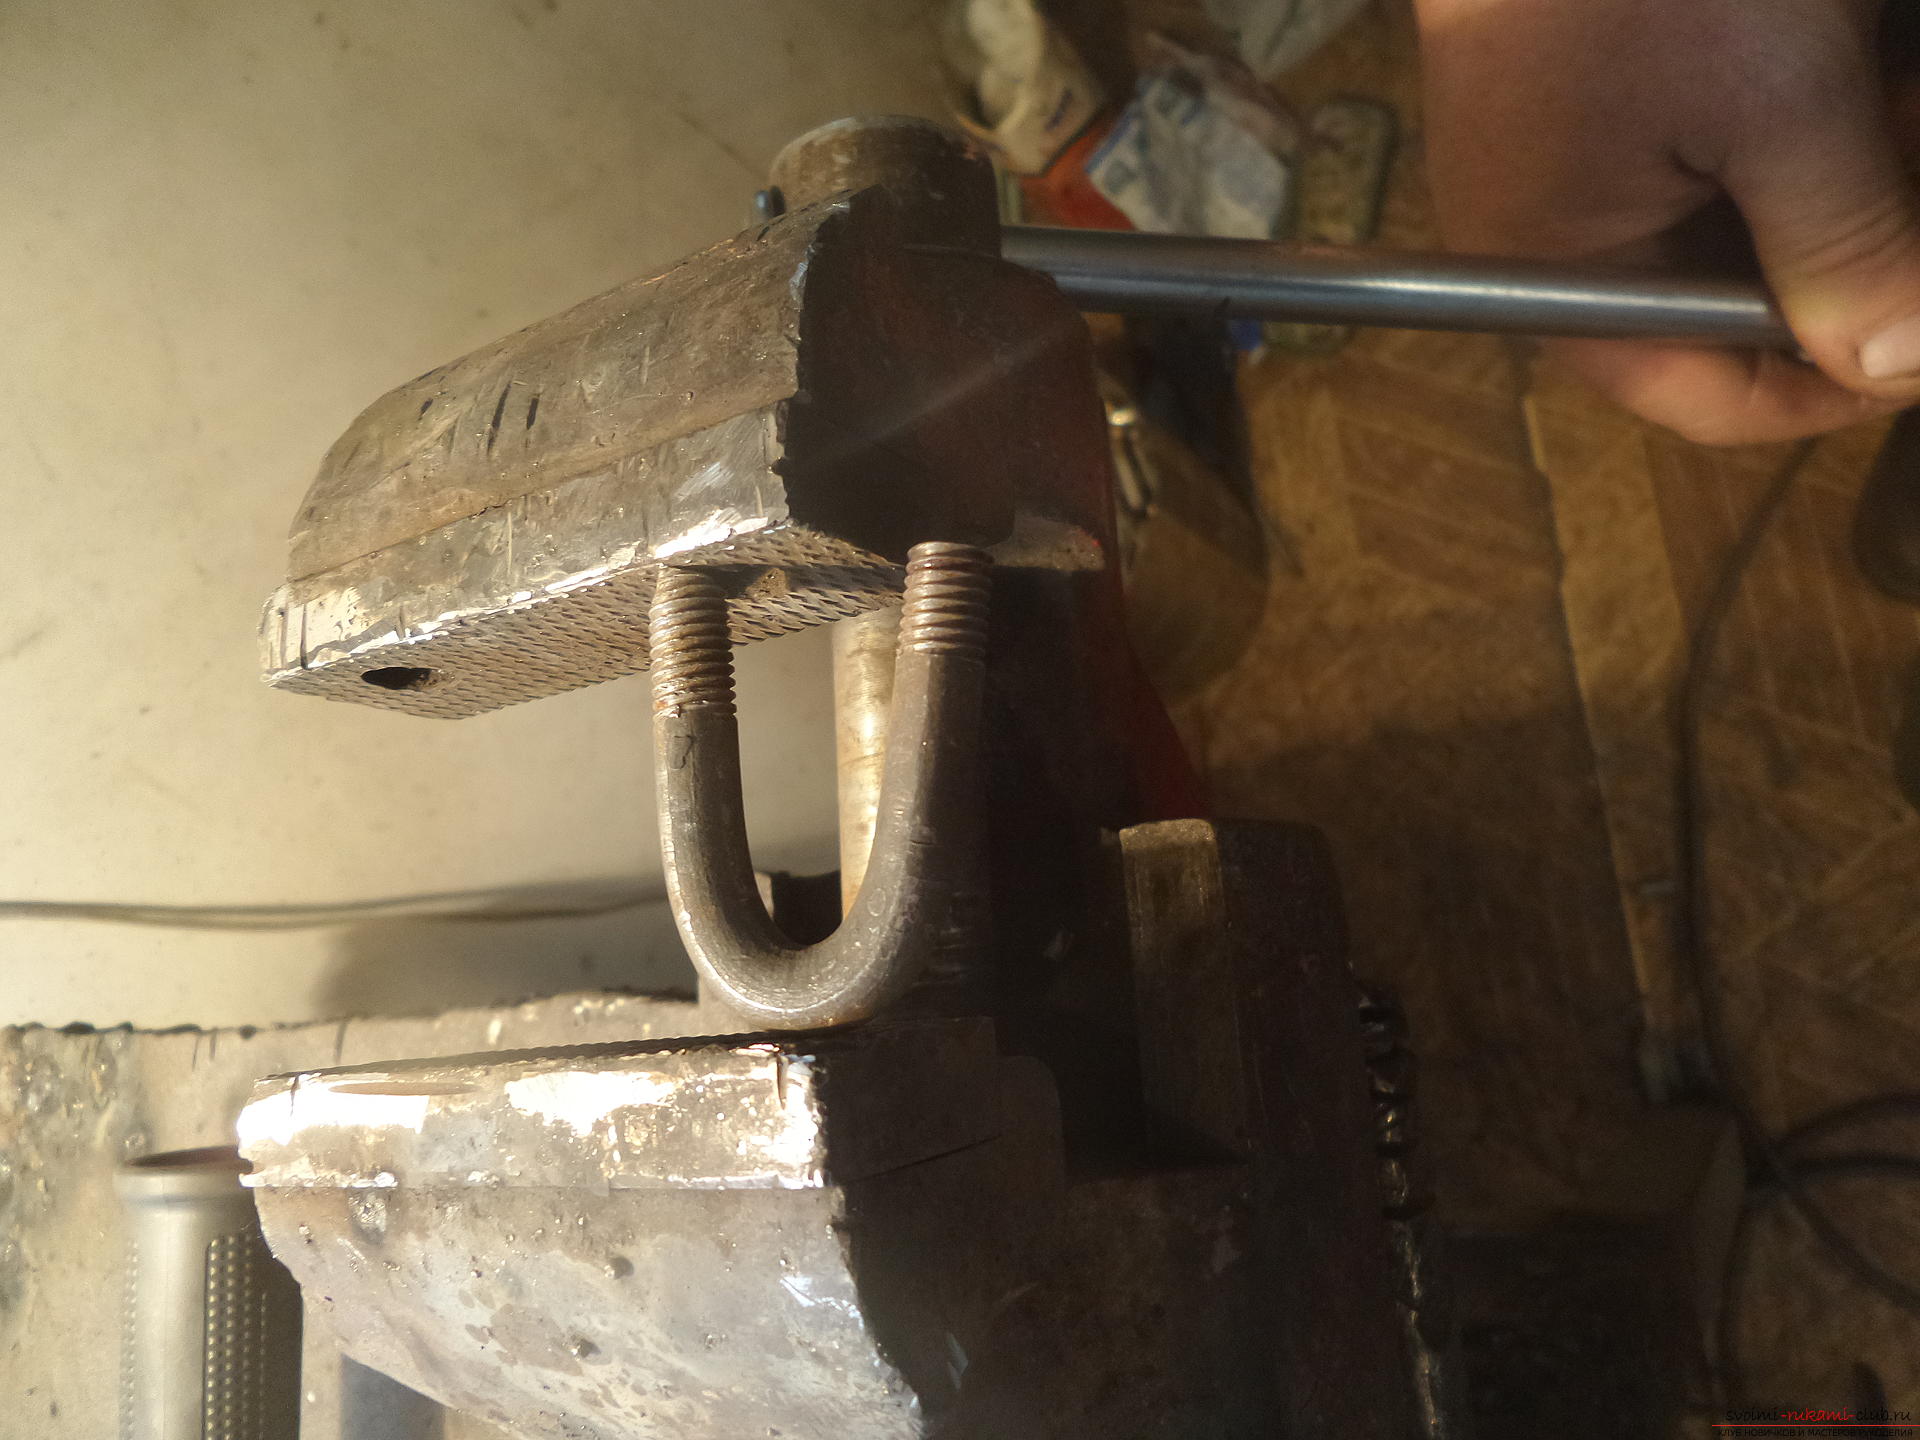
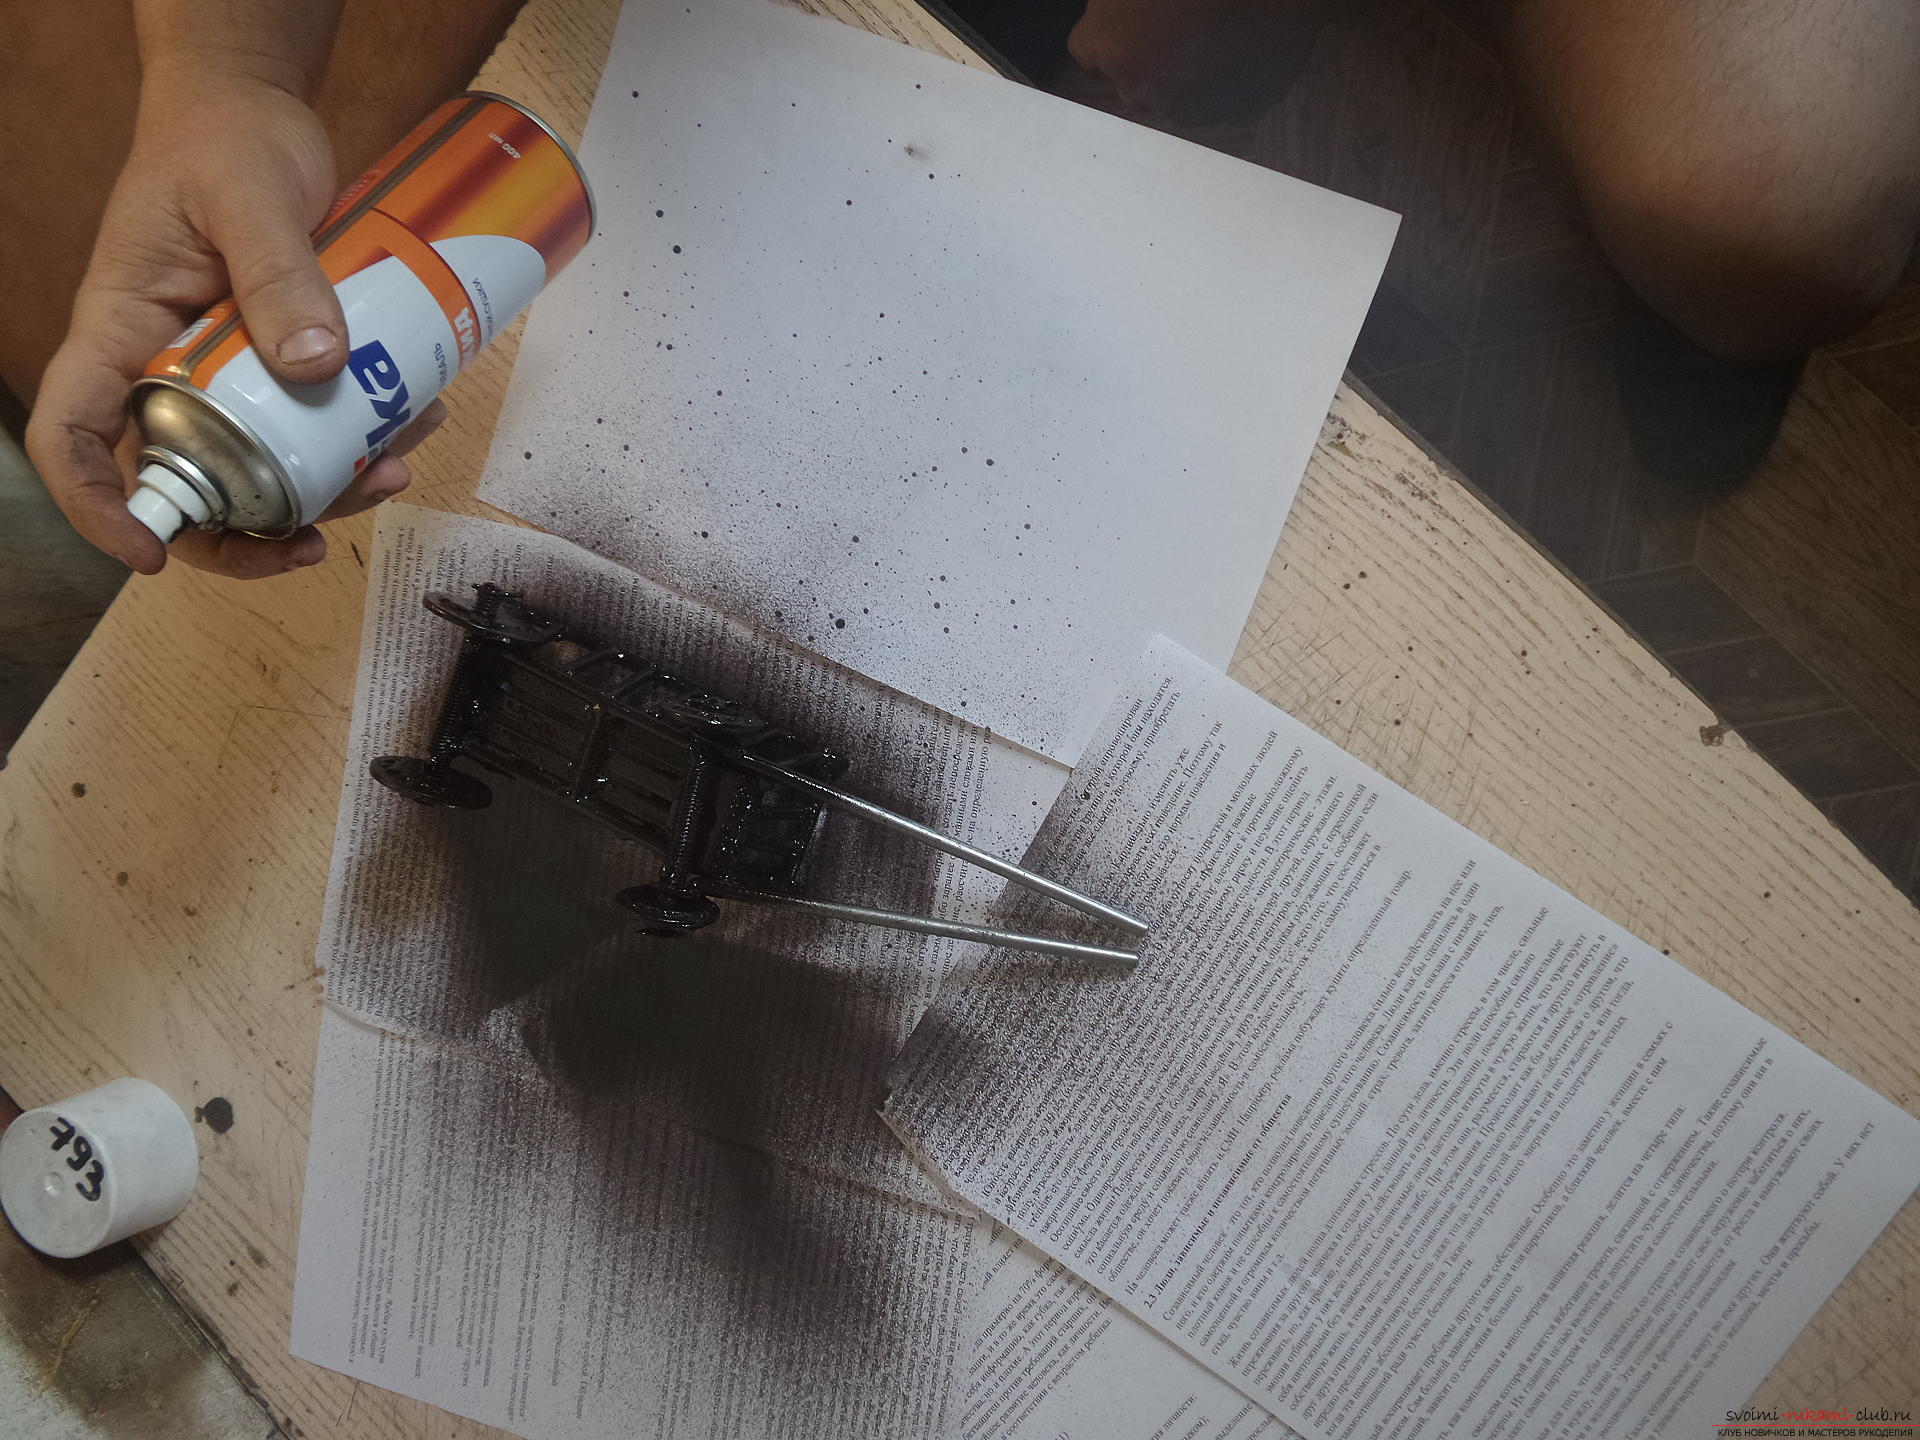
 All that remains is to weld the seat for the coachman and paint it.
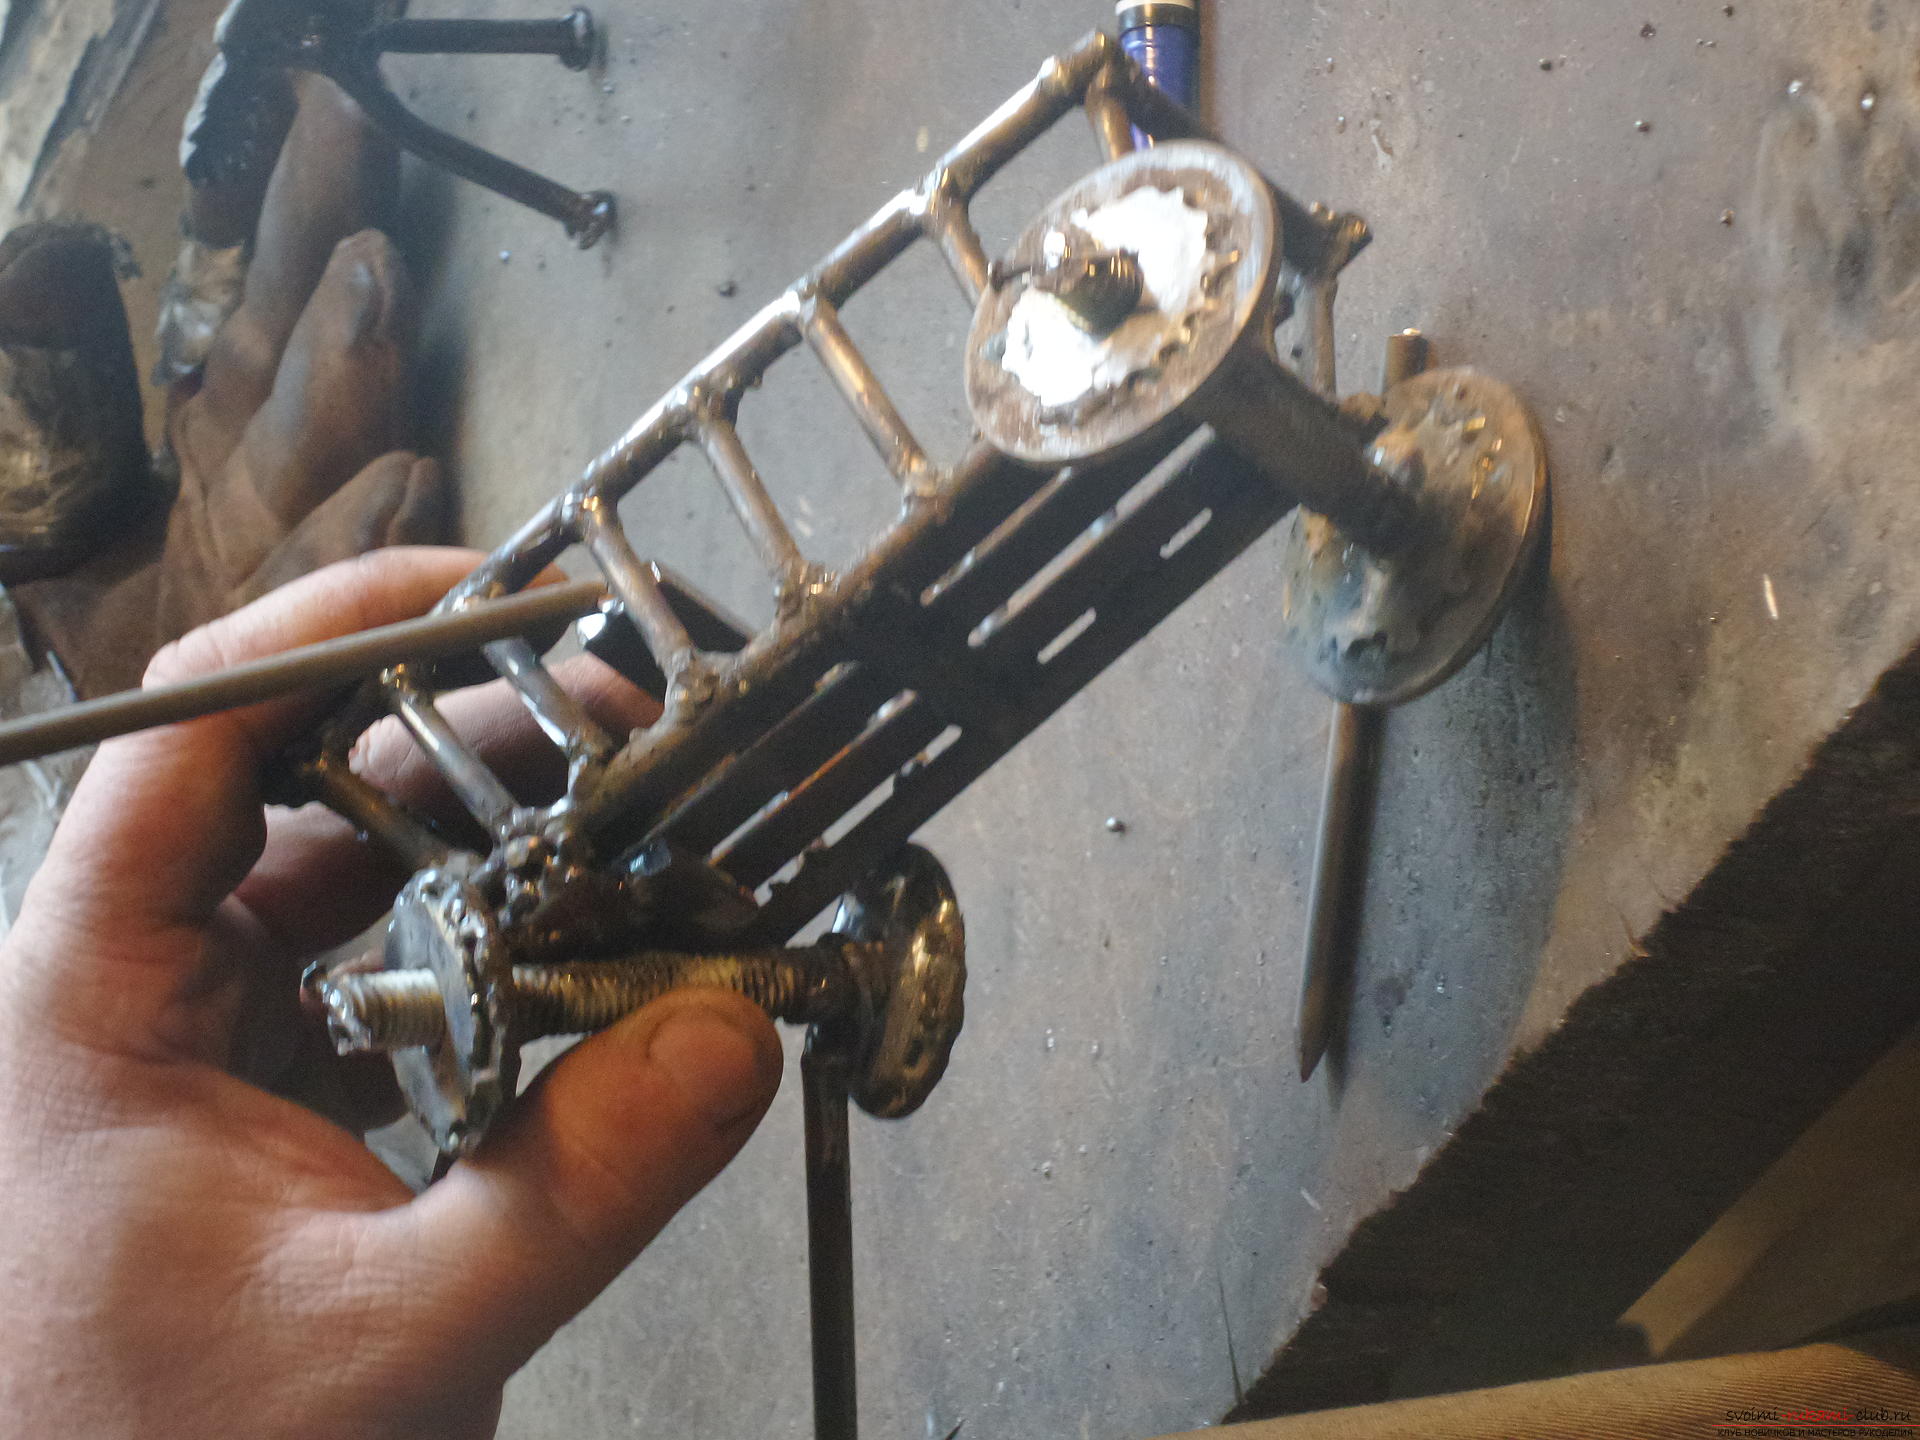
 And the cart for the horse is ready!!!
Comments
Related posts:
 This master class with the description will teach you how to make your own heart-postcard.
 This master class will teach you how to make your own handiwork from papier-mache
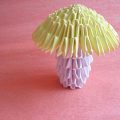 This master class of step-by-step modular origami with photos will teach you how to make a mushroom craft with your own hands.
 This master class will teach you how to make an interesting craft with your own hands – snowman from a sock.
 The master class will teach you how to make a New Year's craft with your own hands – snowman made from cups