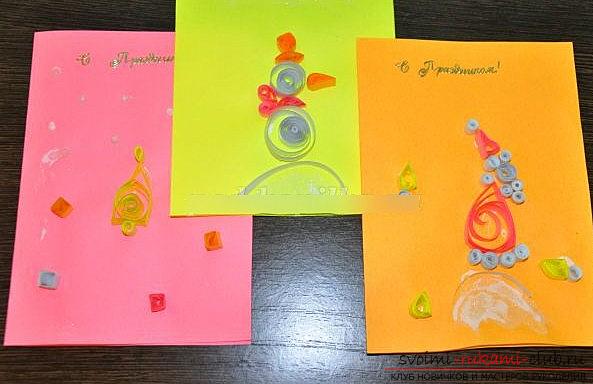
Christmas card for children in quilling technique - with their own hands
Children from all over the world expect the most importantholiday in the year - the threshold of the new year! In these moments, we make letters, prepare gifts and decorate our homes with beautiful, bright toys. Of course, I want to do something myself, use my hands and create a new, unique and interesting vision of the craft.
Christmas card for children in quilling technique - with their own hands
Therefore, the quilling technique will be very usefuland help any kid learn new lessons. Moreover, that there is a full cause. Firstly, you should please Santa Claus with a reciprocal gift, and you should not forget about your close ones. After all, it's very important to teach children on such holidays that gifts should be given to everyone. This lesson will tell us about a simple quilling lesson, which is suitable for the younger generation. The purpose of the work is to create a beautiful hand-made article in the form of a postcard on the New Year theme. Such a postcard can be the first steps in the exciting quilling technique, as well as help develop the small motor skills of the baby, help to be more careful and of course, spend your time sitting at the table and working on the craft. Before you, a simple solution for a gift that absolutely anyone can do, who has at least a small idea of creating crafts in quilling techniques. The work will involve the most basic elements, which are easy to recreate by hand. In addition, the lesson has a number of subtleties for work in design. So, for example, you can use the rhinestones element to decorate and decorate your craft for the new year. Postcard in the quilling technique - for children At the same time, the lesson is simpler than for an ordinary master. Here all the elements are simple, and a lot of time for work is not required. Nevertheless, the child will be able to form his own version of the postcard to give it to his relatives on the eve of such an important and snowy holiday of the beginning of the year. From the materials we will need the most common set of handicrafts for working with quilling in the form of quilling paper, as well as ruler tools and toothpicks. Also, the basis - on which the postcard will be fixed. Do not forget about the decor, which plays one of the most important roles in the design of any subject:
- Prepare the sticky substance
- Take the scissors
- Requires color quilling paper
- Prepare a ruler
- Let's take a toothpick
- Bleach for work
- Labels in the form of labels - for decoration
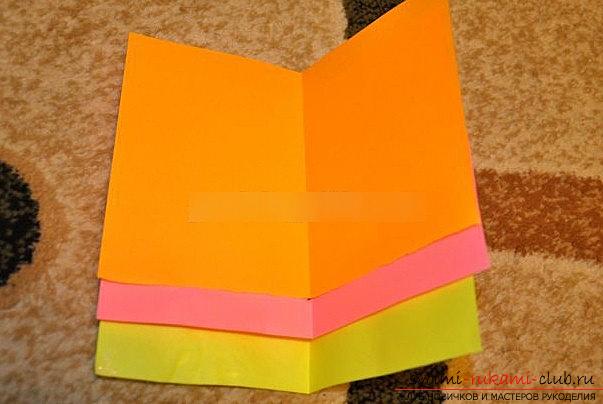
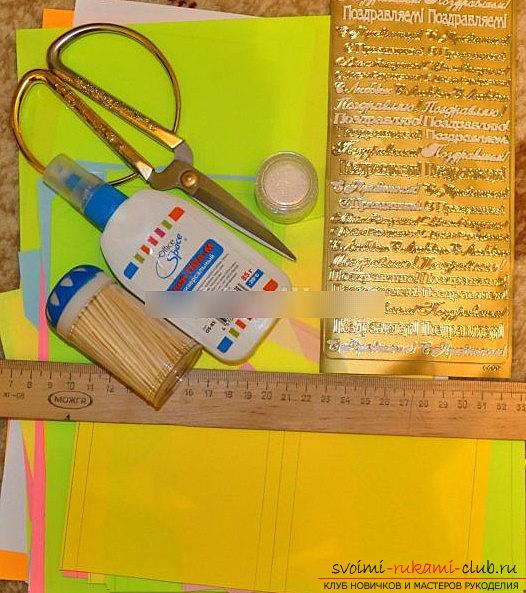 In the beginning of work it is necessary to prepare optionsbases for work on postcards. To do this, you need to cut the sheet in A4, dividing it in half. We get a leaflet in the A5 format, which we also put in two. Then, we need to work with quilling paper. Ready-made version of the stripes for creativity is an exit, if you do not want to waste time. Otherwise, you have to cut your strips, forming them from the parameters of 30 centimeters long and 5 millimeters wide. Snowman
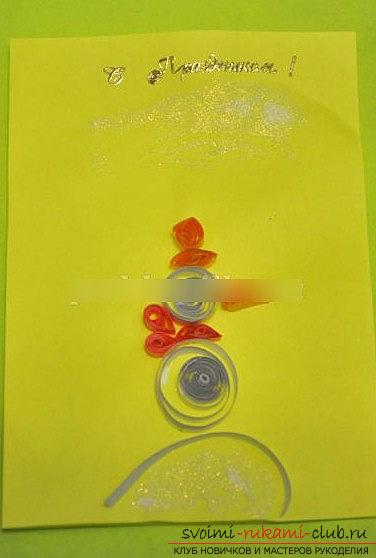
 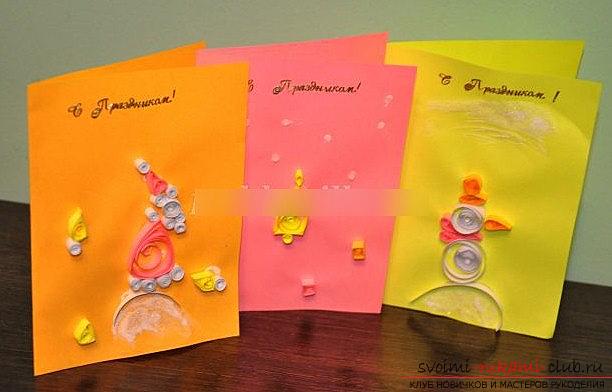 For starters, a snowman is formed. For her, you need to take a toothpick and wind a white strip for one of the edges. When your paper is wound at the level of four centimeters, you can remove the toothpick element and wind it without the device. After using the wound roll, we place it in the special line on a circle under the diameters 24. After your roll is dissolved to the size of the diameter in the desired value, it is necessary to fix the edges of the craft in such a way that they do not have the opportunity to blossom more. So we get the snowman's body. To form a snowman, you need to form three such spirals in the amount of 24, 16, 8 centimeters. Accordingly, this will be the shape of a body for a snowman. The head is formed by winding on the base of the quilling device, but the middle circle is embedded inwards with the number 16, the edge of the article is also glued.
  After, you need to form a scarf. For this, you need to take a strip of pink color and twist it into a roll. After that, it is necessary to fold the roll into a circle along the ruler using position number 8. The edge is glued.
 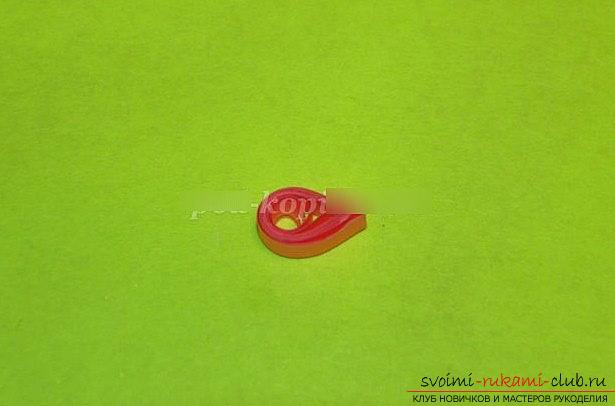 Using this form, we form a "cat'speephole ". For this, you need to compress the roll on both sides. For the next rollers in the pink color solution, we also wind and unfold to a smaller diameter, then, form a drop, pressing only on one side. Now we form the hat for the snowman. To do this, take orange paper and form a "cat's eye" of paper. Also, the shape of the square is required. For a square, you need to compress the roll in four sides, parallel. Then, fix our elements with glue and place on the basis of the picture.
  Herringbone To form a herringbone, you need to take andto make a detail in the form of a triangular spiral. To do this, we will make the shapes of triangles of colors green, yellow. These will be large triangles. Also make six variants of small triangles in the orange color of the square and yellow color (drops and a circle), also form a yellow square, make a blue square. Dimensions for these elements should be less than the previous trguugolnikov. Then, we form a circle, but for this, turn our roll and the end is initially glued, not making an investment in the stencil. We make gluing.
  Postcard of Santa Claus In the third postcard we formSanta Claus. Here it is necessary to make a pink triangle. Then, to form small triangles in white color - 14 pieces, also 3 triangles to yellow color and one pink triangle.
  For the postcard we use the standard design in the form of a festive inscription on the New Year theme. You can make a signature yourself. Also, decorate the product with glitters in mixing with PVA glue.
