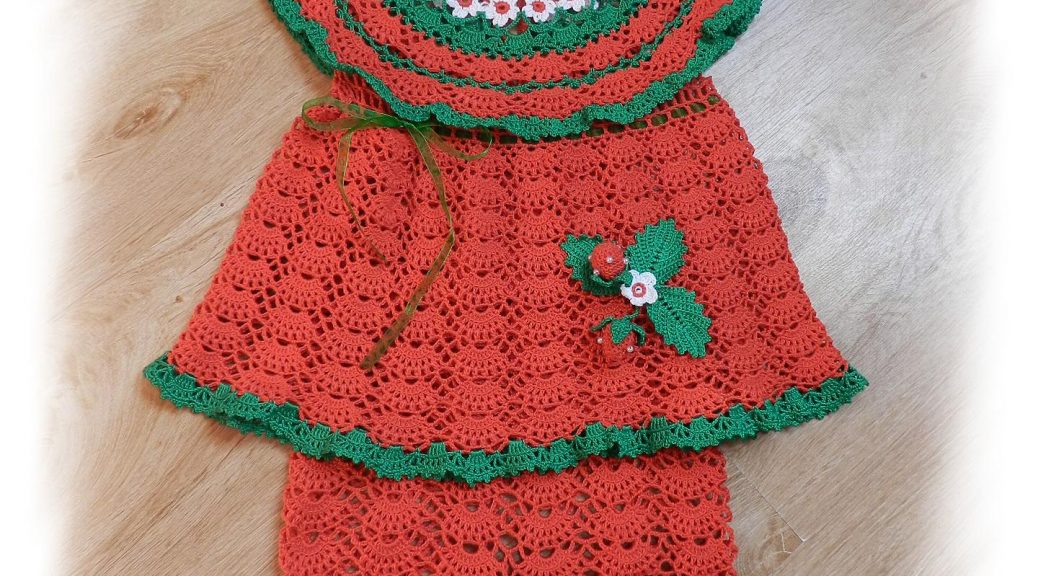
A detailed master-class with a photo will tell how to tie a set for a girl with a crochet
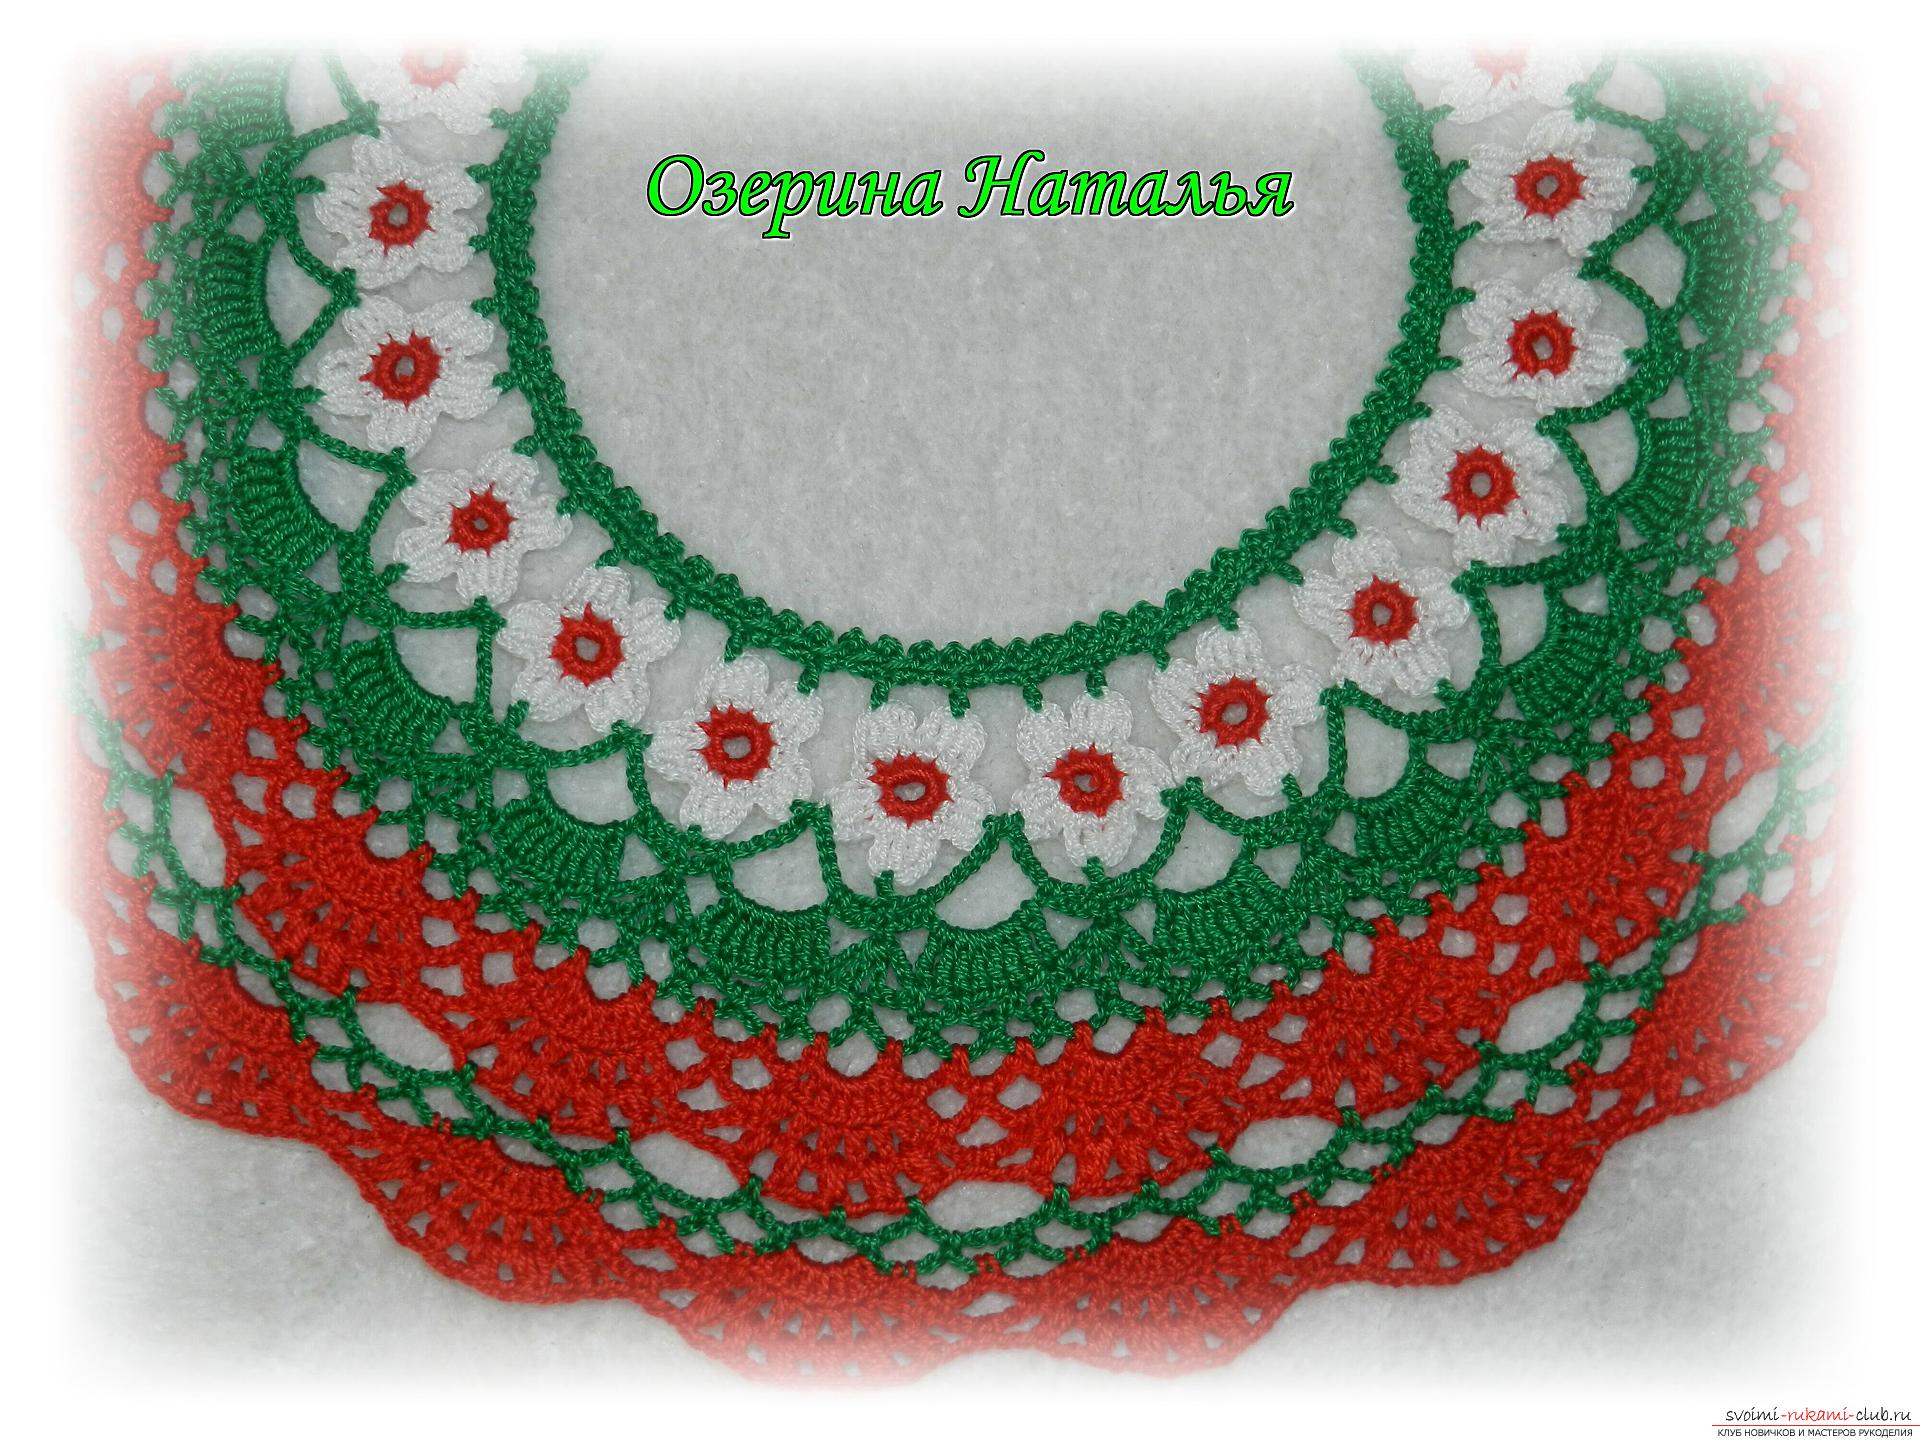
The set requires Alize yarn.“Miss”, hook 1.3. For height 80-86 yarn consumption - 5 balls of red yarn, 1 ball of green yarn. Symbols used: ch - air loop; CH - double crochet; Sc - single crochet; C/2H - double crochet. Yoke Start knitting - 20 flowers: Row 1 - 6 ch in a ring, 1 ch, 9 sc. Row 2 - *1 sc, 4 ch, 3 C/2H in one loop, 4 ch* - repeat 5 times. Connect the flowers so that 2 petals look up and 3 down. If you want a clasp at the back, do not connect the flowers in a circle. Now tie the flowers. Top: 1 row - *1 CH in the center of the petal, 3 ch* - repeat to the end; 2 rows - sc. Bottom: 1 row - Tie the green thread in the middle of the 3rd petal. *8 ch, CH in the 4th petal, 8 ch, sc in the 5th petal, sc in the 3rd petal of the next flower* - repeat from * to * to the end of the row. 2 rows - 8 ch, sc in 1st arch, 3 ch, sc in petal column, 3 ch, *1sc in arch, 8 ch, sc in arch, 3 ch, sc (in petal), 3 ch* - repeat from * to *; Row 3 - 4 ch lift, 4 C/2H in first loop, 2 ch, sc in sc of previous row, 2 ch, *8 C/2H, 2 ch, sc, 2 ch* - repeat from * to *; Row 4 - 1 ch lift, 3 ch, sc in the 3rd loop, 3 ch in the last loop, *2 ch, 1 CH in the sc of the previous row, 2 ch, 1 CH in the same loop, 2 ch, sc in the 1st st, 3 ch, sc in the 3rd st, 3 ch, sc in the 6th st, 3 ch, sc in the last st* - repeat from * to *; Row 5 - knit arches of 4 ch (into the fan arches and in the check mark) to the end; Change the thread to another color. I have red. Row 6 - start the main pattern - "shell" Scheme 1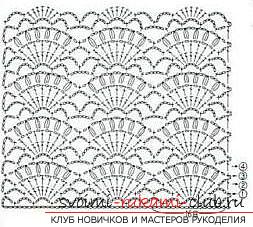 In this row we knit arches from 5 VP and for the shell6 CH (according to the pattern); Row 7 – between CH knit 1 ch; Row 8 – in ch of the shell knit lush columns; Change the thread to green. Row 9 – 8 ch, sc (between the 1st and 2nd lush column), 5 ch, sc in the central lush column, 5 ch, sc in the last arch. Repeat to the end. Row 10 – here the arches are made of 5 ch – 2 arches in the large one and 1 in the small ones; Change the thread to red. Row 11 – like the 6th row, only the arches are made of 5 ch, and for the shells 7 CH; Row 12 – like the 7th row; Row 13 – like the 8th row. Tie the sides of the yoke: 2 rows of sc (34 loops in total).
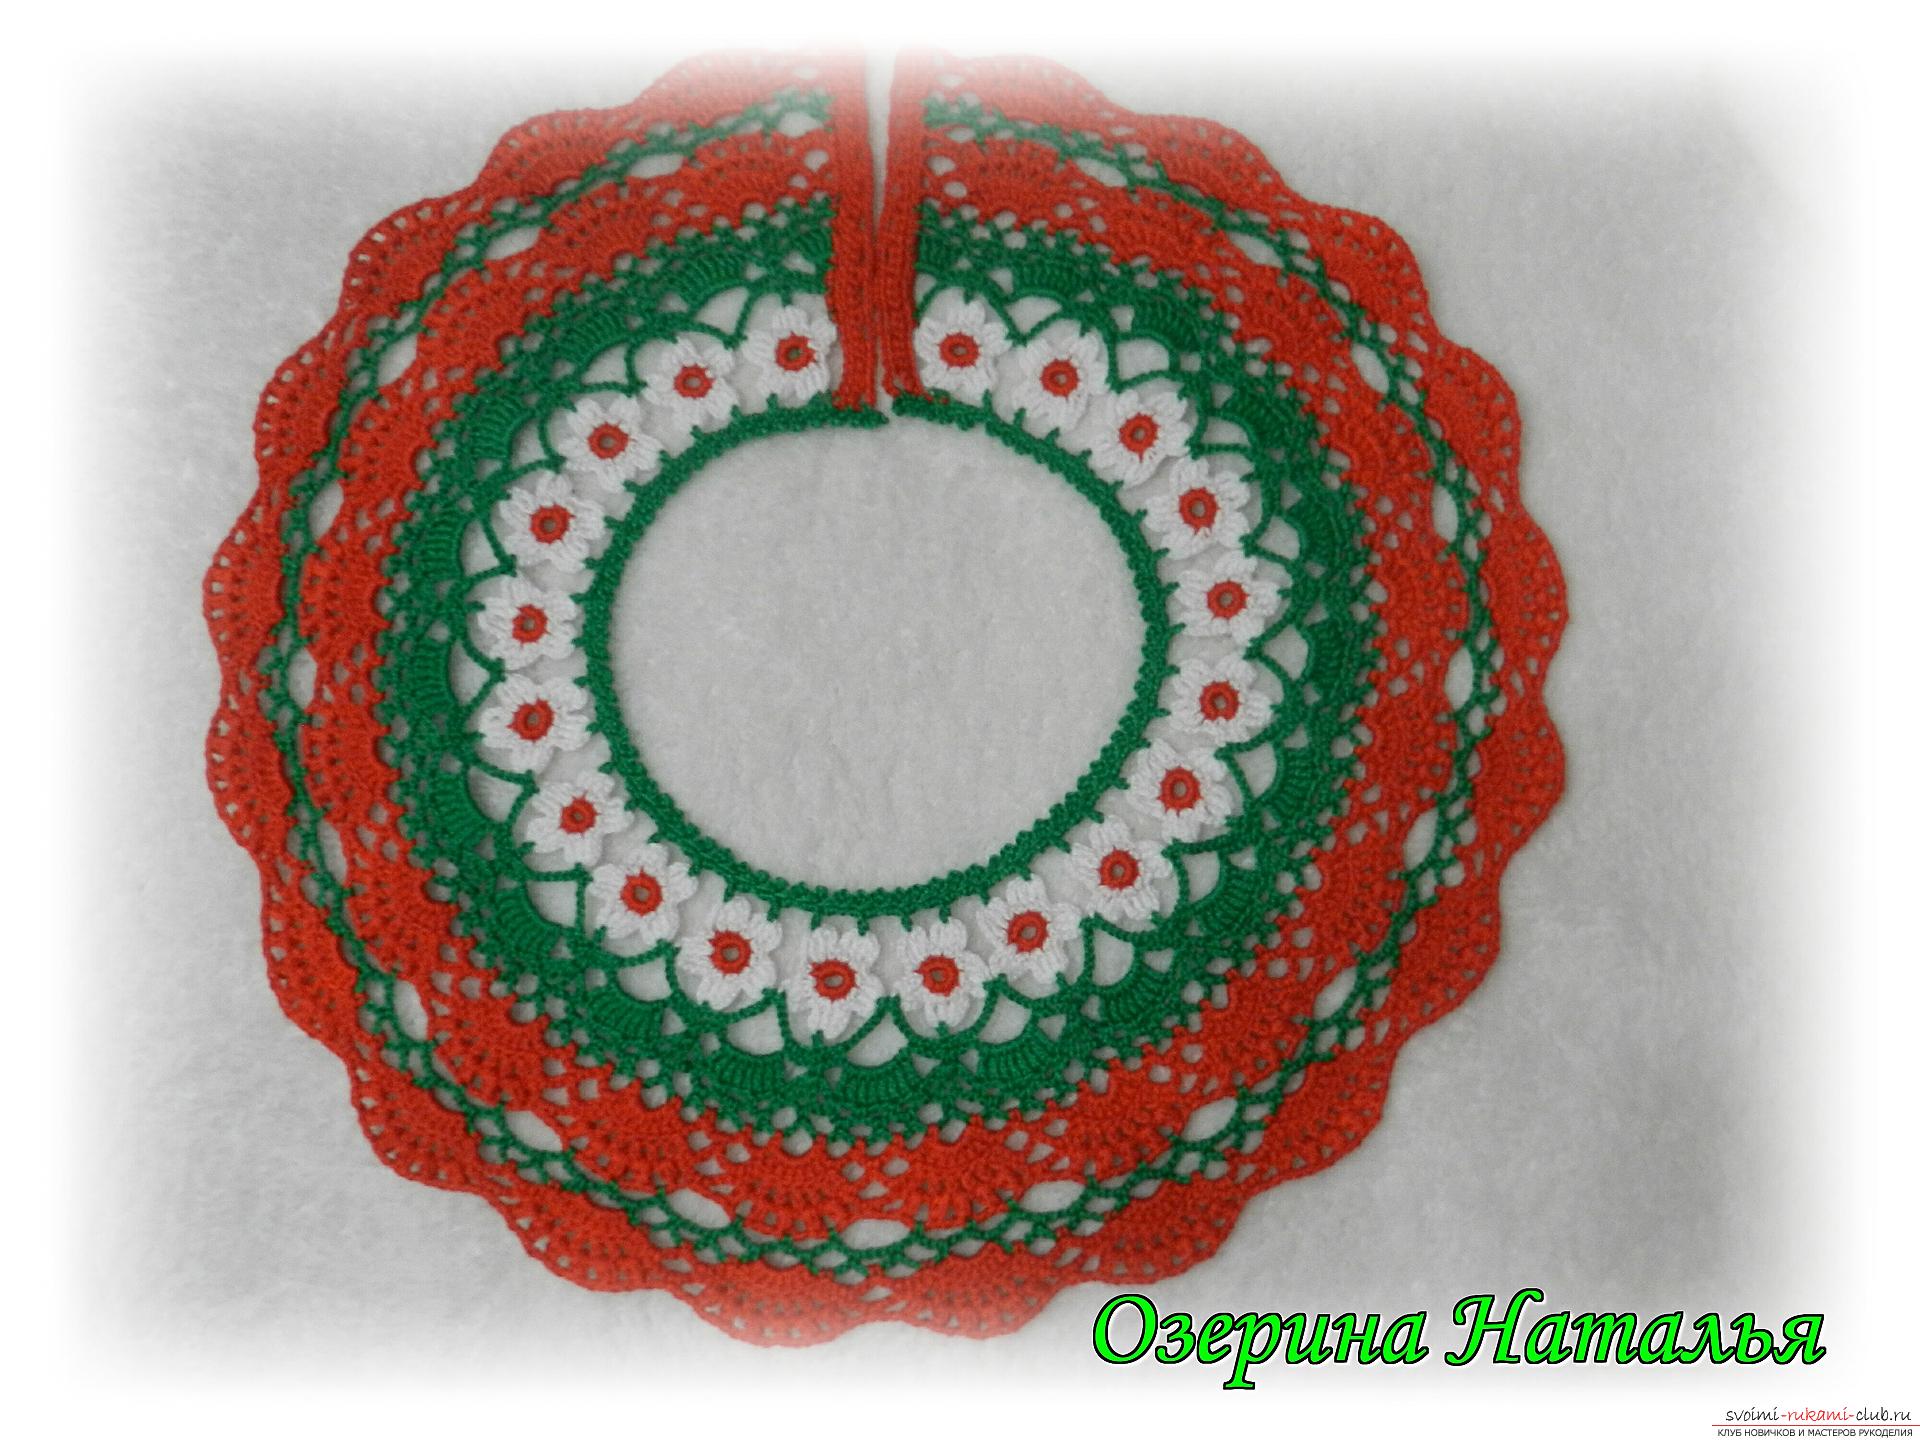
 14 rub. – arches of 3 ch.We connect knitting in a circle. 15 rows - also arches from 3 ch. We form sleeves 1 row - CH (in sc of the previous row), 2 ch - we knit this row with this pattern, and we need to form sleeves. We do it like this: *CH, 2ch* - 12 times; *С/2Н, 2ch* - 6 times, 1 С/2Н; 11 ch for the sleeve, while skipping 35 arches; *С/2Н, 2 ch* - 7 times; *CH, 2ch* - 22 times; *С/2Н, 2ch* - 6 times, 1 С/2Н; 11 ch for the sleeve, while skipping 35 arches; *C/2H, 2 ch* - 7 times; *CH, 2ch* - to the end of the row. Row 2 - exactly the same, while on the ch of the sleeve we continue to knit C/2H;
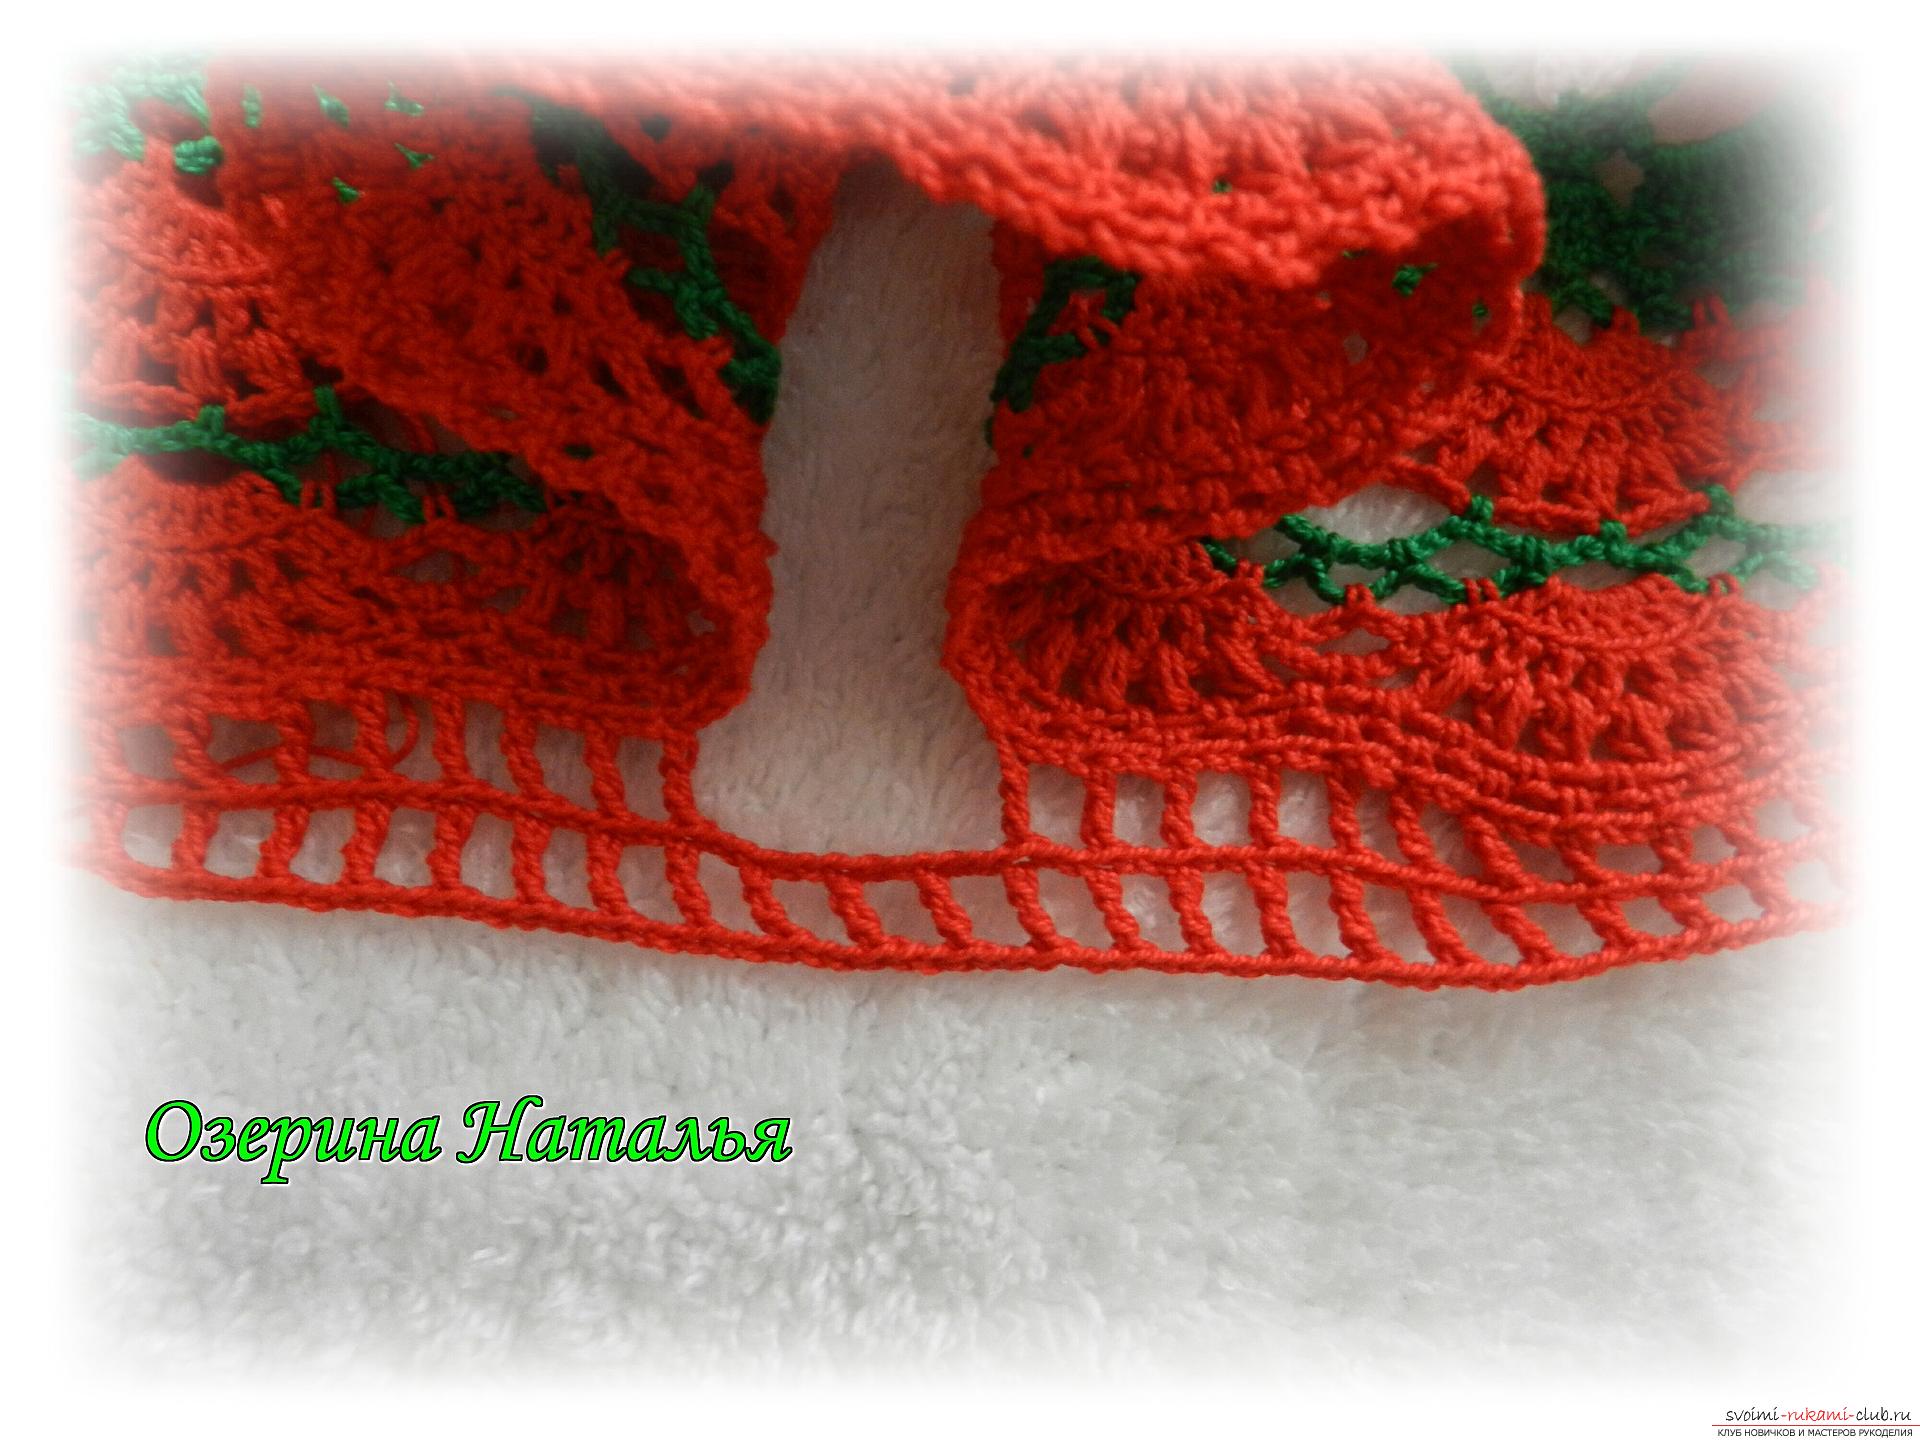 3 rows - cell 1CH, 2 ch; 4 rows– arches of 4 ch in each cell; From the next row we knit with the main pattern “Shell”. 1st shell – arches of 4 ch, for the shell 6 CH. 2nd shell – arches of 5 ch, for the shell 6 CH. 3 – 9 shells – arches of 5 ch, for the shell 7 CH.
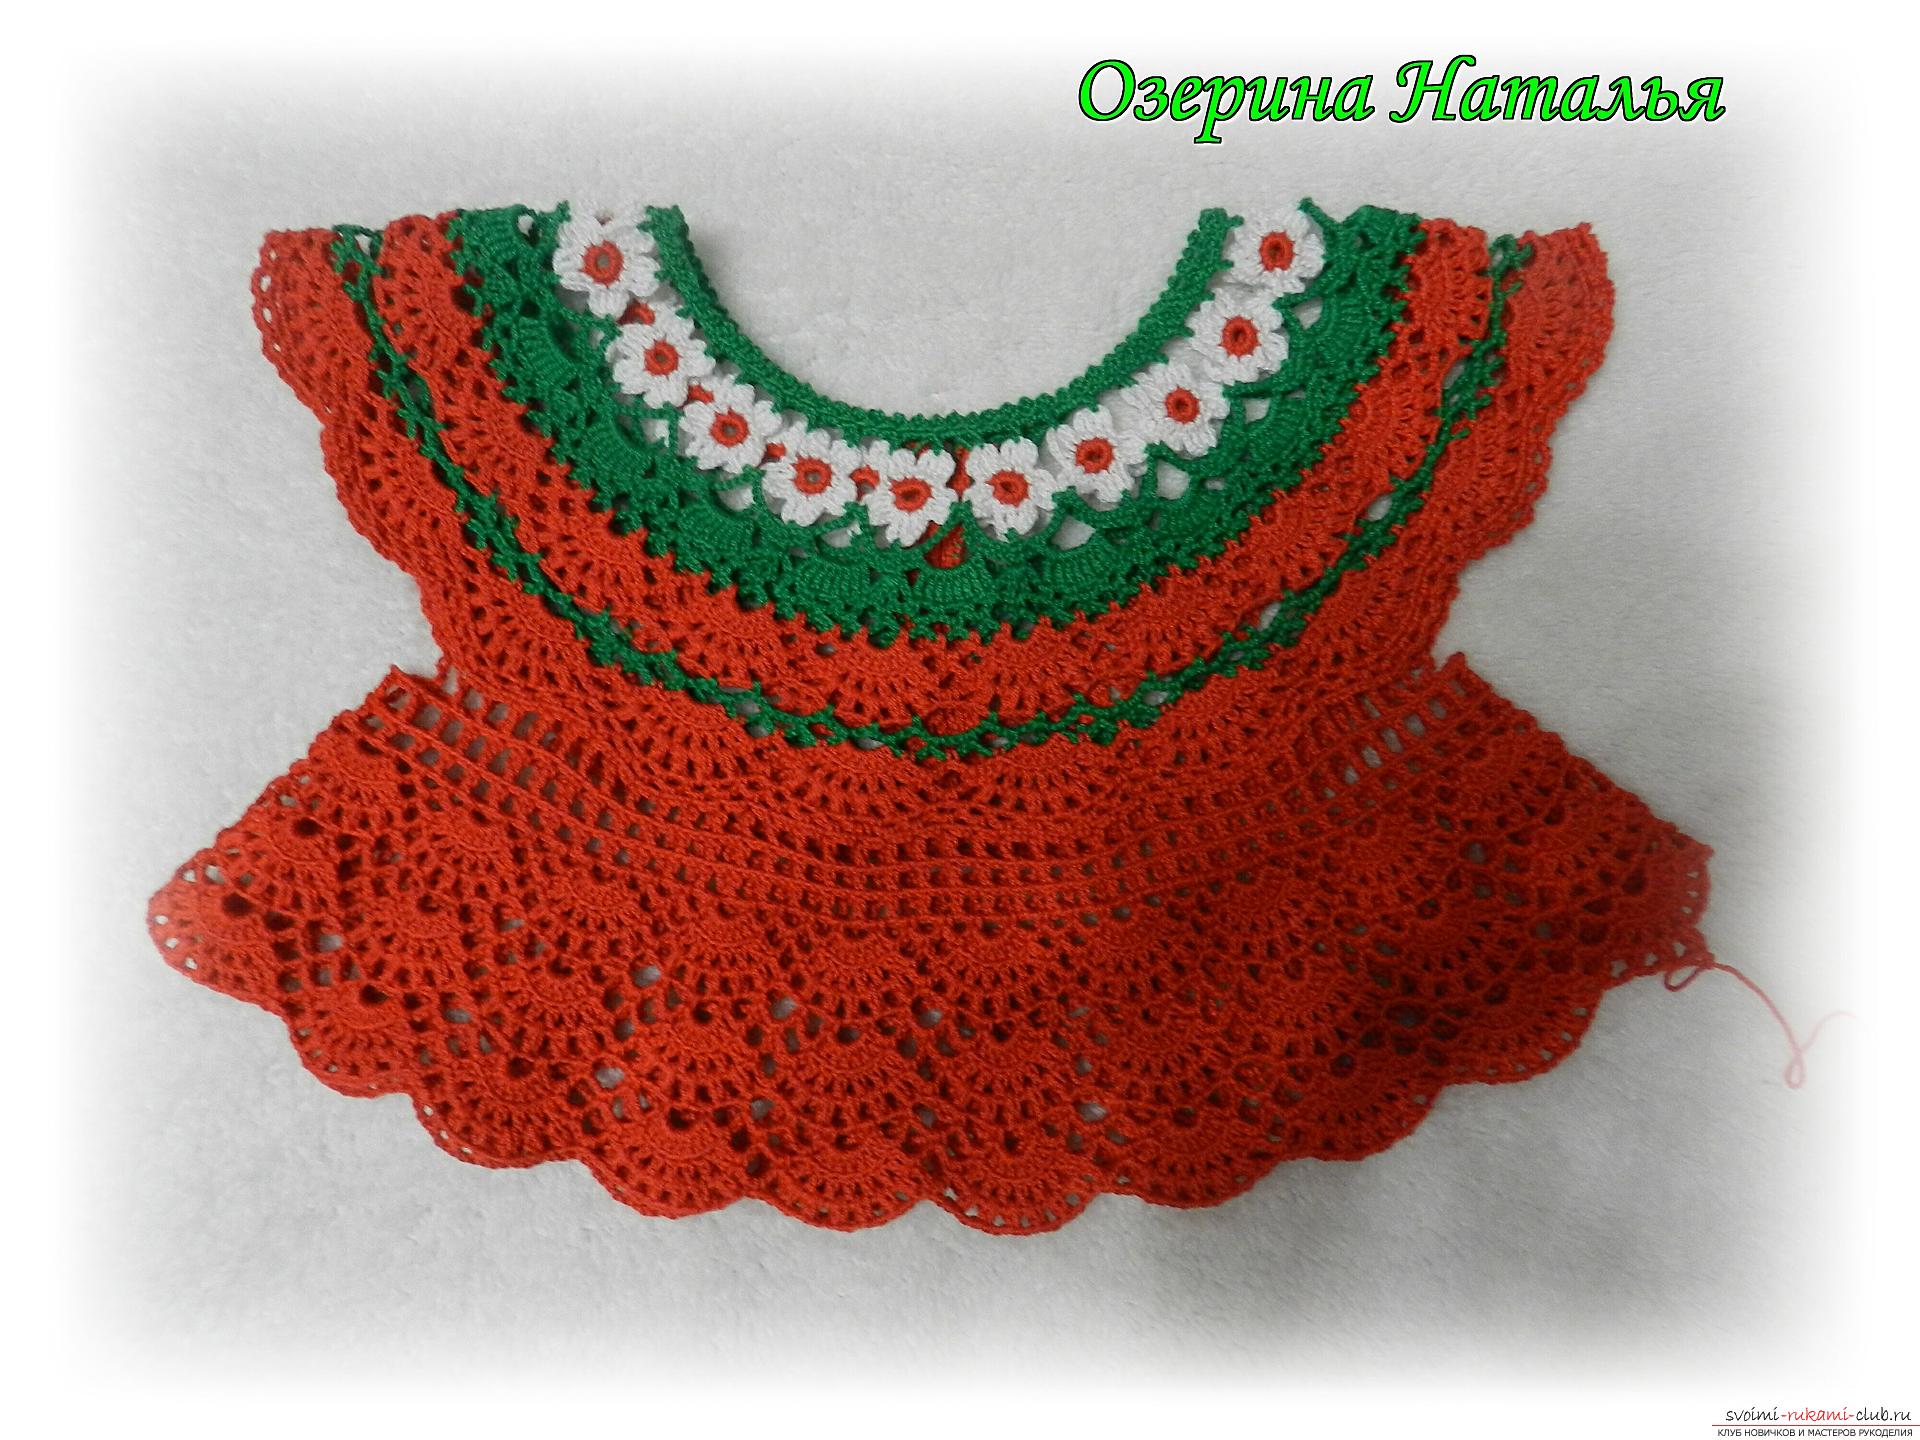 After 9 shells have been knitted, the red onecut the thread. Now we need to tie the bottom of the yoke and the bottom of the blouse itself with a green thread. We will tie the yoke: So, in the arches of the 15th row (before we formed the sleeves). 1 row - *4 CH in the first arch, 2 ch, 1 sc in the second arch, 2 ch* - repeat to the end of the row. 2 rows - *4 CH through 1 ch, 1 CH in sc of the previous row* - repeat to the end of the row. 3 rows - arches of 3 ch.
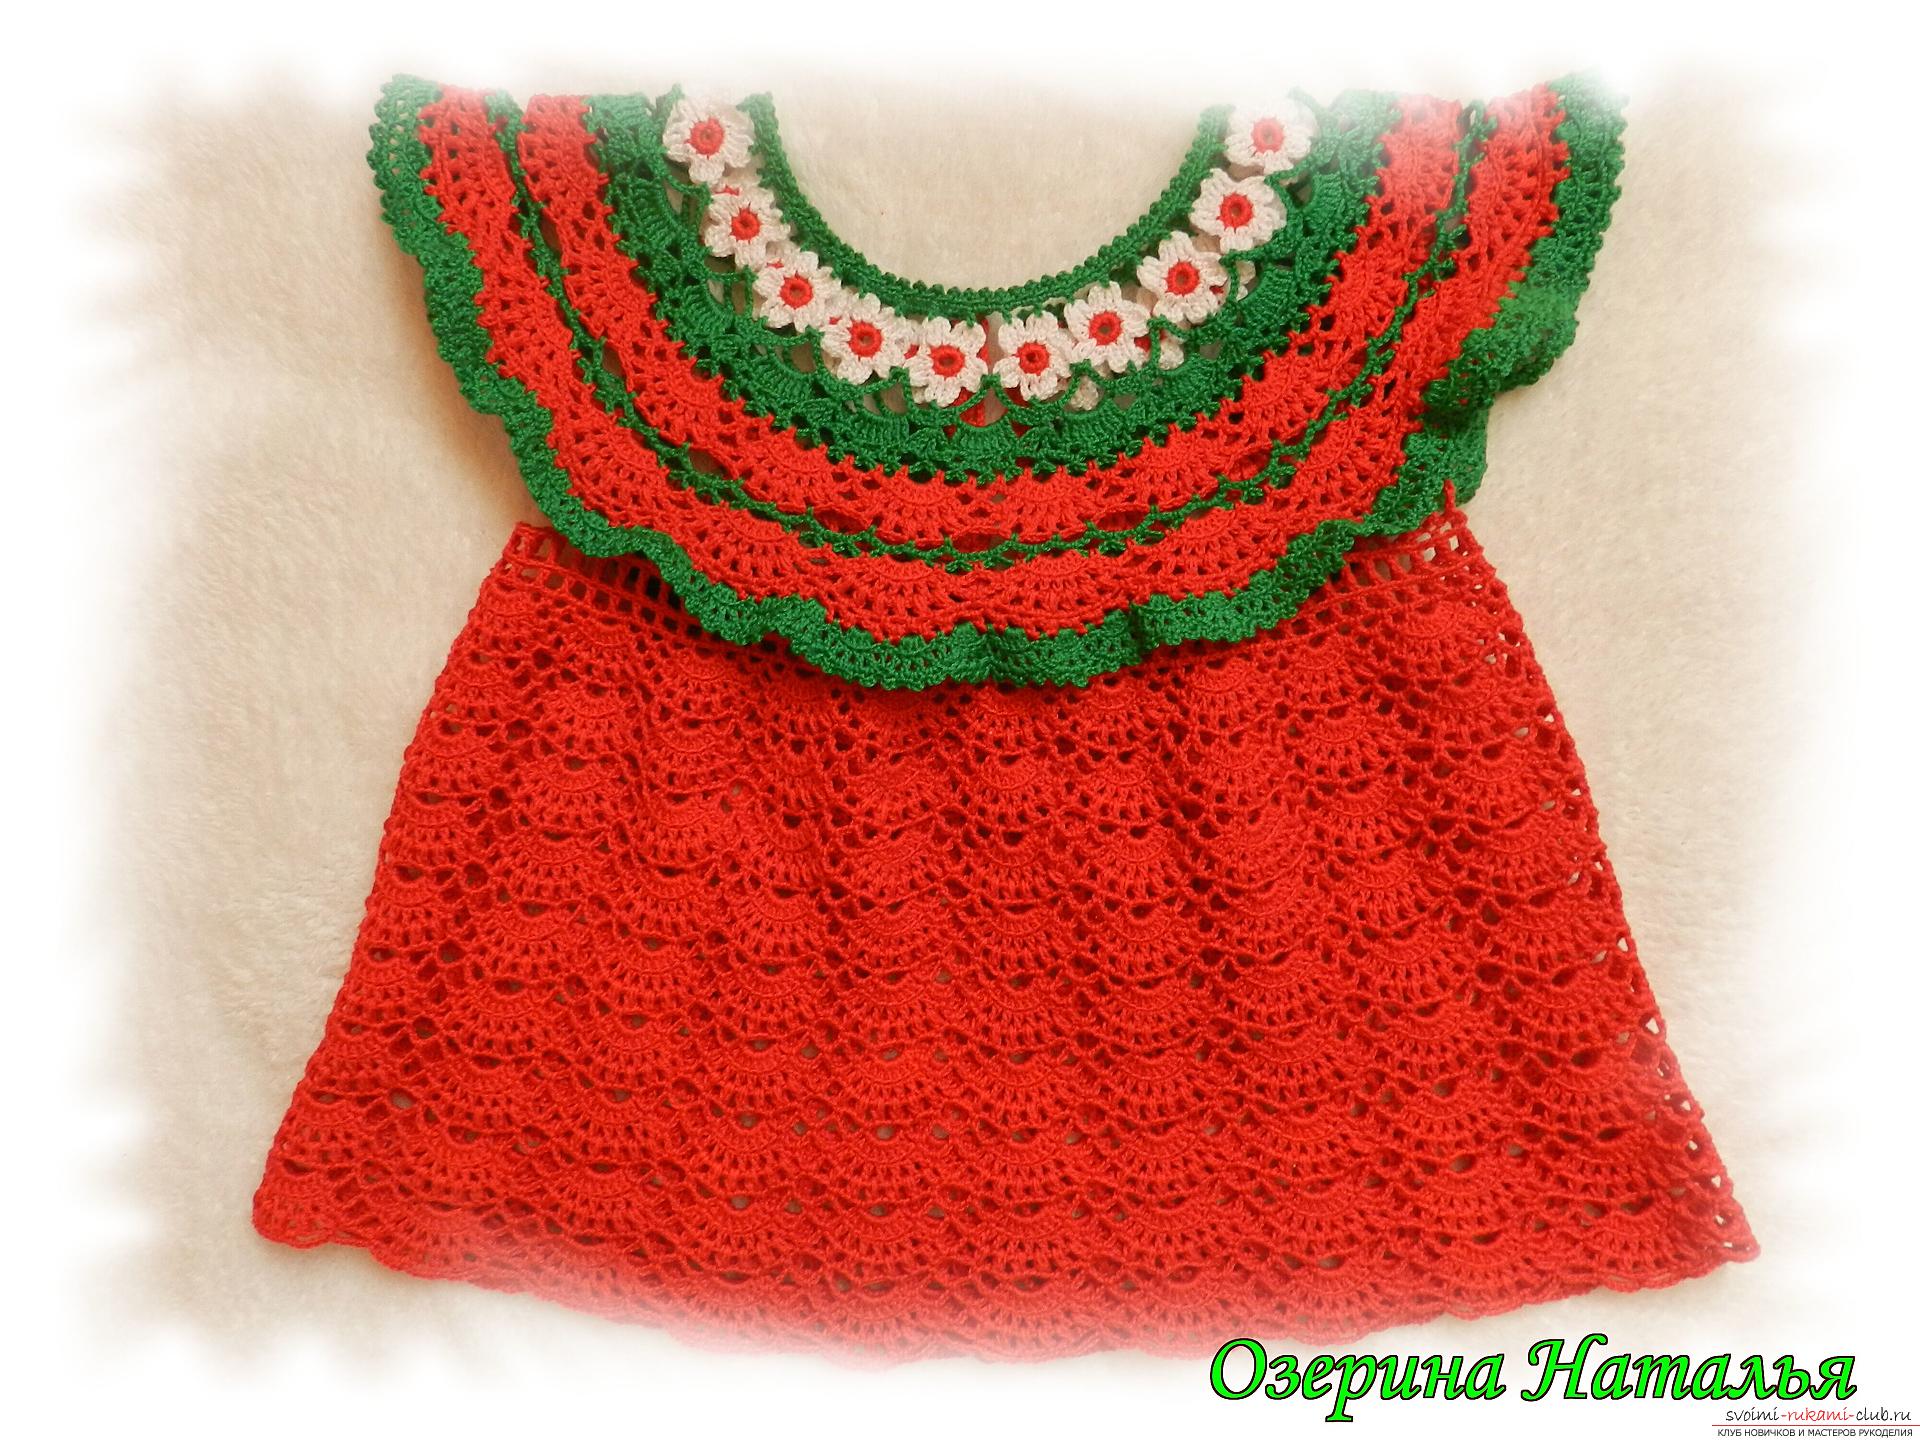 Now let's move on to the bottom of the sweater.I used the same pattern as for the bottom of the yoke, only the first row was knitted with 5 C/2H instead of 4 CH. Strawberry: 6 ch into a ring; Row 1 - alternate 1 p/st in the first st, 2 p/st in the next st, etc. Row 2 - p/st without increases; Row 3 - as the 1st row; Rows 4-6 - p/st without increases. Cut the thread. Hat: knit in a circle. 6 ch, 3 ch for lifting, 3 CH, 1 p/st, 1 sc, 3 sc in the top, 1 sc on the other side, 1 p/st, 4 CH. Finish knitting. Connect the strawberry to the leaves with slip stitches and knit 1 row of sc through one loop. The strawberry is ready. Leaflets: Cast on 9 ch. Row 1 – 1 ch for lifting. 9 sc, 3 ch, go to the opposite side – 7 sc, 3 ch. Turn knitting. Rows 2-9 – 7 sc, 1 CH in the arch, 3 ch, 1 CH in the arch, 6 sc, 3 ch.
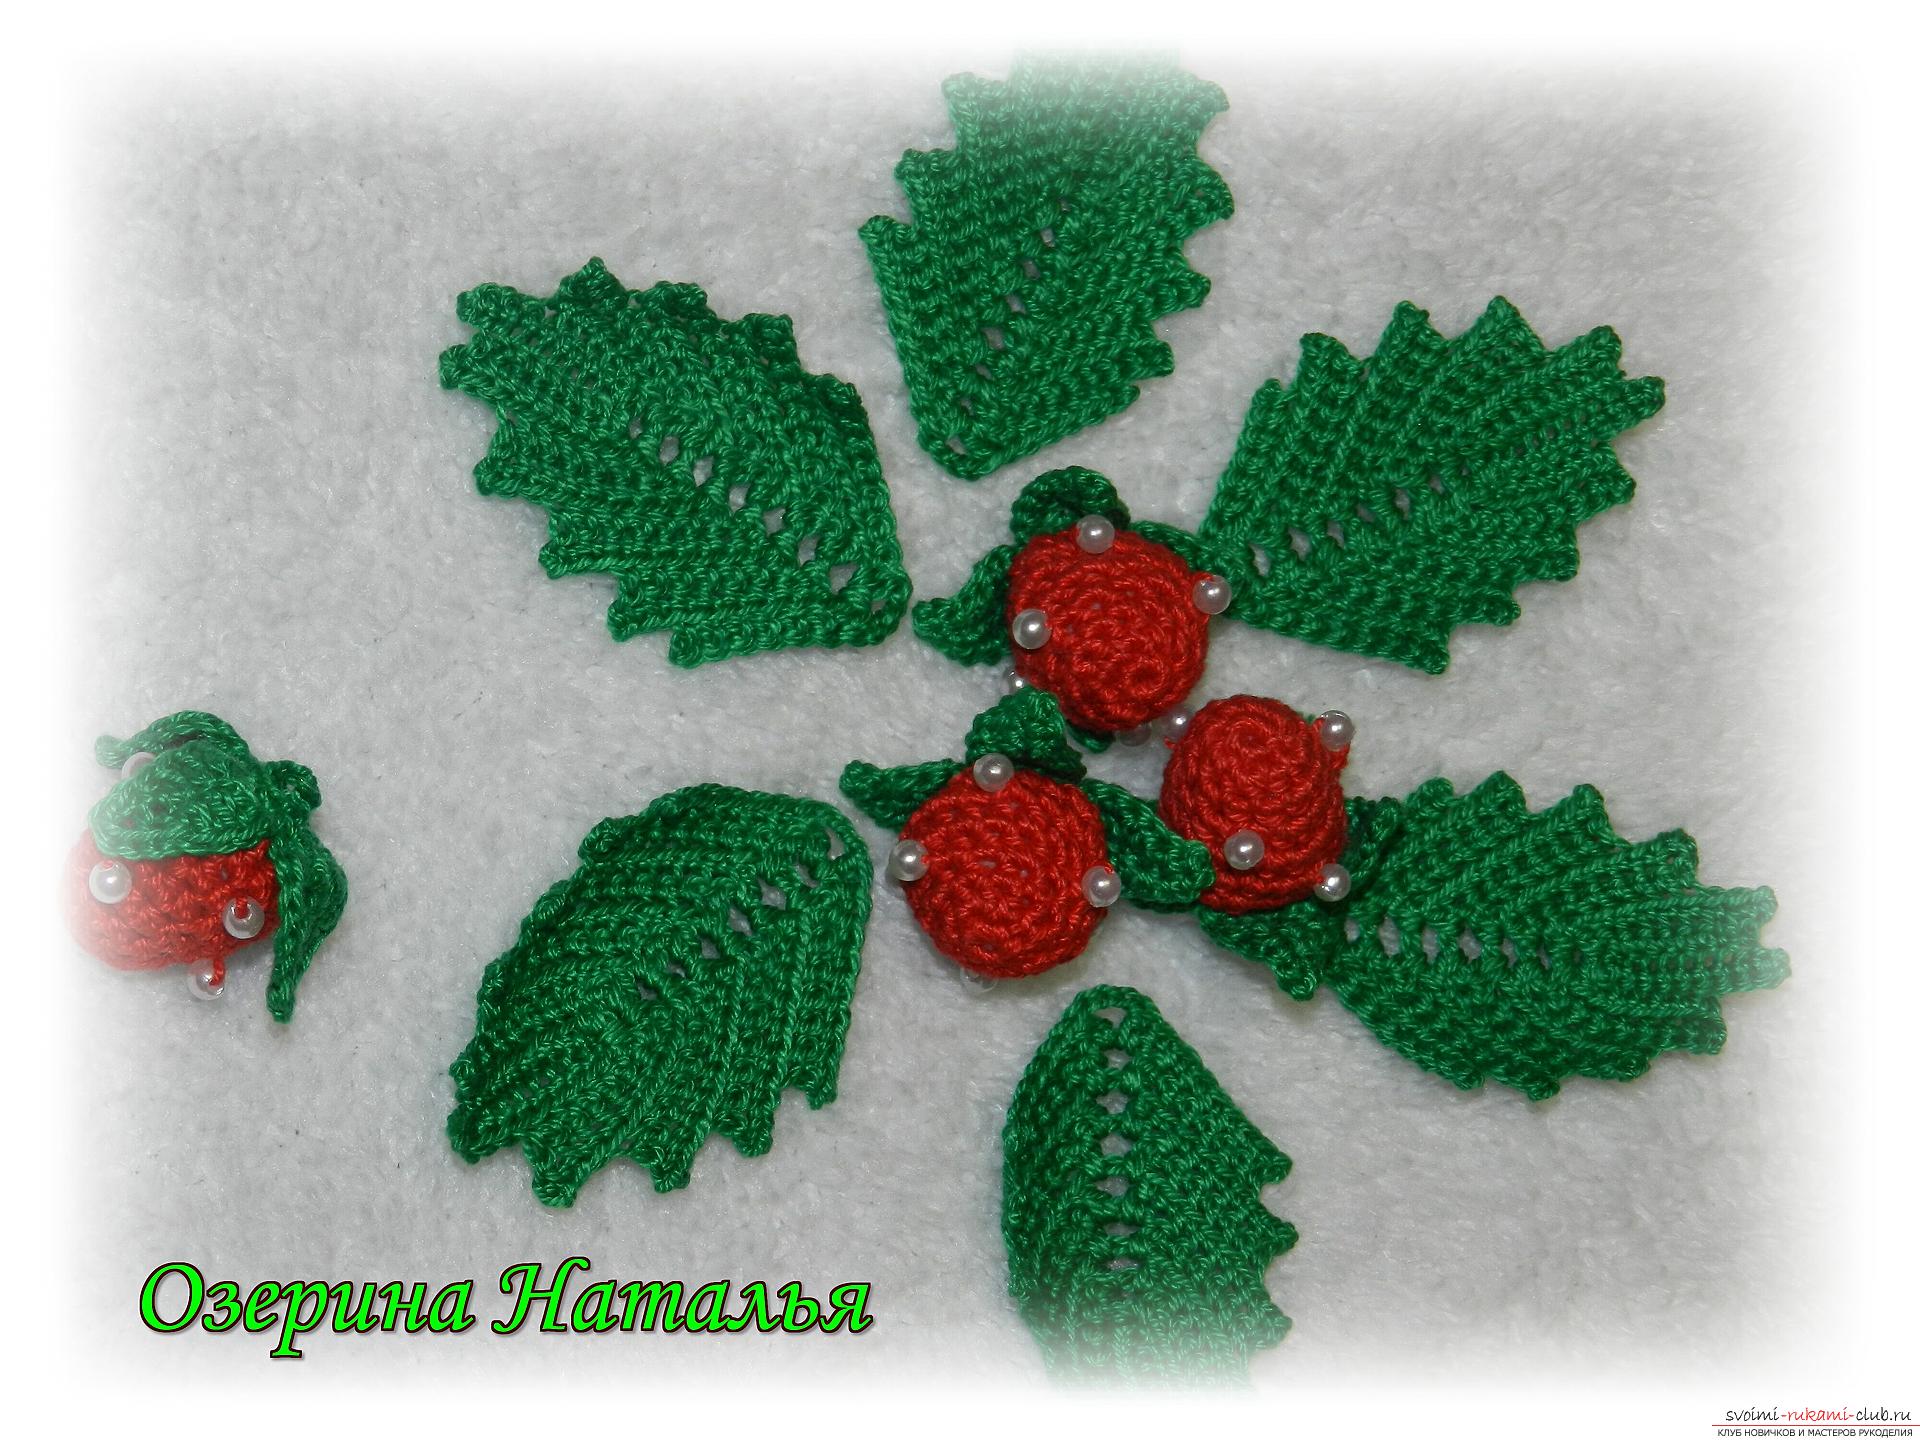 Trousers Cast on a number of stitches that is a multiple of 16.I have 192 VP. Row 1 - arches of 5 VP in each 4th loop. Knit with the basic pattern "Shell": 1st shell - arches of 5 VP, for the shell 7 CH; 2nd shell - arches of 5 VP, for the shell 8 CH; 3-8 shells - arches of 6 VP, for the shell 8 CH;
 Now we need to divide the knitting.To do this, we need to knit a sprout of 4 check marks as follows: 1 row - 3 lifting VP, 2 VP, 1 CH in the same loop, 1 VP. Turn knitting. 2 - 4 rows - knit in the arch 1 CH, 2 VP, 1 CH, 1 VP. Turn knitting.
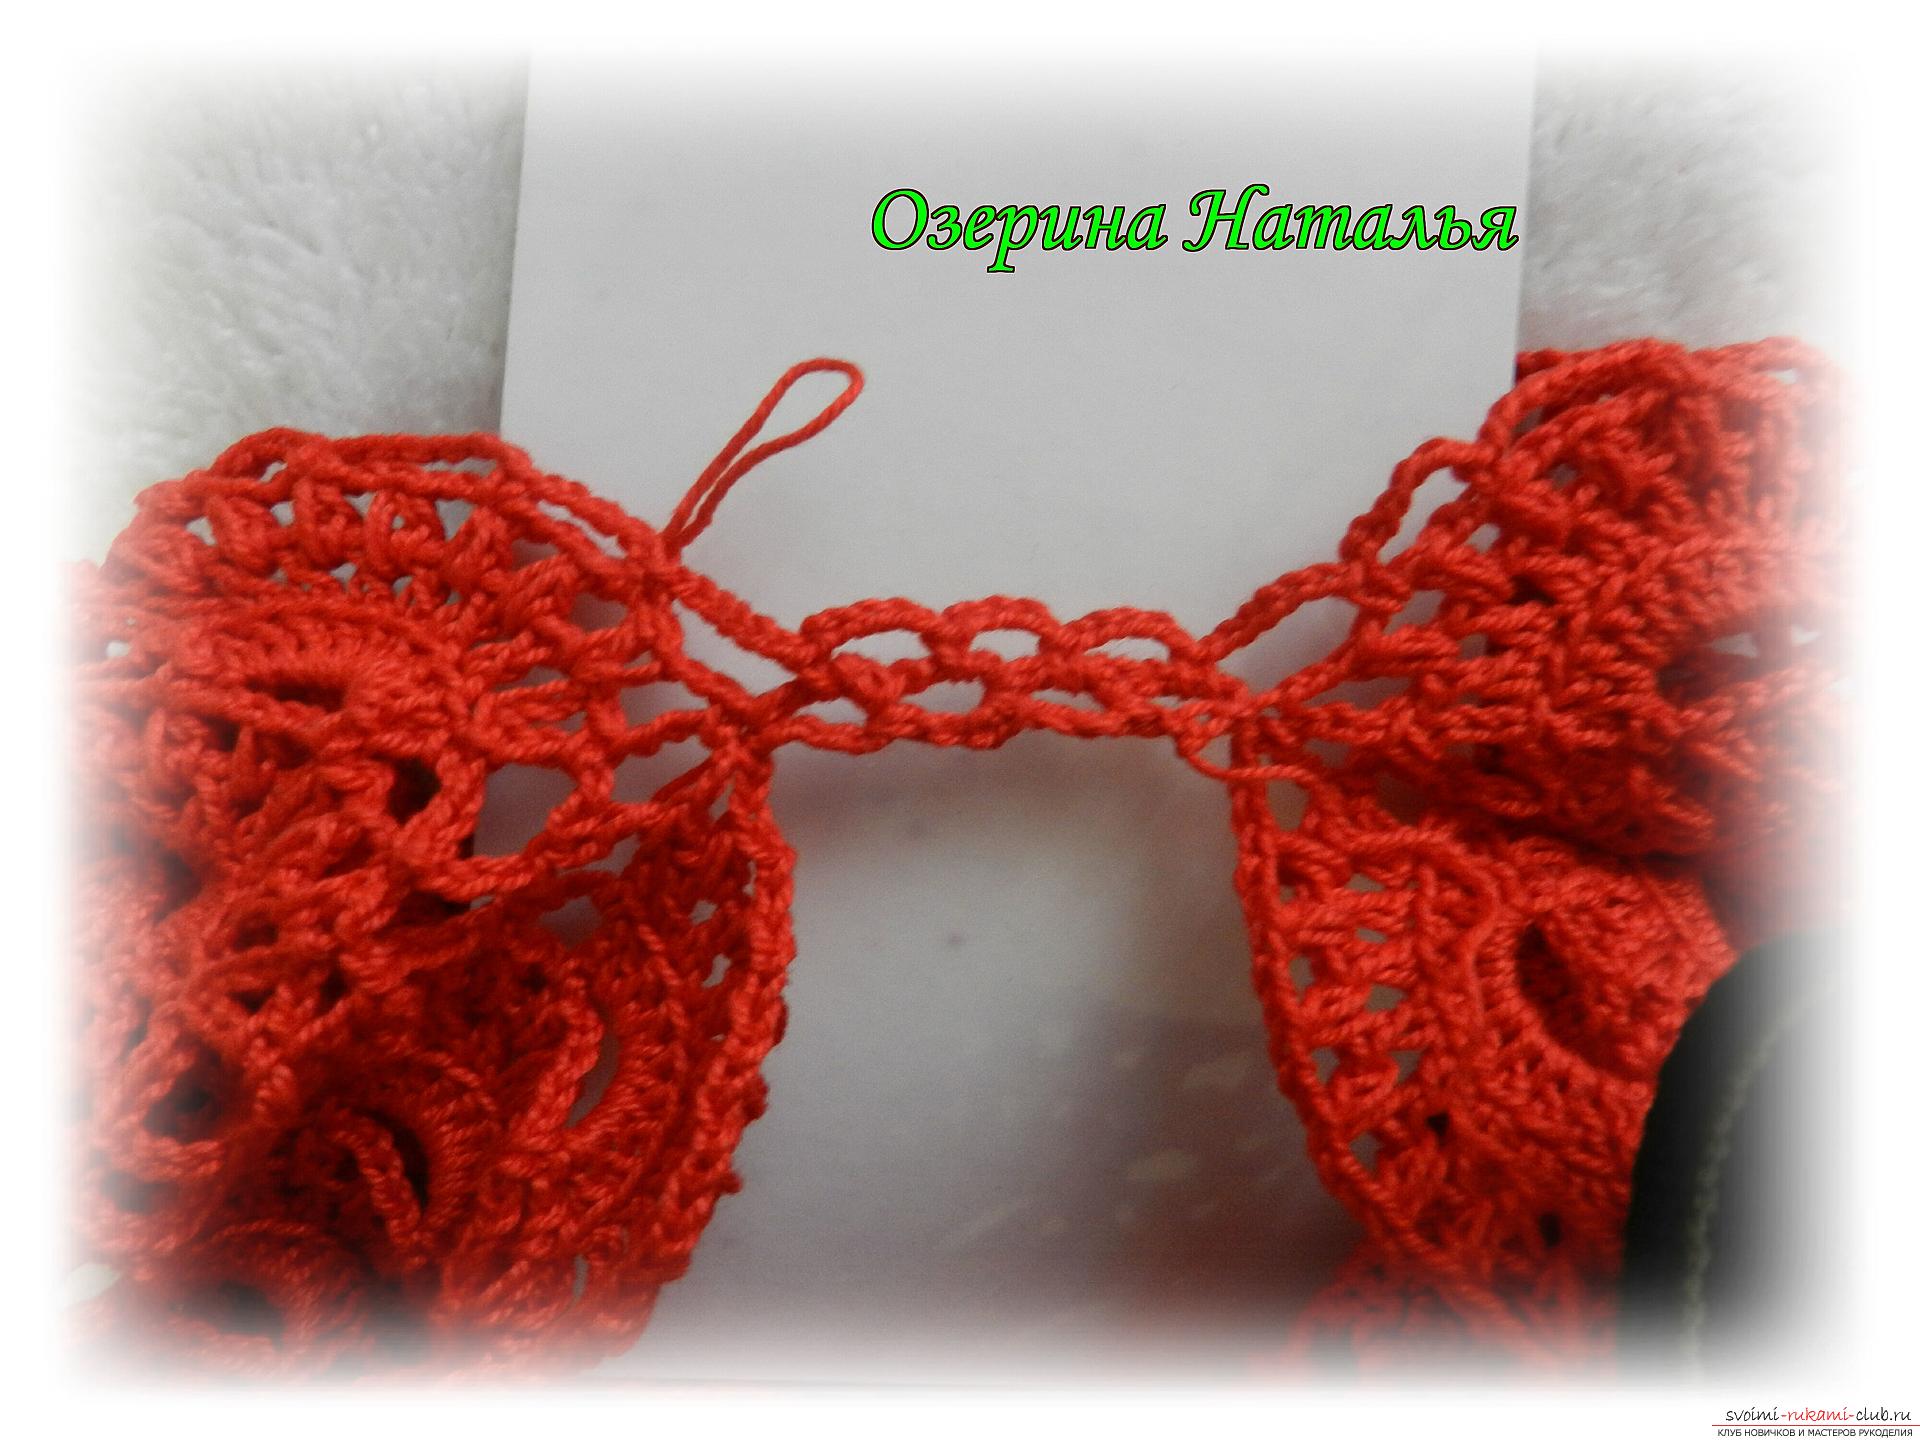
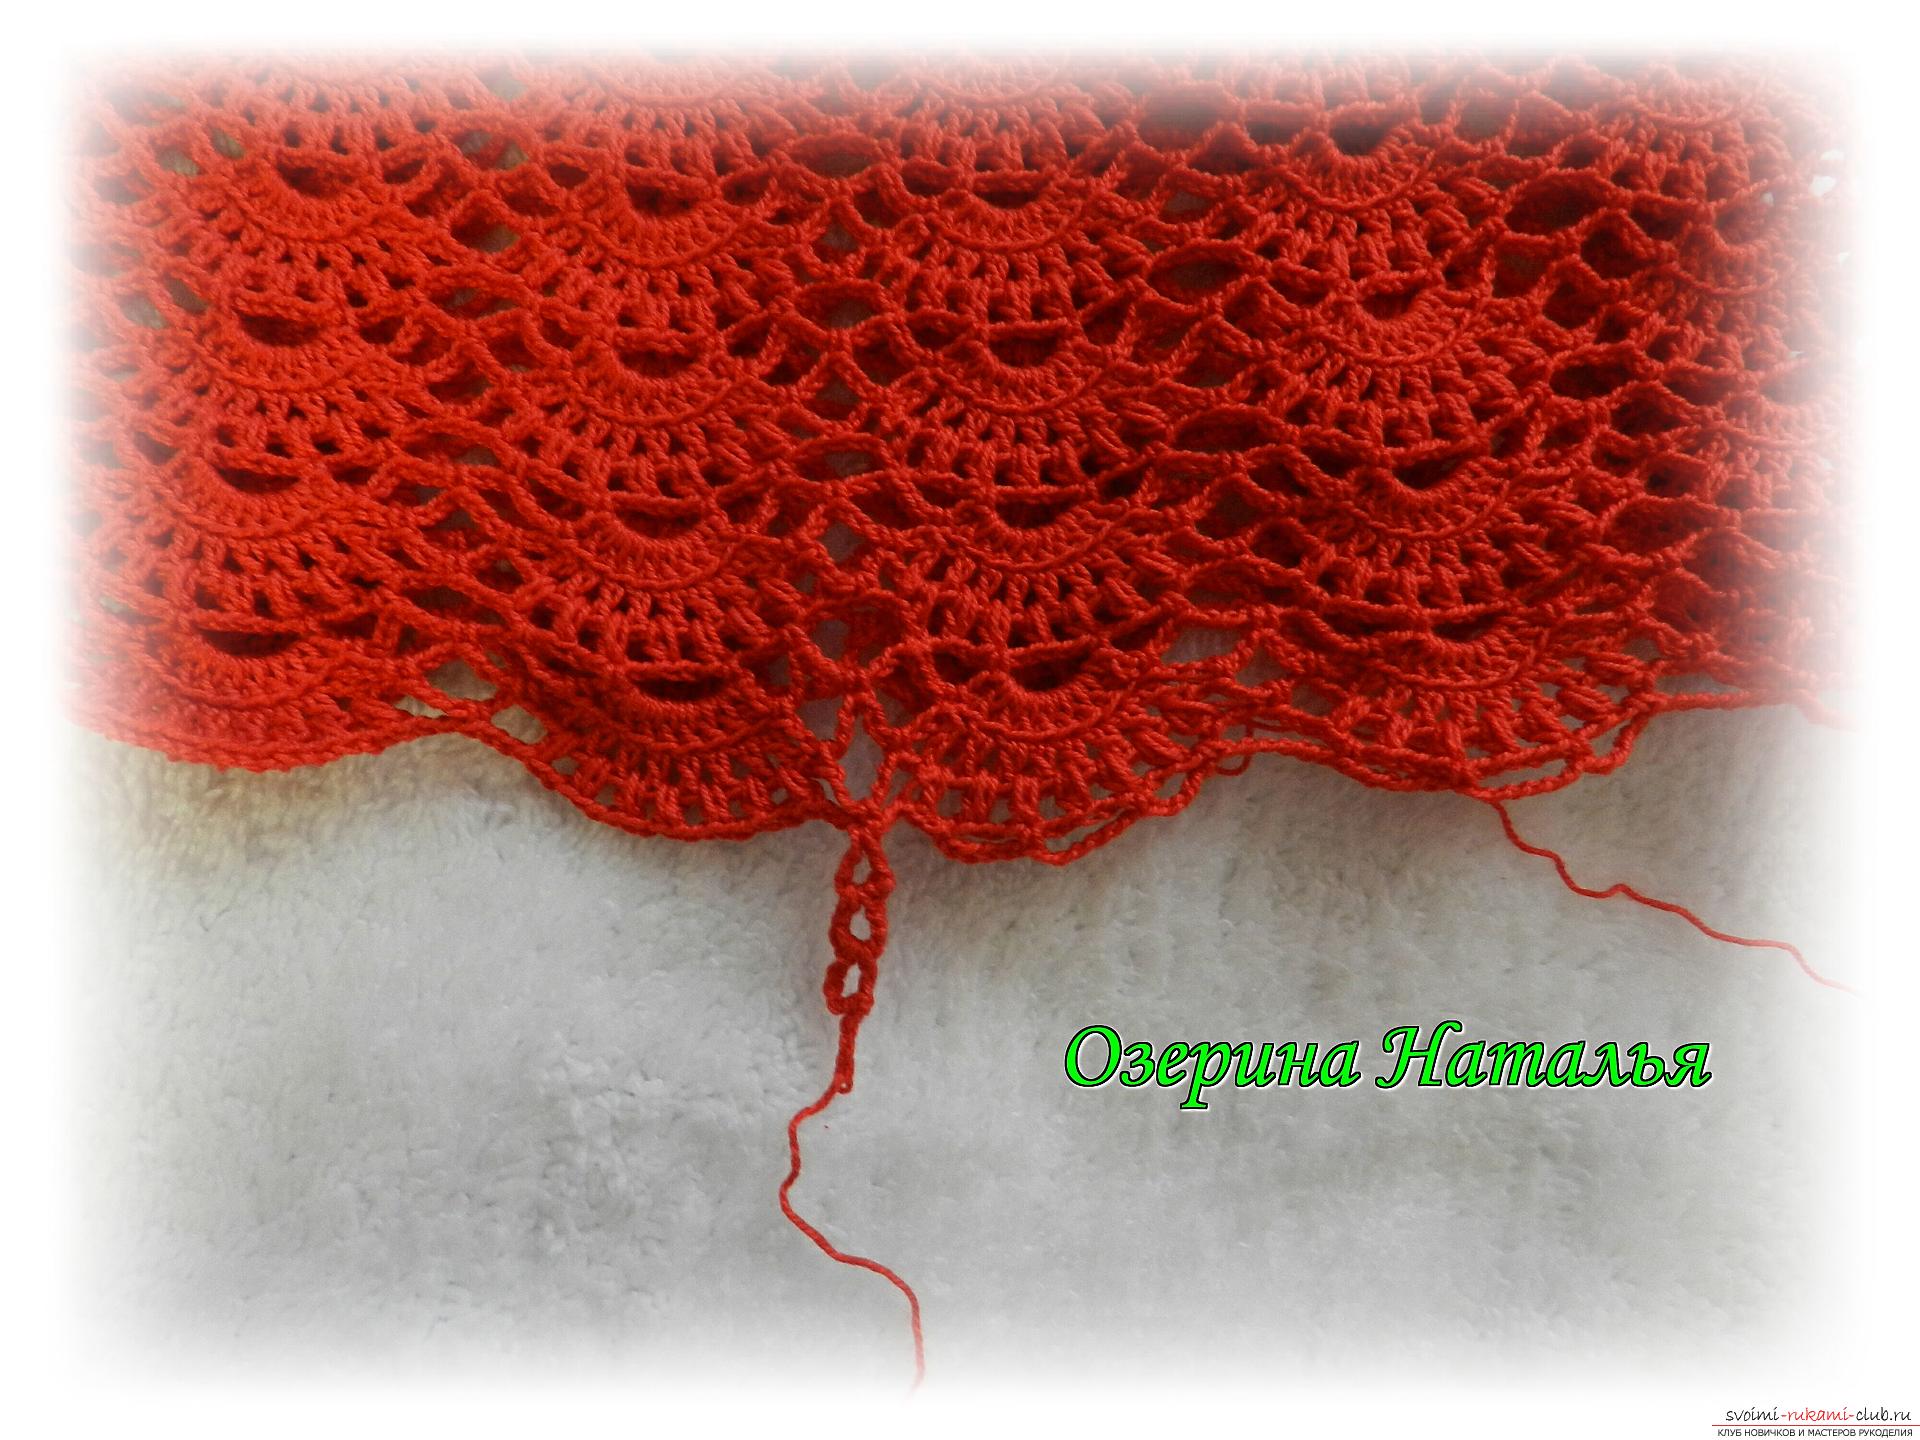 Connect the knitting to the opposite side in the last check mark. It should look like this:
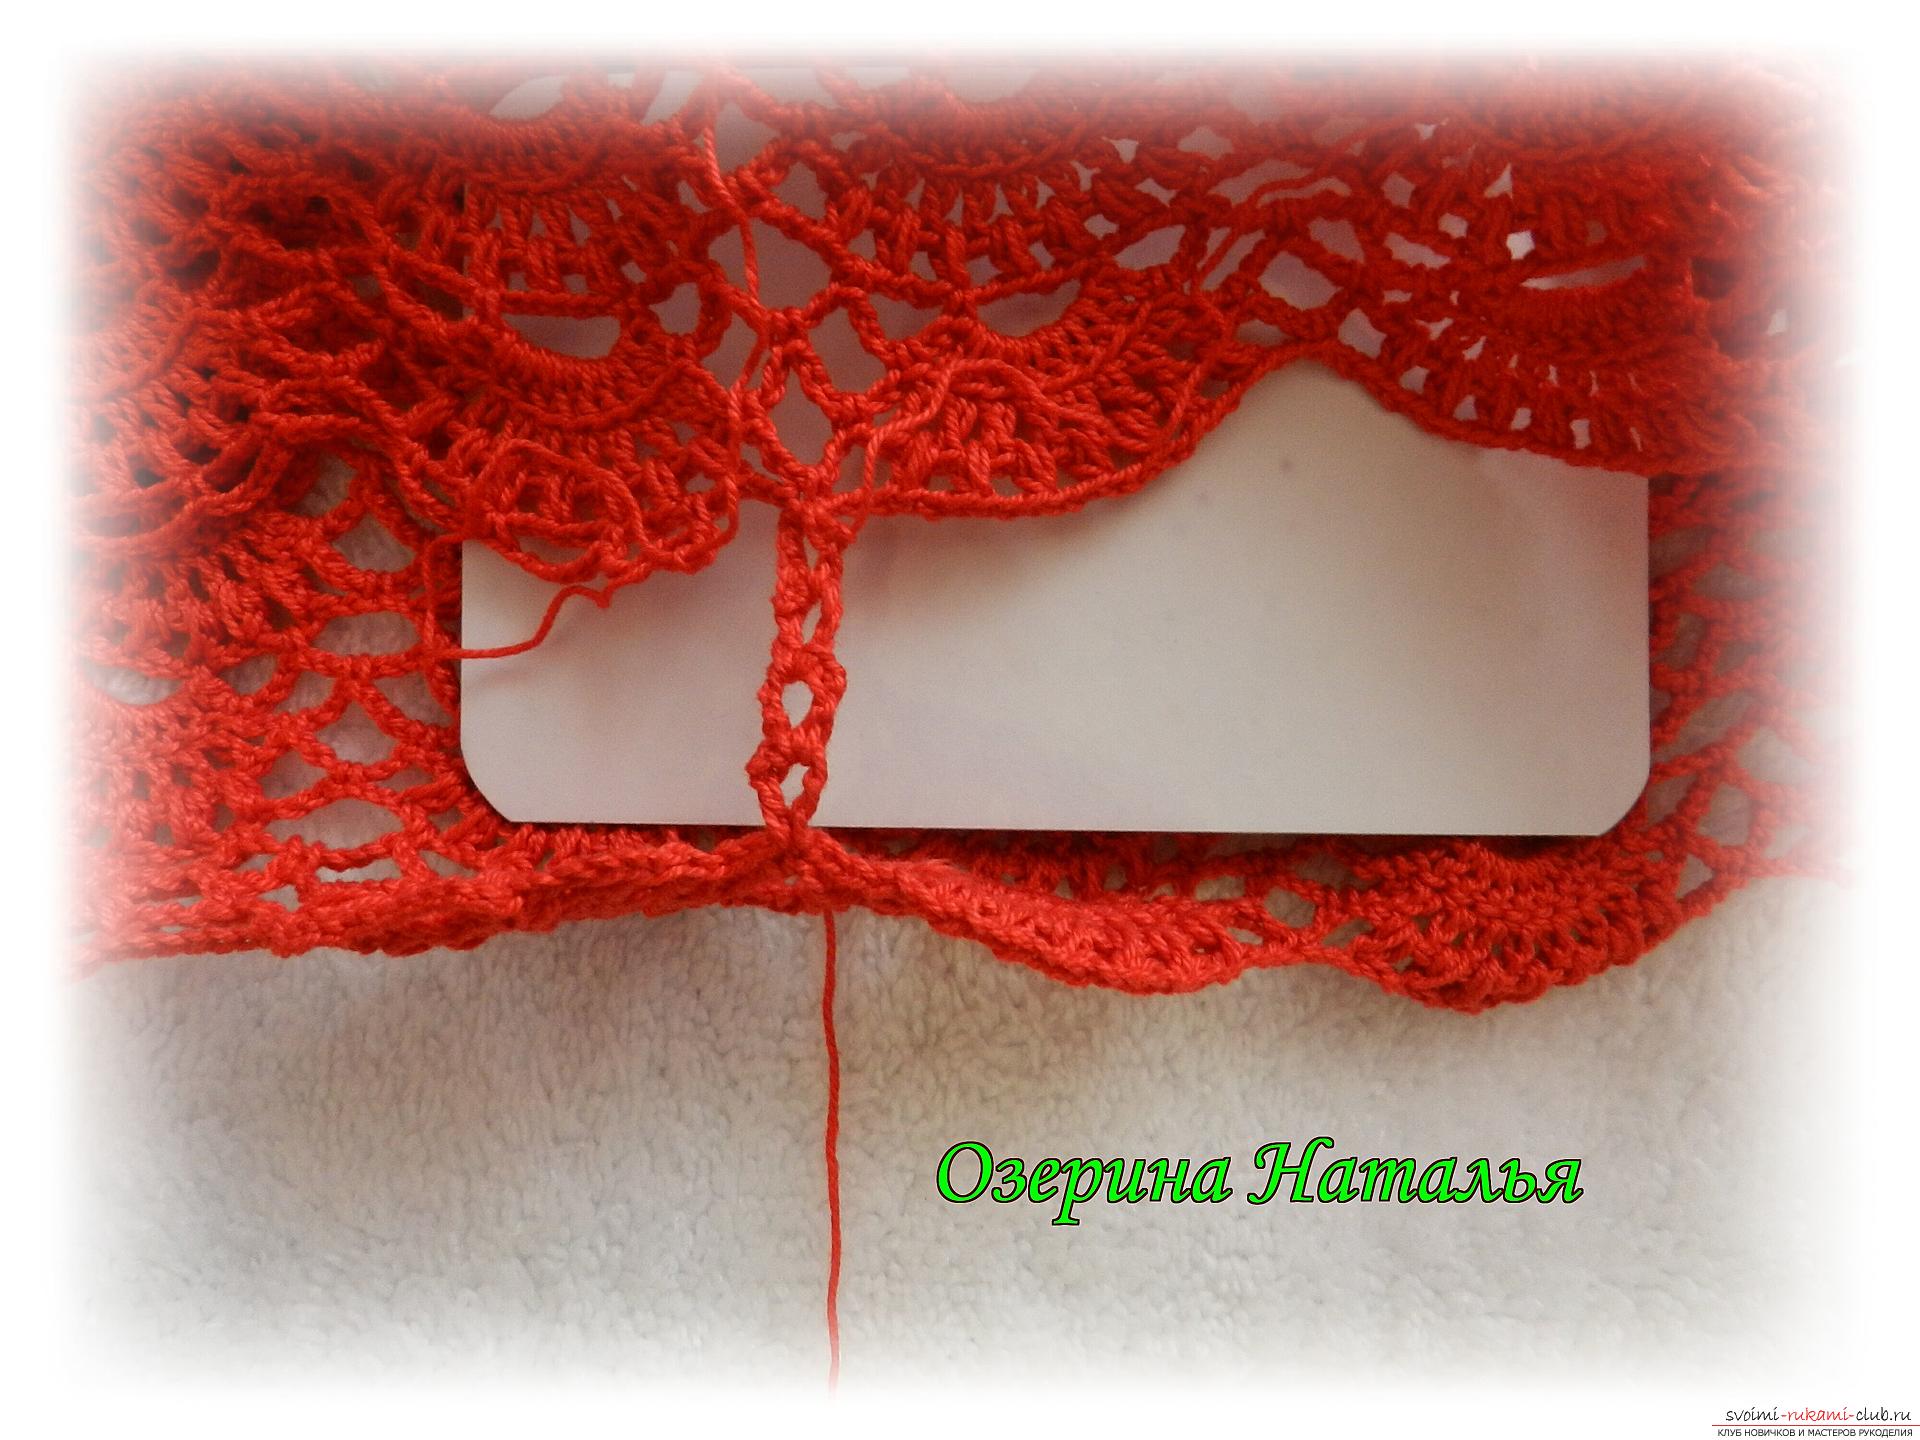 9th shell - arches of 6 ch, for shell 8 CH;
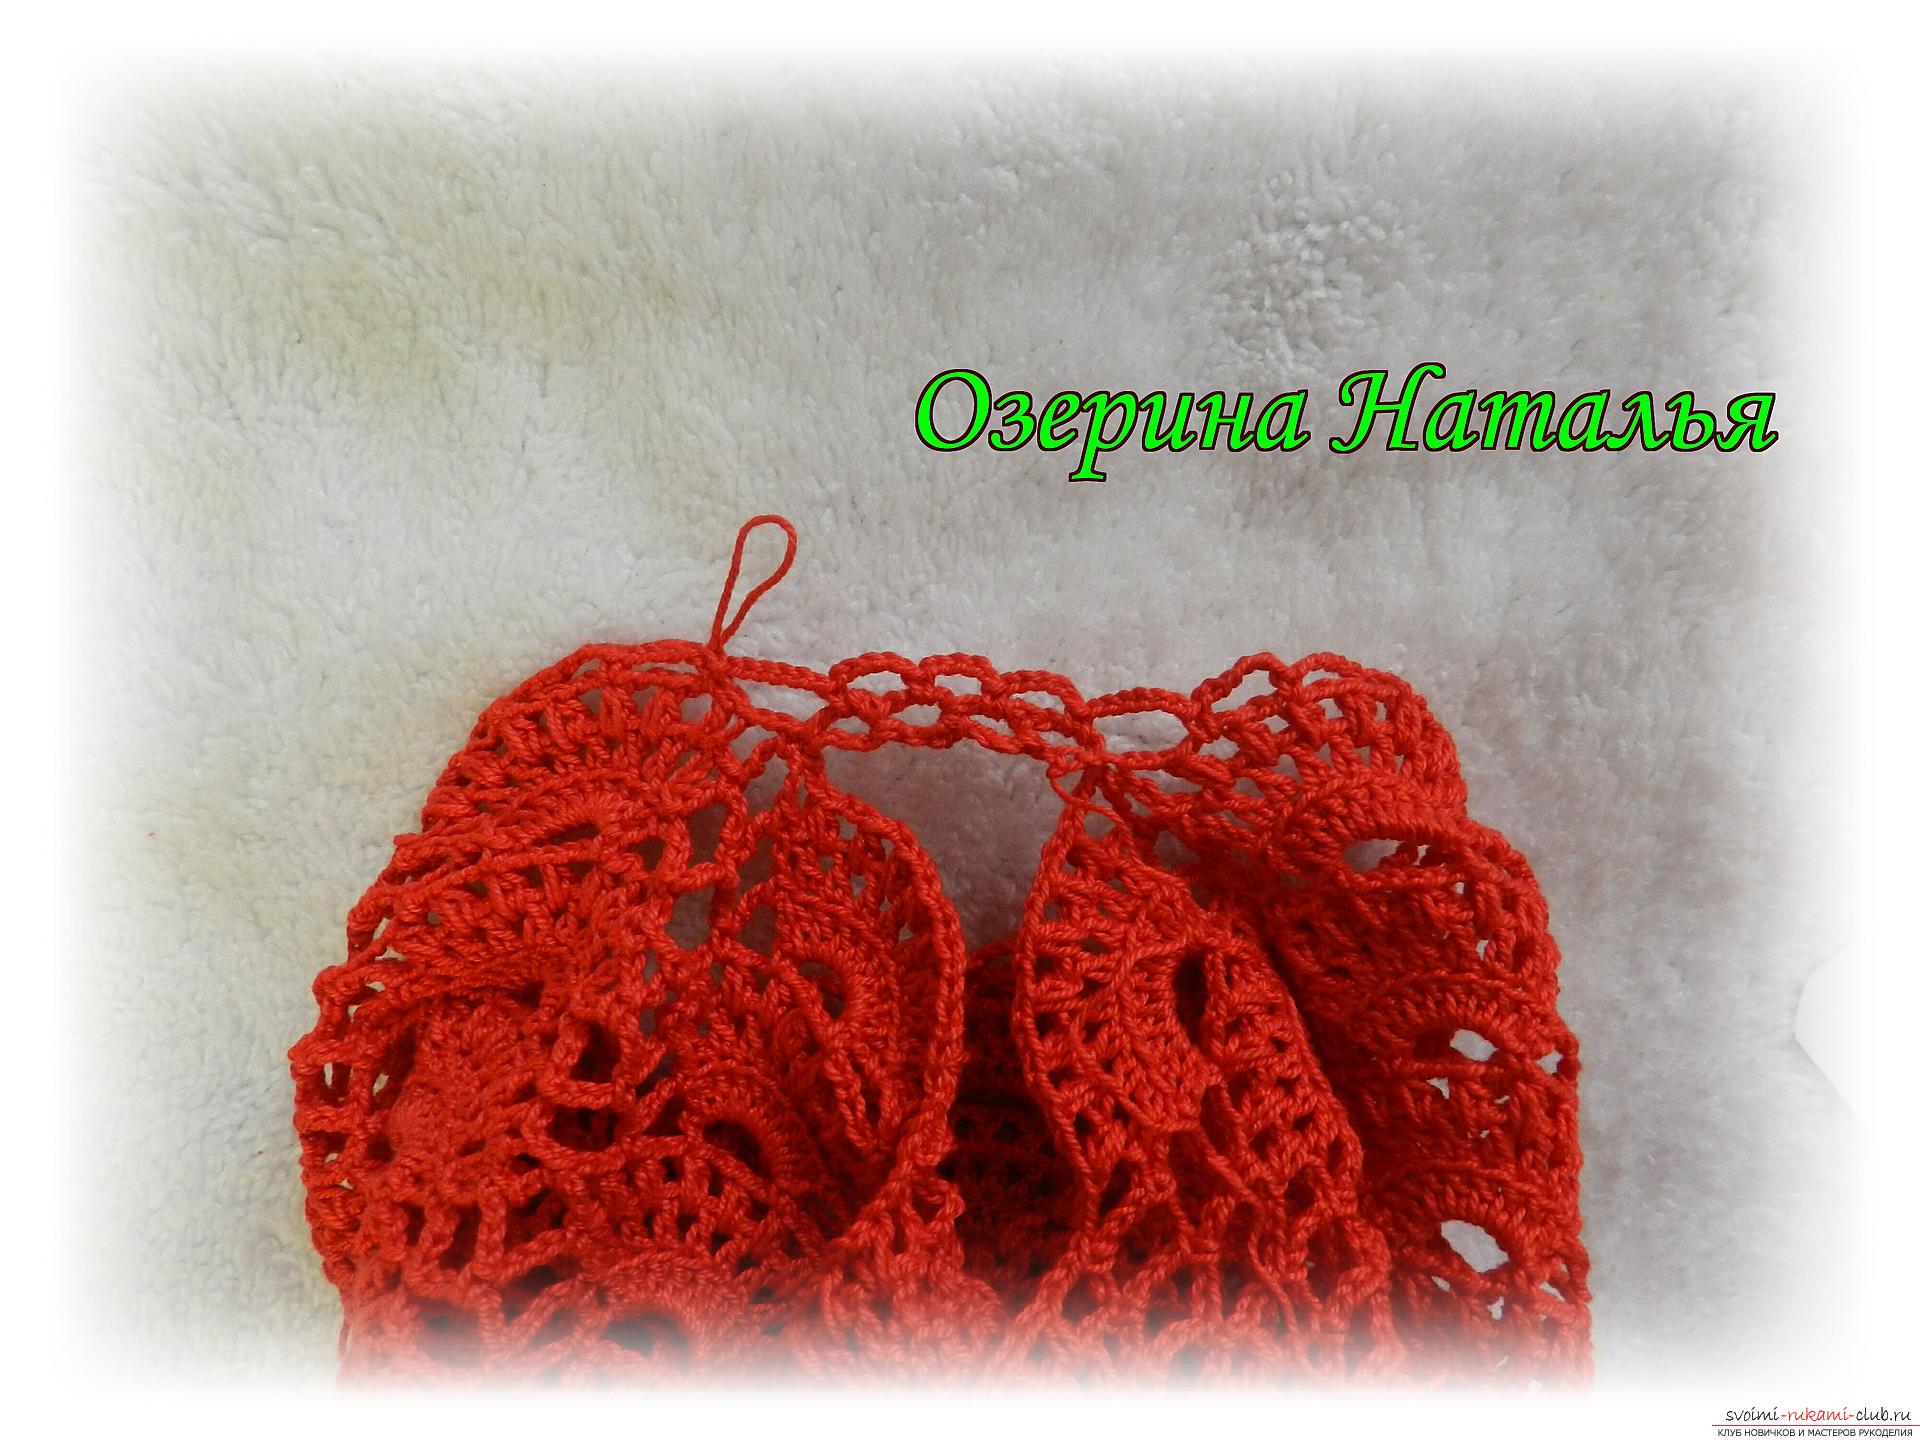
 10th shell - arches of 5 ch, for shell 8 CH; 11th, 12th shells - arches of 5 ch, for shell 7 CH;
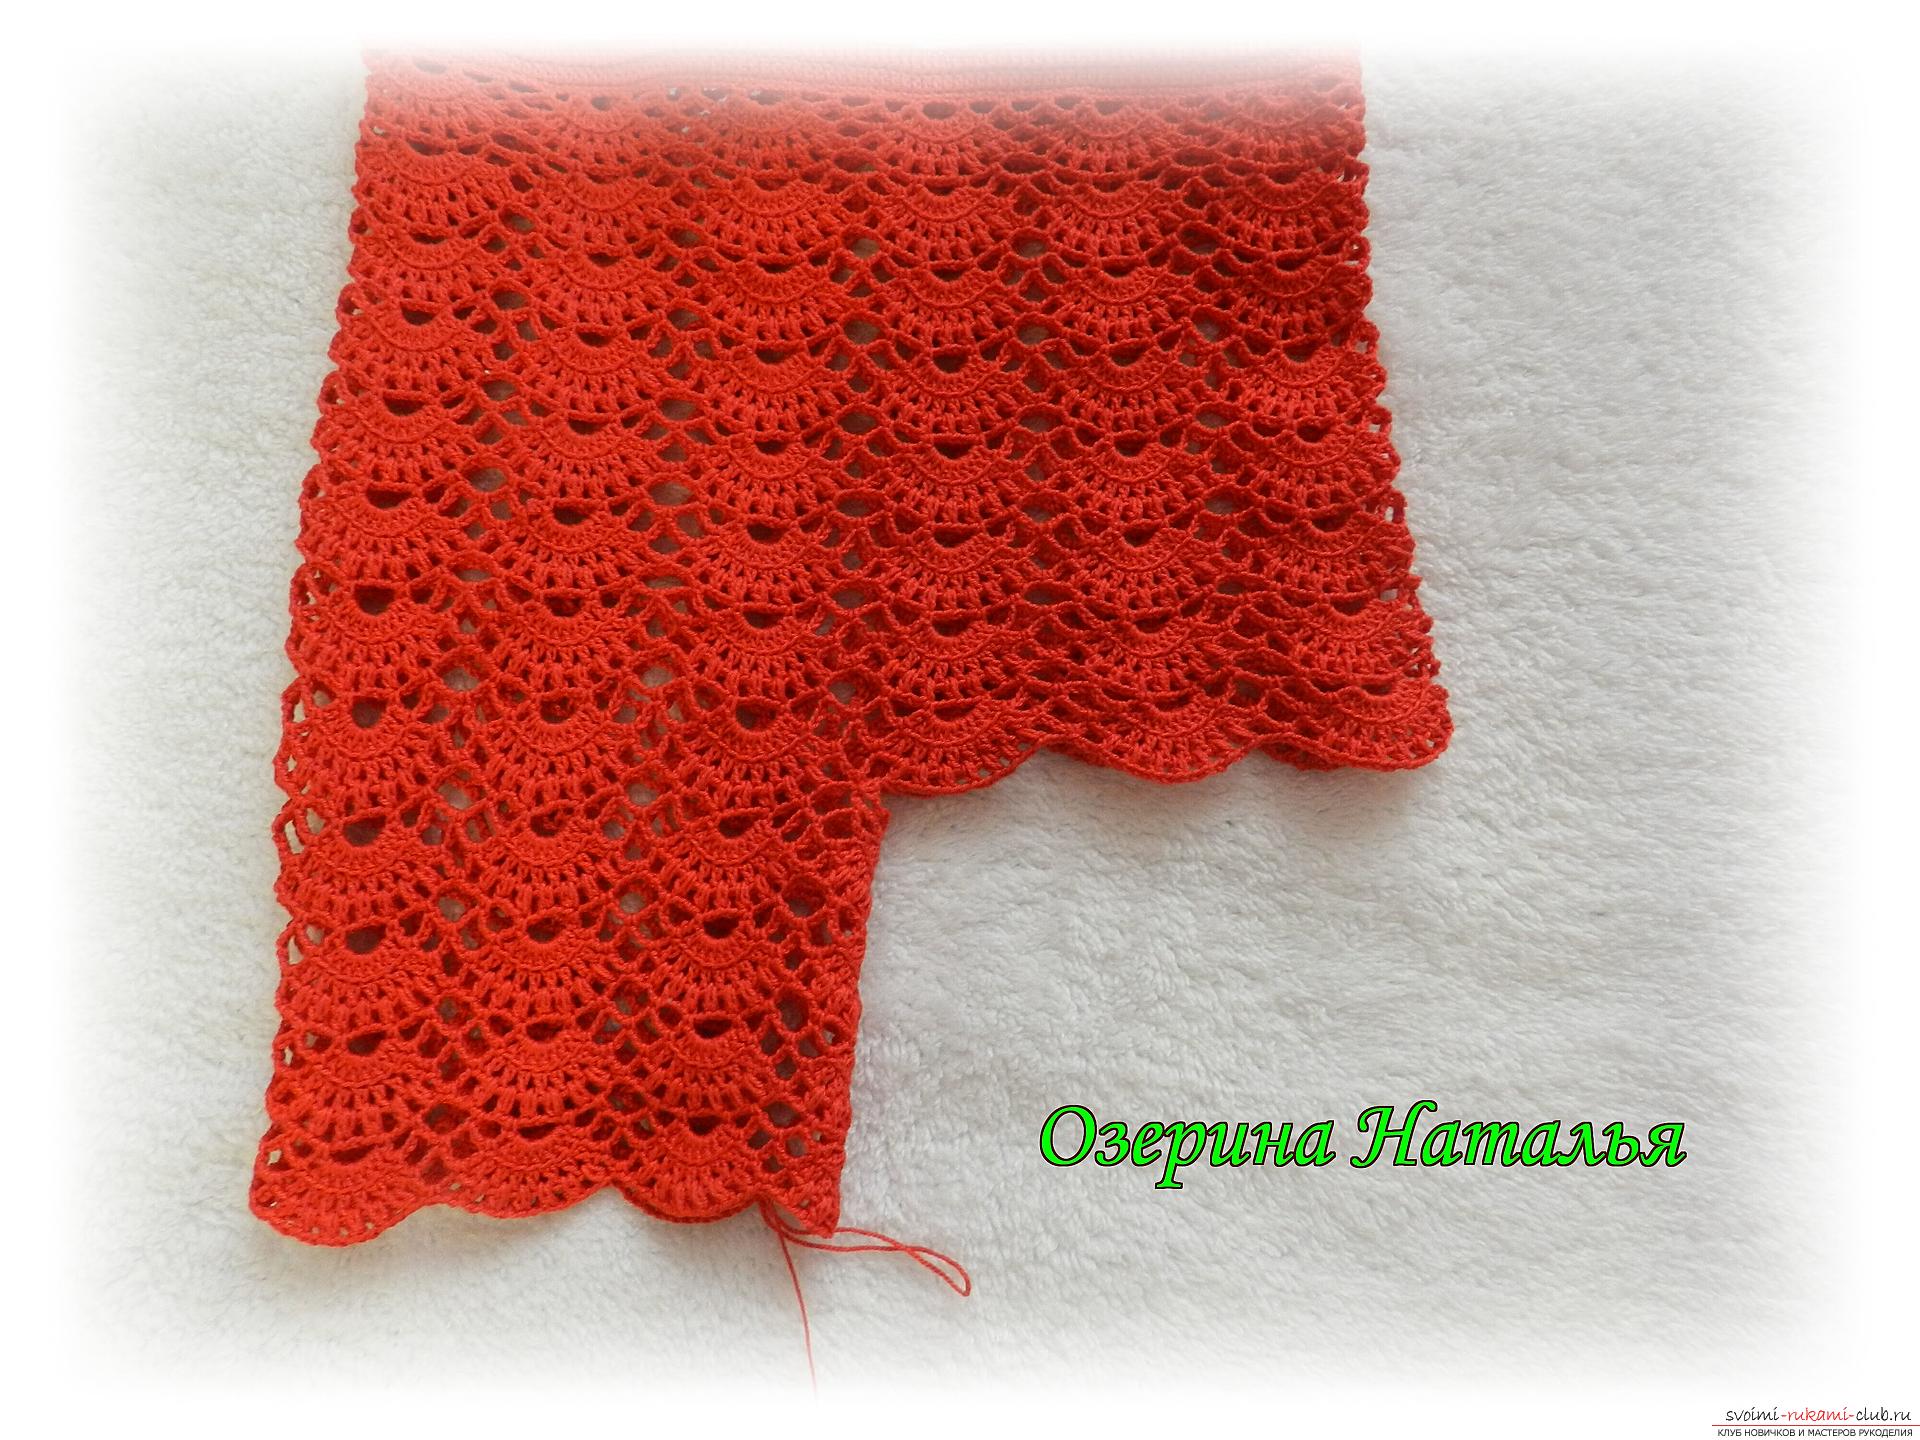 Knit 2 rows of arches from 5 ch.We knit the second leg in exactly the same way. We will tie the bottom with the same pattern that we used for the bottom of the yoke. Now we need to refine the top of the pants with a red thread. 1 row - CH 2 rows - for the elastic band. I knit like this: for the front wall of the first column 1 unfinished CH, for the back wall of the same column - the second unfinished column, we connect them together. And so on all the loops of the row. We insert a thin elastic band inside.
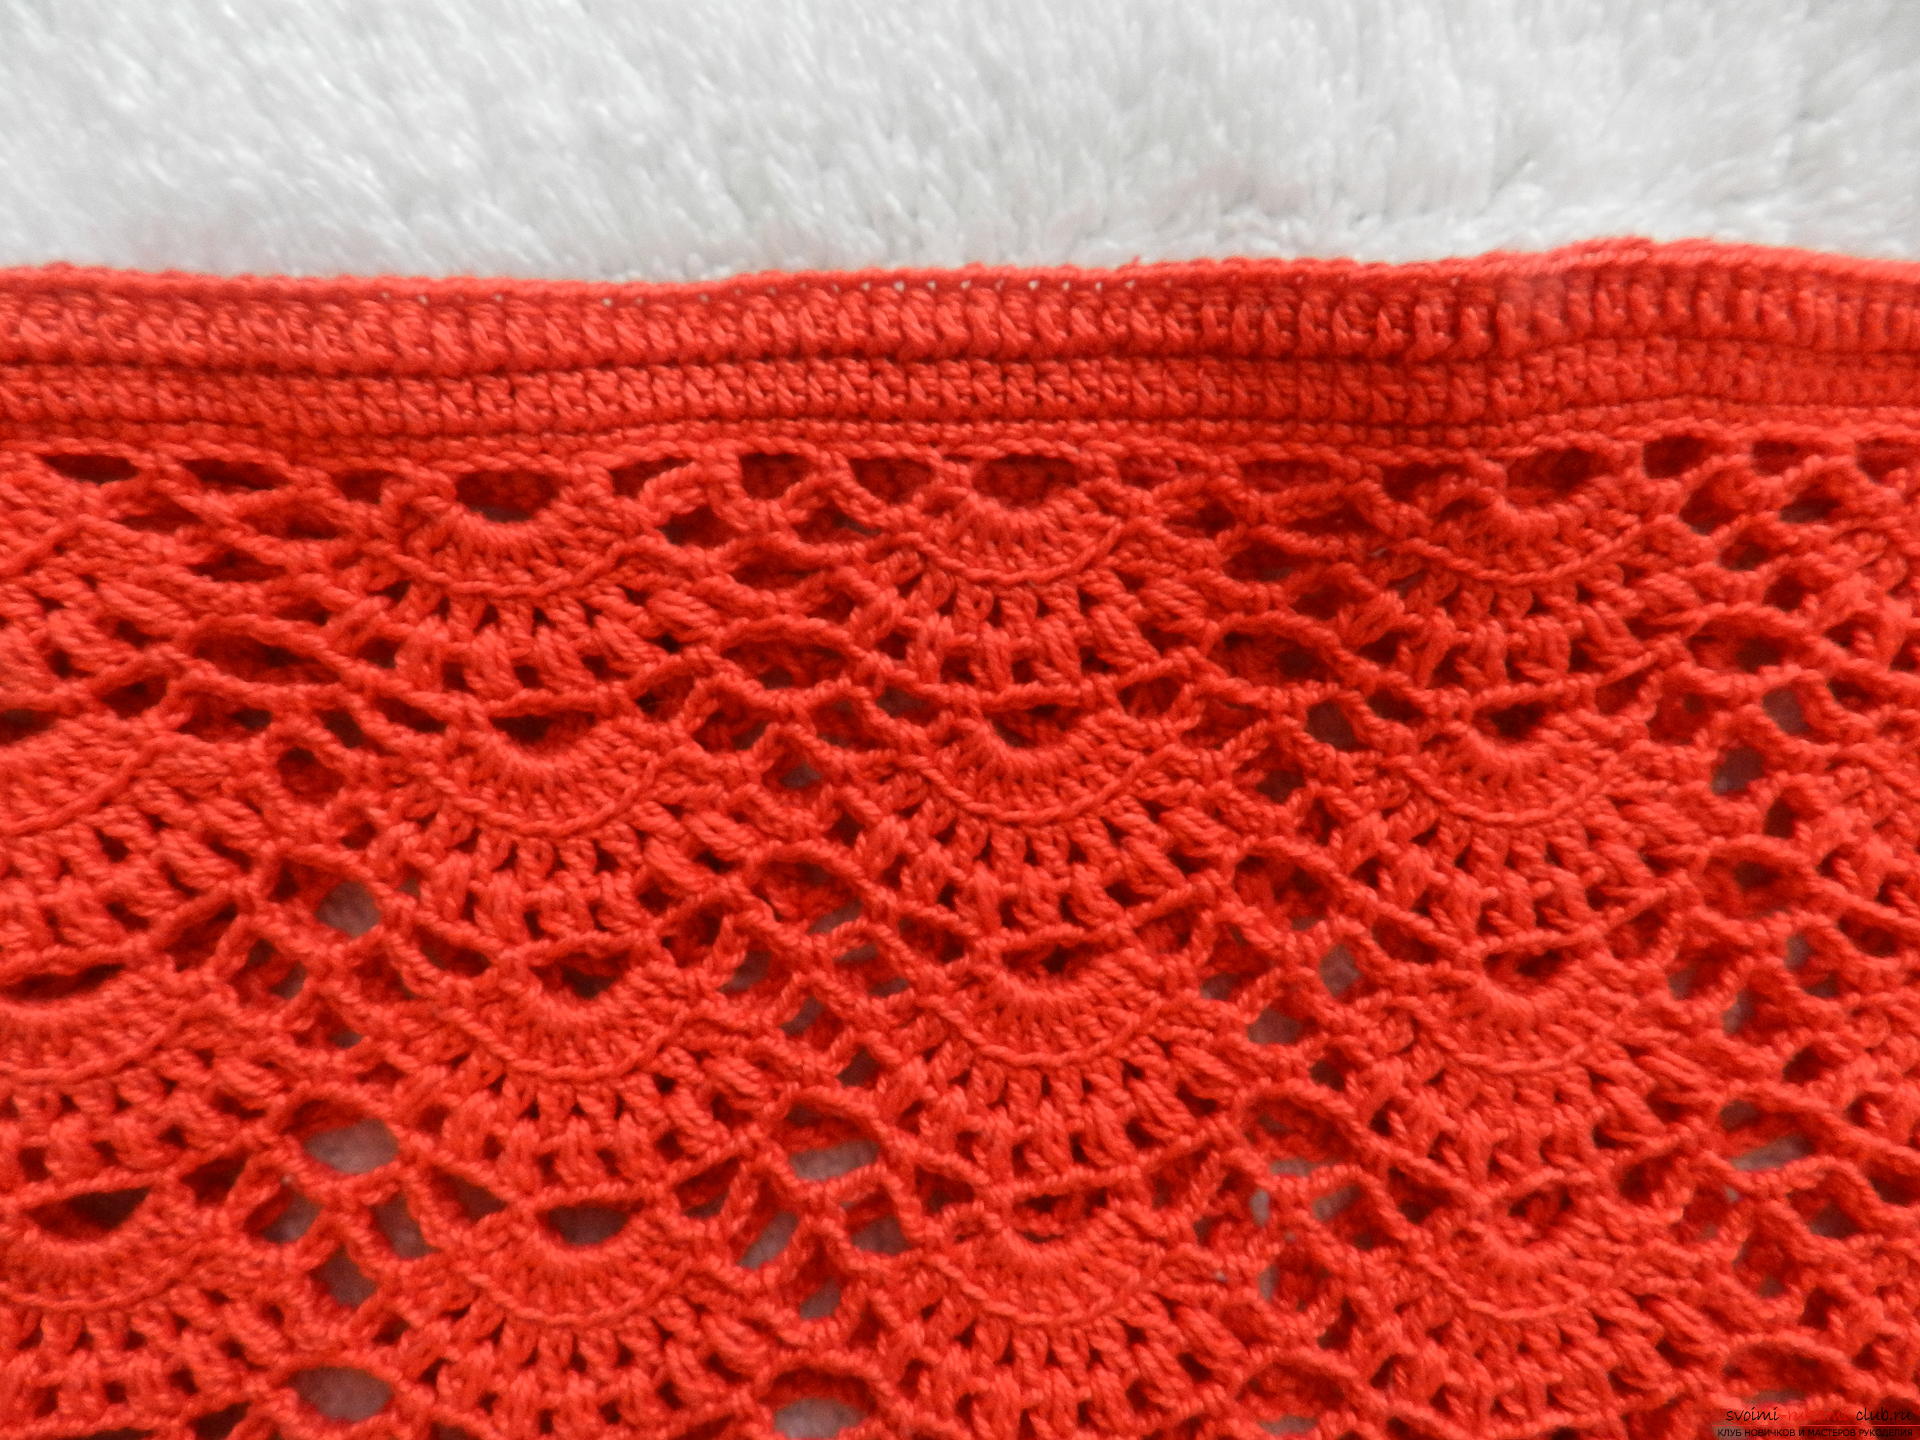 Hide all the strings and the set is ready!
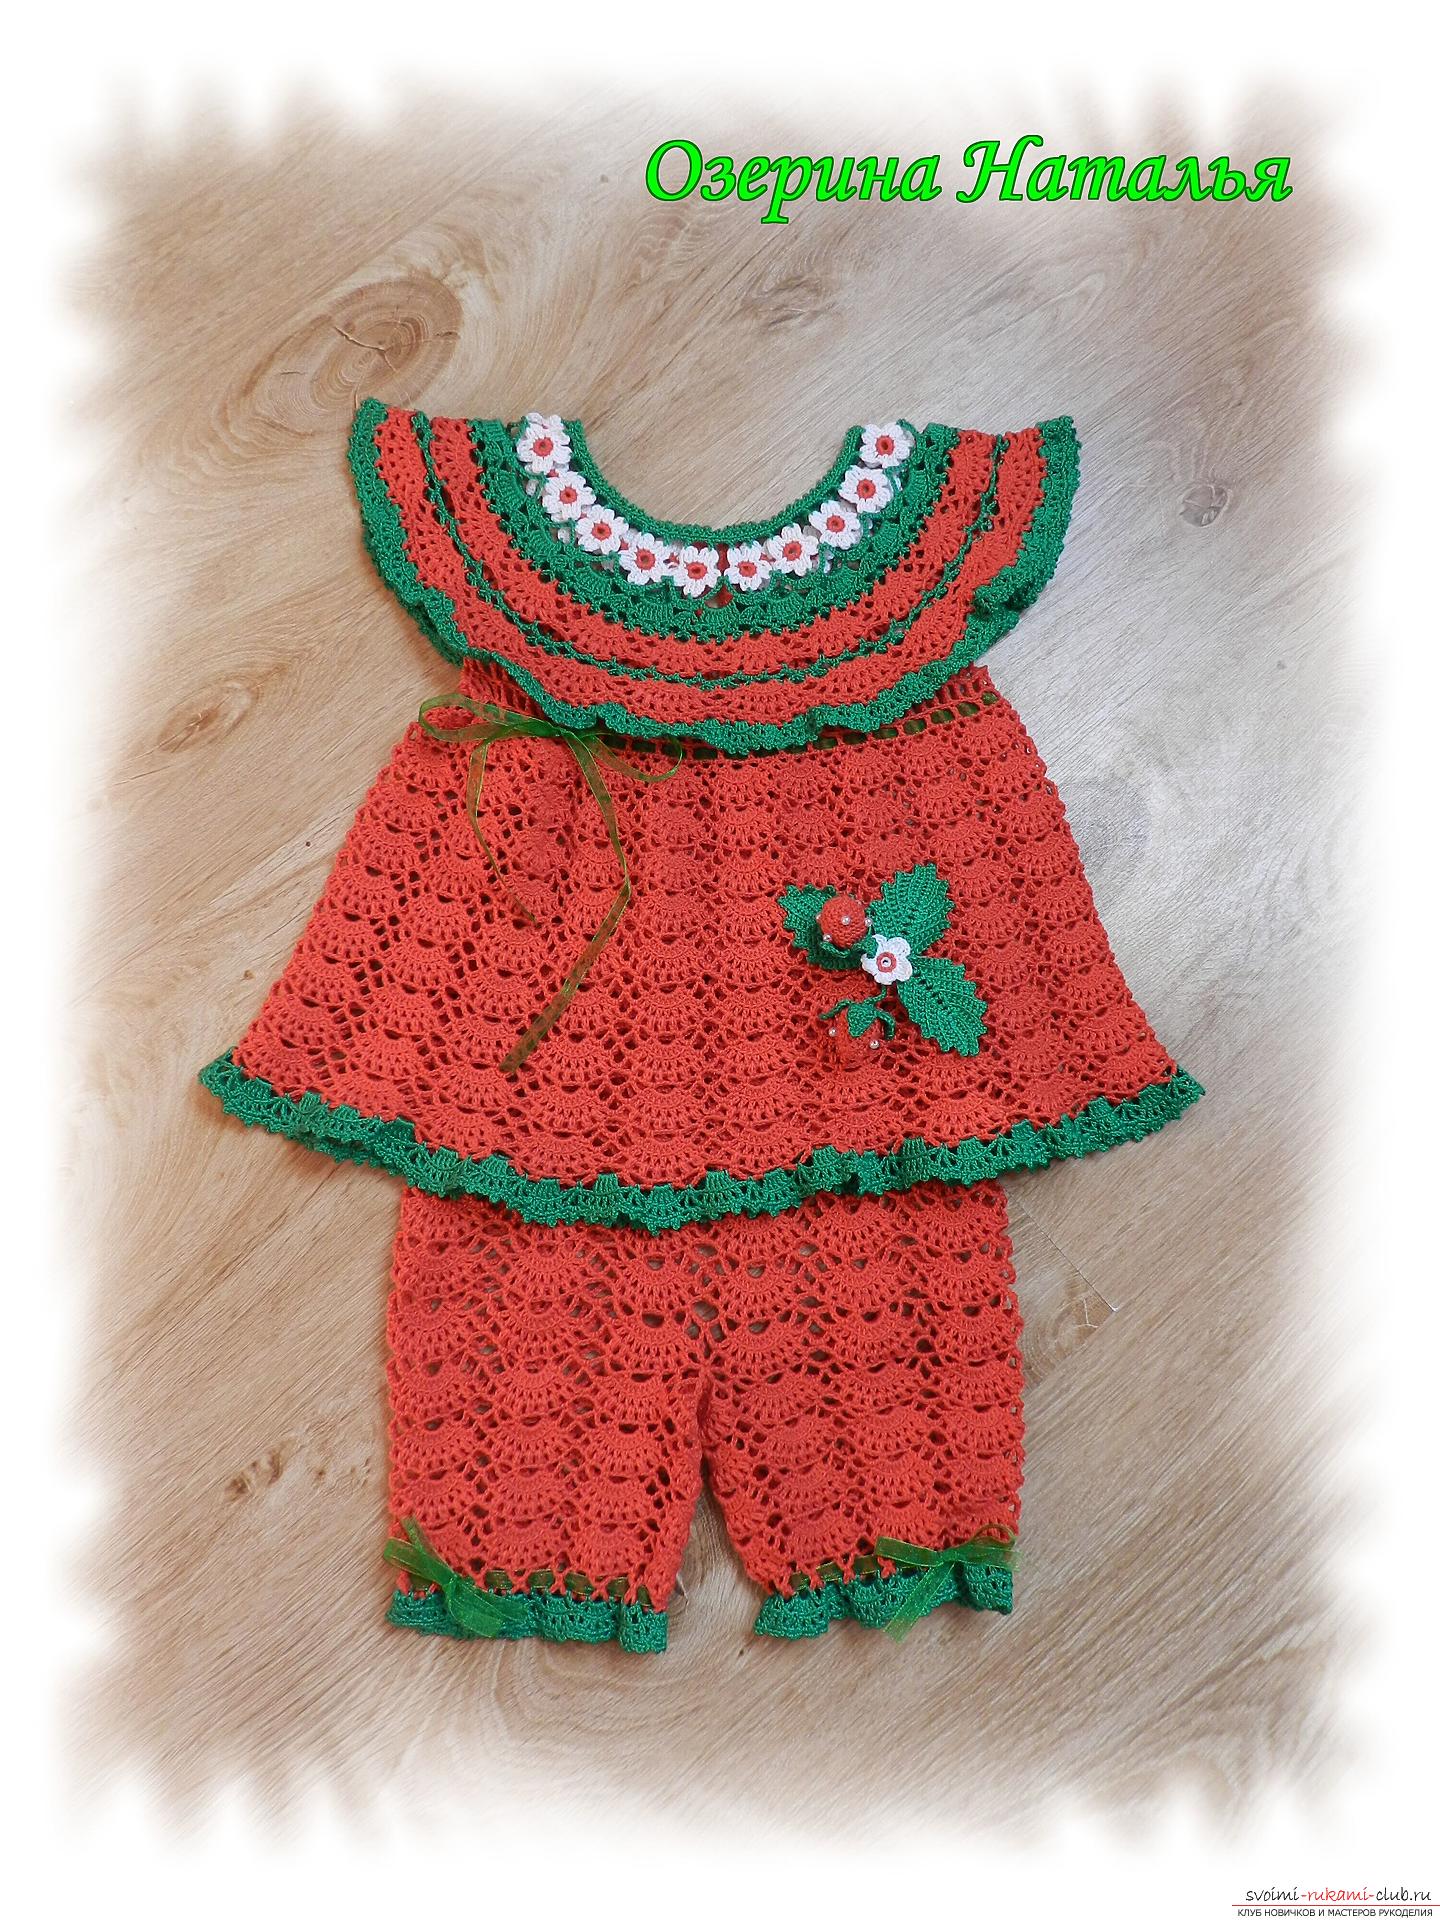
Comments
Related posts:
 This detailed master class with photos and descriptions will teach you how to create a set of polymer clay jewelry with your own hands – pendant and earrings with a turtle.
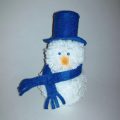 Masterclass with photos and descriptions will tell you how to make your own hands a children's hand-crafted snowman
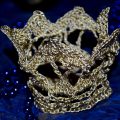 Step-by-step master class will teach how to crochet a knitted crown for a girl
 A master class with a detailed description and photo will show you how to crochet a toy - the symbol of the year – monkey on the Christmas tree
 How can I tie the children's crochet hooks. Detailed master-class with a guide to the process of knitting warm baby socks