Hanger from the branches - how to make your own hands- Master Class
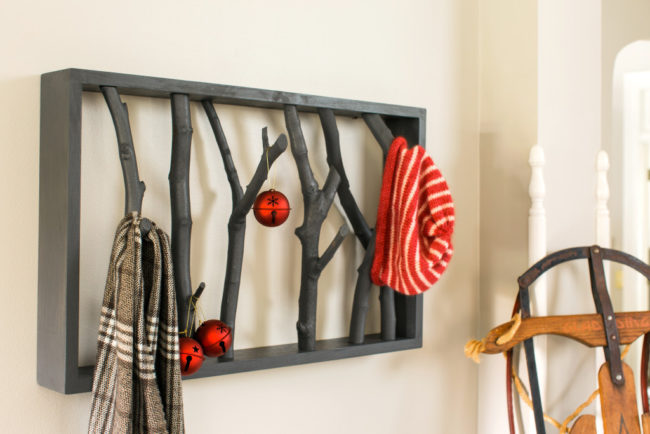
When making or buying hangers, we most often choosethe size, material and color of the hooks, but here everything will be completely different. No hooks in the usual sense of the word, because we will be replaced by branches! This method is at the same time beautiful, original, simple and cost-effective.  You can make such a hanger from the branches with your own hands for yourself, or as a gift, and we will help you with this, step by step, examining the manufacturing steps. The content of the article:
Necessary materials:
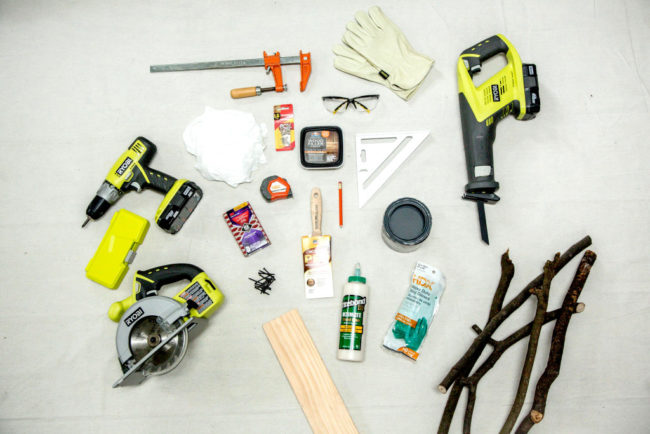
- Pine board size 2.5 cm x 10 cm x 220 cm
- Work gloves
- Circular Saw
- Drill
- Drill
- Wood glue
- Square screws
- Pencil
- Reciprocating saw (or regular)
- Putty
- Grinding machine or just sandpaper
- Flannel Cloth
- Paint with a matte finish in charcoal color
- Brush
- The mount for which we will hang
- Latex gloves
- From 6 to 10 tree branches
Step by step production:
Step 1: We measure and cut wooden boards  After the sawing we need to get 4 pieces of wood: two 40 cm in length, and two 70 cm each.
- To do this, first make appropriate marks on the board using a pencil and a measuring tape, and then cut them with a circular saw (or a regular saw).
- When working with the saw be very careful, fix the board well on the working surface.
- It is also best to wear goggles, earplugs and gloves to ensure your safety.
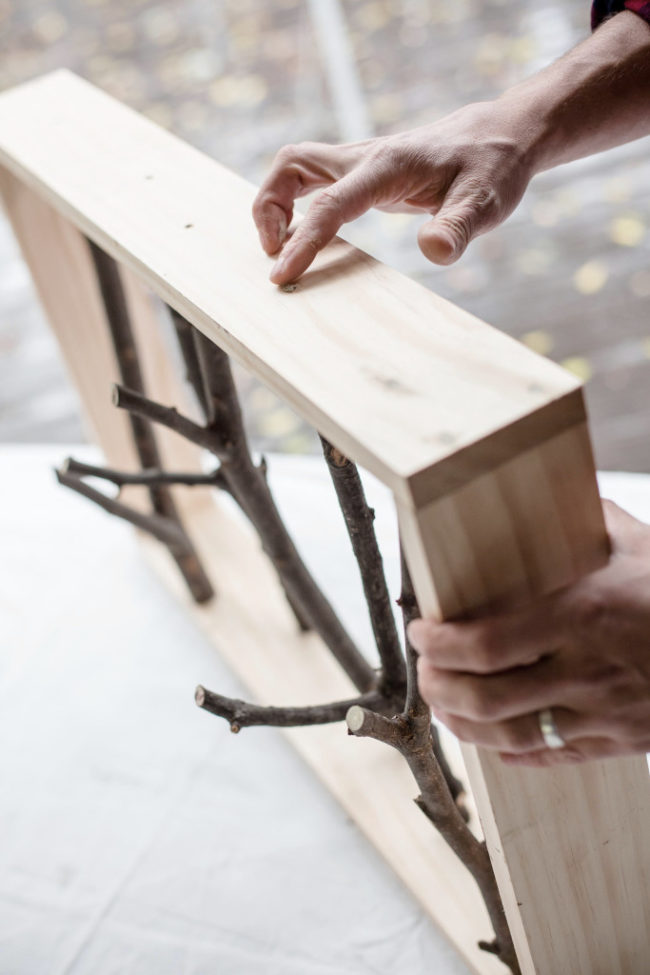
Step 2: Assemble the rectangular frame 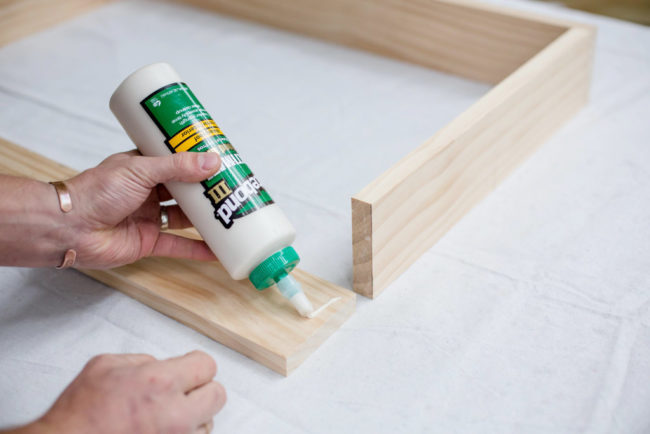

- Put the boards together in a rectangular frame.
- Using a drill, drill holes, then fix the boards with wood glue, and after that with square screws for finishing.
Step 3: Preparing the branches for pruning 
Step 4: Cut the branches to the desired size. 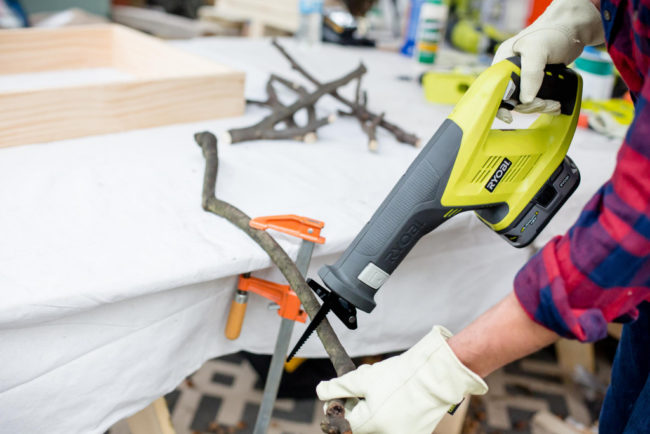 Fix the branches on the desktop, and then cut them along the intended lines to the desired size using a saw. Step 5: Fasten the branches inside the frame
Step 6: Putty and paint the wood 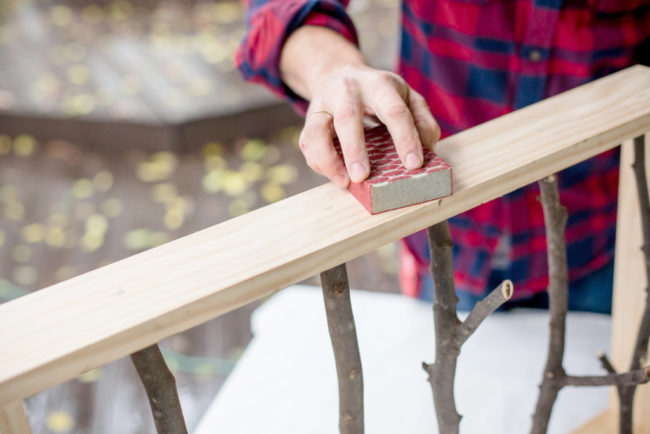

- After all the branches are fixed in the frame, apply putty to fill the holes and level the surface, let it dry.
- After that, you need to clean the surface of the framewith a sanding machine or manually with an emery paper (preferably first with medium and then fine grit) and wipe off the dust with a flannel cloth (or any rag if it is not).
- The surface of the frame and branches should be painted in matt gray, best with a touch of charcoal.
- Let the paint dry.
Step 7: Cling the mount  Using a drill on the back side of the frame in twoWith screws, attach the fasteners for easy hanging. Hang this homemade coat hanger on the wall and use it for hats, scarves or outerwear. And during the holidays you can also hang decorations on it!
Comments
Related posts:
 This master class of Christmas crafts will teach you how to make a Christmas wreath yourself
 This master class with the description will teach you how to make your own heart-postcard.
 Master-class: the hanger of the crossbar with their own hands
 Quilling of lilac branches with own hands for a bouquet - a master class
 If you want to learn how to make your own handiwork of wood and branches, look in our master class.