
Instructions on how to make your own hand crafted items made of wood.
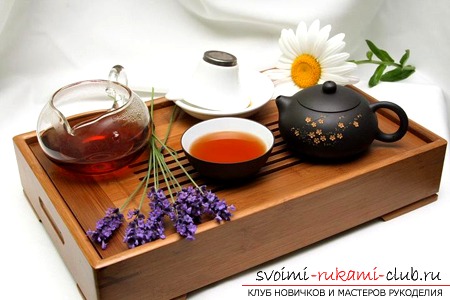 To conduct a tea ceremony, you need a lowChaban table, it is made of bamboo or wood. Tea lovers can turn their usual tea gatherings into a beautiful ceremony, making a small neat little table. Its design is simple, you only need to find special tools for processing wood and bamboo. What you need to work: - Bamboo trunks of different diameters; - Bamboo cloth; - Wooden sticks having a flat or square shape, a thickness of about 5 mm, and round, made of wood, having a diameter of 7-8 mm; - A drill with round crowns, a wood saw and a drill; - Sandpaper, and also preferably PVA glue for fastening.
 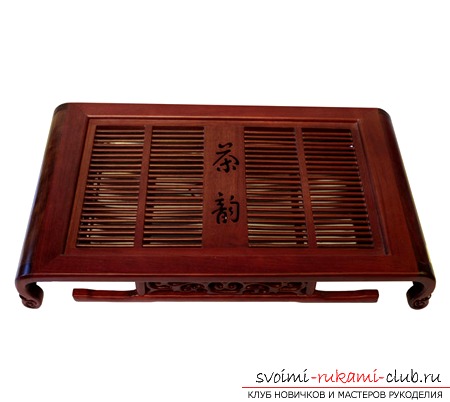 Stages of making crafts from wood with their ownhands First you need to determine the desired width of the table. Make two pieces of bamboo - thinner and thicker, so that after they were drilled, one piece of wood could enter the second. Split the bamboo along and make two stands out of it. You will also need 4 bamboo sticks with a diameter of about 1 cm and a length of 10 cm. These products can be sawed on the end saw, so that the material does not crack during operation, it can be glued in some places with adhesive tape. The next stage of making wood crafts by the hands of a bamboo table is sanding of elements and painting them with a tinted varnish of brown color. Then you need to make a hole with the help of a drill in thick sticks so that thin crossbeams can enter. For this, a drill and a nozzle for a tree is useful. Then follow the two sides of the frame from the inside to make small holes for flat wood sticks, on which the table top for the flat table - the mat, will be held, and insert the thin trunks into thicker ones. The frame of the Chinese elegant table is already there. Now it remains to make small legs for him. Drill holes for vertical thin bamboo sticks so that they hold tight on the product, smudging their PVA. Drill a hole on the frame for parts, that is, sticks, and insert them into vertical racks. Now, at the last stage of making wood crafts with your own hands, you need to give the table the desired height and lay the countertop at the end. What coatings are used for wood carving?
 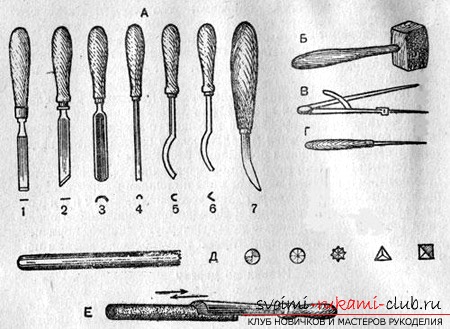 Toning for wood adorns it and protects it fromchips and moisture, in addition makes the carving more contrasting and bright, attracting attention. Crafts made of wood with their own hands can not be imagined without a good cover. At the initial stage, water-based stains and brushes with natural pile, soft, are used to cover the crafts made of wood. Stains of different colors are applied to the threads. Paint yellowish-orange color serves as the basis for further painting.
 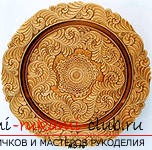 It often happens that the tone of the crafts made of woodhands in some areas are inhomogeneous. To fix this, you need to cut off such a site with a chisel and carefully apply a new coating, best of all with Borma wax with stain. The next step is drying the entire composition with a hairdryer and treating it with a fine sandpaper. Then you need to shade the product, using different dyes again, and at the end - cover with a layer of protective wax. Many crafts made of wood with their own handsprove that all genius is simple. From ordinary, primitive branches you can make a beautiful stand for fruits or sweets, in the style of ecological chic. Type for a walk not very thick, but most importantly - dry branches. You will also need a pruner or saw for wood, wire, scissors, a piece of tin, small nails, a hammer and a drill. Make branches for future crafts made of wood with your own hands equal in length (about 20 cm). Drill from both sides of the hole, tie the rods as shown in the figure, leaving a distance of about a centimeter between them. From the opposite end you need to fix them with wire. To make the bottom of the future crafts made of wood with your own hands, take a square of tin, tracing the bottom of the vase along the contour, drawing the rays from the contour. In each corner, drill a hole and drive the carnations into the butt end of the sticks through the corners.
Comments
Related posts:
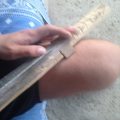 Toys made of wood. How to make a sword with your own hands.
 Children's crafts, handicrafts for the school with their own hands, crafts made of natural materials, autumn crafts, crafts made of dough with their own hands, how to make a grassy little man, a school pencil case with their own hands.
 How to make a gift in the form of an original book-hiding by yourself, detailed instructions.
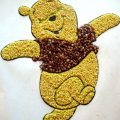 Instructions on how to create hand-made articles of grain by hand.
 Detailed instructions on how to create excellent crafts from the dough with your own hands.