Learning to set the loops of knitting needles in different ways on a photo-video lesson
Content
Any knitted product originates fromSeveral loops typed on knitting needles. From the way in which the set of loops will be performed depends on whether the edge of the article is elastic, or vice versa dense, whether it will keep the shape or not.
Let's consider more in detail the most used ways of a set, and we will learn how then to continue knitting.


The classic way
This set of loops is one of the most belovedSkilled workers. The work margin turns out to be elastic, but not loose. This method is suitable for any pattern and for every skill level, even for beginner needlewomen.
In order to start work, you need to measure the yarn, equal to two lengths of the width of the product. Now more about how to type loops (introduced later in the text abbreviation - P) in a classical way.
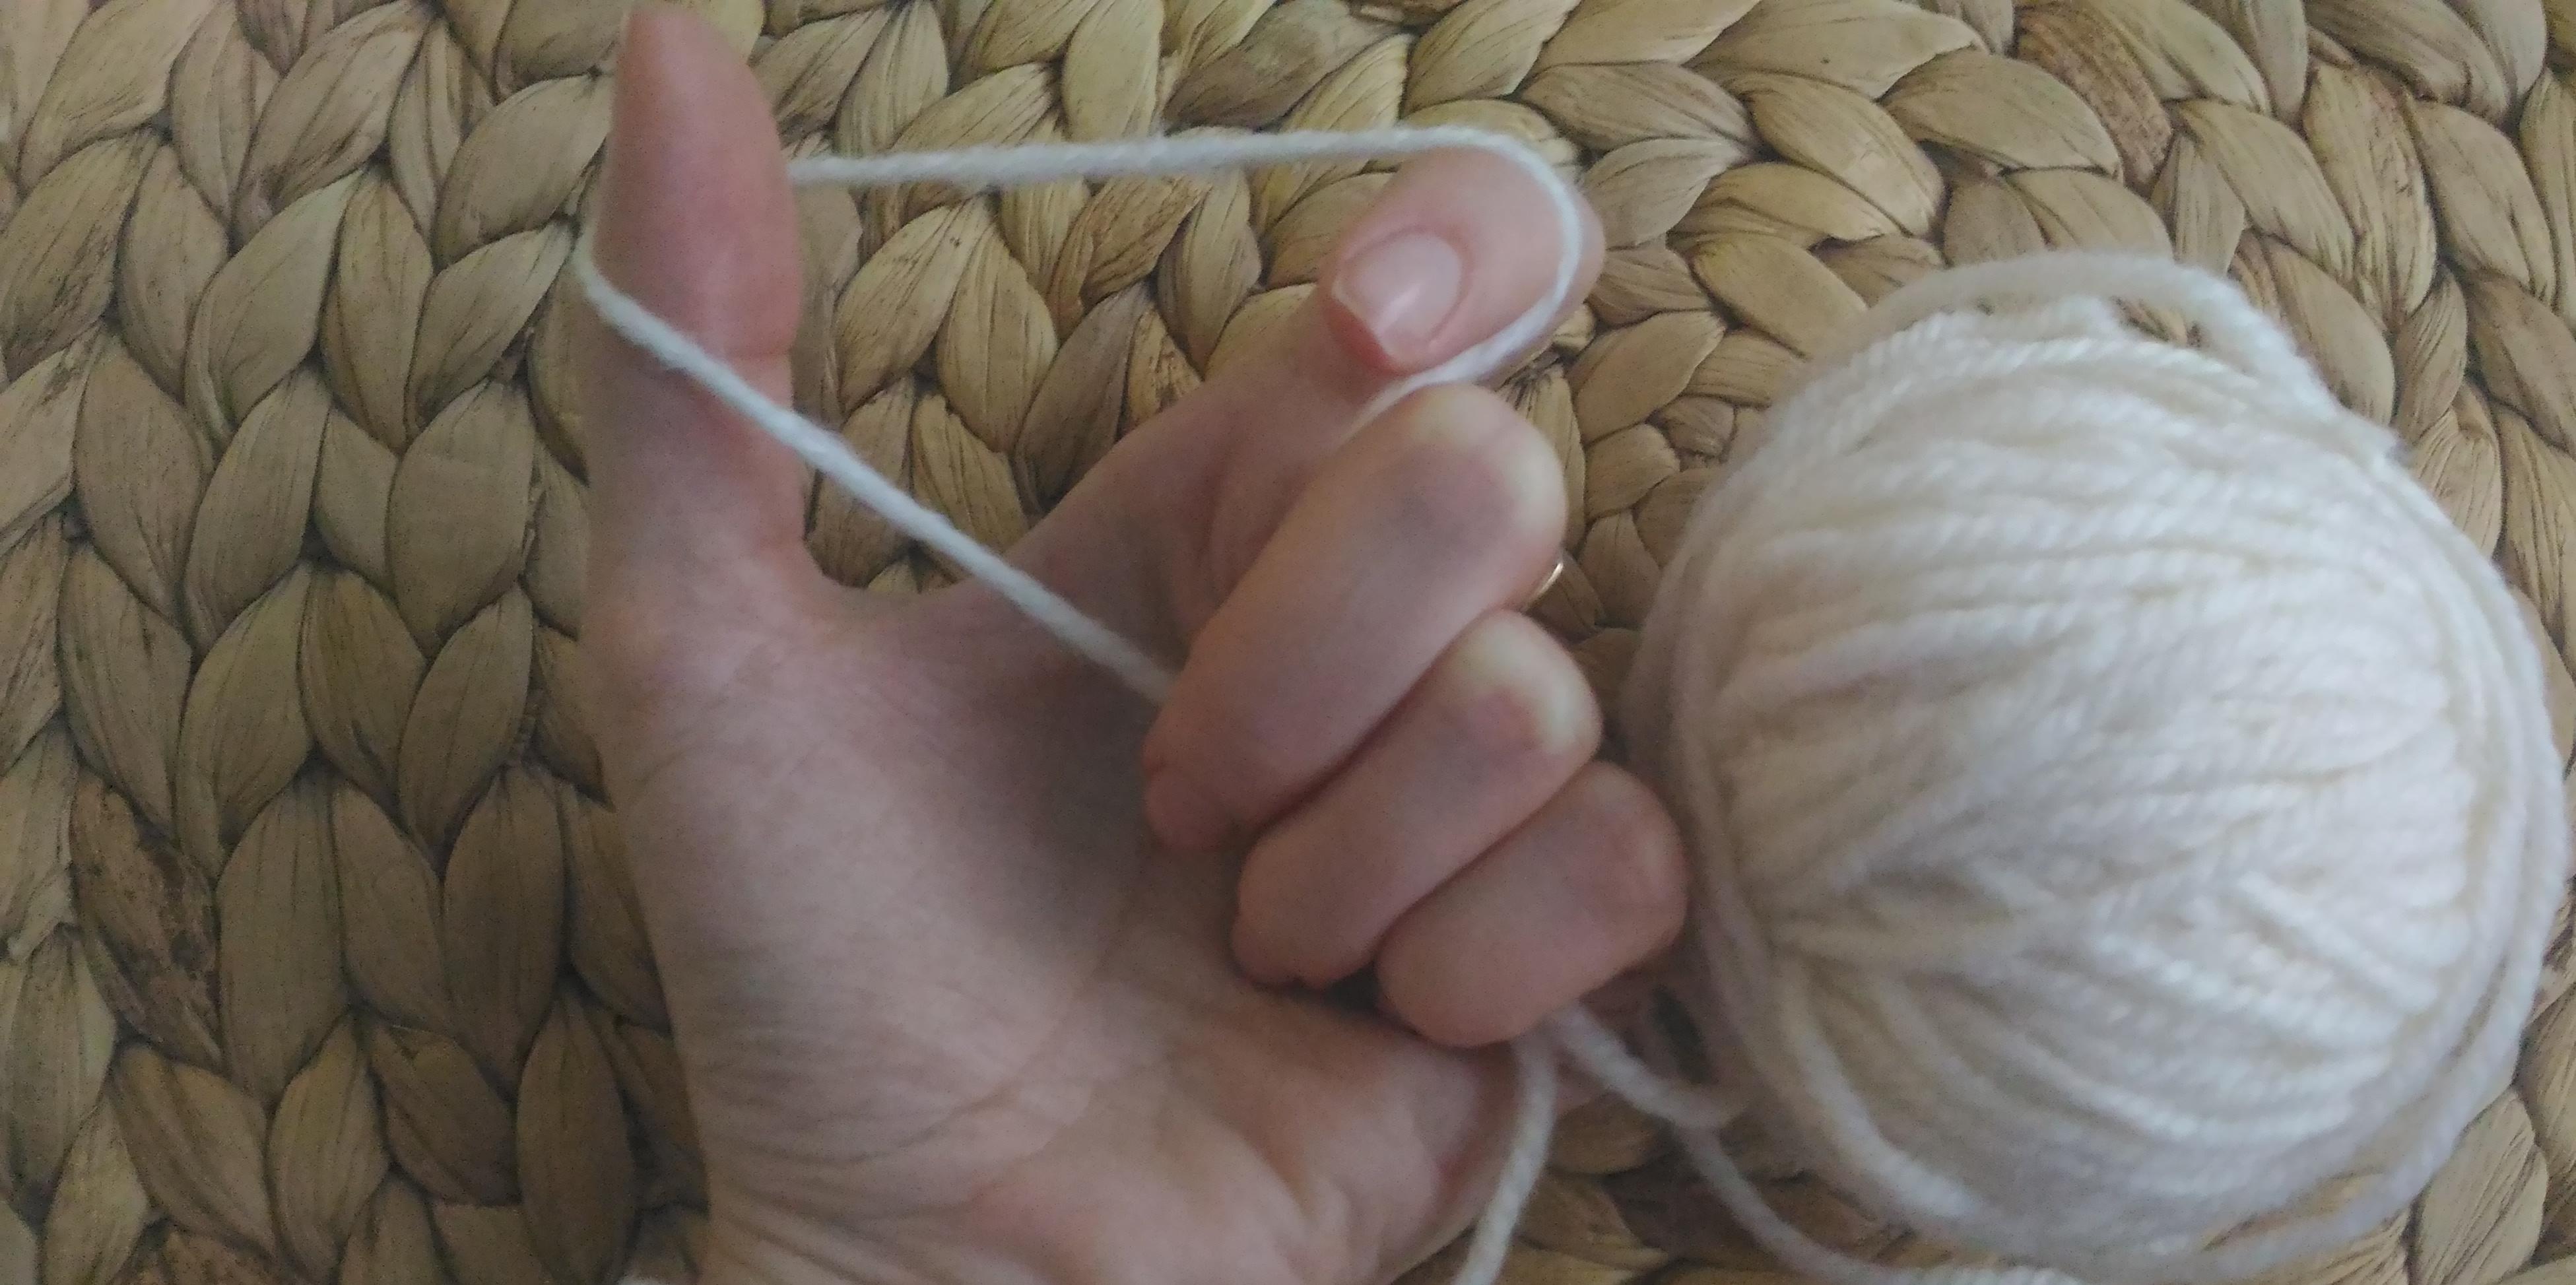
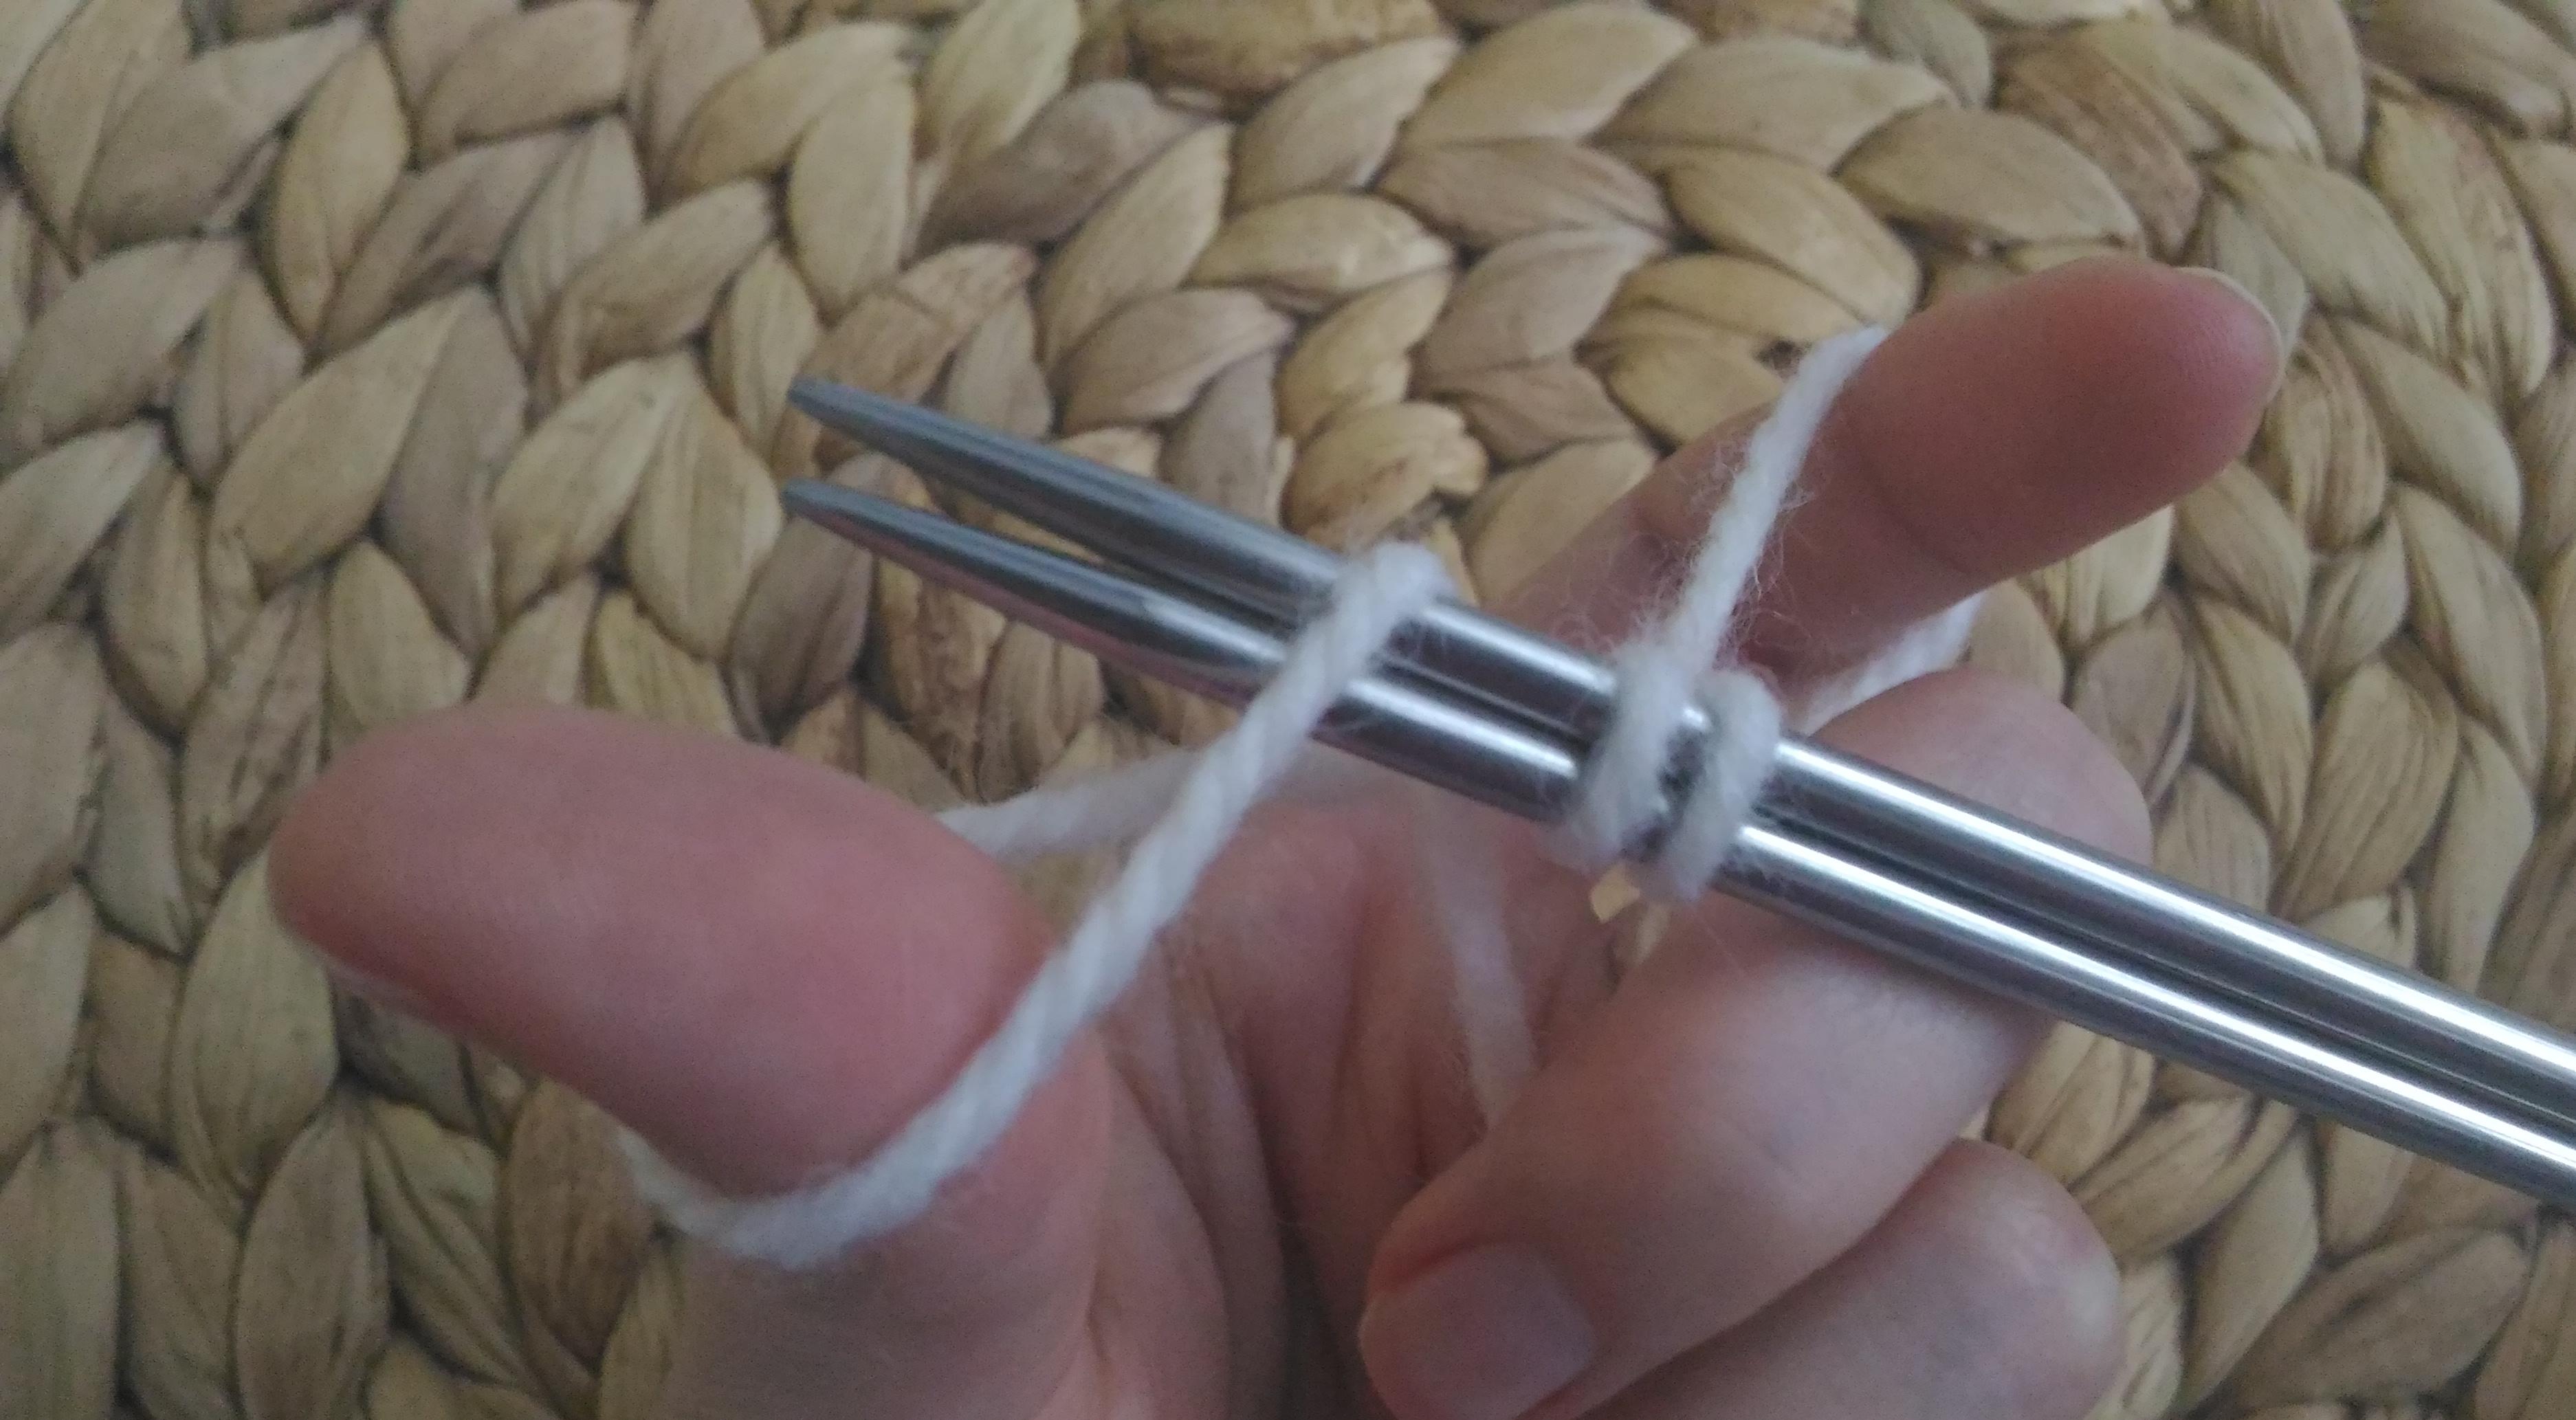
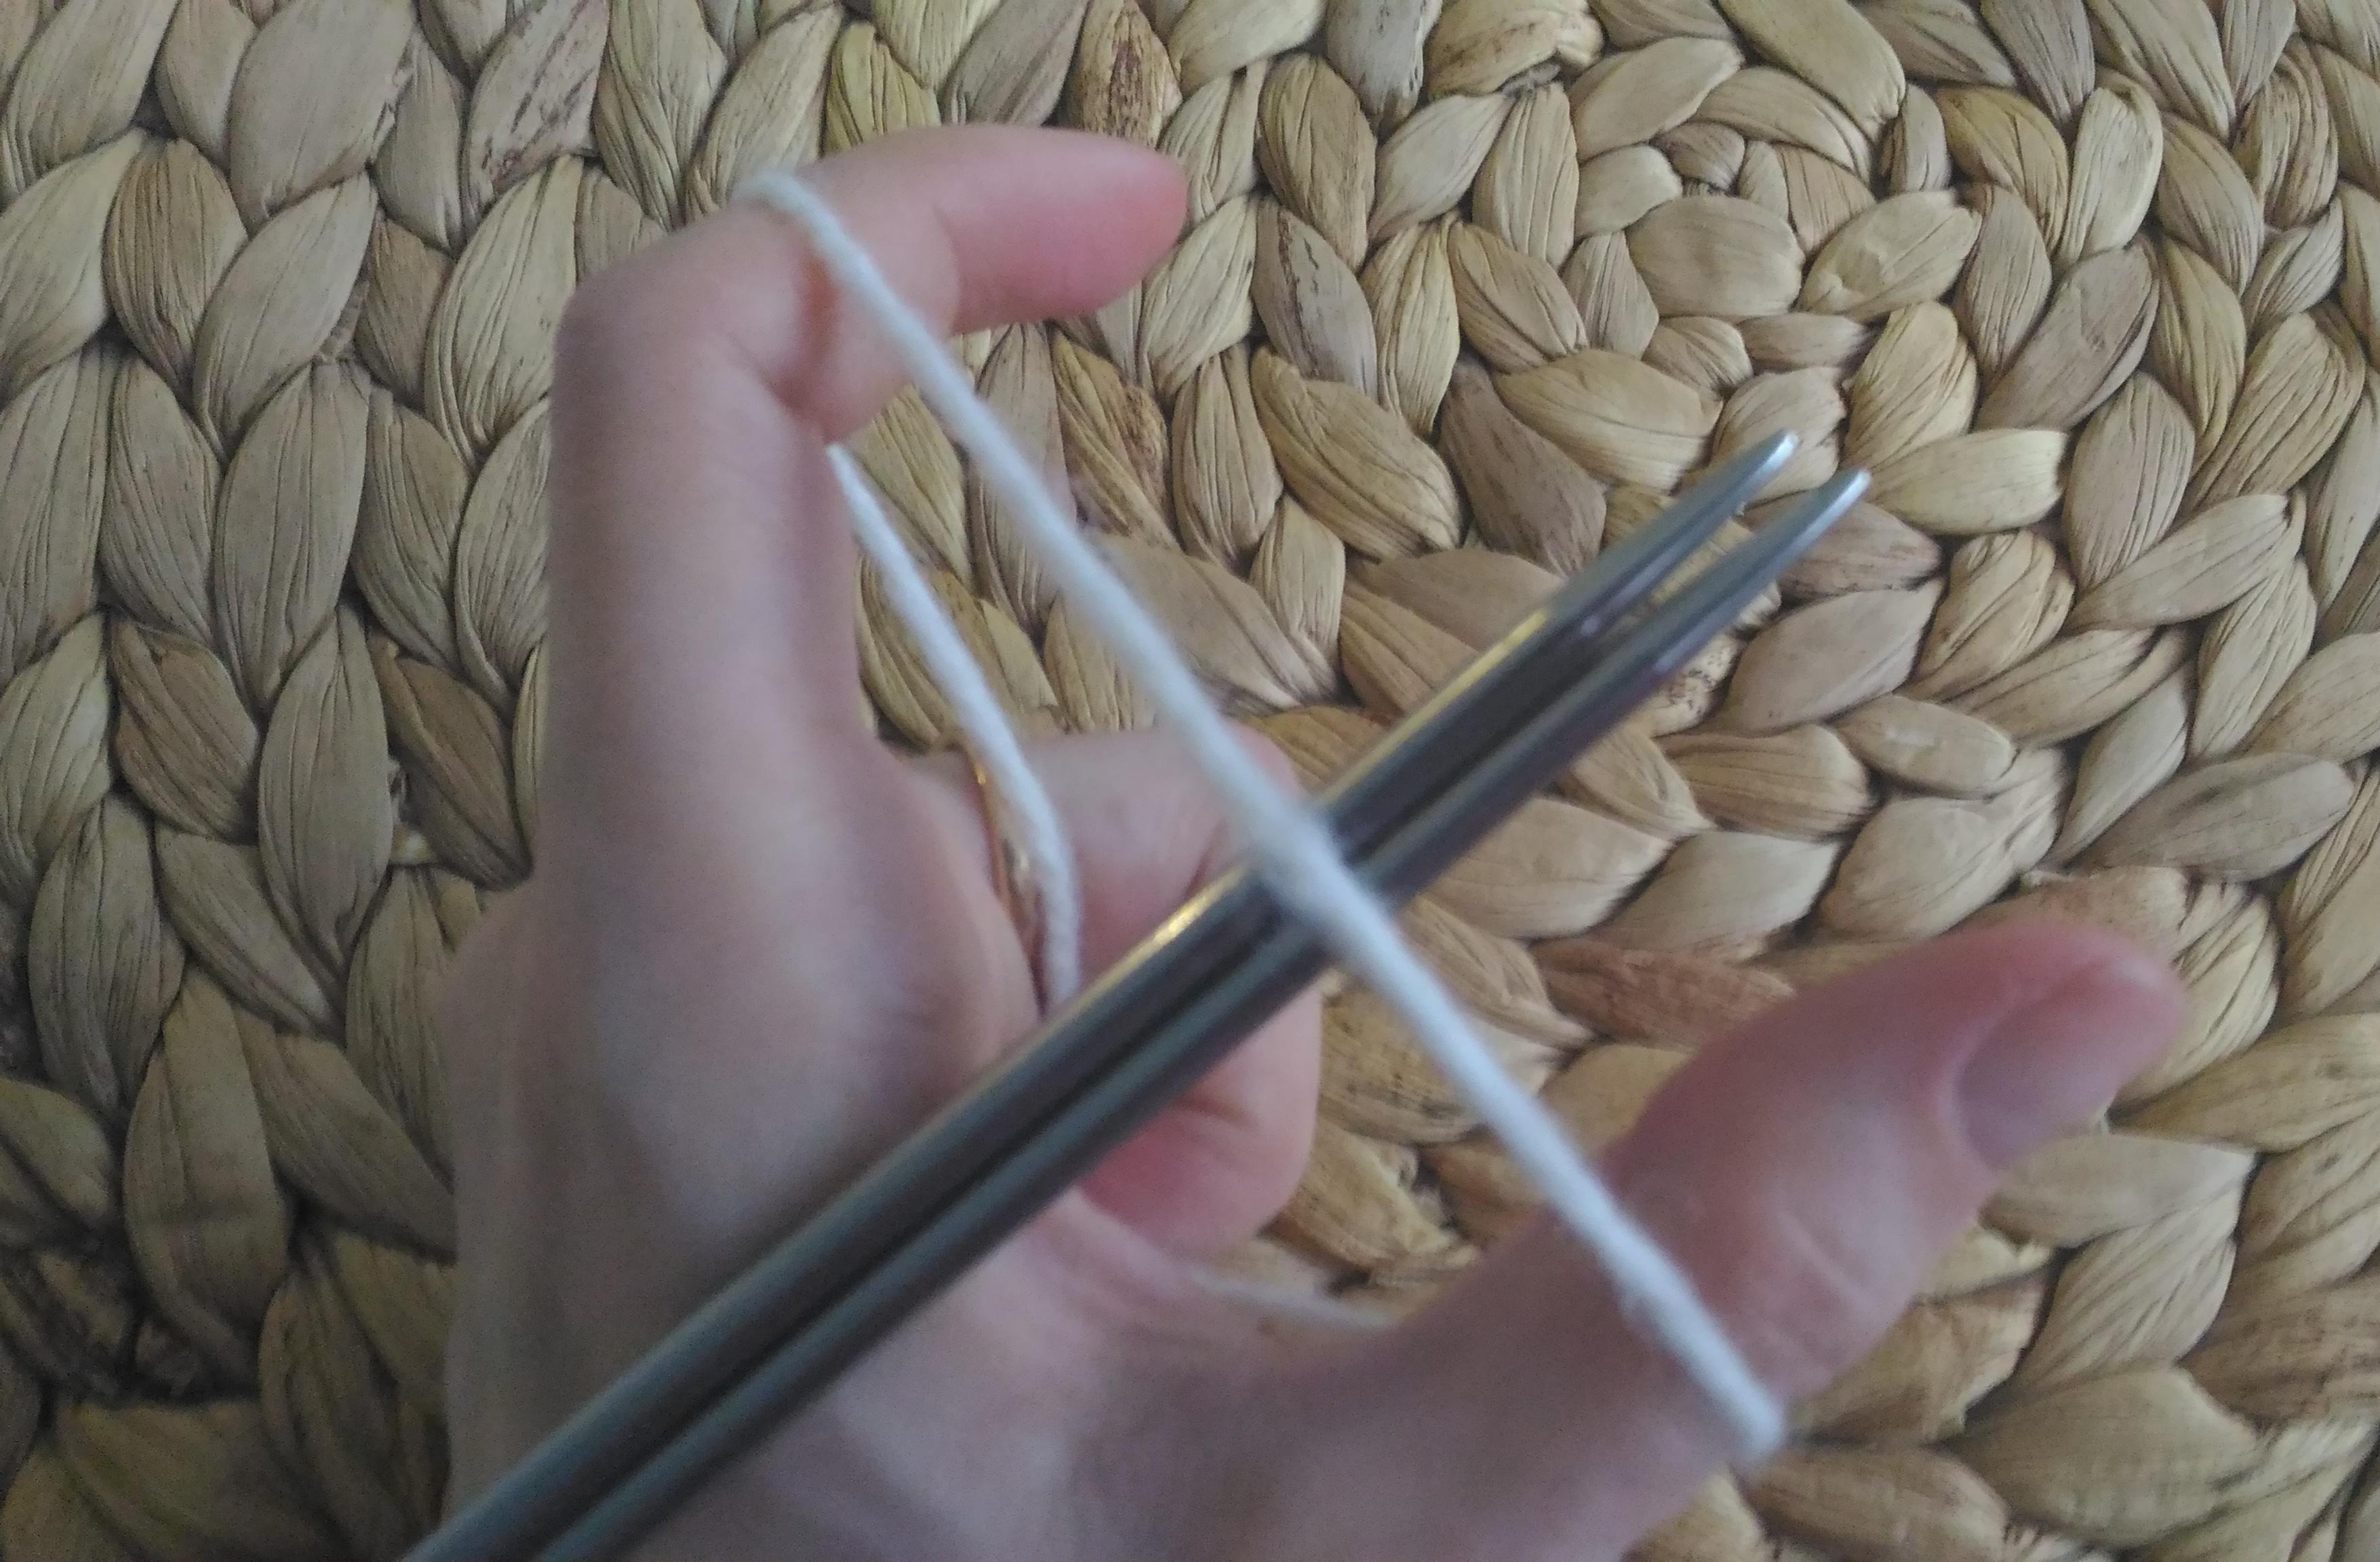
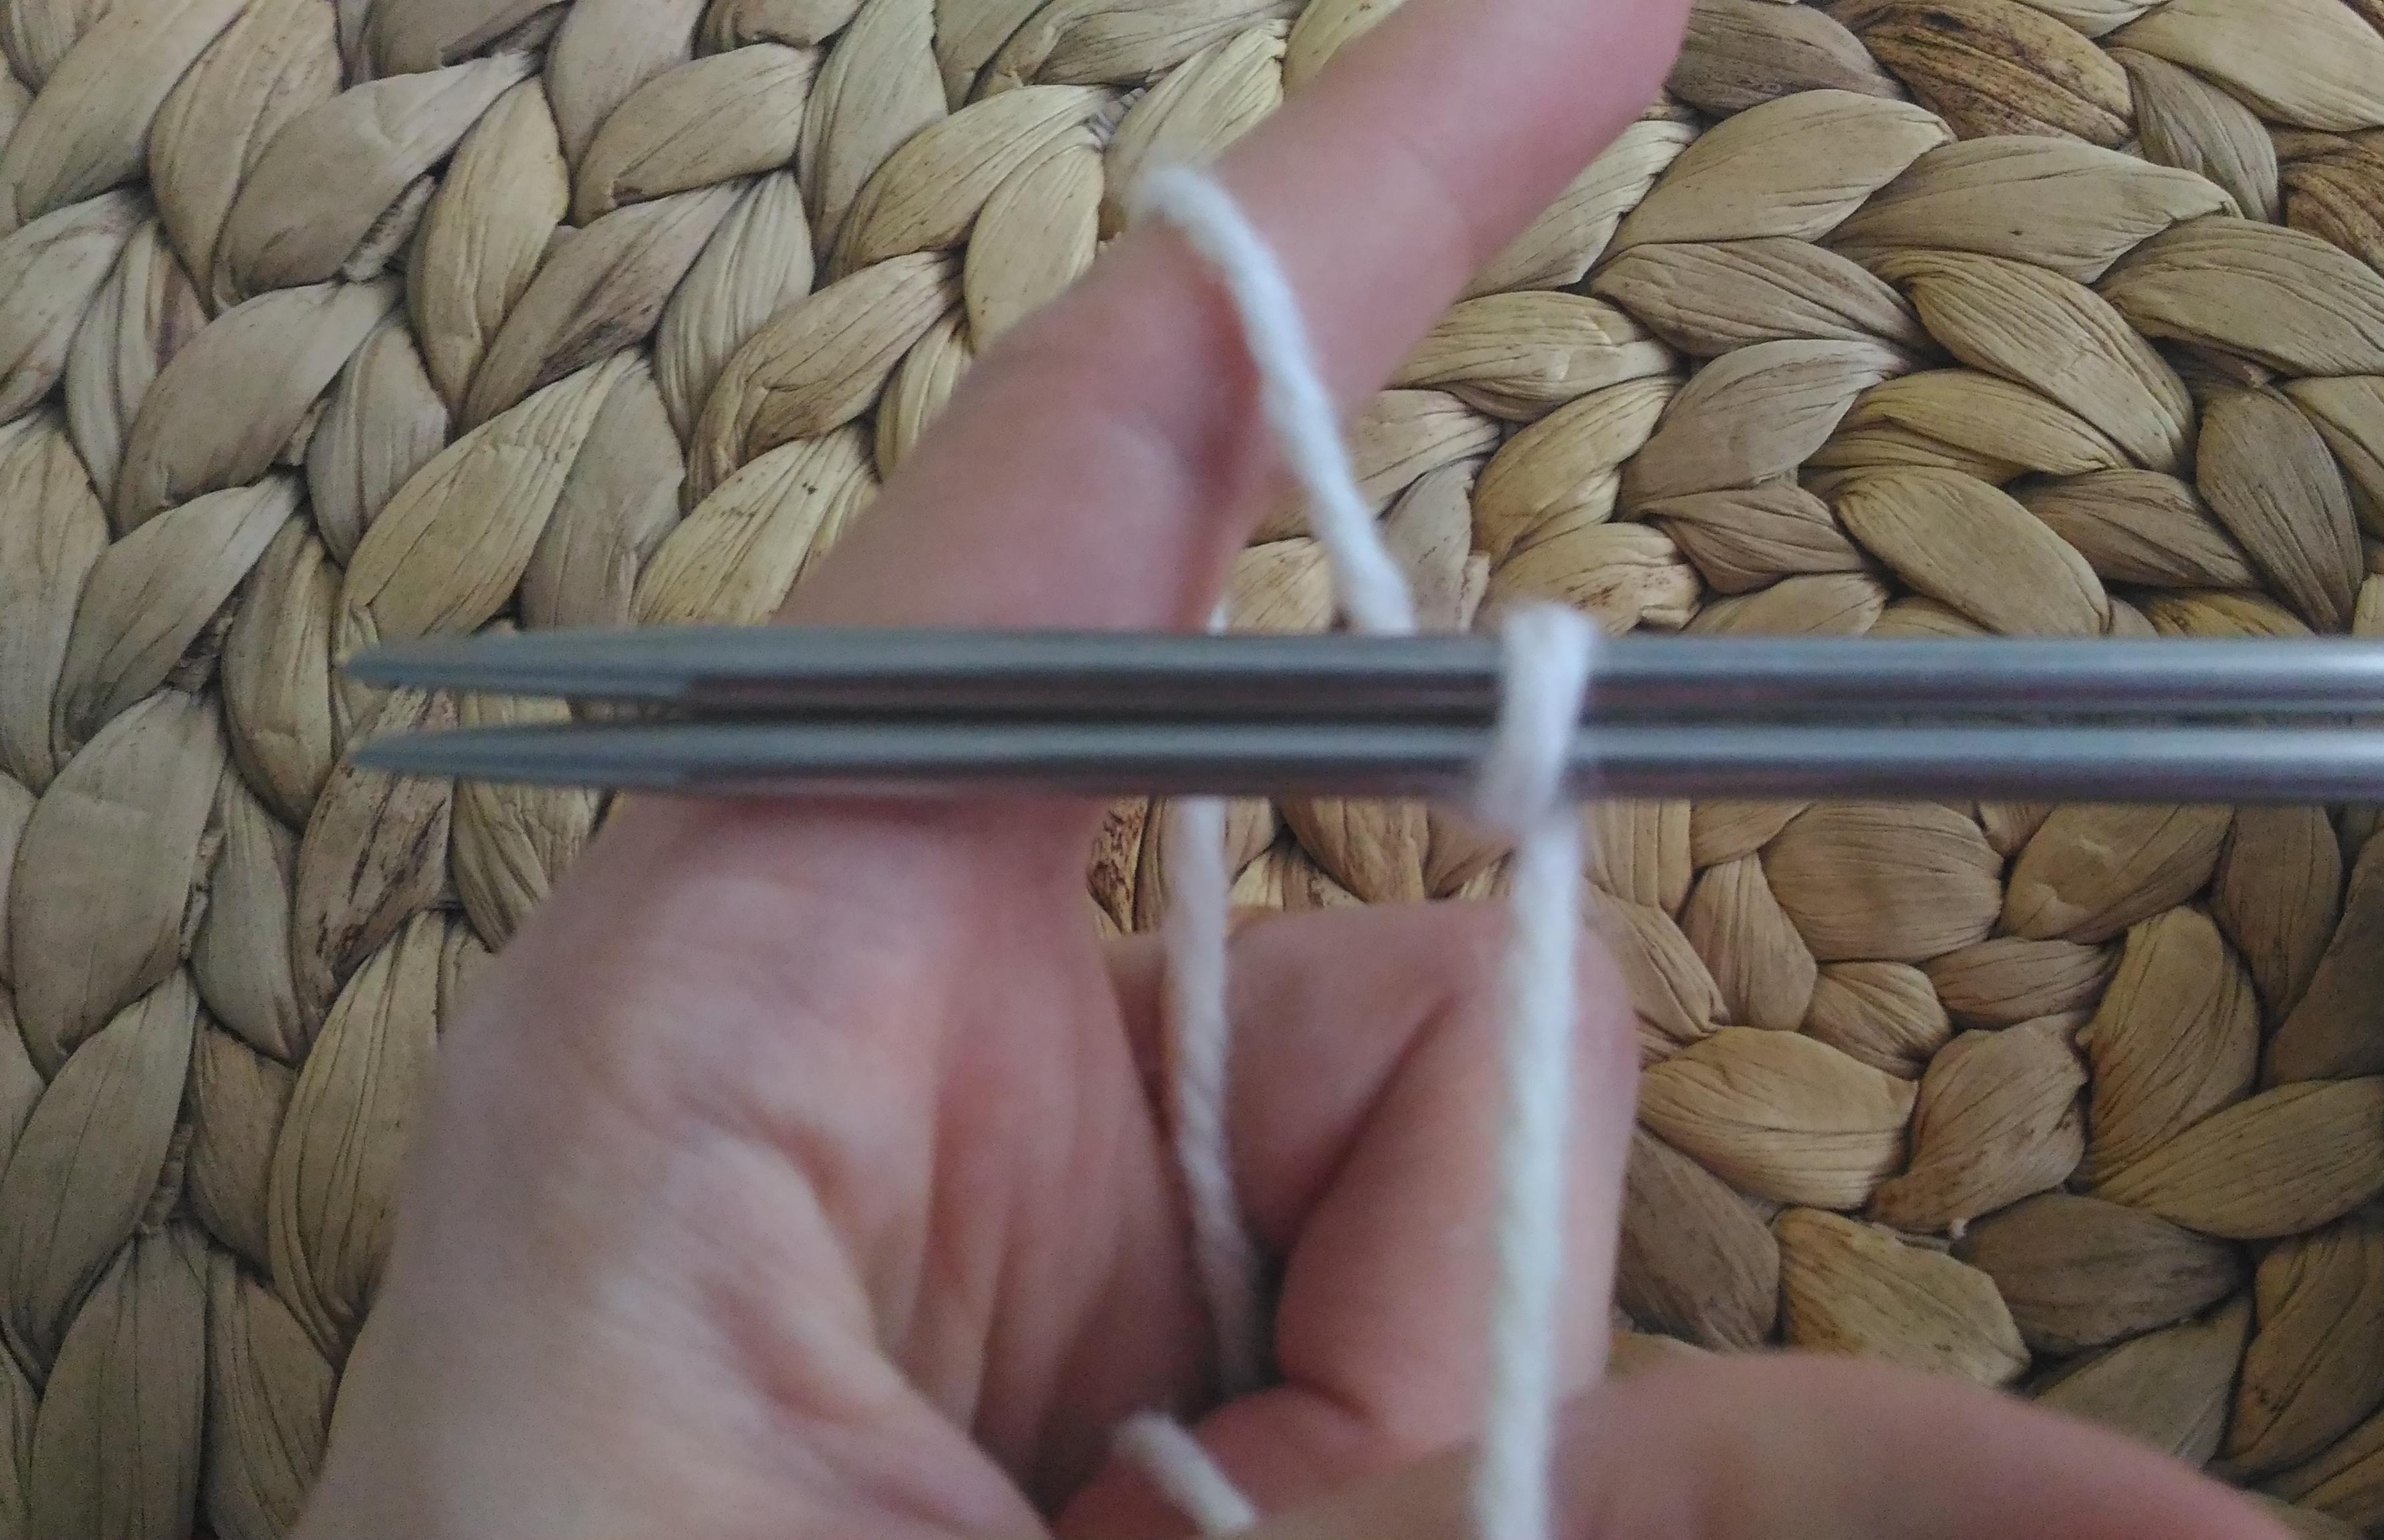
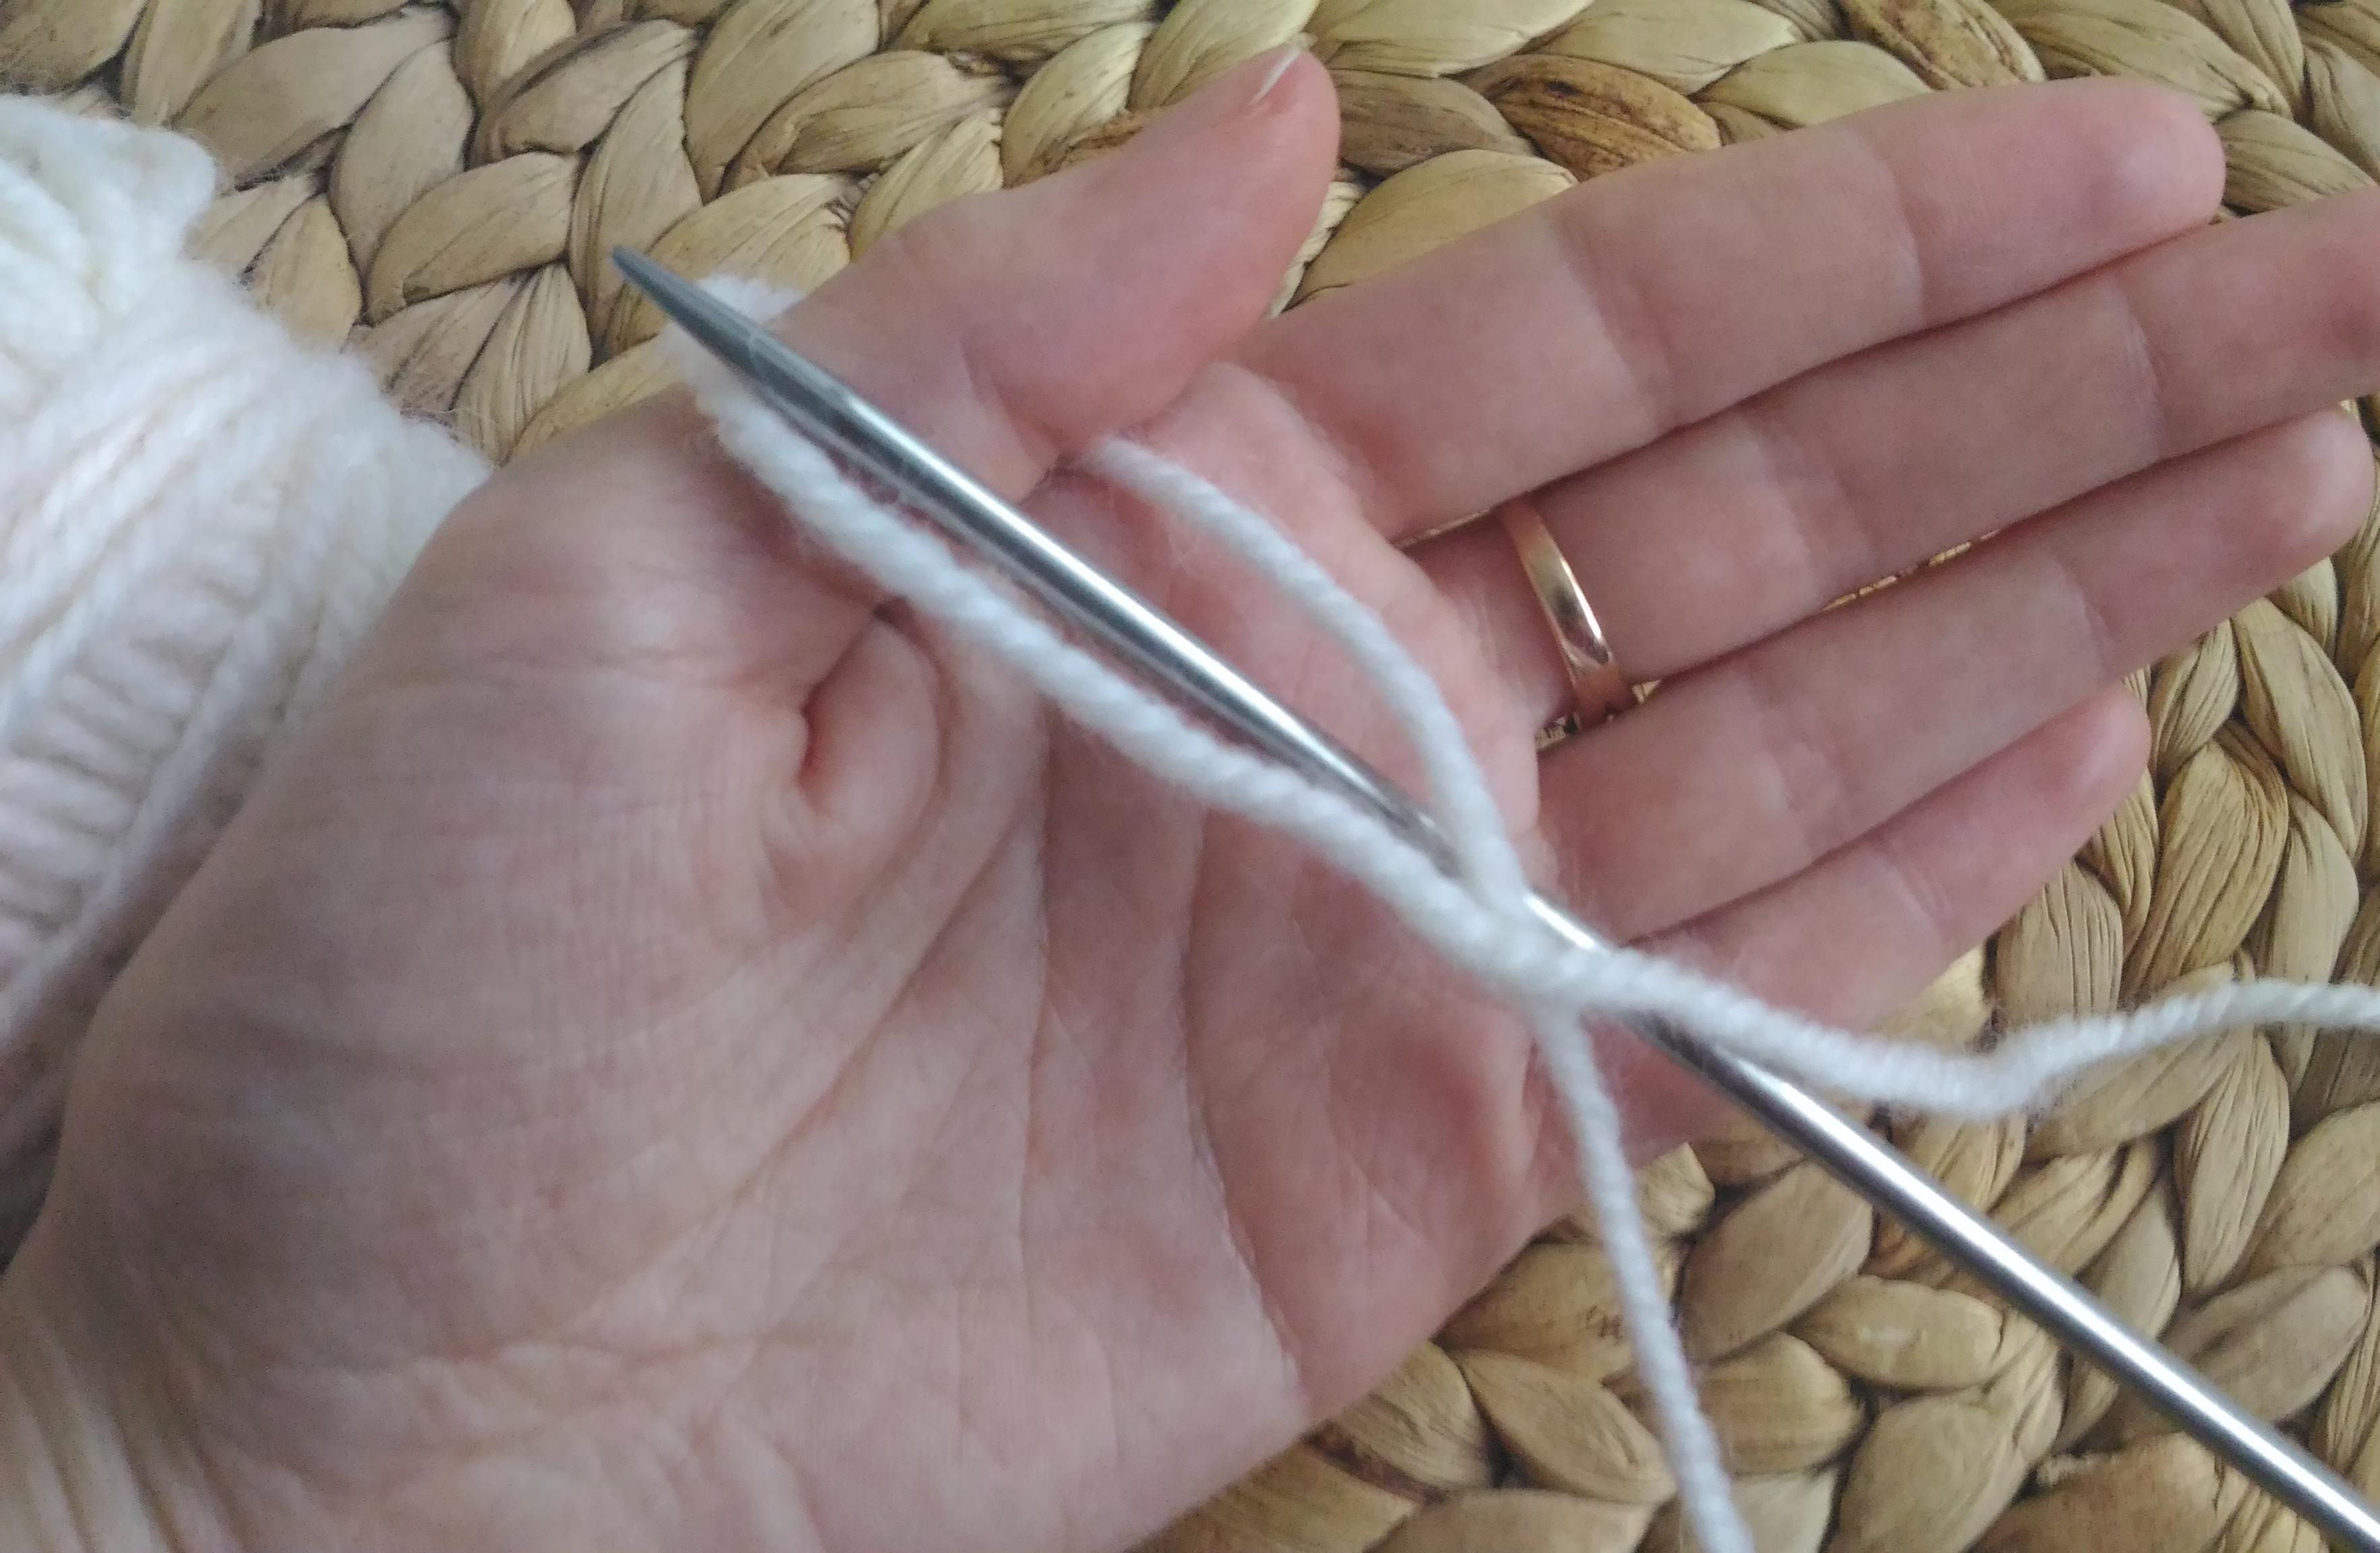
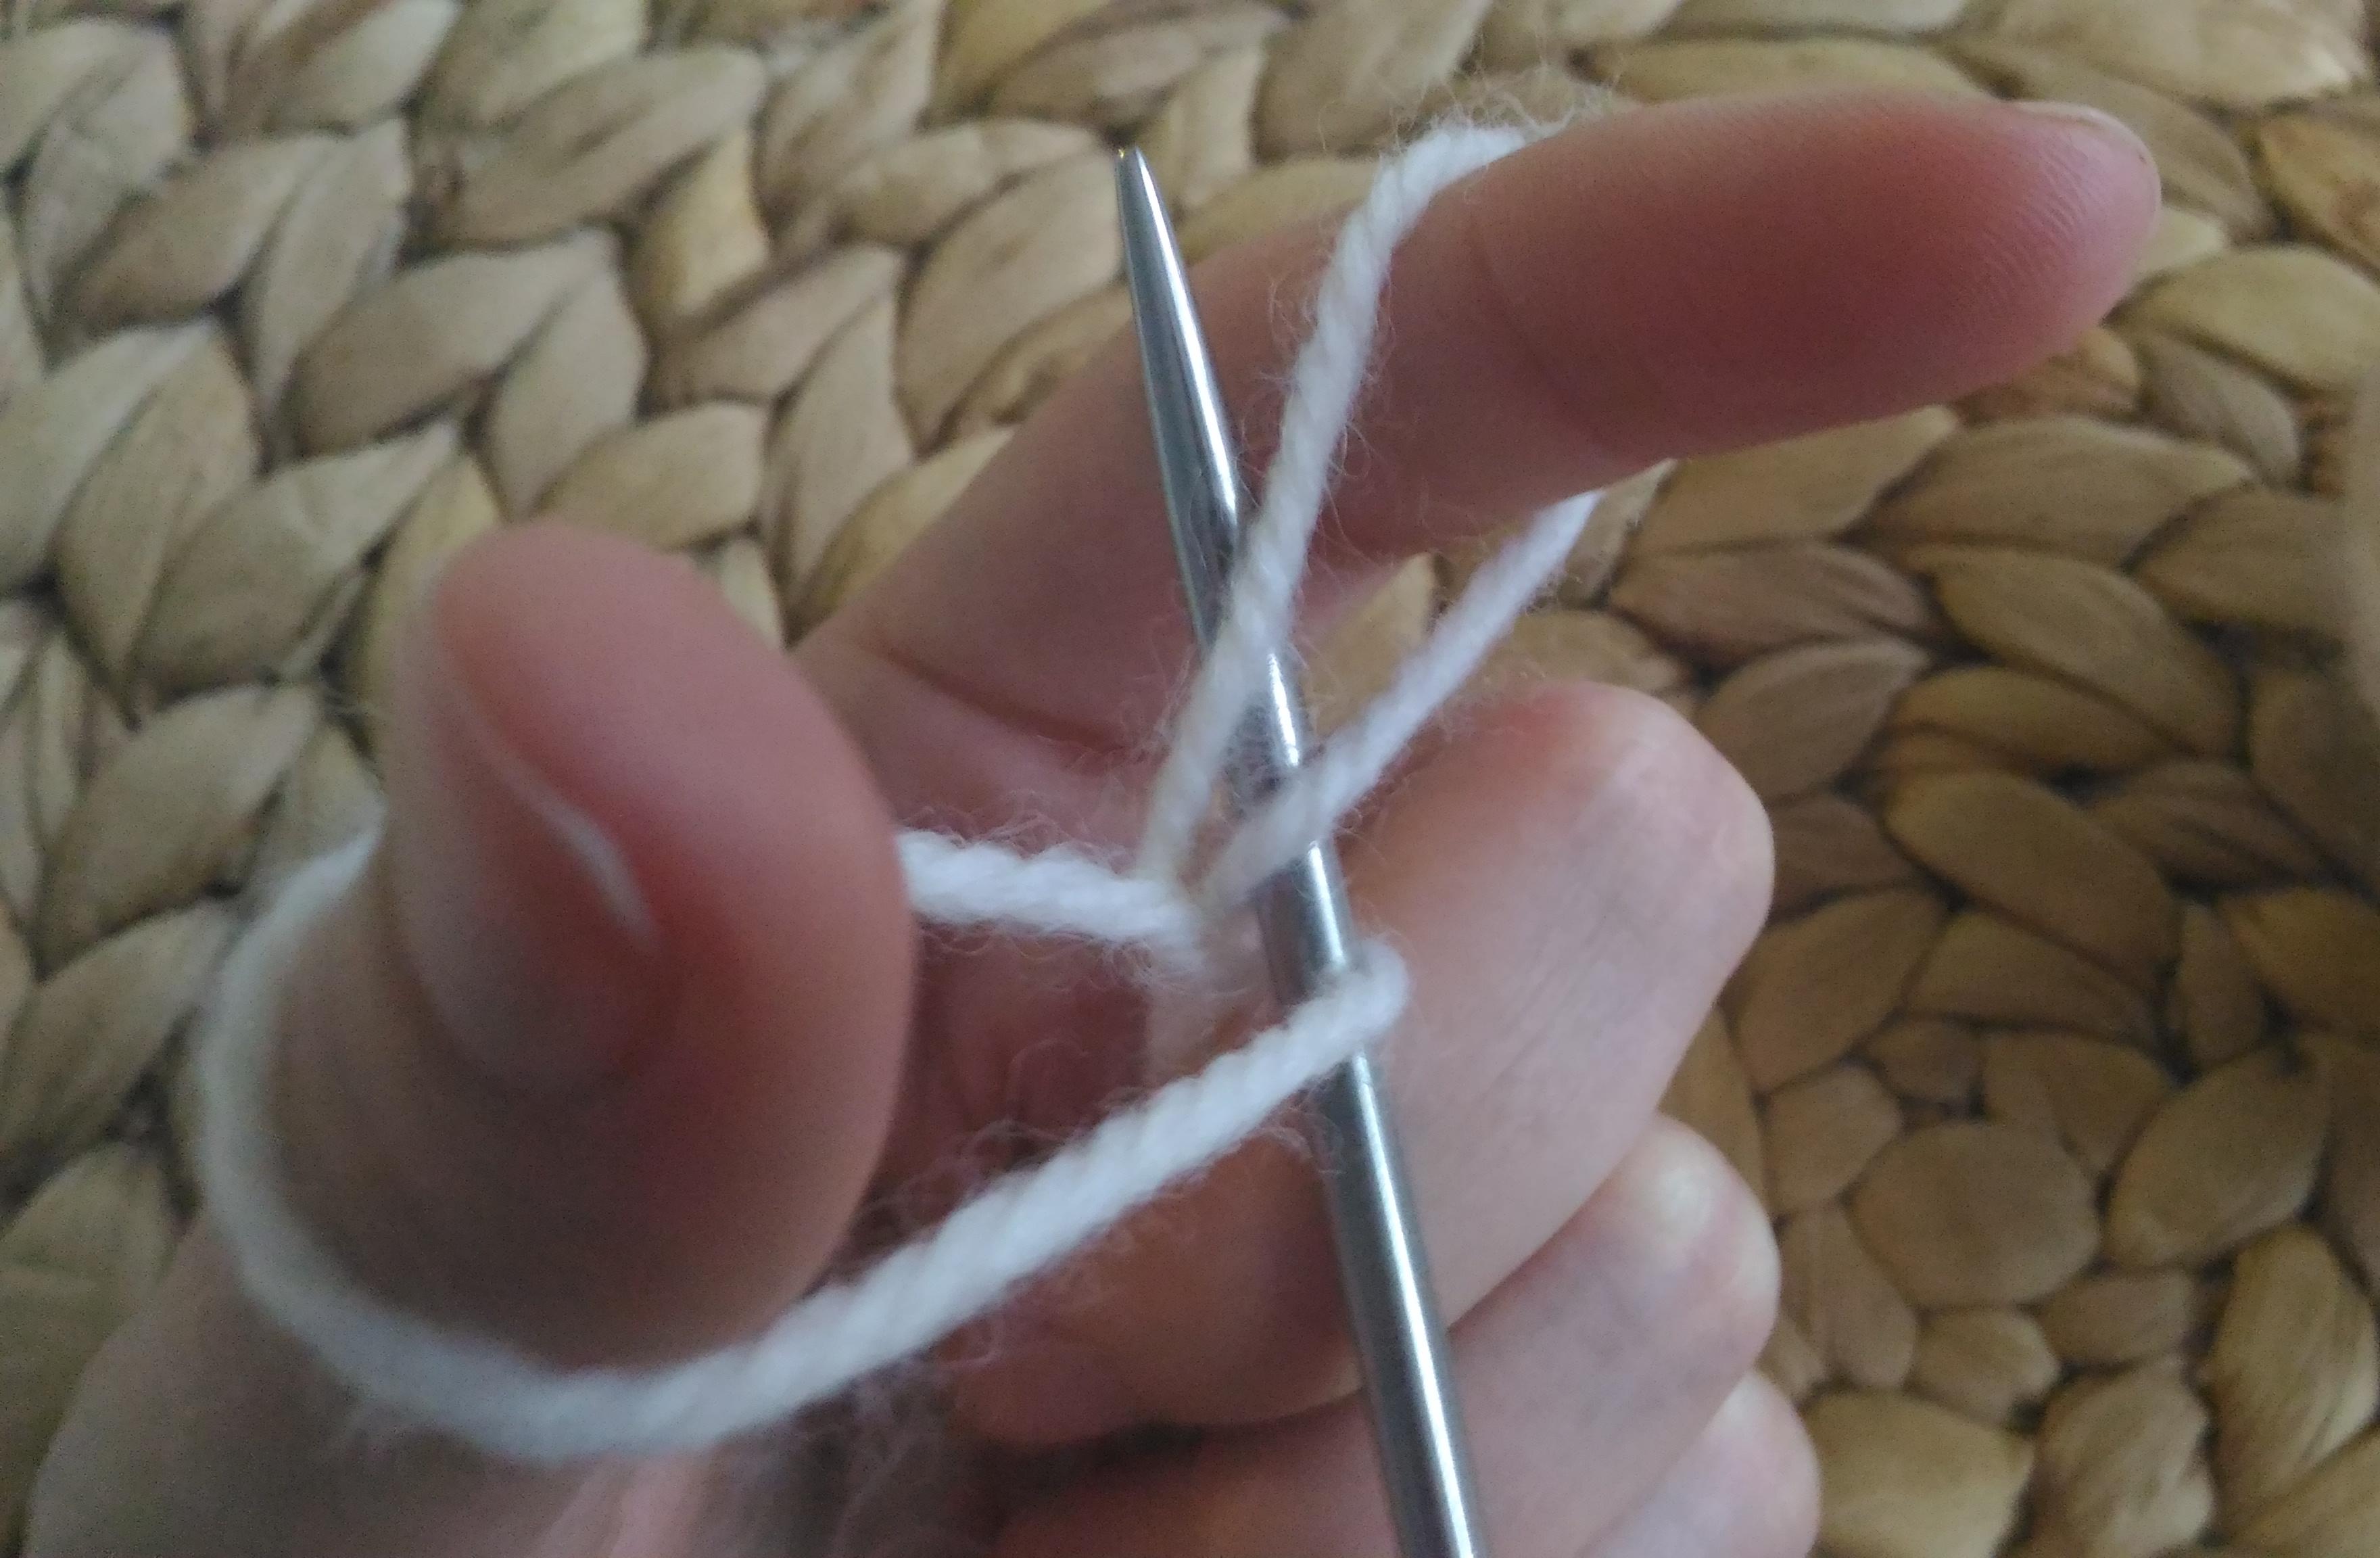
"We throw" a working thread on the first two fingersHands, forming a buttonhole, so that the untouched edge was from the side of pain, and the coil from the side of the decree. We squeeze the yarn in the palm of your hand. "We start" knitting needles for yarn between the fingers and over the next one.

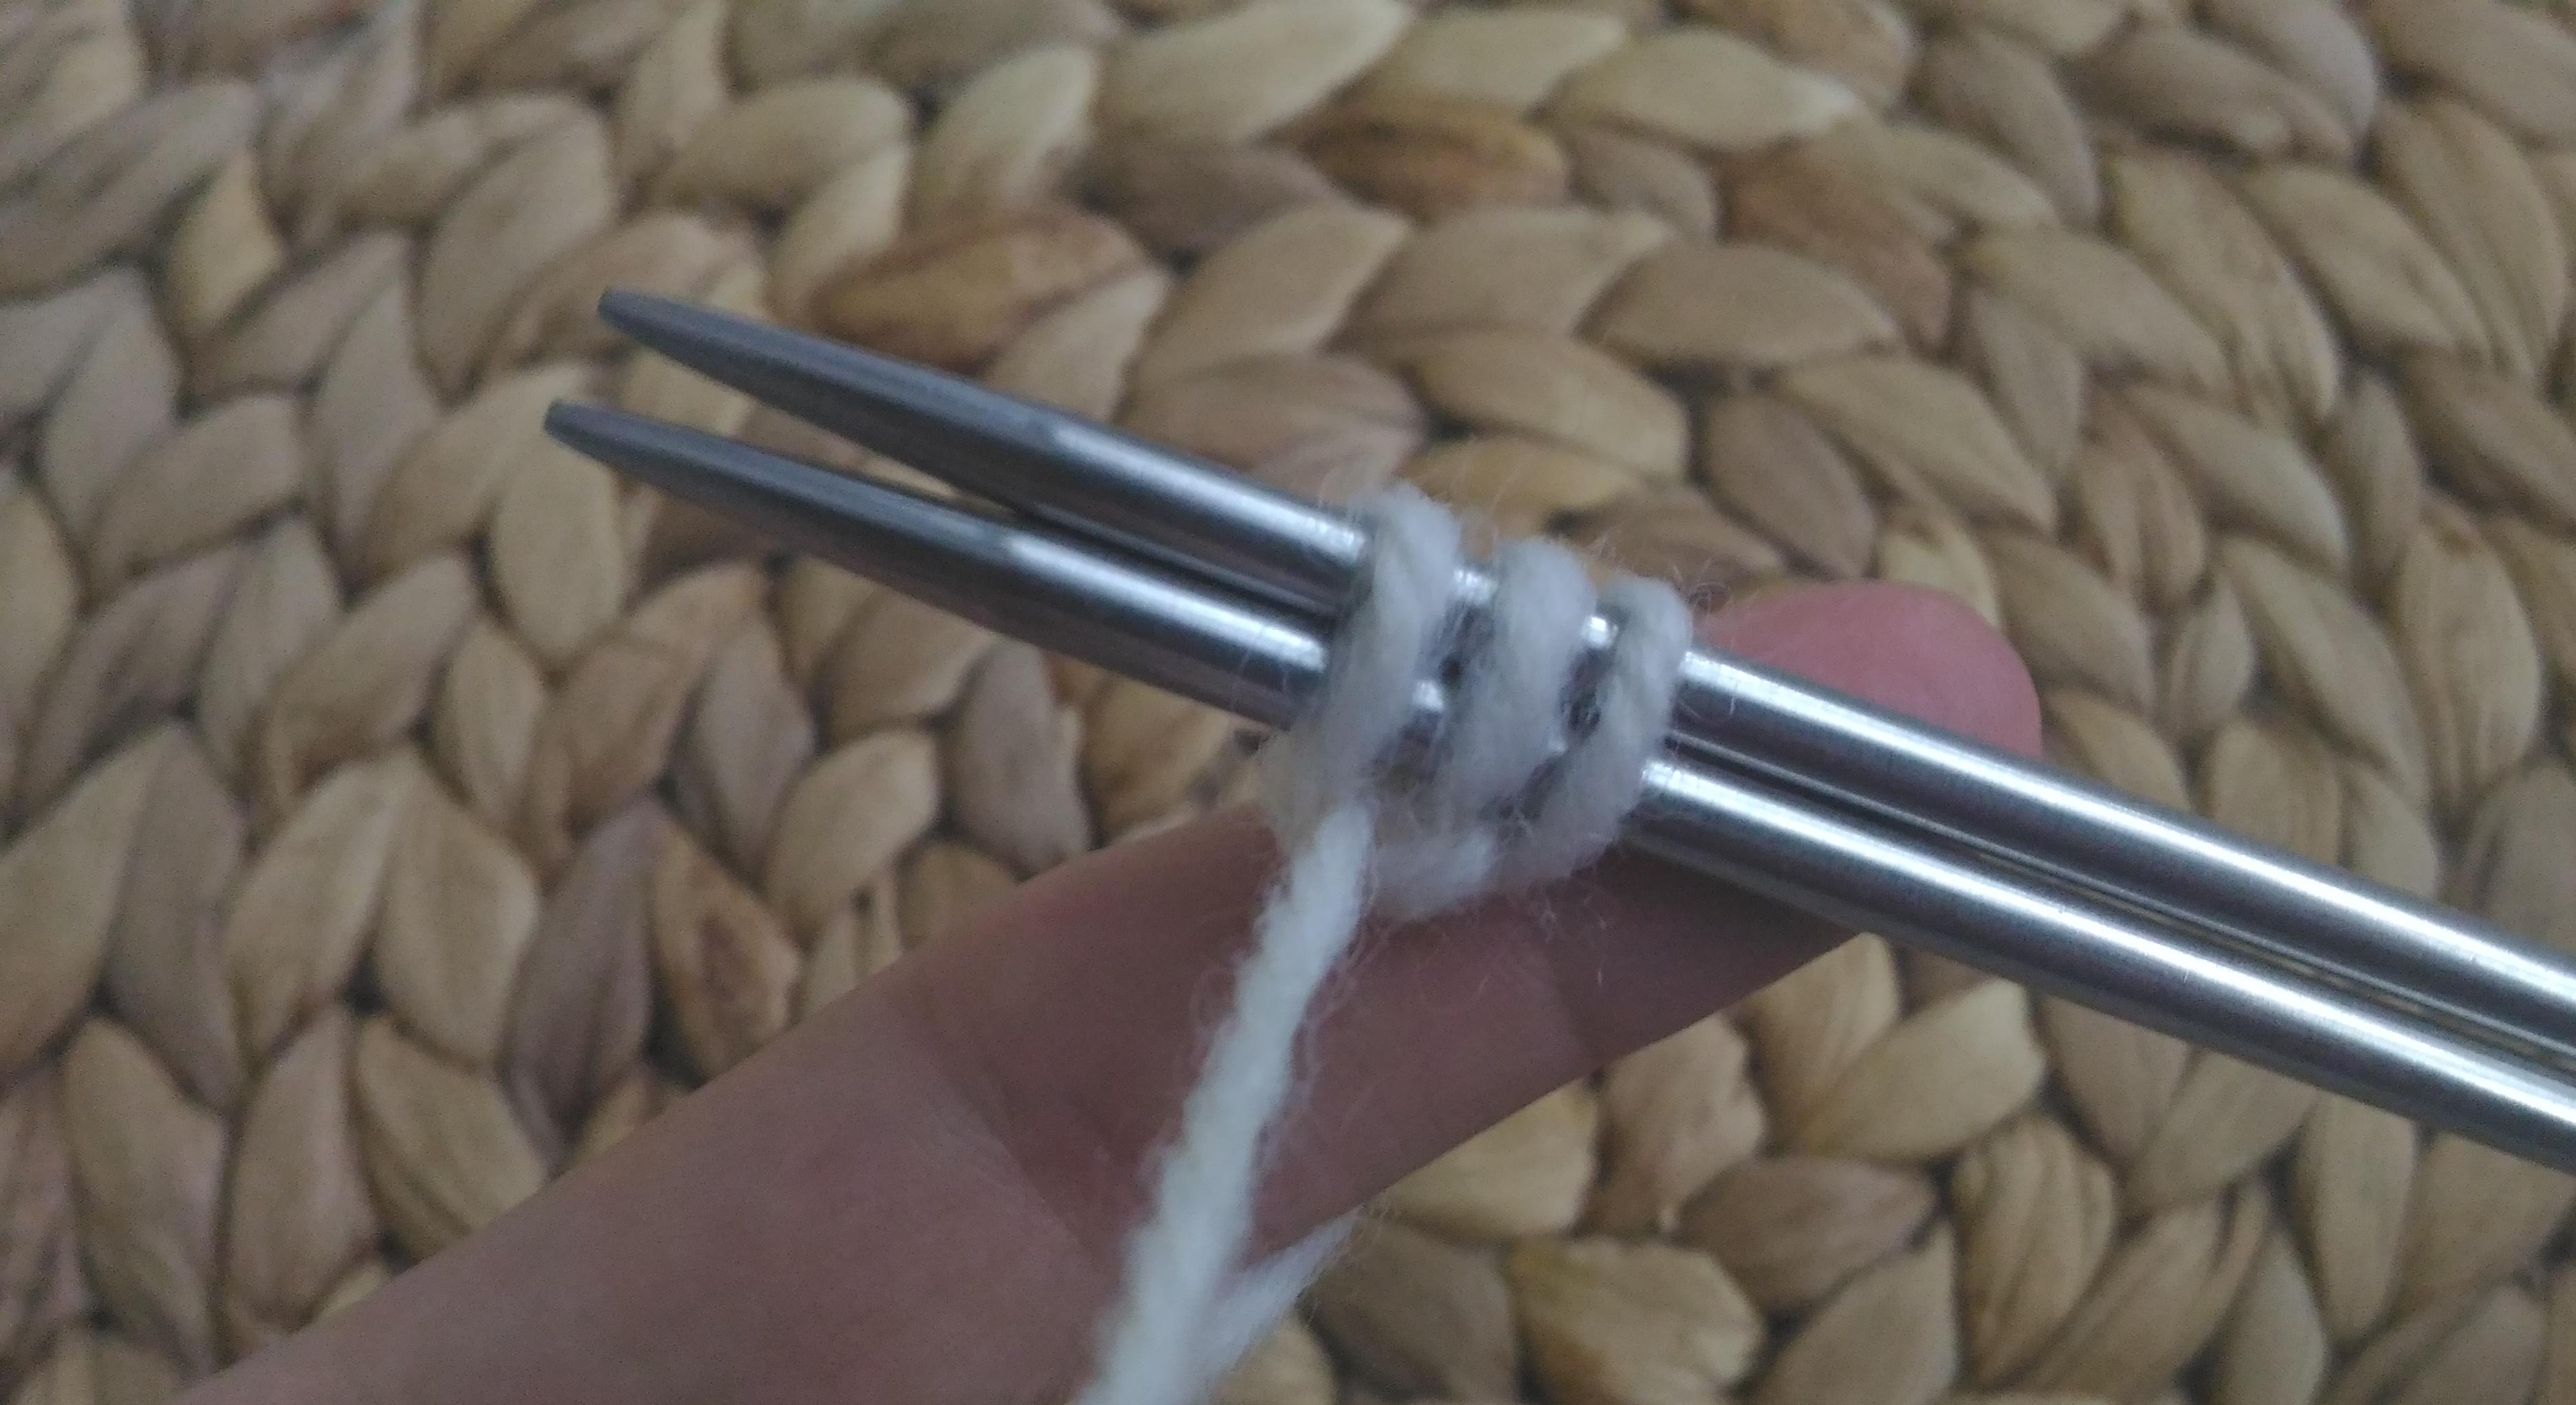
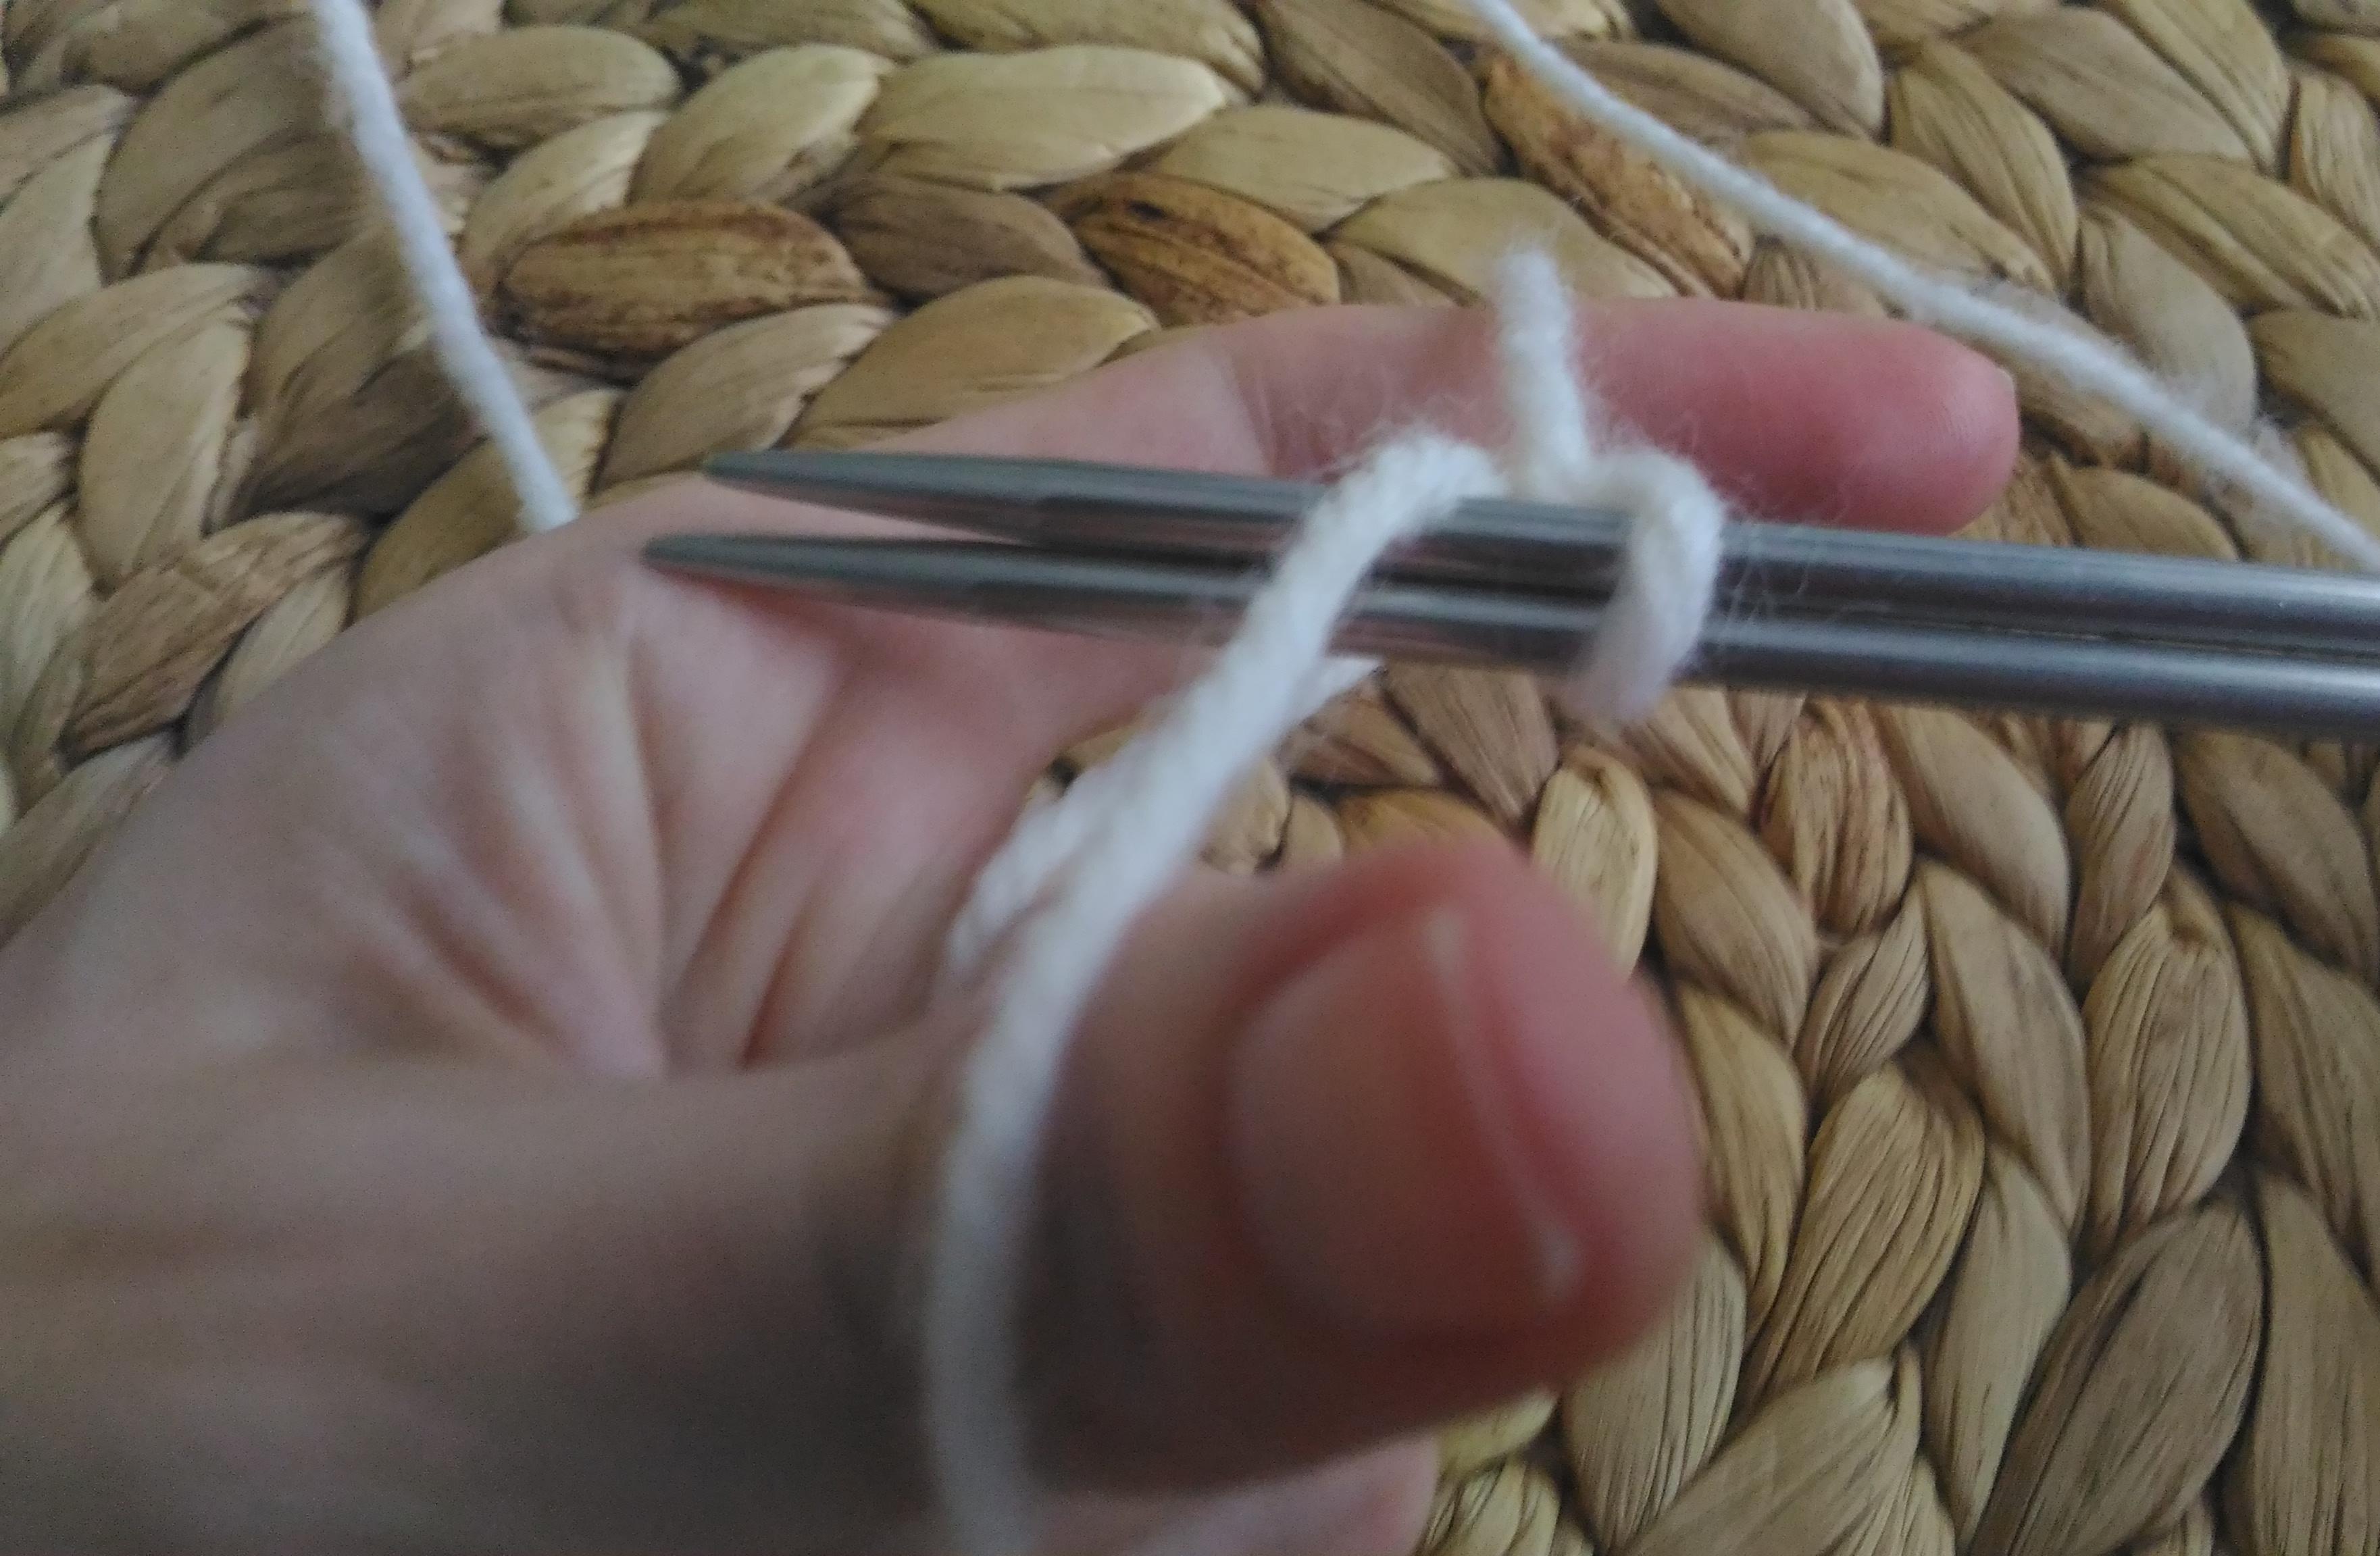
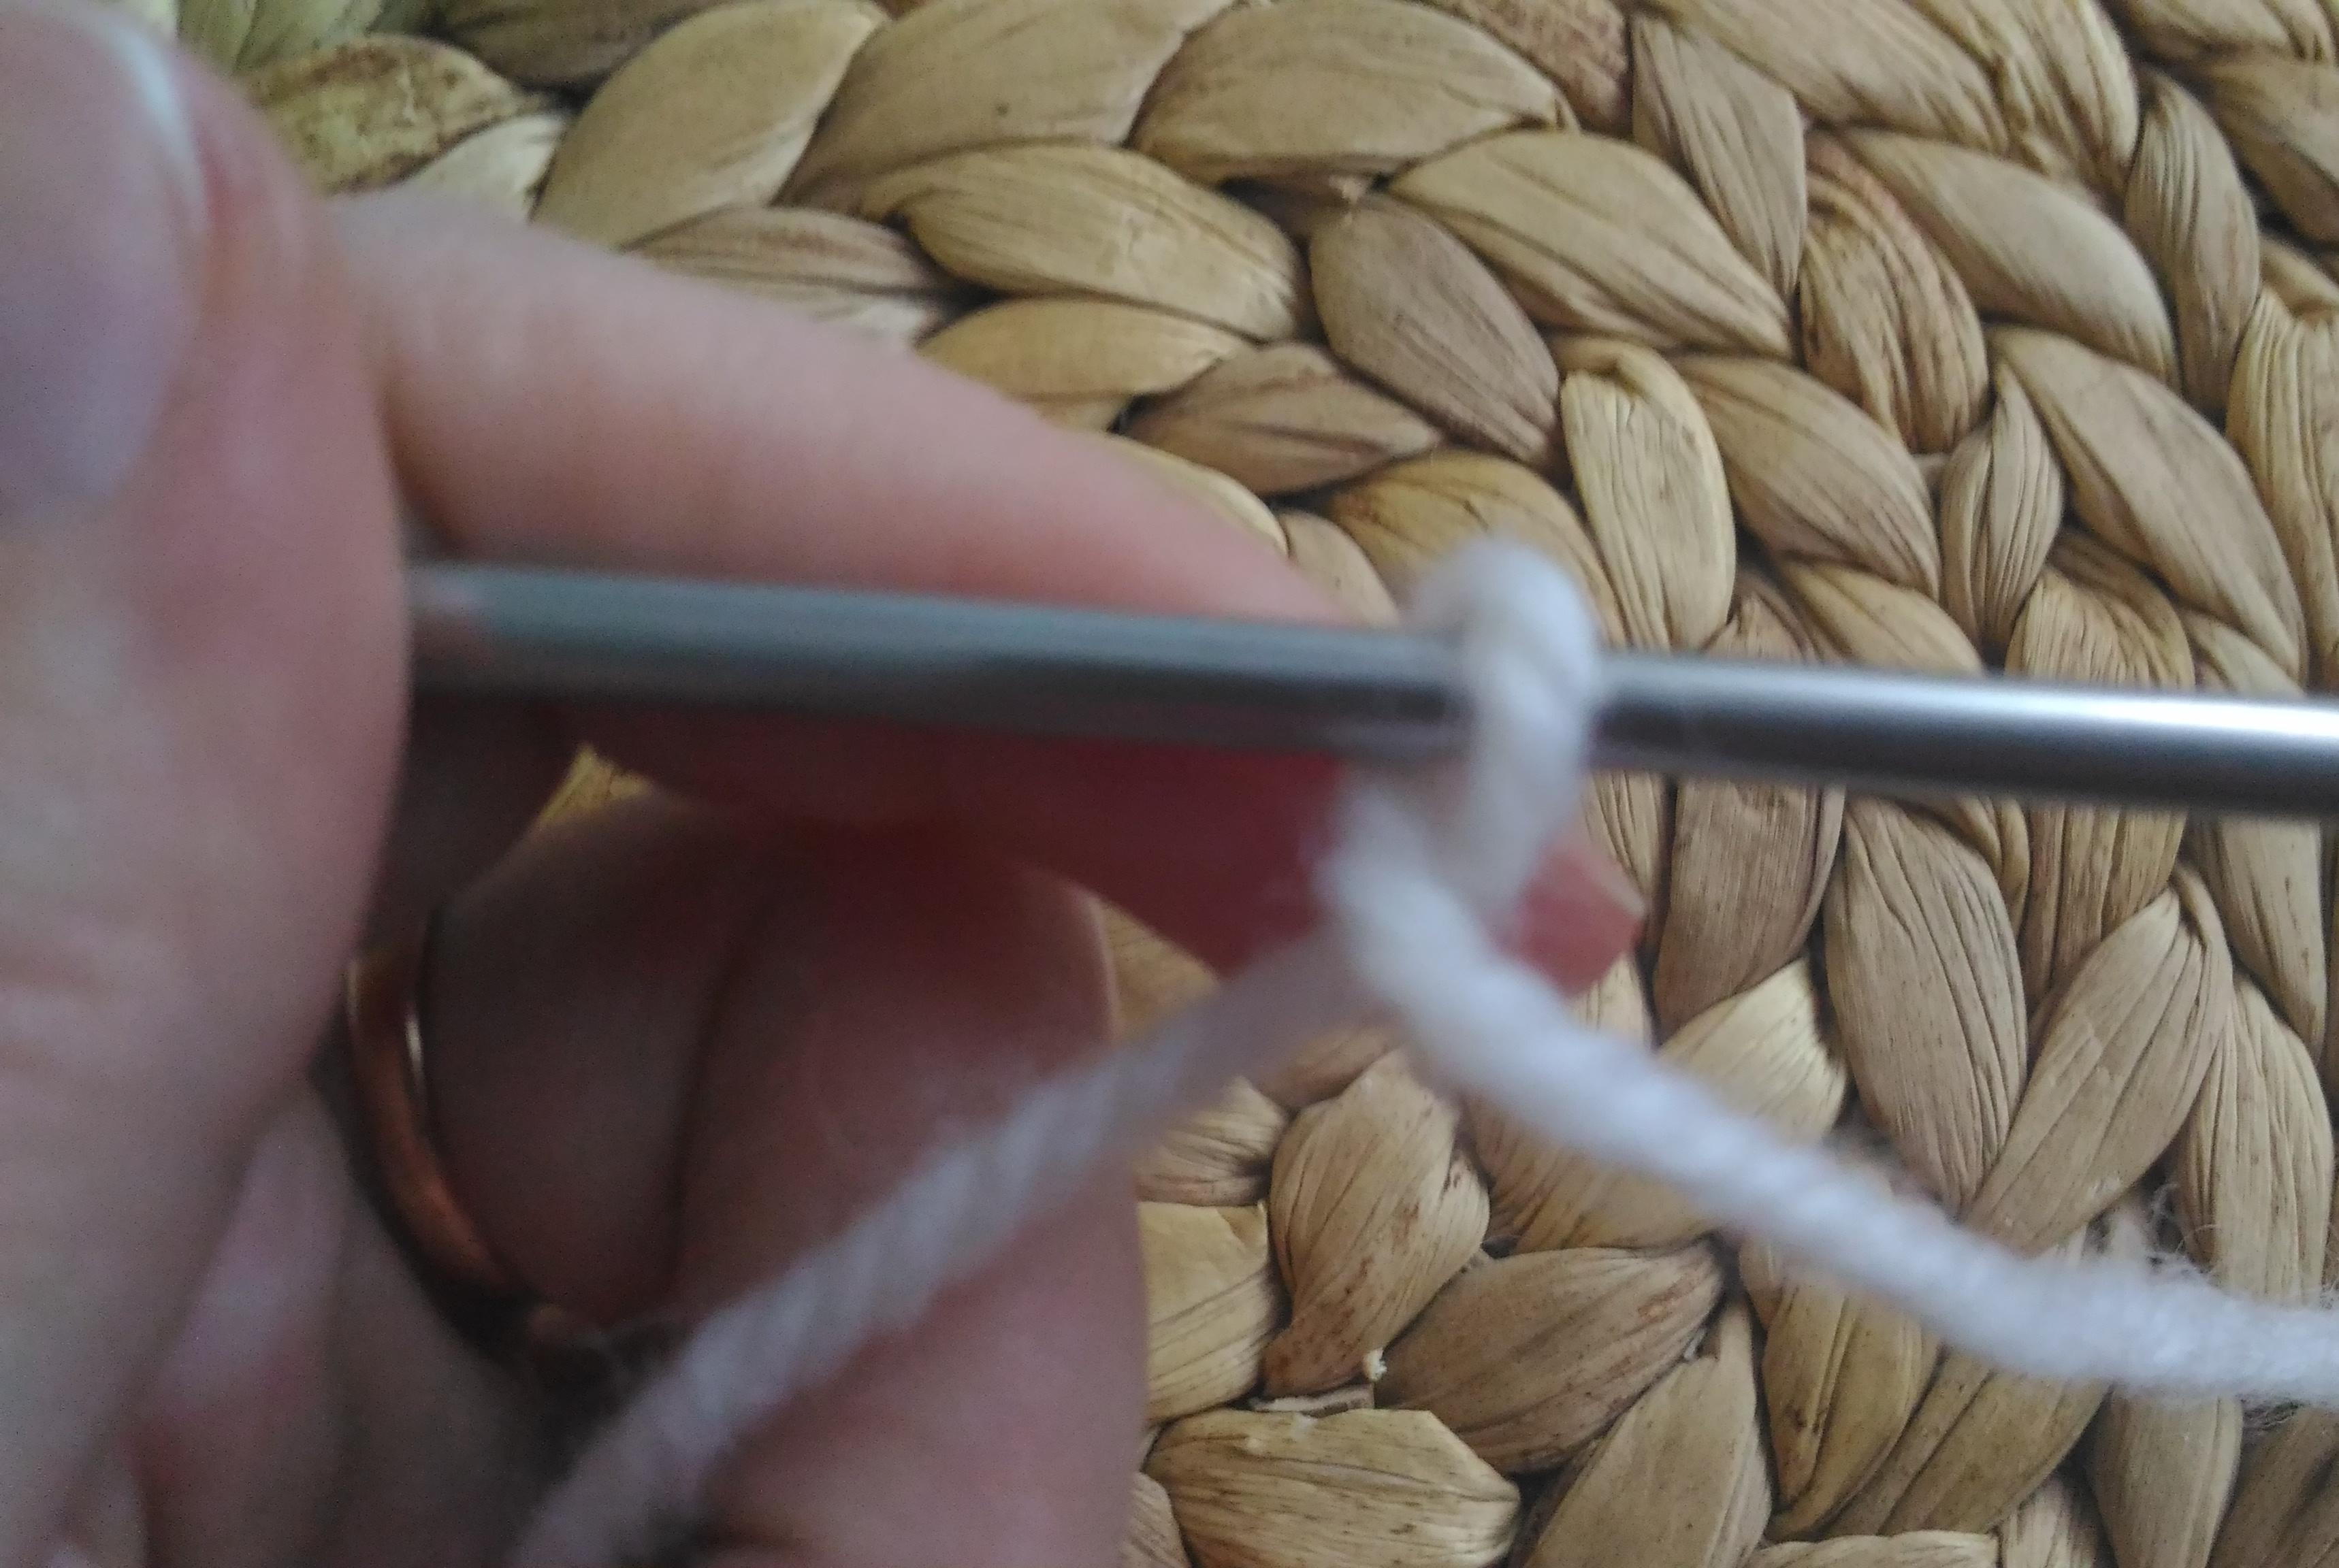
Now we introduce in P, formed on the big finger. We grab the yarn from the decree and take it out through P. We tighten it. Two П are already ready.

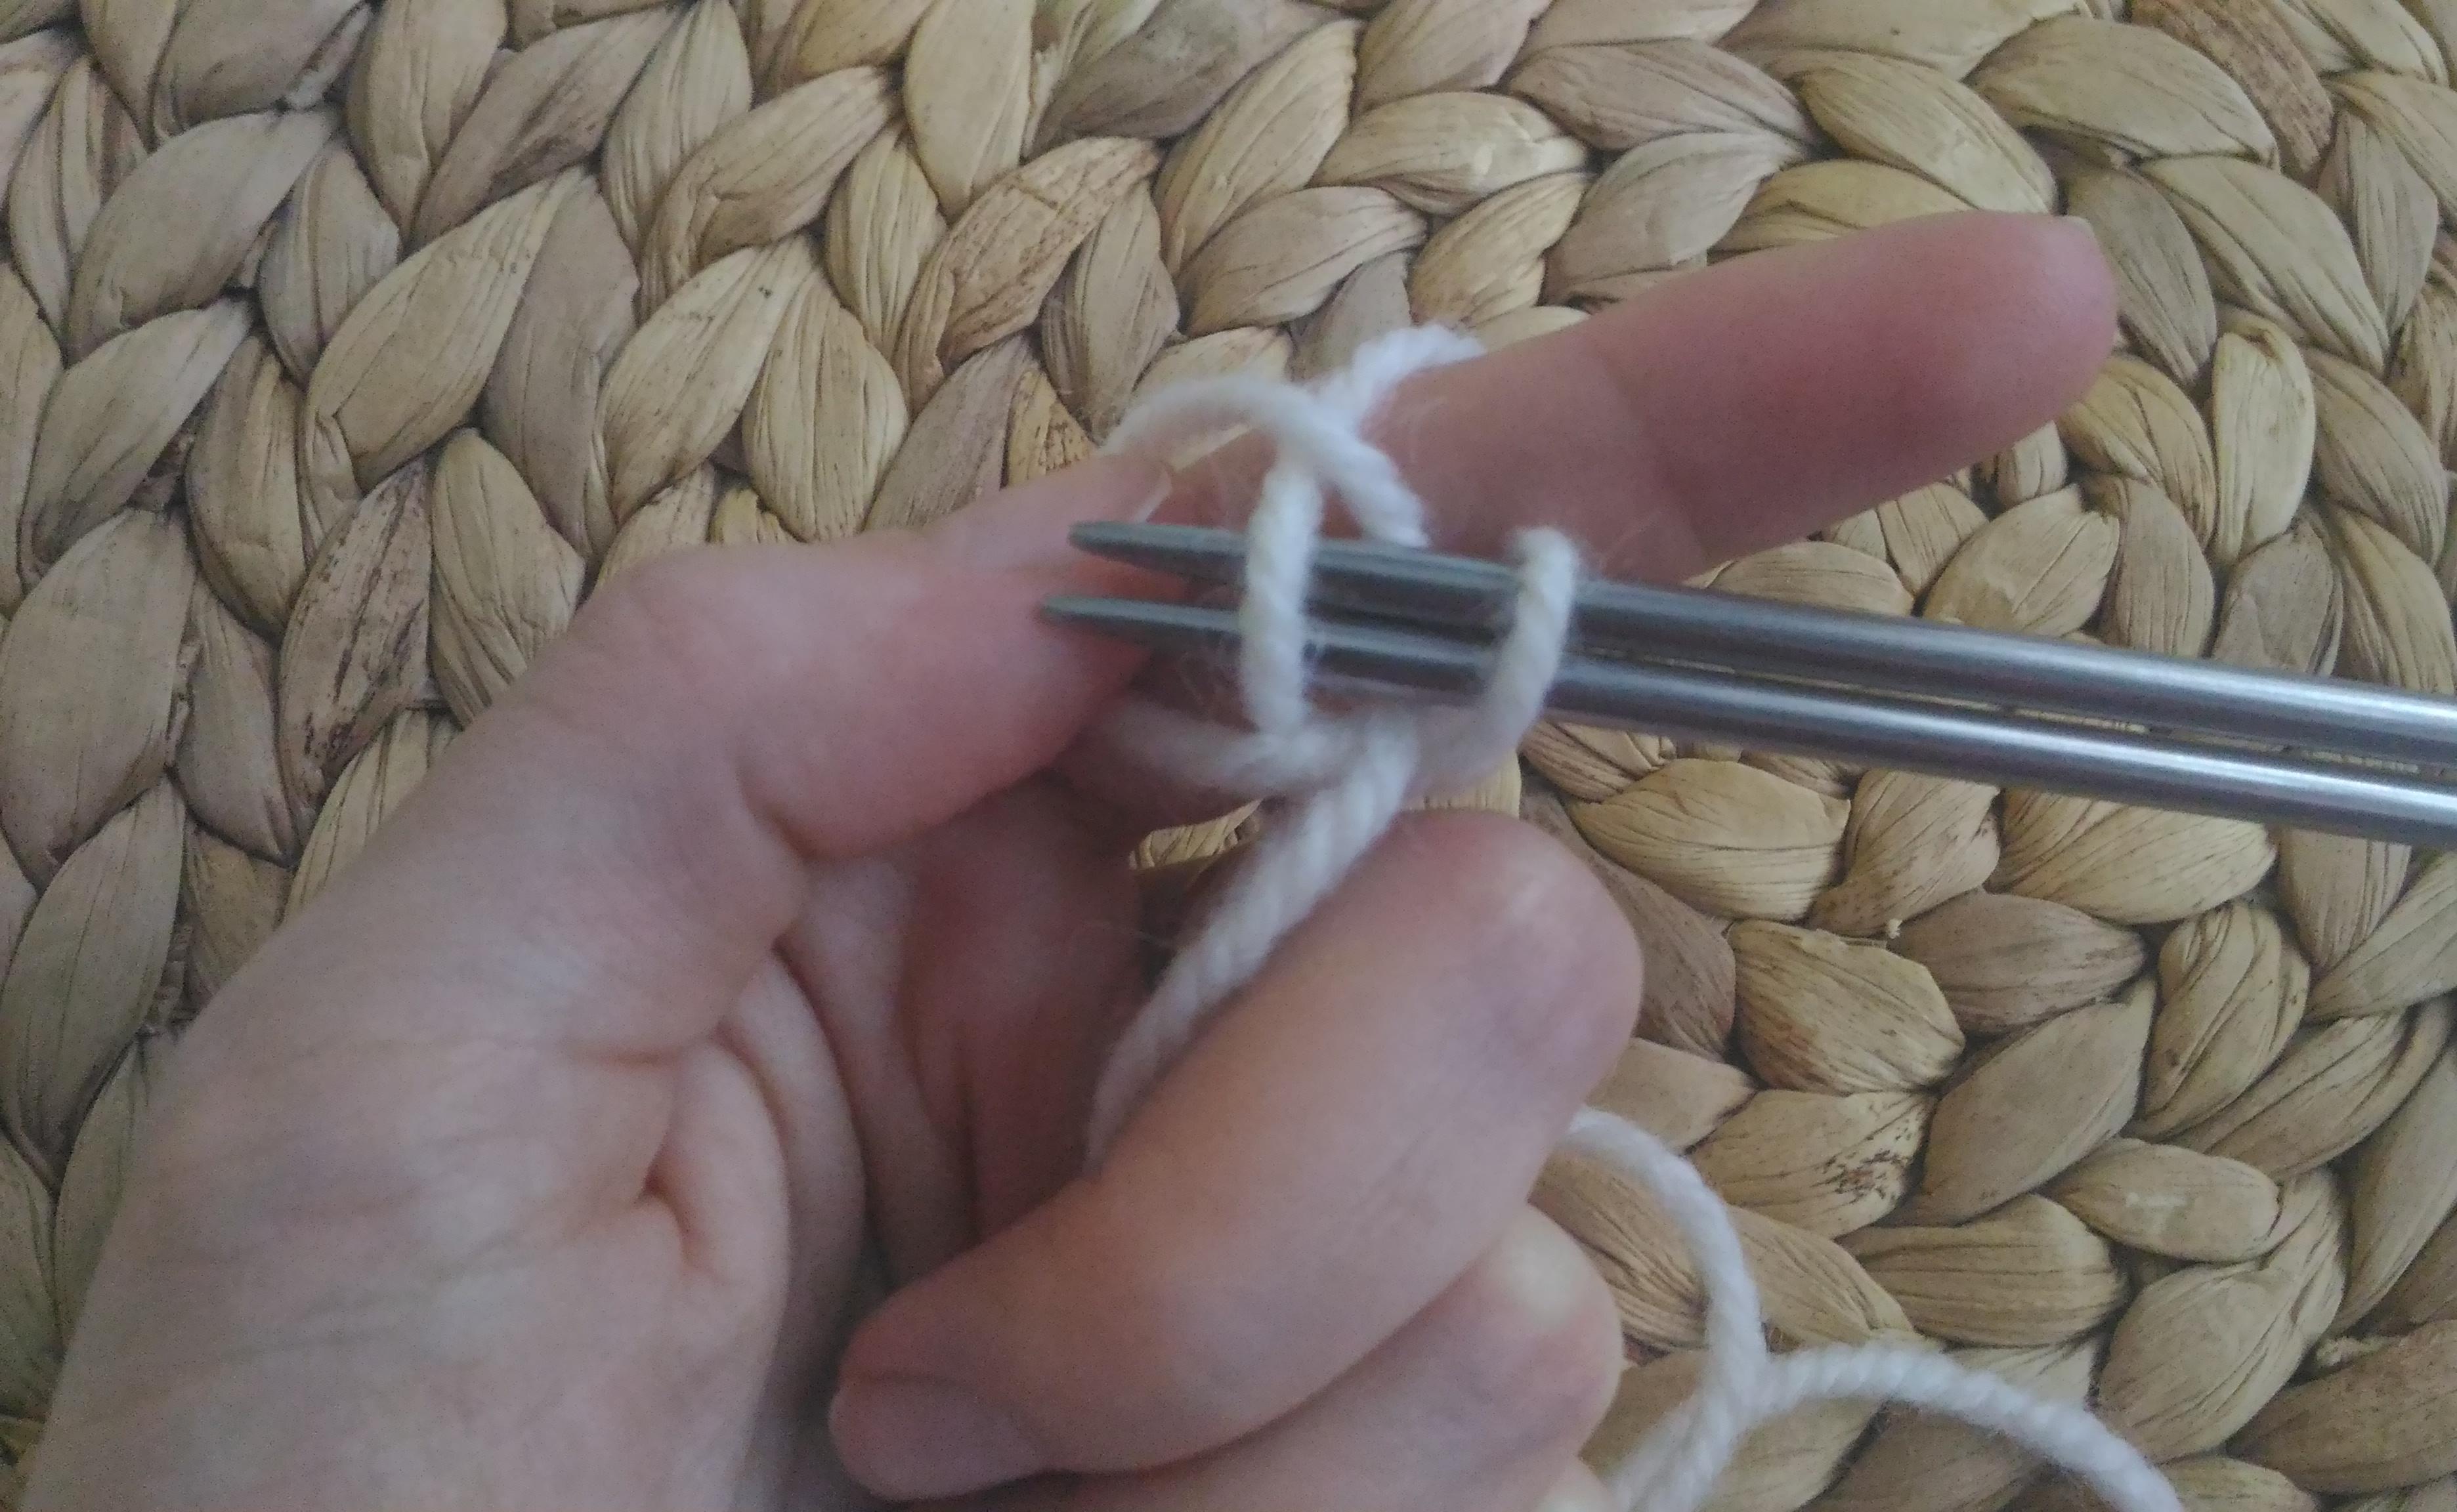

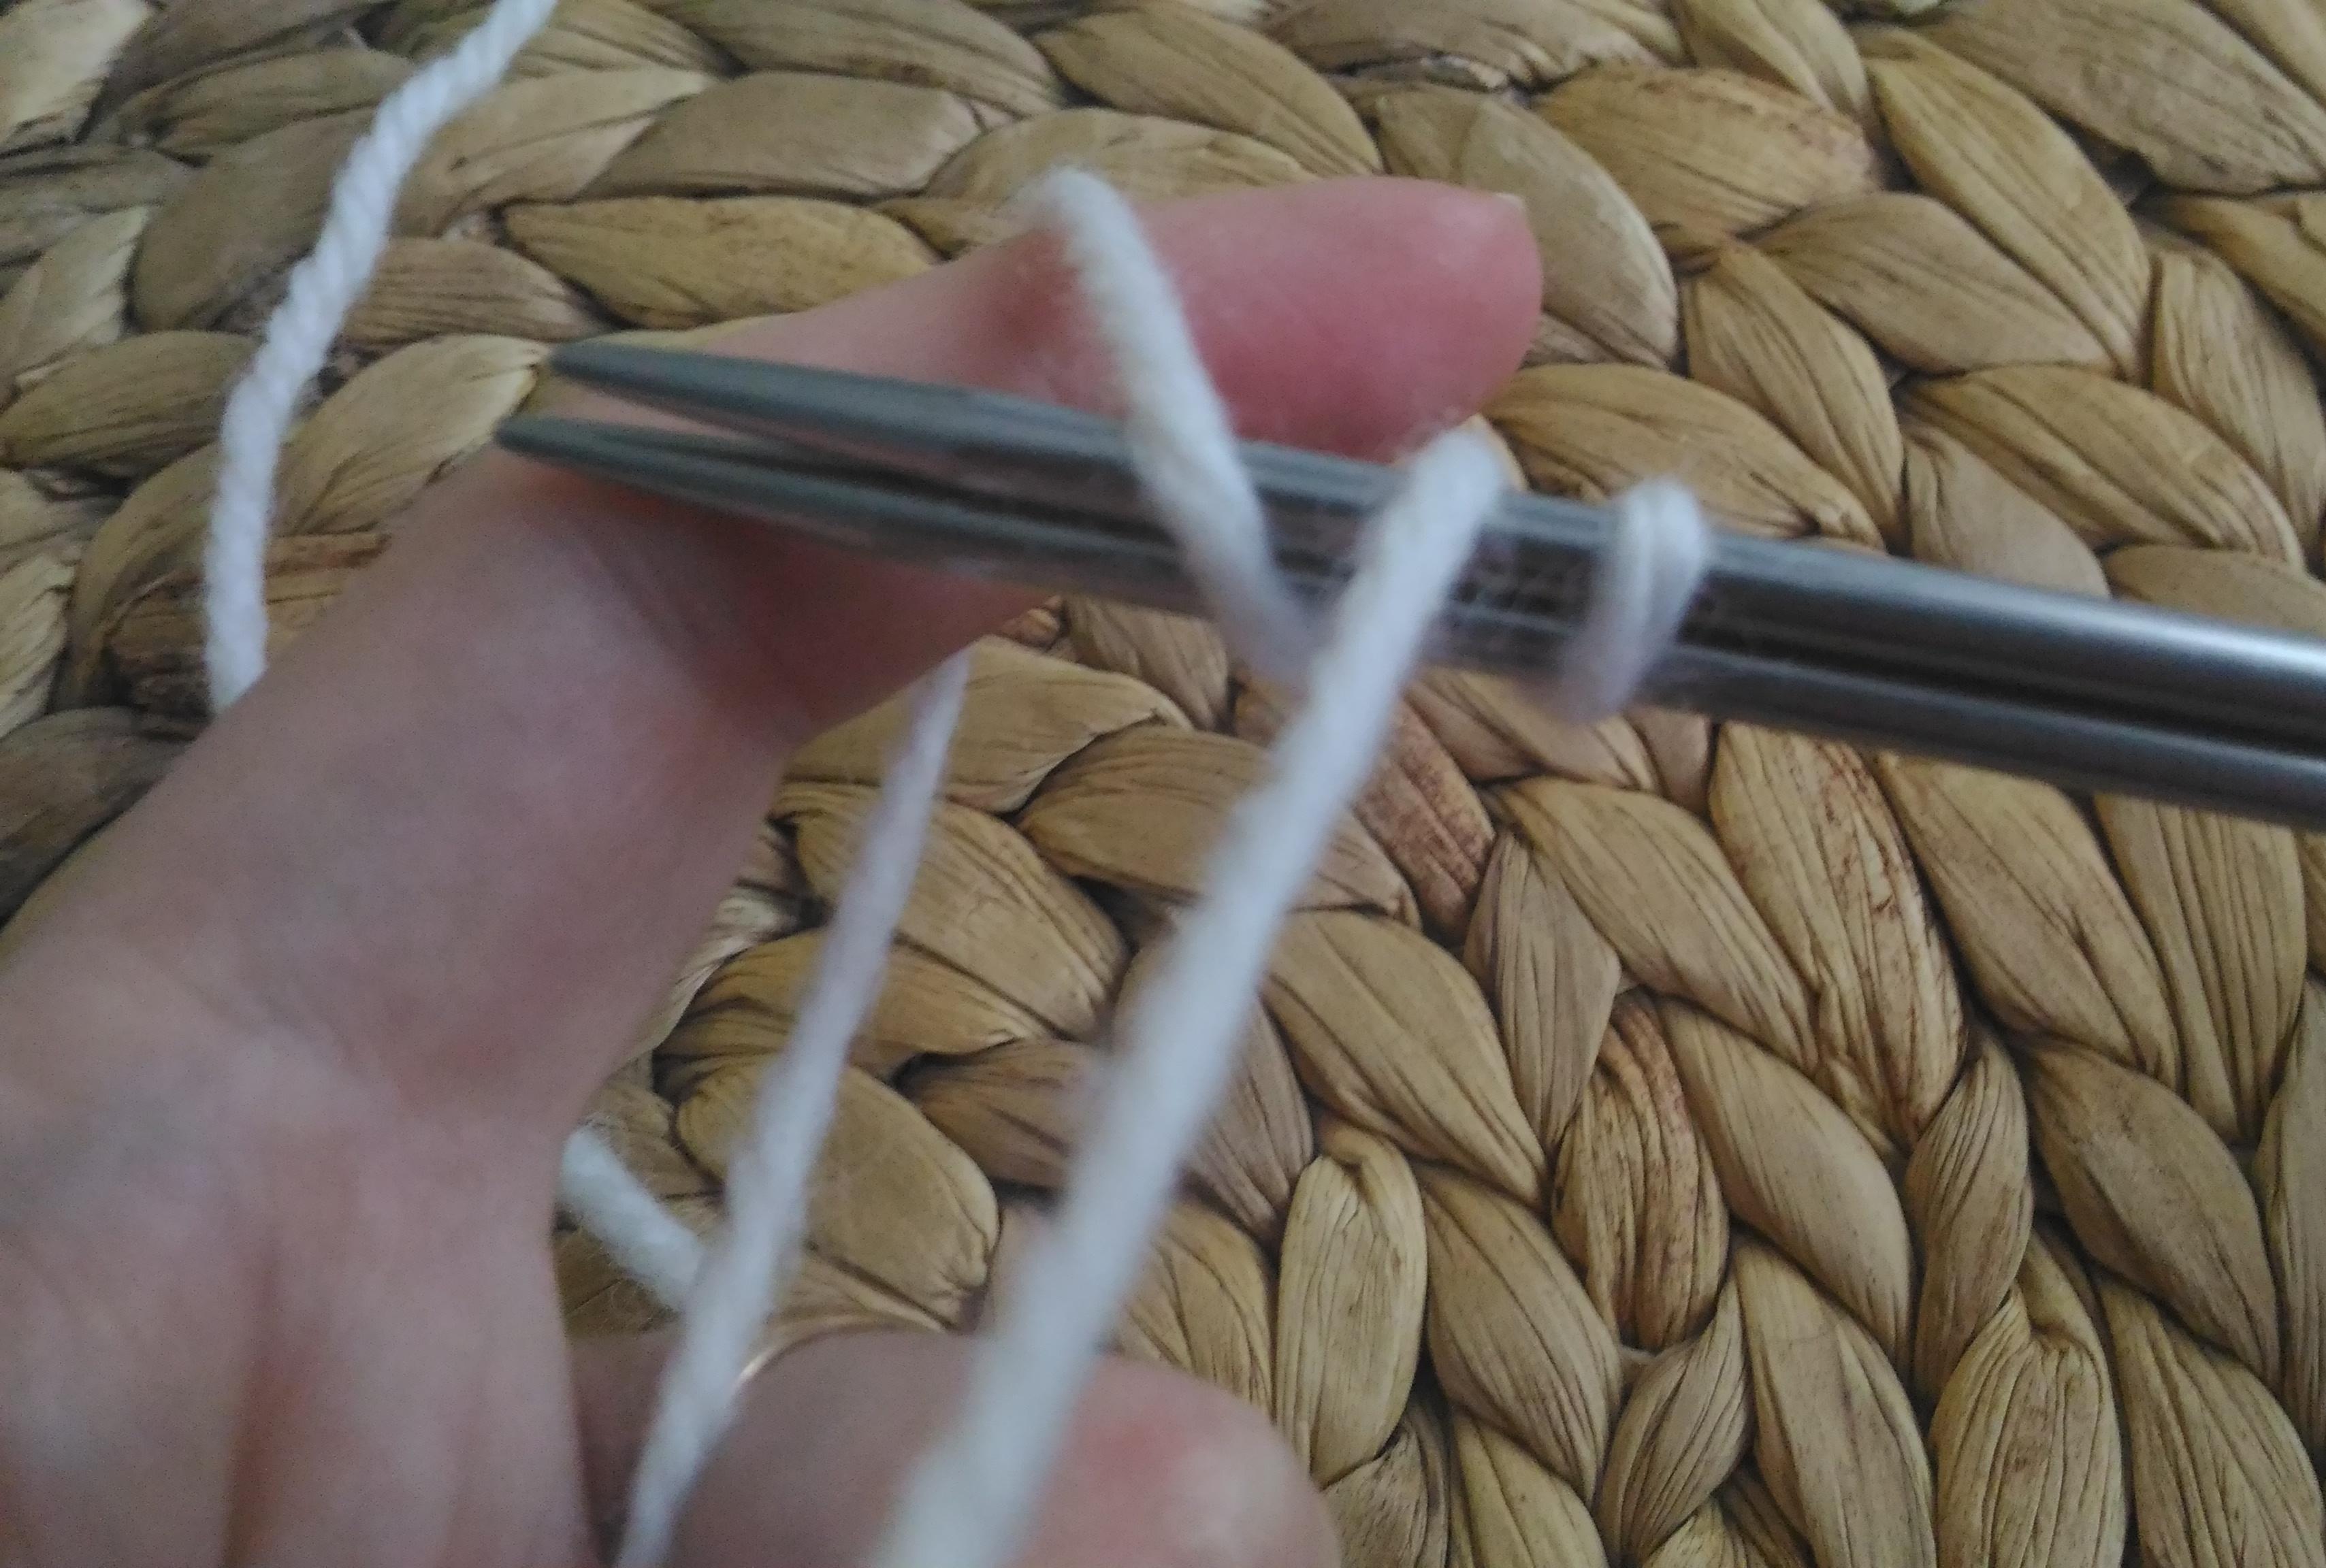
Continue knitting and stretch the yarn again. Grab P from the thumb.
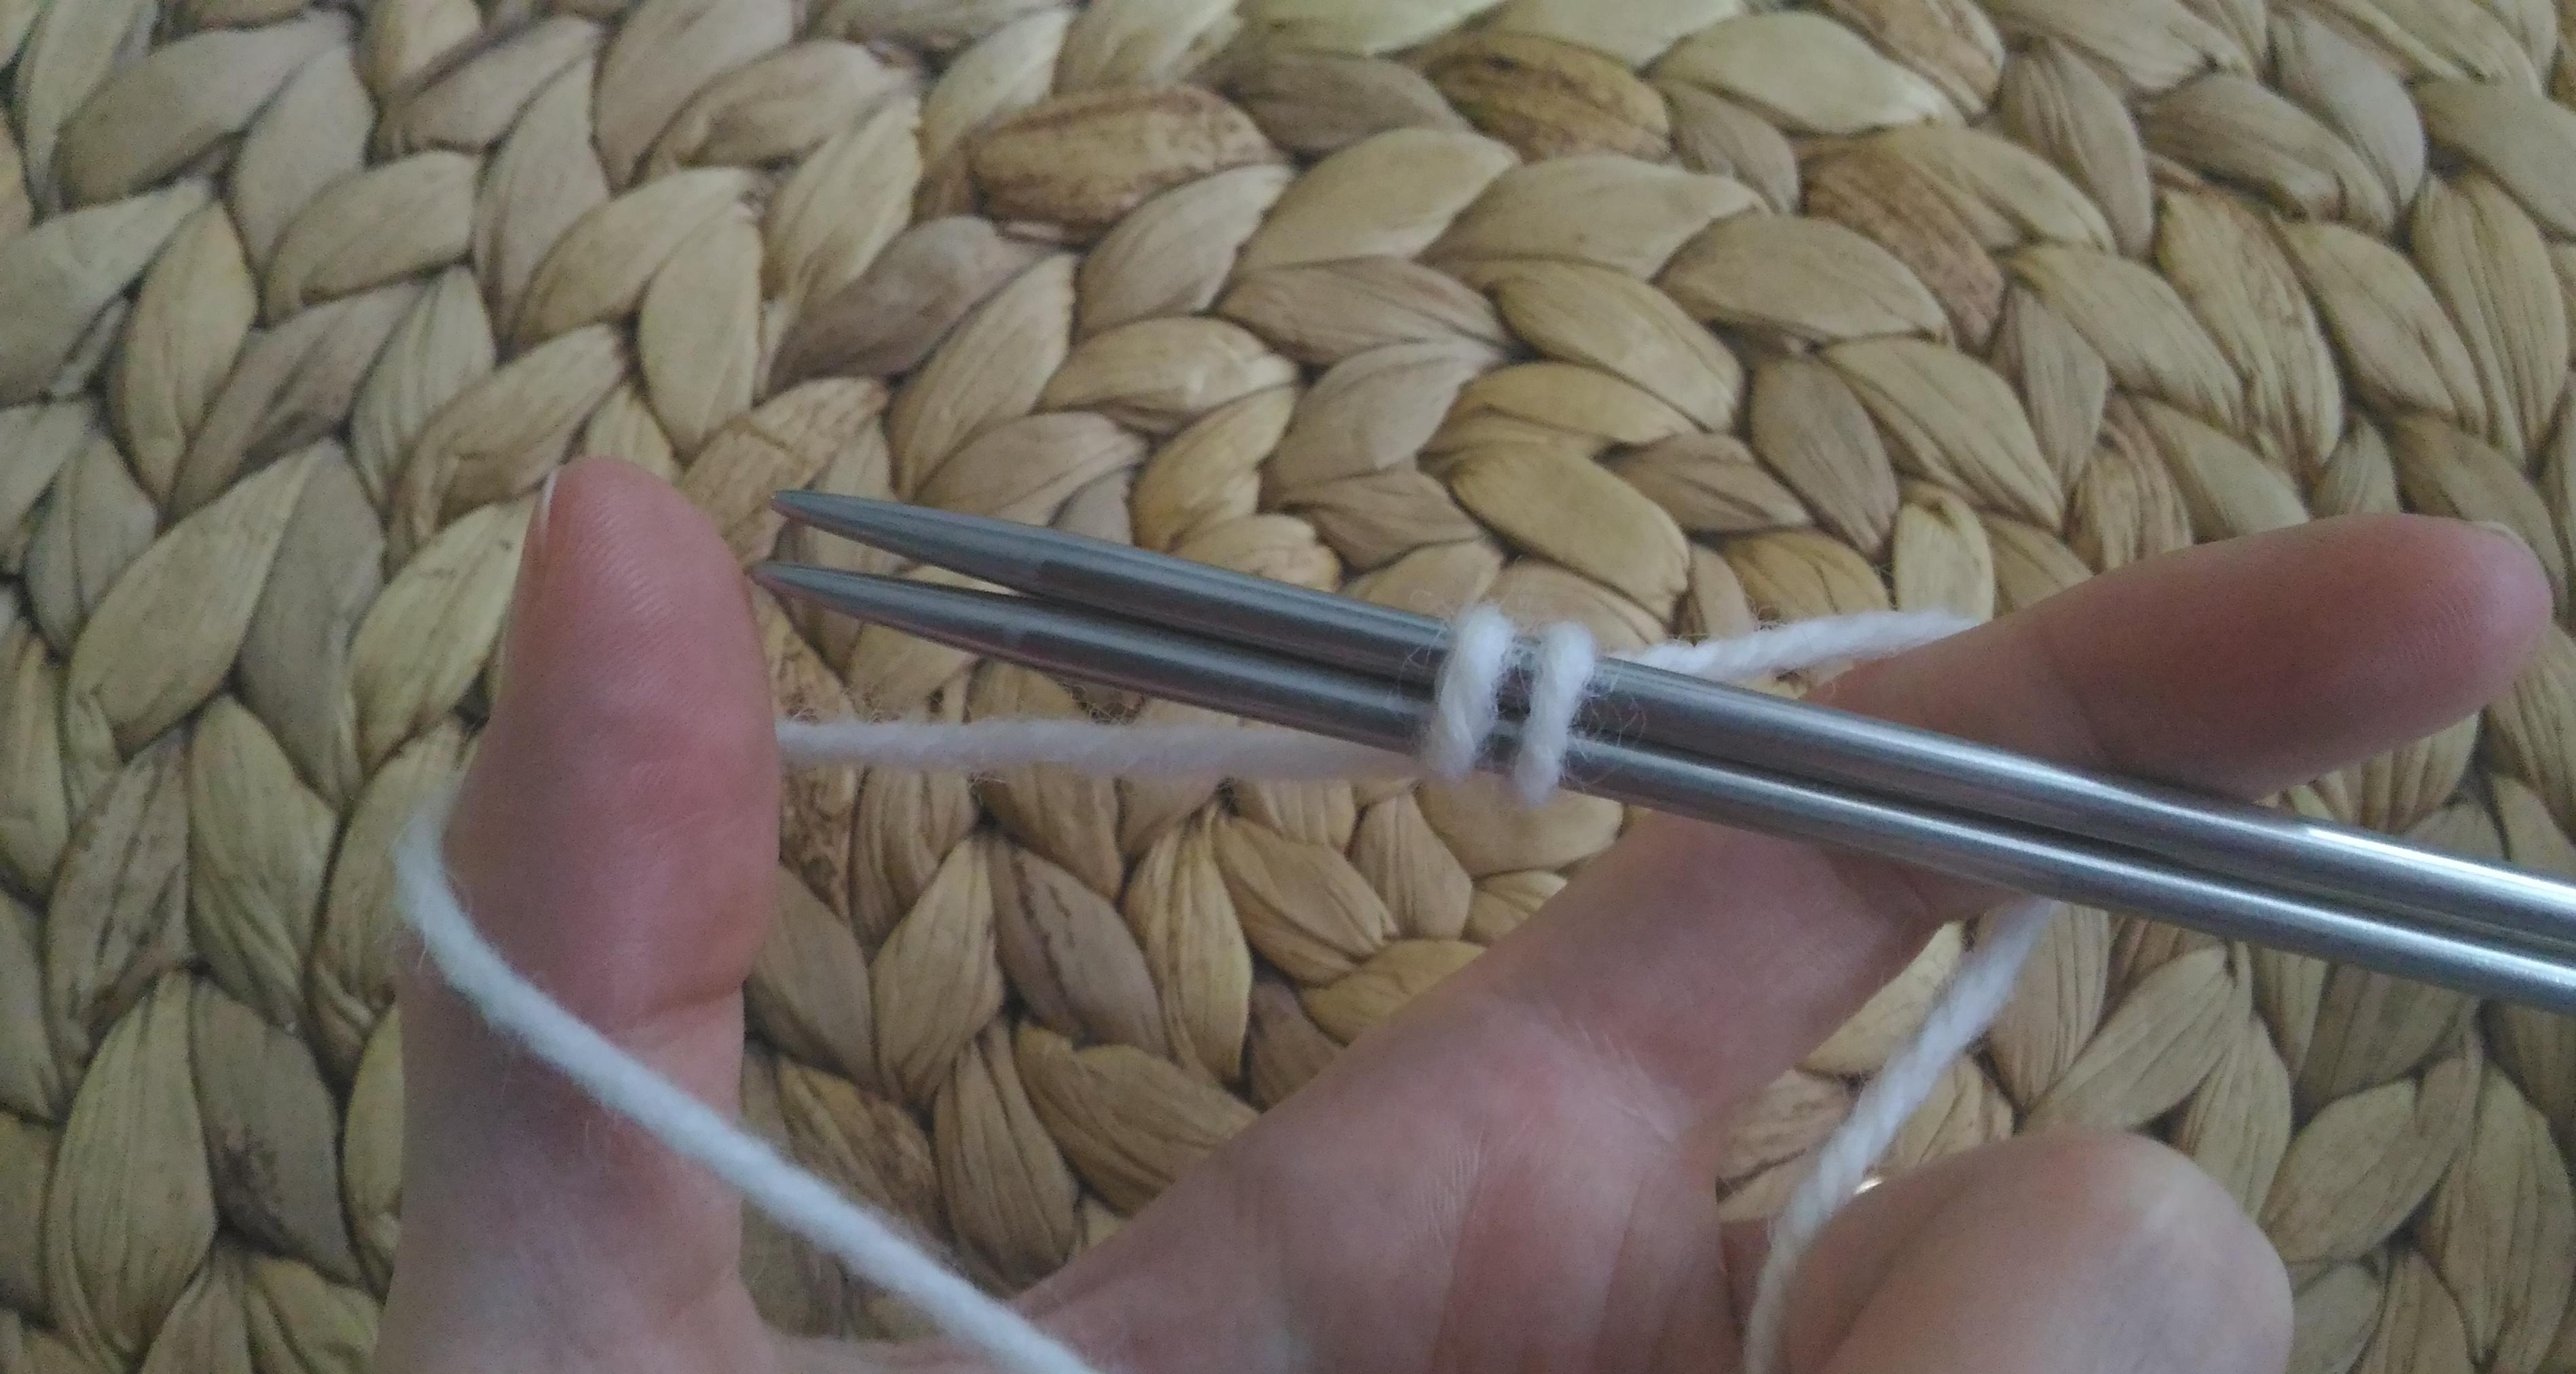
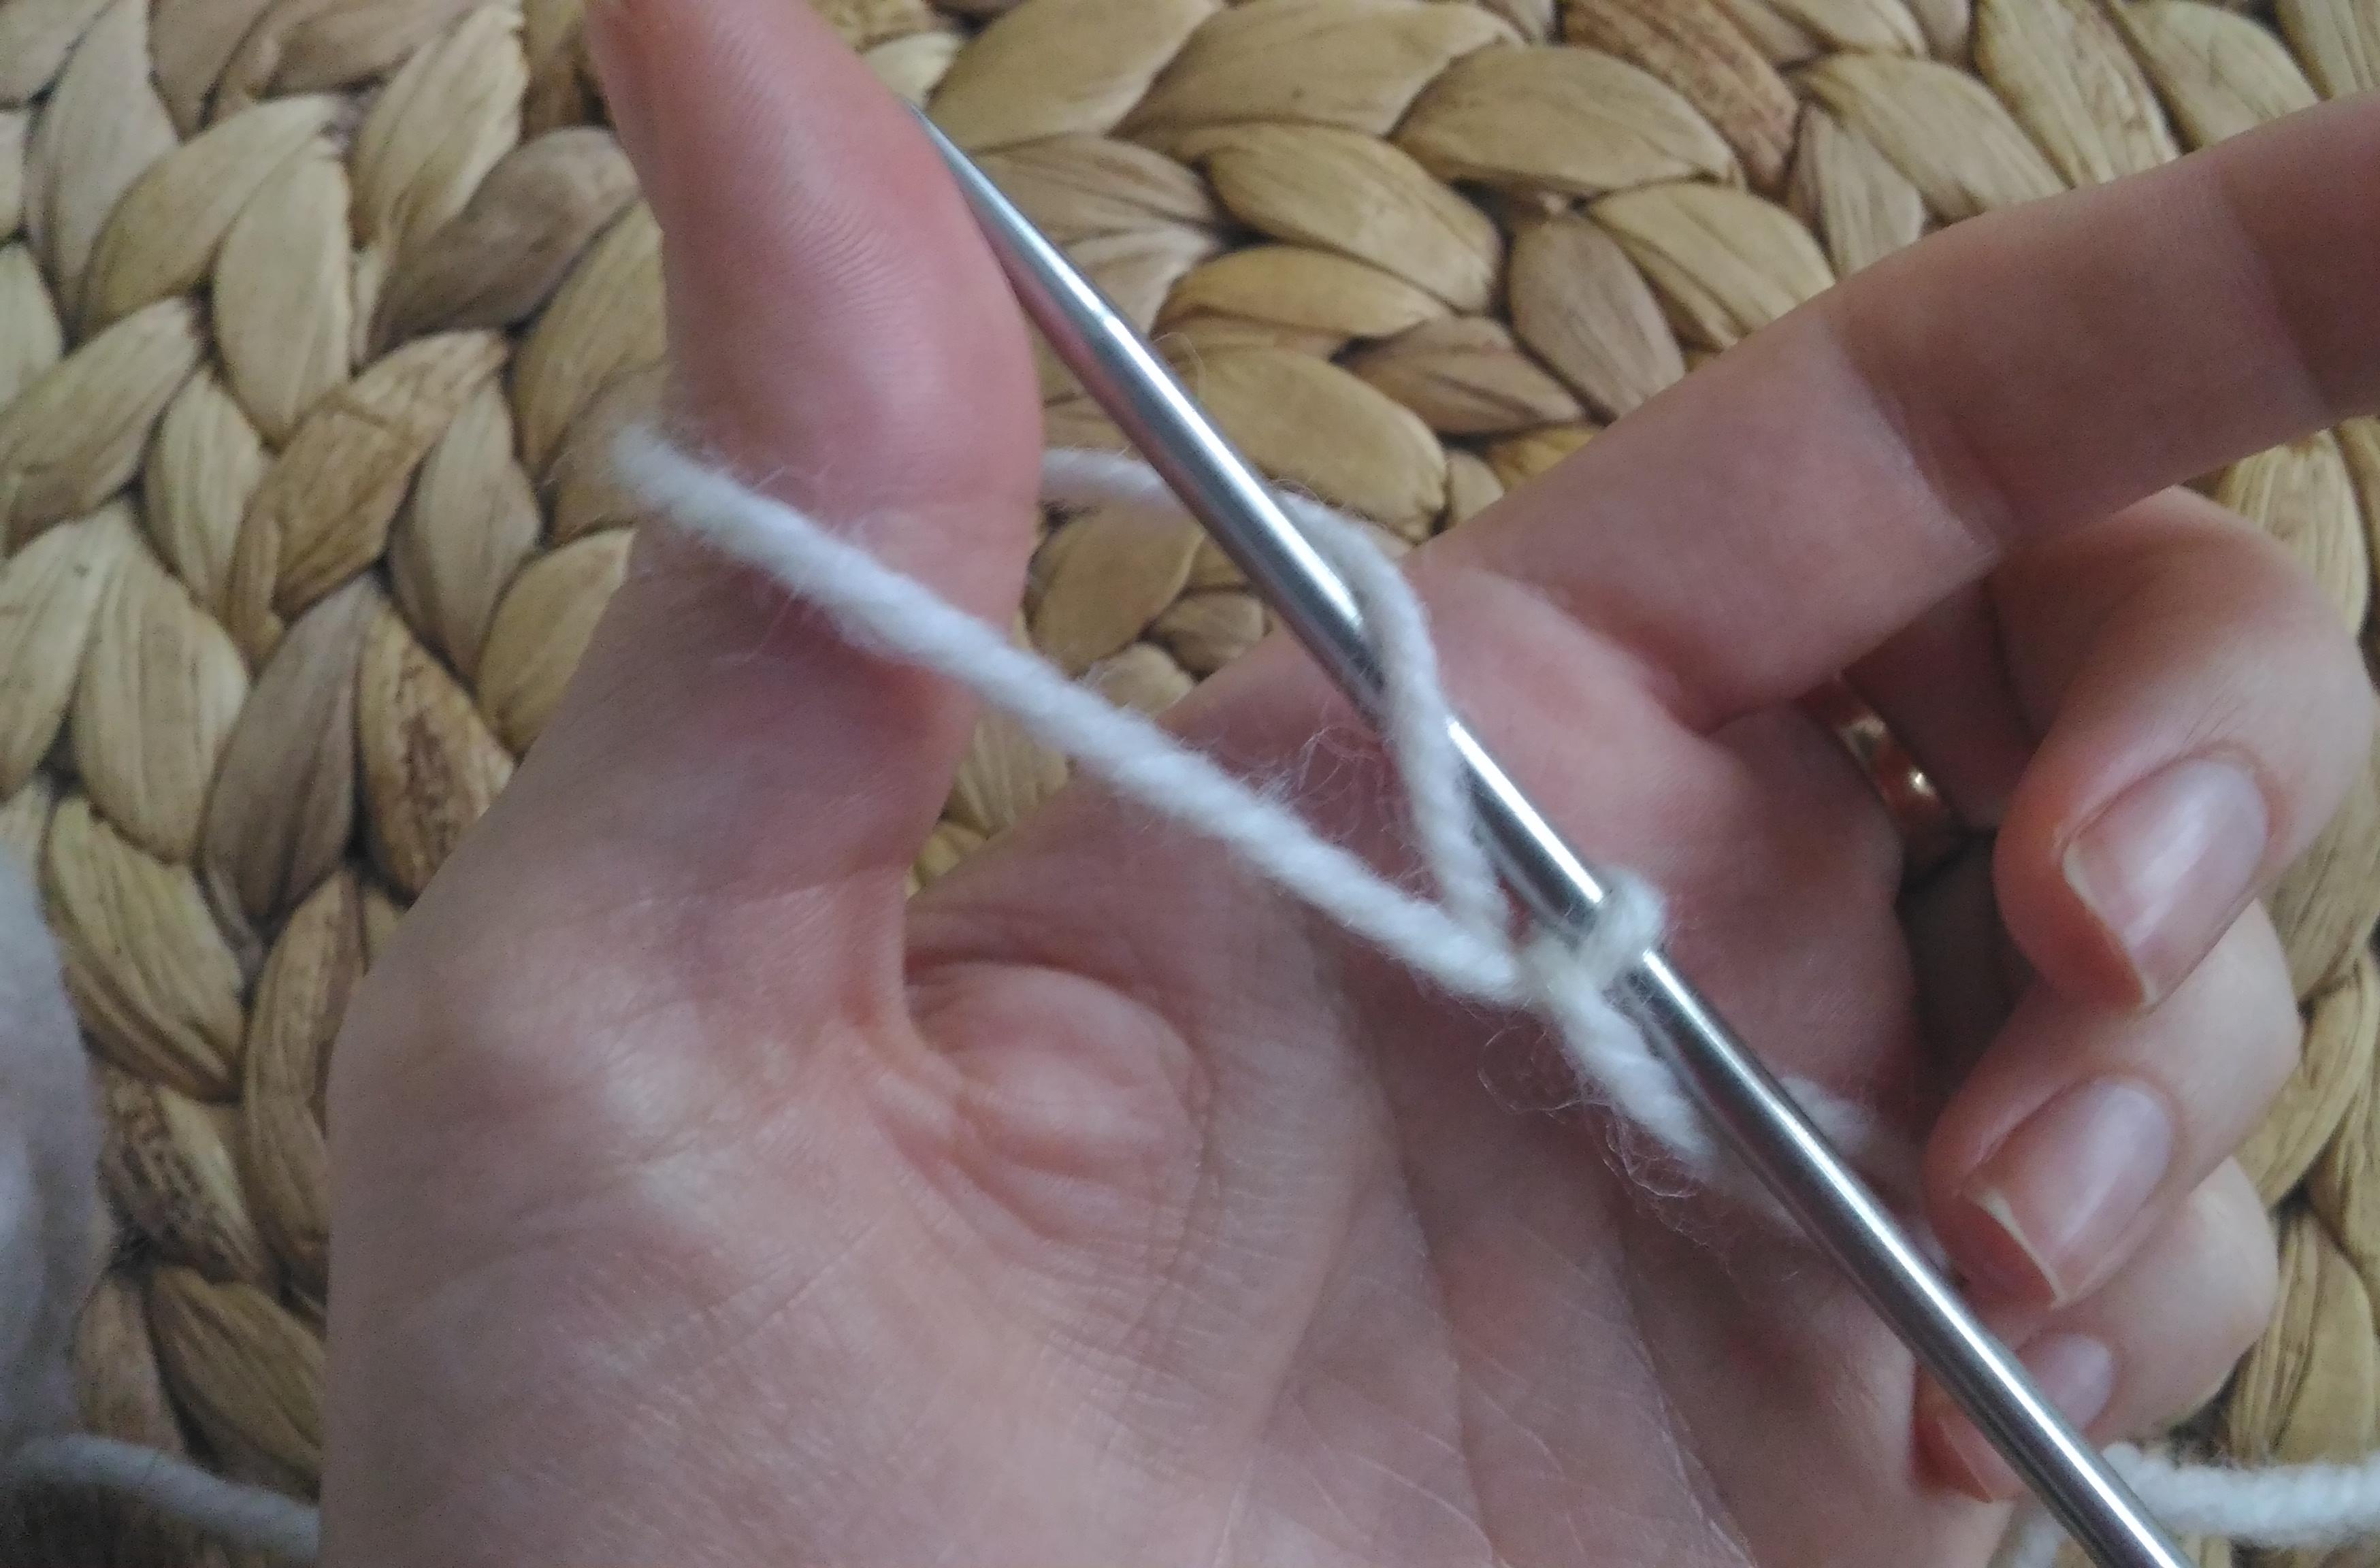
We stretch yarn through it with a decree. We tighten it.

In this way, we select the required number of P.
Set in an Italian way
Gives a tight but elastic edge that does not stretch when socked. This option is perfect for loosening the elastic bands on the bottom, the sleeves of clothing.
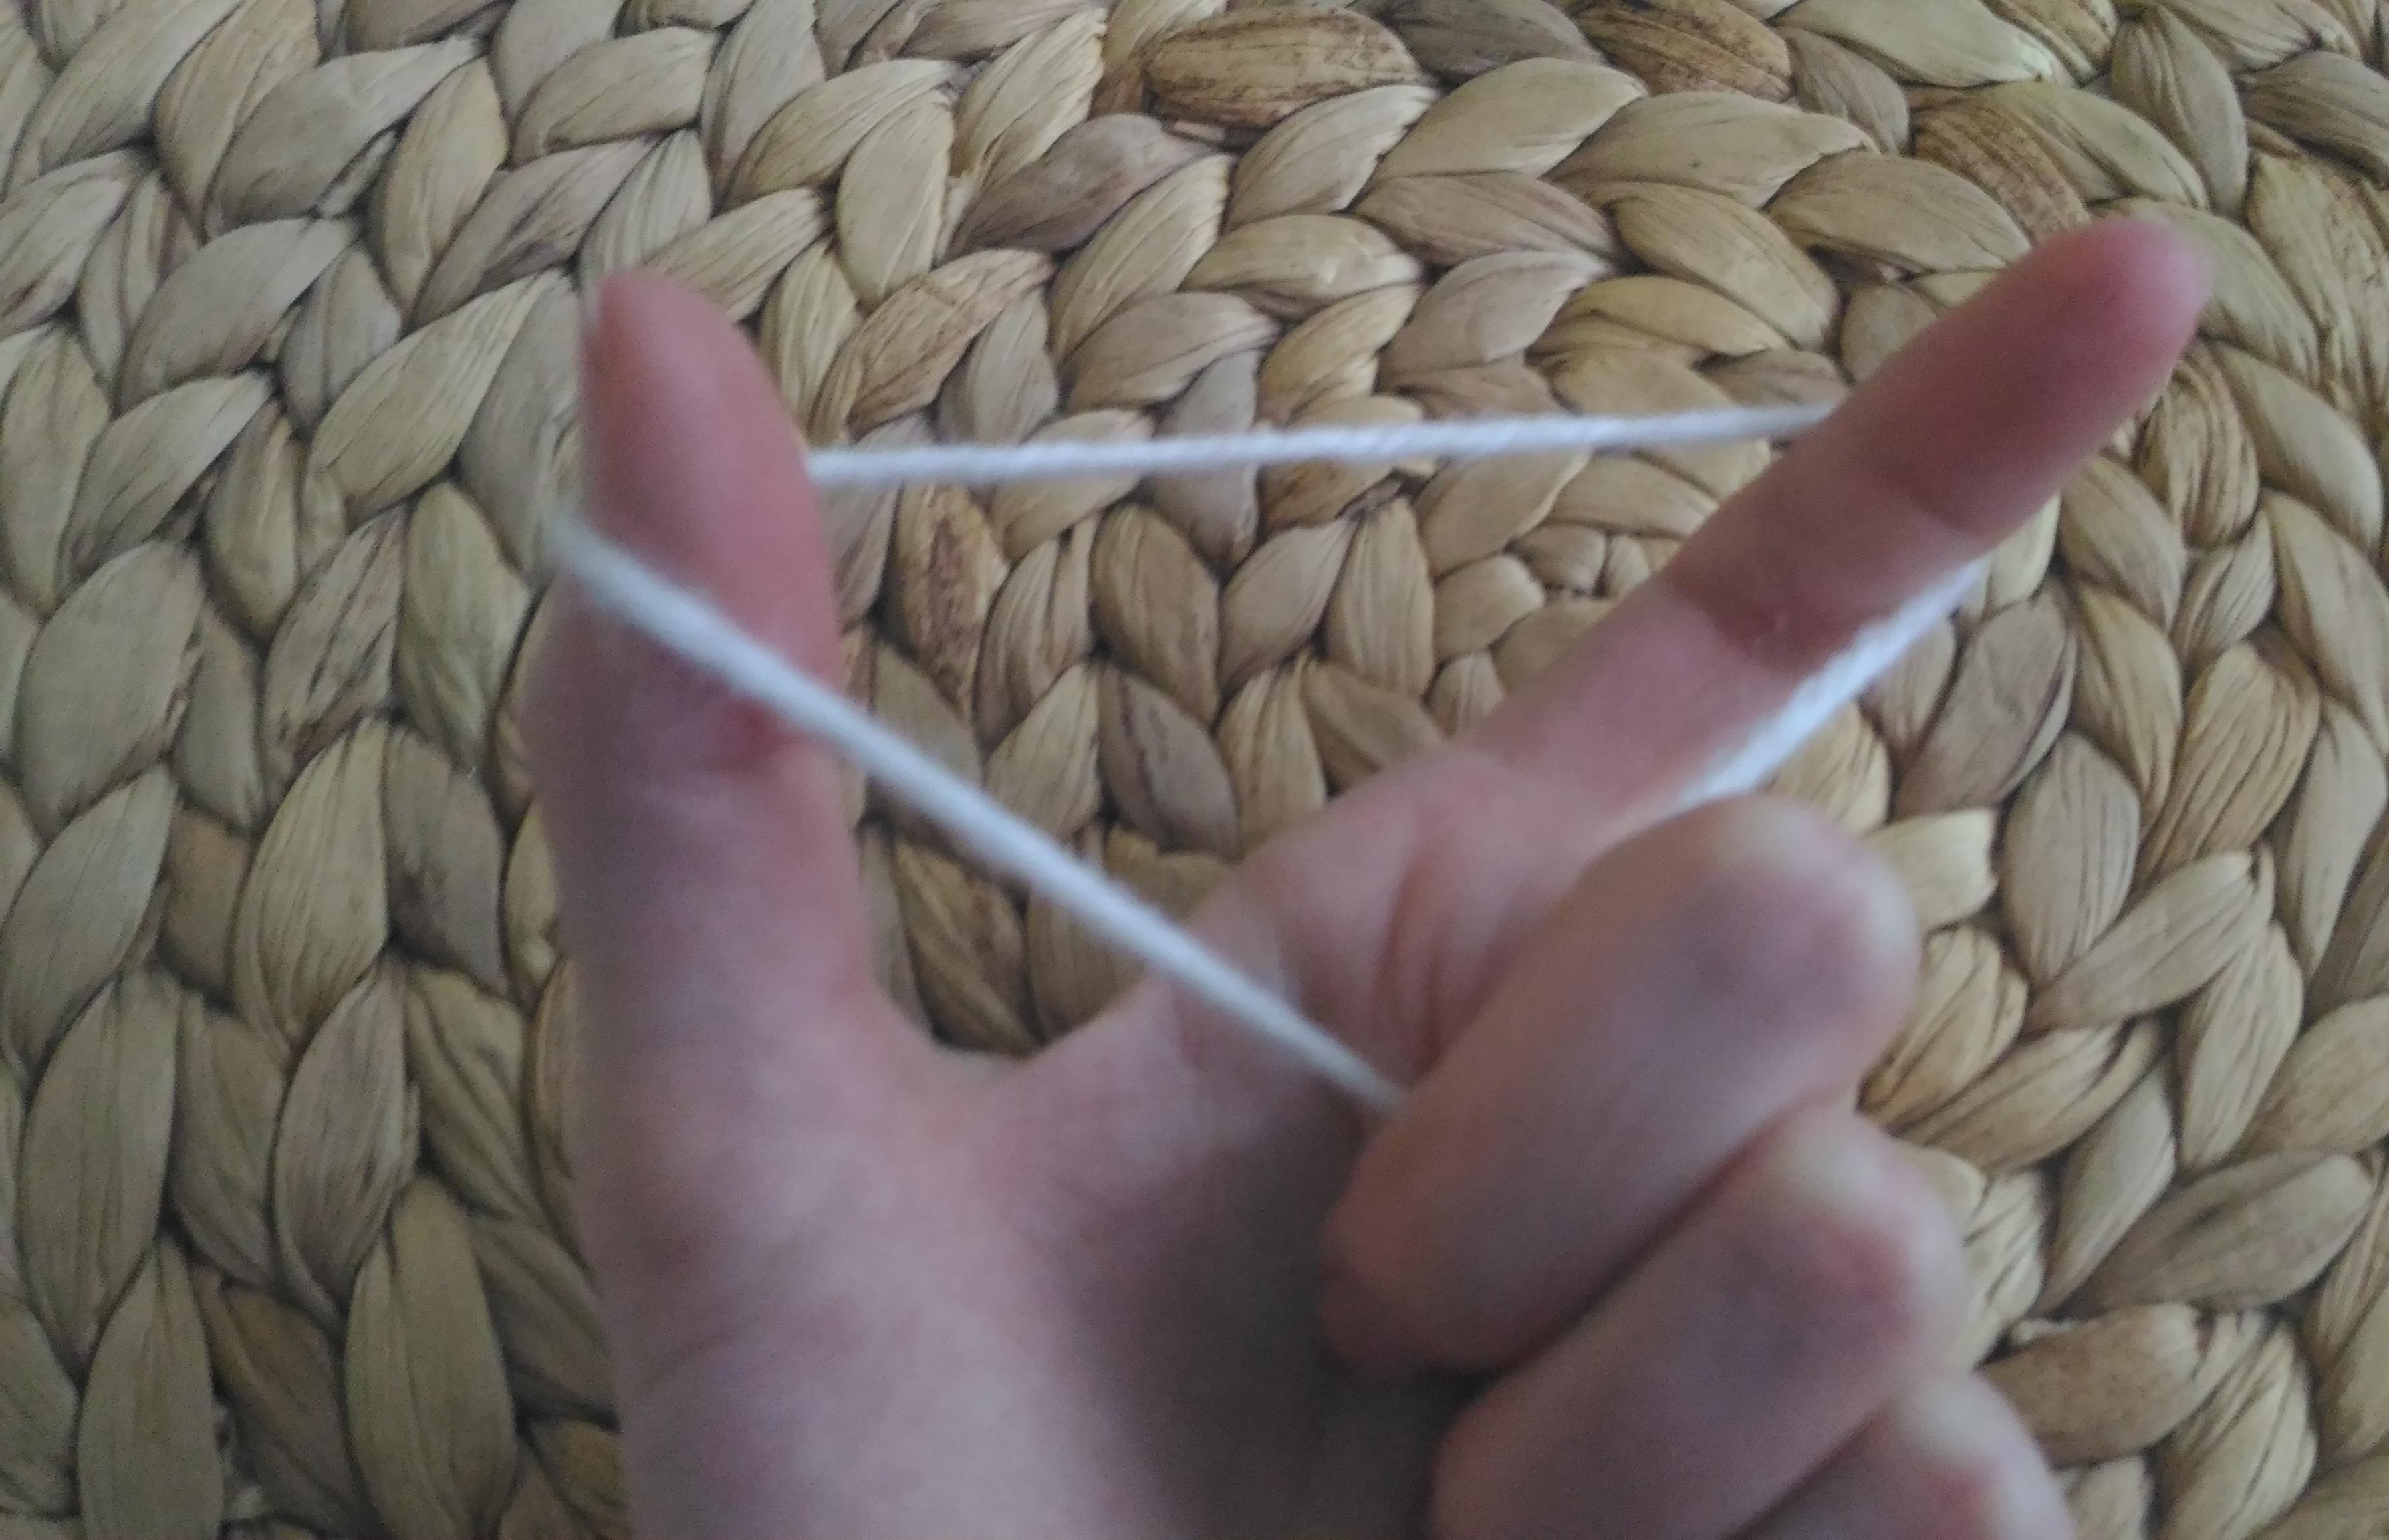
To begin with, measure the thread equal to three lengthsWidth of the product. We arrange the working thread between the large and the ukaz, and fix the ends in the palm of your hand. The free end is on the big one, and the one that leads to the ball is on the index. Knitting needles for the yarn from left to right (also you can perform a set of just one spoke).
Turn the tool to the left to make itP. First we start the tool under the thread, which is located on the thumb. Then, from the top to the bottom, grab the opposite thread, and lightly twist the knitting needles to make a loop.
The next loop begins to form a thread located on the index. We start the tool from the bottom up. And now from top to bottom we pick up another thread.

Continue to alternate the set from one thread, then the other, until you get the right amount of P.

You can find out how to dial loops in an Italian way by watching a video lesson on the channel "Knitting with knitting needles".
Video: How to dial loops in an Italian way
Air set
This set of loops is not the most durable and dense, butIt must be able to do, especially this method is useful for beginners. In some products, in the process of knitting, you have to "assemble" the loops. For example, knitting raglan on top sometimes requires a set of several P for the sleeve. For this case, this method is useful.
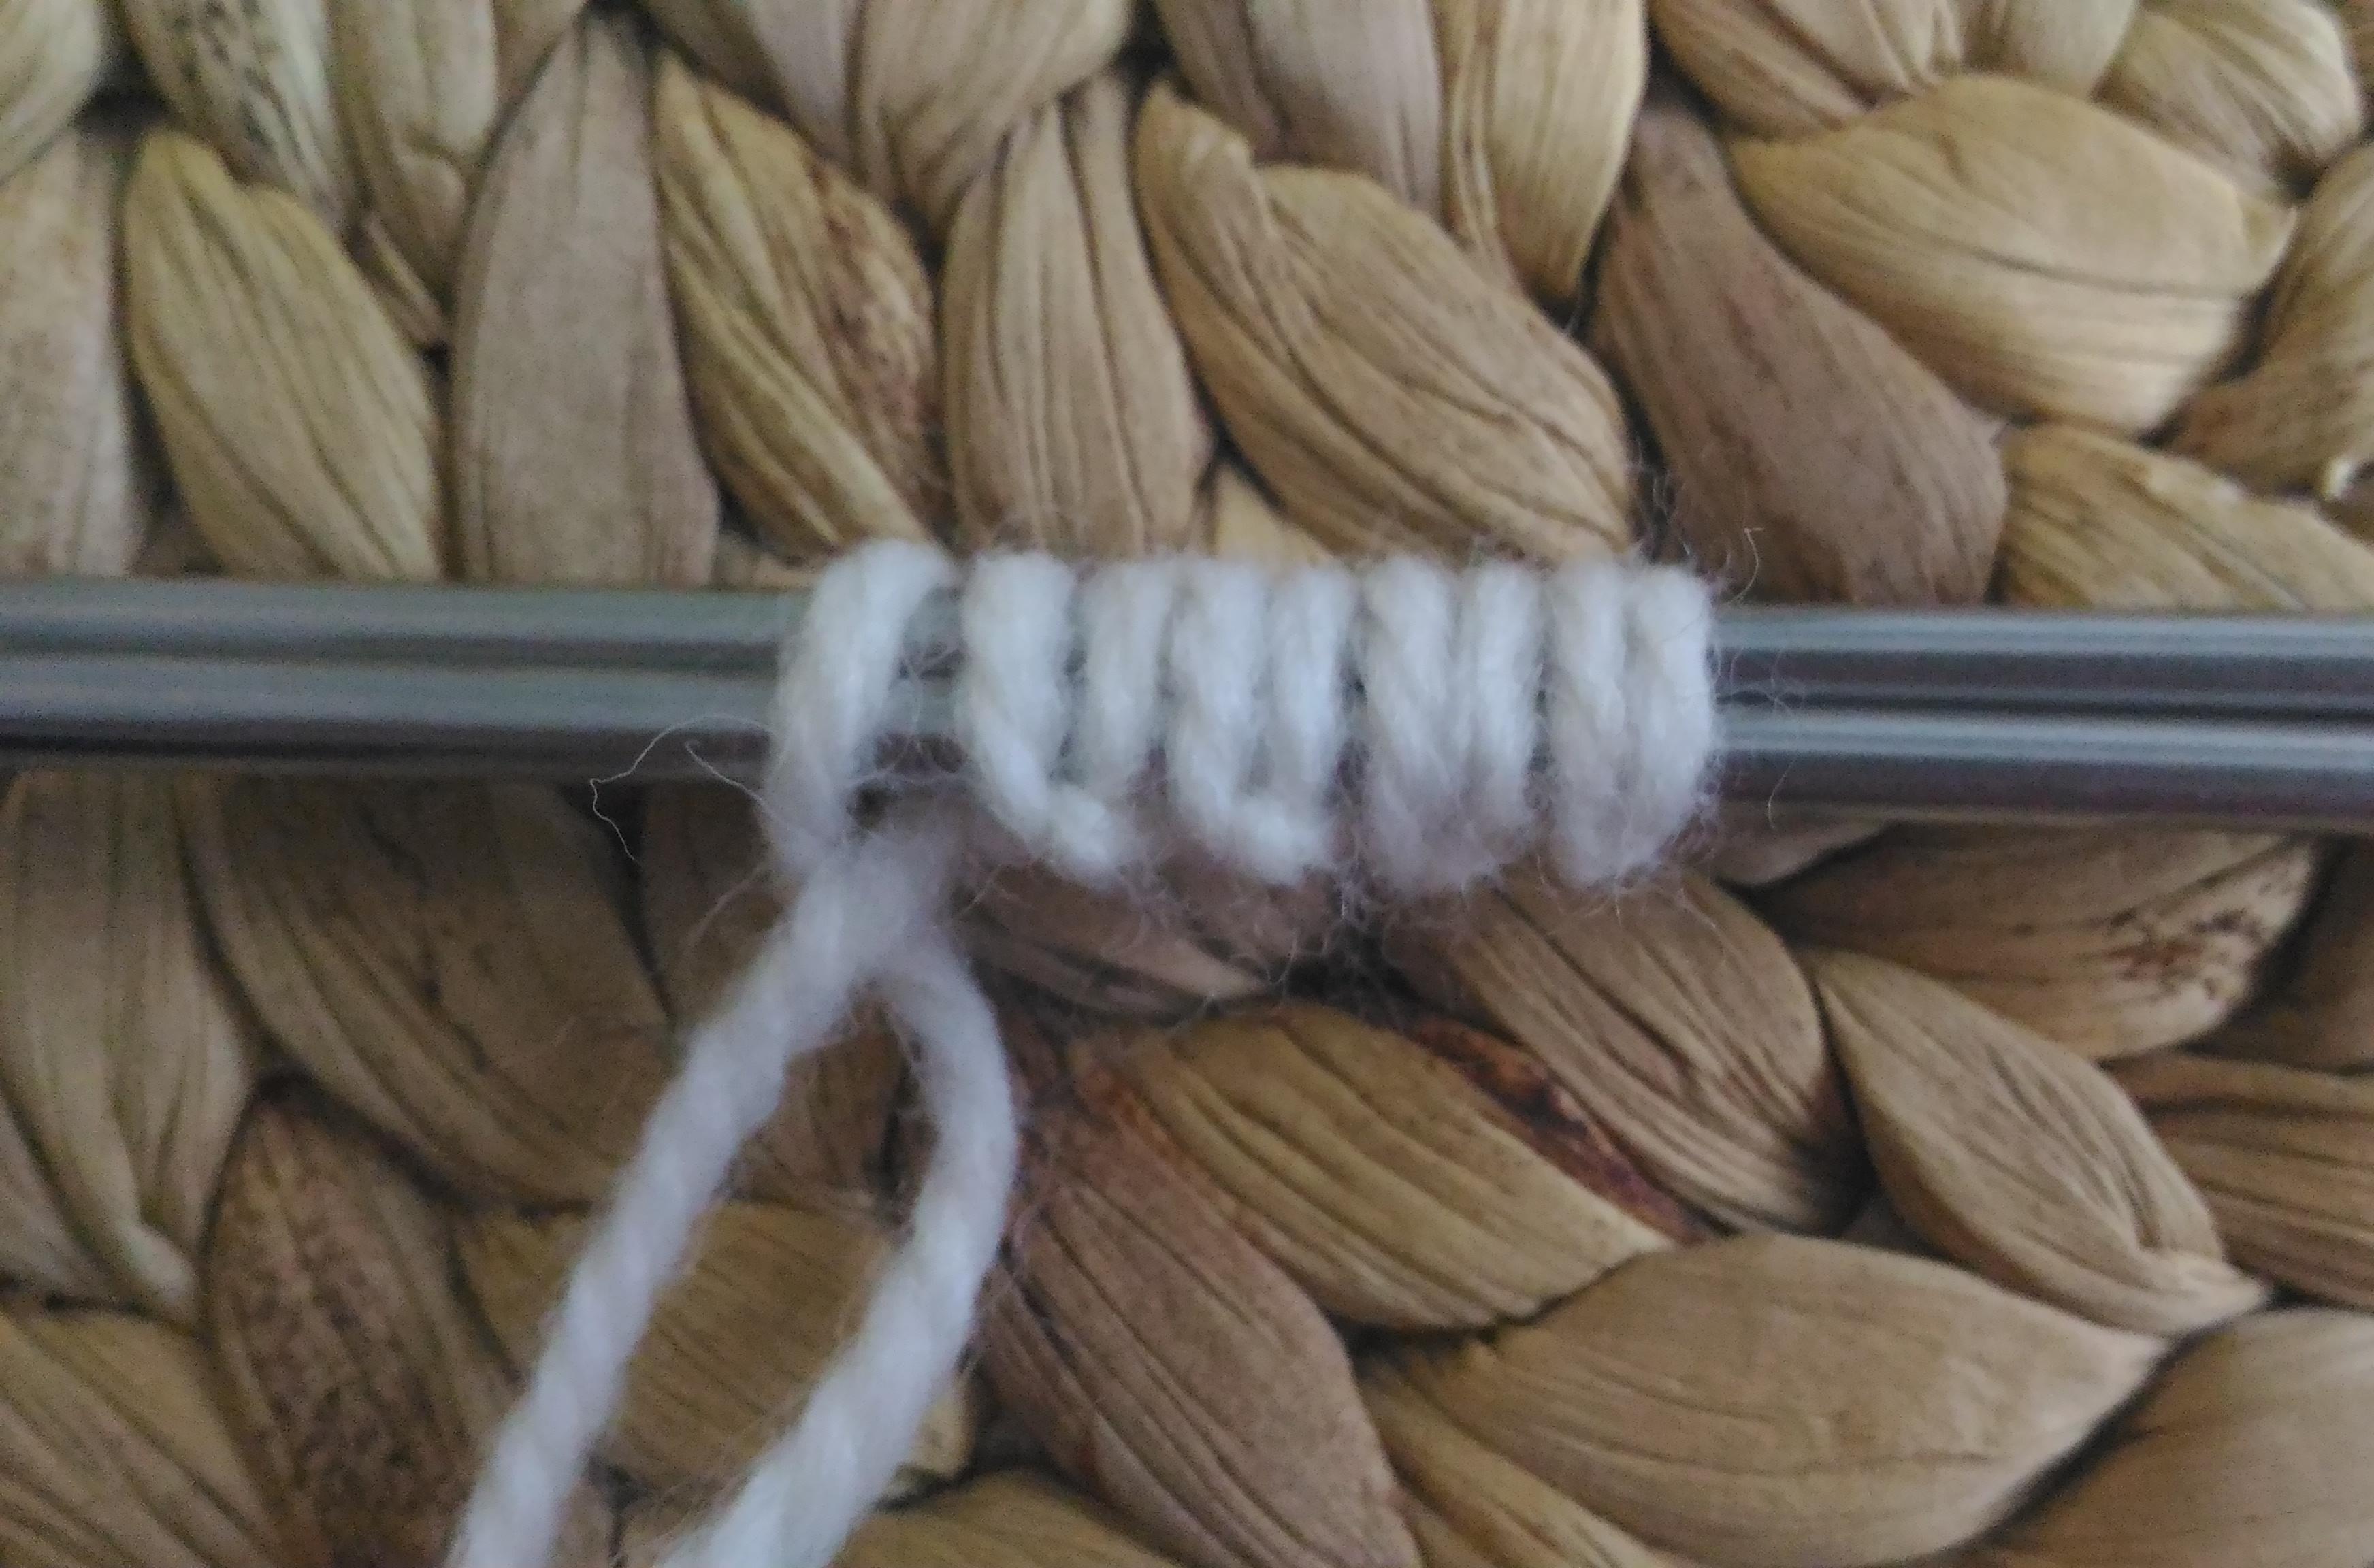
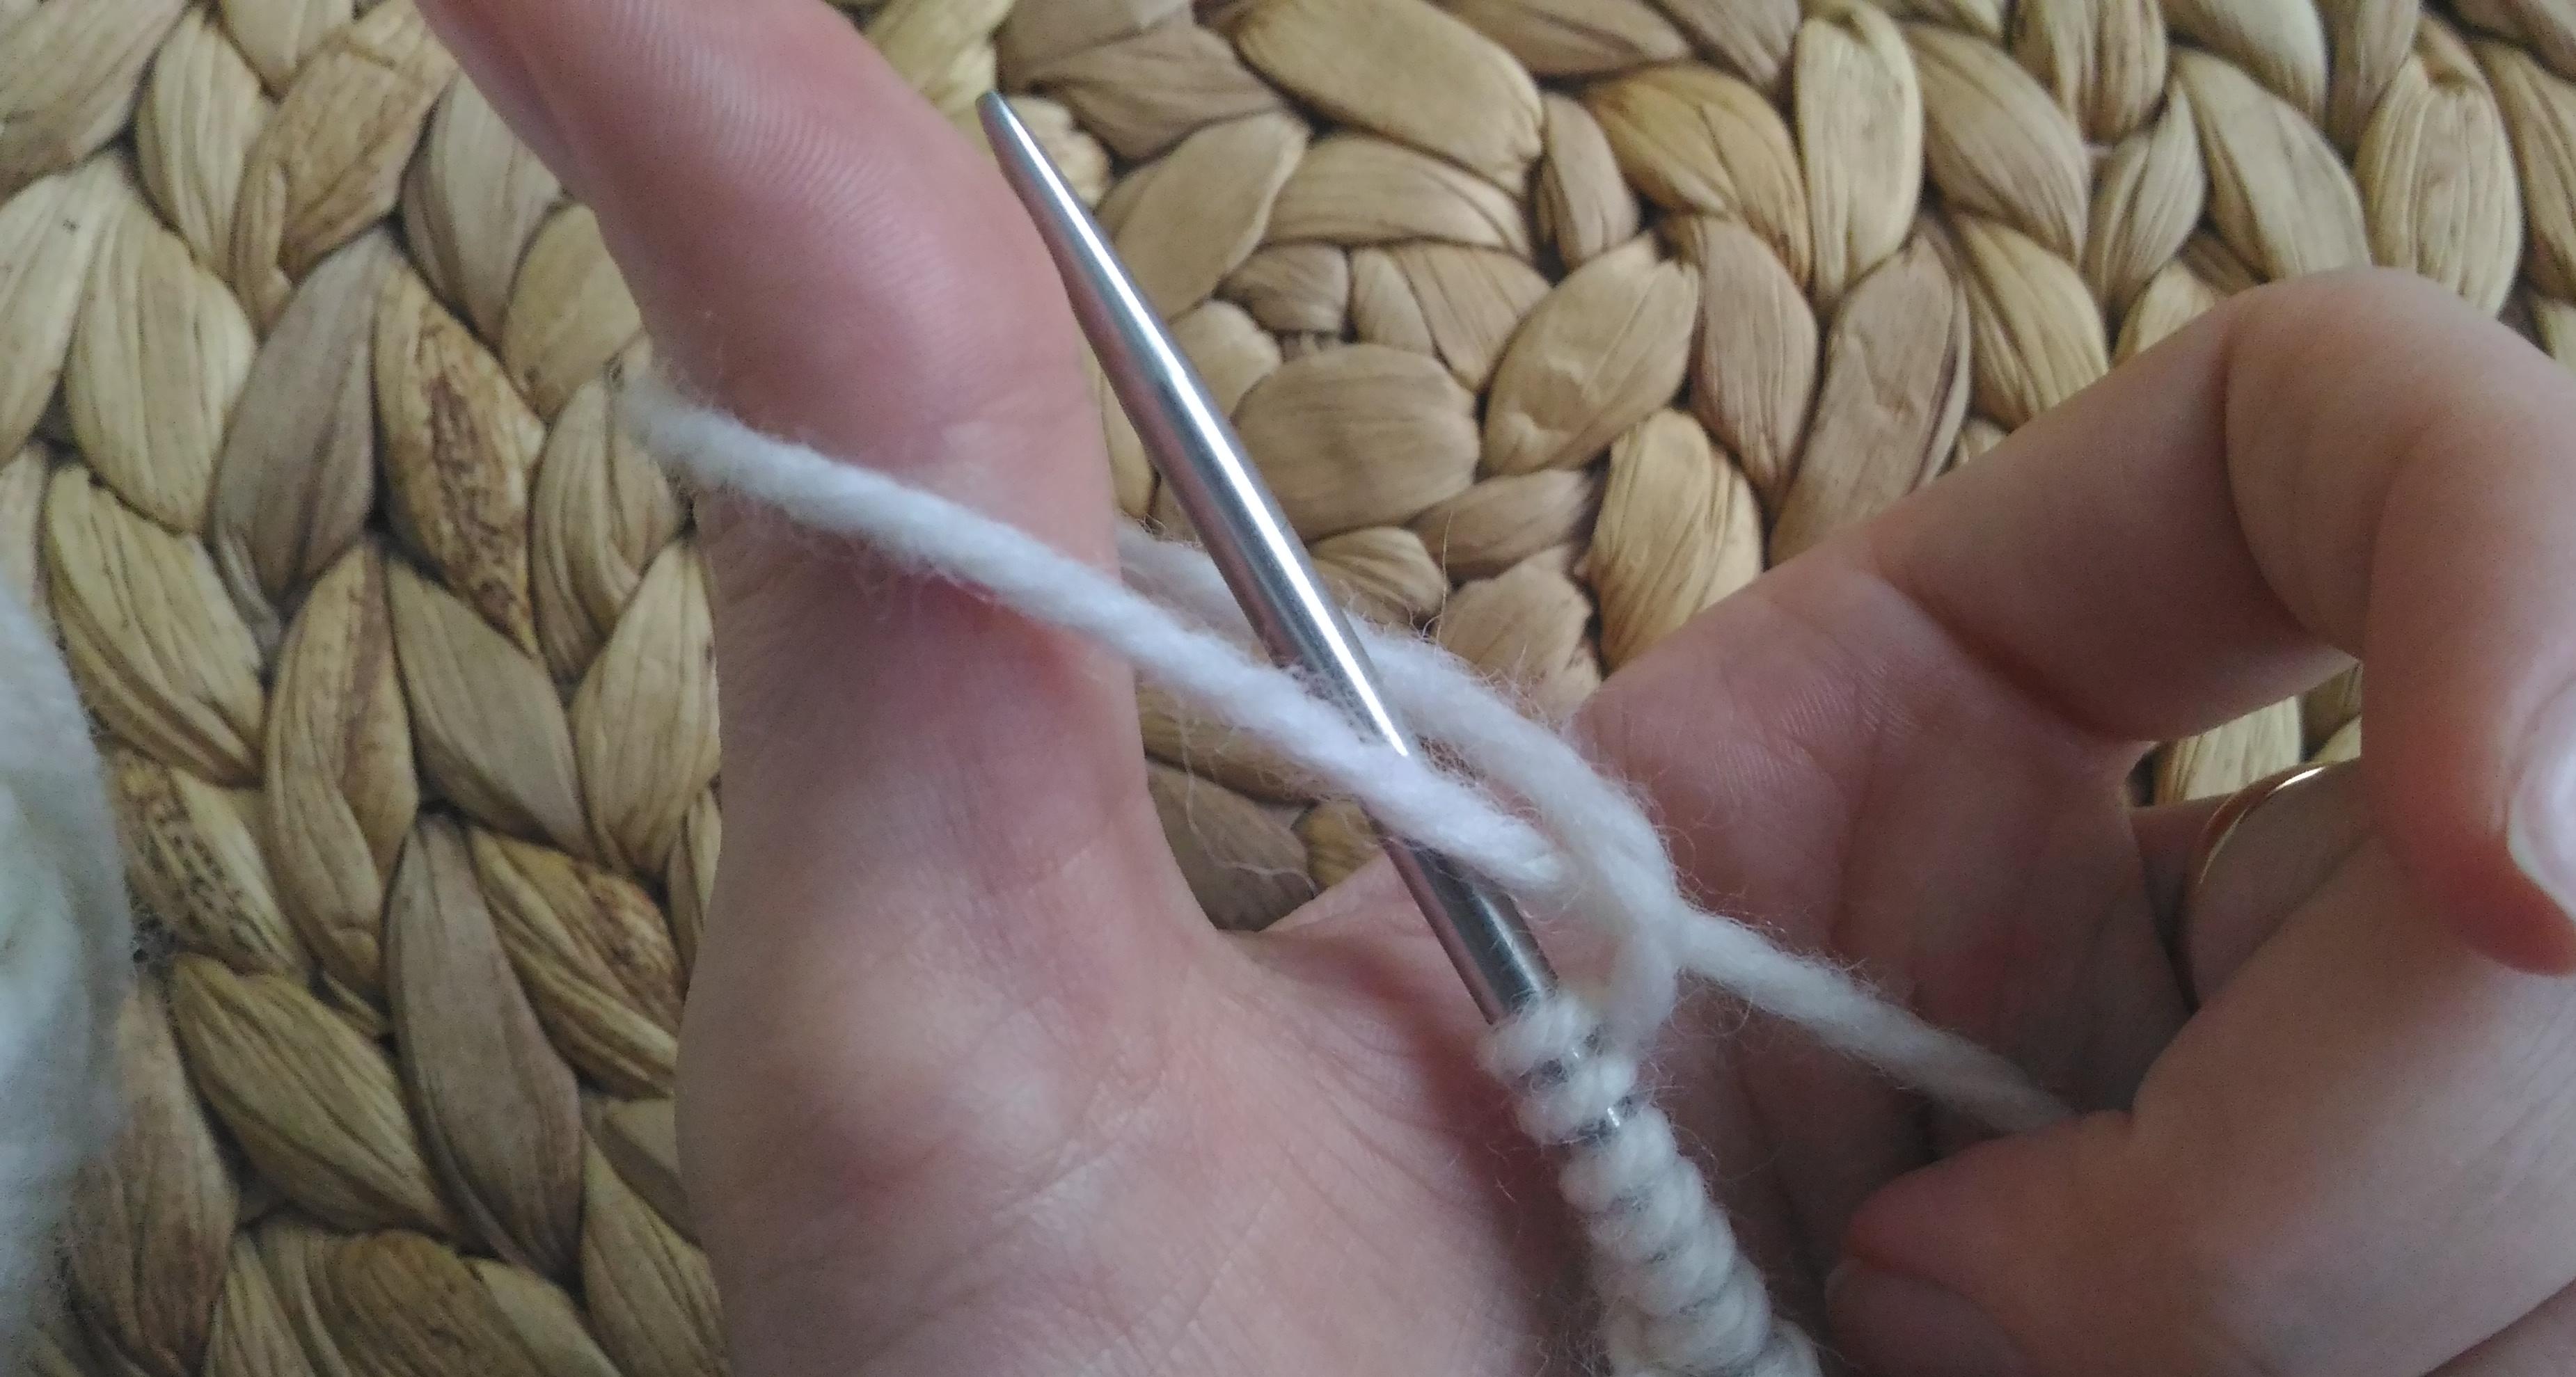
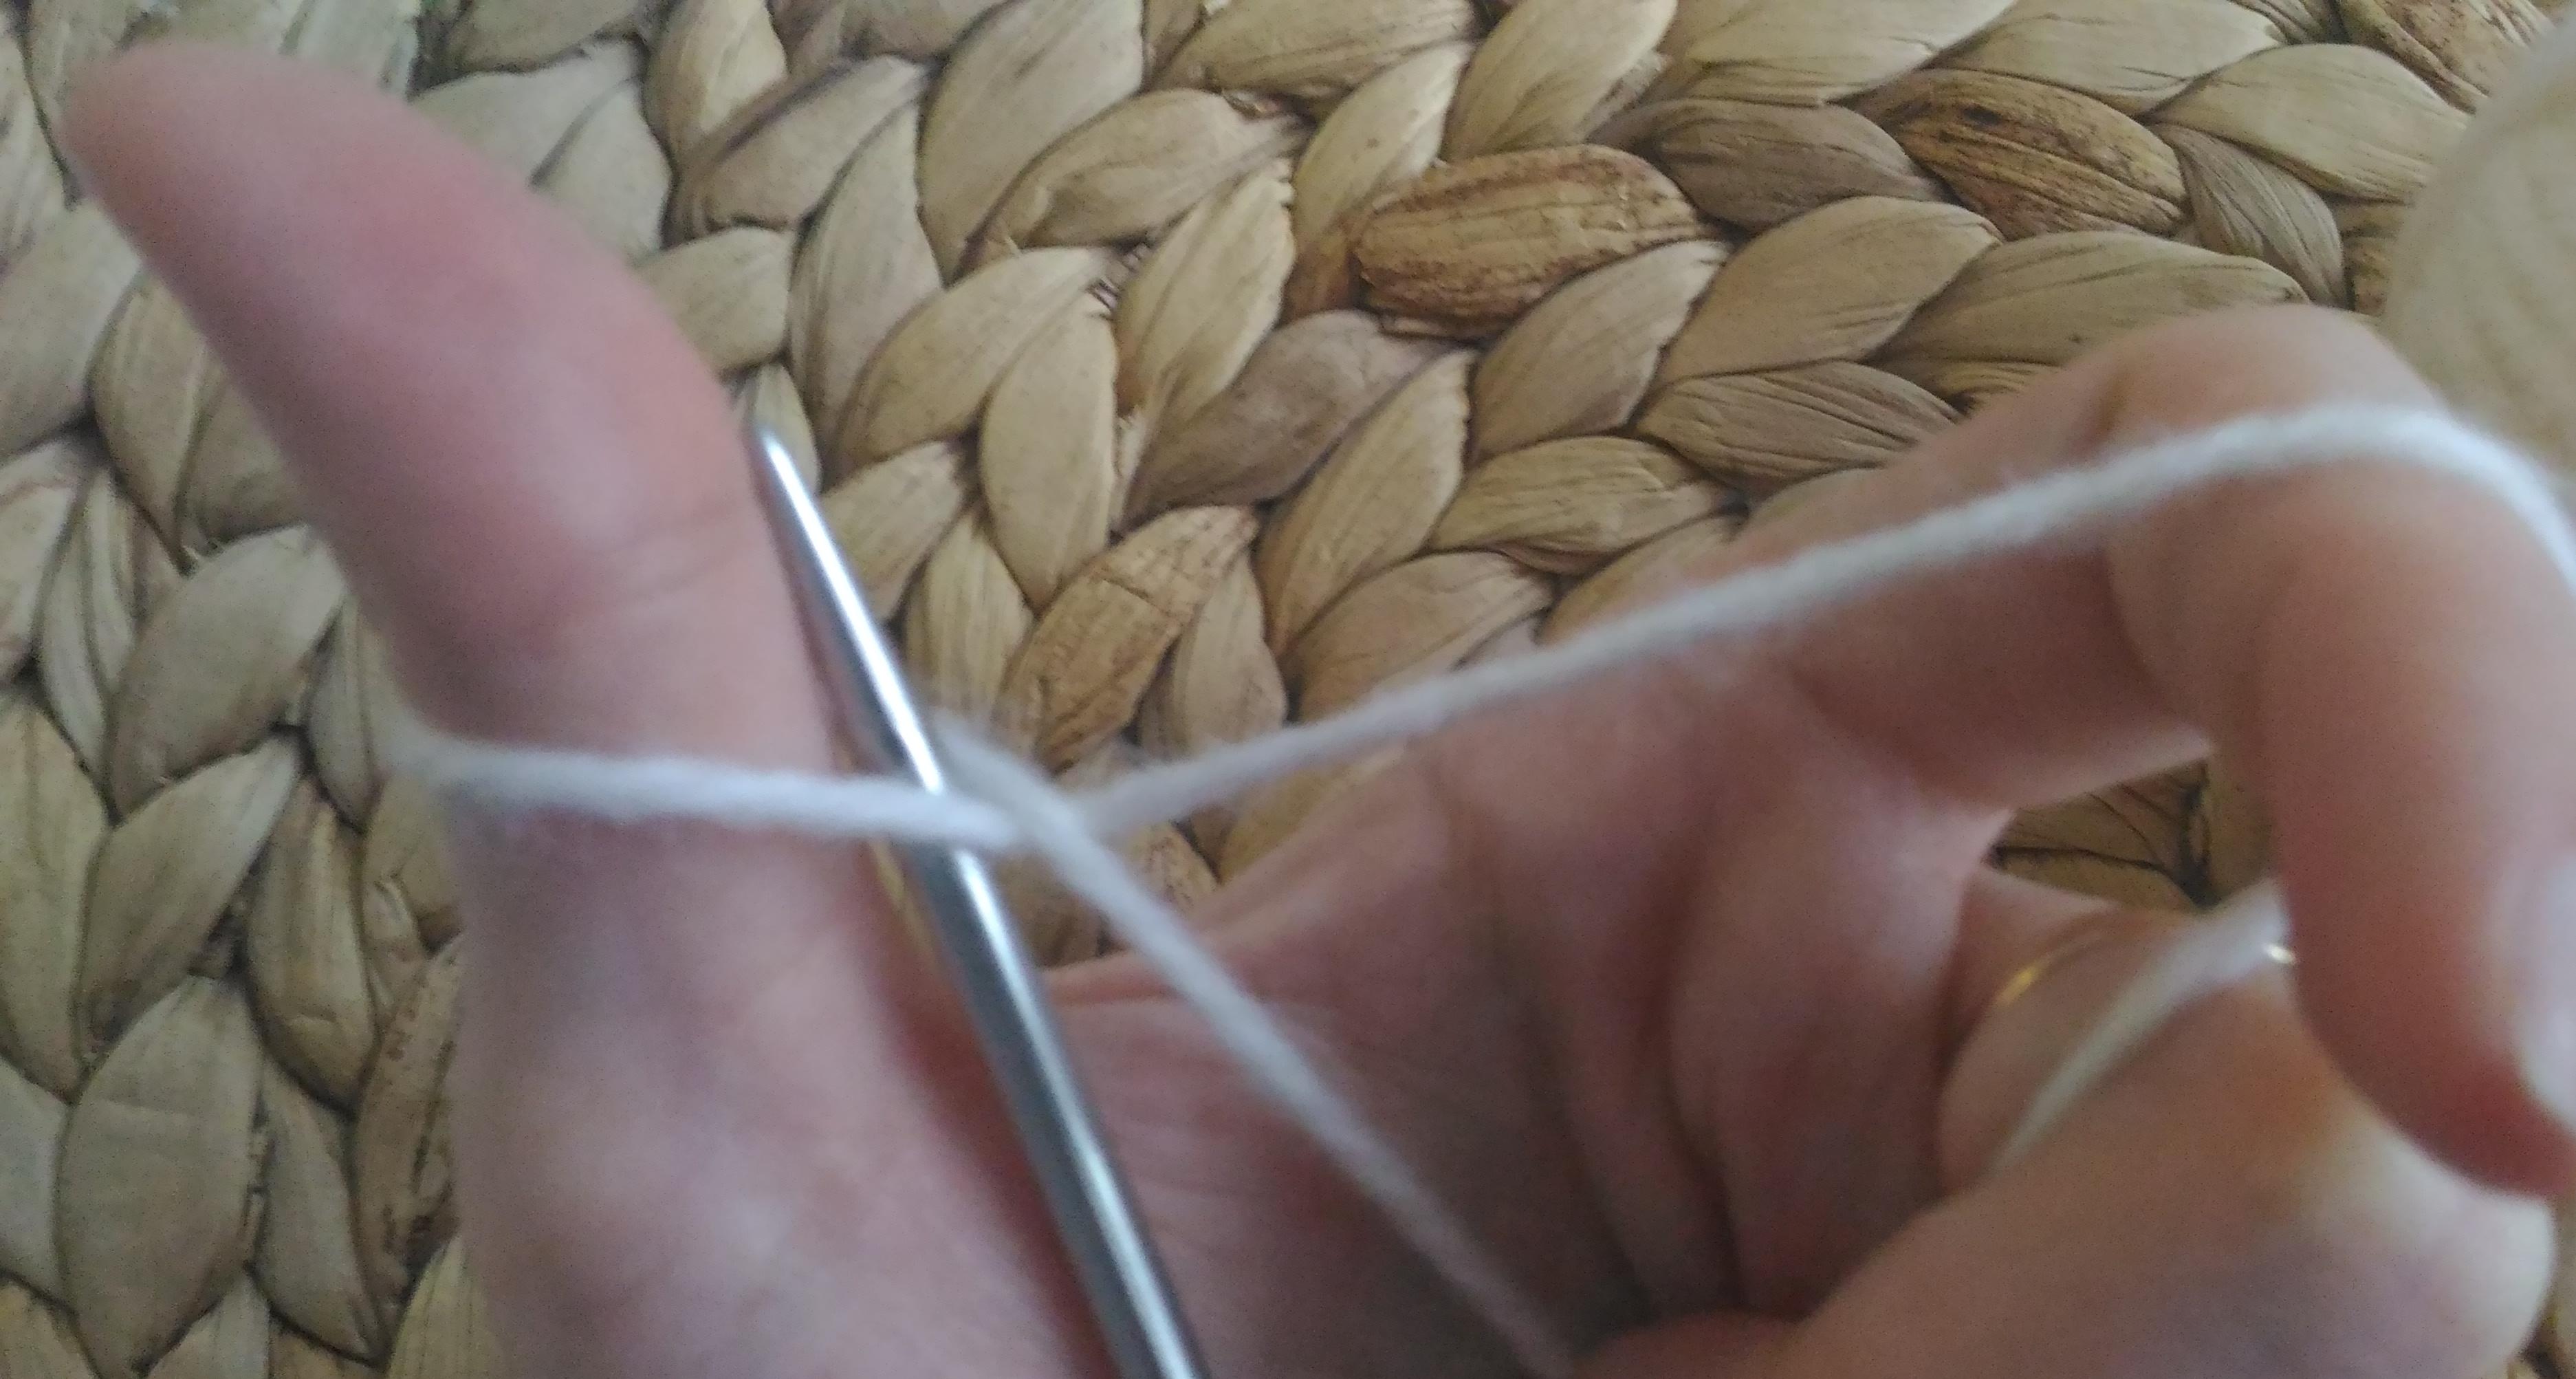
We form a loop, as in the photo so that the yarn that is on top is from the free edge. From the right to the left we introduce a spoke. We tighten the long edge and get here this P.
Now we put a string on the ukaz-th finger, and the big we drive under it movement from itself. Use the tool to grab the far wall of P, tighten it. Thus, type the quantity you need.

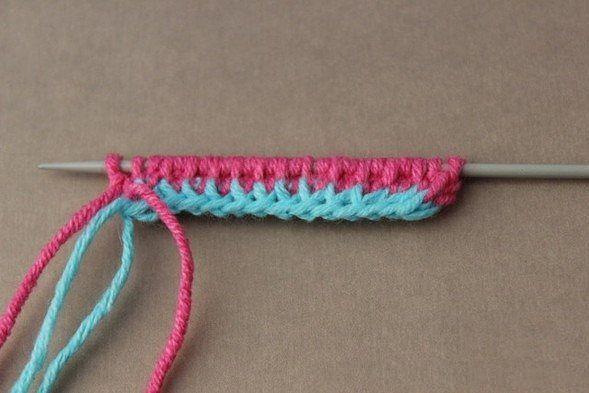
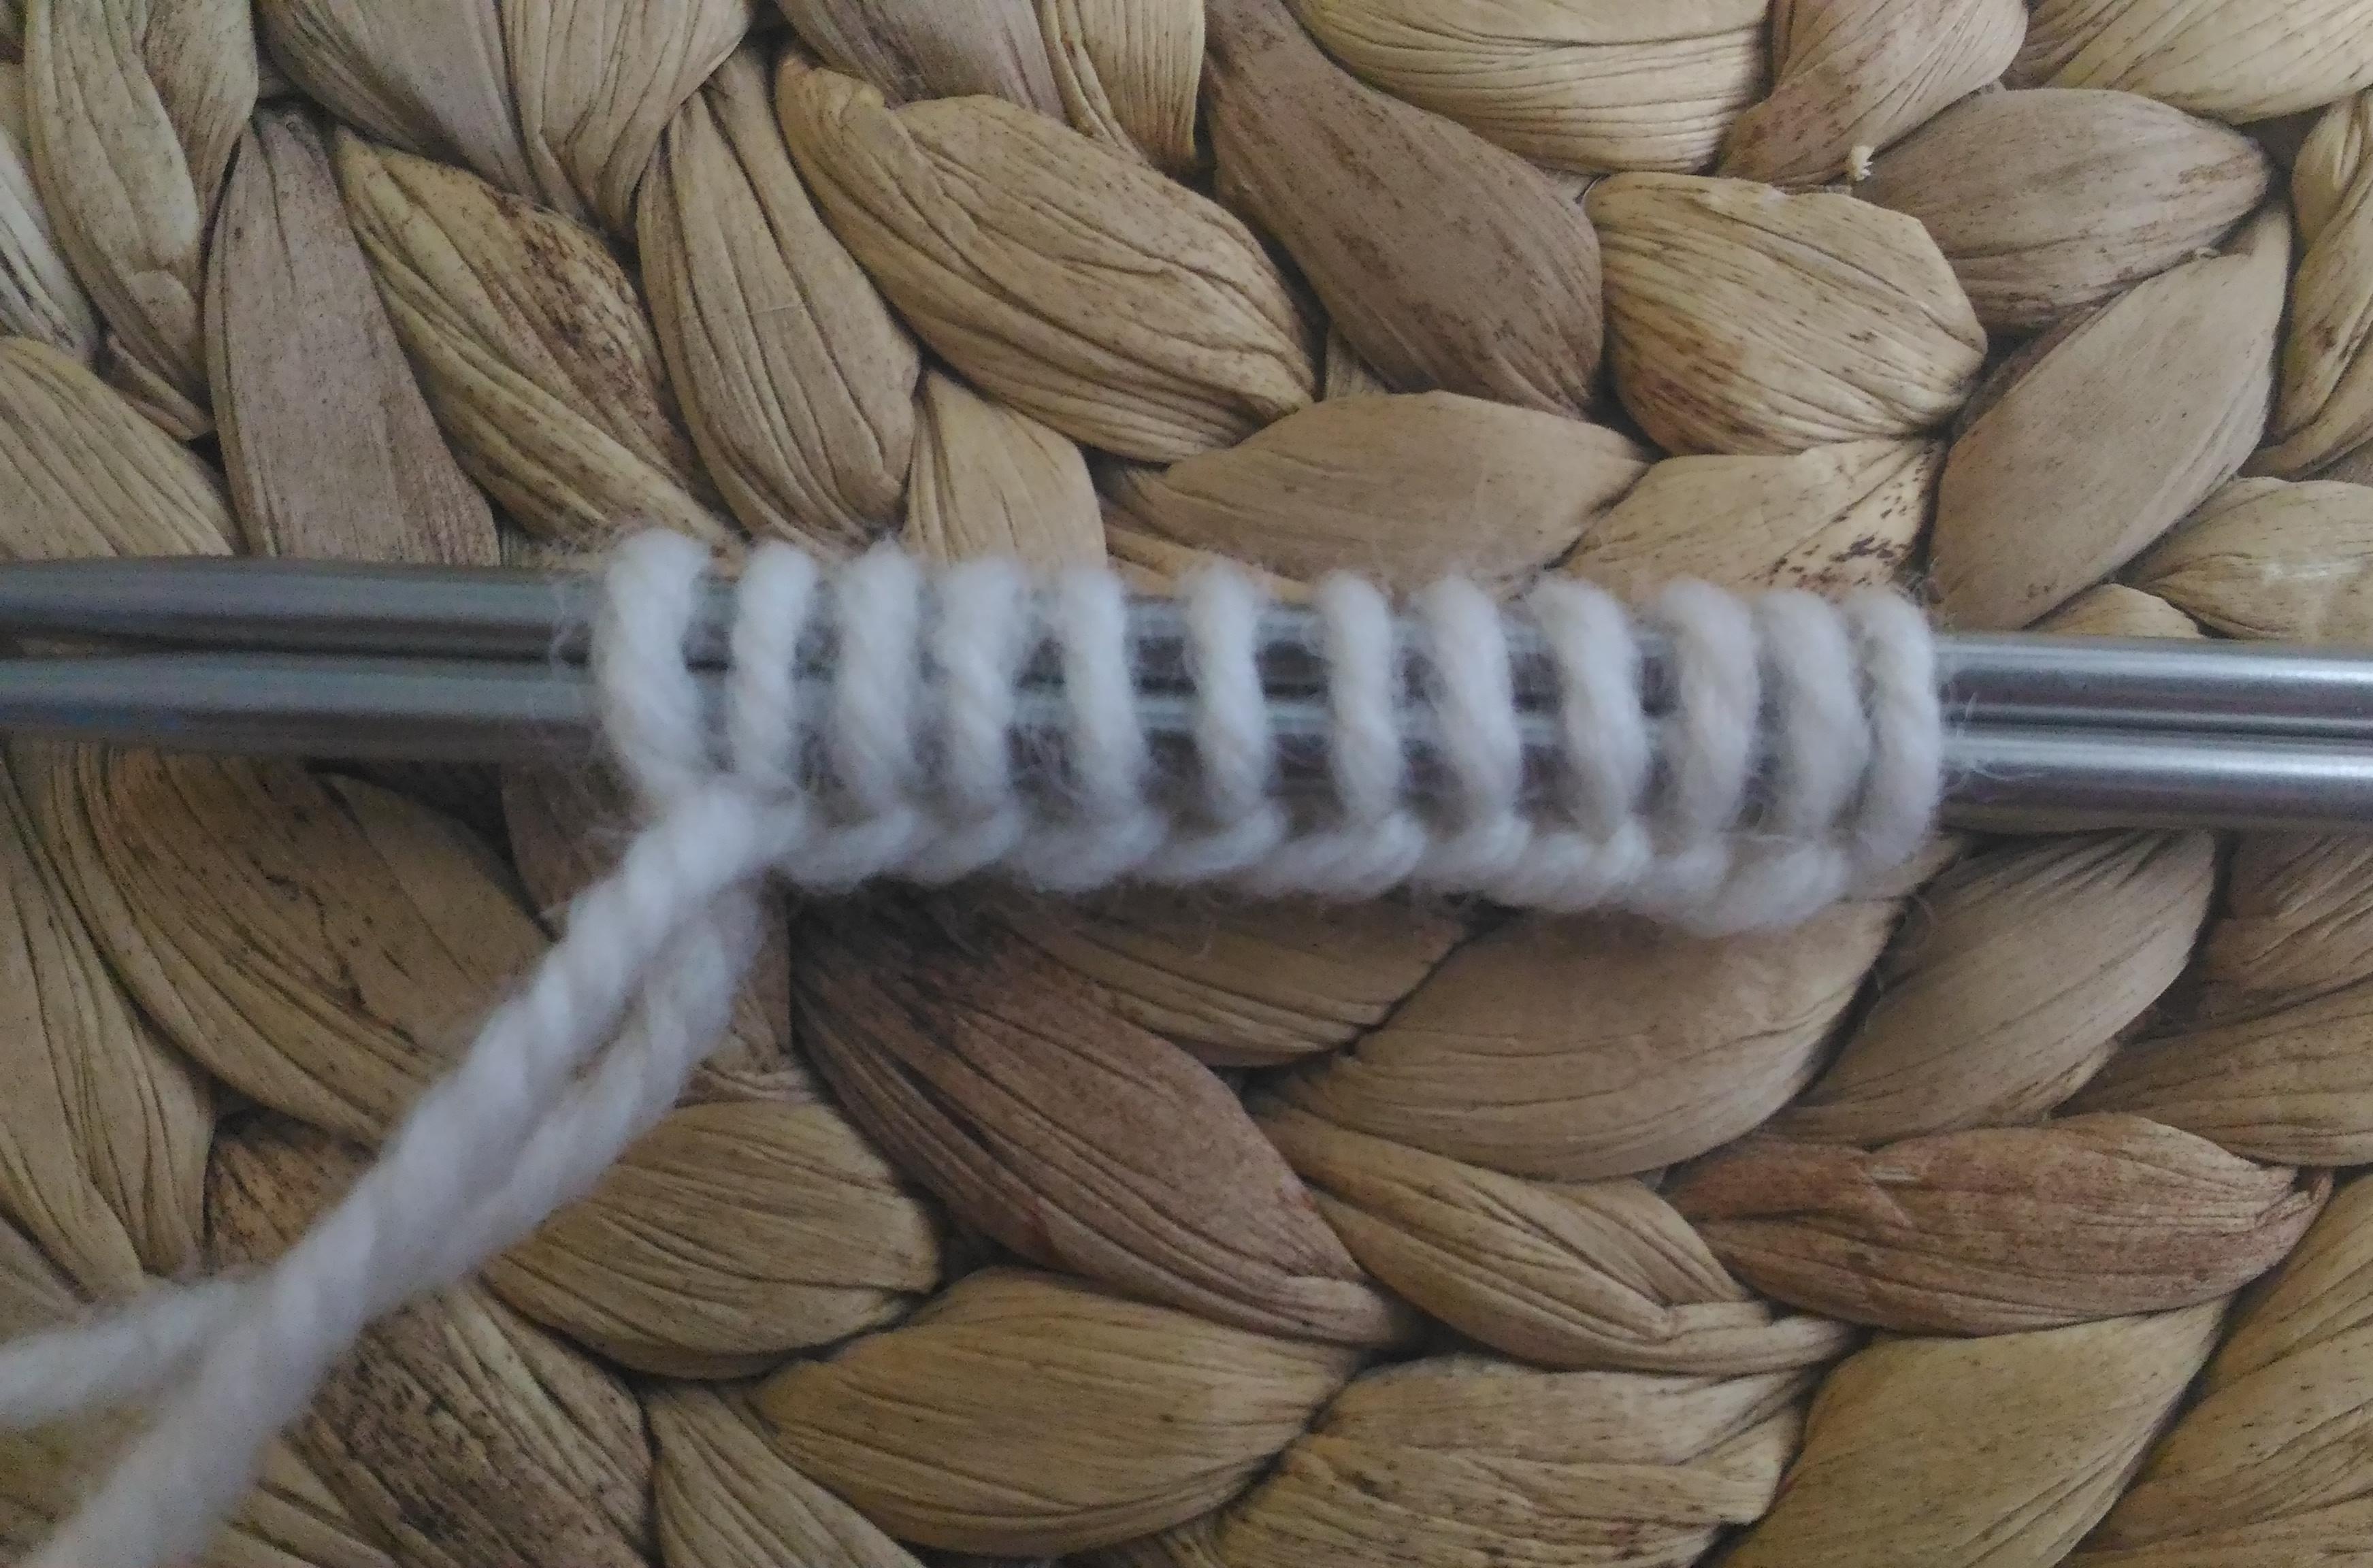
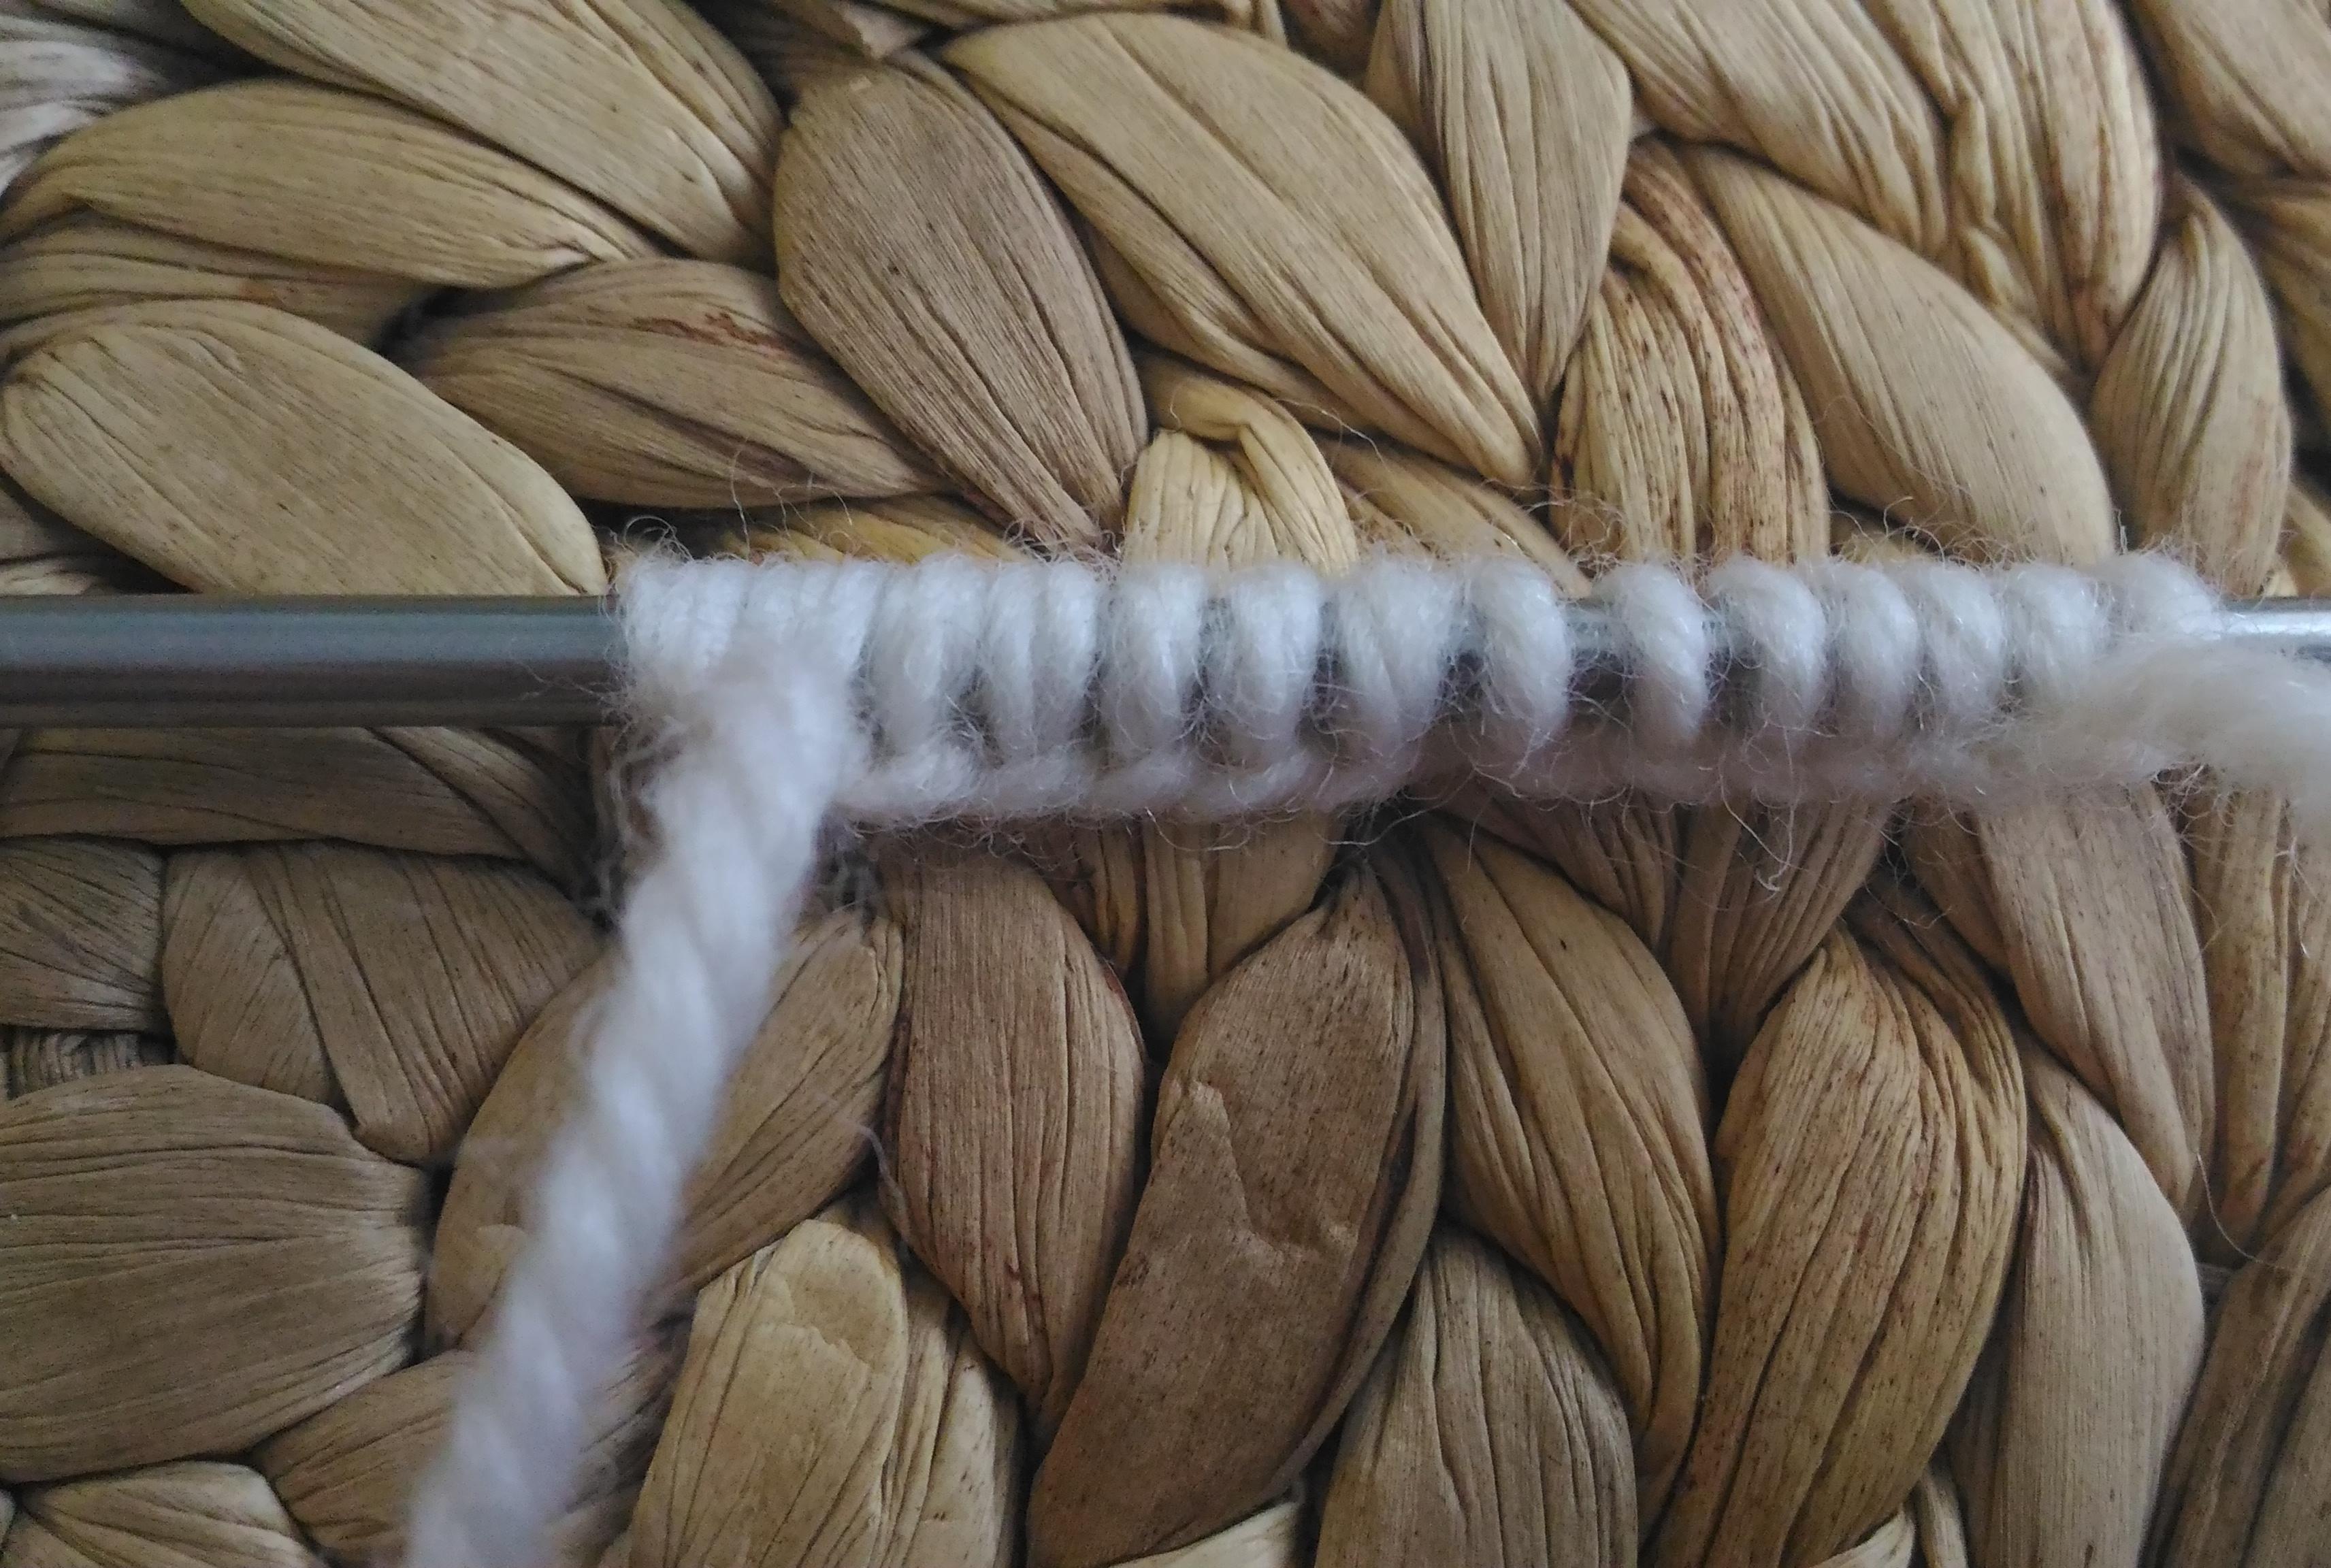
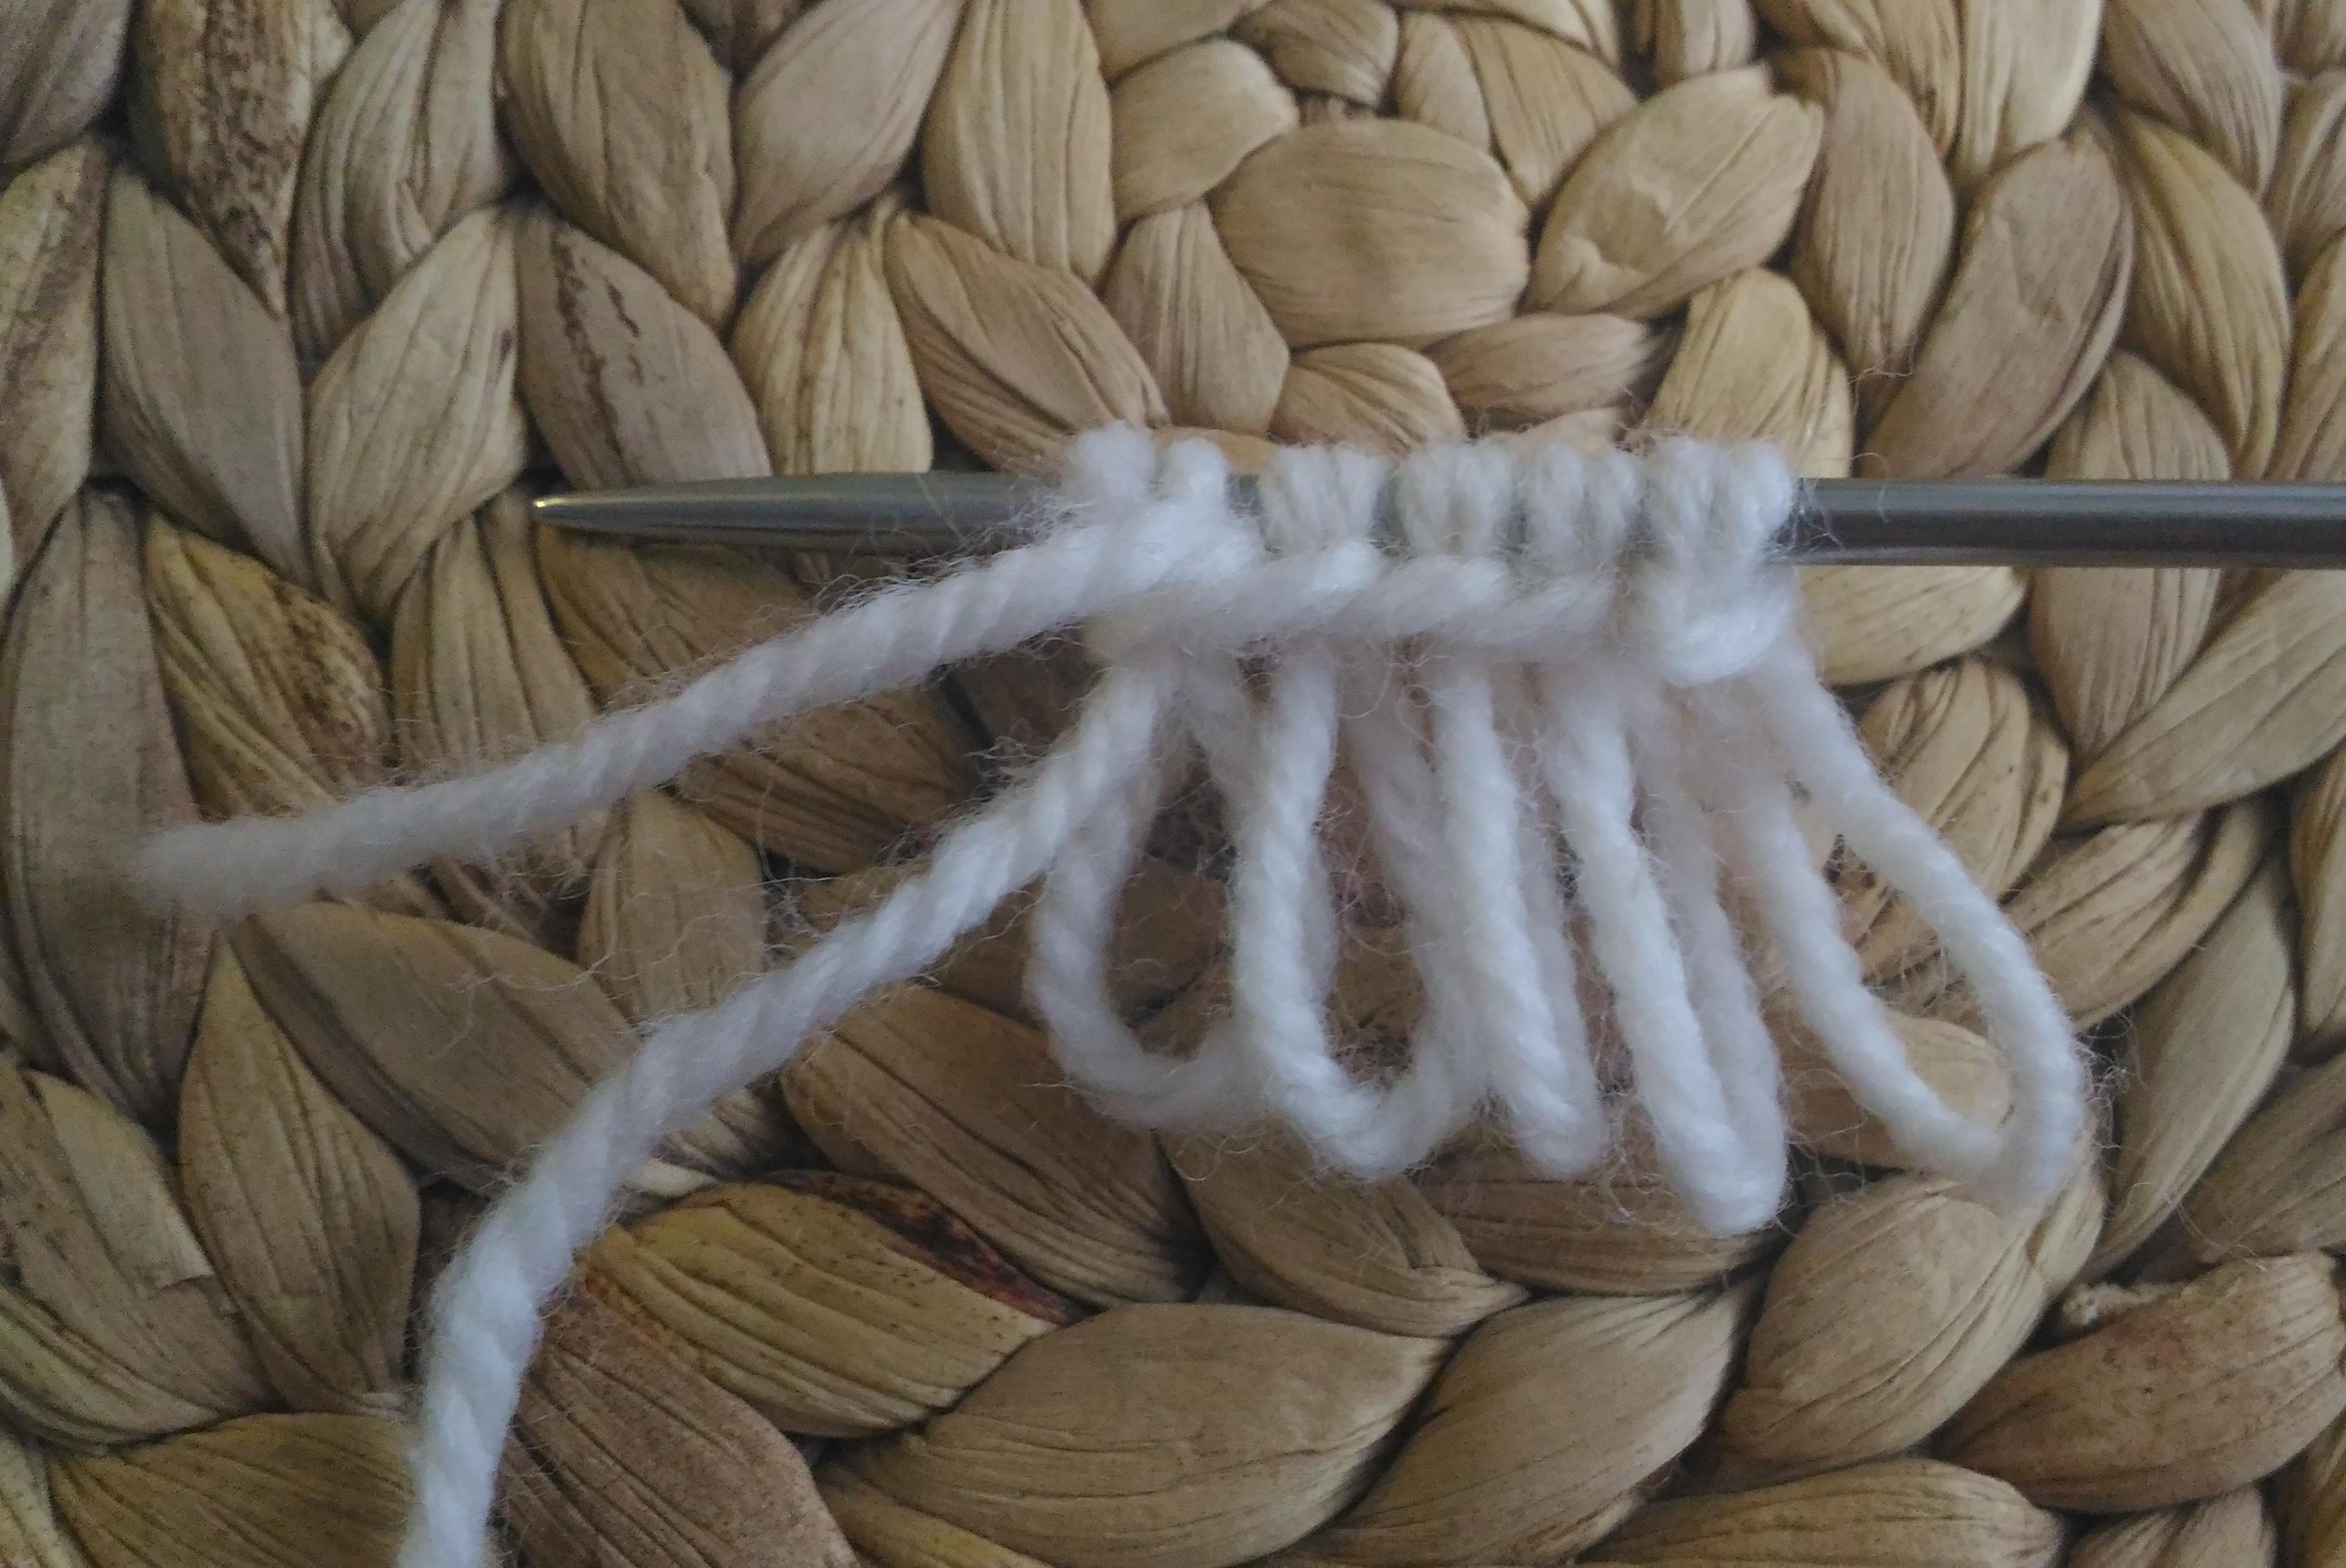
When typing in this technique, the P are tilted to the right. If you want them to be tilted to the left, put your finger under the yarn towards you, and insert the needle behind the front wall of the buttonhole.
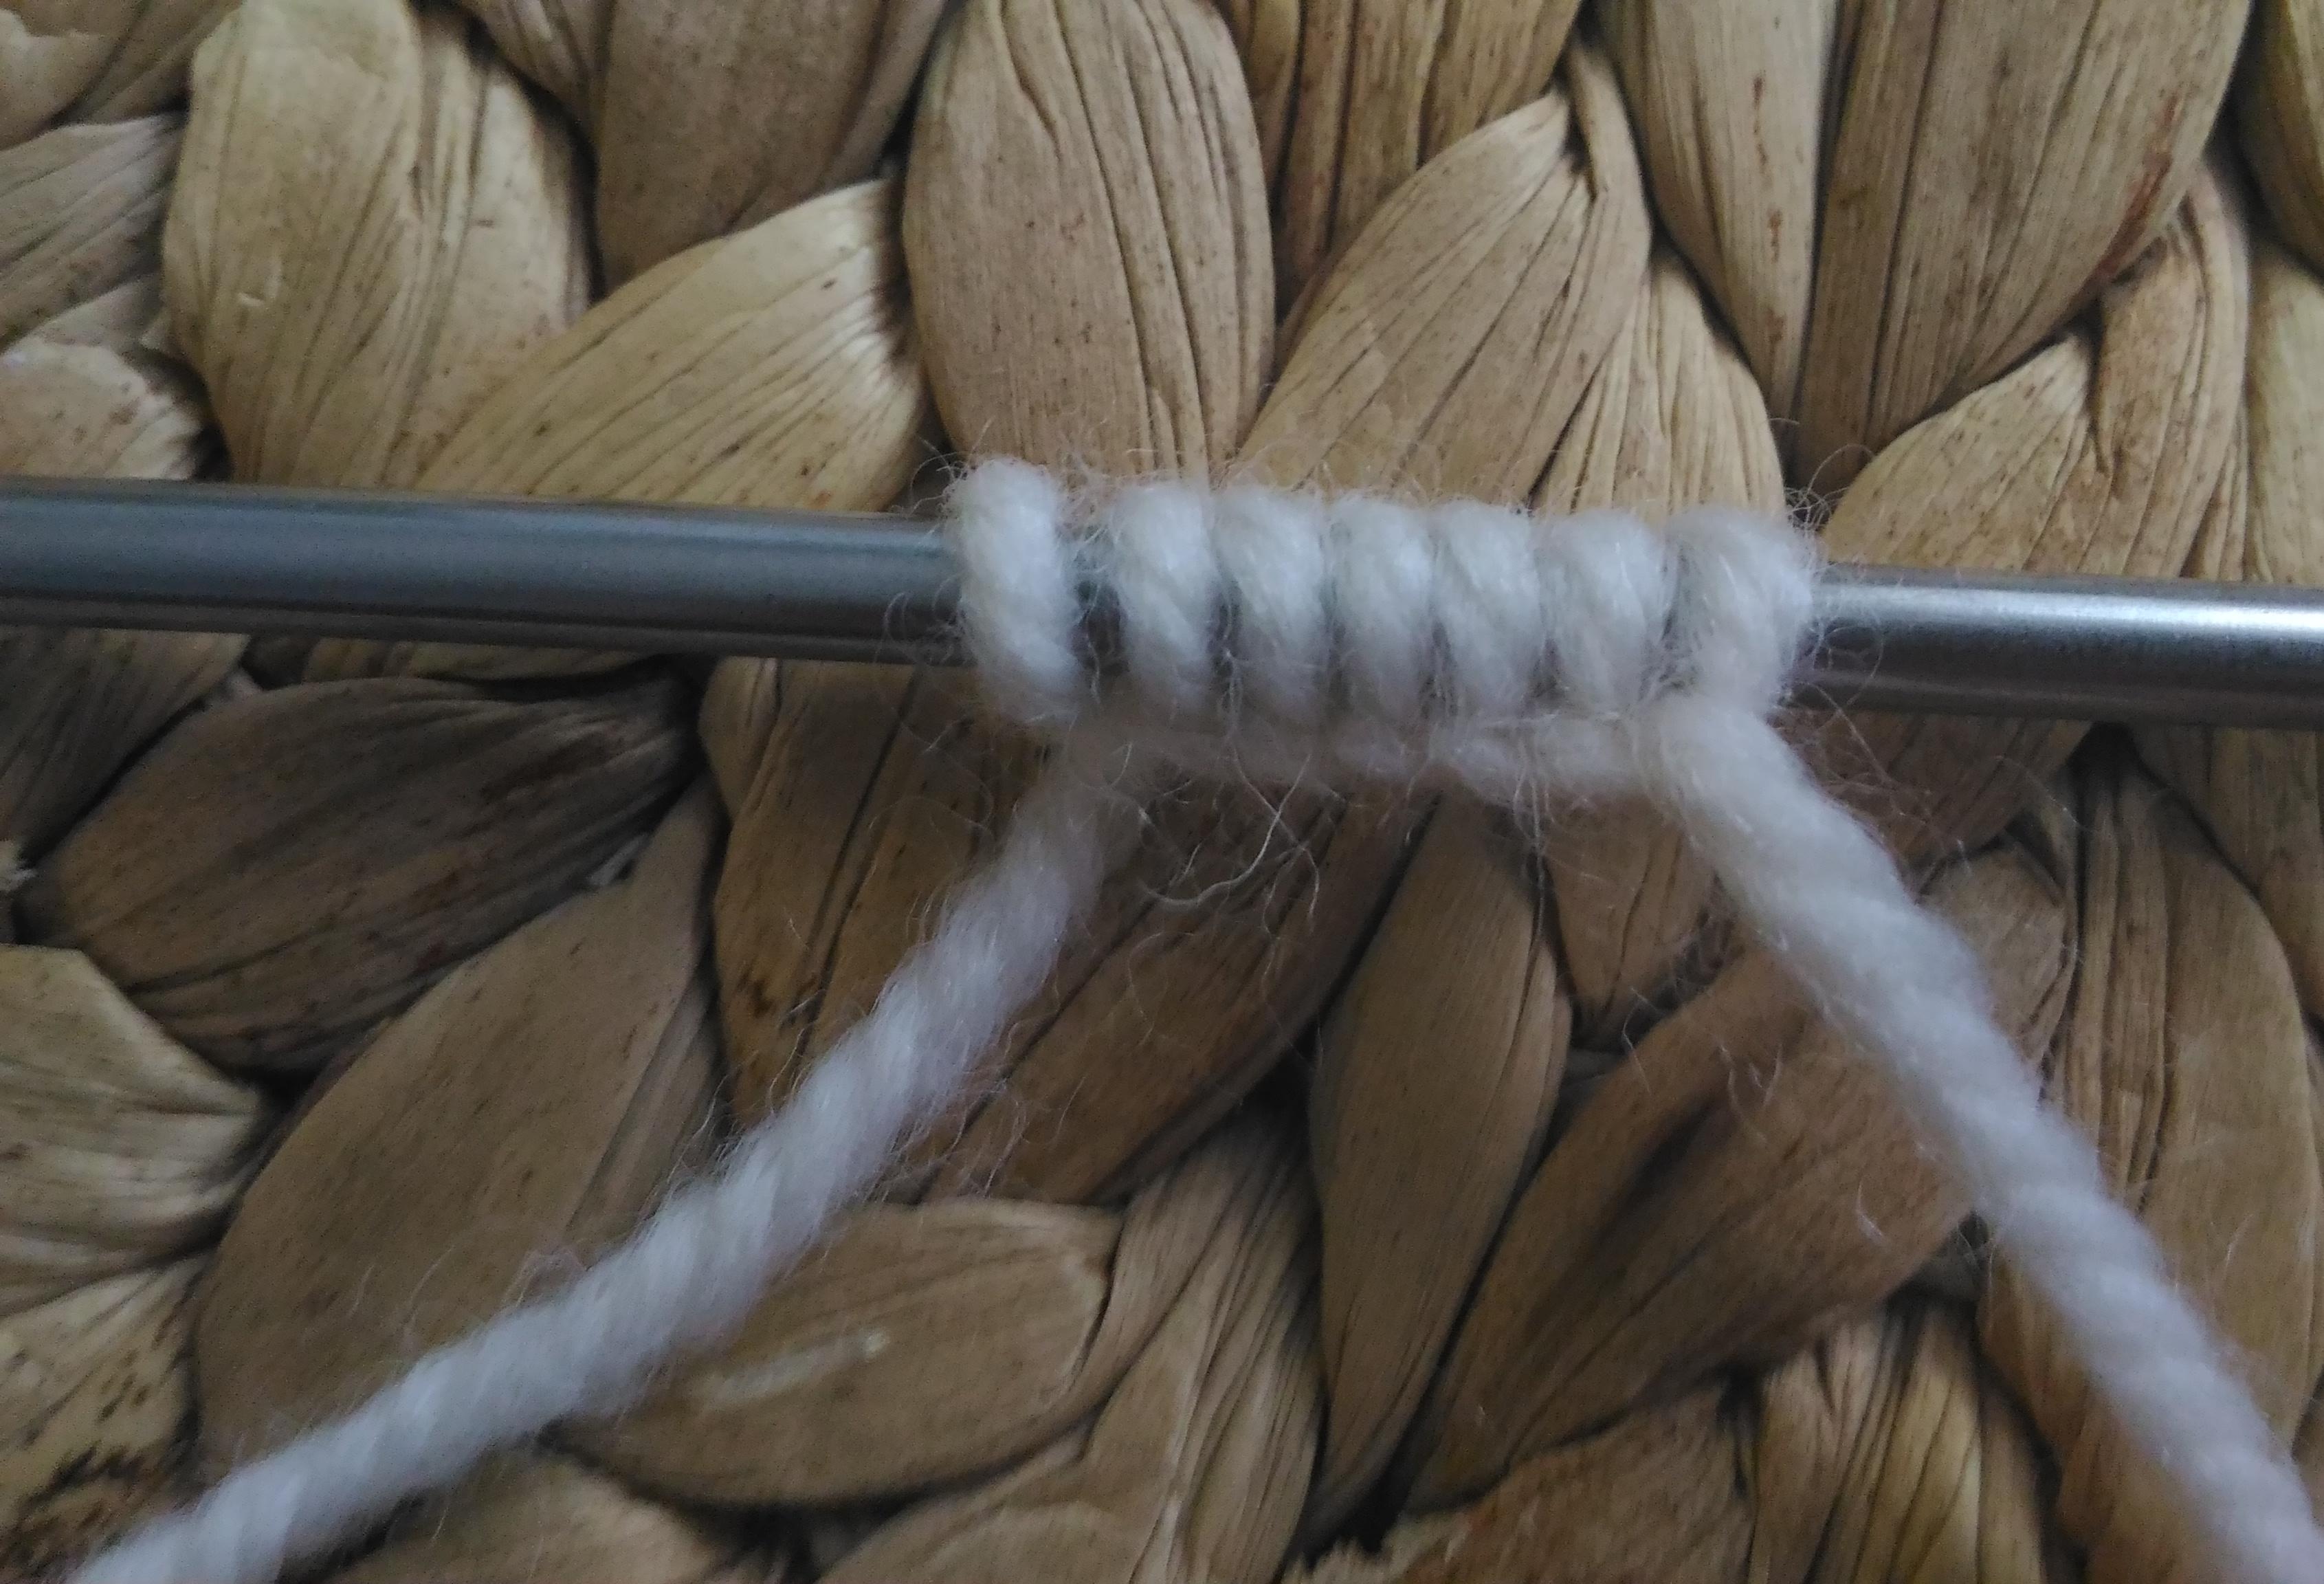
In the photo, the seven loops on the left have a slant to the left (they are more comfortable to continue knitting with the front surface), and the seven on the right to the right (for the purl of the surface).
Set of rows with fringe
This method will give the product a beautiful originalEdge, decorated with fringe. We measure yarn twice as much as the desired width of the product. The end of the yarn that goes from the coil is placed on the index finger, the free end wraps around the large one. Now you need to insert the spoke from the bottom up into the loop located on the big one. And we stretch through it at once two strands with the index.

We tighten the yarn, leaving P on the decree. The length of fringe can be adjusted by tightening the working thread. After, remove the P from the finger. Type the width you need in this way.

How to type hinges with fringe, as well as other methods suitable for beginner needlewomen and not only, you can find out by watching the video on the channel "Anme Handmade".
Video: Set with fringe
Photo master-class: Ekaterina Kurilyova
Comments
Related posts:
 Learning to unite cos in different ways through a photo-video lesson
 How to weave of gum panda in many ways from the photo and video tutorials
 How to sew knitted items in different ways by photo-video MK
 Decoupage of plates in different ways (photo and video)
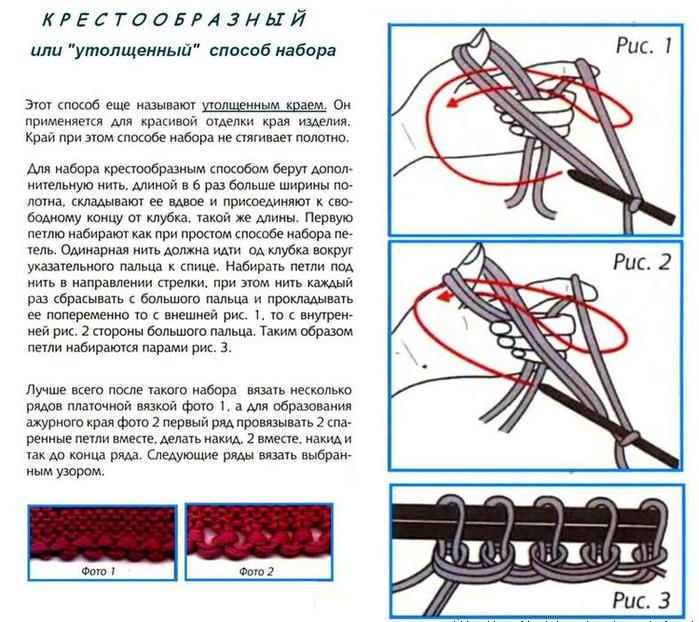 We are exploring a cross-shaped spokes set of loops on the photo and video