
Cross-stitching lessons for beginners for free, cross stitch patterns, free embroidery schemes
It's hard to find someone who does not seecross-stitch and would not admire such products. Many craftsmen want to do this by themselves, but do not know where to start first. We take upon ourselves the task of telling you about the basics of working through the cross. 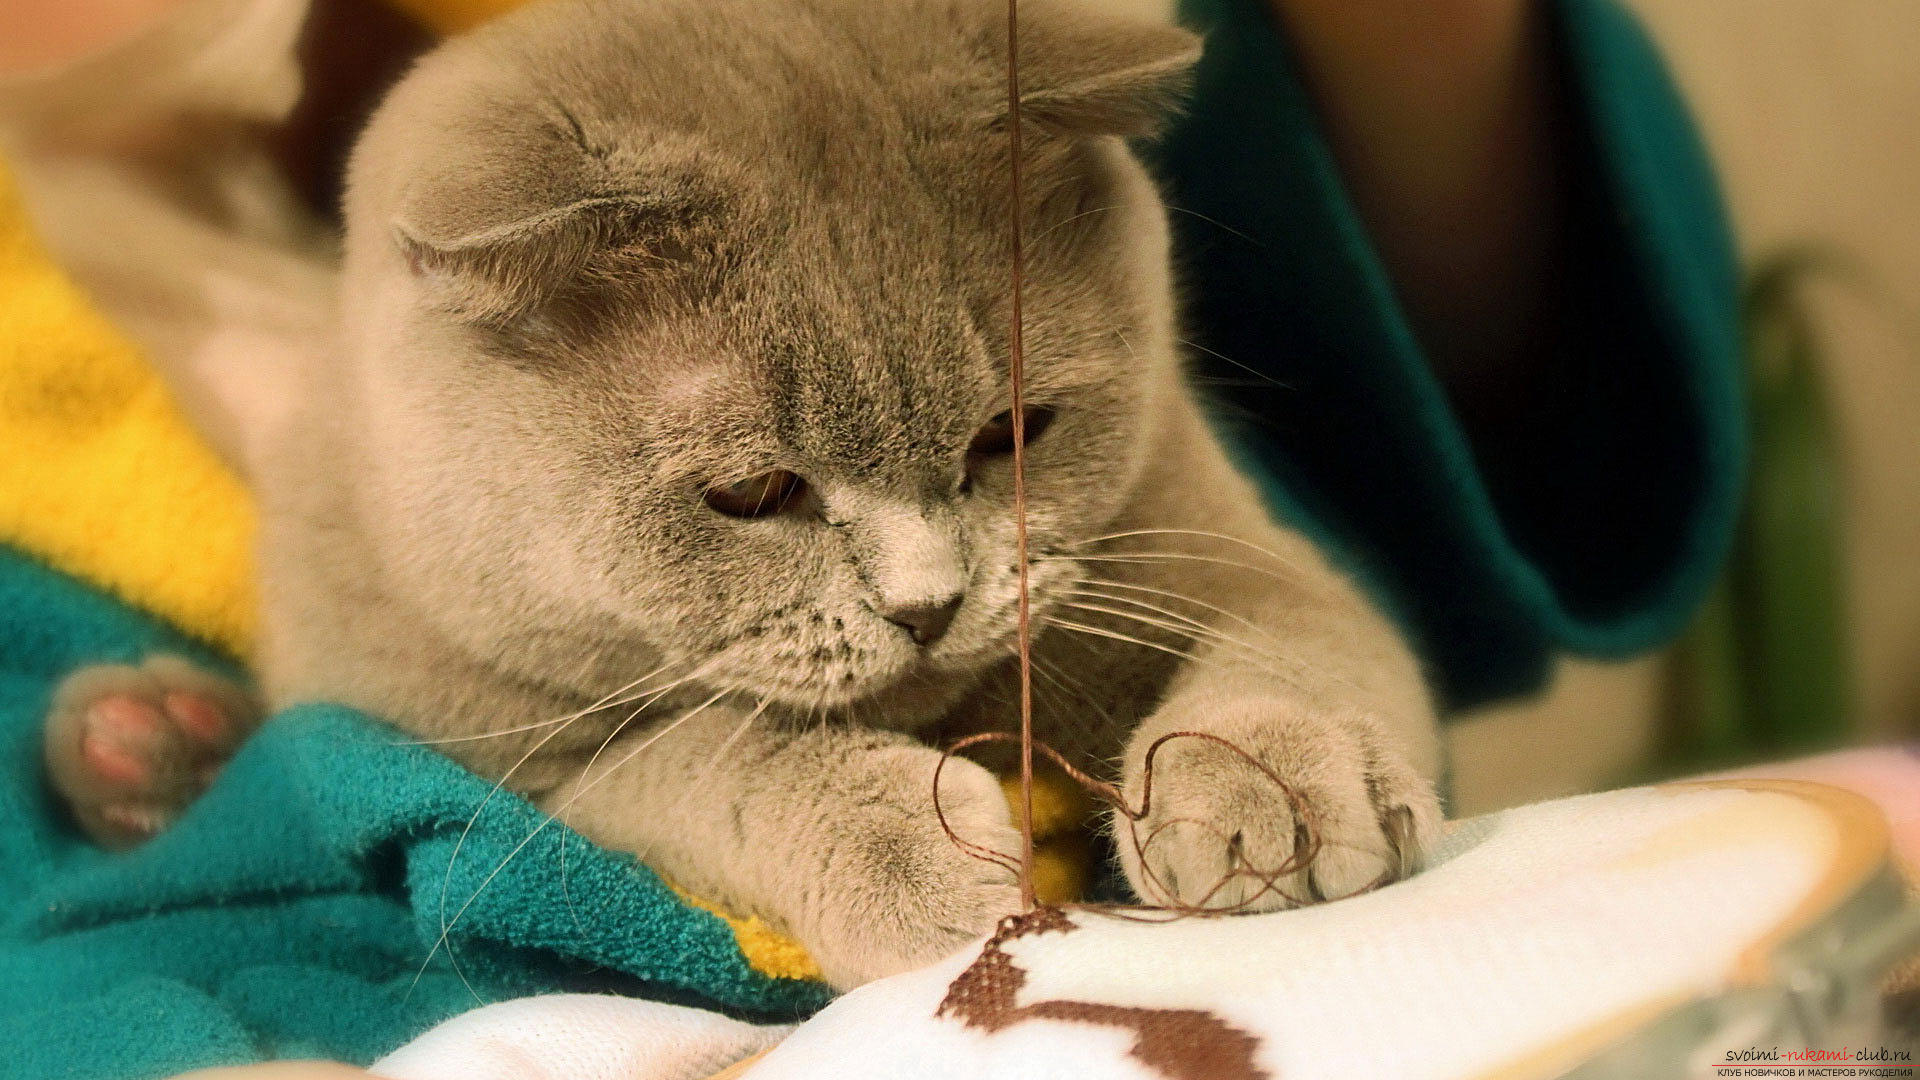 The linen for this type of needlework shouldhave a geometrically correct form. In other words, the threads will be woven in the form of a perpendicular to each other, taking the form of squares. This is due to the fact that in the process of embroidering with a cross and filled with colorful drawings these squares. We recommend embroidery on specially prepared fabric, in other words, canvas. For example, take the canvas Aida for embroidery. About the length of the working thread Quite often, in inexperienced craftsmen, the thread is entangled and twisted in the process of embroidery. To prevent this from happening, it is necessary to take a thread no longer than 40 to 50 centimeters. Threads made of wool and other similar textures should be shortened to 20 - 30 centimeters. If you fix the first stitch with the help of the "loop" method, then the original length of the thread should be taken twice as much, because during the threading in the eye of the needle it must be folded twice. In order to not always measure the length of the thread, the more experienced needlewomen compare it to their hand. The length of the "elbow - brush" will be the most optimal. In case of embroidery not in one thread, it is necessary to divide a segment of necessary length into separate threads, straighten them, and then to connect in the necessary quantity. Thanks to this procedure, the working thread will become much less confused and twisted.
 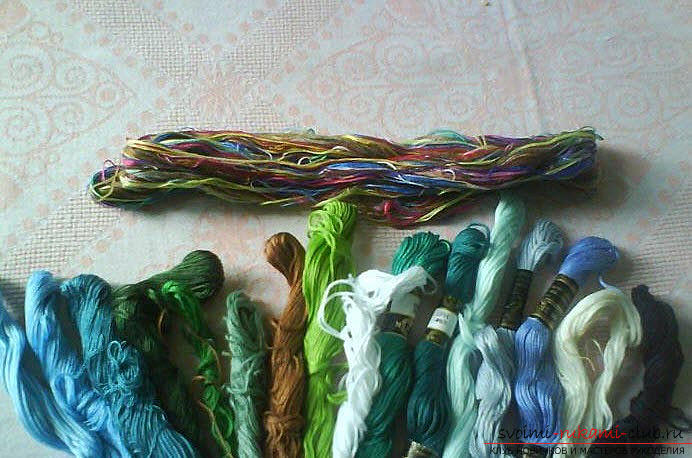 About the density of embroidery As a rule, one flosscontains six threads, but not all need to be used in embroidery. Here much is determined by the size of the canvas. On the quality of embroidery cross-stitch can be judged on an even pattern, through which there should be no noticeable tissue. In this regard, the number of threads must correspond to the size of the canvas, which is determined by the number of crosses per inch. One of the most popular types of canvas is Aida 14, for which it is necessary to take a thread folded in 2 - 3. For Aida 11, 3 - 4 threads are required, and for Aida 18 is embroidered in 2 strings. In each case, it will be necessary to determine the desired number of threads, for which it is necessary to embroider a row of crosses with a different number of threads and choose the most dense version. For more visibility pay attention to the following illustrations.
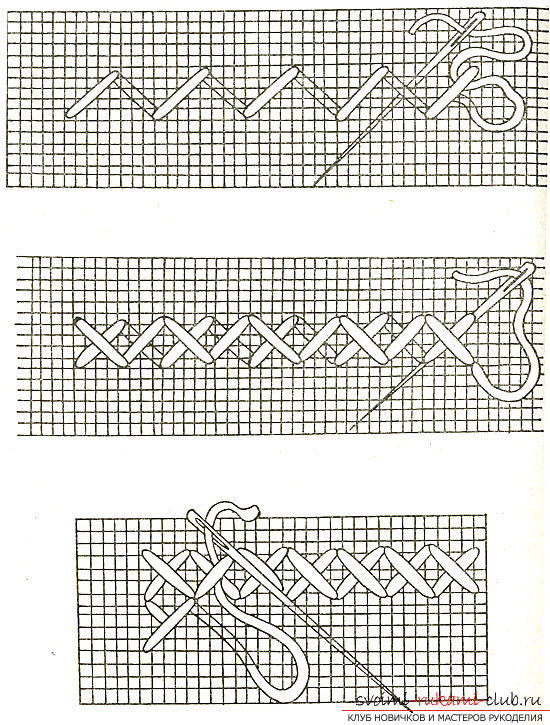
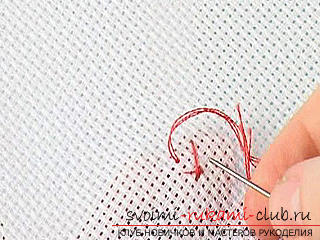
 What should embroidery begin with a cross? After determining the length of thread and the scale of the canvas, you need to go directly to the embroidery. And here is the question: where exactly is it worth starting? Here one should rely on the established practice, which says that on the tissue it is necessary to determine the central point. It is quite simple - the canvas at first bends across, and then - along. The point thus obtained must be noted somehow. For this, a water-soluble marker, pin or stitch is ideal. After thoroughly examining the embroidery scheme, which will then be transferred to the canvas, mark the most optimal place for the start and if it is in the middle of the canvas, even in the children, the embroidery will leave quite accurate and quite symmetrical. We fix the thread at the initial stage. In order for your product to have a flat surface without bumps and hollows, in the process of cross stitching the knots on the reverse side should be completely absent. To do this, there are several options for securing the thread: under the stitch, with or without a knot, using the "loop" method, knot outward. In this type of needlework should be used needles without sharp tips, which could damage the canvas. Their rounded ends should, pushing the fibers of the fabric, get into the corner space.
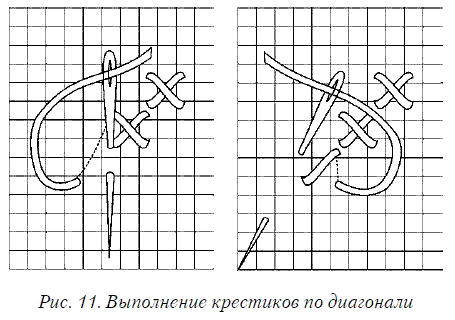
 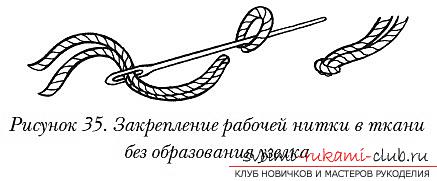 More convenience and uniform tension canvaswill facilitate its fastening in the embroidery frame whether the tension is on the corresponding frame. The transfer of the pattern to the fabric is carried out by means of a scheme in which all the shades are designated by certain symbols. On the diagram for each cross is its own cell.
 To facilitate the process of embroidering a cross,beginners should adhere to the following algorithm: first, in accordance with the scheme, embroider all crosses and half-crosses, then - French knots, then a seam called "back needle", etc. We fix the thread at the end of the embroidery. To fix the thread in the completion of work, it is also necessary, as in the beginning, i.e. without nodes. From the wrong side we pass the thread under a number of stitches and cut it. From the wrong side we twist a string with one stitch, but several times. Note that threads of dark colors can shine through the light and it is better not to allow such situations. Another way to fix the thread is to pass it through the vertical stitches on the other side.
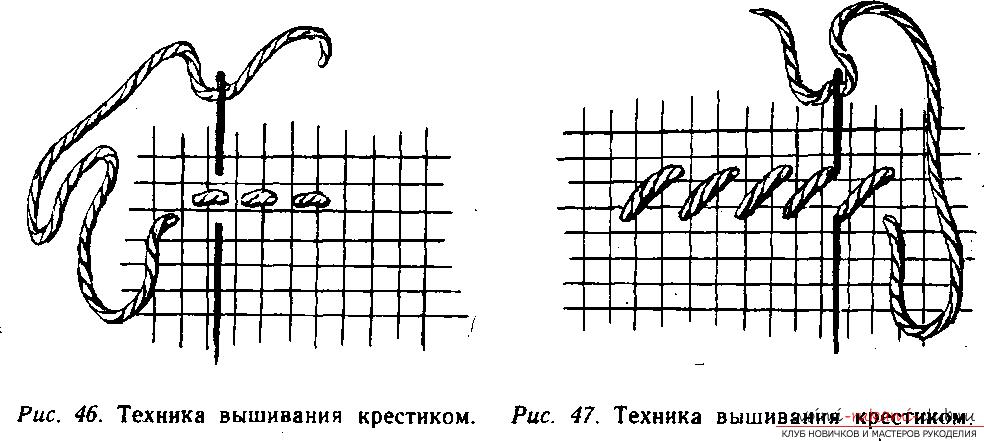
 About washing the finished product How would you neatly notembroidered with a cross, the canvas is still covered with dust and a little dirty, the threads are slightly wiped. This means that at the end of the process of embroidering the product must be washed without fail. So that after this thread is not poured, you can use a standard laundry soap. Next, embroidery needs to be squeezed through the towel and let dry, putting it on the table. At the very end, the product is steamed by means of an iron, but only from the inside to keep the relief of the picture.
 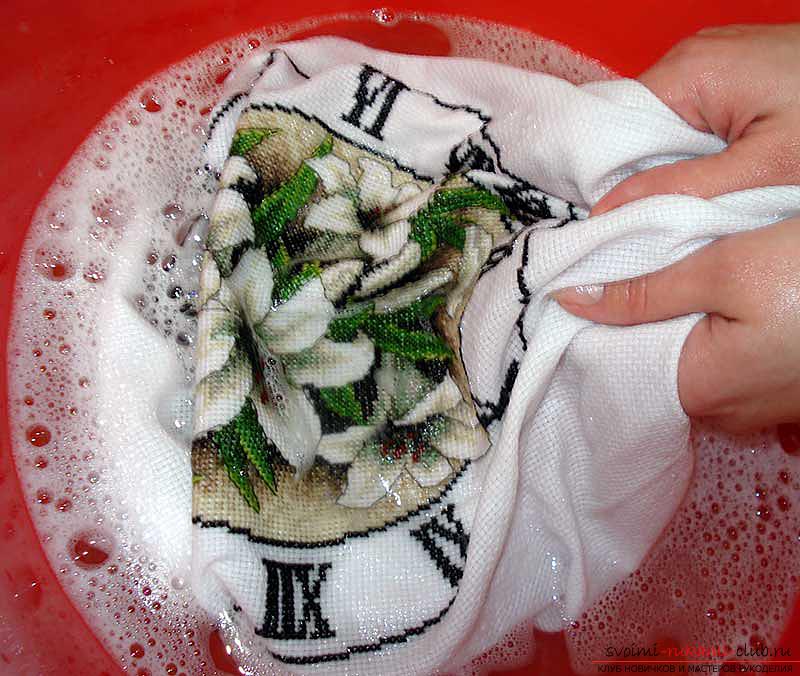 We hope that this master class has convinced you that embroidery with a cross is fascinating and easy.
Comments
Related posts:
 We learn how to cross-stitch towels for beginners for free, schemes of cross-stitch embroidery, free schemes of embroidering towels
 Cross-stitch embroidery designs for embroideries, butterfly embroidery, free cross-stitch patterns for embroideries, a master-class for embroidering pillows according to the scheme
 Embroidery cross the scheme of love and the first feelings
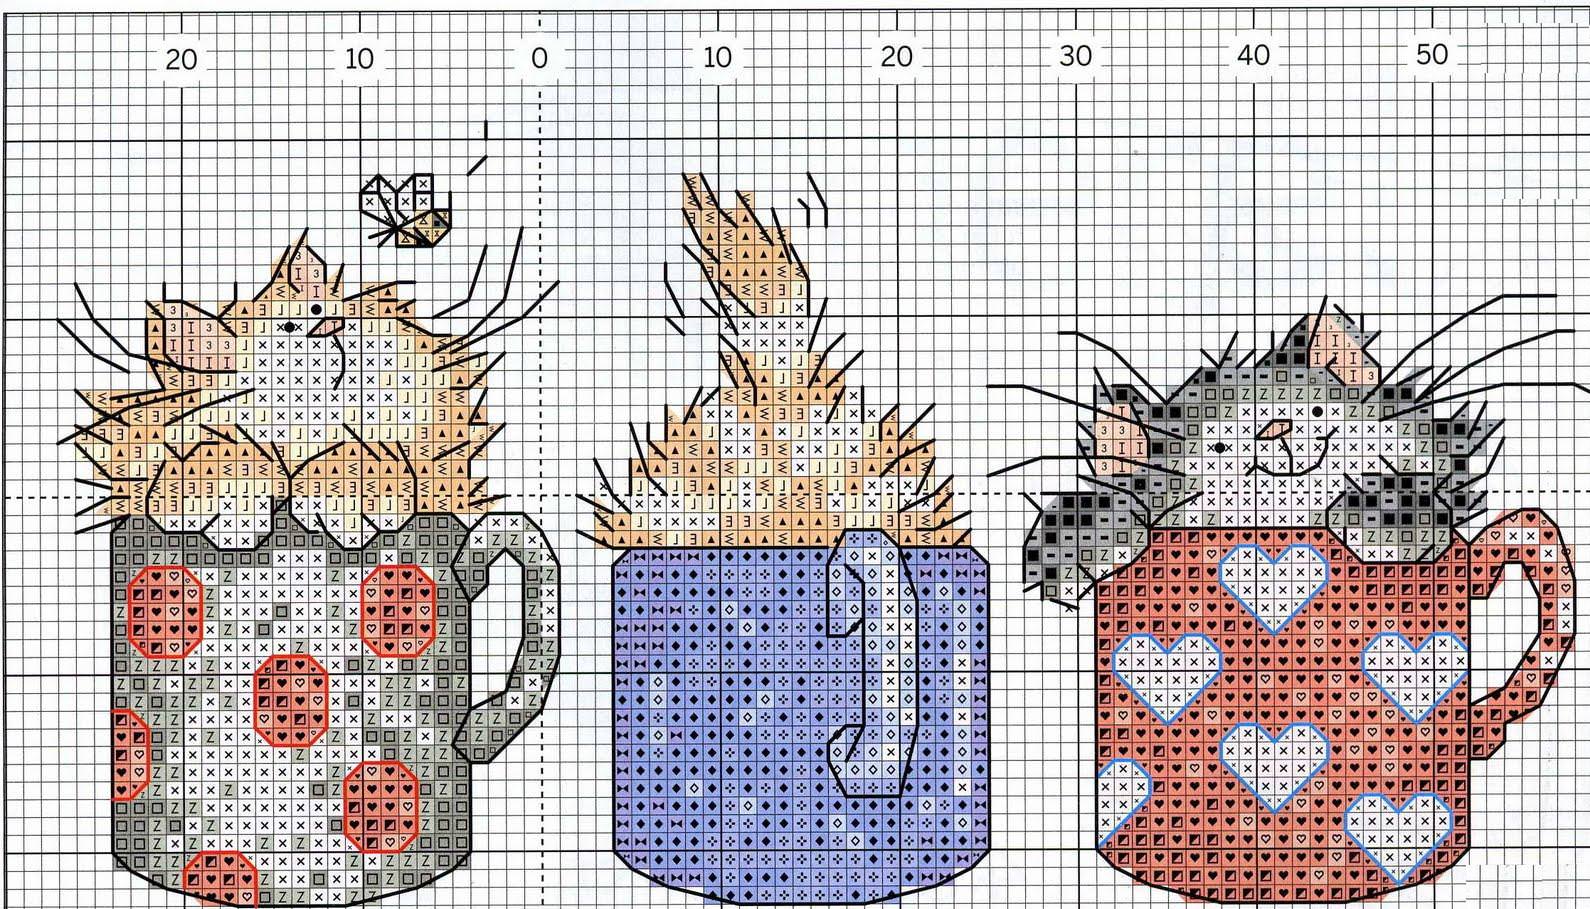 Photo and cross stitch patterns
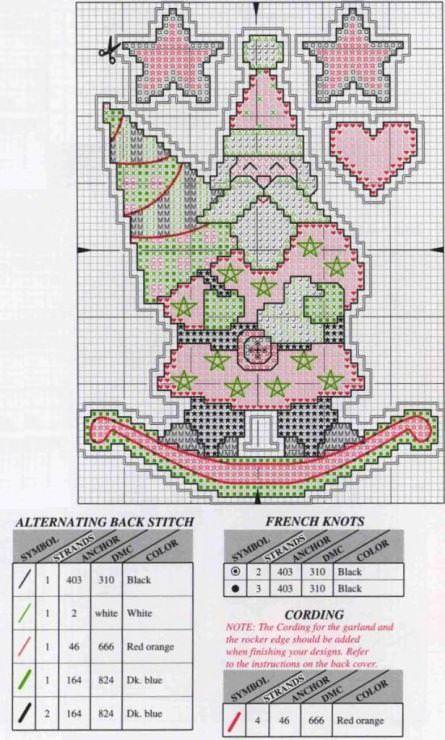 Christmas embroidery cross schemes: holiday theme