To make a piece of paper made from origami in origami technique, it takes a few minutes
A figurine of a horse, made in origami technique,bright representative of the common crafts of this species. It has no complexity in the manufacture and power of every person, children and adults, even if there is no special skills or knowledge in this art form. Origami technique originally appeared in Japan for many centuries. It was the prerogative of the rich, because the paper was too expensive and much inaccessible. None of the memorable events or religious rituals did not do without origami crafts. Over time, this technique of art has developed, new directions have emerged that allow making paper products of varying complexity. Traditionally, origami does not use glue and scissors, only work with a sheet of paper of a square shape (bending). Modern techniques at the final stage of work allow some cuts, which makes the figure more attractive from the outside. Particularly popular were birds and animals. Very interesting is the figure of a horse, made in the technique of origami. 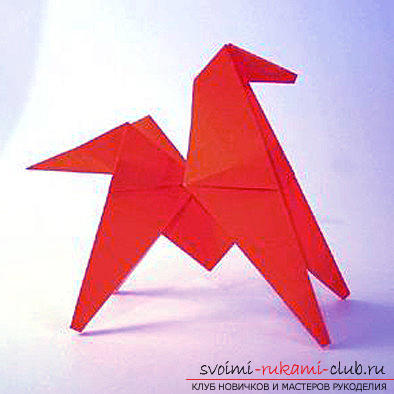 There is nothing difficult in its manufacture. Technique of simple origami is available to almost everyone. Below, the proposed scheme will greatly simplify the task set and will allow the work to be completed in just a few minutes.
  To work on a simple figure of a horse to usIt will take just a sheet of paper of a square shape of any size that we want. It can be white paper or a paper of any color. If there is no square sheet, you can take a rectangular sheet and give it the desired shape. Then we need:
- line;
- scissors;
- pencil.
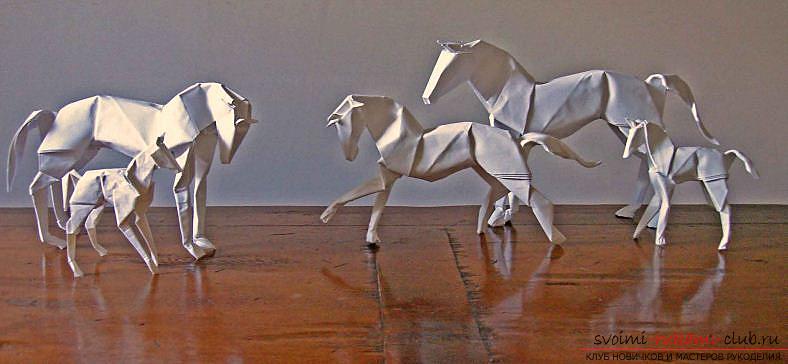
Now we proceed to the most creative process. If the paper is colored, then we place it in front of us with the colored side in such a way that we get a diamond in front of us. The rhombus must first be folded in half in the same direction and a good ironing of the folds. Then we put in the other direction and also smooth the folds well. Expanding. Take the paper and turn the white side up. We put it in front of us so that the square turns out. Fold it in half first in one direction, and then in the other. In this case, the folds are very well smoothed. We unfold the paper. On the square, the folds should be clearly visible in the number and order, as shown in the diagram. Three corners of our square pull to the bottom and add up, respectively, the previously obtained folds. To the fold line in the center, add the corners (outer) of the upper part (layer) of the workpiece, and then fold in the direction from the top to the bottom. To the top in the crease we cut only the top layer on the workpiece. As shown in the diagram, we add our legs to our horse, towards the top. Along the fold. To the center of the workpiece, we fold our legs twice. The resulting model is again rotated and we do exactly the same actions, starting with the outer corners. Again, turn, bend the folds, unfold, form the tail and head. The figure shows in detail each of the conducted manipulations. A simple figure of a horse, made in origami technique, is ready. 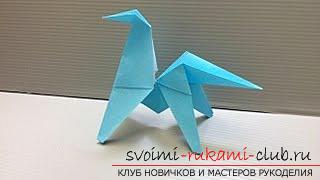 After a while you can do morecomplex models of these remarkable animals. The voluminous figurines, which you can see below in the photo, take a little more time to produce, but are more refined and interesting, similar to mini sculptures.
Comments
Related posts:
 How to make a paper tulip in origami technique
 How to make a cube of paper in the origami technique according to the finished scheme.
 How to make a three-dimensional star from paper in origami technique
 Making a swallow from paper in origami technique, which is easy to do according to the description, is not difficult to manufacture
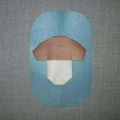 This detailed workshop of origami for children of 8 years will teach how to make an origami-mushroom from paper.