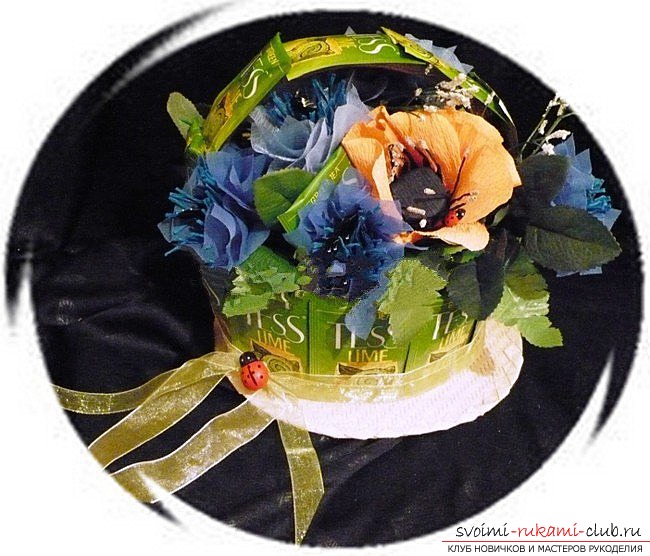
The original basket of sweets will be an excellent gift that you can take with you on a visit.
In this master class I want to introduce you toA basket that can compete for the first place in originality with finished products. It is made from available materials at home. But invariably attracts everyone with his personality. Firstly, it is creative, and secondly, it fits a bouquet of sweets - after all, tea and sweets are considered an ideal pair. She thought of it in a difficult moment: an urgent mini gift was urgently needed, but as luck would have it, there was not a finished basket at home. I had to improvise on the go. We need to work:
- Tea "Tess" (can be replaced by another, but paper bags of this ideal green color and well glued)
- Floral paper green
- Cardboard, scissors, toothpicks, threads, scotch tape
- Glue "titanium", hot melt glue
- Polystyrene plates for base
- Sweets for flowers
From polystyrene tiles (ceiling) cut outseveral circles. This will be the basis. Glued among themselves on the glue "titanium". From the substrate under the wallpaper (there is such a material, I do not know how it's called), I found a strip. It is equal in length to the length of the circumference of the basket, and the height determines the height of the product itself. But it should be correlated with the height of the tea bag. It is important that the basket seemed to be made entirely of "Tess". 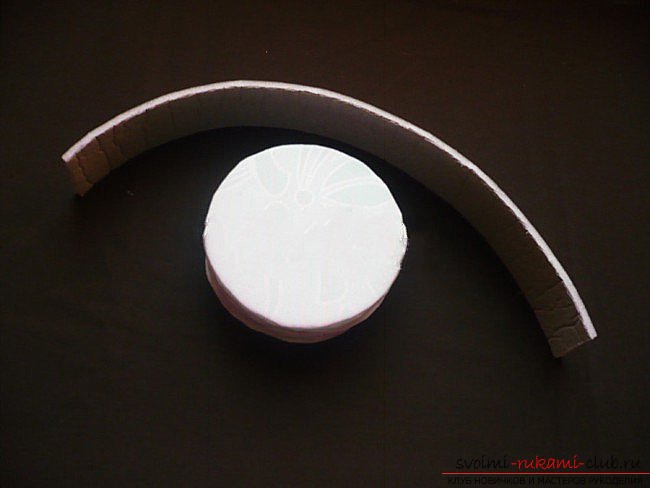 From the green corrugated paper cut out a strip for decoration.
 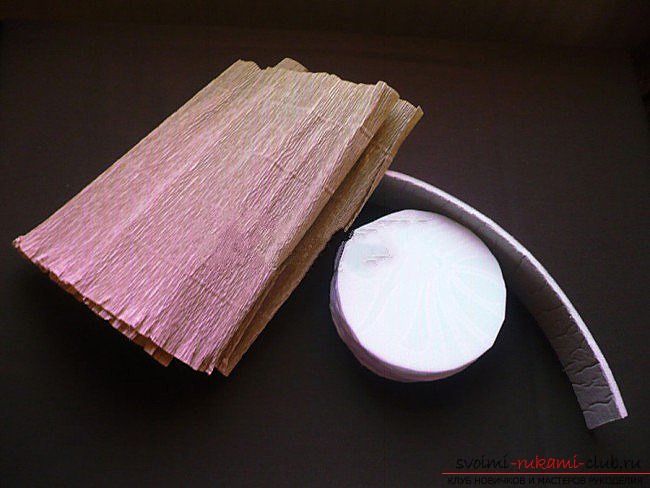 On the glue - the entire strip, so that it hides the unpresentable appearance of the gray substrate. The bottom can be found separately.
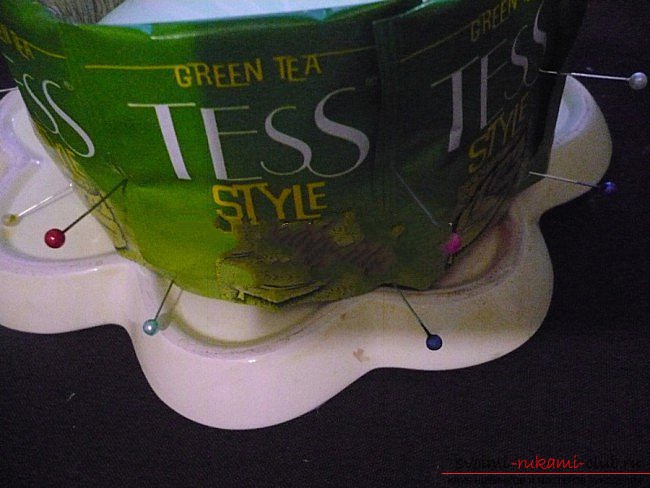
 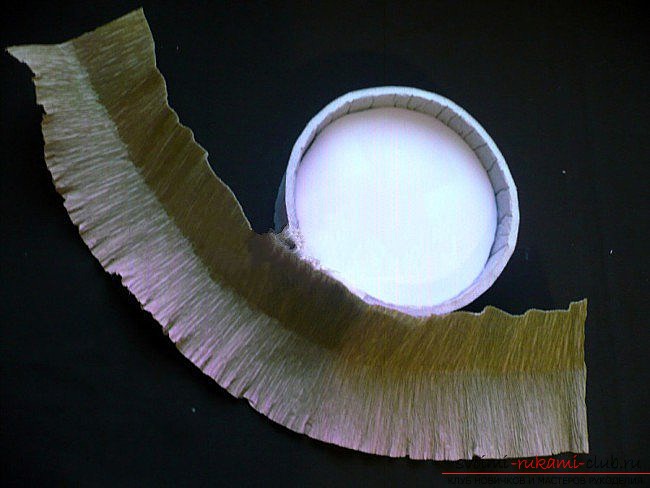 Now it's up to the tea bags. Each of them is glued to hot melt. Four drops on four corners of the sachet - and to the side of the basket. The next is overlapping along the edge of the sachet. The main thing is to choose the length of the border so that the bags have enough space. If suddenly there is an empty space, you can always decorate it with something. To ensure that the bag does not come loose during operation, I fix the tips of the pack on pins.
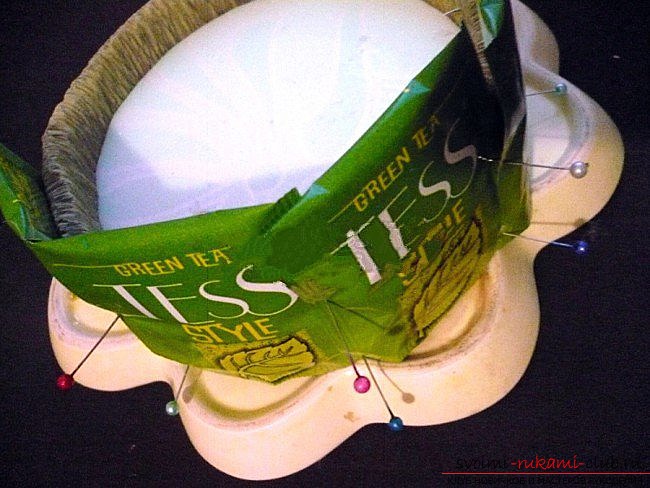
 The pen was cut from the thick corrugated cardboard from the parcel box, wrapped with scotch tape and a strip of green paper.
 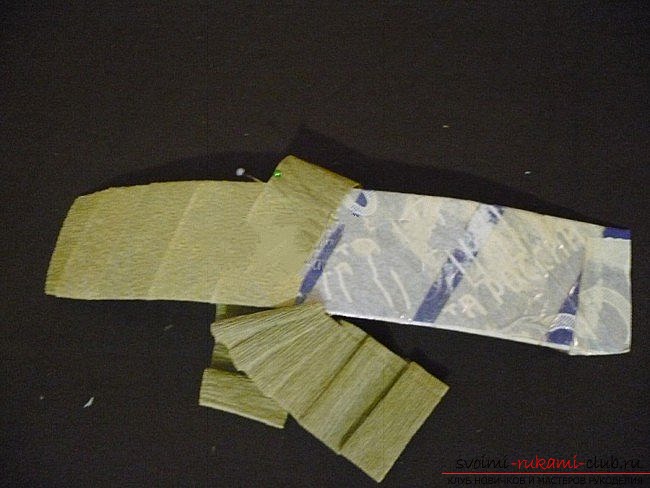 Each edge of the handle was glued to the side of the basket withinner side. The initial idea was to fill the basket with poppies. Then it turned out that I would have to give it to a fan of sunflowers, and I had to change my idea along the way. But poppies like me more, I do them in any color scheme - red, yellow, white. So with their manufacture, I'll introduce you. We take red, black corrugated paper (the first is floristic, with more rigid folds, the second - for child labor, soft). Still need a tape tape, a candy round form (I have a "charlet"), thread. Cut out a square of black paper. We wrap it in a candy, in which the tail of the candy wrap is neatly selected. In general, the candy takes the form of a small ball. In the resulting hole, insert the toothpick-stalk and fix the structure thread.
 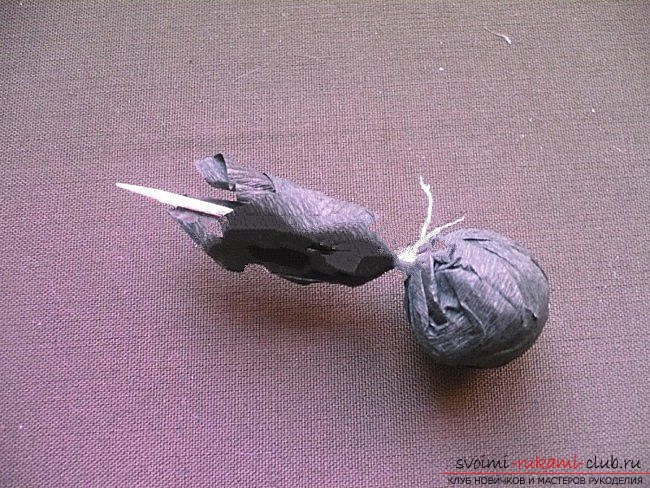 Cut the strip on the stamens. We make incisions along the entire length, but not to the end. We wrap around the candy, which will be the middle of the flower.
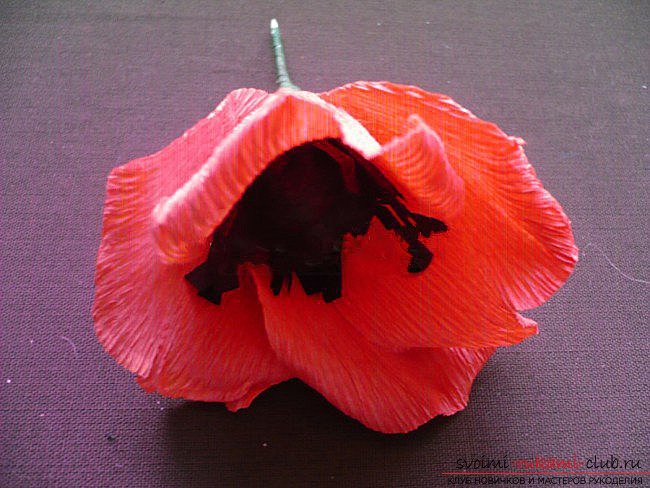
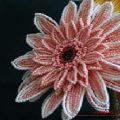
 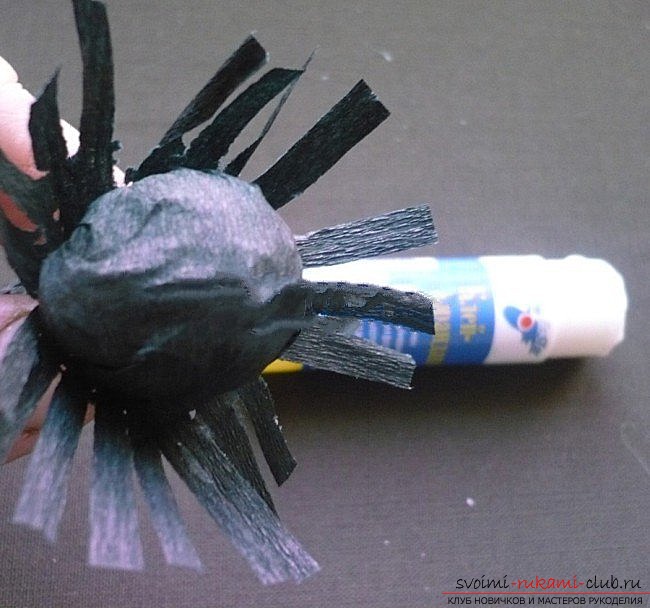 Cut out 4 petals, as in the photo.
 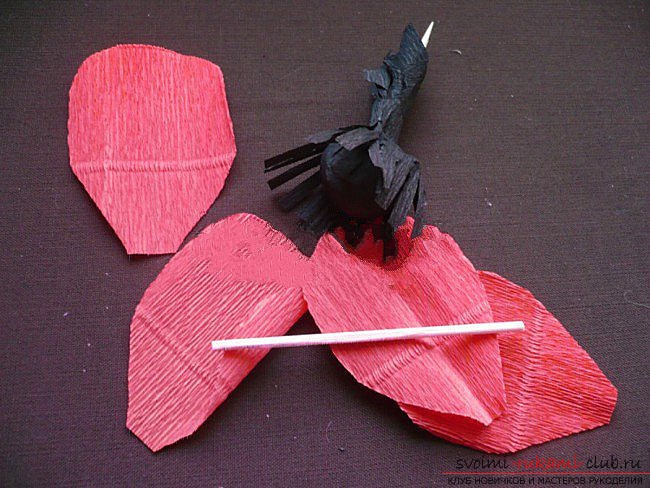 Slightly round the edge on the skewer to achieve the believability of the petals.
 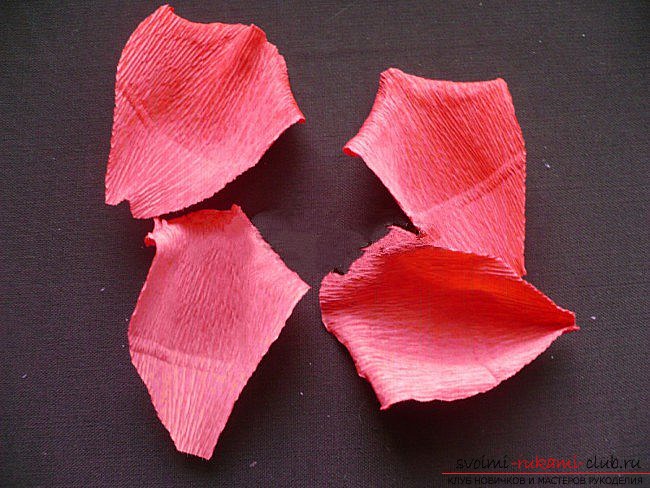 Turn around the flower. Fix a thread or tape, as it is more convenient.
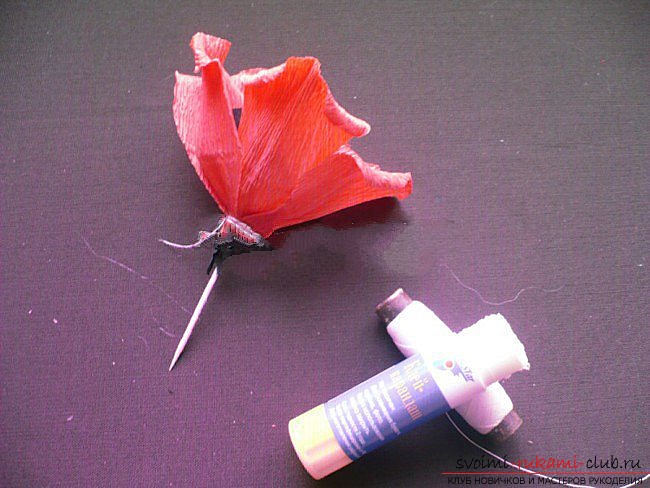
 A little spread out, where necessary, and a little flower. Knife "teipiruem" green floral tape.
 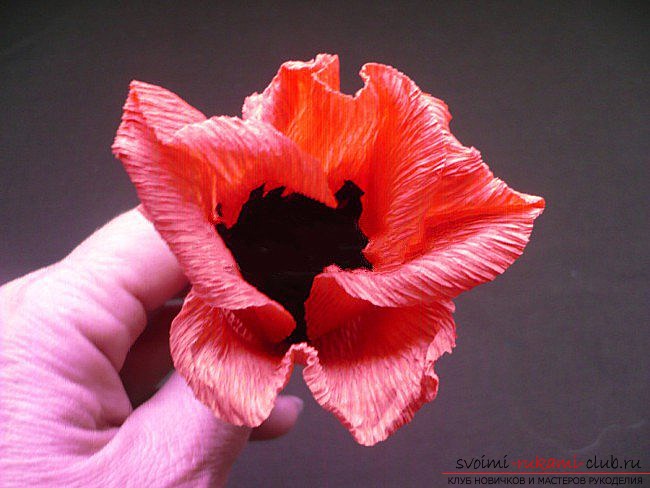 We make several colors.
 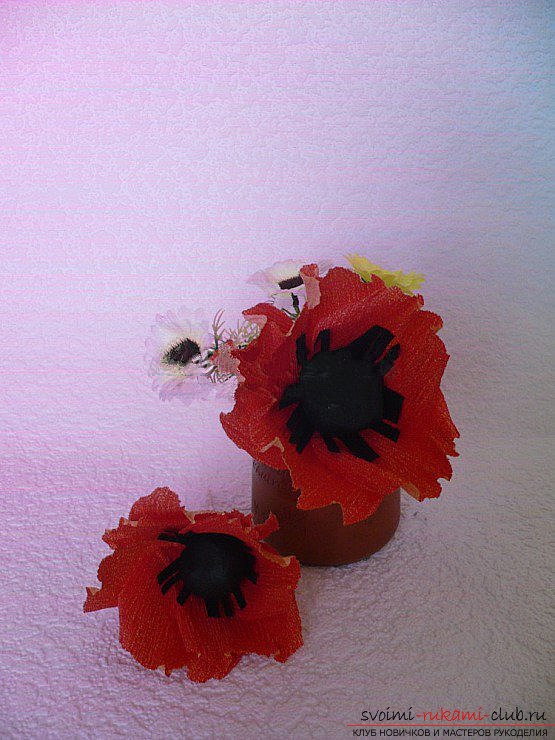 We install a poppy in the basket and admire.
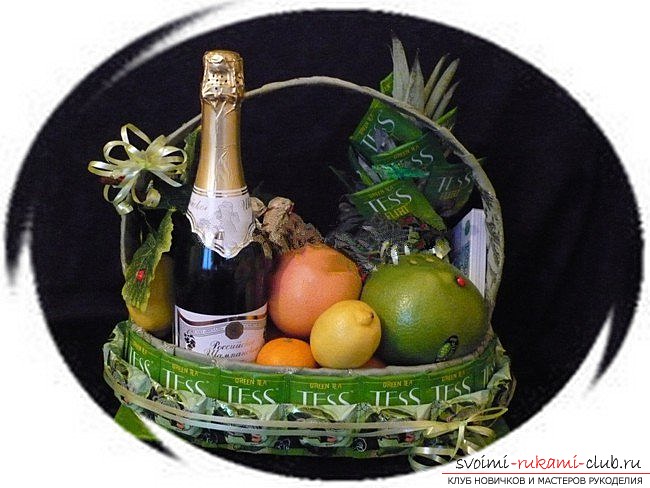
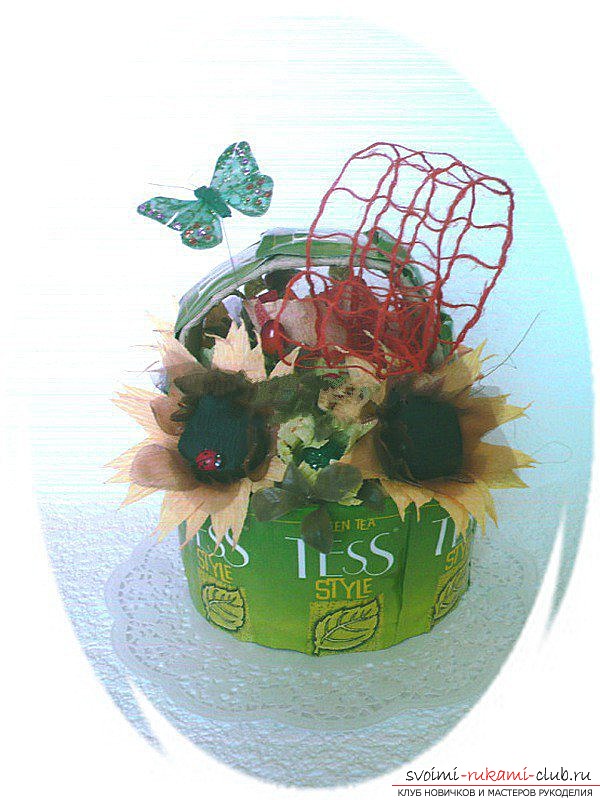
 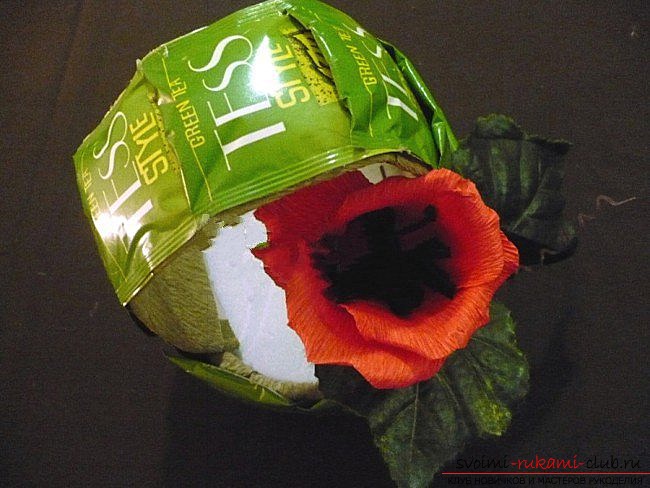 Fill the finished basket can be any colors withsweets, artificial greenery, leaves. For decor use a butterfly, a ladybird, ribbons from ribbons. I'll show you a few baskets of Tess tea that I did. Each of them is charming.
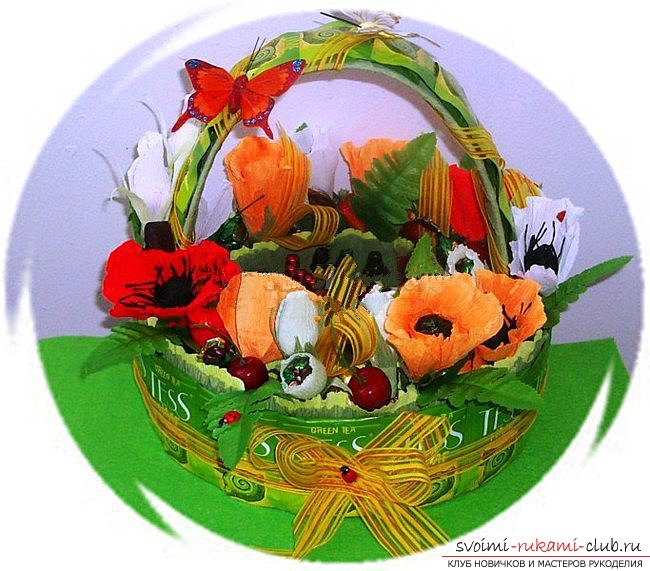
 I hope I told you everything clearly. Let the work give you pleasure, and the result will please!
Comments
Related posts:
 Embroidery bears with a heart will be an excellent gift for your beloved on Valentine's Day.
 How to create a house for storing tea with your own hands, which will serve as an excellent decor
 How to knit charming knitted hearts, which can serve as an excellent gift
 A beautiful pendant made of polymer clay will be an excellent decoration or souvenir for memory.
 The flower of the gerbera will be a beautiful decoration and a great way to show off your skill