Quilling of a bell of a Christmas tree for children - a technique of needlework by the hands and a master class
New Year's crafts made by own hands, everythingoften become more popular and used by all people specifically to prepare the necessary atmosphere for the Christmas holidays. But, in order to prepare a proper holiday and decorate your house properly, you will need many ideas. Now that the money for decoration is better spent for new gifts, or for preparing a table, we can use "budget" decorations, which often look even better than new ones from the store!
Quilling of a bell of a Christmas tree for children - a technique of needlework by the hands and a master class
 You can also attract a child to such an article. After all, what could be better than preparing a New Year's decoration in the company of the child? Children should be involved in such work, and the ability to quill will be useful in creating other gifts. So, if you are ready to train your child and have collected all the necessary materials for this, let's get ready! Our idea for creation will be a simple bell solution that can be hung on your Christmas tree and brightly decorated it.
 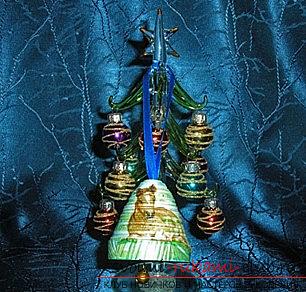 Decorating the Christmas tree with a bell -materials To create such a tree, you will need a special set of materials, as well as a specialized set of step-by-step instructions that will tell in detail how you can create and make your own idea of a bell, decorate it and hang it for your Christmas tree. What do we need to work?
- Need scissors
- Adhesive PVA
- Napkin with New Year's motif
- Paint
- Sponge for paint
- Ribbon or braid
- Bell
Crafting 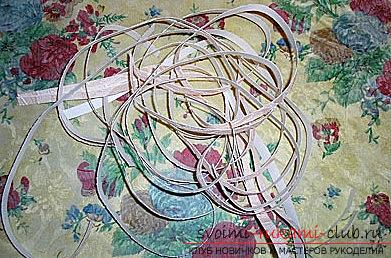 This work is extremely easy. This requires a little knowledge of quilling techniques and available materials for work. We use a piece of vinyl wallpaper in order to make beautiful stripes to a width of 6-7 millimeters. It is necessary to take a paper product with absolutely any kind of shade or texture. Bells will turn out beautiful if you use glossy advertising avenues. You need to take a piece of paper and start twisting. The photo also shows that you need to make a hole, through which the ribbon will be passed. We make a hole, making a little twisting with the fingers, and then, with the help of a handle with a rod of the right size, start scrolling.
 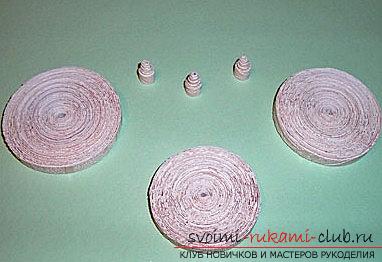 After this, it is necessary to take the following optionstrips, lay a roll in a twisted form for the previous strip. These actions must be repeated until you get the shape of a bobbin in the desired size option. In our case it is 6 and 7 centimeters, for the diameter of the bell. The end of the strip is fixed after docking, fixed by glue. Then, you need to take a ready-made version of the reel and use the thumbs in both hands to squeeze out the middle, forming the future version of the bell. In the same way, we form small cones that will become bells.
 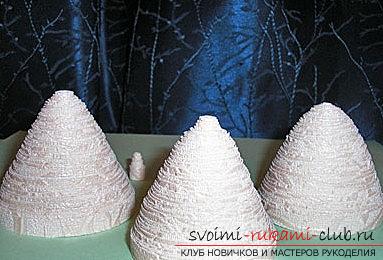 End of registration
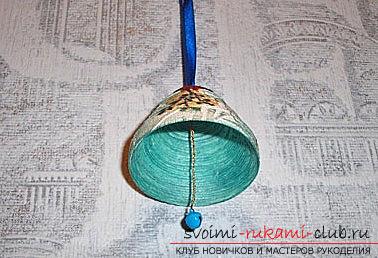
 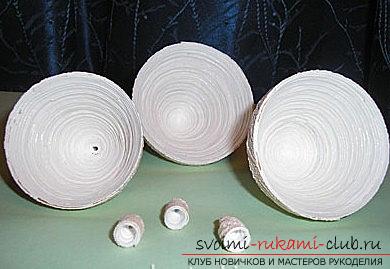 After, you need to take the bells from the store,then, the bell will also ring. They need to be smeared with glue and glued on the inside. The material should dry for 8 hours. It is better to do in the evening and leave it to dry for the night. Bells should also be decorated with napkins. Cut out the necessary motifs, glue.
 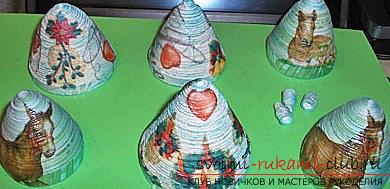 After that, we tone the bells with paint,using a sponge. The work is almost over. Bells with bells we hang on tapes. They also take an air loop with a gold thread, using a hook. Next, we collect our crafts. A string is attached to the tape, it is also necessary to put on the bells, make a tape for the hole, which we leave on the bell.
Comments
Related posts:
 Quilling of lilac branches with own hands for a bouquet - a master class
 Quilling is a master class. Pictures and postcards by own hands
 Technique of a quilling flower "Fantasy" with their own hands - a master class
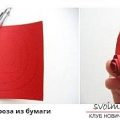 Quilling of a beautiful rose with your hands - a master class in quilling technique
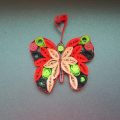 Quilling butterflies - loop quilling and master class with their own hands