
This master class will teach you how to make your own valentine in the quilling technique.
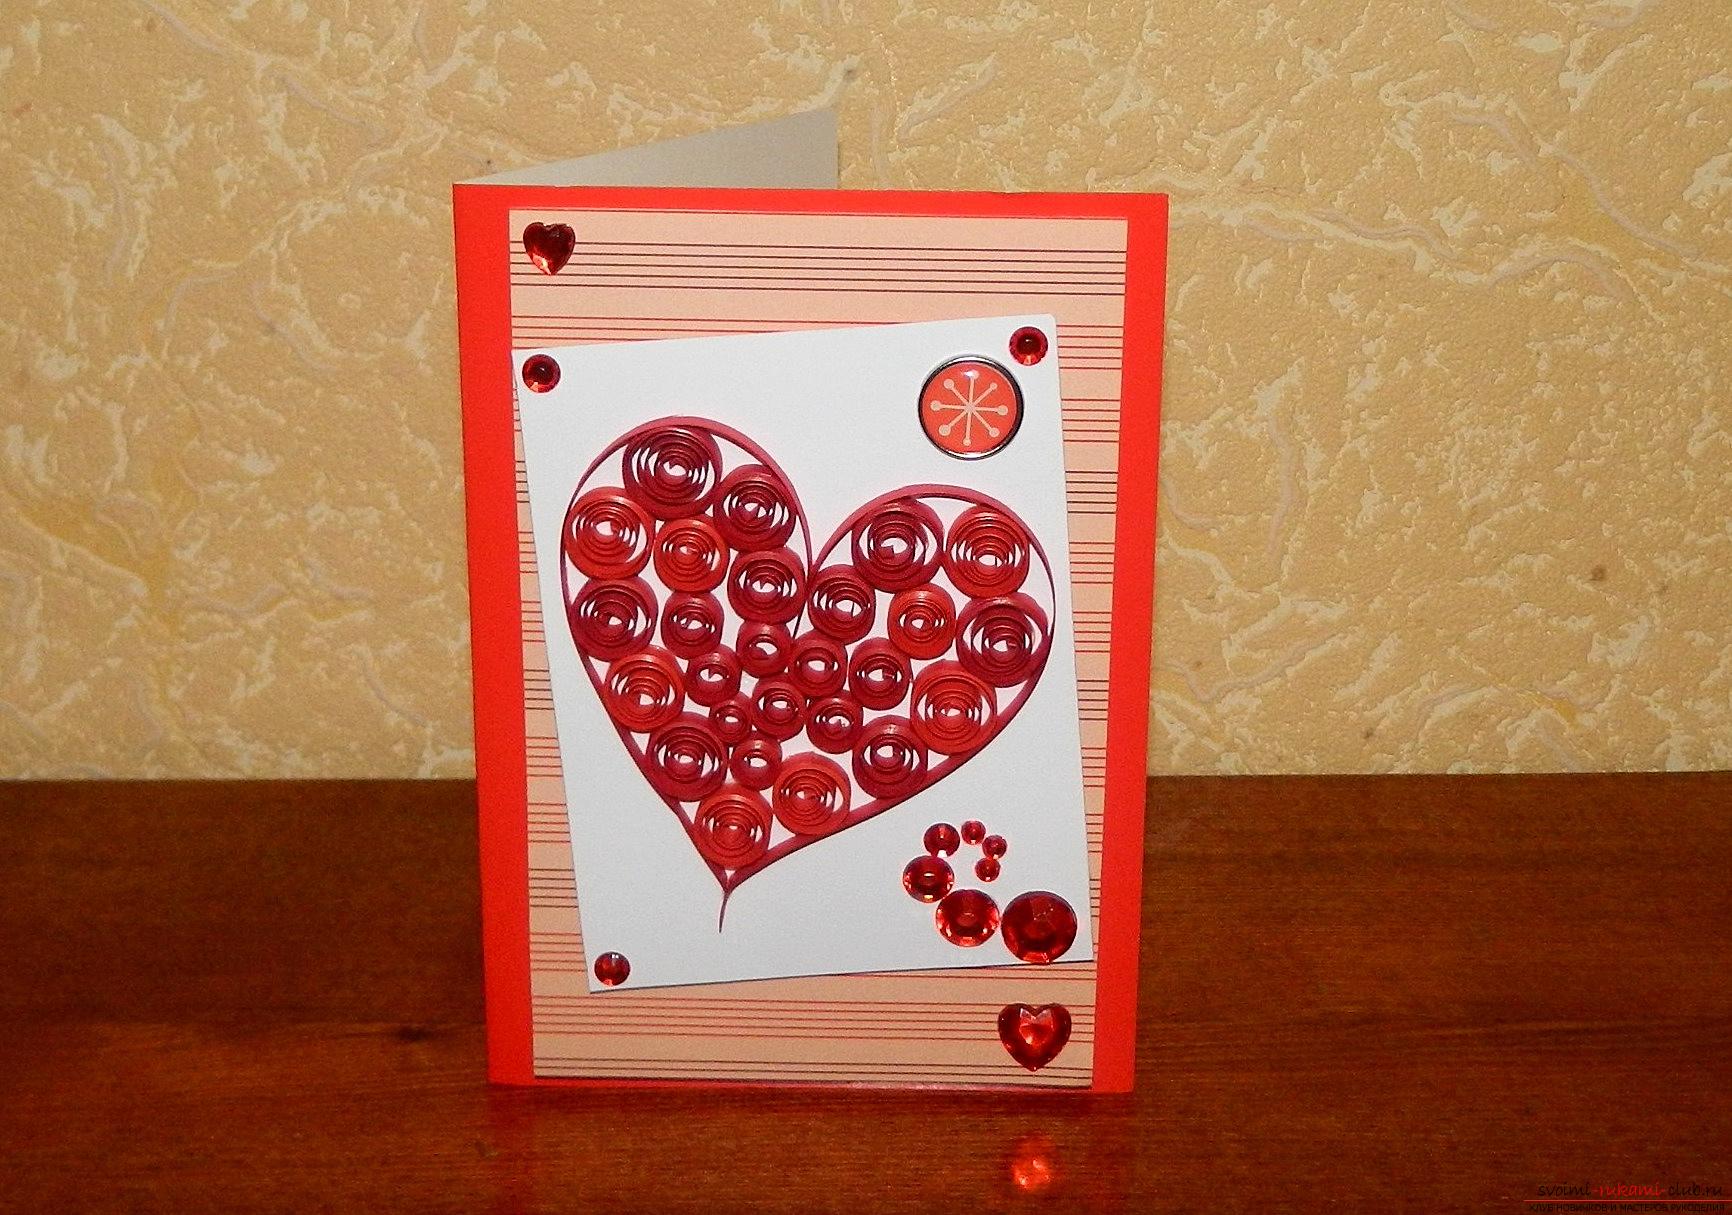 The presented master class will be excellentidea for making valentines with your own hands. All steps are fairly simple, so anyone who wants can create a valentine without problems. For work it is necessary to prepare:
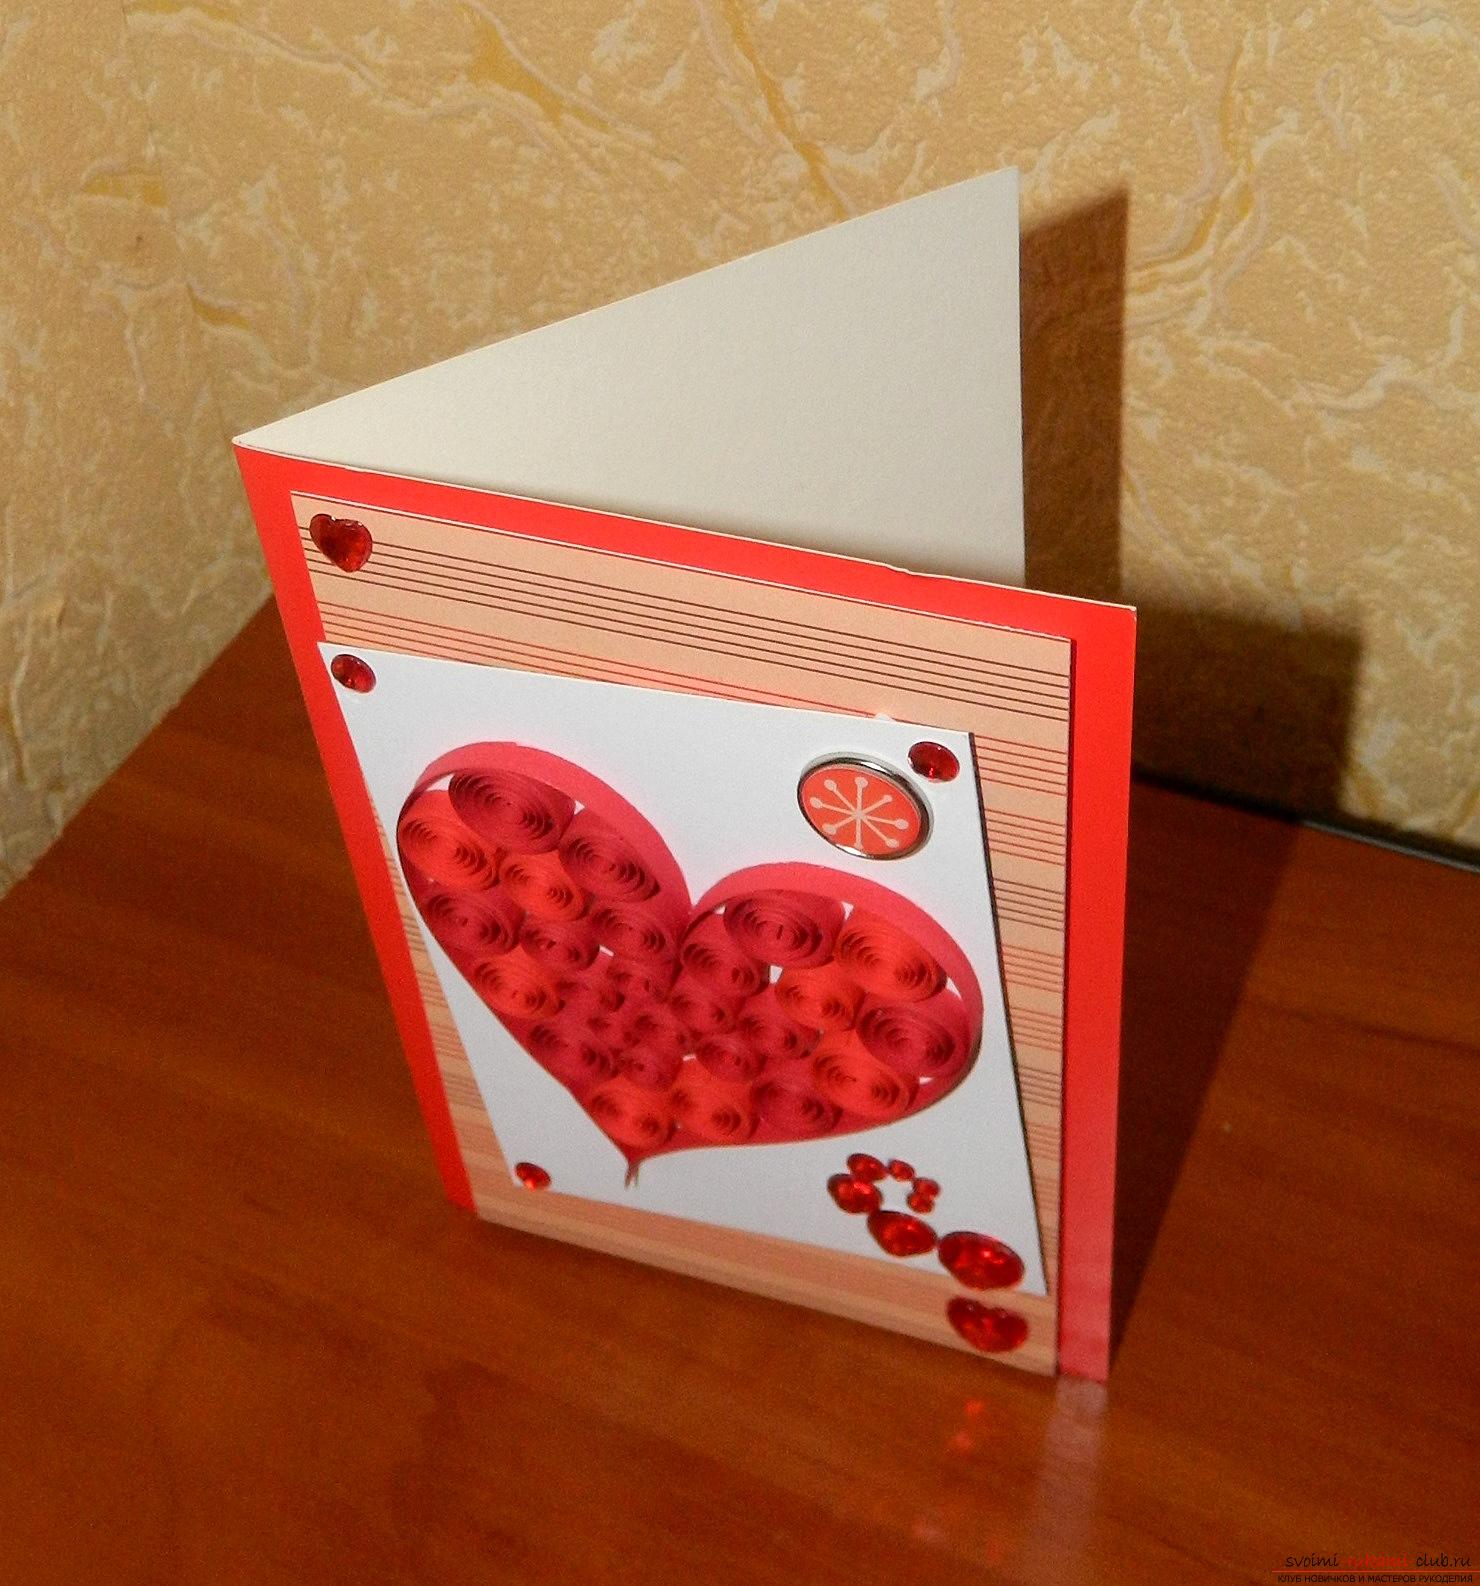
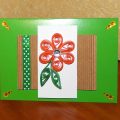
If you have a sheet of A4 cardboard, then we cut itin half. Then from one half we perform the base by bending the sheet in half. From the design paper, we cut out the part 9x14 cm. On the back side we attach the squares of double-sided foamed tape. 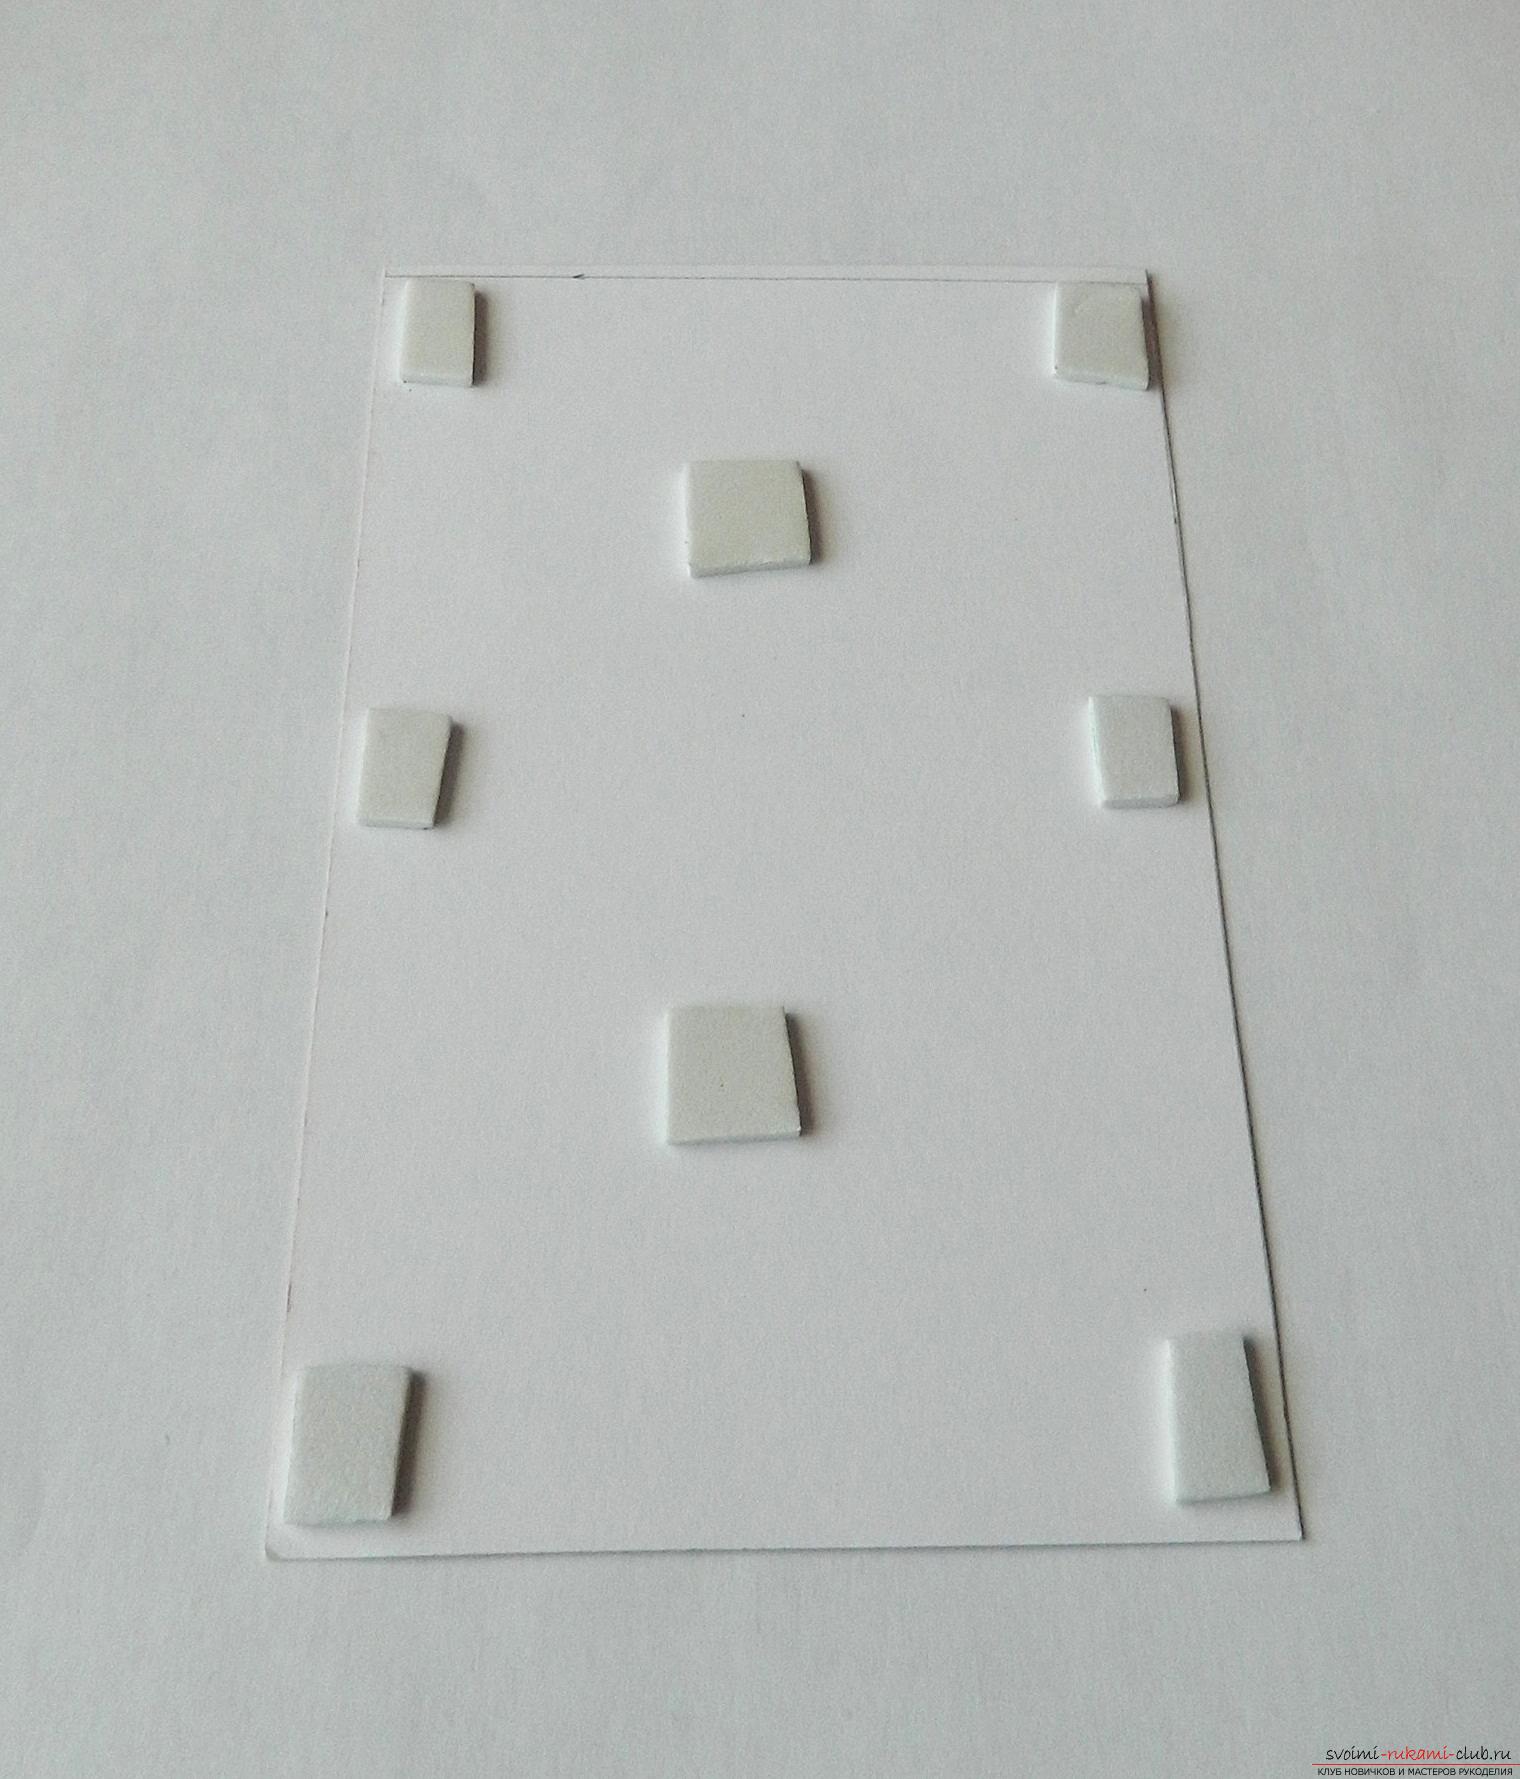 We fix the part on the red base.
  From a white cardboard we cut out a rectangle 8x10 cm. In the right upper corner of the rectangle makes a small hole, we take the bratts of red color and pass through the hole, firmly securing from behind.
  The finished part is attached to a double-sided foam tape on the postcard obliquely, as in the photo.
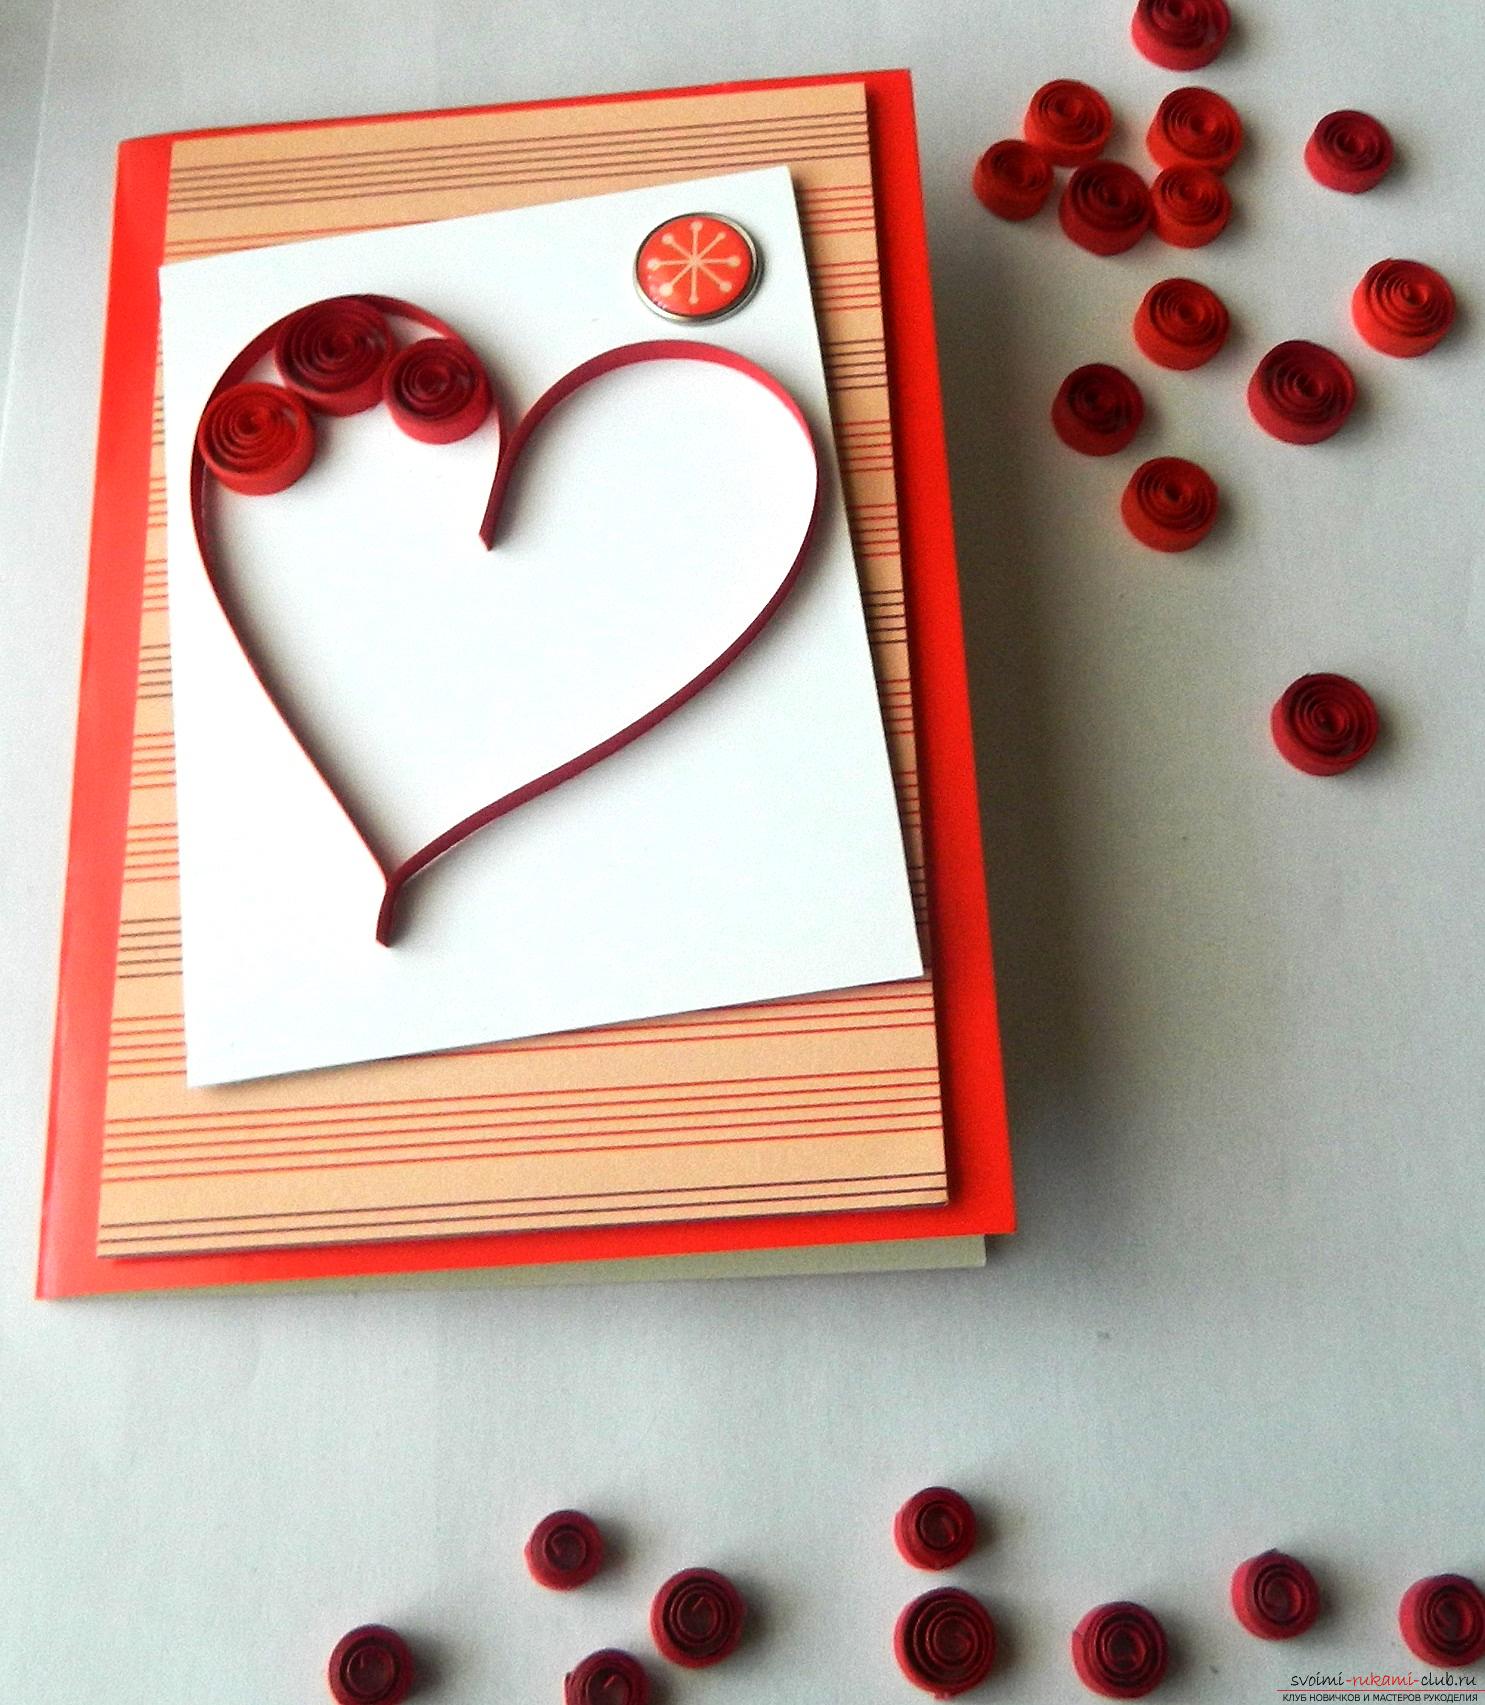
 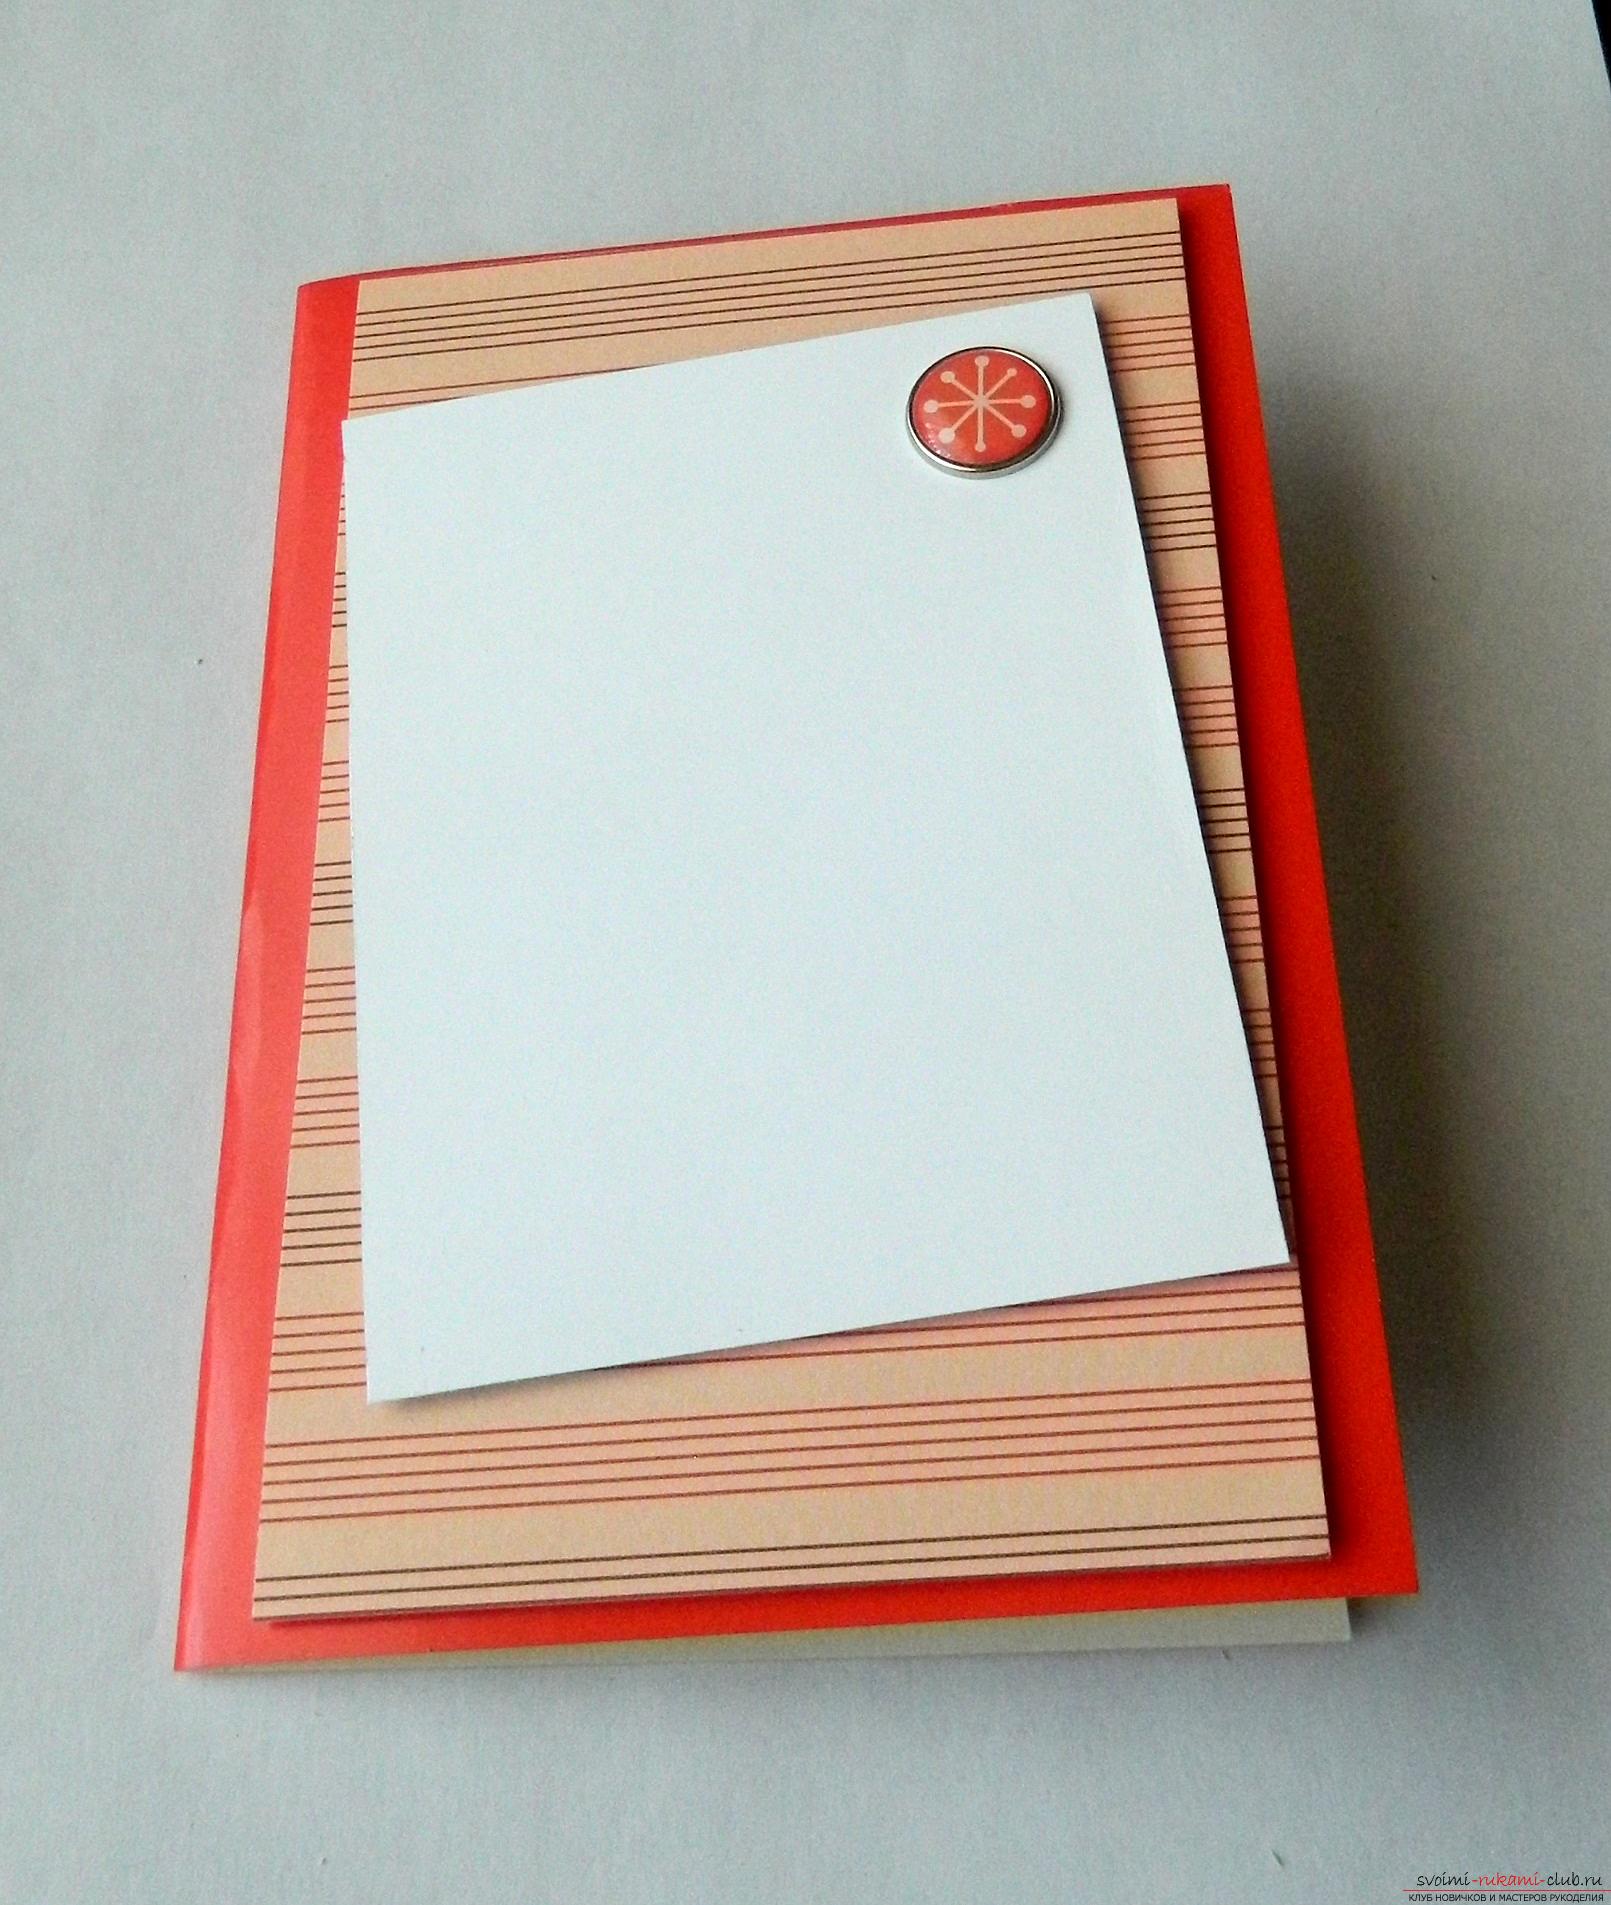 We begin to perform a contour for the heart. To do this, take the paper for a quilling of a dark red color, bend the strip in half, fix the bend with glue (to keep the heart in shape).
 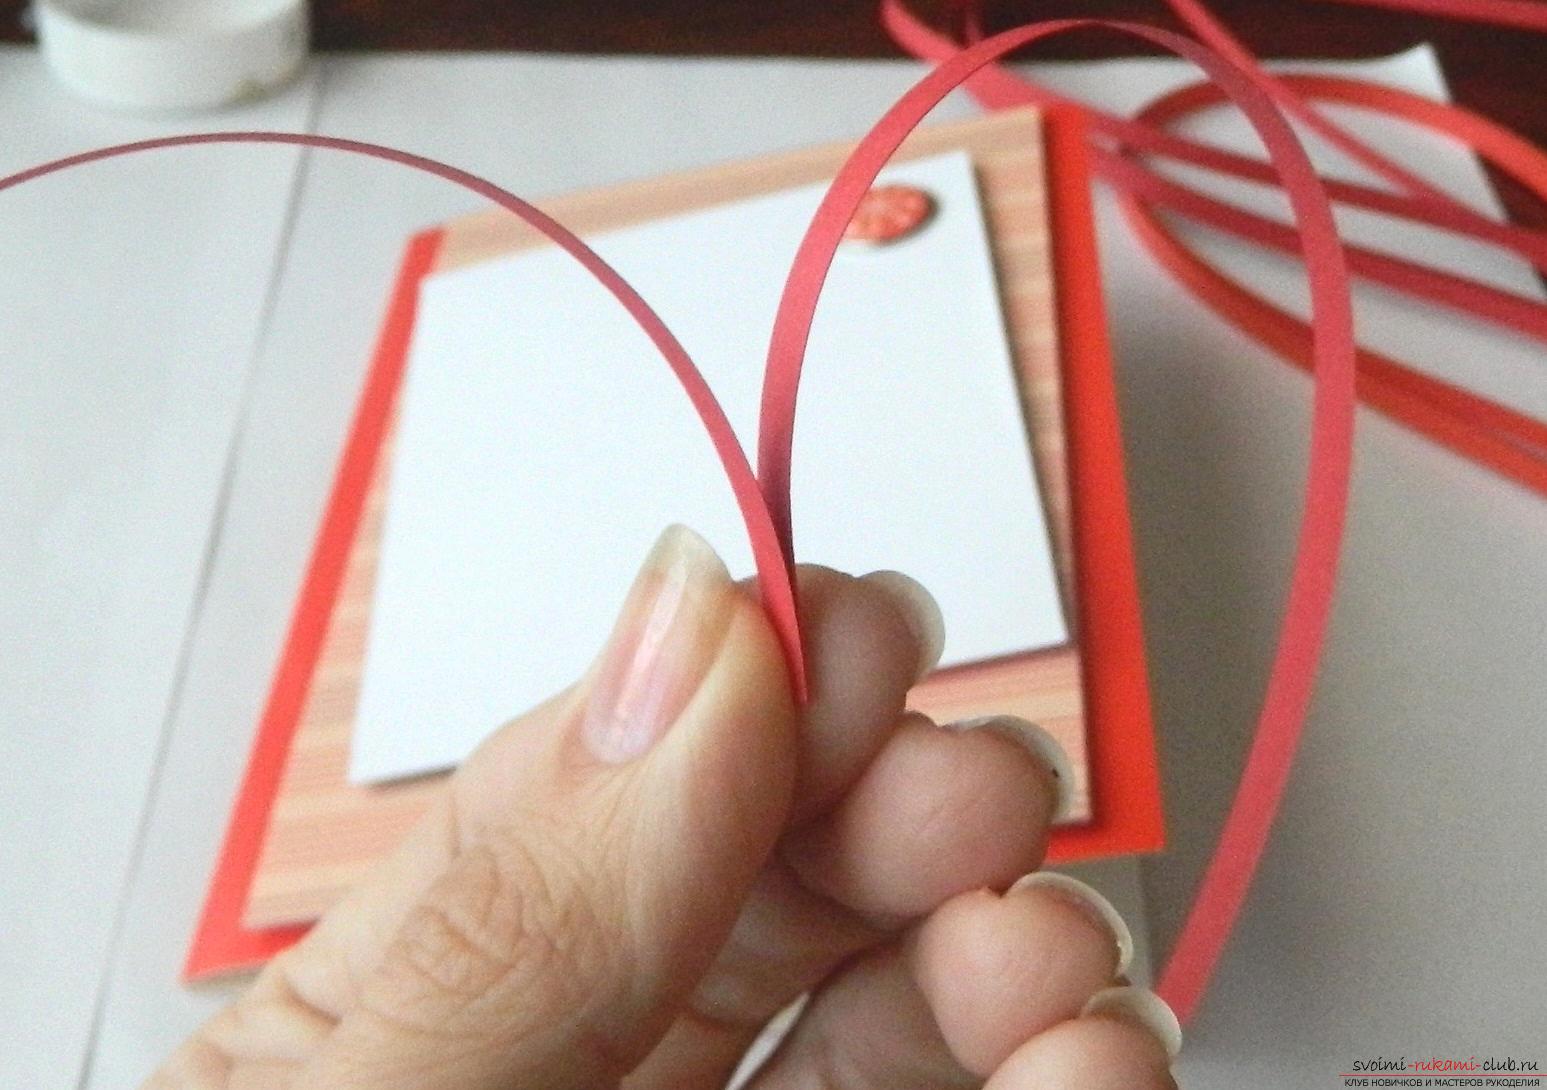 Free edges are glued, adjusting the heart shape with respect to the white background on the card (where the heart will be located).
 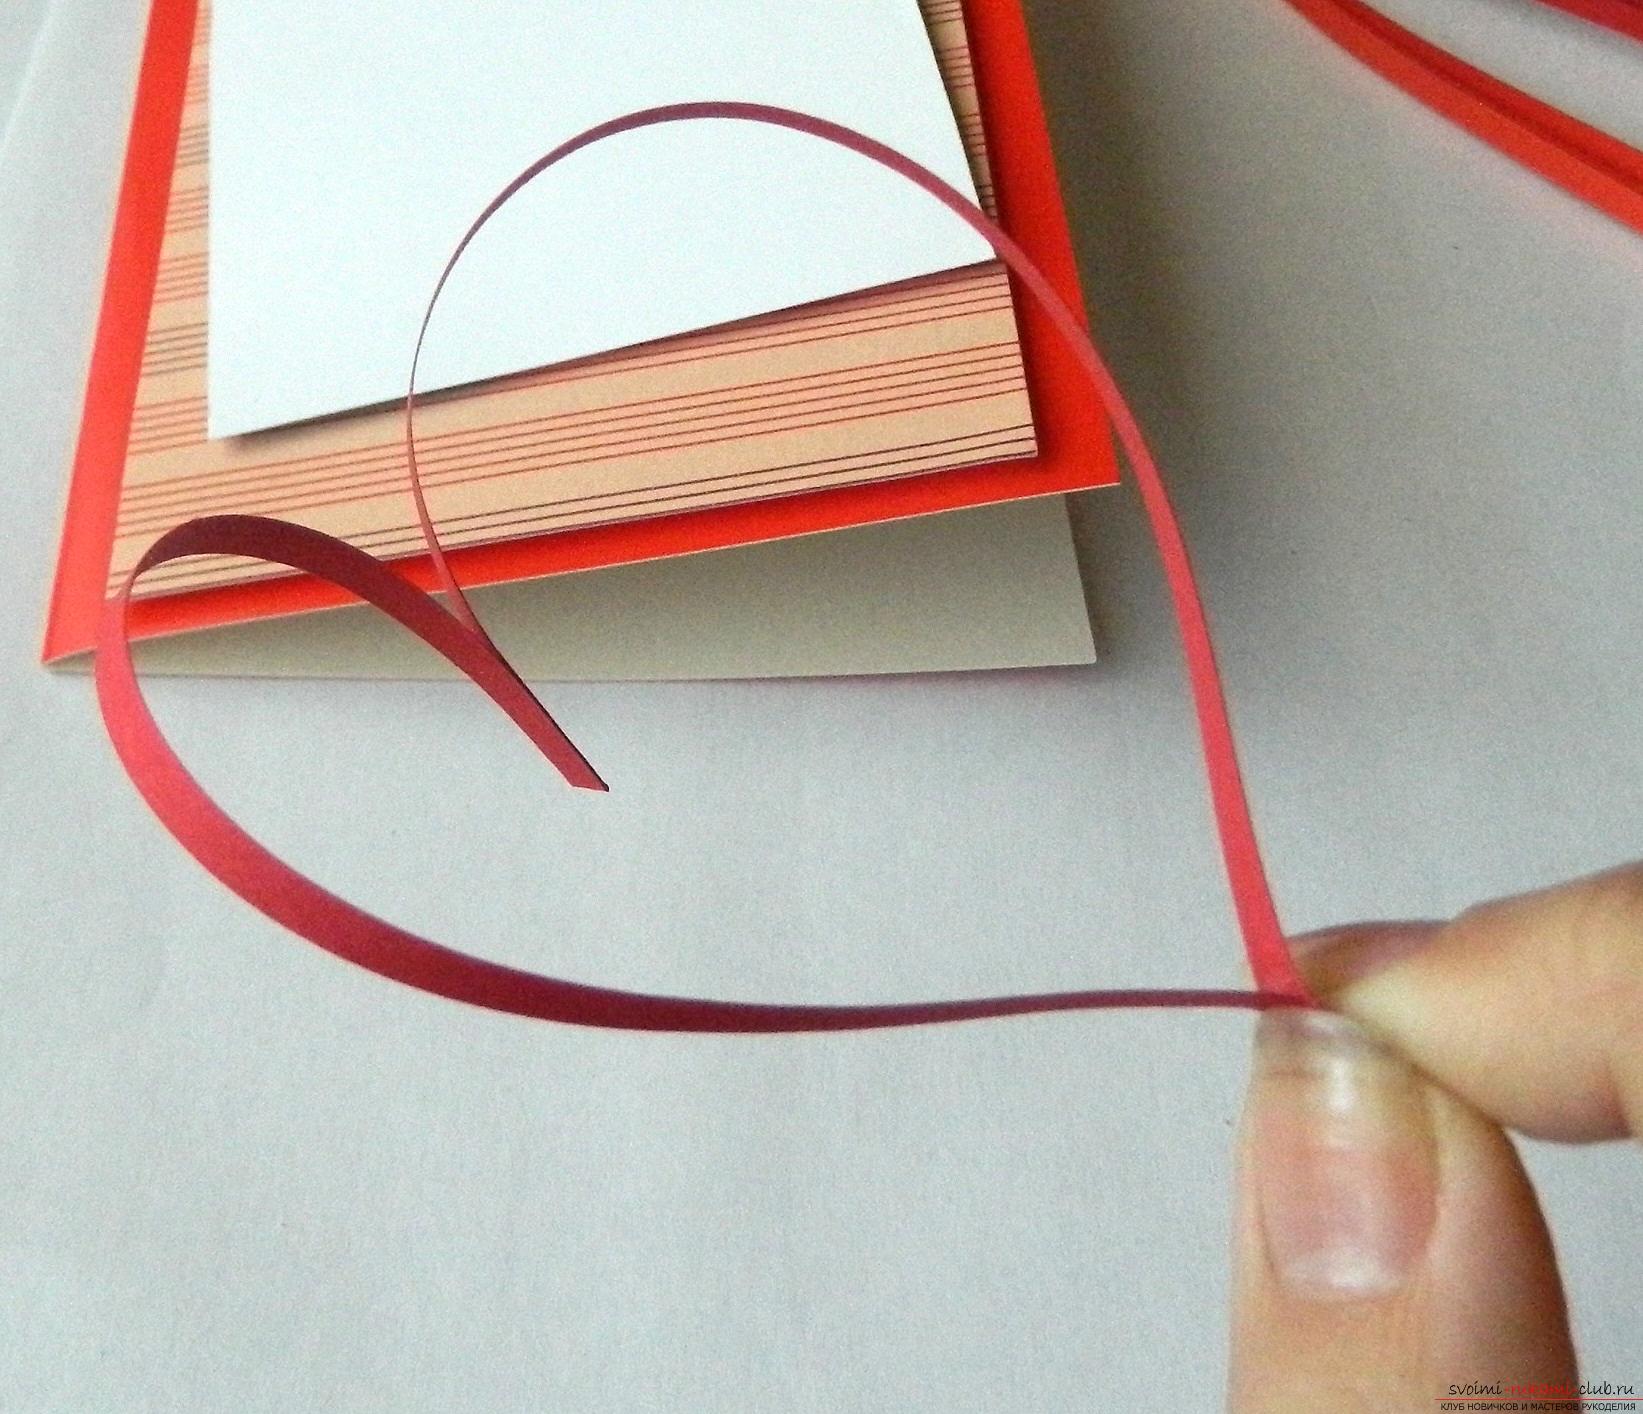 The finished part is greased with glue, we attach it to the white background of the postcard.
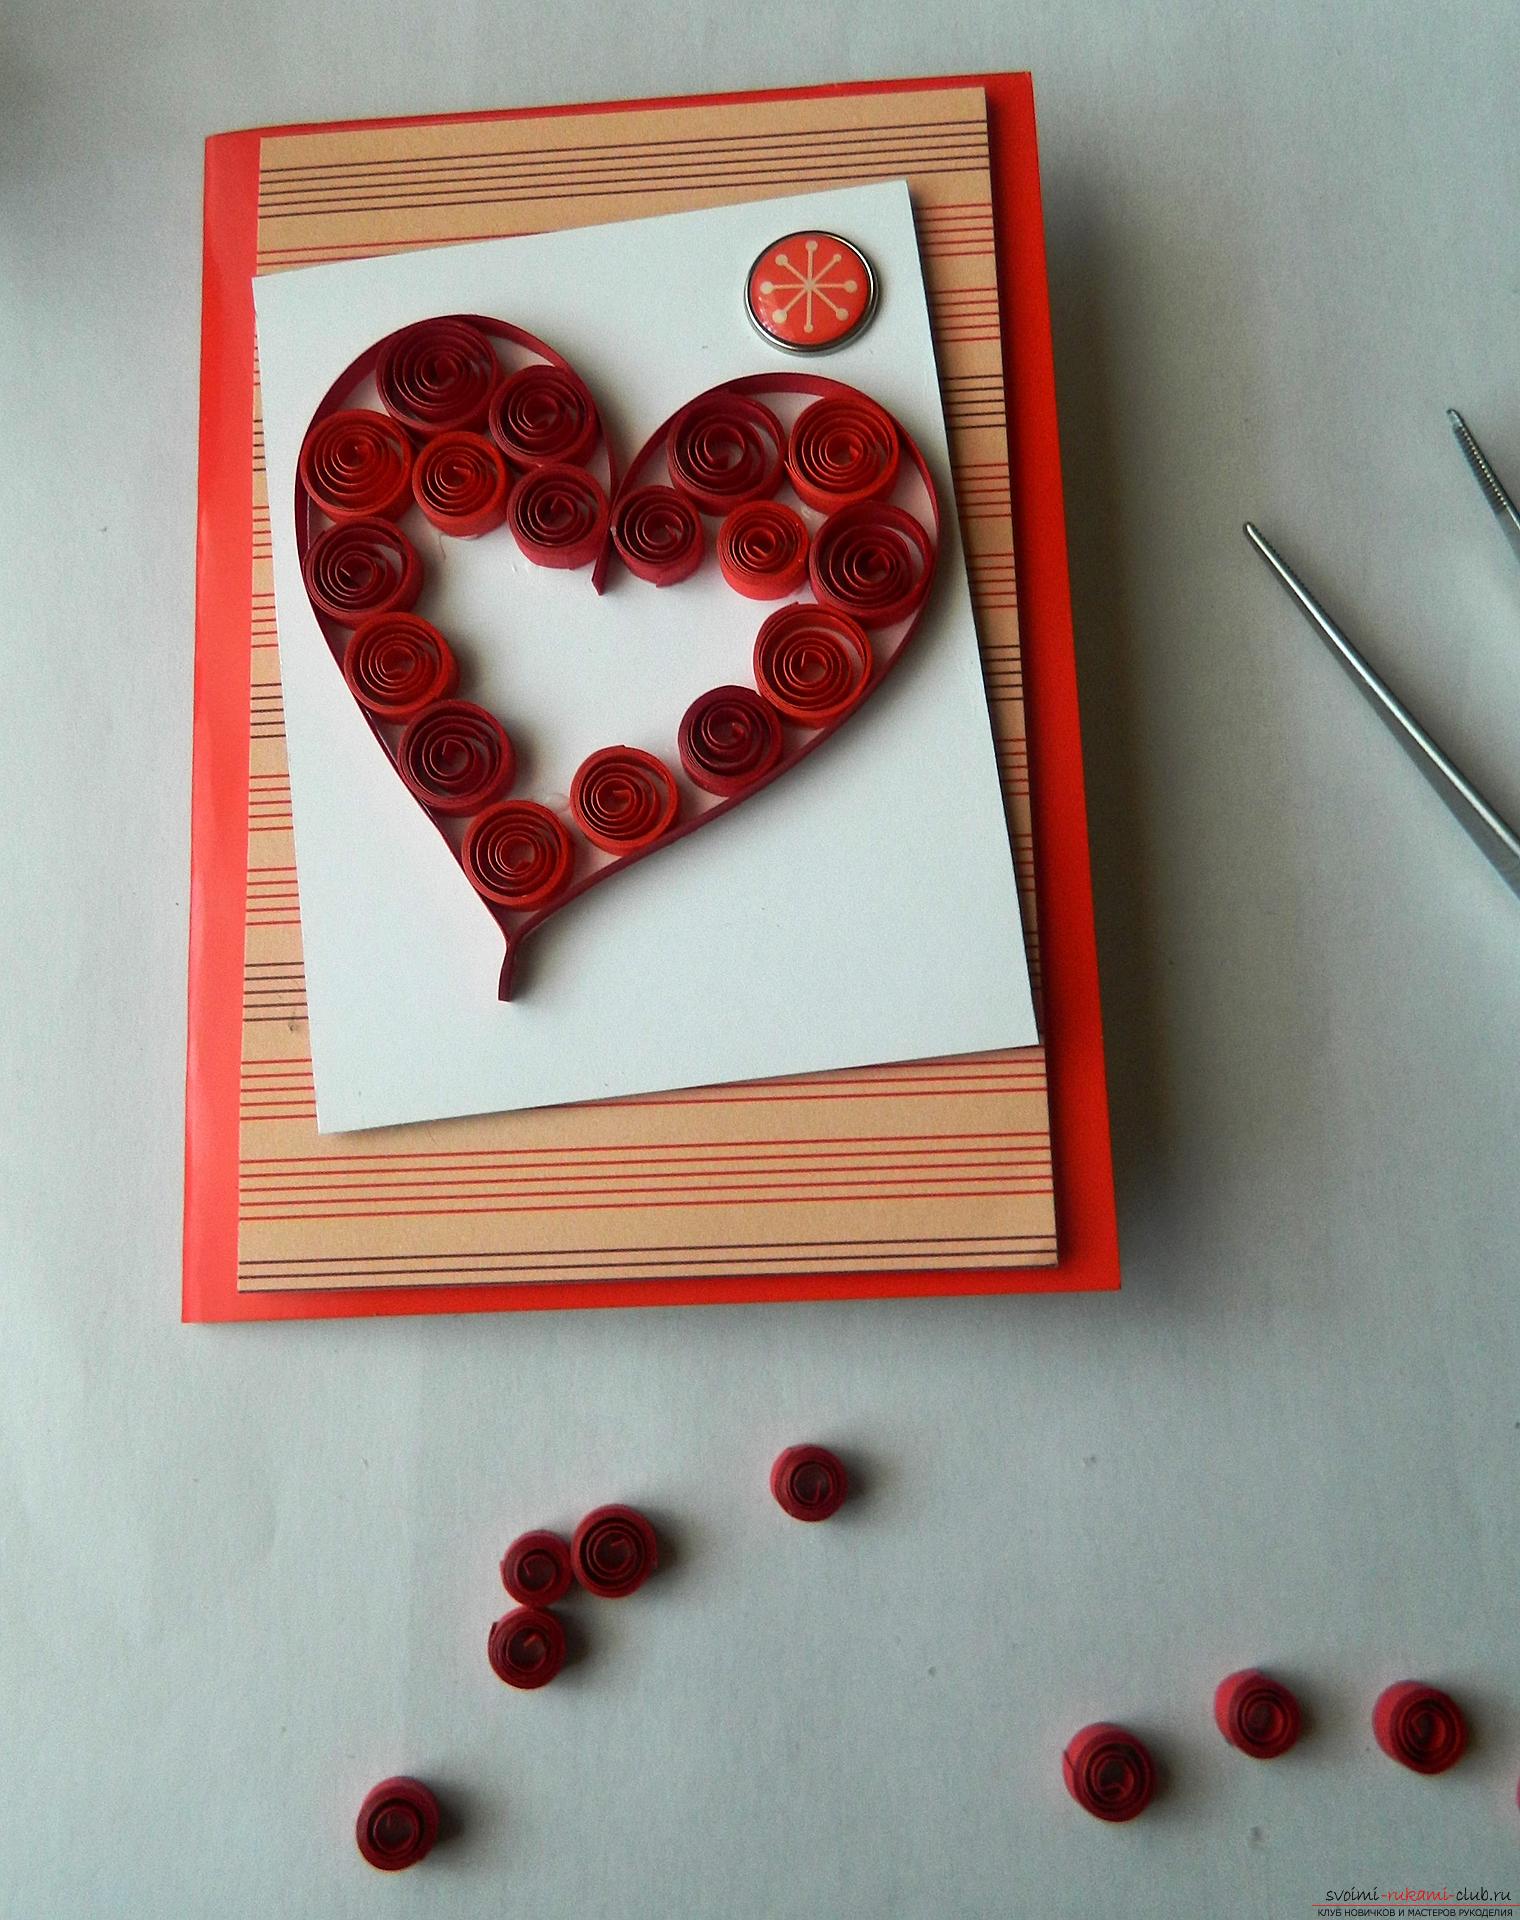
 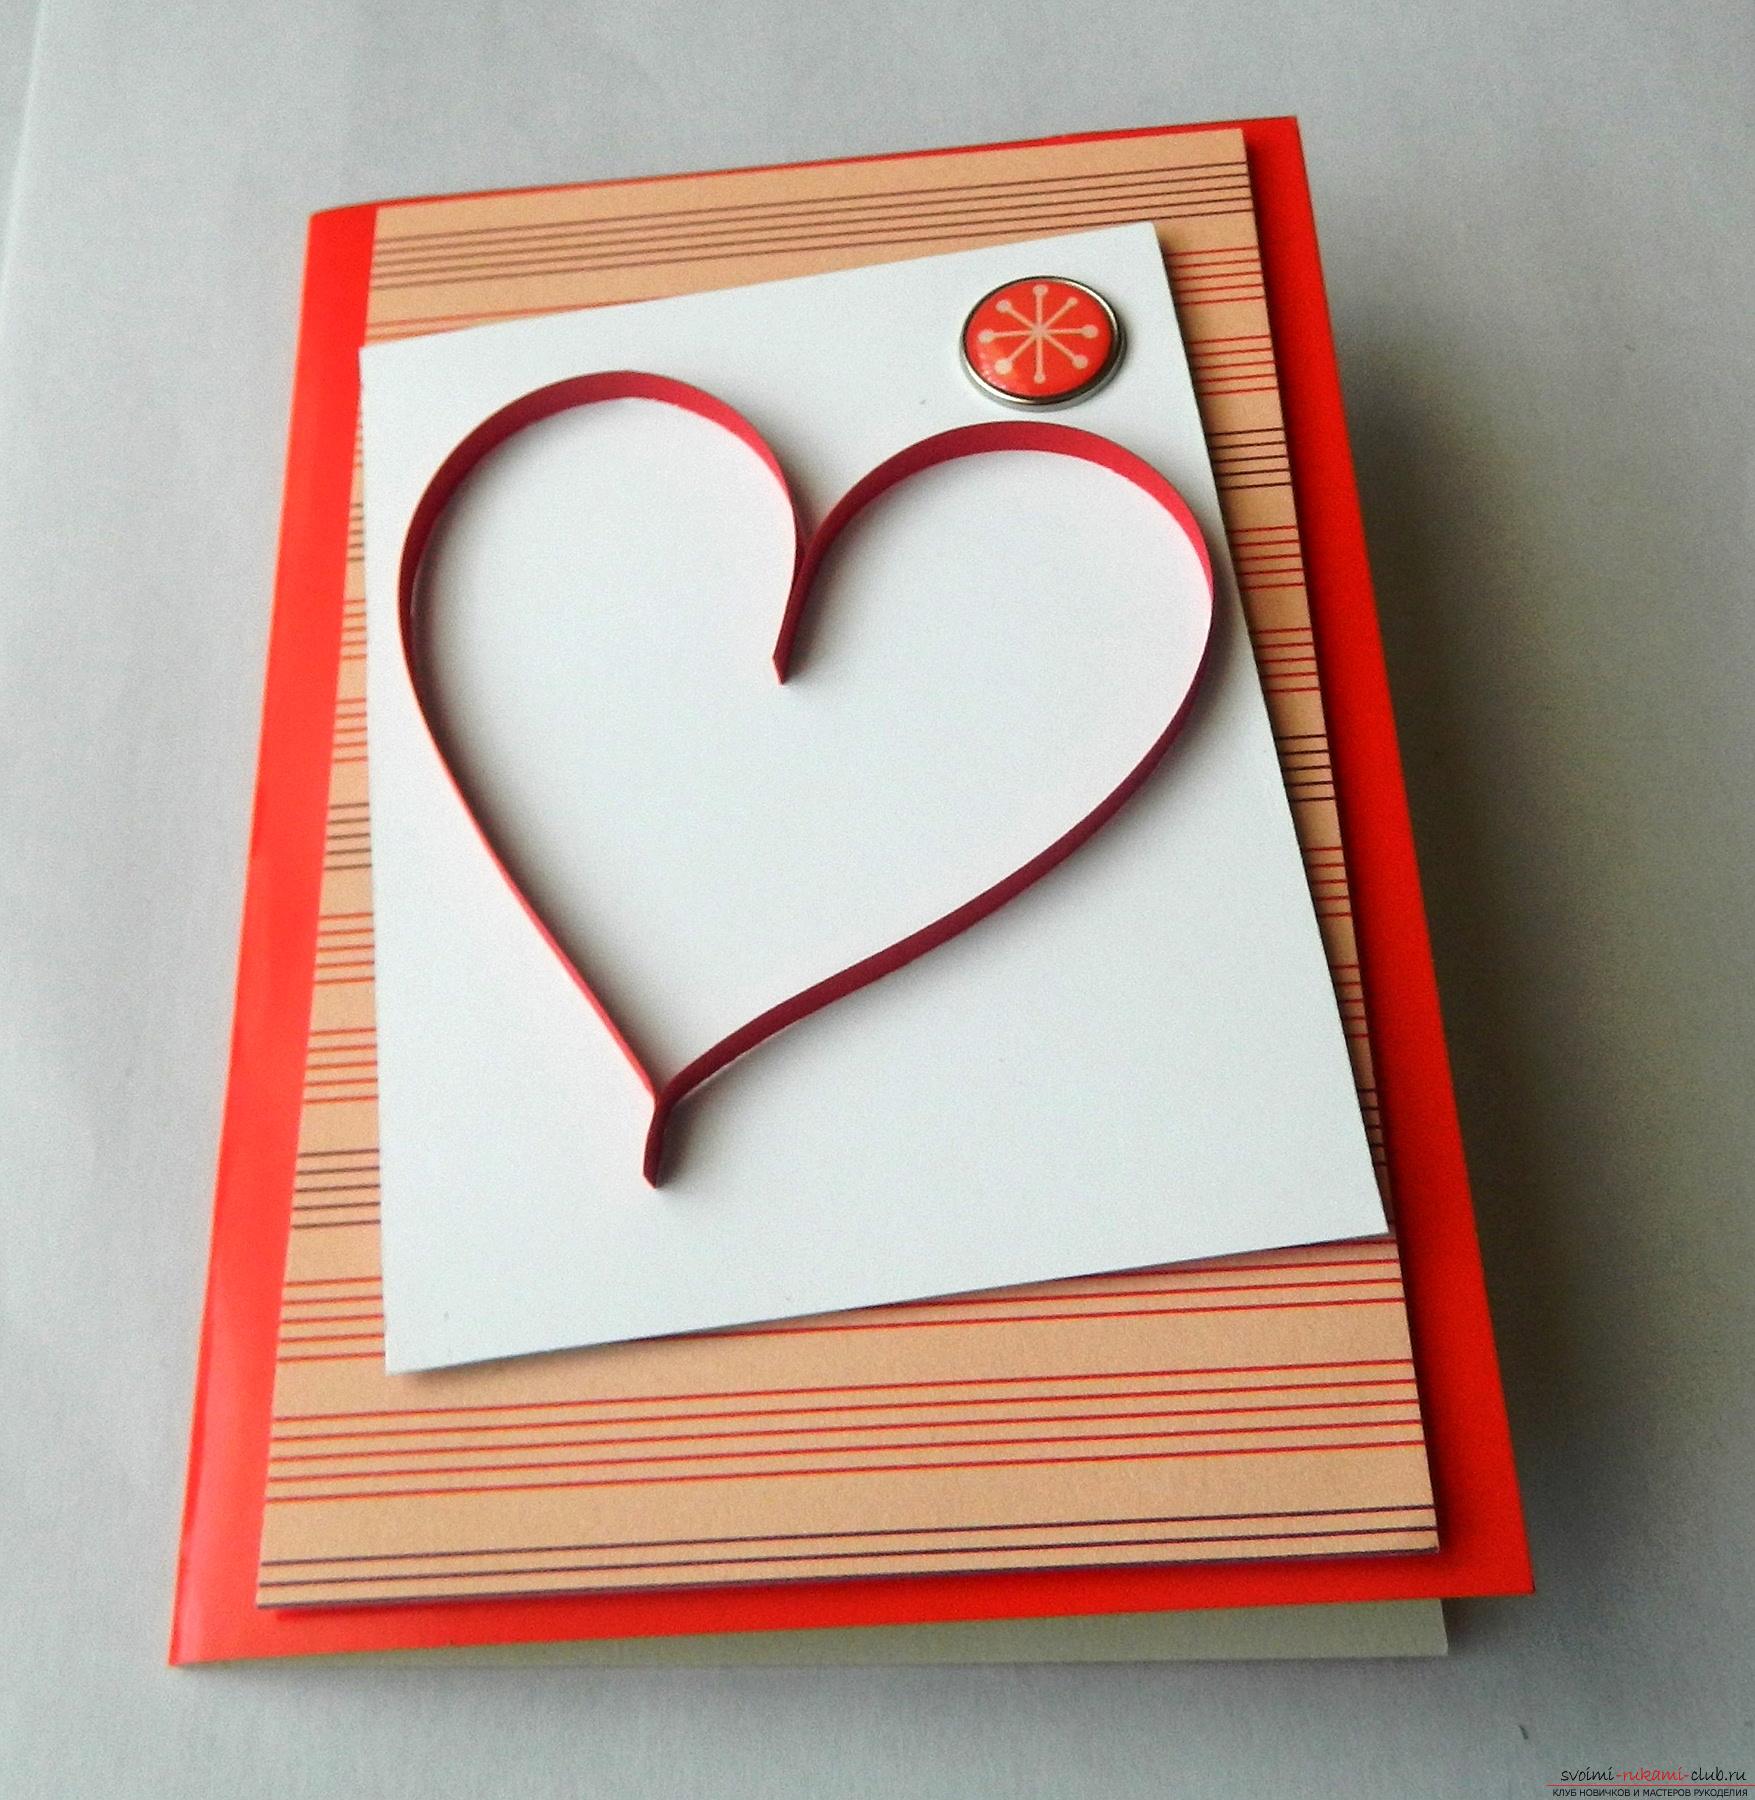 We take quilling paper, cut into strips 20-25 cm long. Using the quilling tool, we form a roll.
 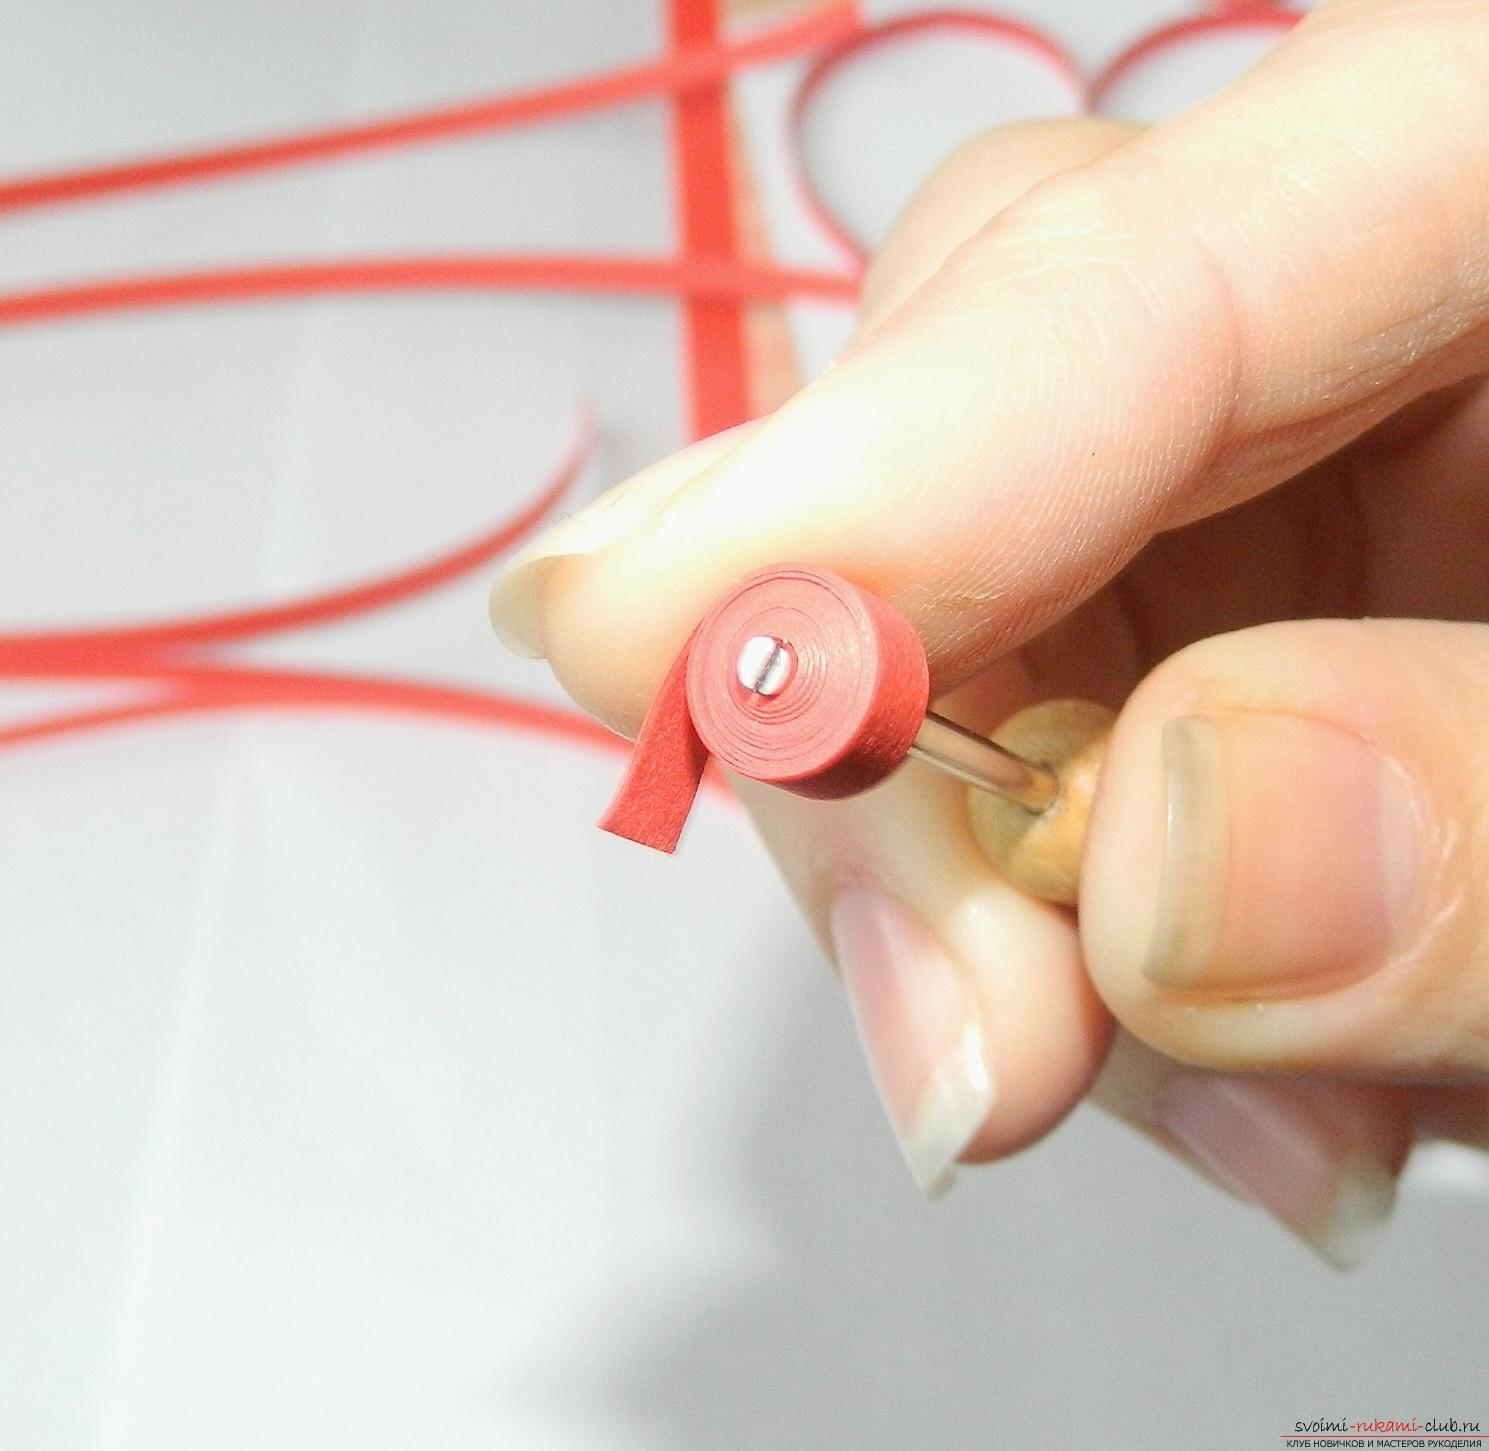 Slightly dissolve. From how much the roll dissolves and will depend on its size. All rolls can be of different sizes.
  We paste the edge with glue.
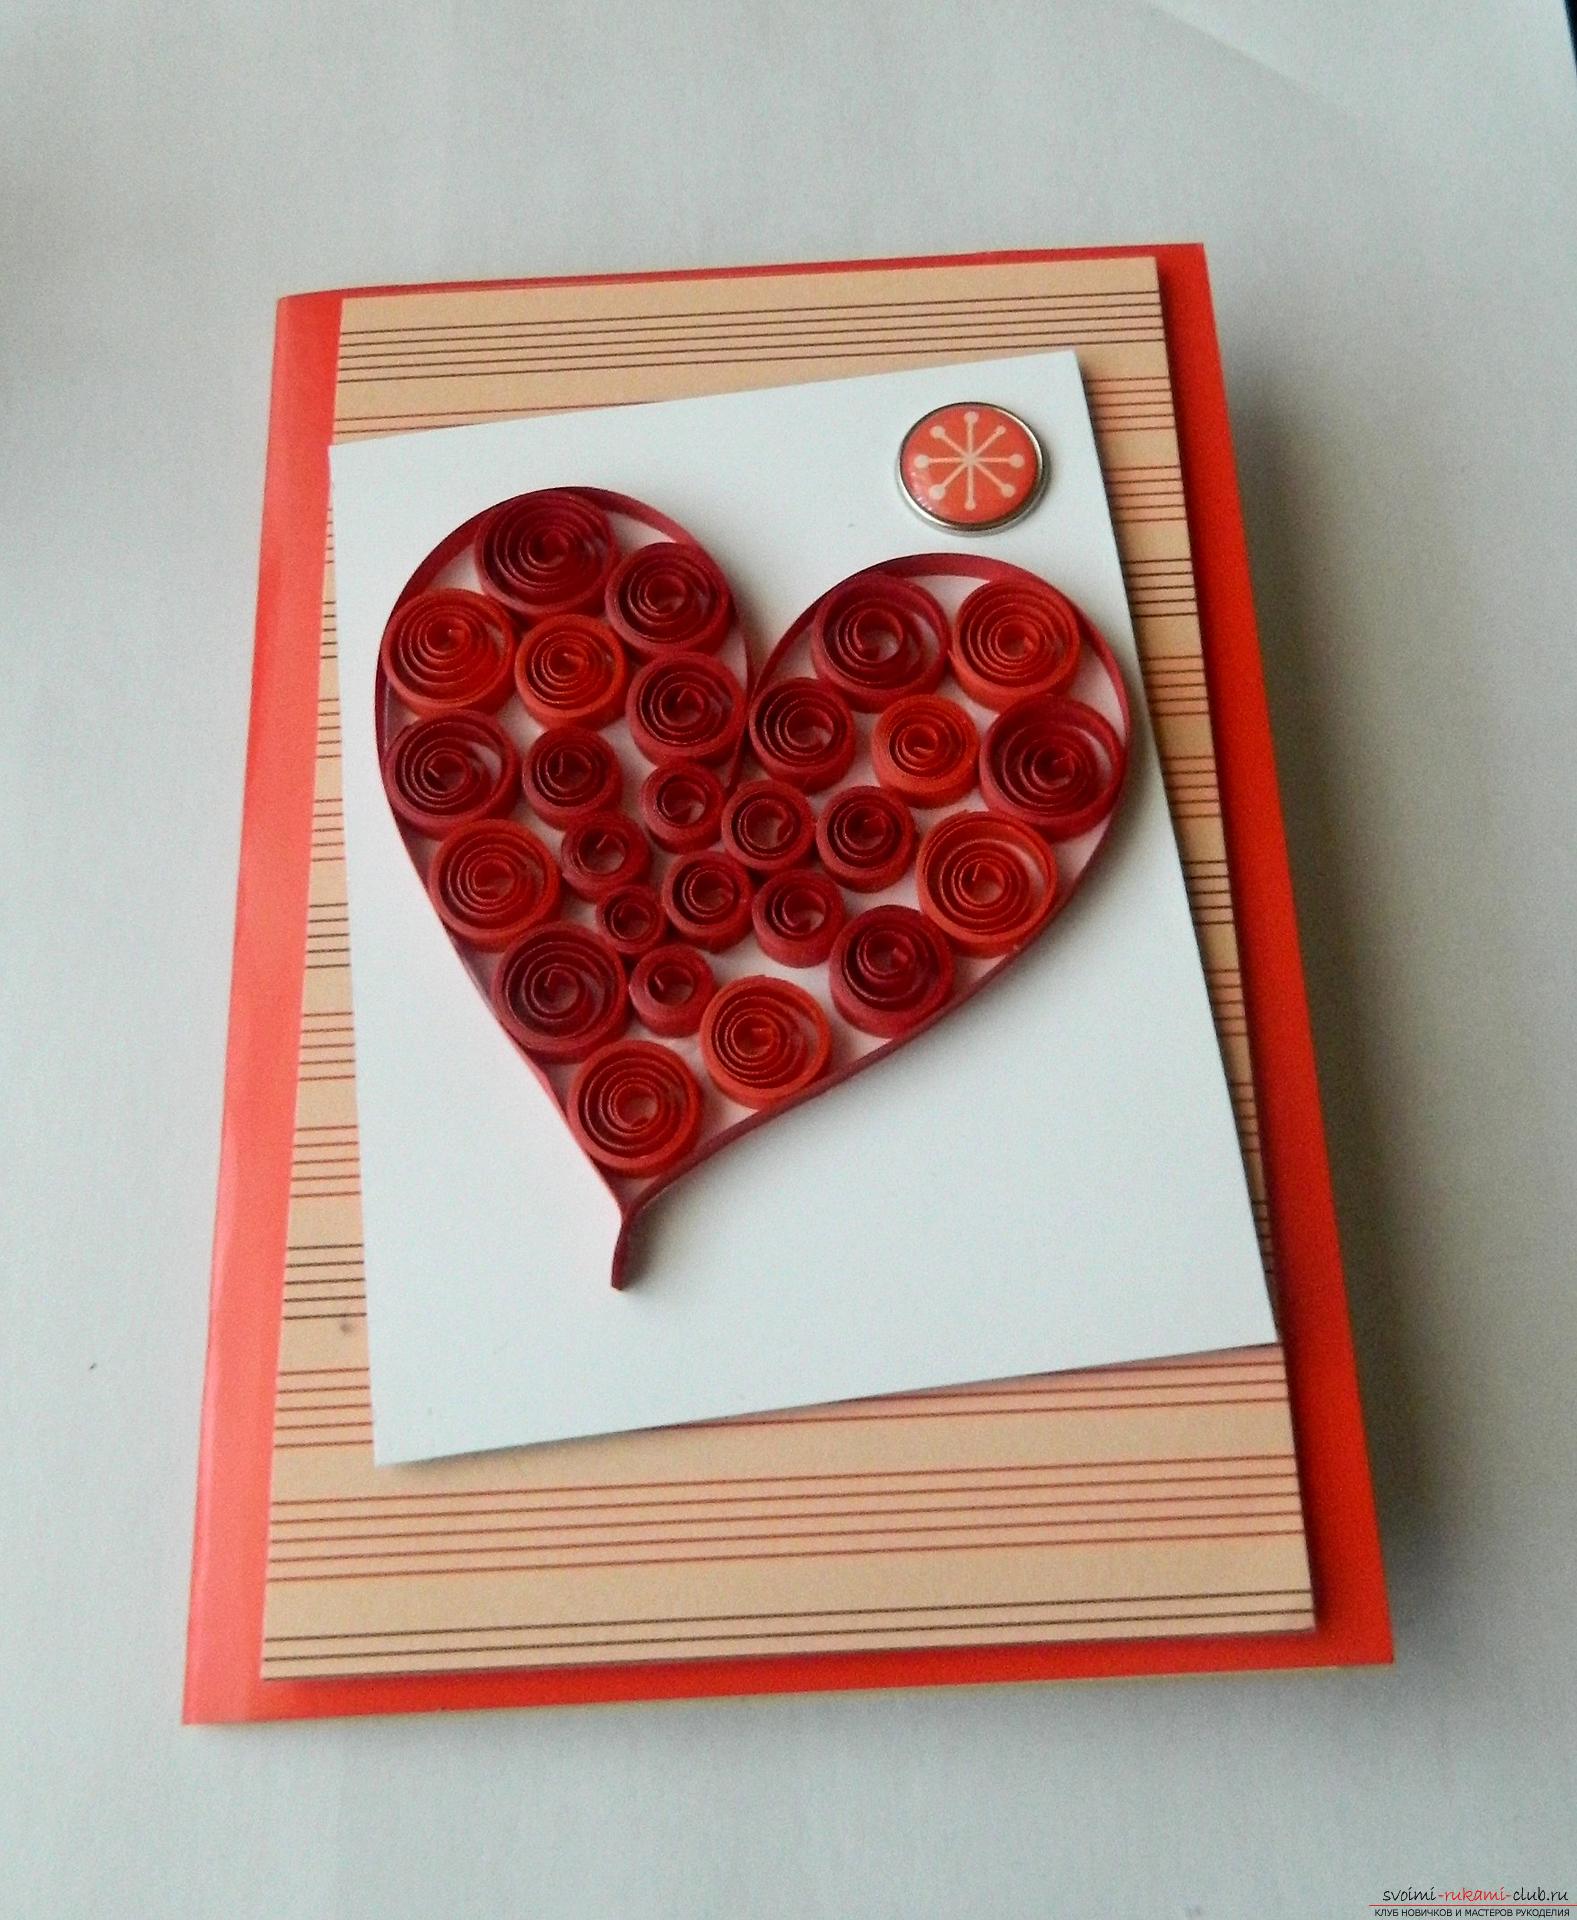
  Such details will need about 23-28 pieces (independing on the size). For the convenience of fastening the rolls to the base when filling the heart, it is better to use an adhesive squared paper, densely greased with glue. We take a tweezers roll, dunk in glue, we attach to the postcard, filling the heart.
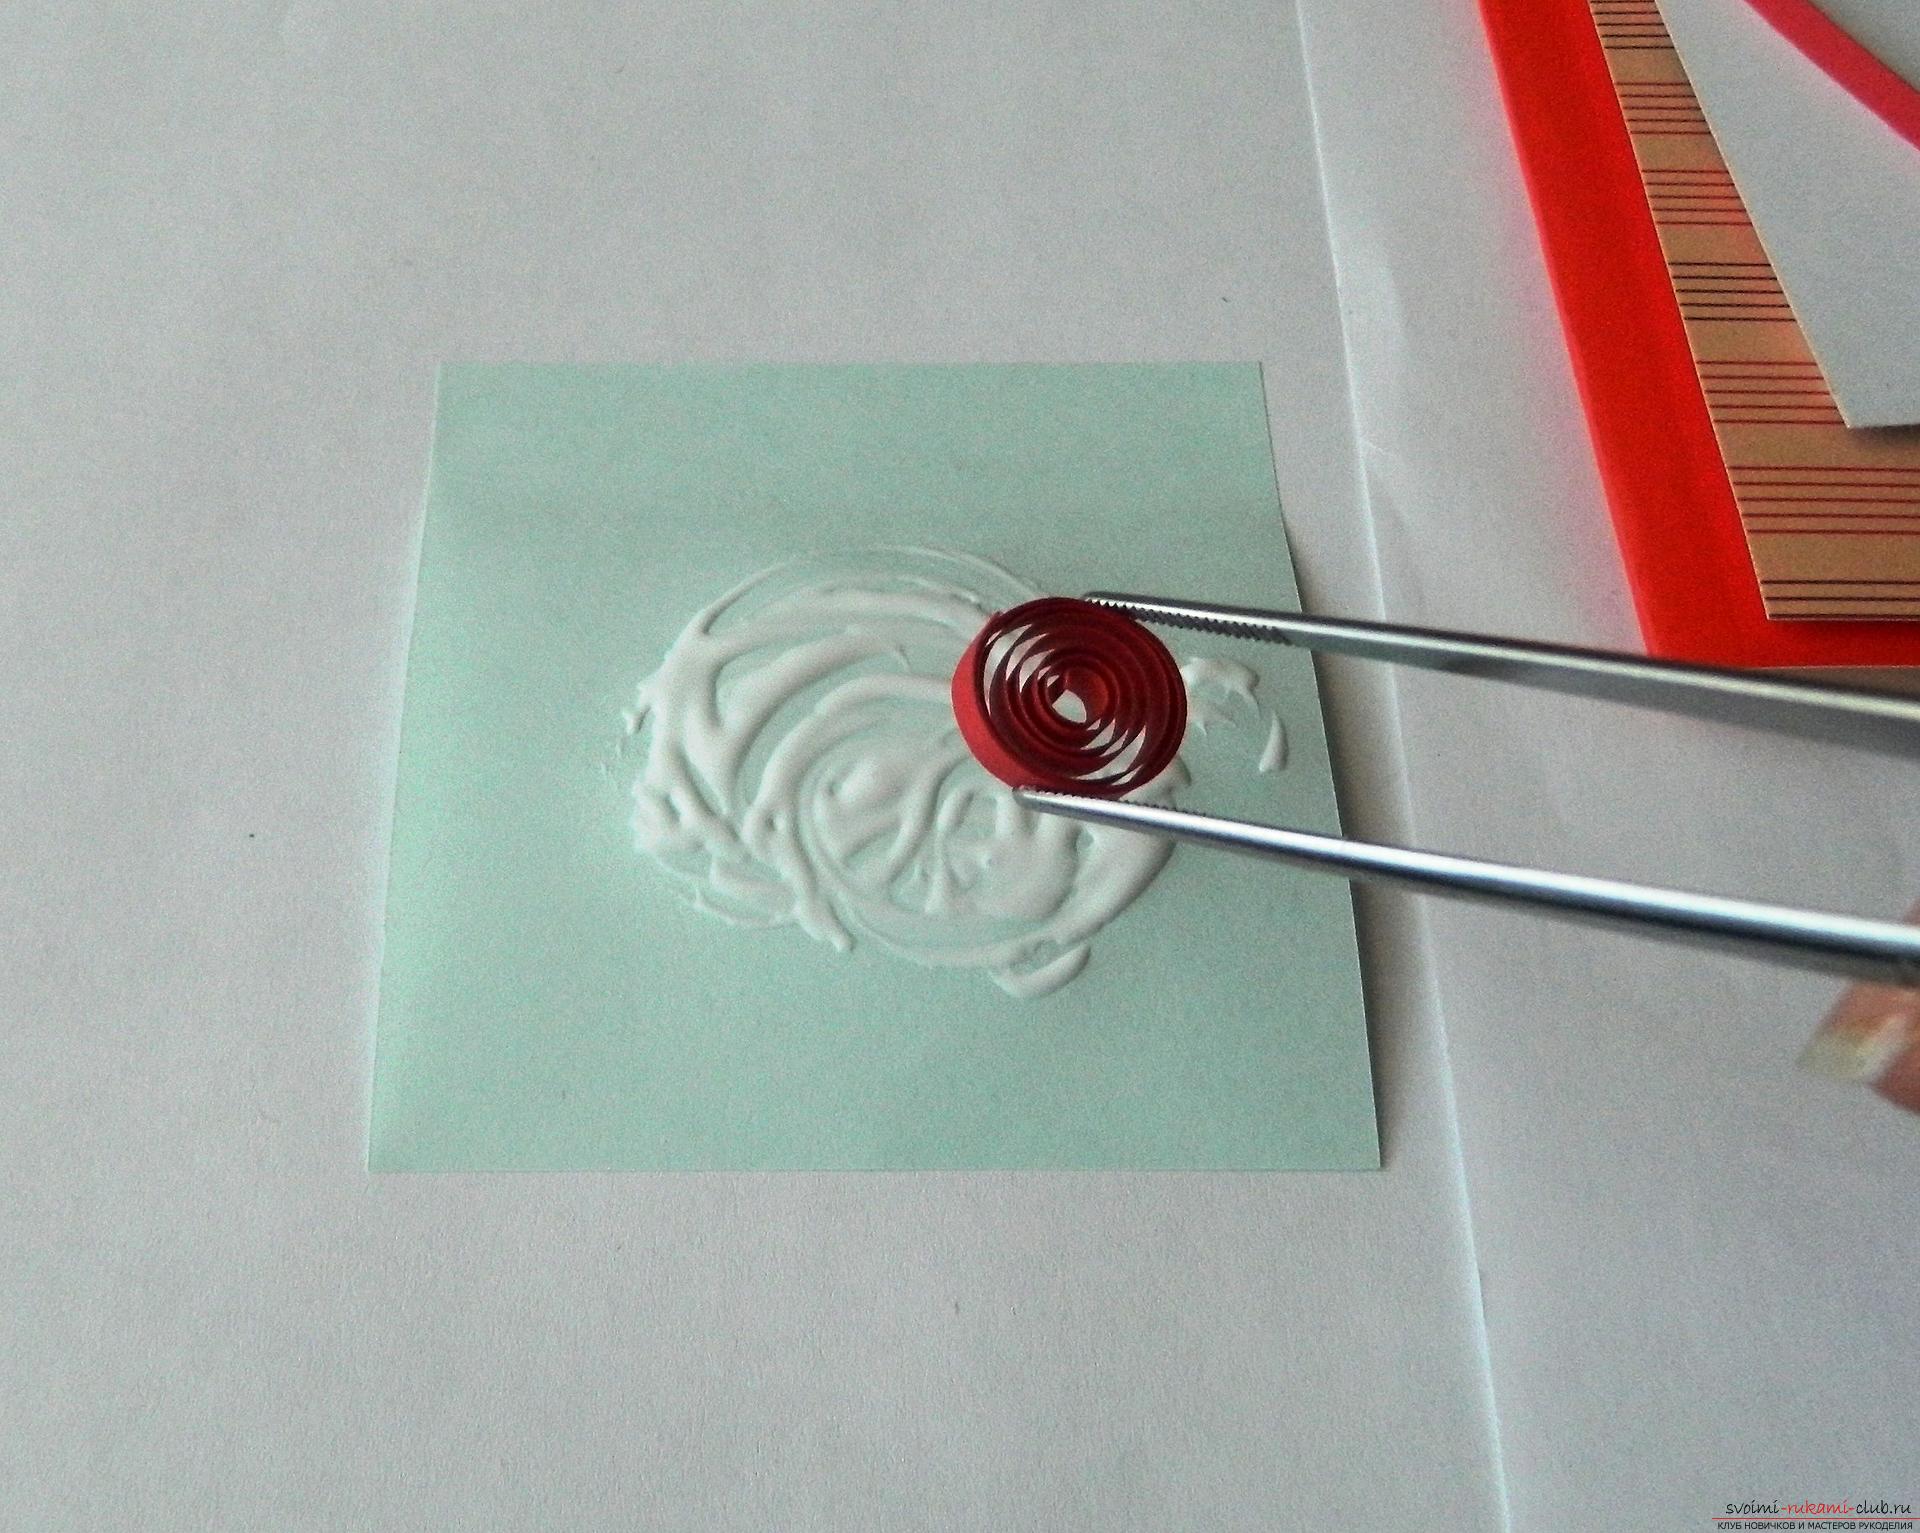
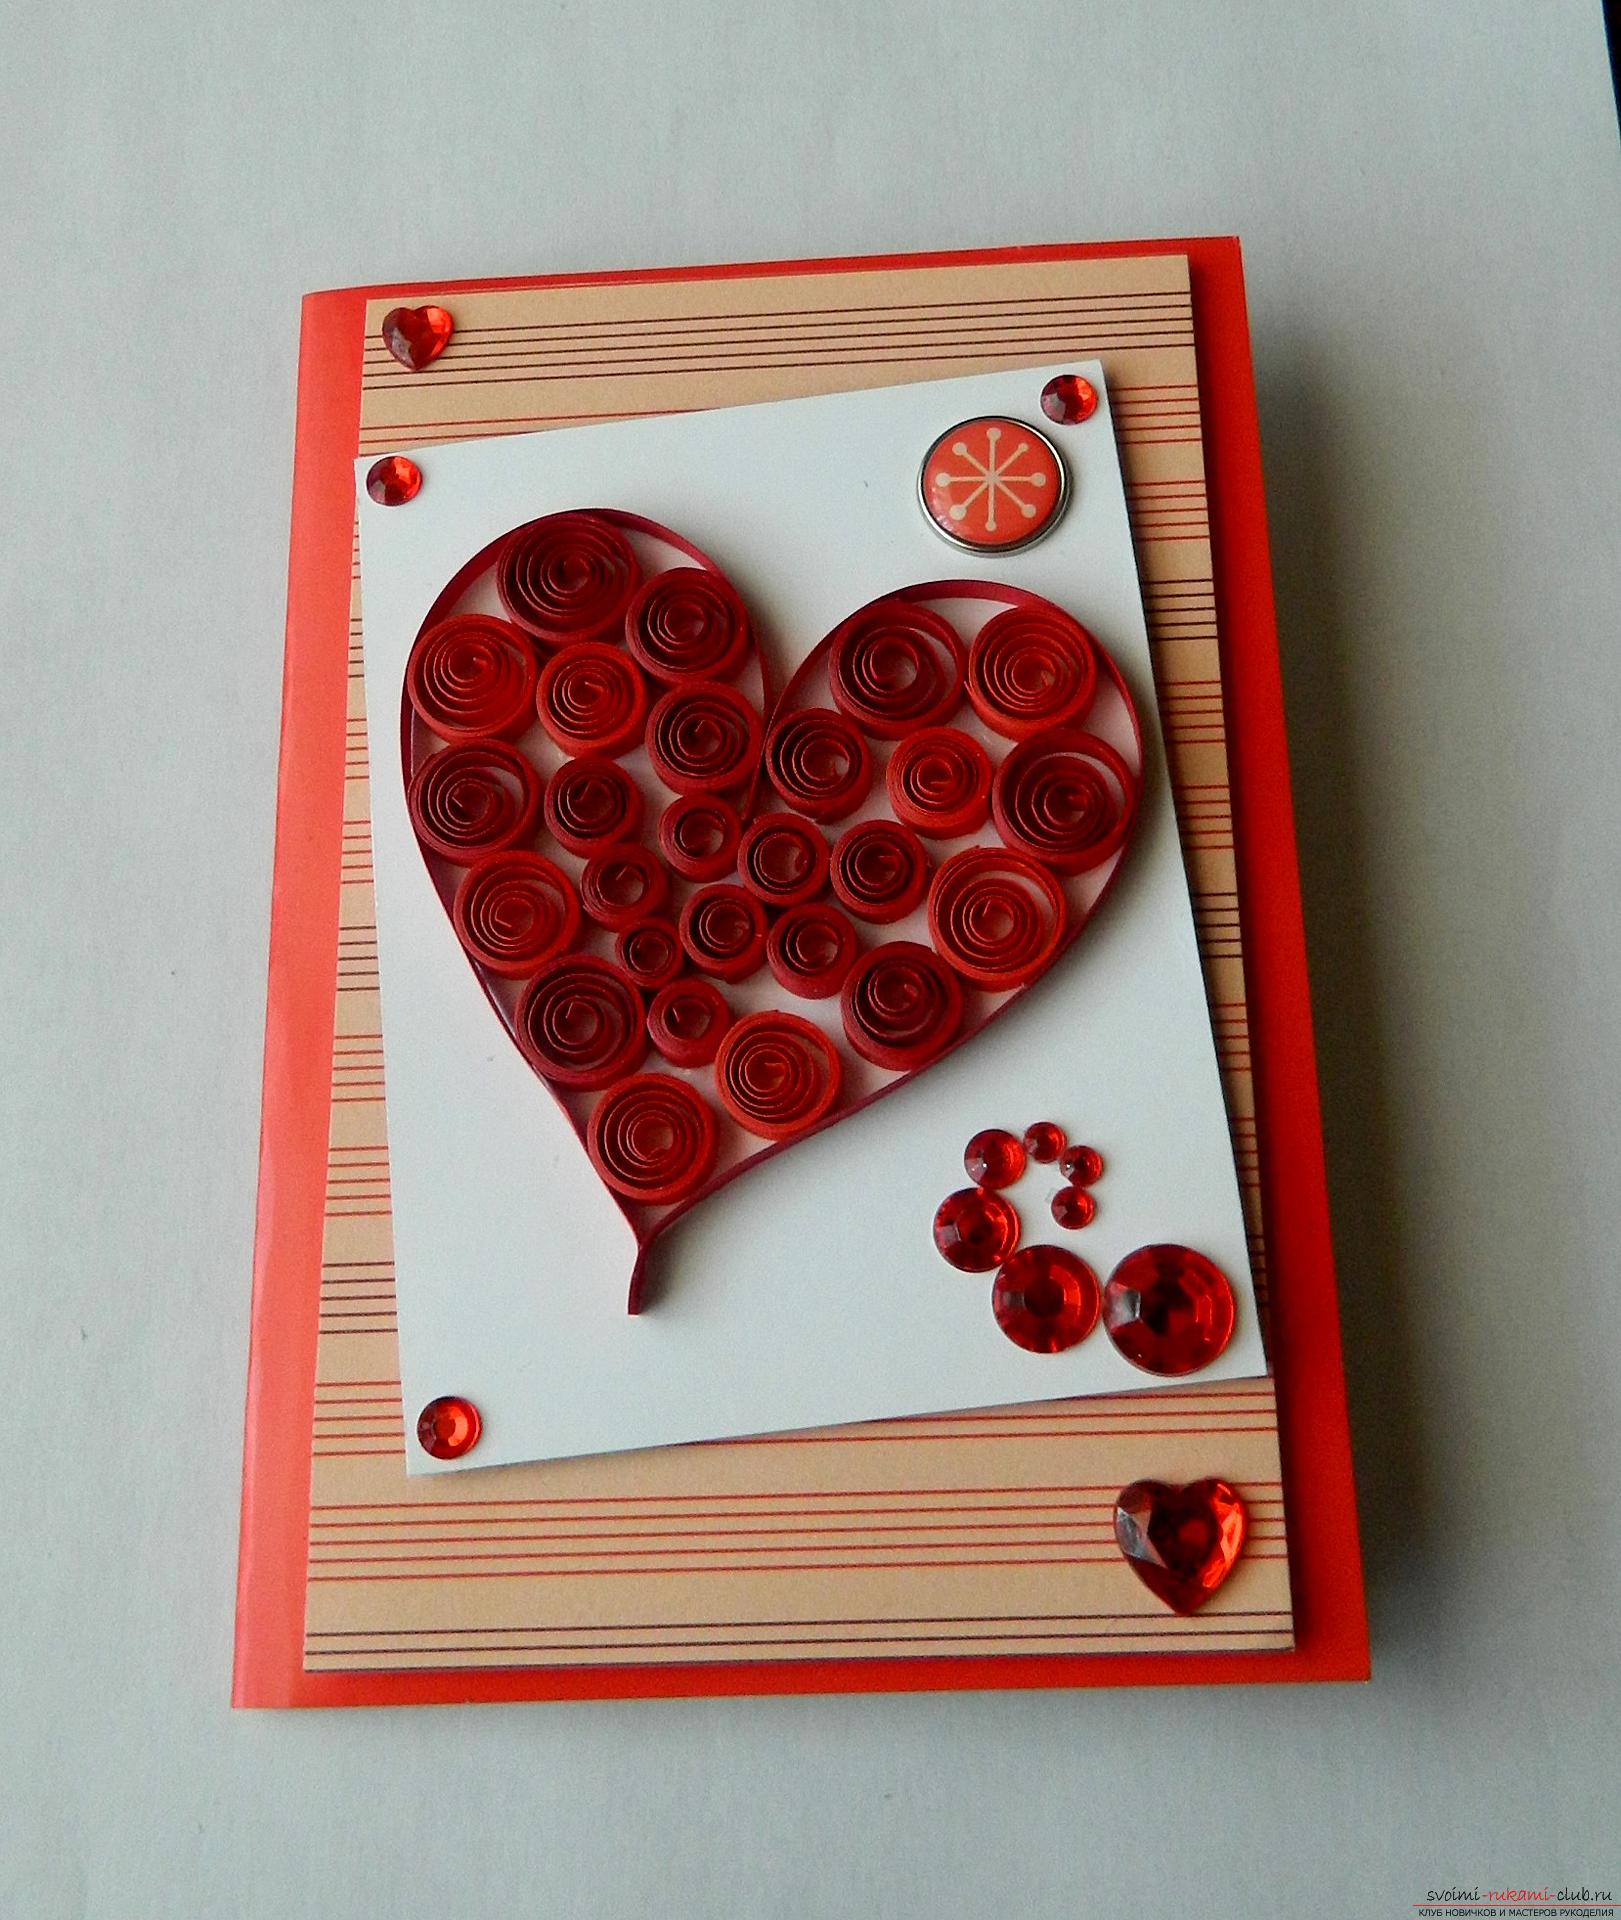
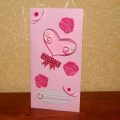
 We take rhinestones in the form of hearts and decorate the postcard. In the presented version, the hearts are located diagonally in the corners on the designer cardboard, but you can decorate the product at your discretion.
 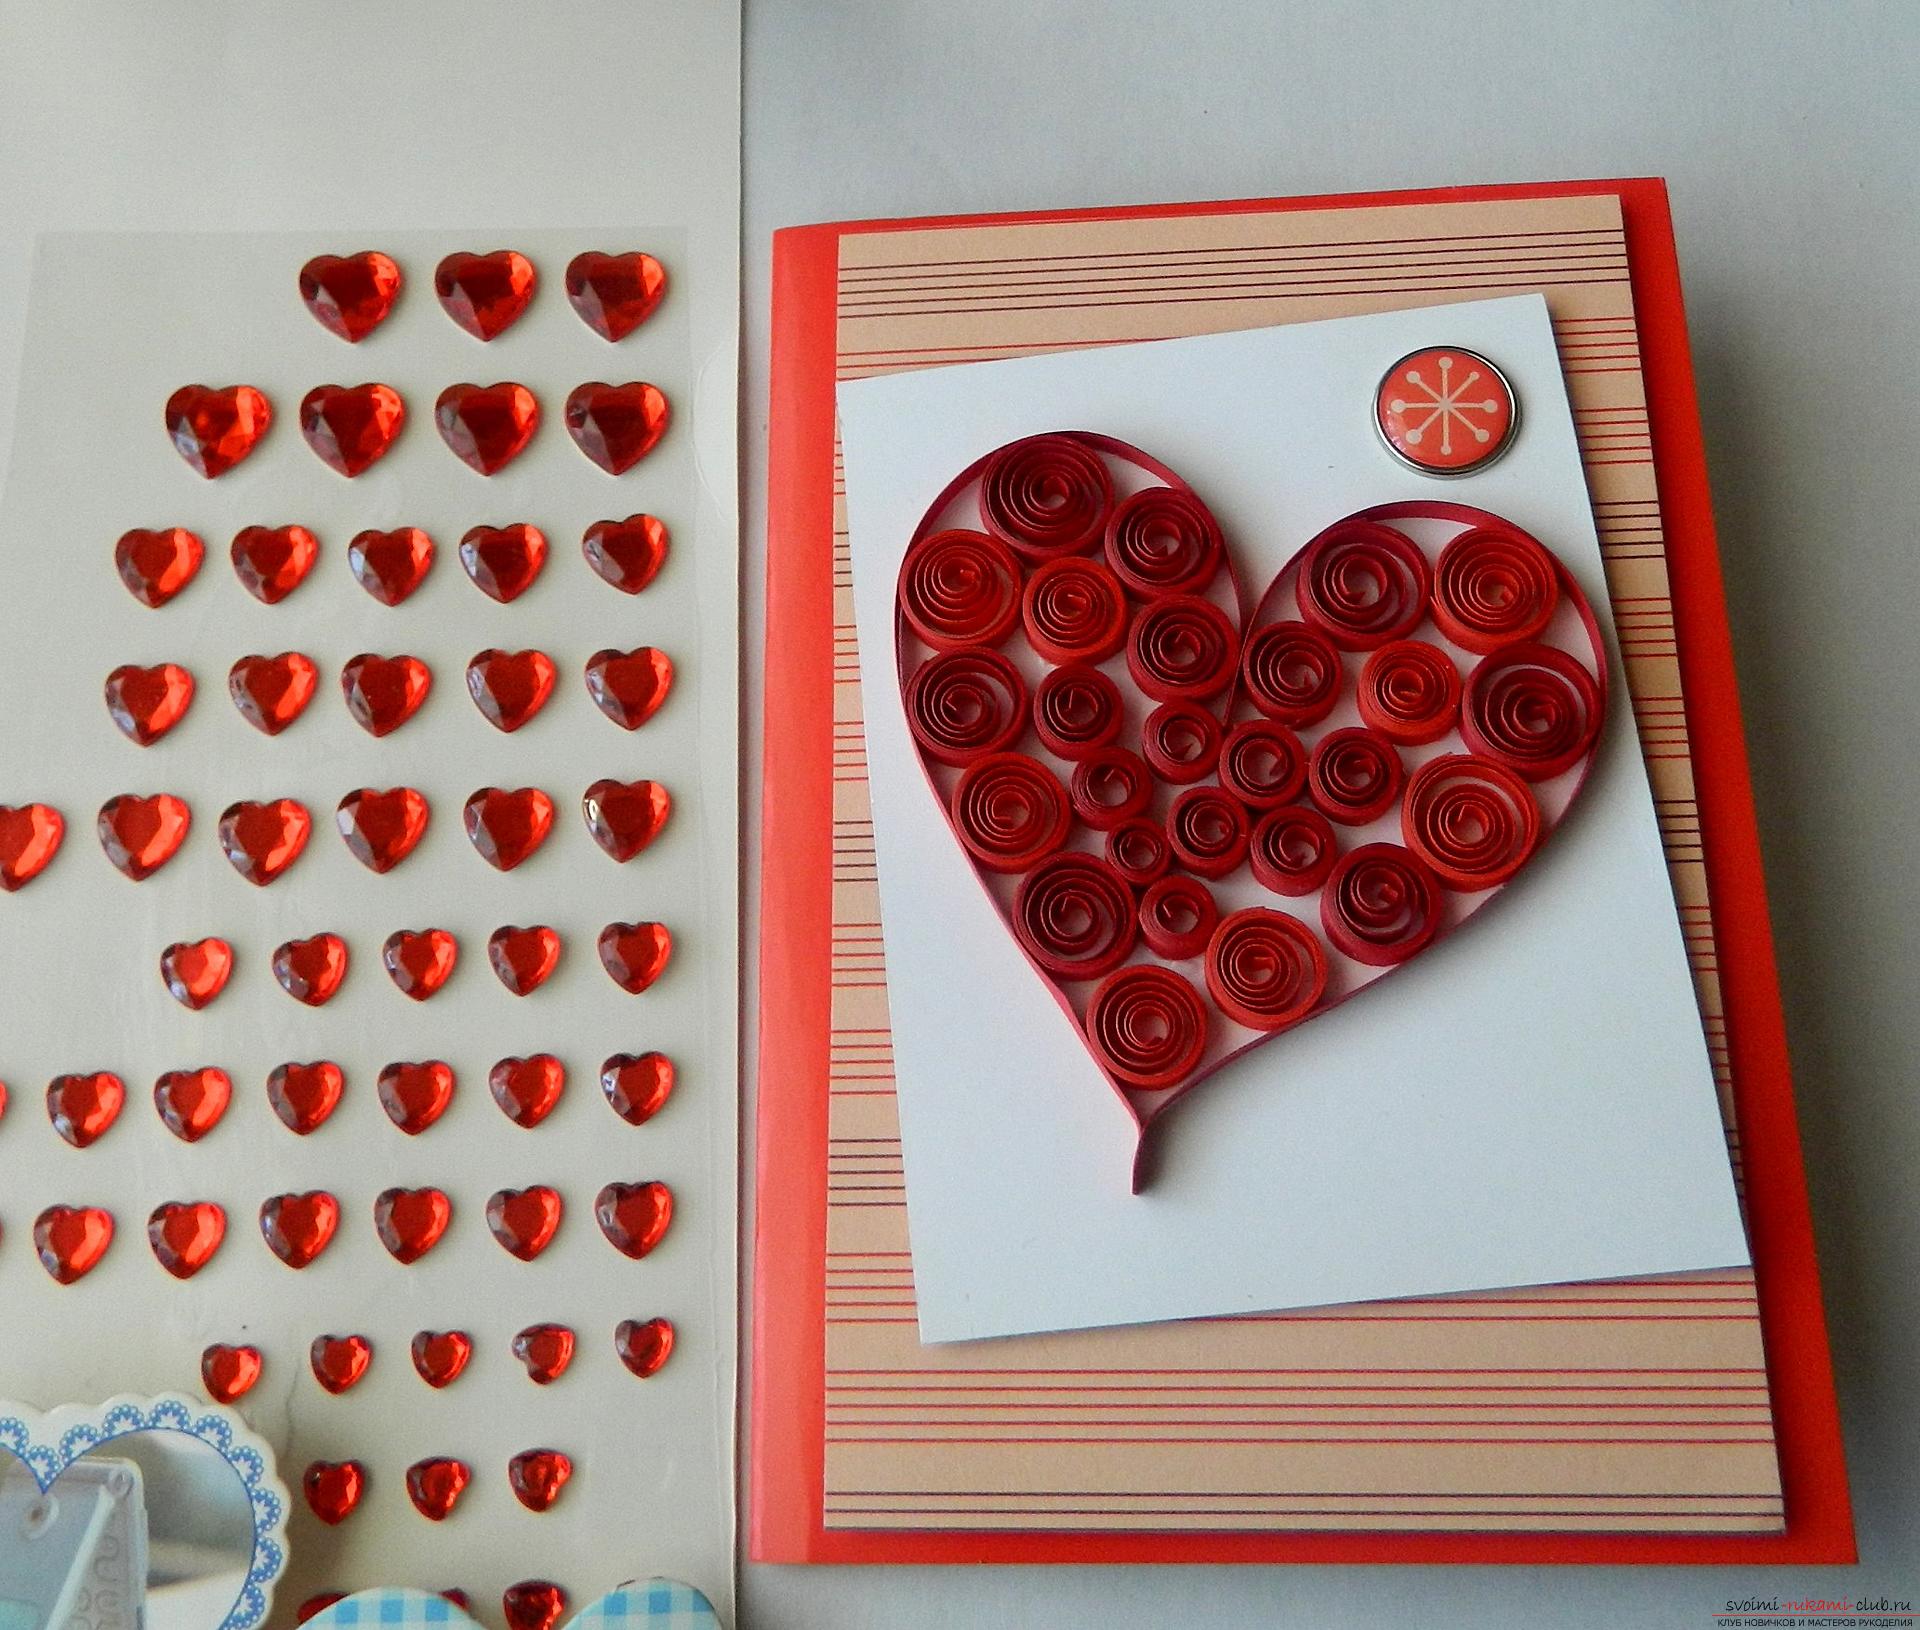 Next, we take round rhinestones of different sizes and decorate the product.
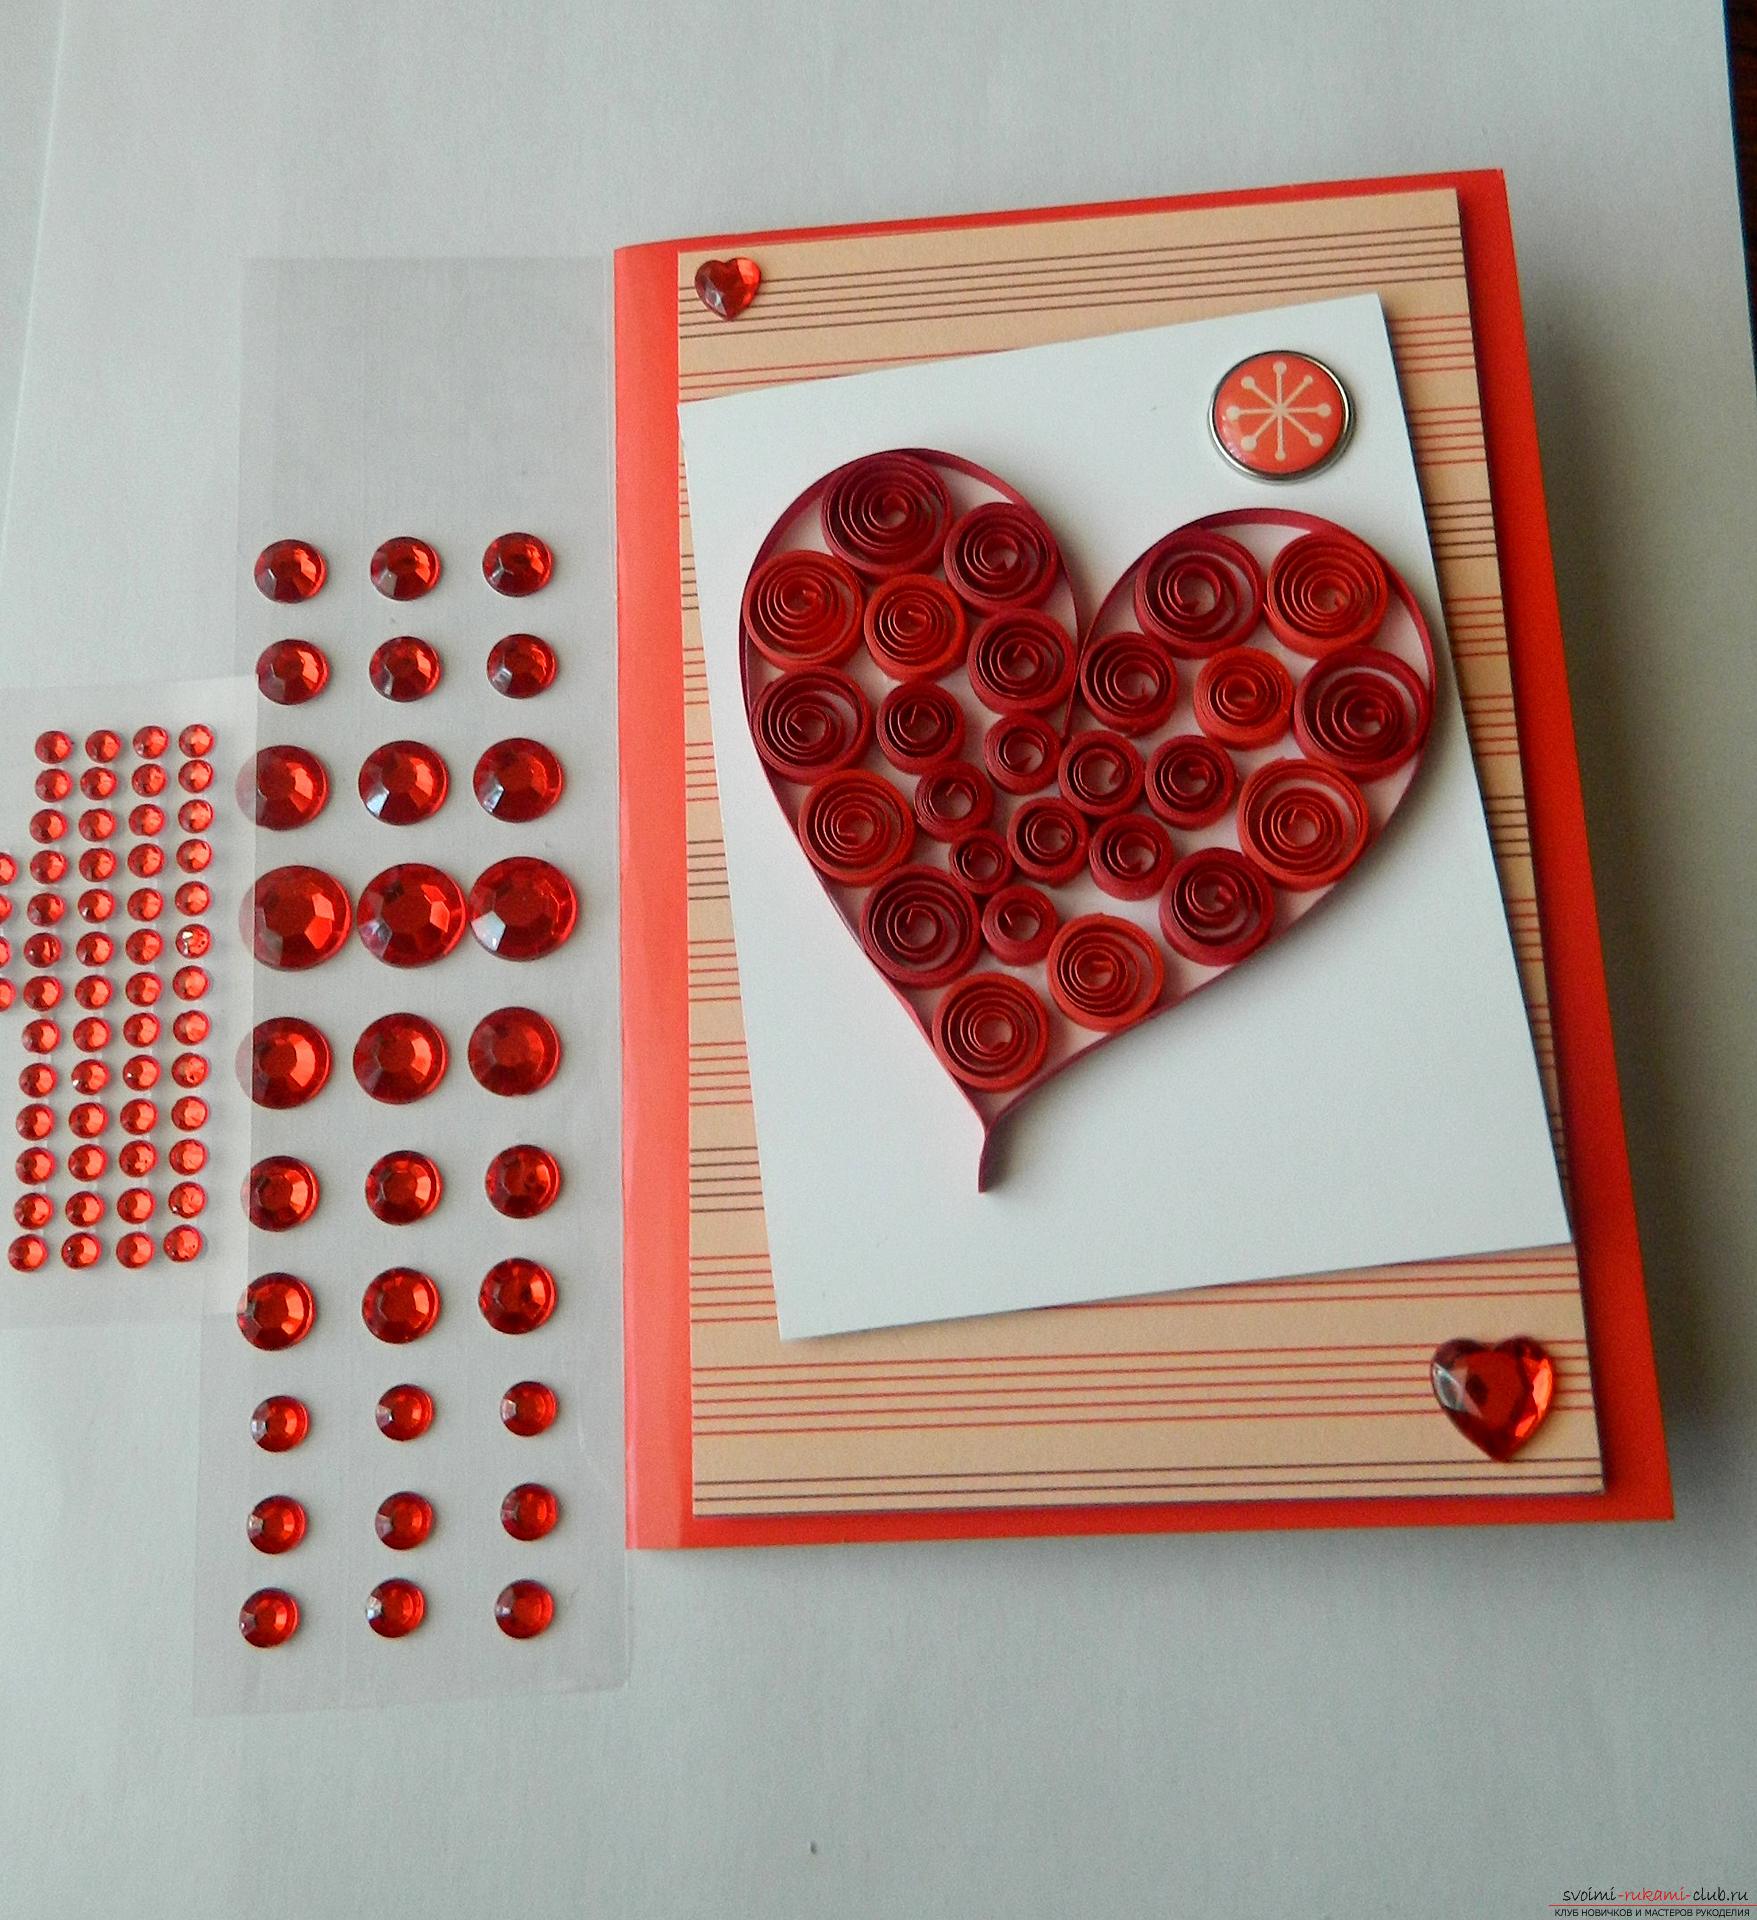
 Beautiful and unique Valentine with her own hands ready!
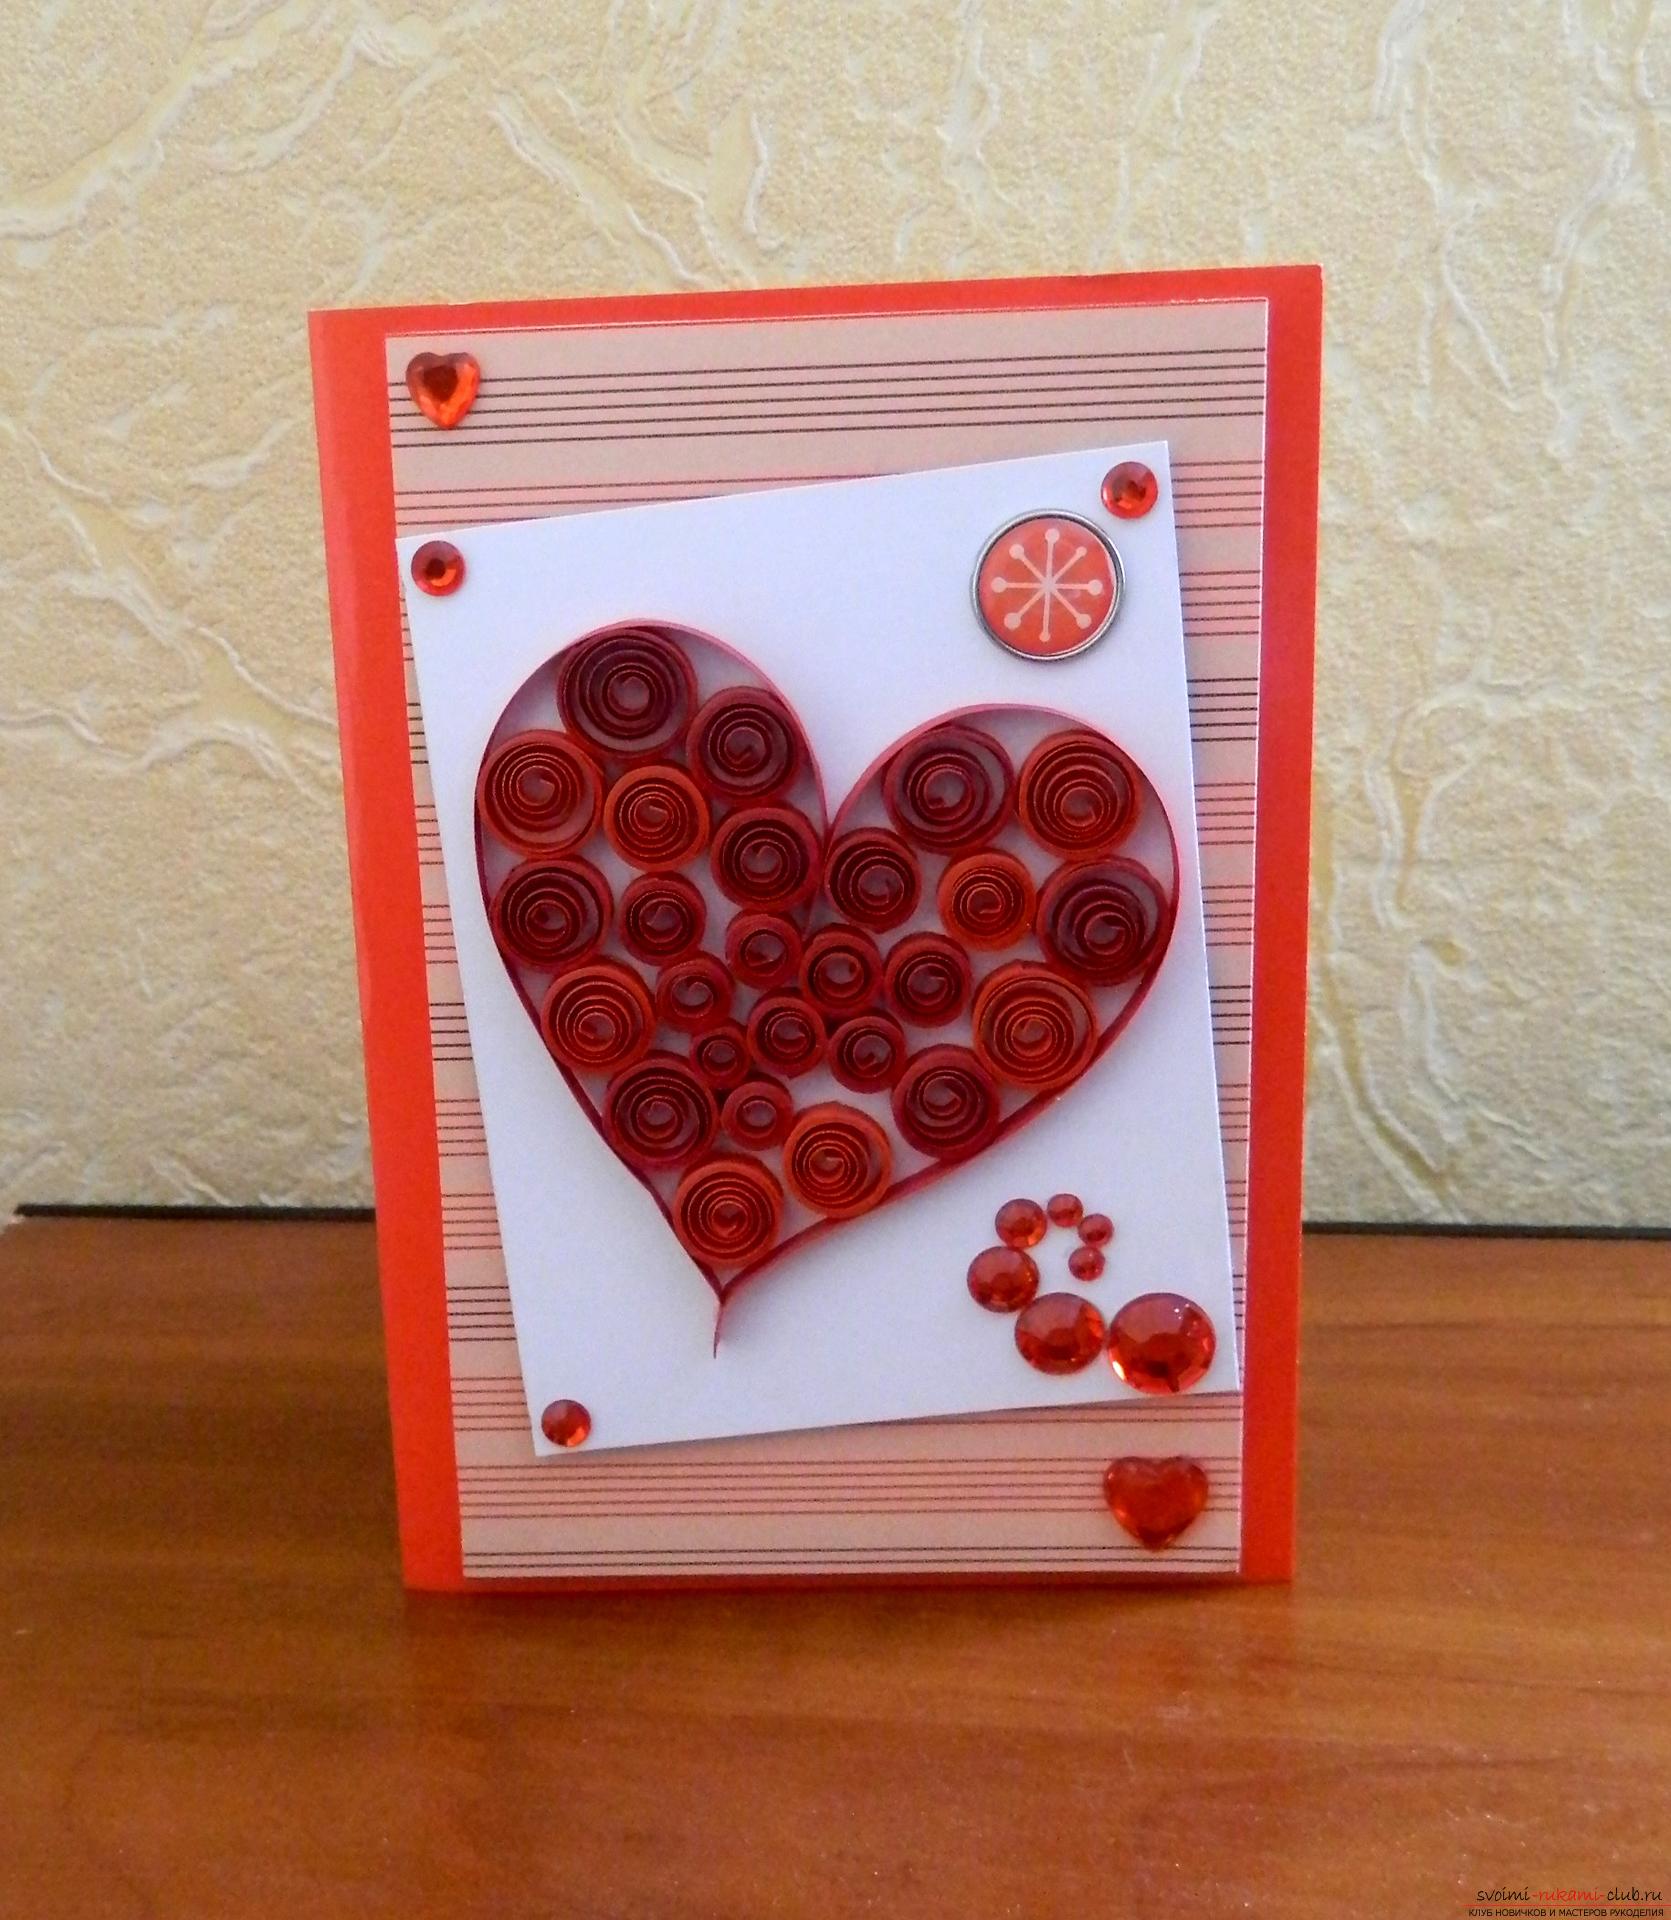
Comments
Related posts:
 This master class will teach you how to make your own beautiful quilling cards.
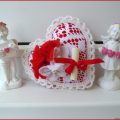
 This master class will teach you how to make a quilling card - valentine - with your own hands.
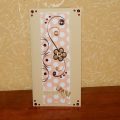
 This master class will teach you how to make a postcard by yourself in the technique of quilling.
 This master class will teach you how to make a postcard with your own hands in quilling technique.
 This master class will teach you how to make your own original valentine.