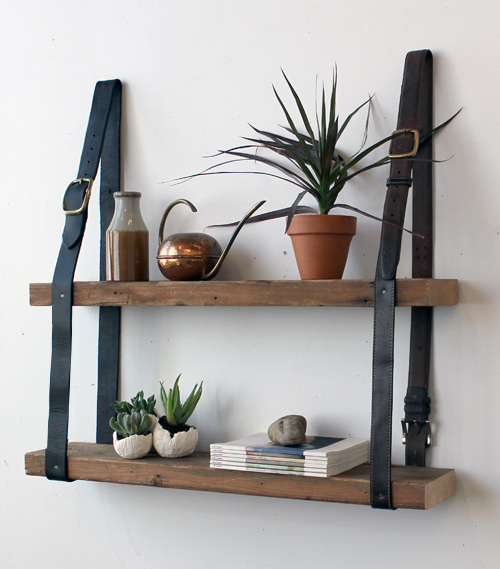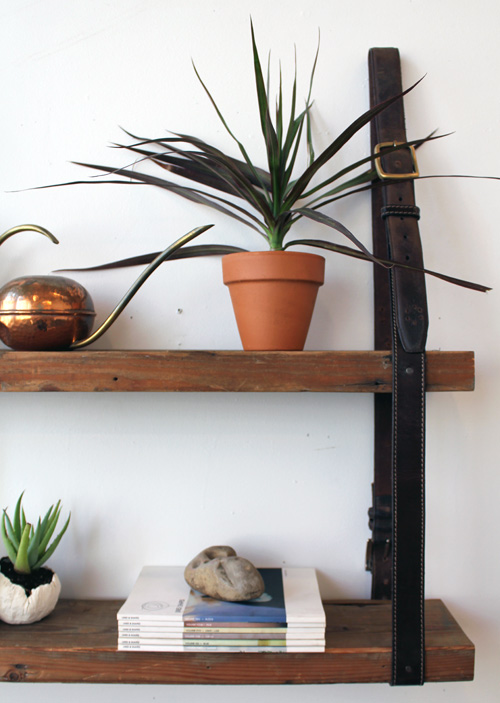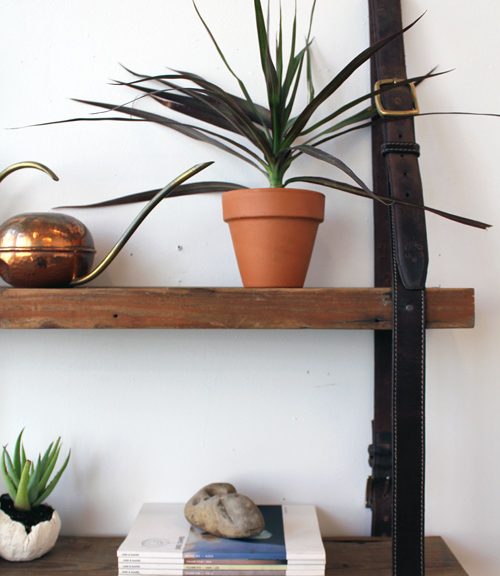
Master-class: suspension shelf with own hands
An interesting and simple master class how to makehanging shelves with their own hands, while using strong belts made of leather or fabric. Thanks to the straps, you can adjust the height of the shelves on the wall. And depending on what kind of straps you will use, this style of shelves will also work. For example, with old worn belts, the old tree will also look good, and bright varnished shelves will fit the new multi-colored belts. 
Necessary tools and materials
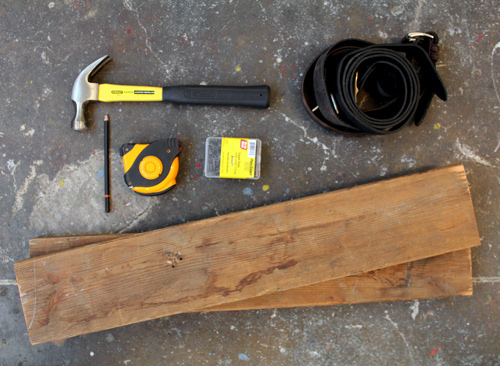
To get a suspended shelf with your own hands, you need these materials:
- two or more wooden boards
- 2-4 long straps
- nails
- a hammer
- ruler
- pencil
Suspended shelf with your own hands: work progress
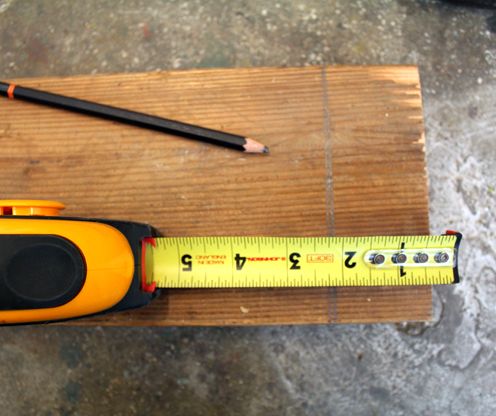
 Mark the line with a pencil about 5 cm from each edge of the shelves.
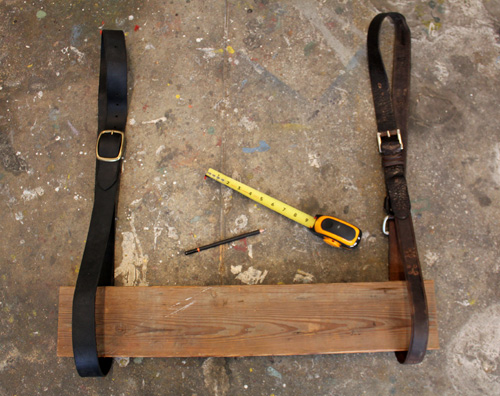
  Belts fasten and make sure that inbuttoned, they are the same length. It may be necessary to punch additional holes - for this purpose it is convenient to use an awl. If you plan to make a rack of more than two shelves, then you need 4 straps. Two belts fasten with each other, so that again a loop, only a larger diameter. Put the shelves in the straps along the marked lines. Turn over and place on the side, adjust the distance between them.
  While holding the first belt in the right place so that it does not move, turn the bottom shelf up and start nailing the strap to its underside.
 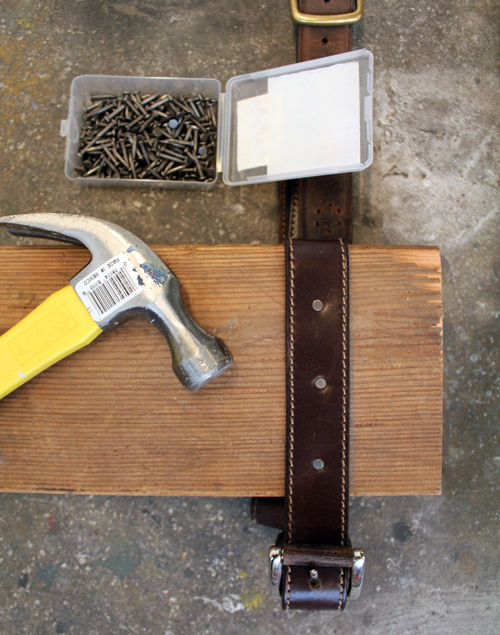 Then nail the strap to the side of the shelf.
 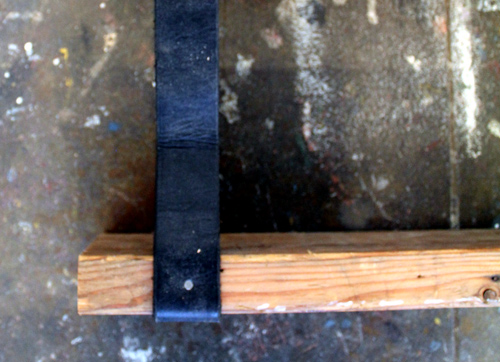 Put the second shelf and nail the strap to the side. Repeat all with the second strap.
 Almost done! Once again, check that the remaining upper part of the loop from the strap is the same on both sides - and you can hang!