
Making a gradient from polymer clay with your own hands – lesson and master class with photos
The properties of polymer clay to this day impress many craftsmen with their limitlessness and the ability to create the most striking, unique crafts.
Making a gradient from polymer clay with your own hands – lesson and master class with photos
 Due to the features and conditions of thismaterial, we are free to do whatever we want. Even the possibility of creating a gradient transition, unimaginable some time ago, is now quite realistic if you have the necessary tools and knowledge. Features of polymer clay – gradient
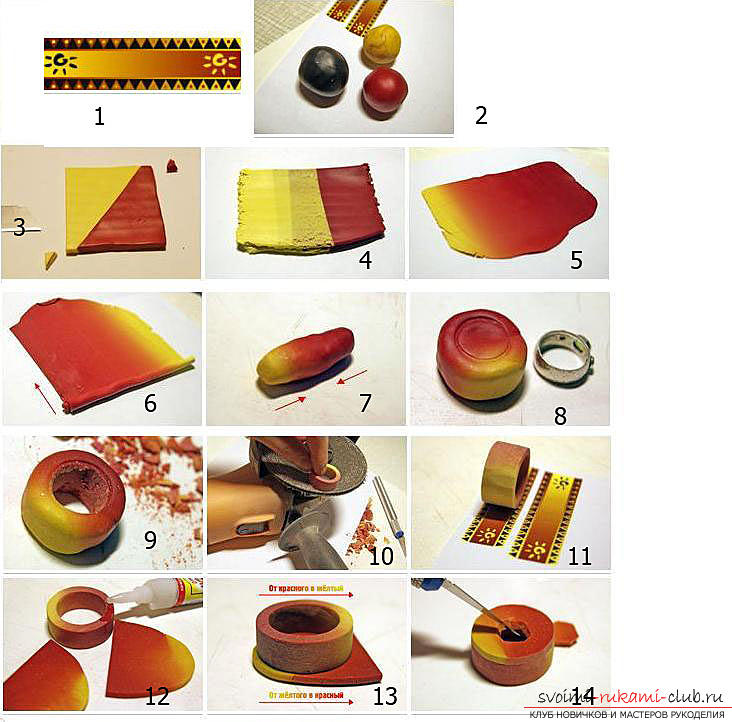 The peculiarity of polymer clay is thatthat it is very easy to process and then consolidate the result. Also, the material does not stick to your hands and does not leave marks. If you learn the correct technique for using polymer clay – you can create the most incredible and unique crafts, with the help of which your view of new things will become completely different. Polymer clay is also distinguished by its beauty and variety of color palettes. To make a beautiful gradient from polymer clay, we will need special material and devices:
- Pieces of polymer clay in different color versions
- A ruler or knife for separating pieces of polymers.
- Special skin remedy (cream)
- Availability of a paste machine for creating a gradient.
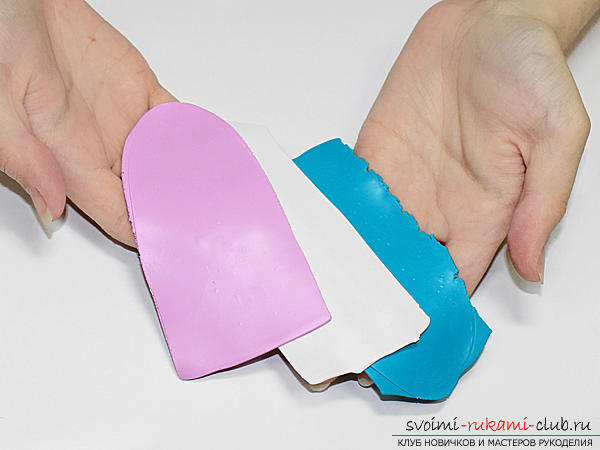
Preparation of materials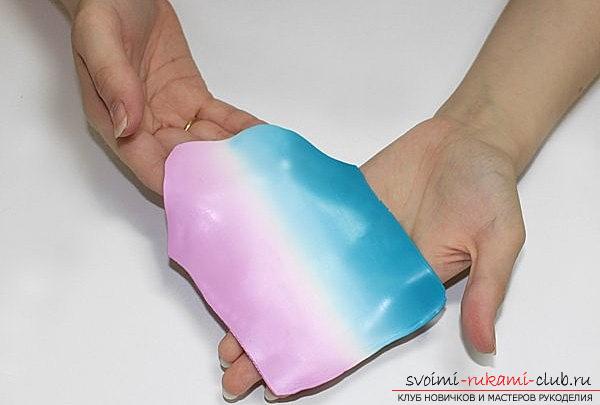 First of all, you need to take two colorshaping clay from polymers. Next, you need to open the packages with these polymers and cut off the required piece of material. Next, the cut materials must be aligned so that they have the same size parameters. After this, we knead one material, and then – different (color). We make materials in the same thickness. For ease of use – You can use skin cream. Squares of future gradients
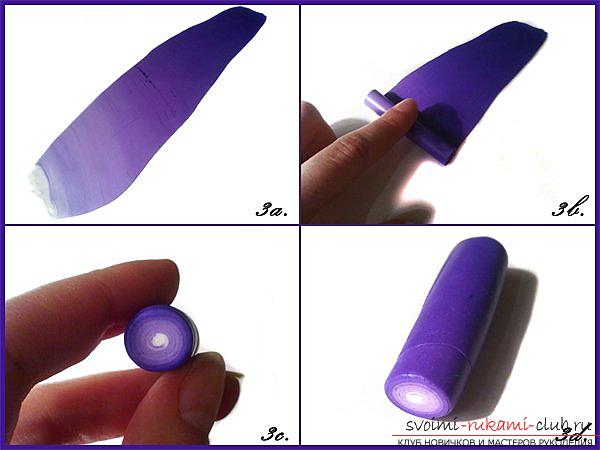 Then, you need to take and shape the pieces of clayrequired form. We make special squares that will have gradient transitions. Using this technique – you can work with any figure. Next, you need to connect the pieces of our clay to each other. The pieces must be stacked on top of each other and be one material. After that, we try to straighten the figure and make even corners. Working with a pasta machine
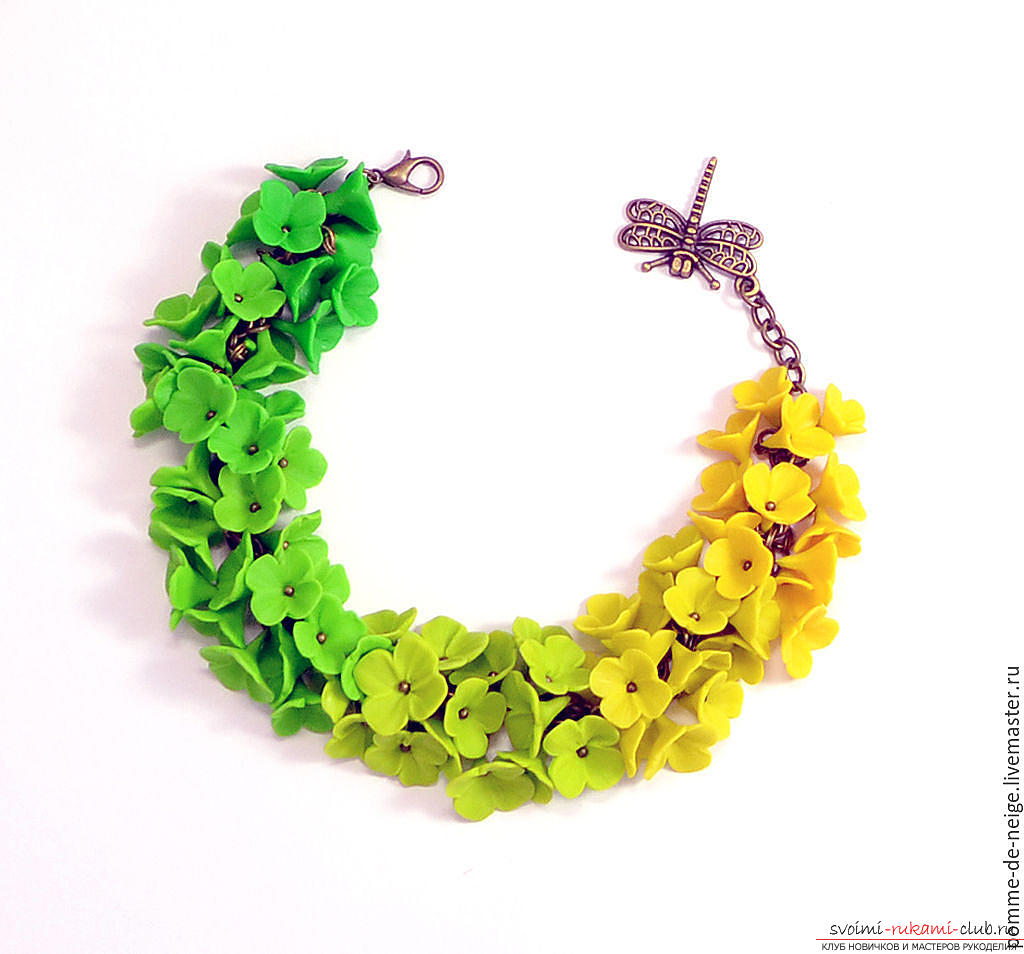 After that, we start working with the pasta machine.For it, you need to set the first mode, which eliminates the gaps between the elements. Next, you need to put our plastic into the pasta machine and run it with the handle, after which – we will get a small plastic with a two-color look. Next, you need to roll the layer into two parts and then roll it again on the machine. After this, we carry out this procedure until we get what is required. The machine should be wiped down during breaks to remove dirt. Job finished! The elements are ready, you can use the gradient in your works!
Comments
Related posts:
 How to create a bracelet of polymer clay with your own hands, master class with a photo.
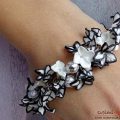
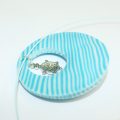 This detailed master class with photos and descriptions will teach you how to create a set of polymer clay jewelry with your own hands – pendant and earrings with a turtle.
 How to make earrings from polymer clay in the form of snowmen, detailed master class with photo and description
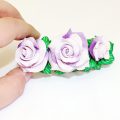 This master class with photos and descriptions will teach you how to make flowers – roses – made of polymer clay using texturing technique.
 This detailed master class contains the technique of working with polymer clay and will teach you how to make Keynes and beads from polymer clay.