How to make a penguin out of paper, origami, schemes, master class / Toys yourself, patterns, video, MK
A smart, kind bird that does not know how to fly at all lives on the far south pole. Penguin - a very colorful and recognizable animal, so make it simple.
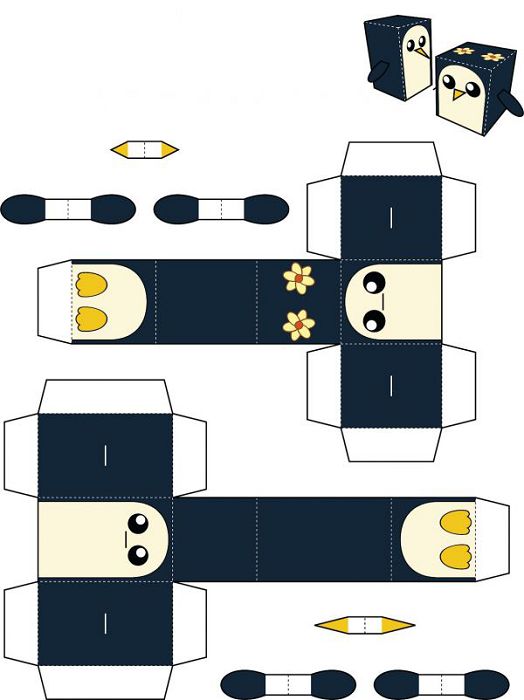
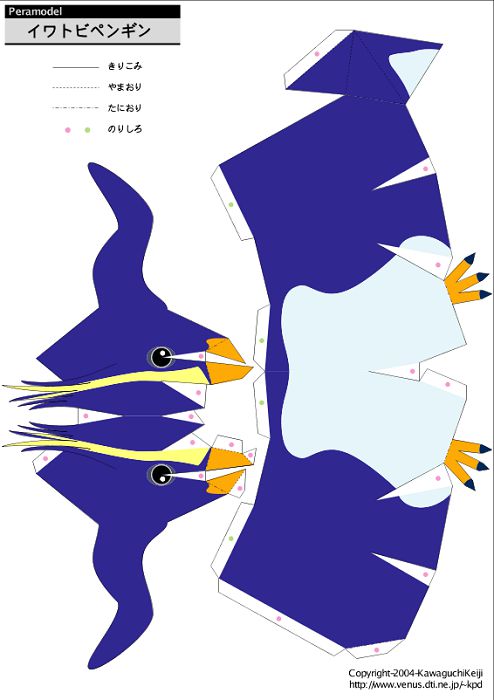
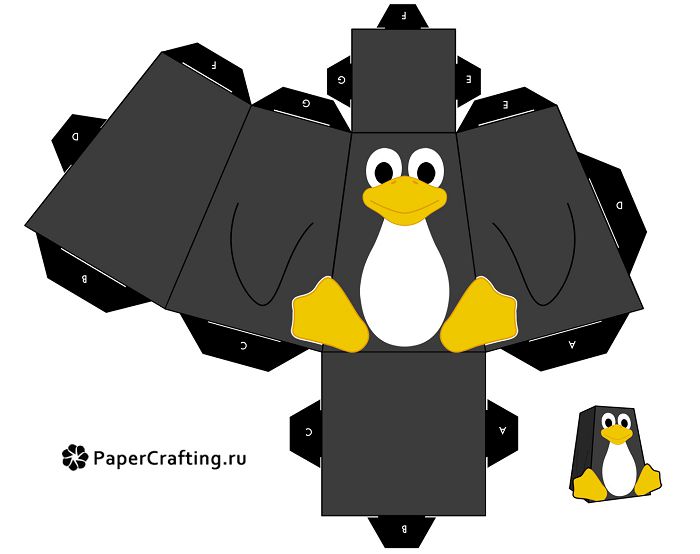
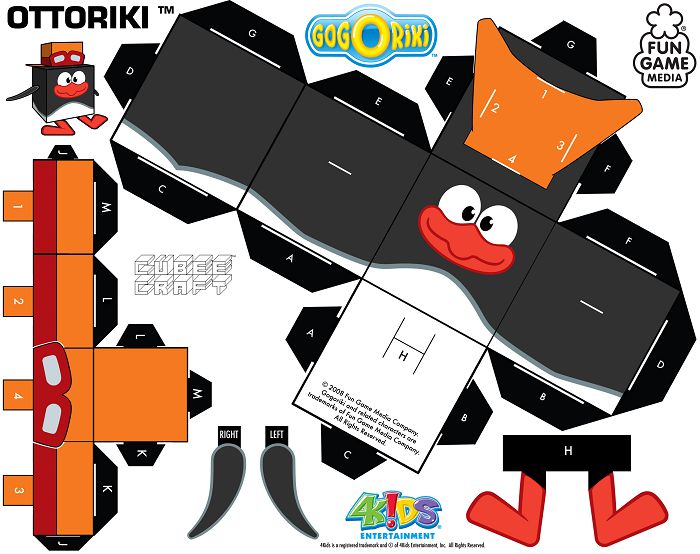
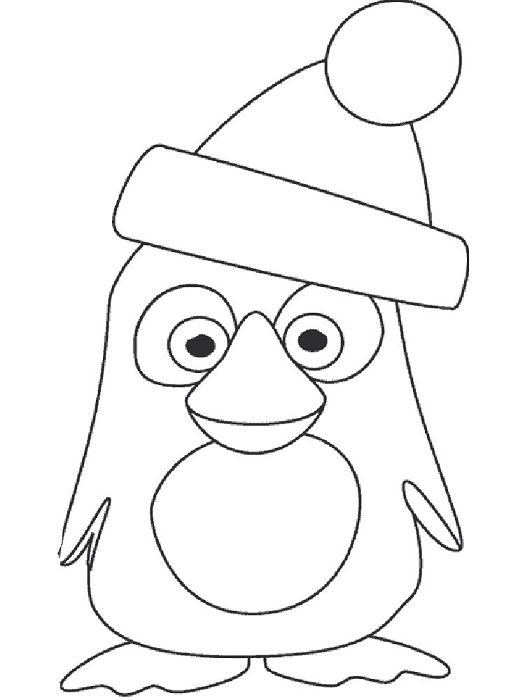
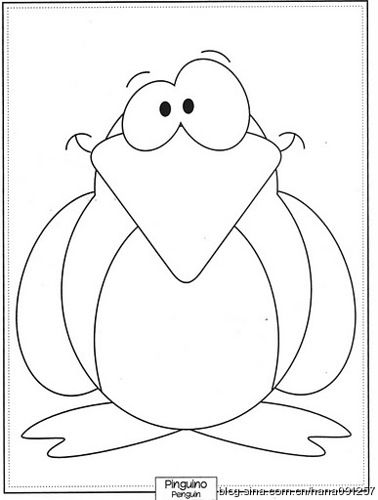
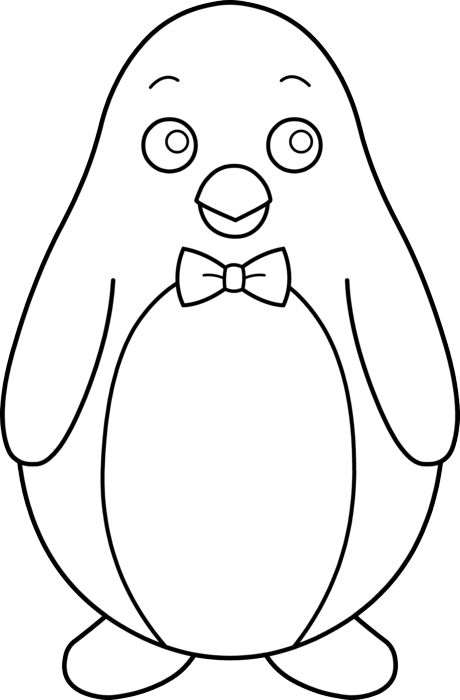
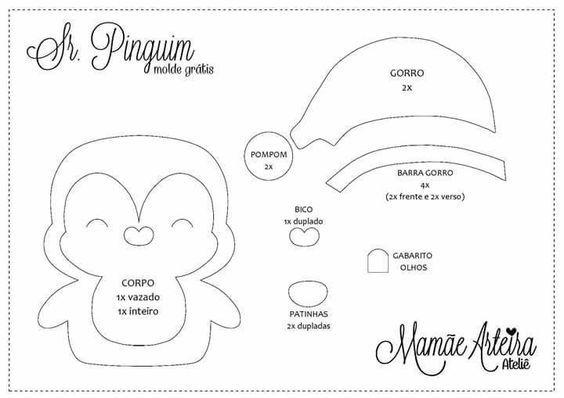
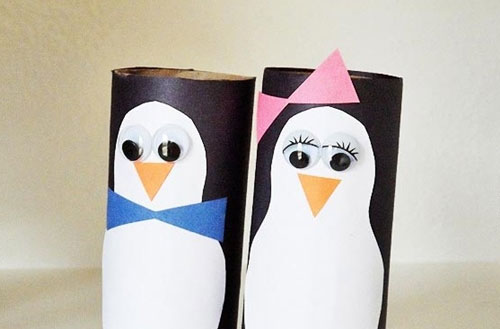
Layouts and templates of penguins


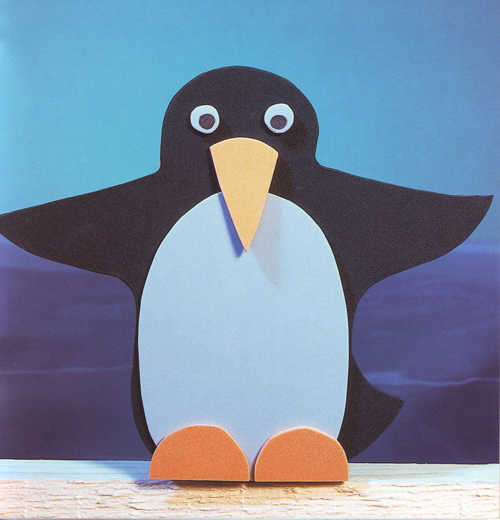
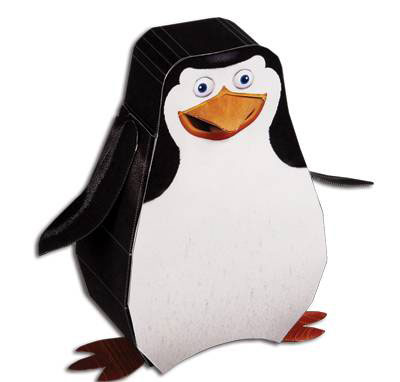
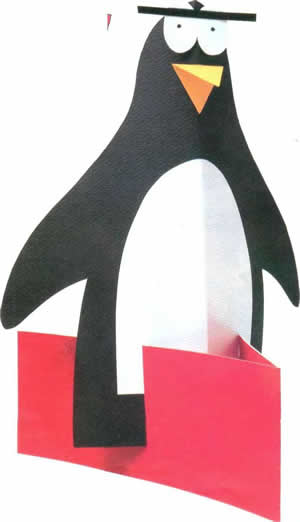
Ideas of incarnations


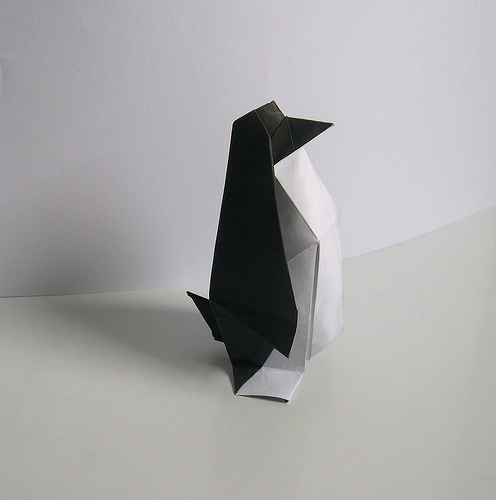
"Living" crafts
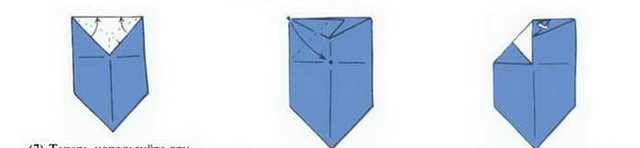
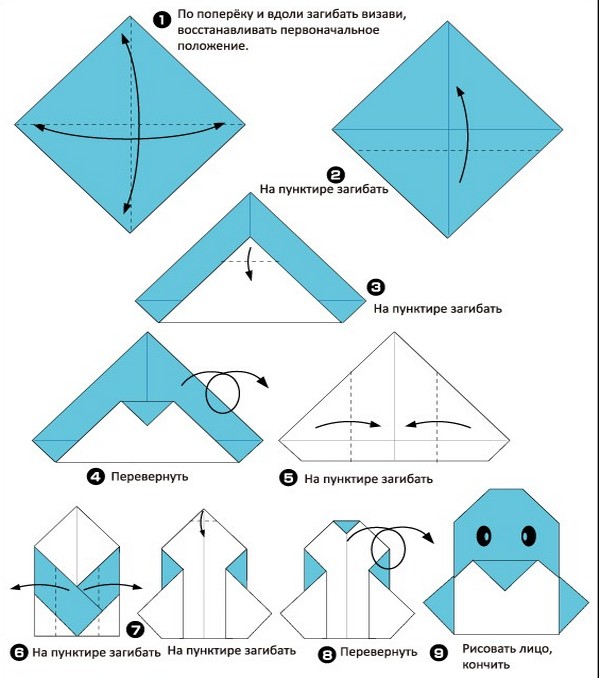
To make a "live" Arctic bird, we need a two-sided square piece of paper and a felt-tip pen to paint the eyes.
- Fold the square in two diagonals and re-expand. Bend to the middle of two opposite corners of the square. Do the same with the top corner, just bend it down.
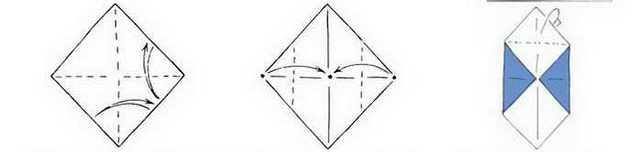
- Flip the origami. The upper wrapped corner fold in half in one direction, unfold, then to the other and again unfold. There are two more lines.
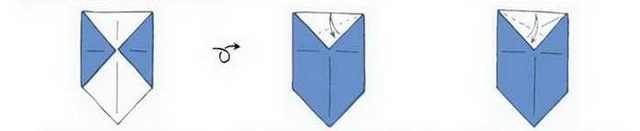
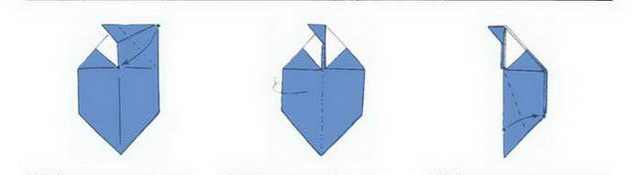
- Bend up both sides of the corner along the lines. Must be the beak. Turning the beak aside, wrap the upper right corner to the middle.
- Turning the beak to the other side, bend the left corner as well. Fold the origami in half along the beak outward.
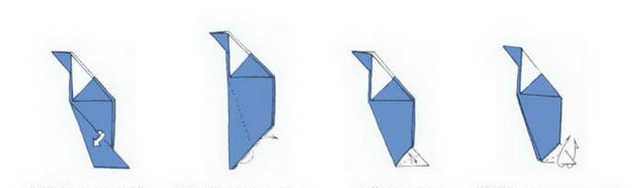
- Now we have to make our own handspenguin paws. Wrap the bottom corner one way, then the other, marking the fold lines and unfold. Now wrap exactly the same, but inside. Do the same with the paws. Mark the bend line, unfold the folded paper down and lift the tip of the paws up.
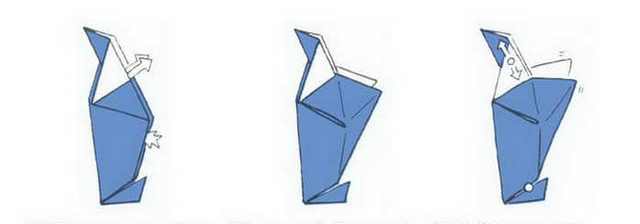
- Expand the penguin puff and take it outflippers. Give origami volume. Now, if you pull lightly to the sides in the places indicated by the dots, the hack will become live and will flap flippers as if on video.
The Royal Penguin
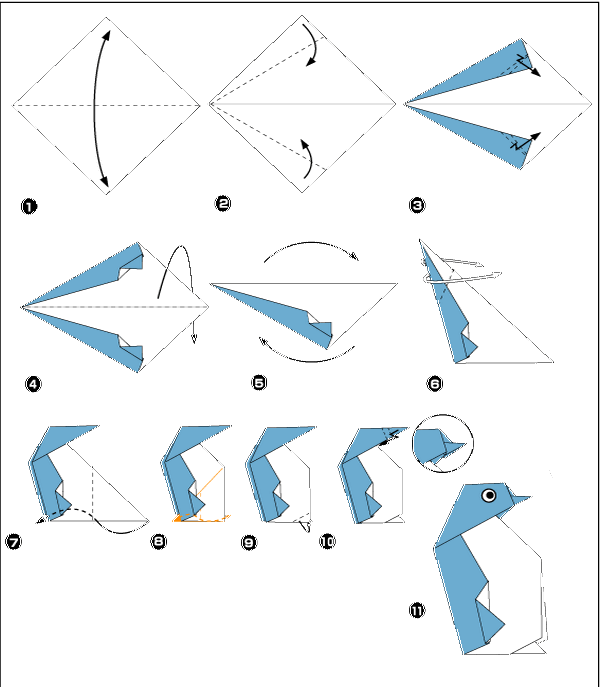 This largest species of penguins can reach120 cm high. You probably noticed the video, how thick and important it is. Making such a bird with their own hands is difficult, interesting and honorable. But if you do according to the above scheme, then everything is simple and clear, as in the video.
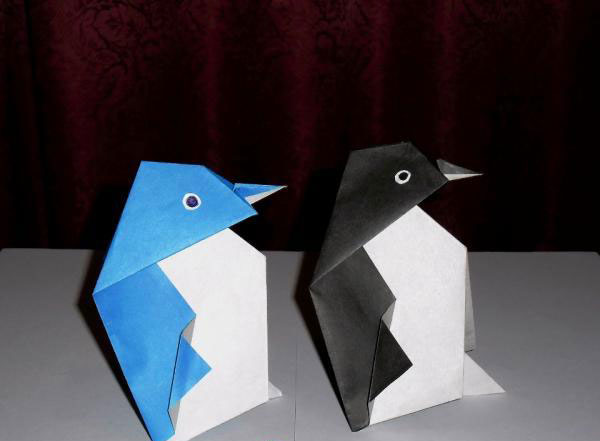
The easiest way
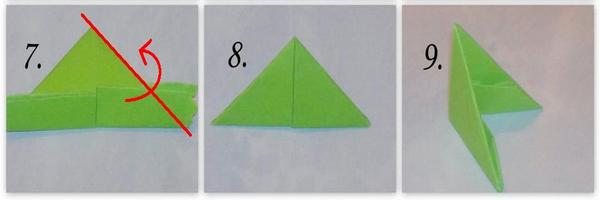
This penguin should be able to do every child. For him, we again need a two-sided square: on one side of blue, and on the other of white.
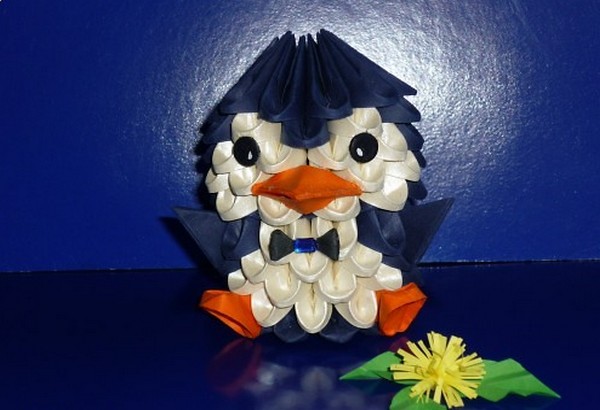
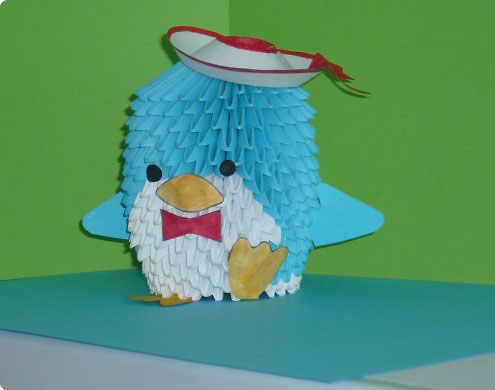
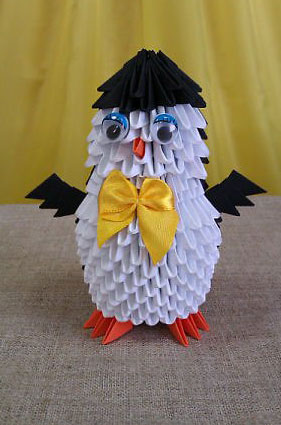
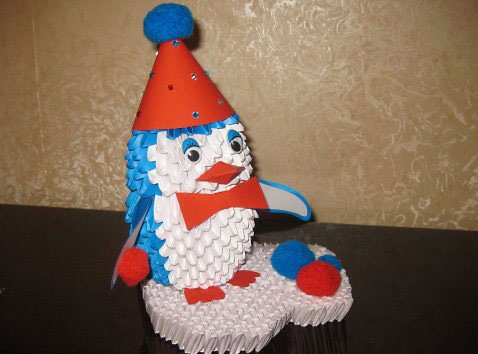
The most difficult way
Complex in this method is only the very beginning - making modules for origami.
- Prepare rectangular pieces of colored paper for modules about 4 x 6 cm in size, fold them in half along the larger side.

- Mark the axes and wrap the ends on opposite sides. It's easier to do this if you watch a video.
- Turn the bottom and hide the corners between the layers of paper. Bend the workpiece at an angle. One of the modules is ready.
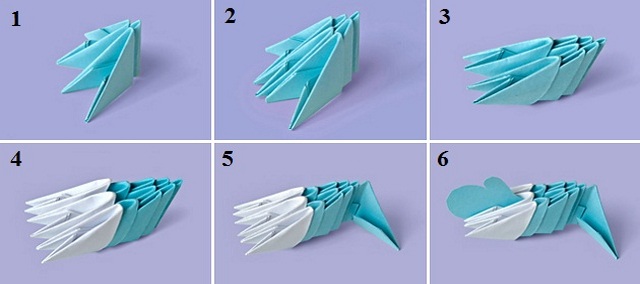
- They are fastened together, simply without glue, by inserting the corners into the grooves of the modules.
Making them easy and fast. For origami penguin need about 200-300 modules of different colors. See the video lesson:
Comments
Related posts:
 How to make an origami heart: a diagram, a master class, video / Toys with their own hands, patterns, video, MK
 This detailed master class contains an origami-dragon scheme from paper, which you can make with your own hands.
 Easter egg from origami modules, master class, instruction / Toys with own hands, patterns, video, MK
 How to make a doll house out of the box with your own hands, master class / Toys yourself, patterns, video, MK
 How to weave a kitten from the beads step by step, diagrams, master class / Toys yourself, patterns, video, MK