
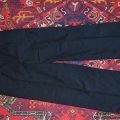
The instruction for building a pattern of female pants of the classical model will help you to make a drawing yourself
Instructions for the construction of a pattern of women's pantsThe classic model will be an excellent opportunity to learn how to make a pattern, modifying which you can easily sew different models - narrowed, wide, with a low fit. The process of drawing a drawing can take you a lot of time, if you are new to roofing, but the result is worth it. Classics in clothes, as in other things, regardless of what it is, the interior, the hairstyle and so on, always remains actual and never goes out of fashion. Even if you do not have any relation to the business world, in your wardrobe there must be at least one pants in the classical style. You can easily sew them yourself using a pattern made according to your size. It is this drawing that can become the basis for the creation of various styles and models of such an element of clothing as trousers, including riding breeches. For this it will be enough just to slightly modify the details of the cut. 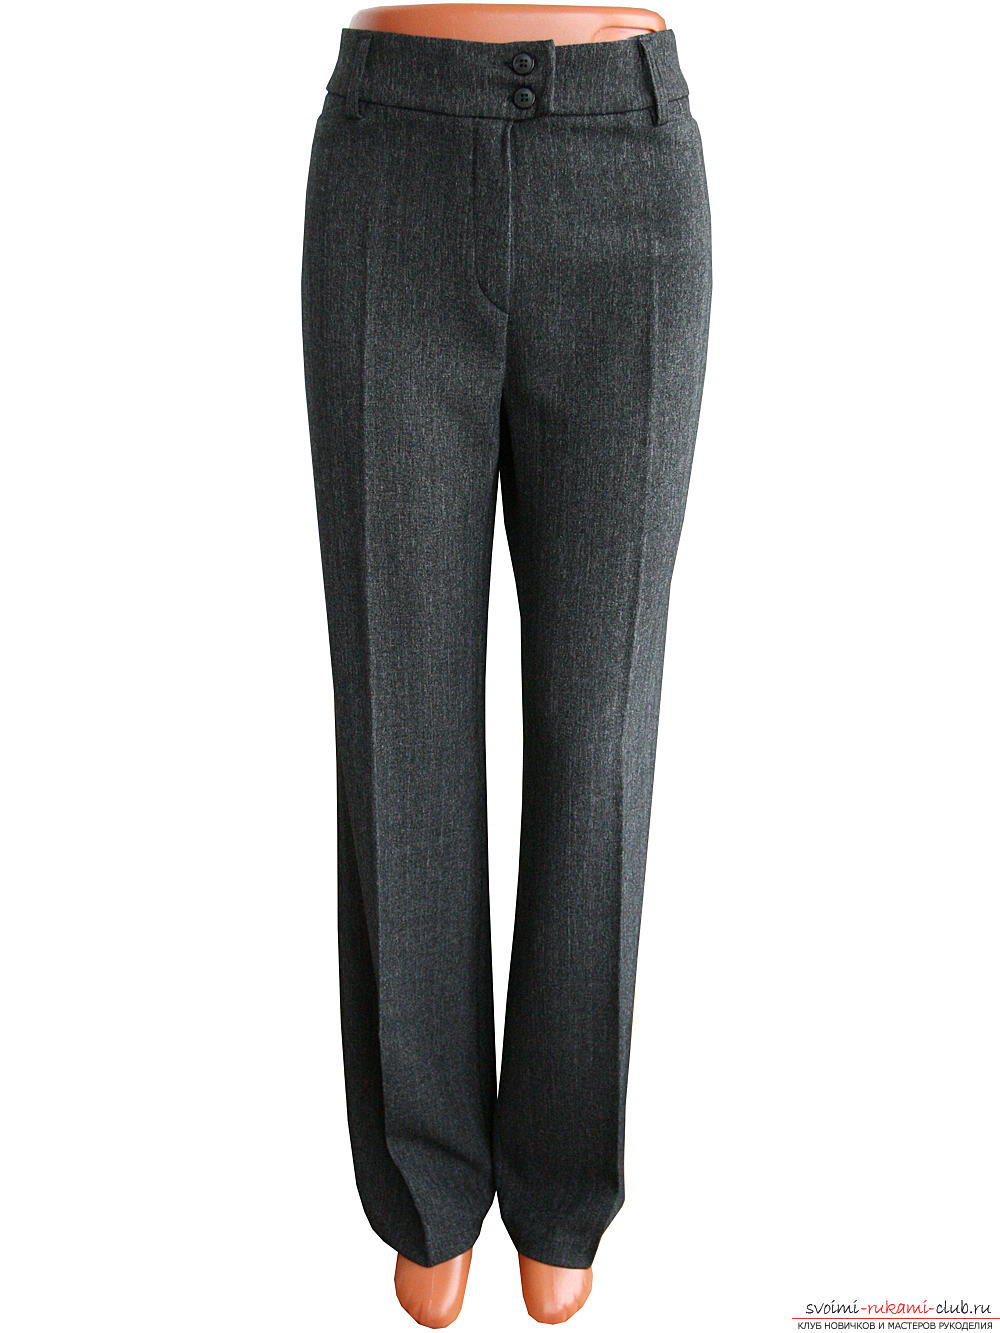 Before you begin the process of building a pattern of classic trousers, you will need to stock up on the following materials and tools:
- a tailor's meter so that you can take measurements;
- paper, which is quite large (you can take a paper or a roll of wallpaper, which may have remained after repair);
- tailoring scissors, preferably sharp;
- pencil and ruler for drawings.
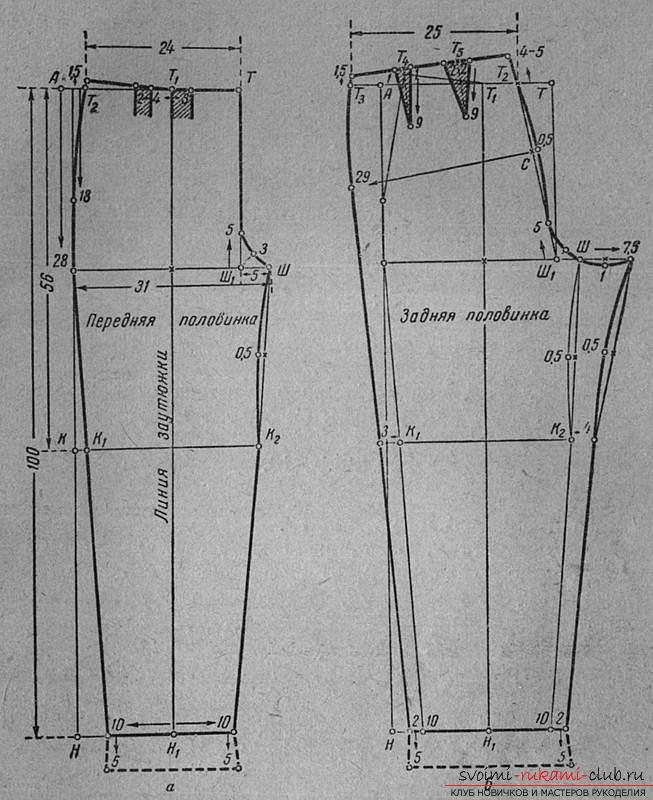 Instructions for the construction of a pattern of women's pantsclassical model. Operating procedure At the very beginning of the work, you must remove exact measurements from your own figure. For trousers, such measurements are half-girths of the hips of the model and waist, and also, the necessary length of future pants.
 Initially, we will work on the front of the product. We begin to build a pattern from the traditional drawing of a right angle, the vertex of which is T. It is from here that we will indent, which is equal to the length of future trousers sewn in the style of the classic, and will be designated as N. From N, we need to draw a straight line in the right side with a pencil . It must be perpendicular to the TN. The book from T we draw another straight line, which will be equal to half the size of the half-hip of the thighs and add to it another ten millimeters. We put B. now from here draw a straight line, the size of which, again, will correspond to one second half-hip, only in this case we will add a half-centimeter. We put B1. Next we need to draw a drawing of the pants seat. To do this, from B1 it is necessary to retreat to the right a distance equal to one-tenth of the half-hip of the thighs. We put B2. To the top of B draw the line, so that it runs parallel to the segment of TB. Where these two segments intersect with each other, put T1. Above from B1 we draw a straight line, the size of which must be identical to the size of B1B2. Having drawn a smooth line, we connect two points to each other. In principle, as it should look, you see on the picture with the already constructed pattern of women's classic trousers. We need to display the ironing line. To do this, you need to divide the B1B2 (seat width) into two. The segment that connects point B and the point of division is divided into two. In this place we put B3. To the top and bottom of the B3 cases dotted, it is important that this line runs parallel to the TN. From H draw the segment in the direction to the right. Its size will be from four to six centimeters. The resulting point and B we need to connect. We put H1. We connect B2 and H1 with each other. Do not forget, chta we need to make the design of the waistline of the product. We retreat from the T1 centimeter, put the point. Our next action is to connect it with T1. Next, we need to calculate all the necessary darts (to be precise, their depth). We preliminarily measure T1B1. From this value, we take half the poluobhata at the waist. From the fact that as a result of these actions we have succeeded, we will take an additional half centimeter and distribute it to the darts - the front tuck and the side tuck. How to do this, let's show an example. If T1B1 at us makes seven and a half centimeters, we do such calculations: 7,5 - 0,5 = 7 sm; 7: 2 = 3.5 cm. Thus, we have a tuck depth that is three and a half centimeters. From T we postpone the result we got to the right on the waist line. Using a smooth line, we'll draw a dart. Now we postpone from the line of ironing in both directions (right and left) by ½ of the result obtained earlier (3.5). That is, 3,5: 2 = 1,75 cm. Now we turn to the drawing of the drawing of the pattern of the second part of the future pants, the back. We need to retreat one-tenth of the mid-thigh and add another three centimeters from B2. We put B4. We need to divide the B2B4 into two and from here we retreat a centimeter. One-tenth of the half-hip of the thighs on the waist line back to the left of T1 and put m. We connect the two points together and put m1. We divide the interval m15.2 into two and post it on the right side of the point formed in the process of division, half a centimeter. The angle must be straight. All points, namely B4, 1, B2, 5.2, 0.5, m1, we need to connect by means of a smooth line. After the work done, we still need to do the design of the waist line of our pants. From T draw the line, directed to the left side. The length of the line does not need to do any specific, it can be anything. From m, draw a line directed to the left. The length of this straight line will correspond to the half size of the waist. Let's divide into two darts located at the rear, the received value minus one centimeter (it is necessary for planting) exactly as we did in the case with the front part of the product. Let us divide m1m2 into three equal parts. From the points obtained as a result of division, we will retreat by ten centimeters (the length of the dart will be obtained), in different directions, to the left and to the right, we will retreat one and a half centimeters for the depth of the darts. It remains to connect everything to each other - 1.5; 10; 1.5. At the bottom of the product from H1, we retreat a centimeter or two (as you prefer), the direction of the indentation to the right. We join m2 and 1-2. We will do this with a straight line. To make a step seam (its line), we need to connect B4 and 1-2 with each other. The resulting line should be divided into two. From the point that we got as a result of division, we will retreat to the left side three centimeters (make sure that the angle is straight). Using a smooth line, connect with each other B4, 3 and 1-2. By not complicated measurements and manipulations, we coped with the drawing of a pattern of trousers for women in the classical style.
Comments
Related posts:
 To learn how to build the basic pattern of a straight skirt, even a novice seamstress can easily
 We prepare our child for any season. Beautiful patterns of comfortable children's trousers for every skillful mother. Simple instructions and photos
 Simple patterns of pupae-primitives will allow you to make a doll yourself handmade
 Various patterns of children's costumes for the holidays. Beautiful and bright models that will help you make an unforgettable image for any holiday. Simple instructions and photos
 Recommendations for building a pattern of clothing for a monster doll by a hackney method.