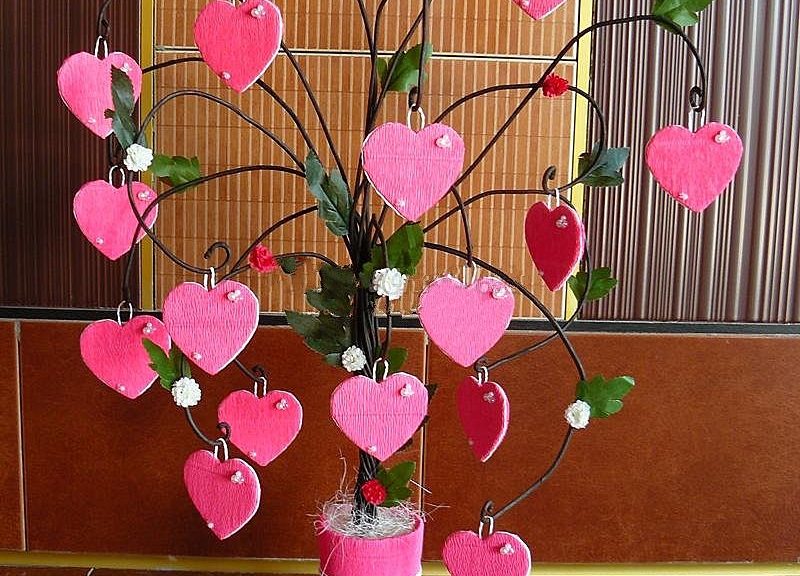
The original family tree will serve as a very good decoration of the home interior.
Today I will show you how to create a family tree. All, probably, saw, are sold photo frames in the form of a tree and on them frames of different forms are suspended. They often look not very accurate, the usual Chinese frames. My girl ordered such a beautiful tree, for 15 photos, and that the form for the photo was in the form of a heart. To be honest, I did not immediately have a picture of what it would look like, the family tree of the template, as it was not. Everything like that went in the process. But in the end, what happened, I really liked it. And most importantly, the customer really liked it, she ordered it for her mother-in-law, in the end, she said that to give something like a pity to such beauty, she said she could leave it for herself. Here's the story turned out, and now let's see how I did it. To have some kind of super abilities is not necessary, in order to make such a tree. But this beauty will be at home. True, you will need assiduity, I sat for two days with him, wanted to do a little shag, but my brother came on time and made me do it right. I think it will be a pride for any family. For work we will need:
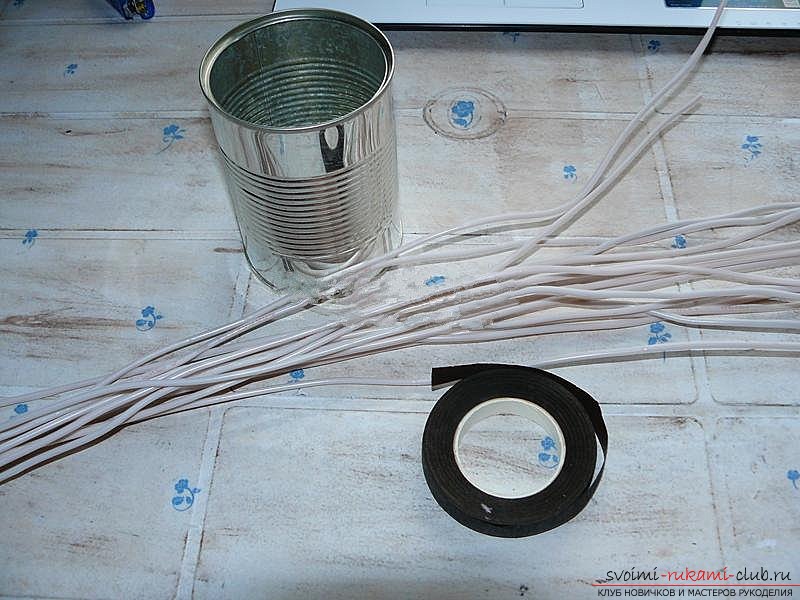
- Wire (I will not tell the thickness, take it to the touch to bend easily, I generally took advantage of what I had.) I just cut the double wire with a stationery knife in half and trimmed the cuts a little)
- Tape tape is brown (this is such a ribbonsticky, similar to an adhesive tape, only a basis paper. You can buy in any store for florists, or directly from girls, ask which flowers they sell, they use it when creating compositions from flowers)
- Nippers
- Pliers
- Scissors
- Building gypsum
- For a pot, I used a jar of canned pineapple
- Cardboard (preferably white)
- A simple pencil
- Decorative twine white
- Pink crepe paper
- Beads are white and transparent in different sizes
- Glue gun
- Glue rod
- Decorative leaves
- Decorative flowers pink and white
- Sisal fiber of white color
 In order to make the family tree its ownHands need a glue gun. If there is no glue gun, then it can be replaced with glue "Moment" or "Titan". I'll tell you why I work with hot glue. For me - it's very convenient, the glue in the gun is heated, when they need something to glue, applying to the product, it almost instantly freezes. Do not wait until the glue dries, sticks, stiffens and you work on without pauses. Only there is one thing, it's very easy for them to get burned. Somewhere dripped, somewhere got out into his hands, when you squeeze the part, in this case you always need to have a remedy for burns. Let's start with the wire. I will not tell you what they are in my length, I cut them all by the wire cutters a little bit different, but exactly that they were more than 30 cm. We wrap the wire with a tape tape, leave the pinched pencils somewhere 5-7 cm.
 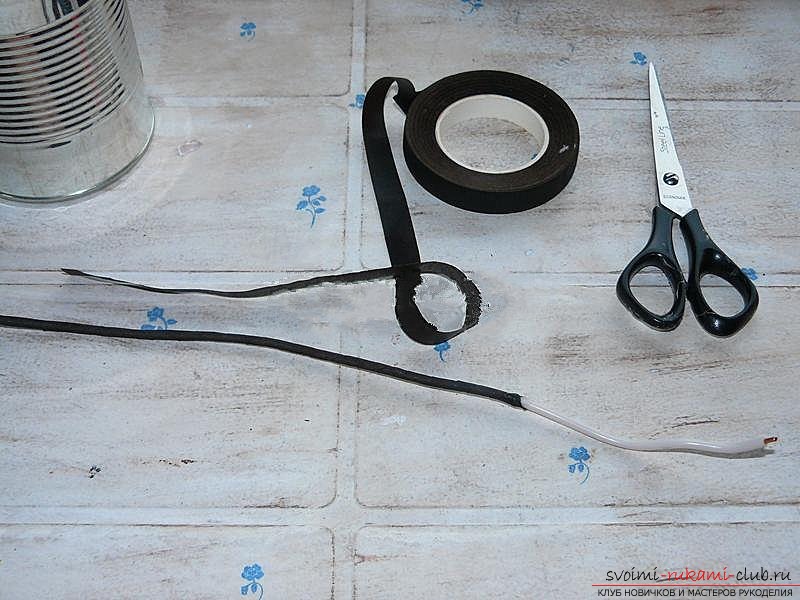 Thus, we wind all 15 wires. For the sake of reliability, I caught the ends of the tapes with hot glue.
 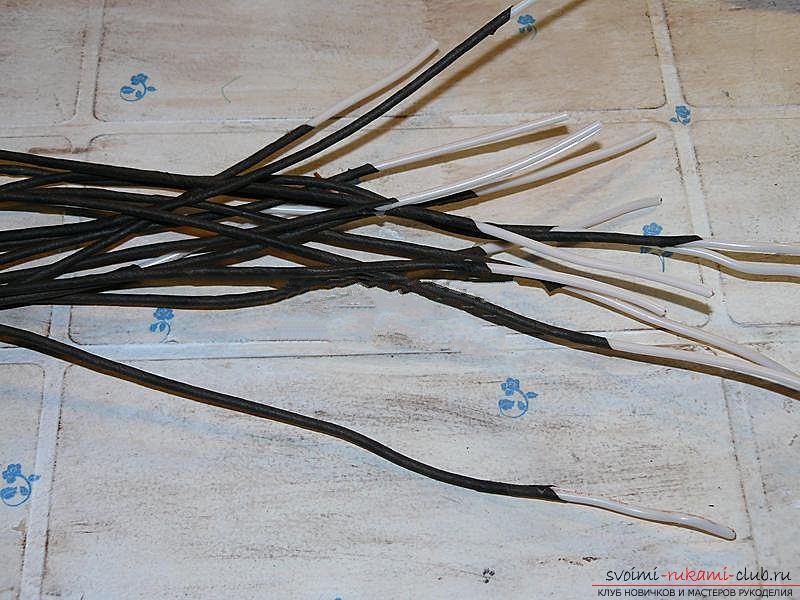 Now take the pliers, and the unhooked ends of the wire bend. This is done so that when we fill the wire with building gypsum, the wires themselves do not jump out after the gypsum has solidified.
 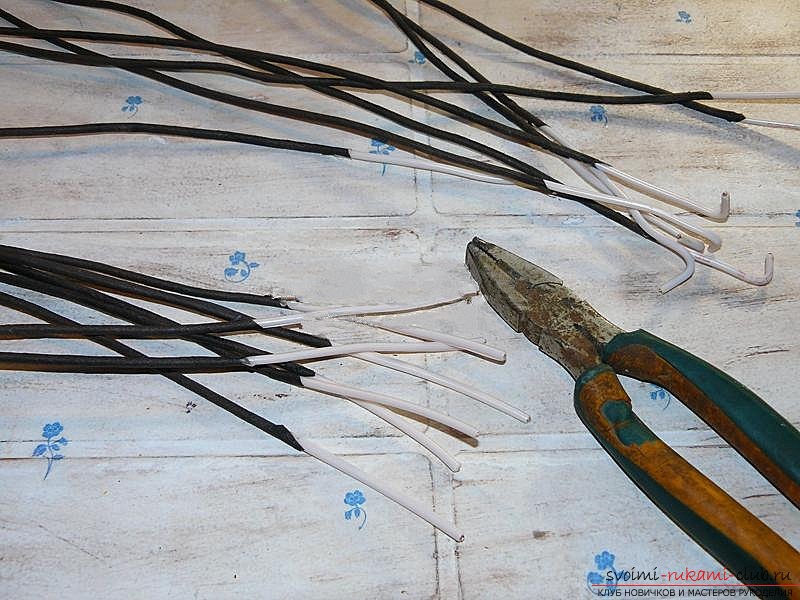 Building gypsum is bred with water to the stateliquid sour cream. Pour into a jar of pineapples diluted gypsum, collect the wires in a bundle and insert them into the plaster. We hold, literally a couple of minutes, and the plaster completely stiffens.
 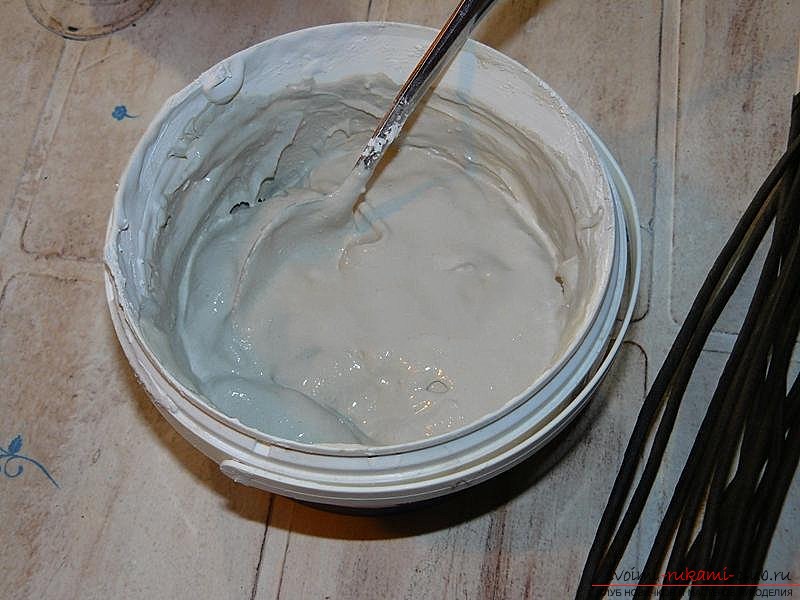 We set aside our skeleton and do it ourselveshearts. I printed out two heart patterns. One, according to which, you need to cut out the photos, and the second one, with which we will work. Let's draw 30 hearts according to the pattern.
 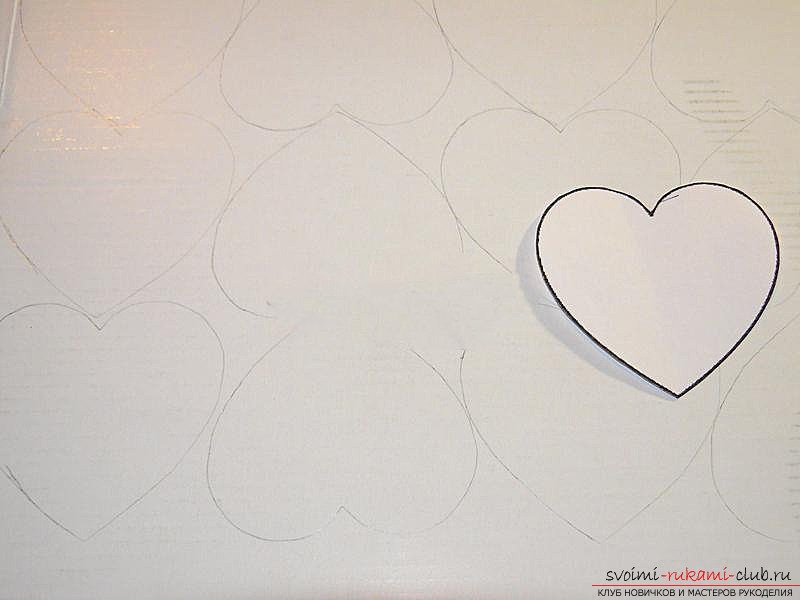 Cut the hearts with scissors.
 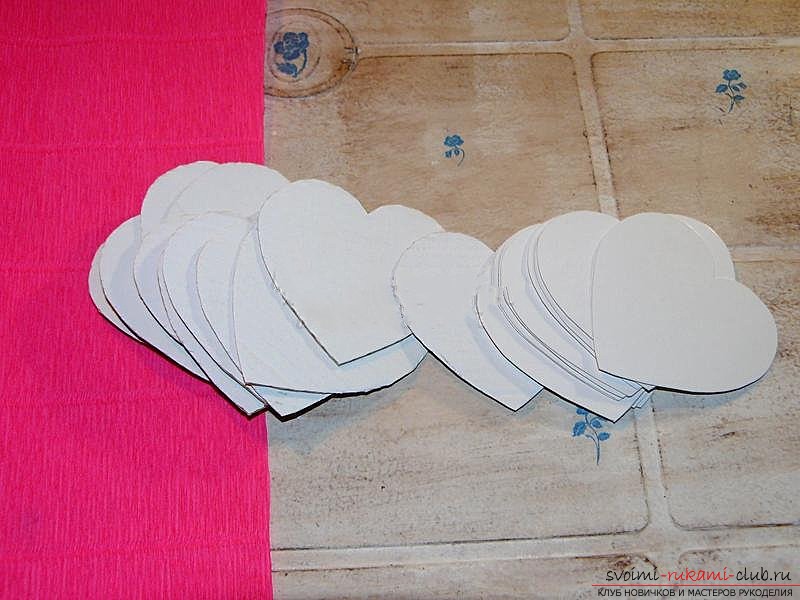 Serve paper cut into the size of hearts, slightly leaving the allowances.
  I got used to gluing the top of the heart first.
 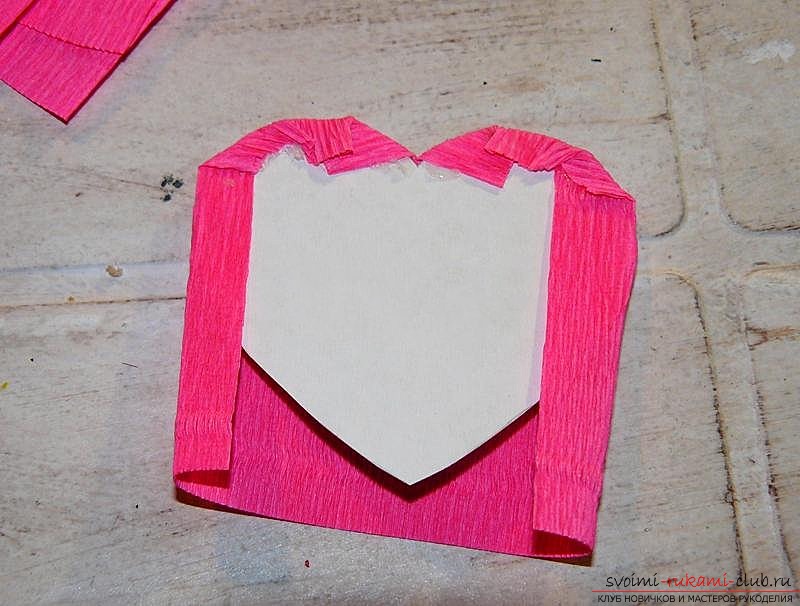 The bottom part of the heart is also glued with hot glue. Pre-cut the extra tails of crepe paper.
 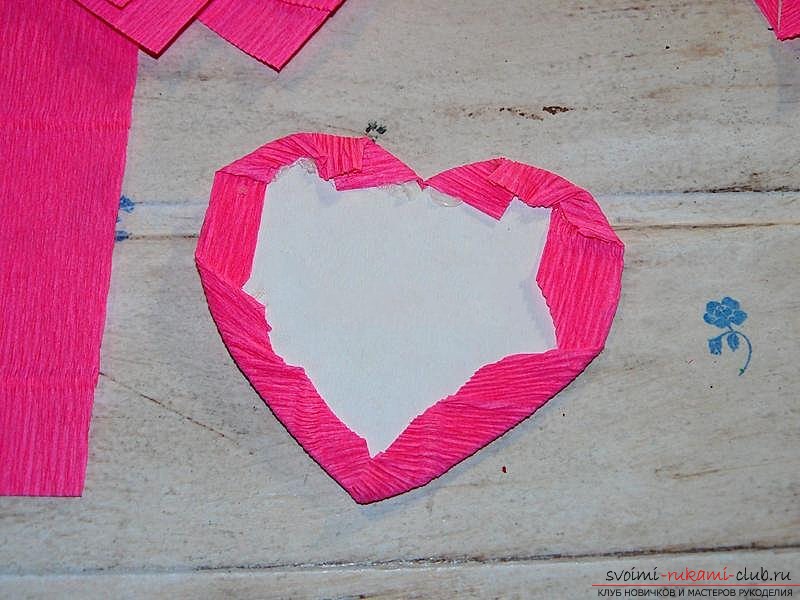 We paste all 30 hearts.
 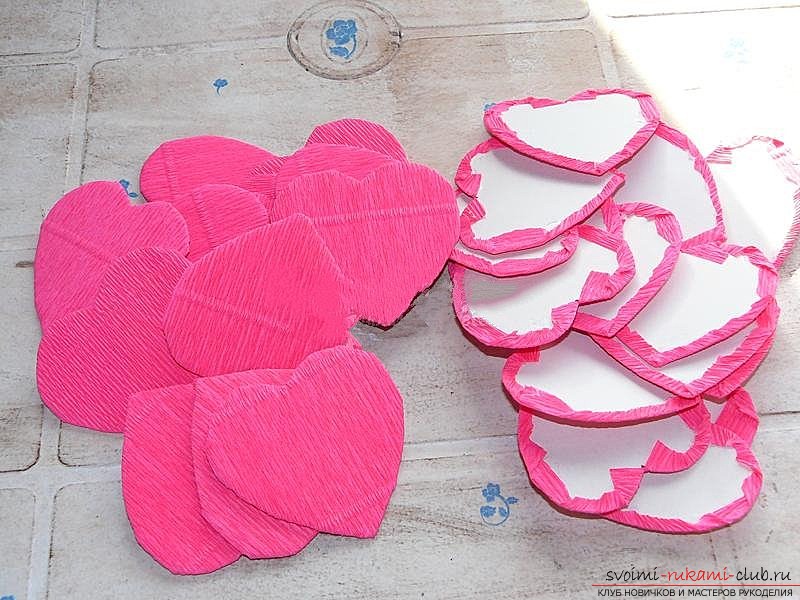 From the twine, make a tail and glue to the back of the heart.
  We glue the two hearts together.
 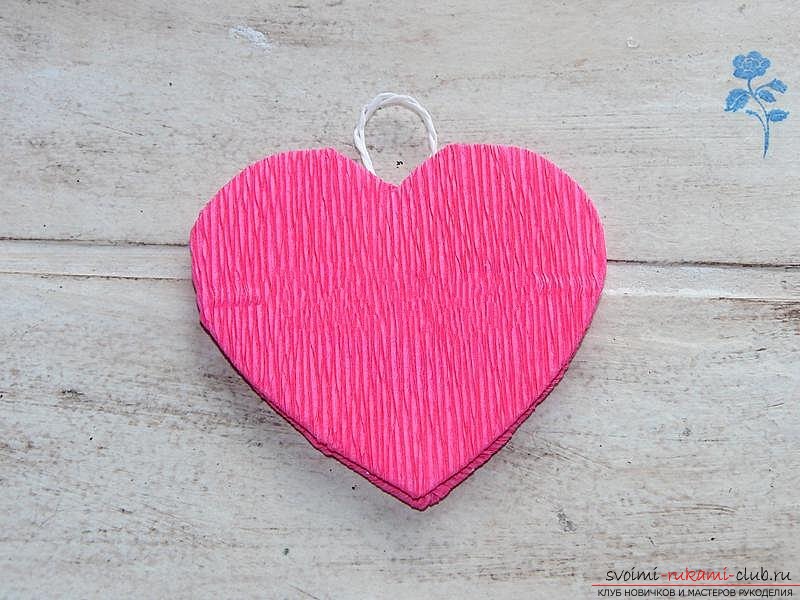 For each heart we glue the tail, glue the hearts together.
 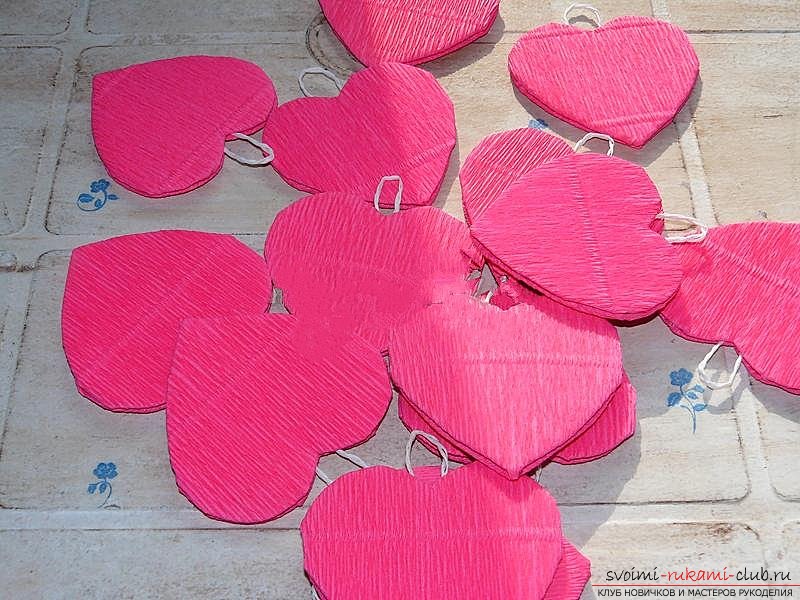 The splice of the heart is decorated with twine. I glued only the ends of the twine, so that there was no glue anywhere.
 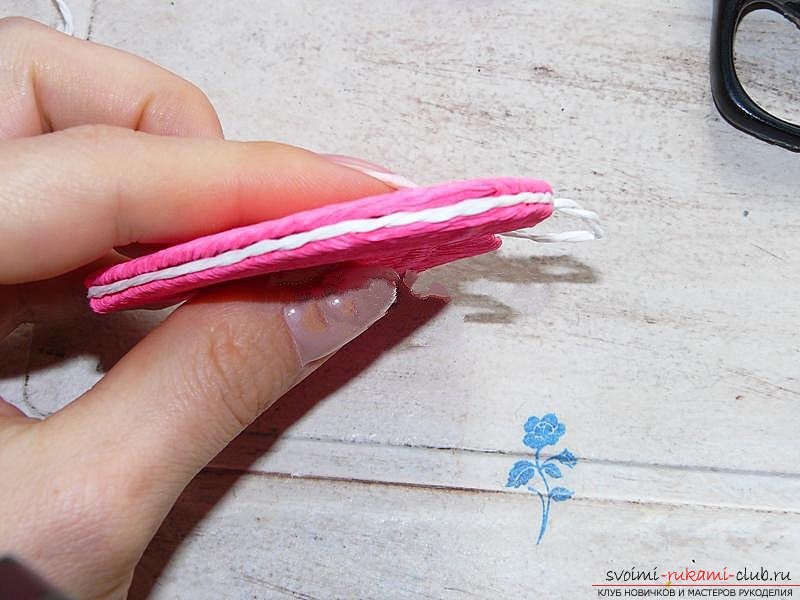 So the hearts turned out to be more accurate.
 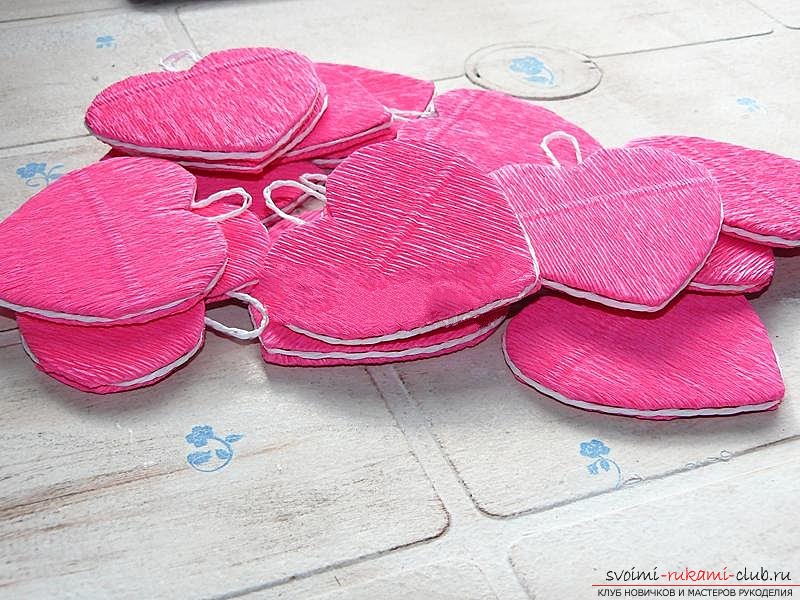 We paste beads.
 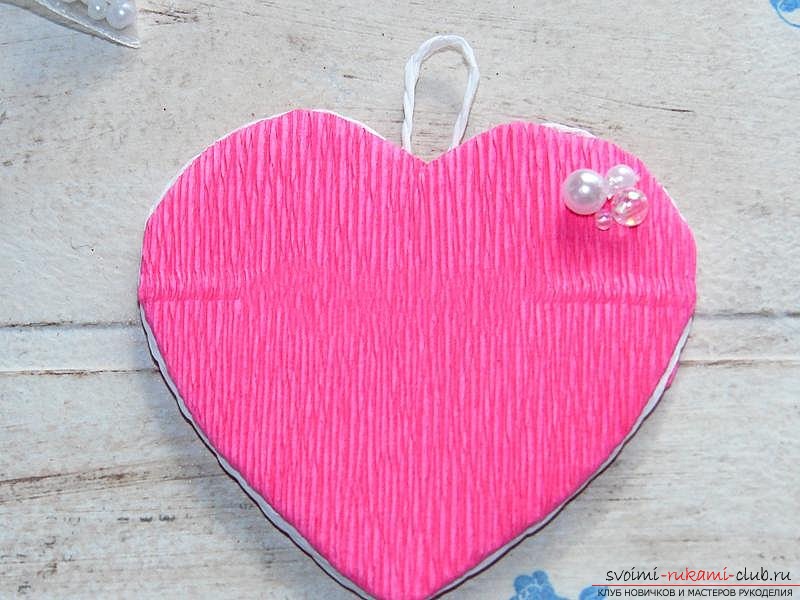 I glued the beads both on top and bottom.
 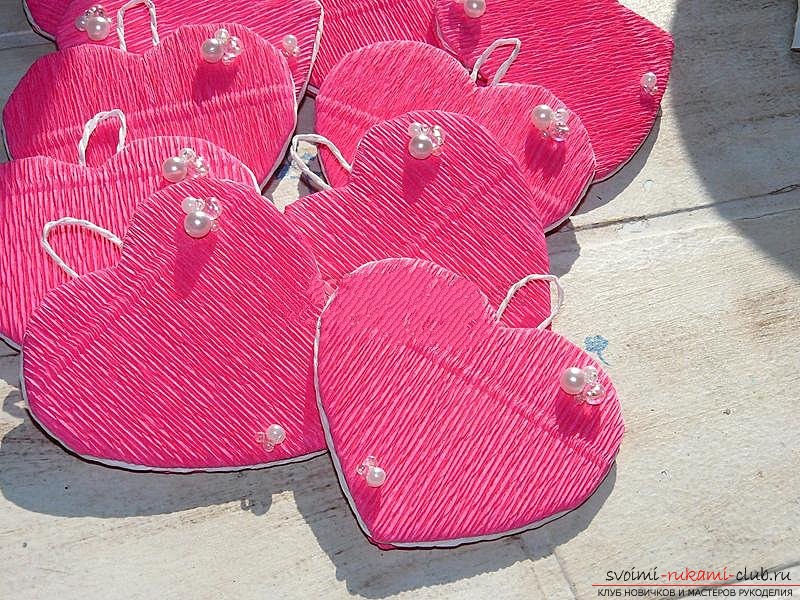 Such a red pattern I put in the kit, so that photos on it are cut out. Its size was slightly larger than 4 * 5 cm.
 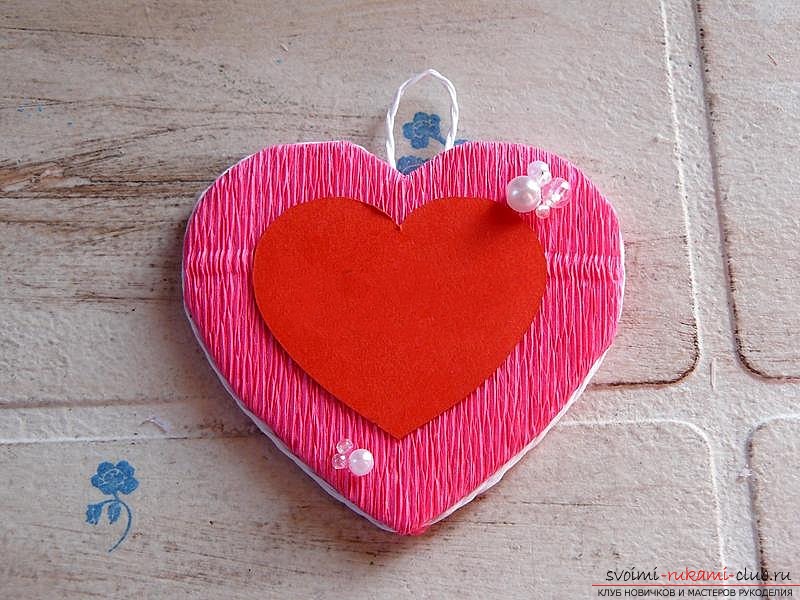 Wrap the wires as your heart desires. I have already done all the basic diligent work, now I have calmed down and the soul has gone into rampant, the most creative process has begun. I wound it like this:
 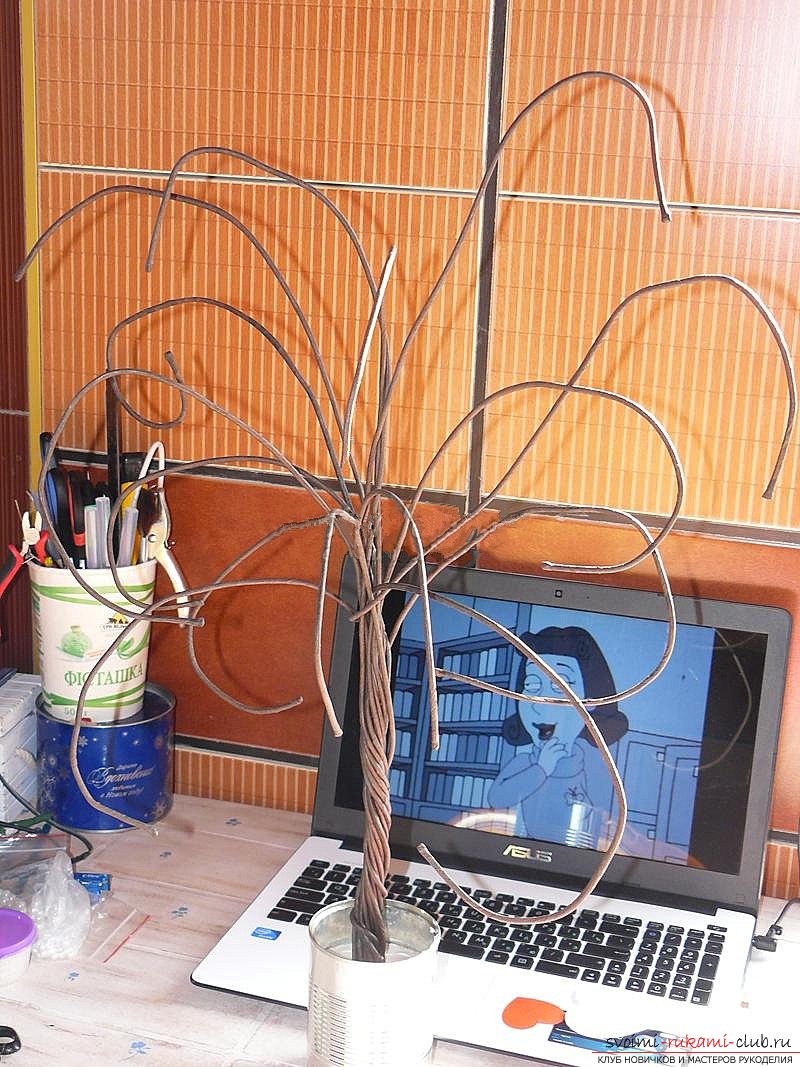 Pliers twist the edges of the wire.
 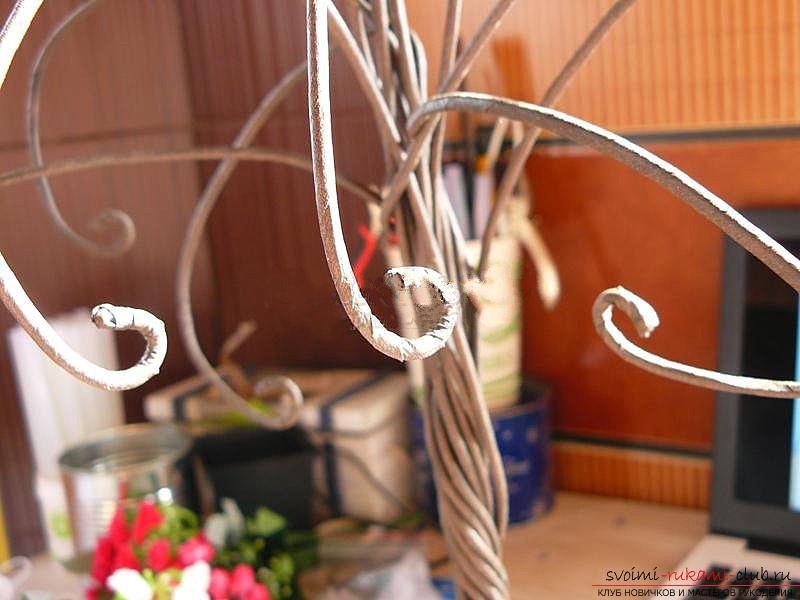 Hook the hearts on the hooks.
 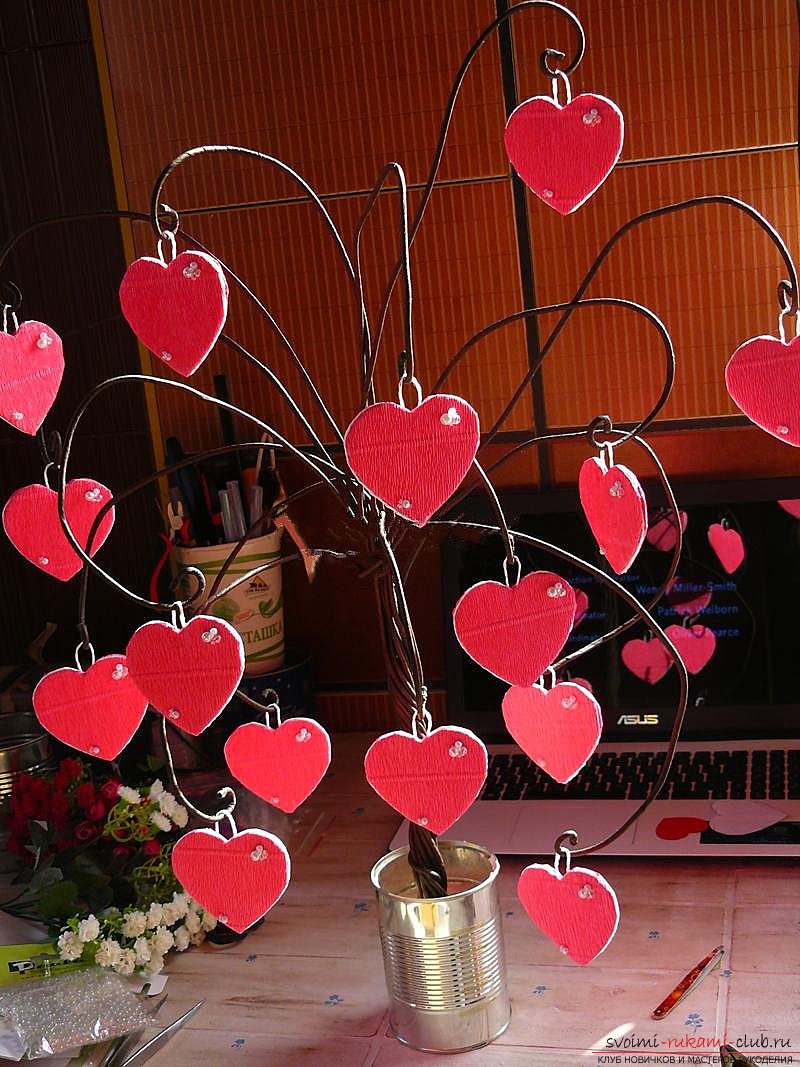 At the expense of hooks hearts will not go anywhere.
 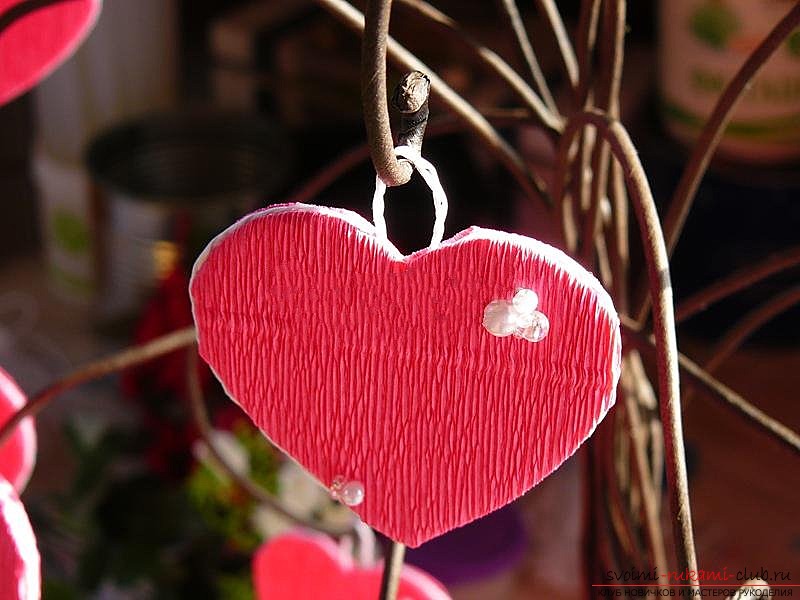 We paste the leaves.
 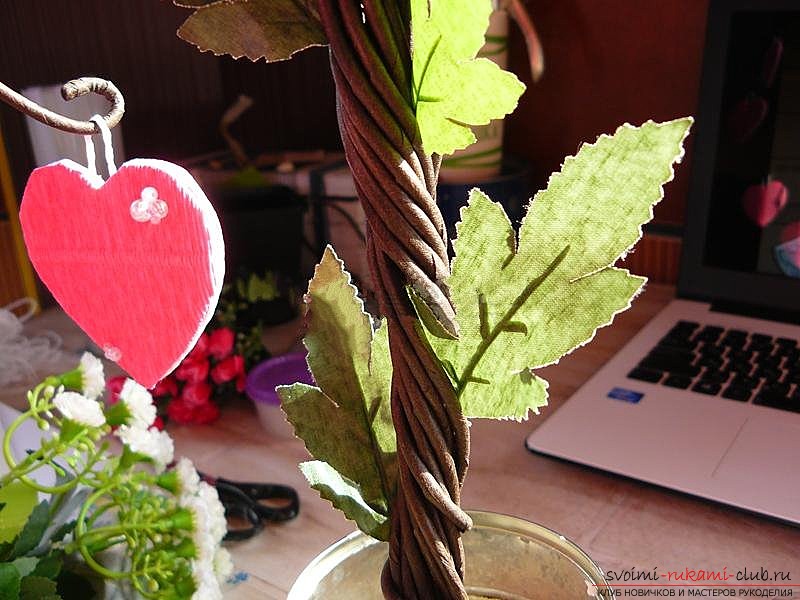 And decorative flowers.
 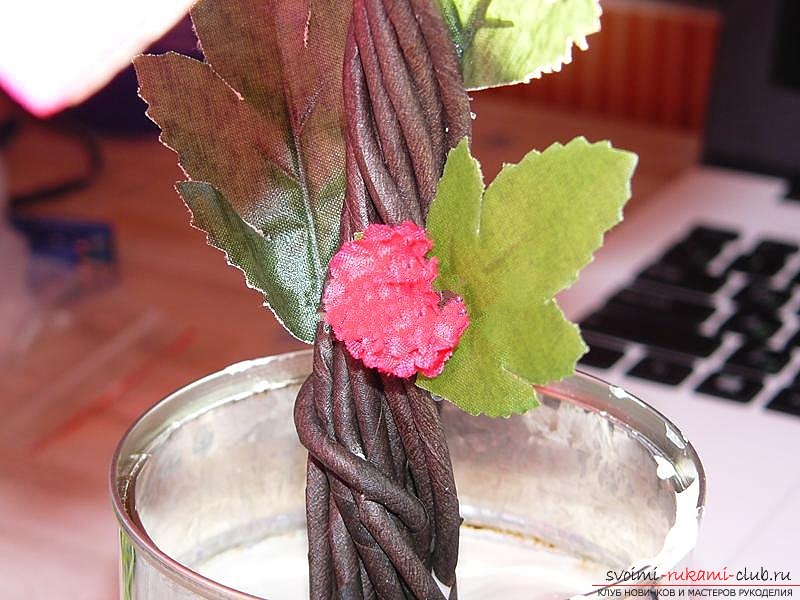 We paste the jar with the same crepe paper.
 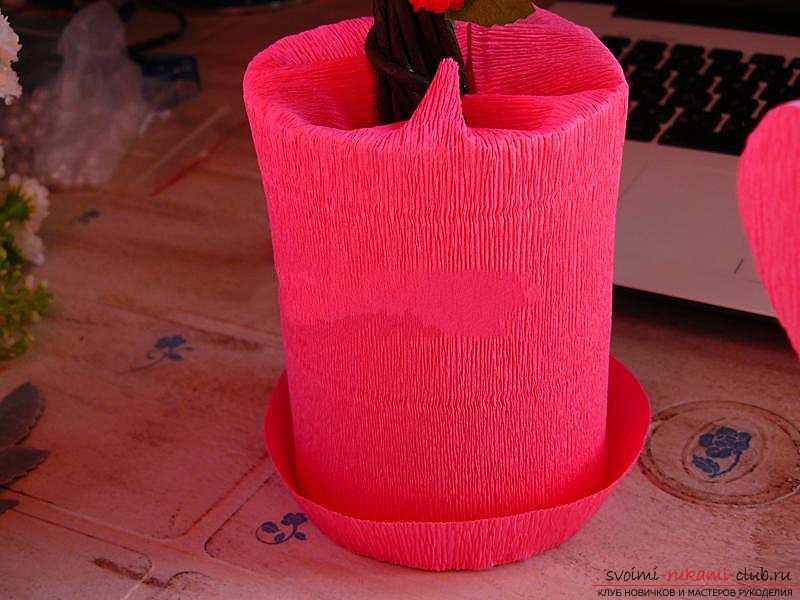 Inside the jars we lay the sisal.
 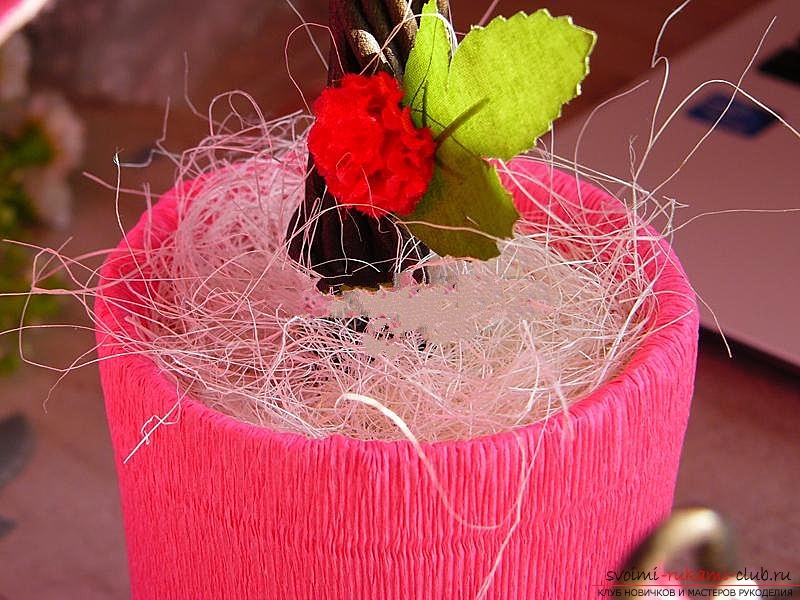 We tie it with a white twine.
 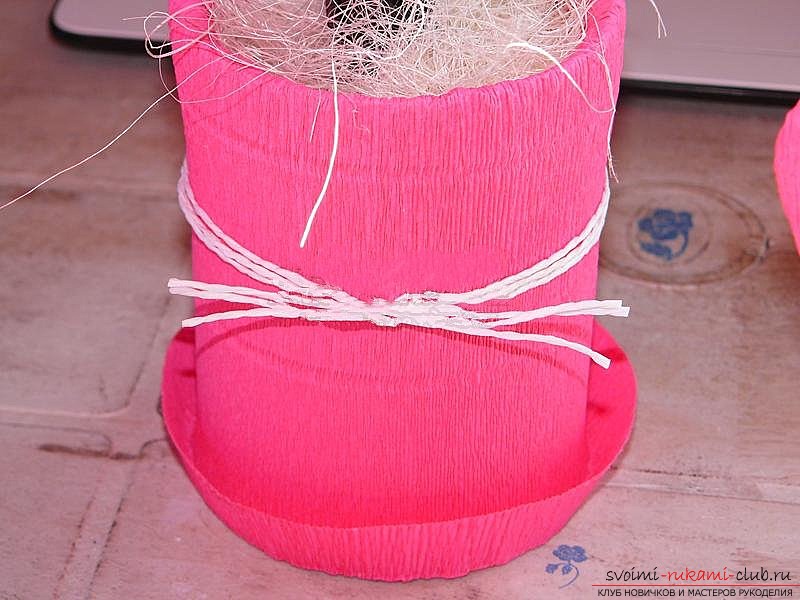 We paste the leaves.
 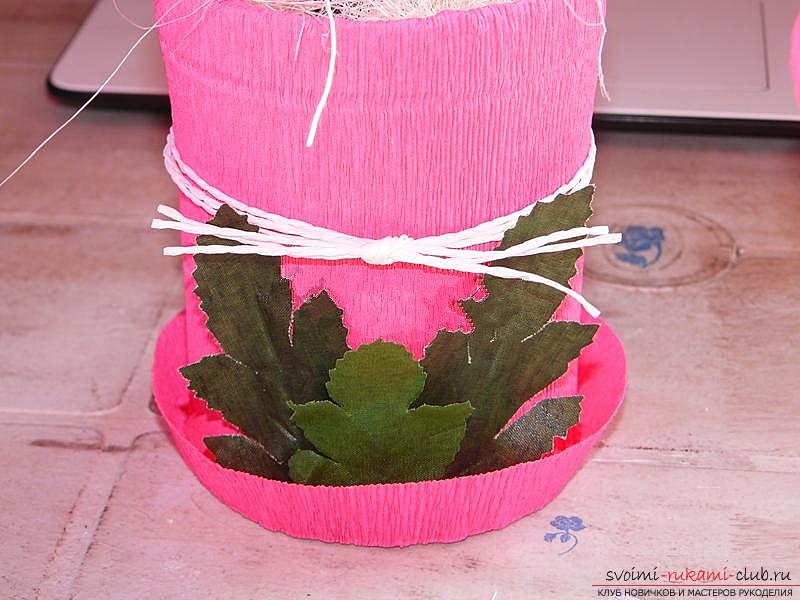 That's all! How to make a family tree you now probably know. To all family happiness and love!
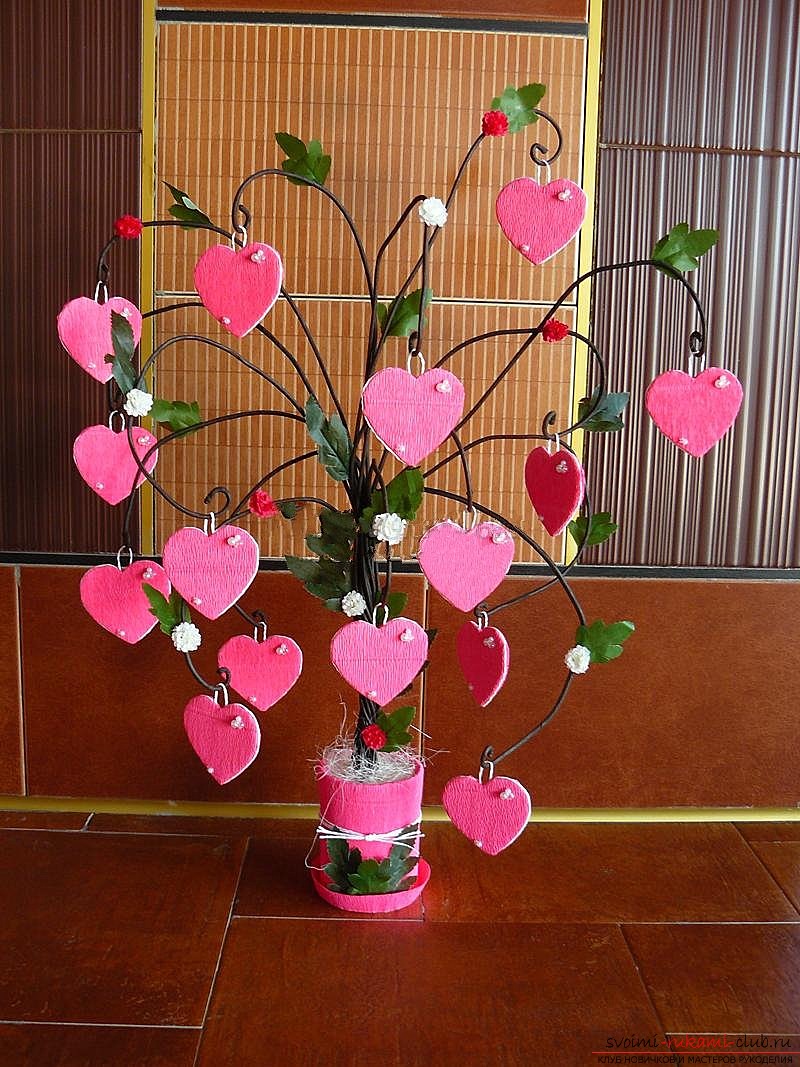
Comments
Related posts:
 A beautifully orange tree made of ribbons will serve as a beautiful interior decoration or gift.
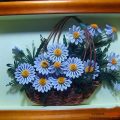 Daisies made in quilling technique will be a good decoration for your interior
 Trees made of beads made with their own hands will serve as a good decoration for any interior
 Christmas tree created by own hands, will serve as an original decoration for the office or educational audience.
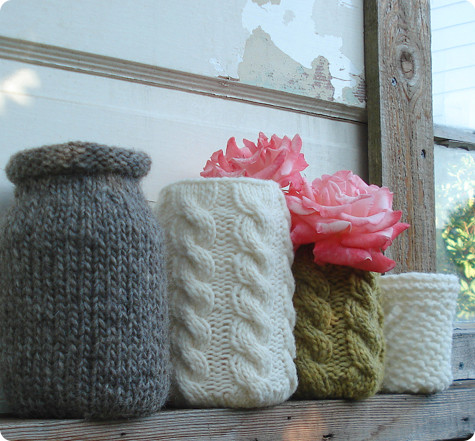 Knitting with hippocampus for home interior