Toys from pompoms with their own hands, master class, how to make / Toys with their own hands, patterns, video, MK
Toys are always fun and positive, and whenthey are fluffy, soft and so funny, especially! Many women are engaged in needlework, so working with yarn for them will be a pleasant and familiar occupation. And to make toys from pompoms with their own hands, you can teach even children of primary school age. 


Master class for making pom-poms
We will need:
- thin but dense cardboard;
- yarn;
- compass;
- scissors;
- "Gypsy" needle.
The order of performance of work
- Decide what diameter D, should be a ball. Now you need to draw a drawing. We make a master class on the calculation of diameters. Draw a circle with a diameter of about 3 cm. We will push small balls into this hole. Fold 3 cm and the diameter of the ball and divide in half (3 + D) / 2 = R- the radius of the large circle. Cut two rings and cut them in one place.
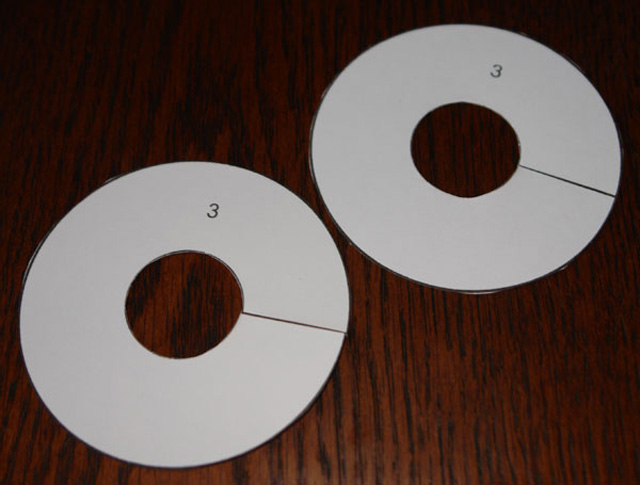
- Fold the rings so that the slots do not match.

- Measure out 2 m of thread, insert into the needle and begin to wind on the rings. You can do it differently: roll a few small balls and wind the thread on the rings from them.
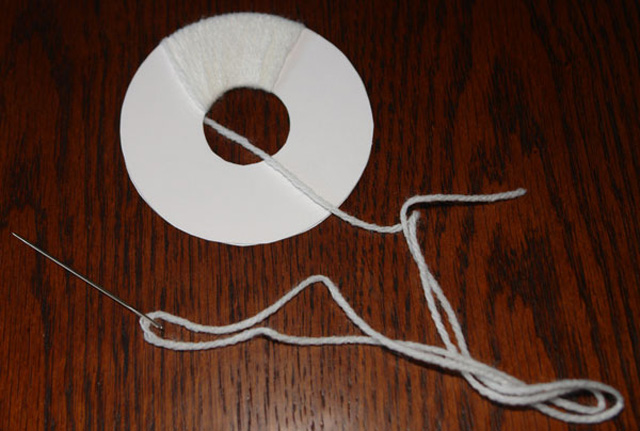
- Still need to end with a needle. We reel up the necessary number of layers.
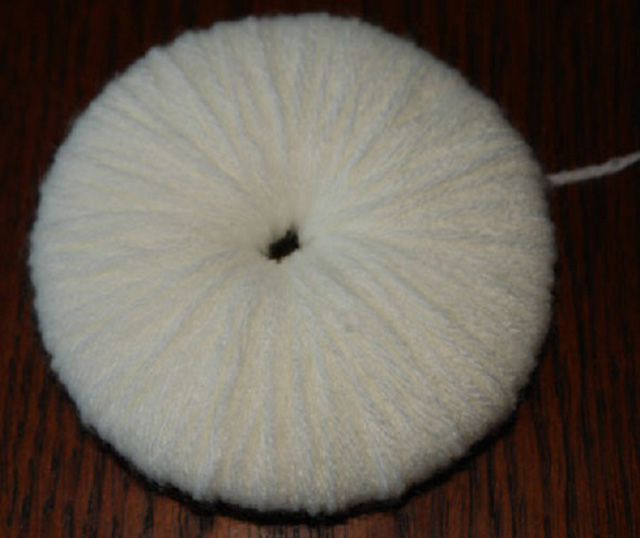
- Carefully cut the yarn along the edge of the template with thin scissors.
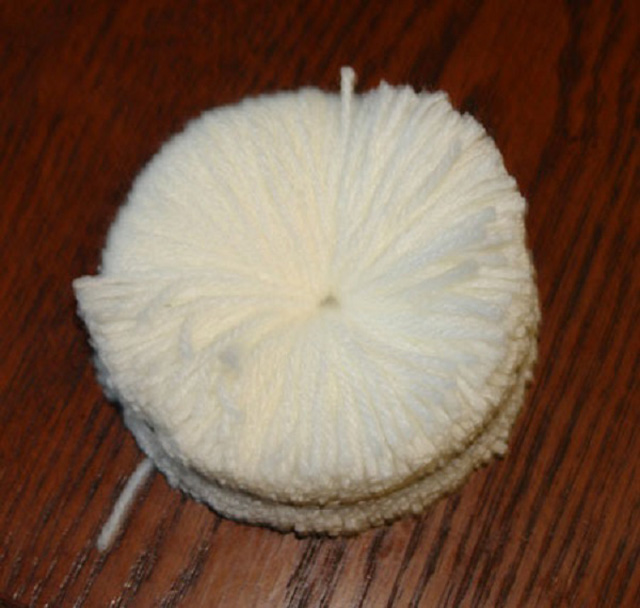
- The next task for children can be difficult. Help them, spread out a few cardboard rings and hold them until the child passes a strong thread between them and tie them to two nodules.
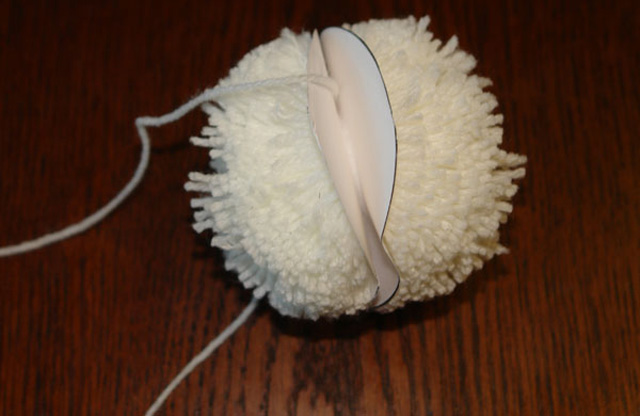
- Remove the cardboard rings.
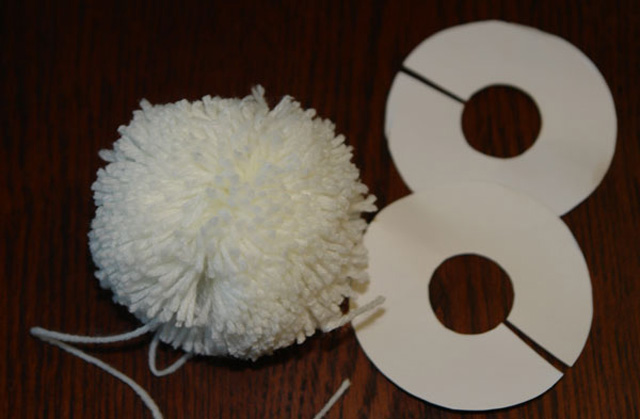
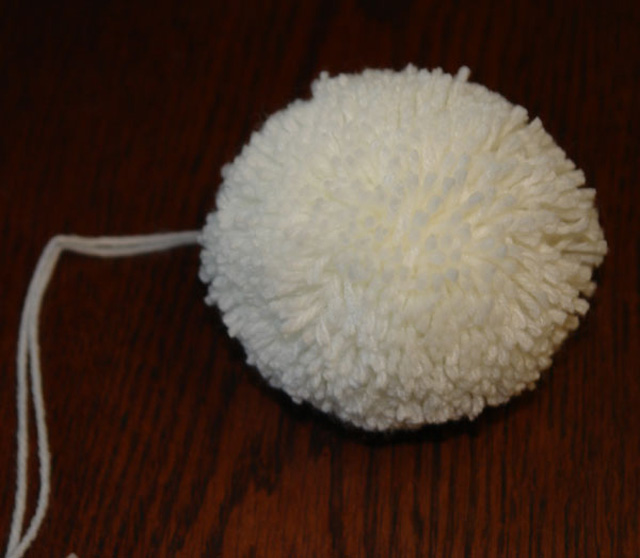
- The master class is finished - the first pompom is ready. Now you can make them different toys for children.
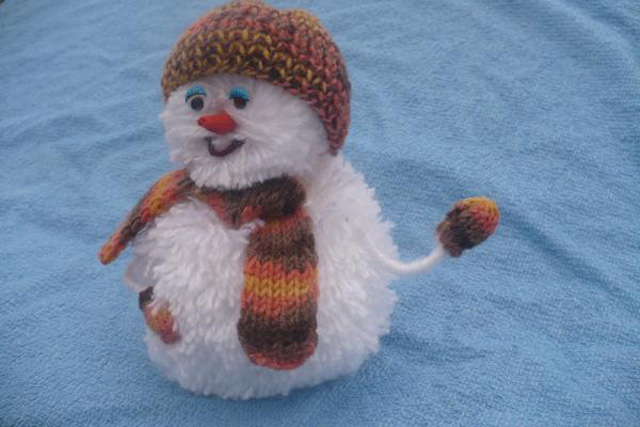
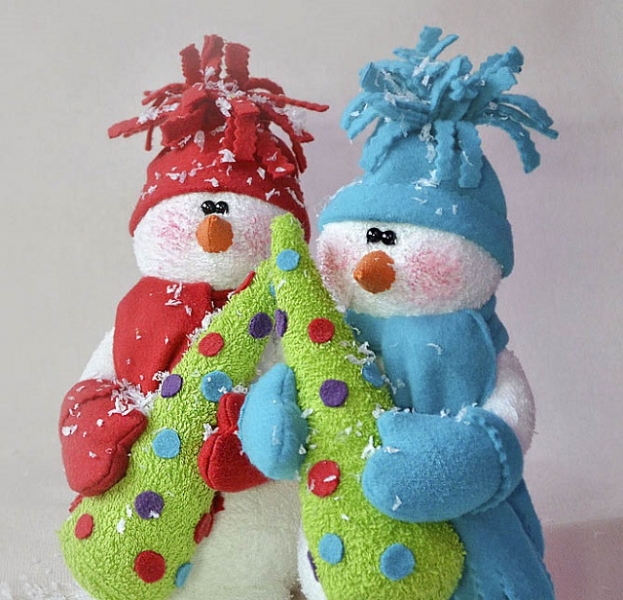
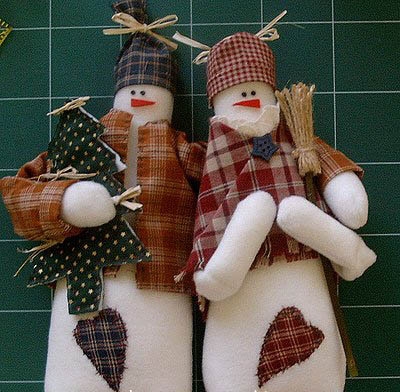
White Snowman
He is so snowy and cold that he even froze and stands with a red nose wrapped in a warm scarf. We will begin the master class with the preparation of tools and materials. We will need:
- white yarn;
- hook;
- wooden skewers;
- thimble;
- beads for the eyes;
- PVA glue;
- plasticine;
- cork from a plastic bottle.
Master class sculpting a snowman
- Cut out the cardboard disks of three different externaldiameters and with the same internal. With their help we will make three pompoms of different sizes. But first you need to make support. Burn the hole in the plastic stopper with a screw, insert the tip of the wooden skewer into it and plug the inside of the plug with plasticine.
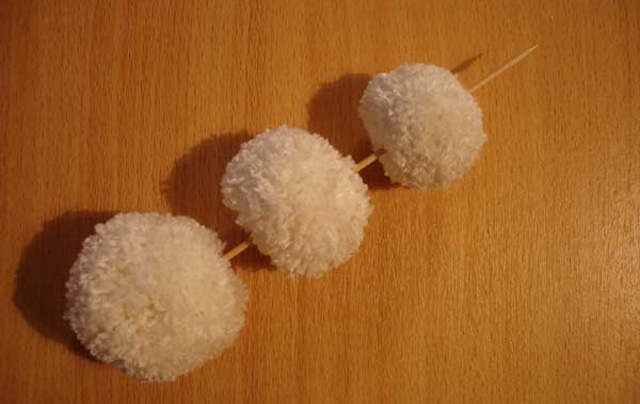
- Put the pompoms on the axis, starting with the largest. Try not to do it too tightly, so that the snowman looks slim.
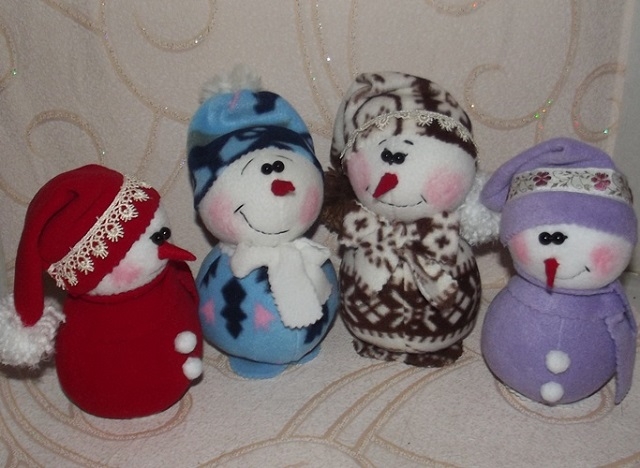
- Crochet two white paws-hats, pull them together and sew them both to the middle pom-pom. It is necessary to make stitches through the middle of the pompon, sewing simultaneously two paws.
- Attach the thimble to the top of the head using the tipskewers. Glue or sew beads-eyes and nose. We will not give here a master class on knitting scarf, just try to make a strip of 6 loops rubber band 1x1.
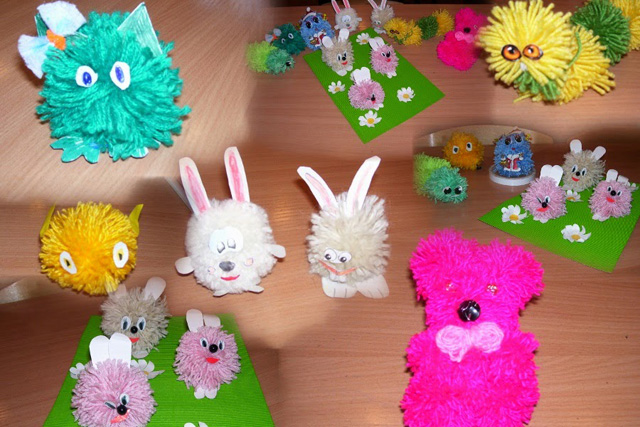
Three piglets
To make toys for children from pompoms,you first need to imagine what you want and choose the right yarn color. So, to perform the master class "Three Little Pigs", you will need a tangle of pink threads and three pink buttons. From small pieces of pink felt can make ears and hooves. Sew the buttons on a long string, and then glue them and the eyes of the piglets. Finish the master class, gluing different pigments to each pig. 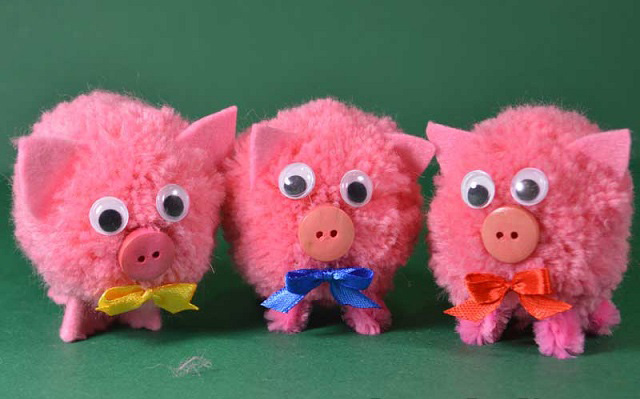
Smeshariki
A funny story in pictures written forchildren, about funny smeshariki became the reason for the appearance on the shelves of stores of these lovely toys. Master class for their manufacture will save a lot of money for the family budget.
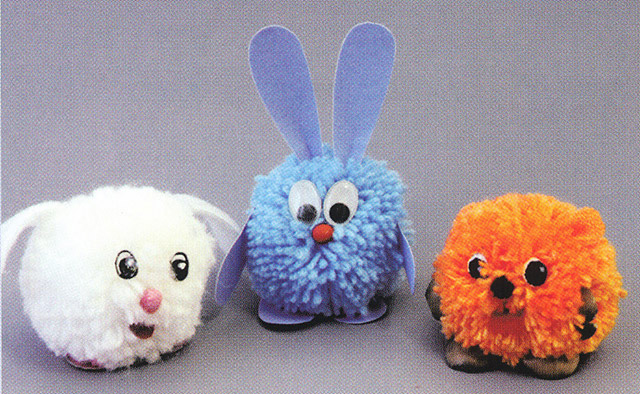 No scheme for their manufacture is necessary, only a fantasy and a desire to please children.
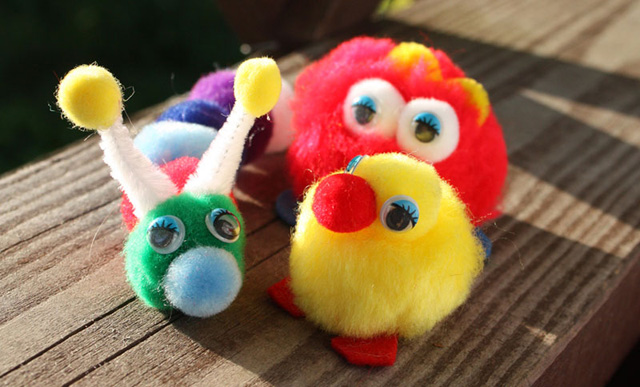
Chickens
Making chickens is as easy as making smeshariki. You need to make two pompoms, slightly different in volume. Tie them together. The one that is smaller will become the head. It should be decorated with a beak of red paper and two black eyes. To the body below, glue two paws, cut from the same paper. 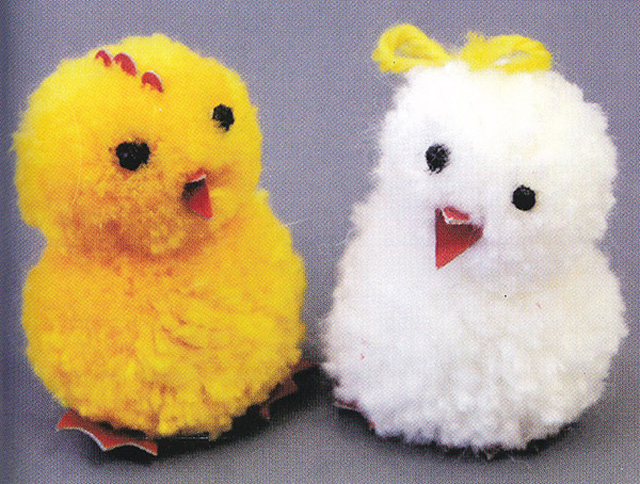
Master class "Snake"
To make a wise snake, we do not needscheme. Just tie seven small identical pompoms, winding each time rows of different colors. They should be done as evenly as possible, then our Kaa will become variegated. The eighth big pompon is knit from monophonic yarn - it will be a head. 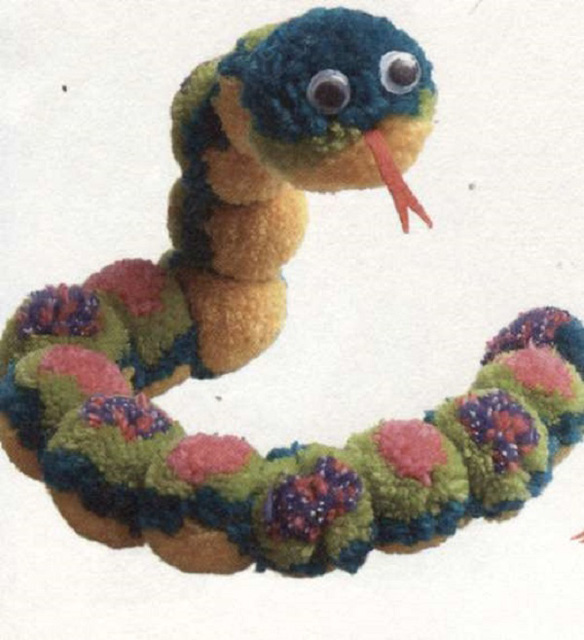 Take a long line, thread it into the bead, andPut both ends into a needle with a wide eyelet. Now you have a bead instead of a nodule on the end of the line. Thread the line through all the pompoms, beginning with the tail. The last should be the biggest. It is not necessary to make too close the pompoms. Fasten the line to the head. Glue eyes and a long forked tongue of paper or felt. Fluffy kind and wise boa const. Look at similar master classes:
Comments
Related posts:
 How to make a table and chairs for dolls with their own hands, master class / Toys with their own hands, patterns, video, MK
 How to make a penguin out of paper, origami, schemes, master class / Toys yourself, patterns, video, MK
 How to make a funny clown of balloons. Master Class. Video / Toys with own hands, patterns, video, MK
 How to make a rooster of paper. Master Class. Video / Toys with own hands, patterns, video, MK
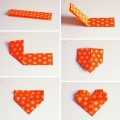 How to make an origami heart: a diagram, a master class, video / Toys with their own hands, patterns, video, MK