Technique Izon first lessons for beginners (pictures)
Content
- Basic schemes
- What is needed for embroidery izonityu
- Initial training
- Decor
- Video: technology basics Izon
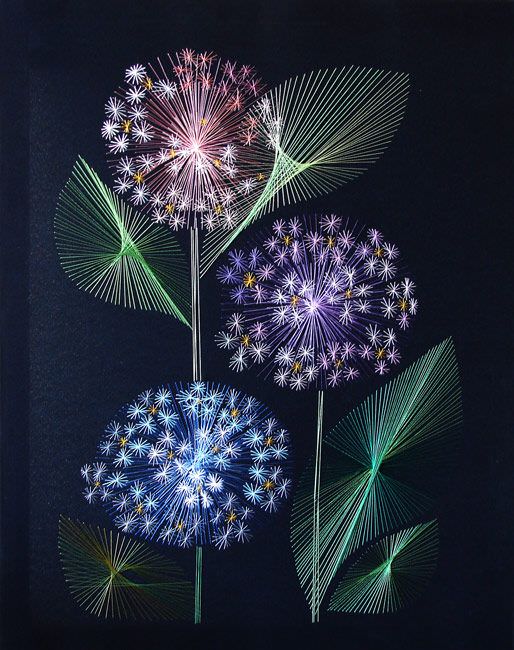
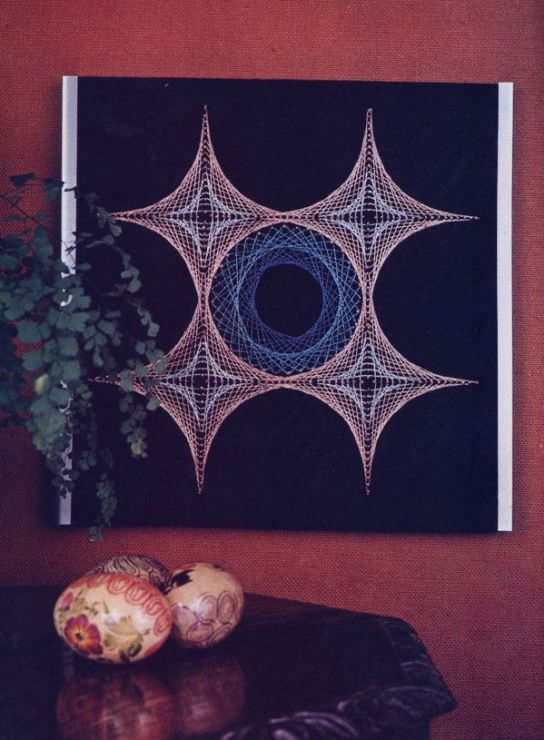
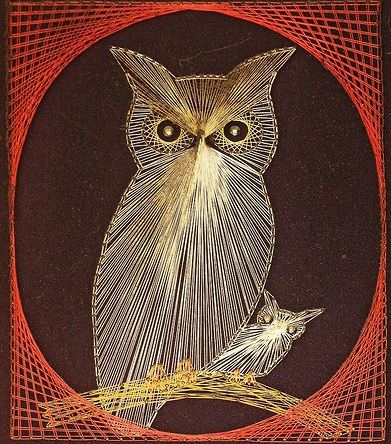
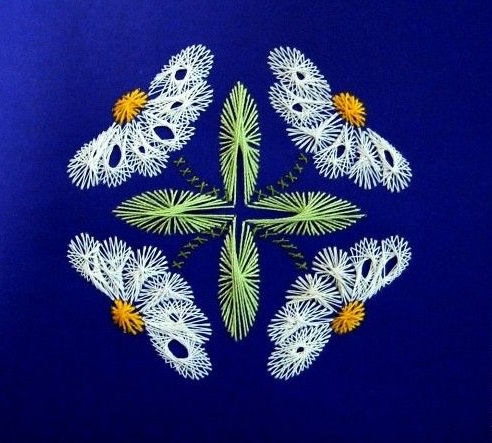
This kind of arts and craftsIt called differently, but always clear. Thread design, textile art - this is a technique Izon or image thread. It is believed that the technique originated in 17th century England and was finding creative weavers. The first products were small boards with small stuffed it with nails and stretched threads. The result was a delicate pattern with strict geometric lines; ready boards with ornaments decorated accommodation. Now it is primarily
or thick paper. With regard to finished products, the technique most often performed izoniti postcards and bookmarks, covers and decorative panels.
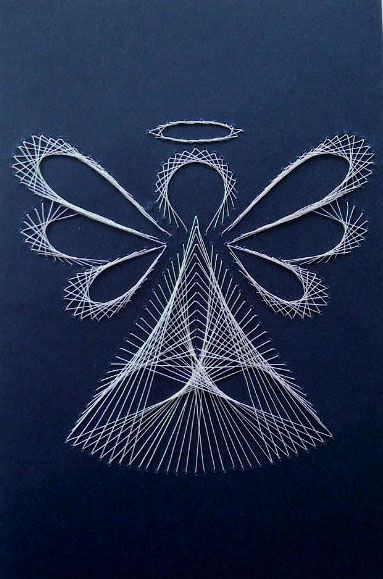
Basic schemes
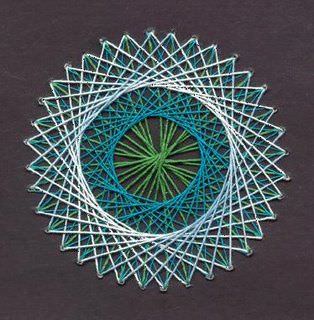
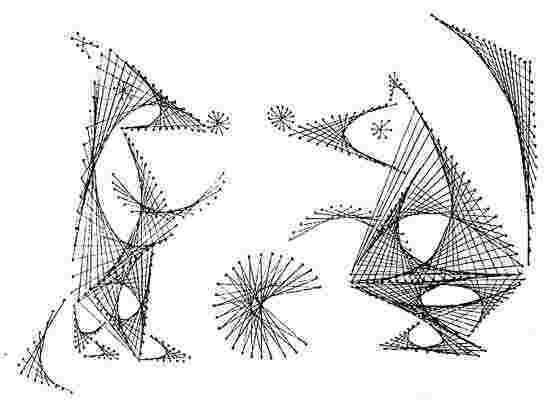
When you first look at the photo, many may seem that
and / or cardboard - employment indescribably difficult. Of course, as in any needlework, for beginners is unlikely immediately able to create intricate motif or complex composition. However, there are only two basic schemes of work: filling angle and filling range. Those who already have some experience in this type of arts and crafts, easily will be able to see in any product are the same basic motifs of embroidery. So in general, the technique can be considered relatively simple: not by chance that in some countries to seriously consider the possibility of studying izoniti in the school curriculum, and in our country in schools often organize clubs for this type of needlework.
What is needed for embroidery izonityu
Those who sees the first time, a list ofmaterials and tools required for the job, may, perhaps, a little frightened. In fact, all the materials and tools are simple and certainly there will be in any house where at least occasionally something to sew, knit and embroider. Therefore, even a beginner training to work will not take long. First the tools:
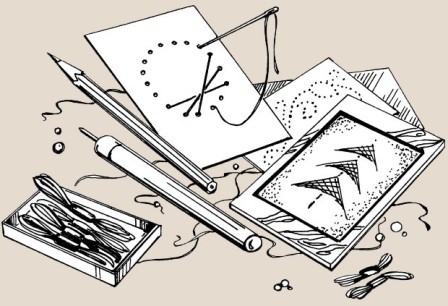
For the application of the scheme on the basis of the motive need a pencil, solid and well honed to leave a clear and fine line;

Thimble may well come in handy to protect your fingers from the injections, though not everyone likes to use. However, to begin their training thimble can be very useful;
Materials for izoniti have to examine in more detail.
The basis 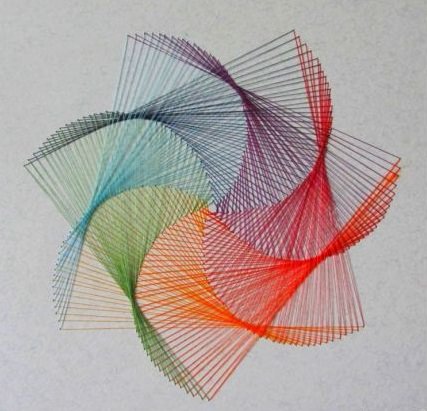
One of the best options framework is tightuniform colored cardboard. For starters, the choice of bases is particularly important: in cardboard low density punctured holes for embroidery can be under the influence of the tension strands break and connect with neighboring. Especially thick cardboard and require gold thread embroidery. Embroidered on velvet paper better after acquiring some experience: such a base has a relatively low density, and embroidery on it must be able to accurately select the thickness and tension of the thread. On the other hand and work on velvet paper looks at times simply luxurious.
Some masters use as a basewatercolor paper. This material is a high density and an interesting texture. It is believed that the embroidery wool can get quite successful when working on watercolor paper. However, most of the wool as a material for izoniti rejected (on this later).
Threads 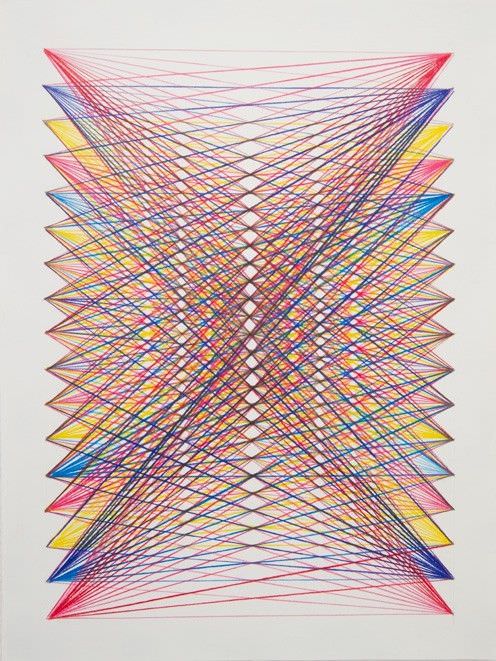
Masters izoniti almost unanimouslyIt recognizes that given the easiest and most successful looks embroidery floss or iris. These brilliant thread look great in the finished product. However, recommendations for the selection of thread, there are some contradictions. For example, many believe that the embroidery woolen threads is possible except on the stage of training. The same can often hear about embroidery and cotton. When pulling through such a basis can be messed thread, fluff, and the texture of the finished work will pile and fuzzy. That is why embroidery wool and cotton is recognized as unsuitable option. Furthermore, it is not suitable for use in the technique of Izon so-called fancy yarns. For example, boucle or mohair designed exclusively for knitting. A thin silk cords, often called chenille (another name - chenille), have a special twisted texture and are not suitable for embroidery on cardboard. All the more so for the chenille technique has its own handiwork.
Embroidery cantle on cardboard rarely practiced. If you wish to work with this kind of yarn it is recommended to choose a thin and soft, gimp, or simply can not be embroidered.
Ideal for work, regardless of the scheme, the complexity and type of foundations recognized twisted yarn.
Initial training
Embroidery on the cardboard requires the development of a total of twobasic techniques. This filling angle and fill the circle. Each of these techniques, in turn exists in many variants. The angle can be direct, blunt or sharp, as the reception range of the filling used for ovals. Partially filled corners and circles give the appearance of different arcs, curves and irregular shapes.
Embroidered wool, despite the contradictory attitude to this kind of yarns - this is a great way of learning and training. You will be able at last to use the remnants of yarn boring.
Filling angle 
For starters, the first mastered reception in izoniti should be filling angle. filling schemes may differ degree angle and length of the sides, but there are general rules:
Embroidery angle starts from any point on the side opposite the apex. For the convenience of all the points you need to note the numbers: peak - 0, then the ends of the segments - on the rise.
The photo shows the scheme of the different options of filling angle.
Completing the circle 
Training for beginners - a circle marked up as a clock, with numbers from 1 to 12. The work goes according to the scheme:
- 1 - 5 (front);
- 5 - 6 (wrong side);
- 6 - 2 (right side);
- 2 - 3 (wrong side);
- 3 - 7 (front side) and so forth.
When filling yarns circle series"Plotted" chord. Schemes filling range can be different. A circle with a small number of holes will give a mesh pattern. With a large number of holes get filled with more and more complex visual pattern. Using the photo, you can easily figure out the filling of the circle.
Decor
When embroidery on cardboard is ready, place itIt can be different. The main thing - to hide it inside out. Previously all purl stitches must be glued or fastened with adhesive tape. If the product - it is a separate theme, it can be pasted on cardboard larger, so that the side of the formed frame. A card can be issued in the same way. You can use regular frames with glass. Tips on registration can be found at the many photos.
Needlework Izon technology is perfect for both adults and for the children's classes.
Video: technology basics Izon
