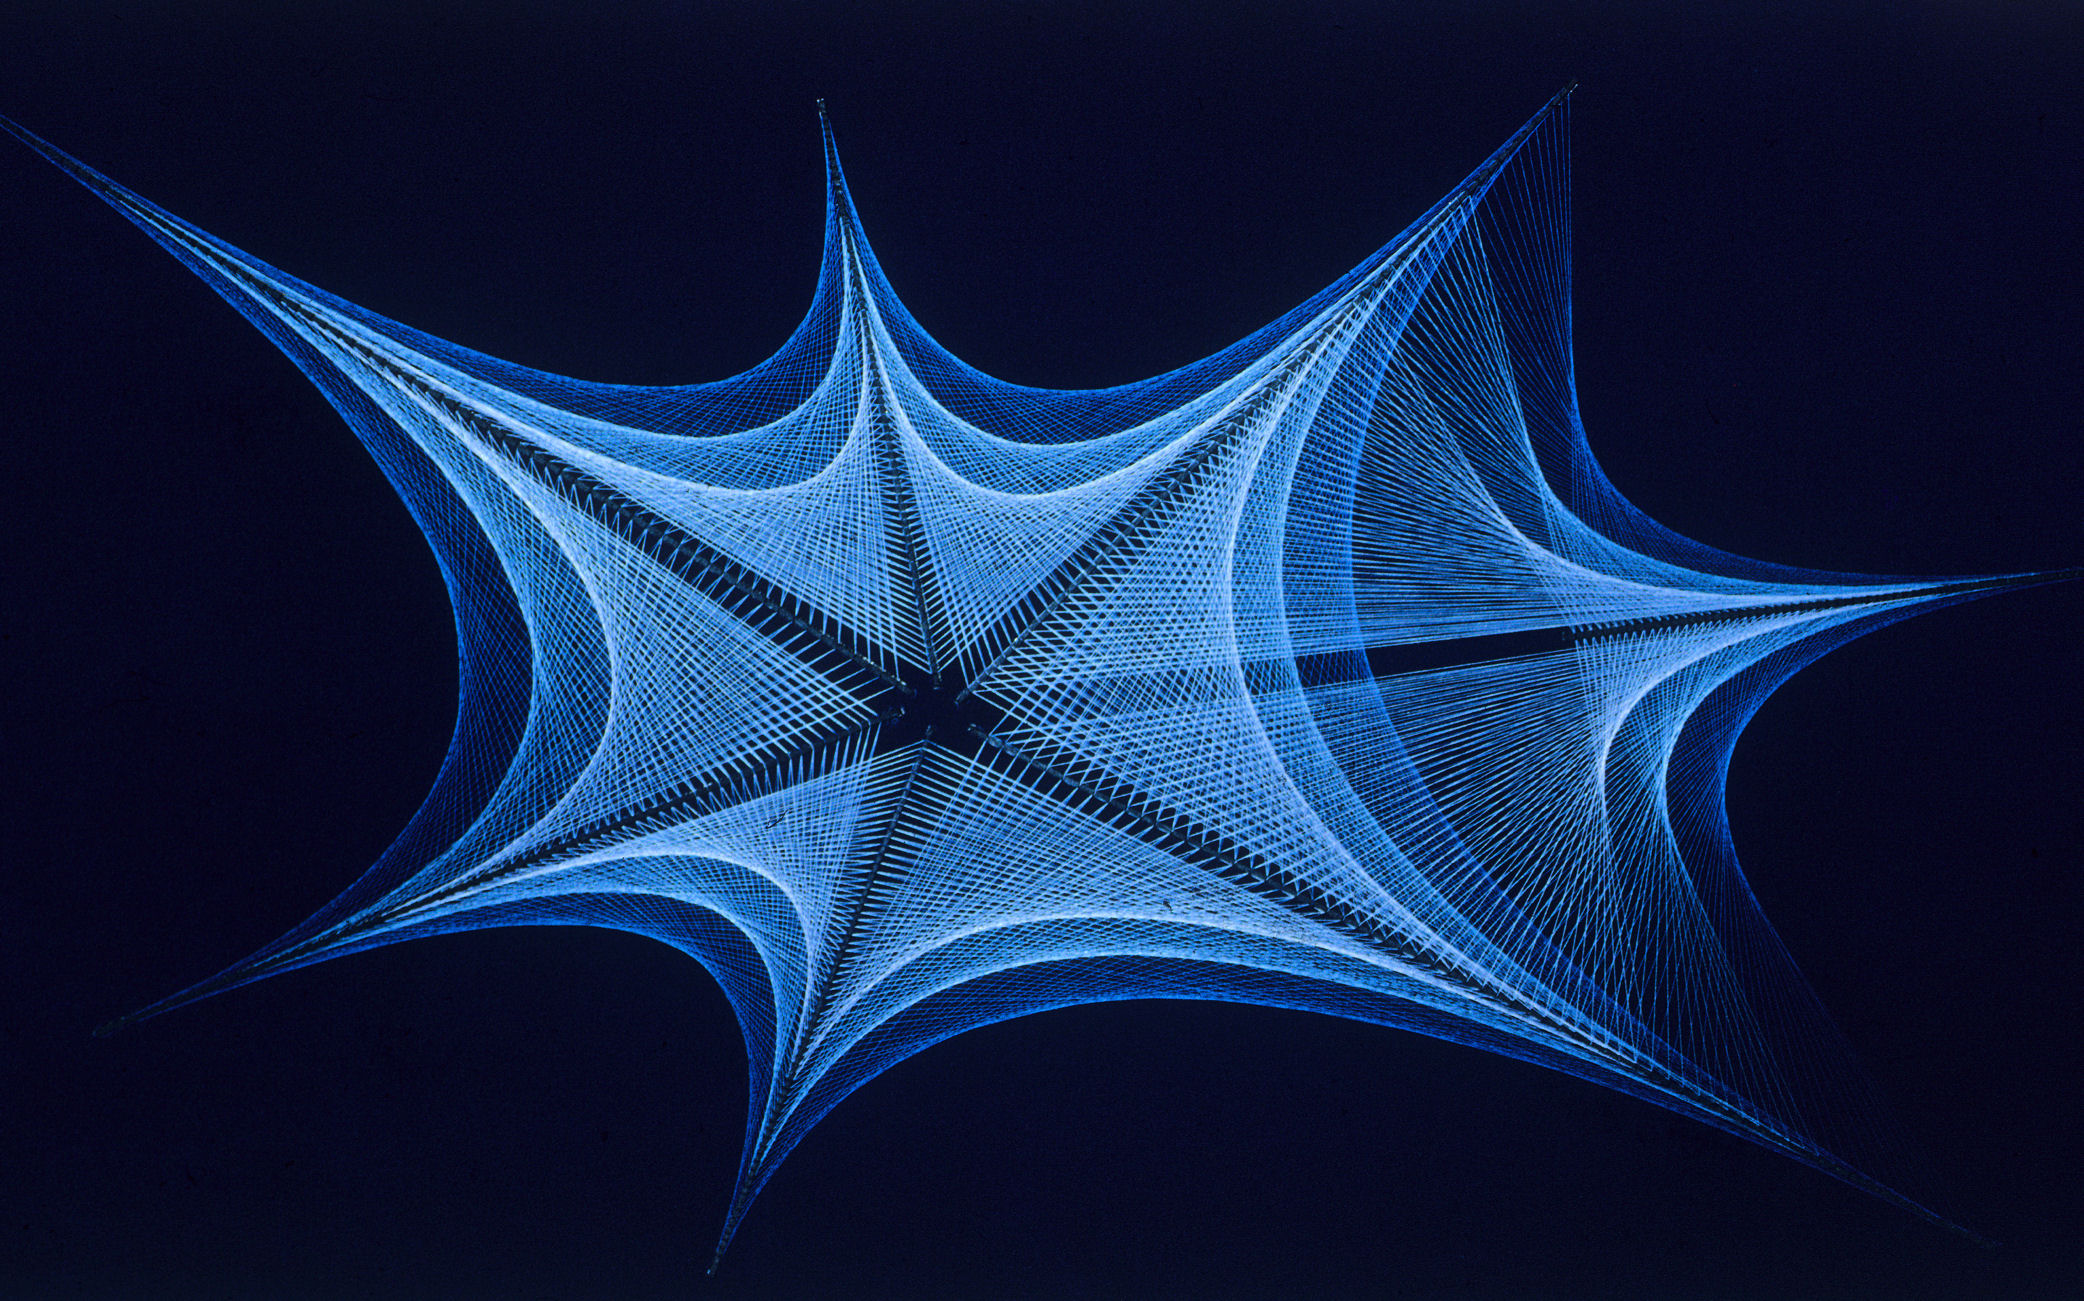
Star schema and ways of filling a corner
Content
- How to fill the angle correctly
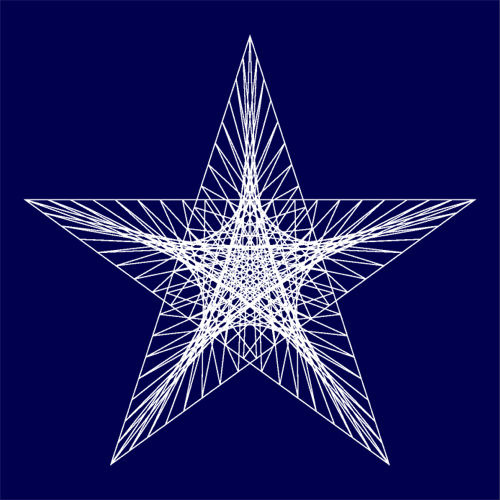
- We embroider a star in technology to eliminate
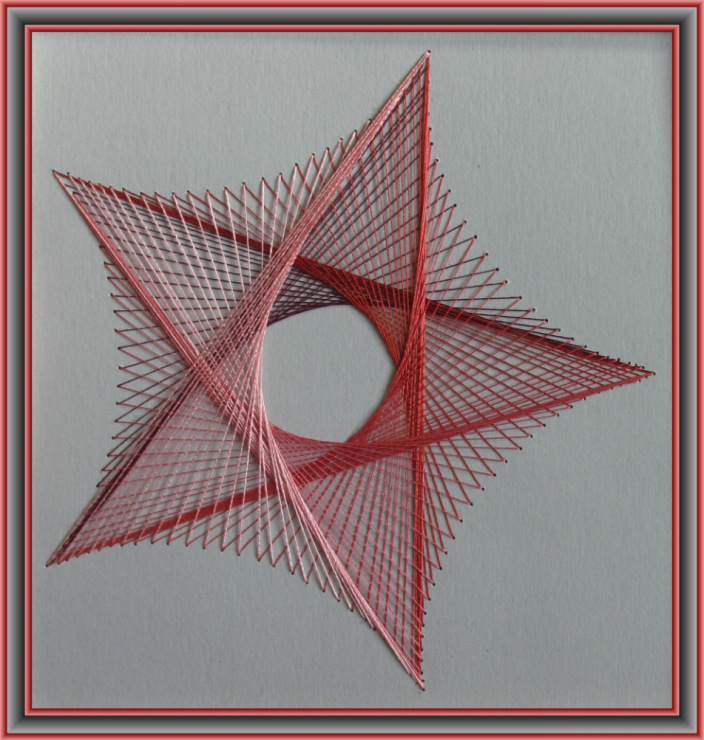
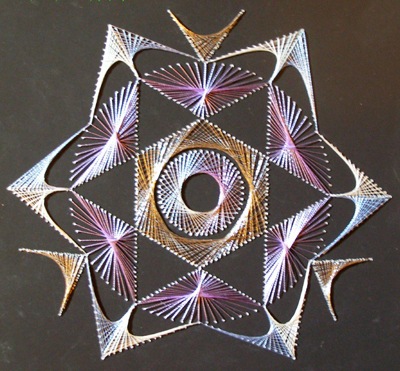
- Schemes of embroidery of stars
- Video: Learning to embroider an angle of isonics
Threading graphics or isolating is a uniqueThe art that can be mastered by people of different ages. Several centuries ago, English weavers invented an original way of interweaving threads. Nails were inserted in the board and in a sequential order, colored threads were pulled. As a result, the patterns that decorated the interior of the house were obtained. At the end of time, the technology has changed. Instead of plates, cardboard and velvet paper began to prevail, which are pierced with an awl or a thick nail. In the resulting holes, the threads pass, and the resulting image is obtained as an isonia.
Using
, You can make interesting covers, postcards, draw notebooks and create panels. The main task in isonity is to study the diagrams of the basic figures. The most common of these are the circle and the angle.
Continuing the theme in such needlework, how to isolate, let's consider the embroidery schemes for stars of different shapes. To correctly make a star, you should study the method of filling the angle.


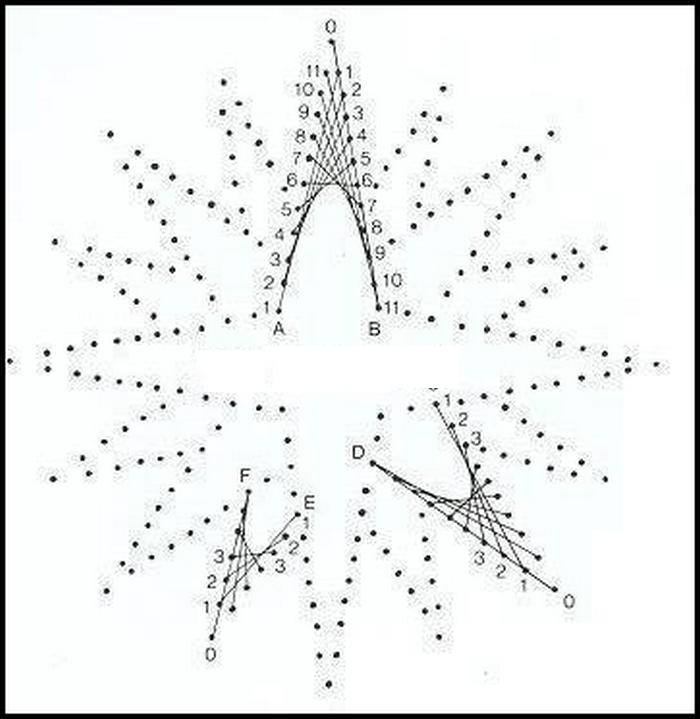
How to fill the angle correctly
To master the technique of isolating, it is necessary to know some ways of filling the basic figures. For
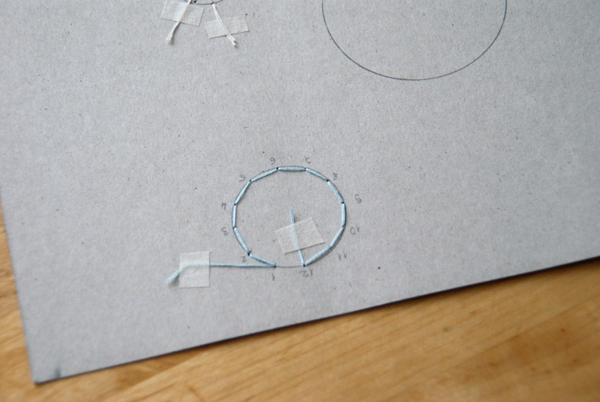
, The skills of filling the corner will be useful. From the wrong side, draw a corner of any size. Divide each segment of the angle by a ruler into six pieces, leaving a distance of 5 mm. Be sure to number the points so that you do not get confused in the embroidery sequence. Place a piece of styrofoam under the cardboard sheet and make holes in the marks. For this work, an awl or a thick needle is useful. Thread the thread into the needle and start filling the angle according to this pattern. The first stitch is made from the wrong side. Following this pattern, you can embroider the star unmistakably.

We embroider a star in technology to eliminate

To embroider a variety of stars on paper, a minimal set of materials is needed, namely:
- Sheet of cardboard black and a small cut of yellow shade;
- Threads of a mulina;
- A pin with a needle;
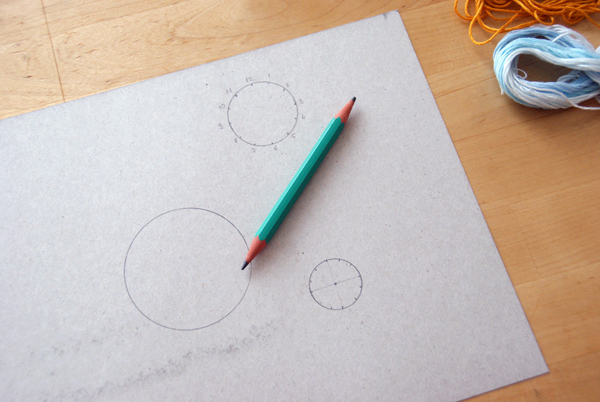
- Ruler and pencil.
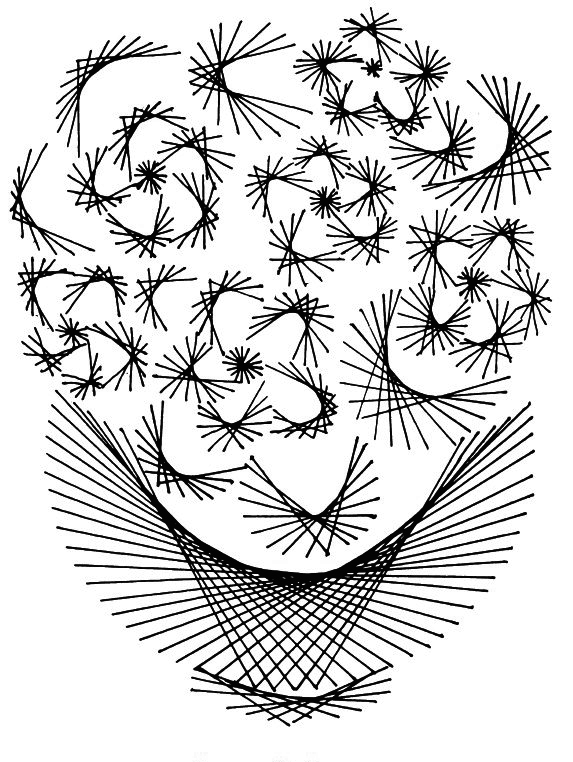
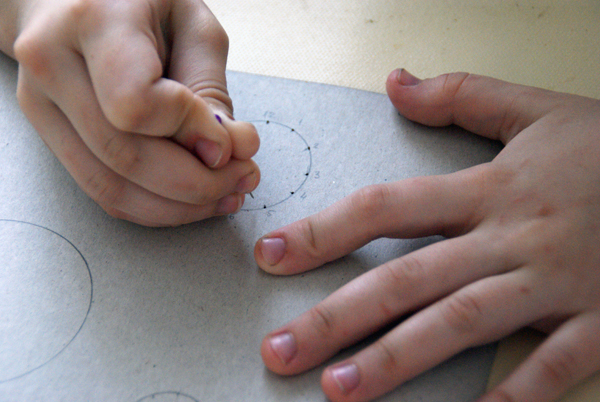
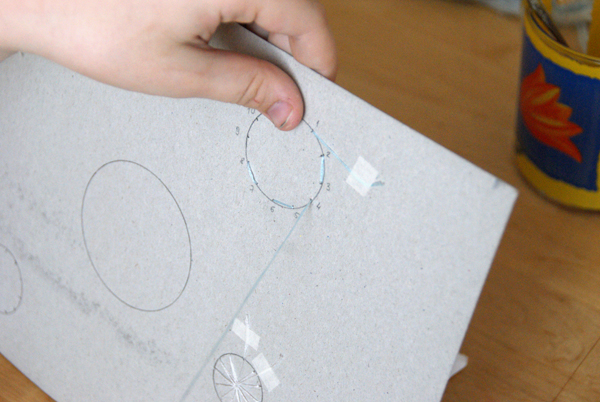
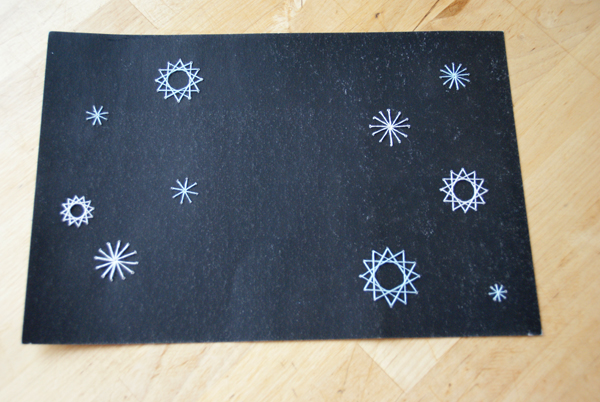
On the wrong side of the cardboard drawCircle for the stars and the moon. The moon is drawn on a large scale, and the stars in the form of smaller circles. Divide the figure into twelve identical segments. Mark a large circle with dots with numbers, and for small ones, mark the middle. Put something soft under the bottom of the cardboard and start piercing the holes in the marks.

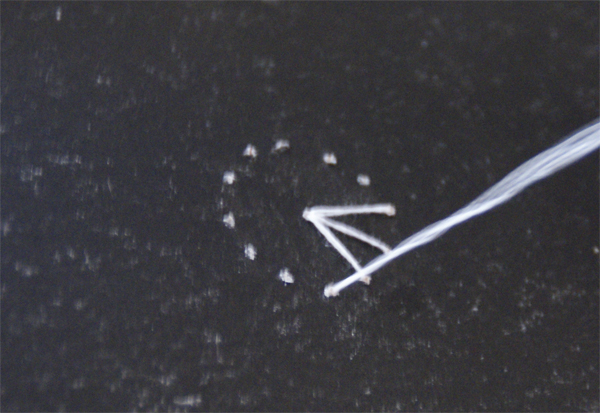
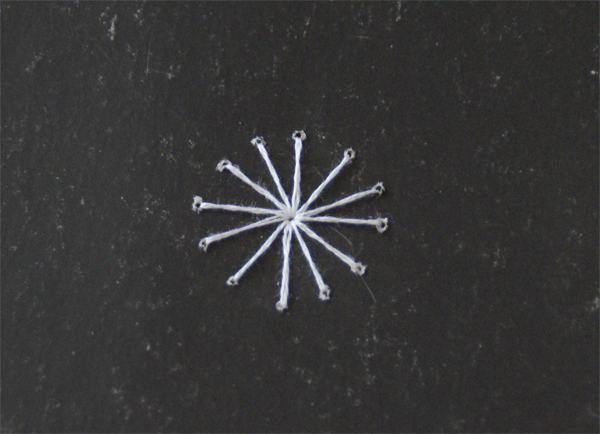
First of all, take up small stars. From the wrong side, stick a needle and take it out in the center. Then puncture the last point and repeat again. The photo shows work from the inside and from the front. In order not to create knots that can slip into the hole, fix the edge of the thread with a piece of Scotch tape. As a result, you get the first small star.

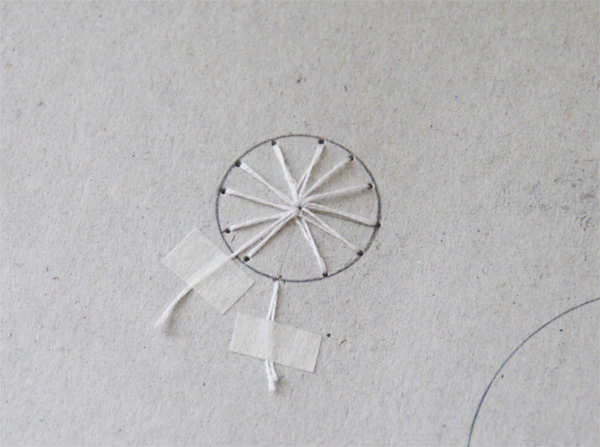
Let's start working on more stars. Fasten the end of the main material and make stitches to the points. The distance of the chord should be at three points. On the other side of the cardboard this circle will turn out.
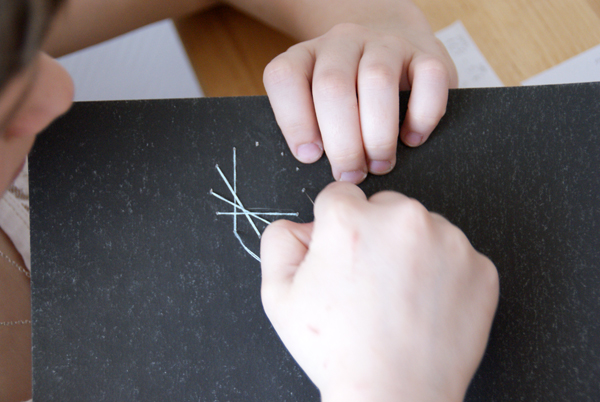
These two methods need to embroider all the stars according to a given pattern.
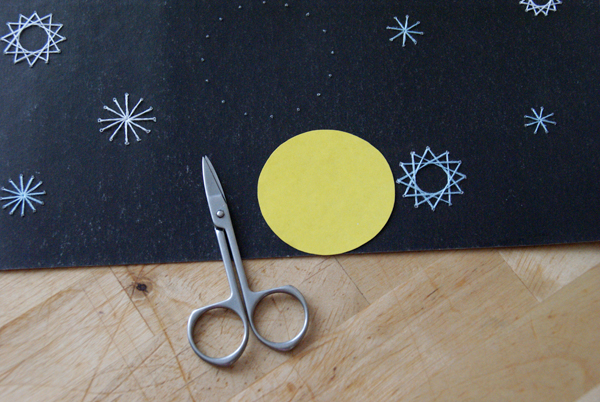
From yellow thick paper, cut out the circleSuch a scale as the painted moon. Glue it with glue and sheathe in the technique to remove it in a similar way. There are 16 holes on the figure, which means that the chord will be equal to the five holes.
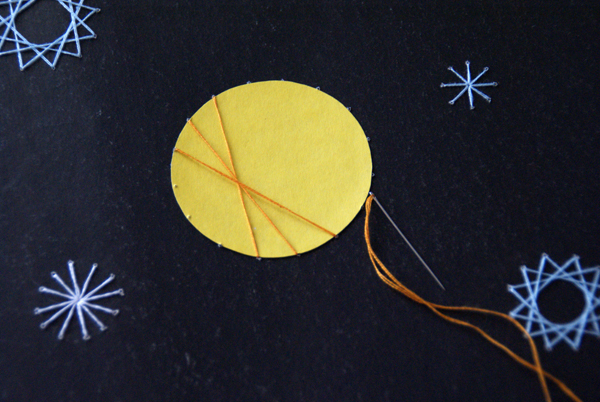
Following the above scheme, you will have a wonderful map of the starry sky.

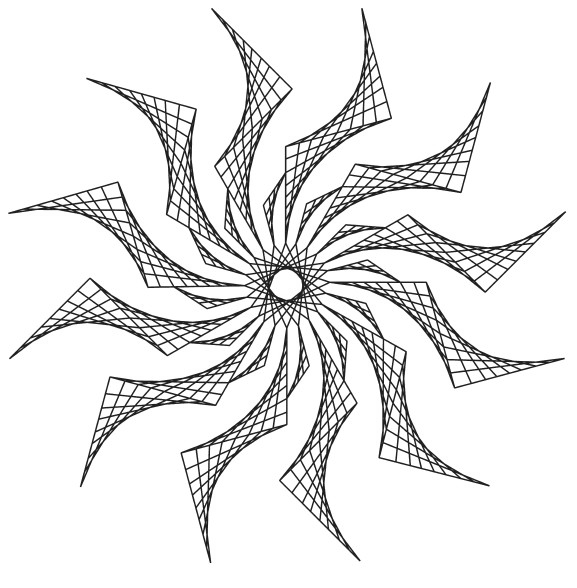
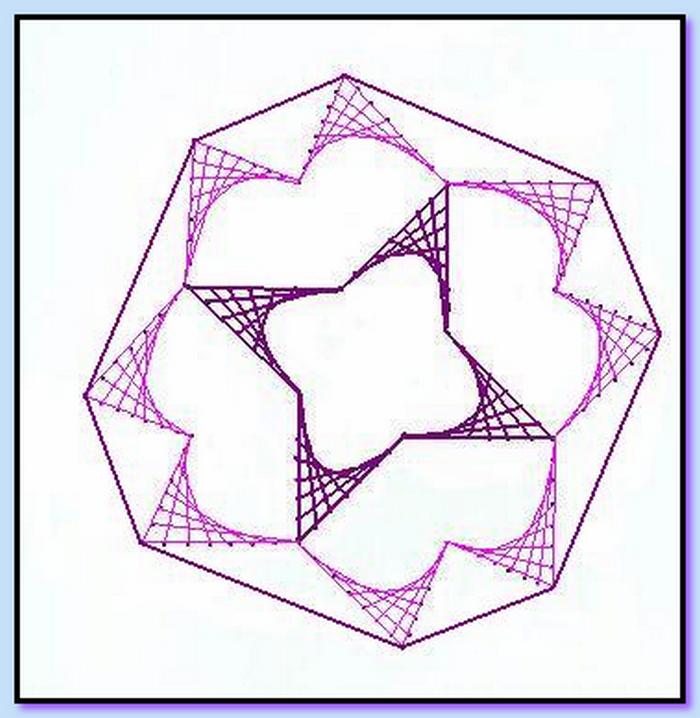
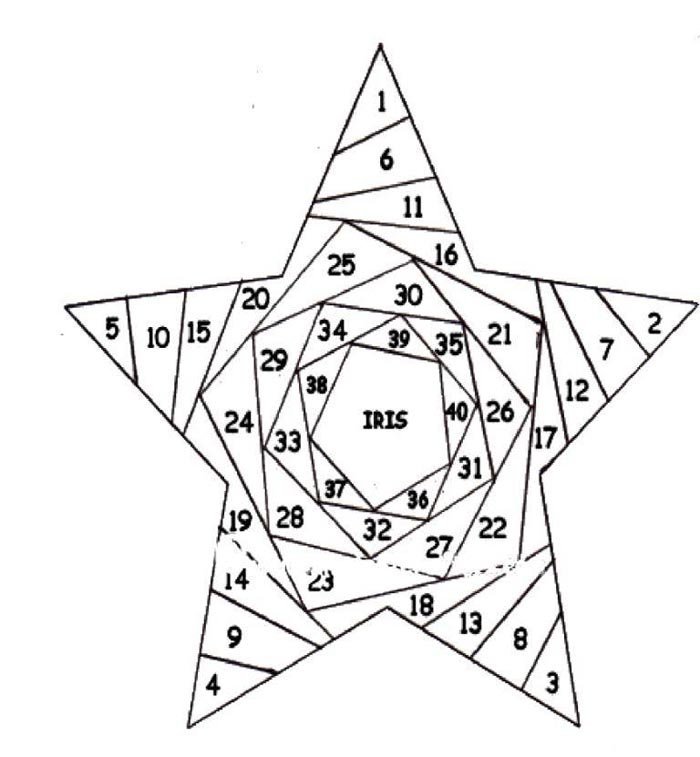
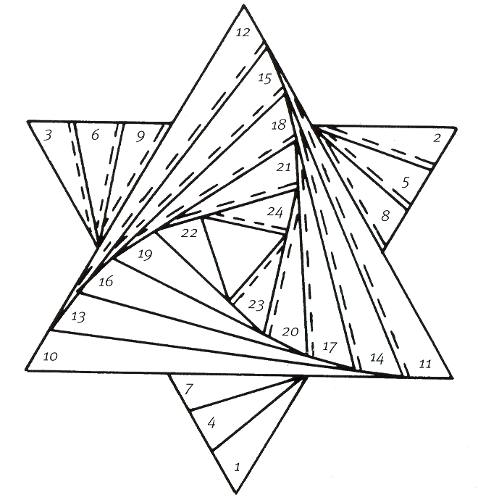
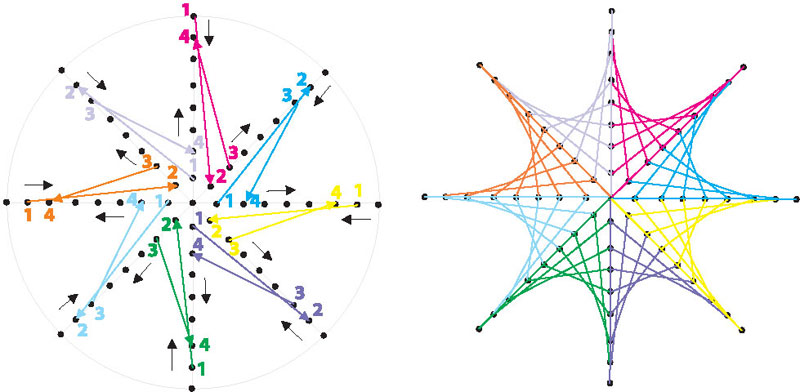
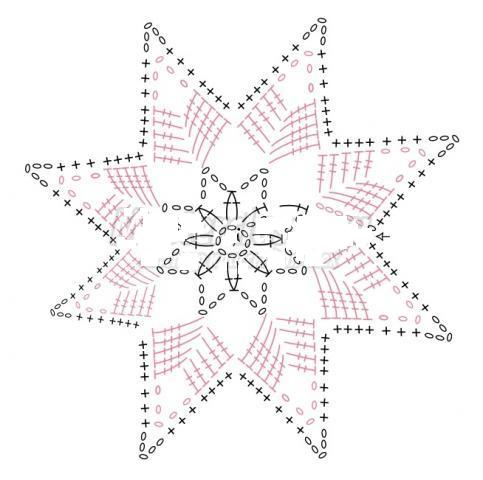
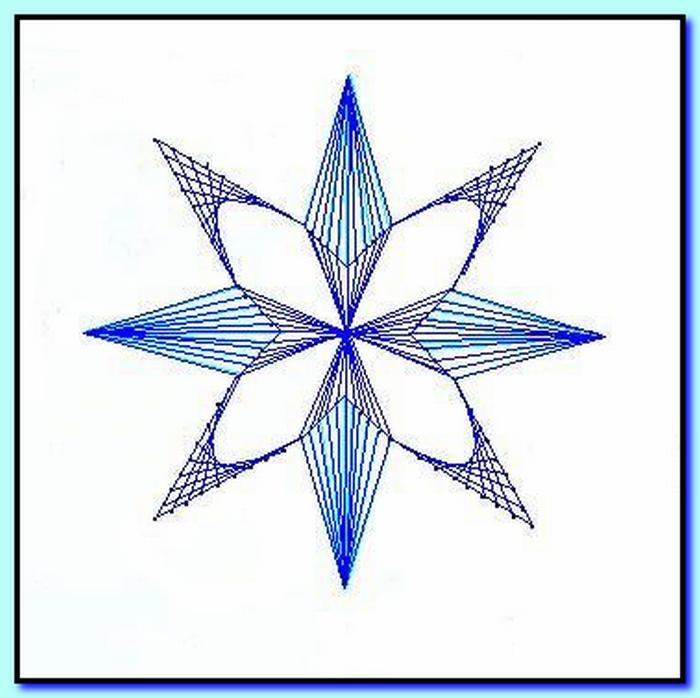
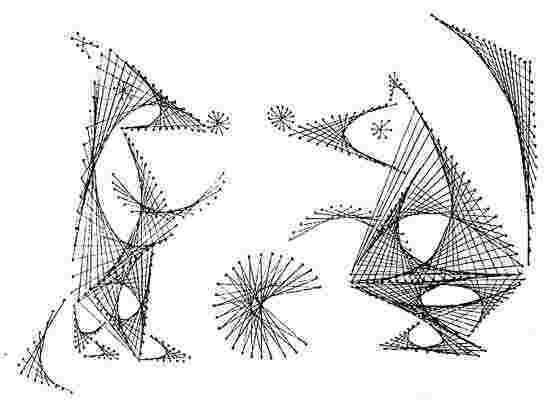
Schemes of embroidery of stars