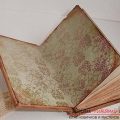
Paris notebook for the new year - a master class of scrapbooking techniques and photos
New Year holidays are approaching our homes,and this means that in a short time the issue of gifts that will be needed to give to their close people will become very acute. Masters of needlework each year come up with new ideas in order to please their loved ones and at the same time, to expand the possibilities of their skills. Scrapbooking technology opens for the master more prospects of using materials, while - helps to make a quality and interesting gift.
Paris notebook for the new year - a master class of scrapbooking techniques and photos
Notepad is one of them. This is a cozy place where people can leave their thoughts, and given the fact that many people like to start diaries for the next year, such a thing will not only be a pleasant and beautiful gift, but also extraordinarily useful. But, to design such a notebook, new knowledge will be required. After all, joining pages, as well as creating a single style for the cover, binding - a difficult task, about the intricacies of which know not all the masters. Paris notepad for the new year! This lesson is intended for those who want to make a quality and convenient gift to a loved one. The theme of the gift design is the Paris style. Vintage design of the notebook will allow to emphasize the special qualities of the stylistics of this city, and scrapbooking technologies will reveal the essence of the subtle and delicate subjects with which people can enjoy the use of the notebook. You will also need special materials with the help of which this article can be realized:
- Special paper in a density of 80 grams per m2
- Cover from velvet, soft
- Stamps
- Suspension of "Paris"
- Lace
- Tools for vintage
- Office for work
- Gold plated pendant
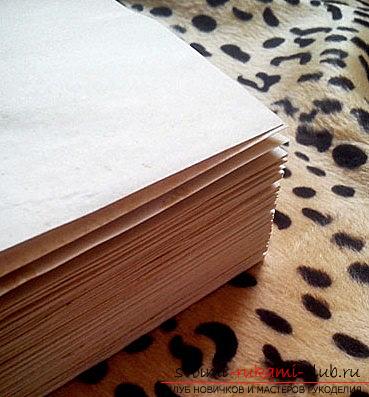
These materials should be enough to make a high-quality and cozy notebook for your dear person. A great gift, as well as practical application of your knowledge! 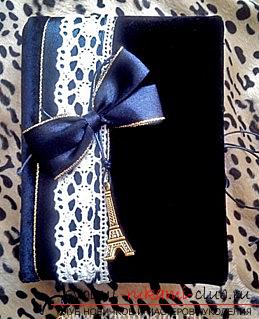 In the beginning, we need to prepare the paperOffice type, which has a density of 80 grams per m2. Using a notepad in A6 format for 120 pages, we need to issue 30 such sheets. Initially, you should think about the technique of vintage. To do this, we prepare a special solution, in which coffee is present. To do this, take a glass of water (heated). Also, you need a spoonful of coffee with a pea on top. Prepare the mixture and paint on both sides of the product. Also, they can be put on top of each other. When working, do not forget to put on gloves, otherwise, fingers and nails can be spoiled with coffee (at least - their appearance). After the paper gets a normal look, it will remain slightly damp. But, this problem is also easy to solve, using the iron without steam. Additionally, attach a piece of paper so as not to spoil the surface of future workpieces. Also, you can take a solution on the toothbrush and drip drops, which also need to "pat" through the sheet.
  Press and spine After all the elementsdry out, they must be put under the press. This is to ensure that every leaflet of the future notebook is flat. After, it is necessary to cut out two of each sheet, and then - fold them into two parts. Thus, 4 sheets per notebook. We form a binding, proceeding from lessons on scrapbooking.
 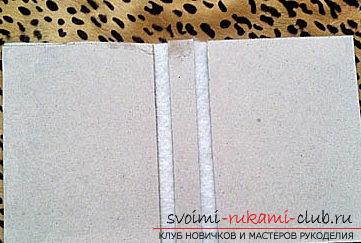 After you have performed the firmware, you need togrease the spine with a sticky substance PVA, and then, the block to send under the press. We wait until the block dries, it can take up to three hours. After that, we carry out the repeated procedure of spreading with the help of glue, and then, the bandage is glued to the surface. This is necessary to reinforce your future binding. Then, repeat the procedure for sending under the press. Kind, perhaps not the best, but it will hold out for many years. In addition, we hide all this under the cover.
 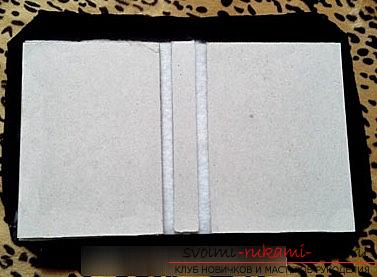 Then, we wait for the block to dry, which shouldbe ready exactly for 24 hours. The side parts of your workpiece will talk about problems with alignment. But, for this you can include work in printing, where you with a special tool, the masters will cut as needed. In the end, you must form a block that will have dimensions of 15 by 10 and by 1.8 centimeters. Cooking cover
 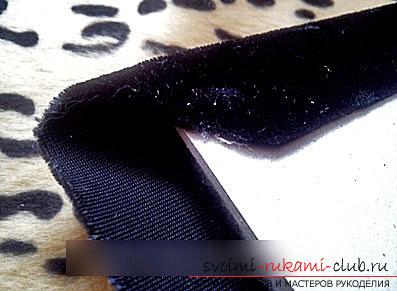 To form the cover, you need to takecardboard dense type to the size of the workpiece - 15.5 to 10.5 centimeters. Also, you need a cardboard in the size of 1.8 centimeters by 15.5 centimeters - for the spine. Select the appropriate tissue of fine sintepon with foam rubber. This is necessary for the cover to be stuffed and soft. Using one layer, you make the cover not too lush, so it is recommended to take at least two. They need to be combined together, using adhesive tape on both sides. After, it is necessary to glue the workpiece using glue-torque. Between the cartons you need to leave gaps of 5-8 millimeters. We also select the fabric for the cover. We will have velvet fabric under velvet. Such a fabric has elastic properties, but, in the first notebook it should not be used, since the fabric is very thick. It is much better to take a satin fabric, or flax. This stage requires excessive accuracy. The fabric should have a cut of more than 6 centimeters more than either side. We still have 3 centimeters for the smell in each edge. Corners need to be cut. Velor stretches well, so for him the smell may be less, but basically, it is better to use a standard approach. With the help of velor, the face will have a very smooth transition part of the synthon. Next, you need to fix the fabric on the cardboard. To do this, glue the sides of the length with glue. Then, you need to bend the corners, using your fingers and pressing on the material, so that in the gluing area you can fix for 20 seconds. After the sizing is finished, it must be put aside in the other direction, wait for drying, then - you need to do the decoration of the product. Continue work ... For our case - the work will be done with lace It also needs to be processed with a solution of coffee, using the edging with a black ribbon with a gold addition. We use braid of leather, as well as a suspension on metal. Here you can also connect the fantasy and fix the elements you want to cover.
 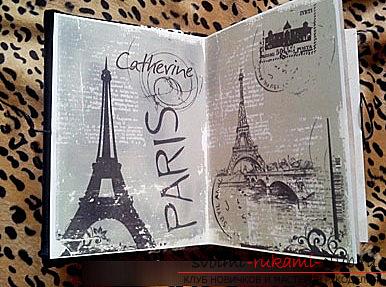 Forming bookmarks and final questionsFor bookmarks we will spend a special time. We'll make one of the velvet on the cord, the second one will be prepared with the help of leather (braid), using the suspension element. To form the fly-leaf, we need a color printer, as well as a dense paper of 200 grams per m2. Also, prepare the necessary illustration. Using a sheet in A4 format, we can easily place on it two kinds of fly-leaves. After, it is necessary to trim the edges, then, to make a creasing in the middle. This is to ensure that the sheets are conveniently laid and look beautiful. Then, we glue each element together. For the fly leaf, a special role is assigned - to fasten the cover, as well as the block element Gluing the notebook
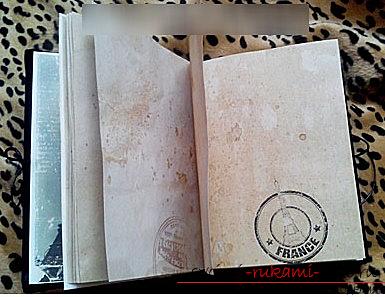
  To begin with, it is necessary to fix one of the particlesfly-leaf on the back cover, then - wait until it dries. Then, you need to take a version of our block, on it also apply a strip of adhesive material, using the page that is next to the spine. Then, the block must be connected to the flyleaf. In the same way, we form the back part for the cover. For those who have problems with the press because of the added ornaments, there is a lifhak. For the bottom, the material of the synthepone is put, which must first be folded twice. After that, the notebook is placed on top, followed by magazines, books or other heavy objects. such a press will allow your future notebook to be well preserved and glued together. Be sure to make sure that the work is done smoothly. We must wait until the notebook dries. In general, it takes about a day's time. After using stamps, decorate the pages. Thus, our notebook with a vintage design and beauties of Paris is made by you! Congratulations!


