
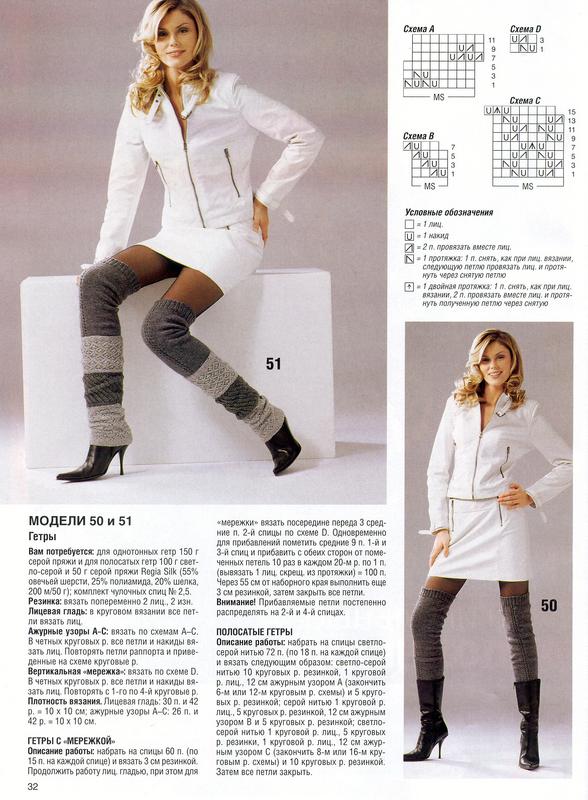
All the nuances of knitting stockings with knitting needles - photo and video
Content
- Equipment
- How to properly tie a heel of a stocking
- Knitting a wedge with a foot and toe
- Knitted stockings with an openwork pattern
- Video: How to tie lace socks
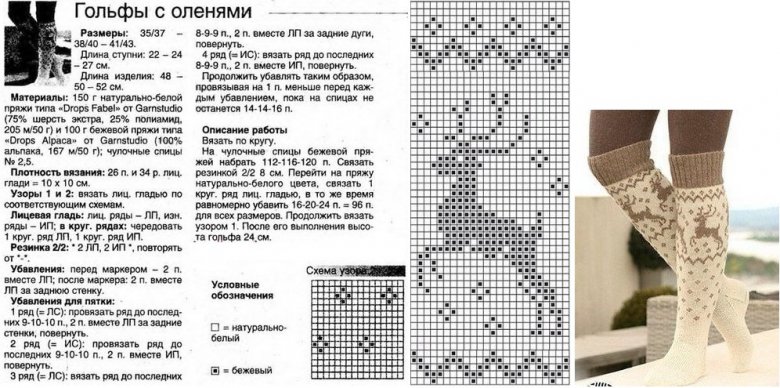
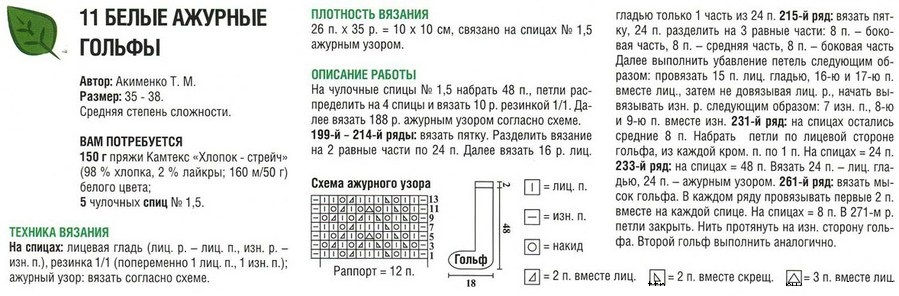
- Golfs according to the scheme
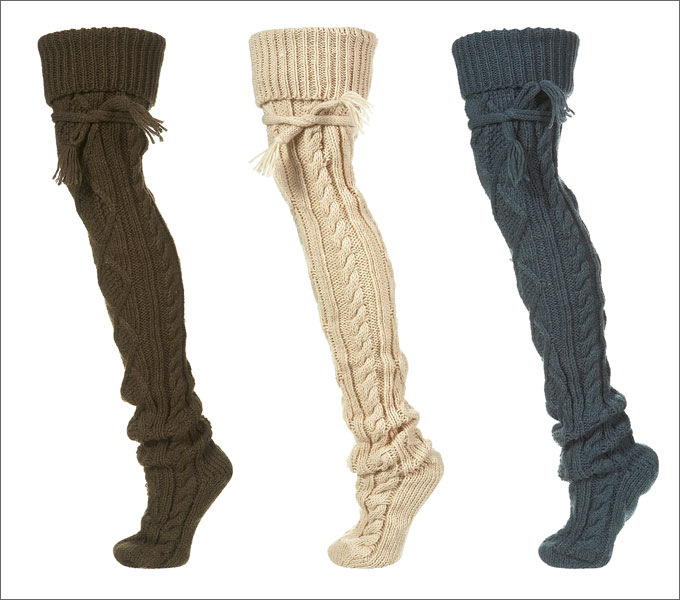
This lesson on knitting with knitting needles clearlyShows how to make long knitted stockings from yarn. We will try to give such a description, according to which any needlewoman can perform knitting of this thing.

Equipment
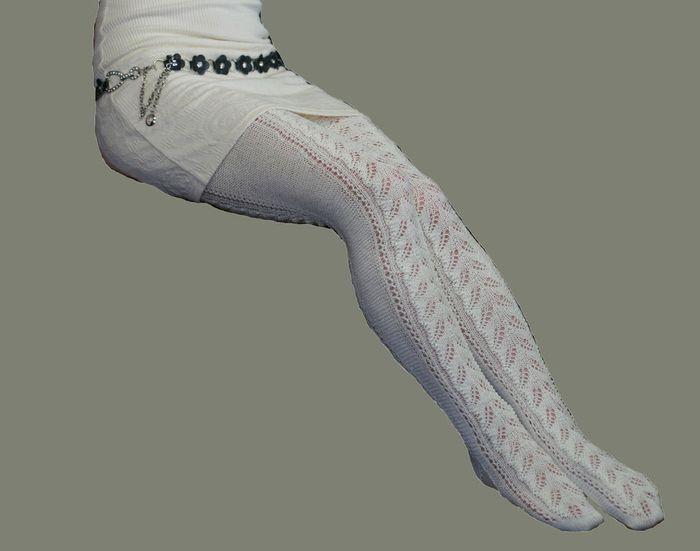
It should be noted that any knitted stocking consists of several parts, which are schematically depicted in the following photo.
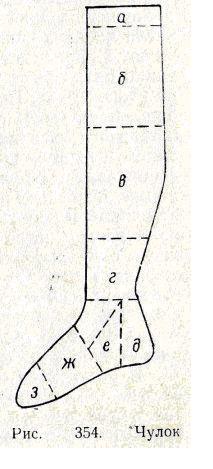
The upper knitted zone is headed by the letter a, andCalled "board". After it a little lower follows the first level zone b. Then follows the zone в, which falls on that part of the foot, where its circumference becomes smaller. After that, we see the zone r (neck), zone q, that is, the heel. The remaining three parts are in place of the foot. Knitting must begin from the top, that is from the side. We make a set of loops (P) on two spokes, after which one of them is removed, and all the loops are placed equally on four. The top board needs to be knitted with an elastic band two by two.
This is the most comfortable knitting, very elastic and thenThe same time is quite elastic. The number of loops for a set of gum is determined by the sample, depending on the length of the circle at its location. It is advisable to knit an elastic band for the side not less than five centimeters long (cm). After the rim starts, the region b knits with a knitting stocking. It must be knit with the front surface, highlighting the vertical path from behind. To get such a path, you need to knit the last two loops on the fourth knitting needle in a special way. They are knitted through a row, it is visible in one and on the wrong side in the other row. The resulting track goes from the top edge to the very heel, highlighting the center of the knitted product from behind, and at the same time decorating it. This track has one more purpose. It is located on the boundary of the rows, therefore it is the index of the beginning series (P). To calculate the length of the first zone after the gum, you need to double the width of this part. The length can be two, or two and a half times larger than its width. In this area knitted with knitting needles the number of loops is constant, that is without increases and decreases.
Part b stocking fits with a gradual decreaseNumber of loops. As a result, this area of the stocking always changes, shrinking in diameter. Its size should be approximately equal to 75% of the previous zone b. To reduce the number of P, you need to knit two loops along the edges of the back track. Doing these downs, do not forget that they must separate from the decorative path with one eyelet. While doing part of the c, first we knit straight, and then we start the cuts of the units. The direct region of the zone в is 25% of the entire region б. Note that part of the loop of the zone in will become the base of the heel (e). The heel needs to be knit large enough to prevent the assembly from forming at the top. If this happens, the heel will quickly break, and the knitted stocking will have an ugly and irregular shape. A fairly large heel has one more advantage. It makes a longer wedge, which leads to the convenience of wearing a stocking.
How to properly tie a heel of a stocking
To properly knit a heel of a stocking, it is necessary to makeGuide the decorative path located behind. On each side of it, we take two half of the available pins on the two spokes, and we knit that length of the canvas, which is equal to the height of the heel itself. Most often the height is equal to its base. We also knit the heel with the facial smoothness. It can be decorated with a path if desired. To do this, we always knit the two extreme noses on each spoke with facial loops (LPs), in all the rows without exception. When the desired length of the heel is connected, all the loops need to be placed in this way. The first spoke should have two-thirds of the total number of units. On the second one third remains. First we knit II on the first spoke, then turn it, and remove the first P. After this, we need to tie another row, and knit the last one together with the first one on the other spoke. Turn the work, and all the time we repeat this technique until the heel knitting is over.
Knitting a wedge with a foot and toe
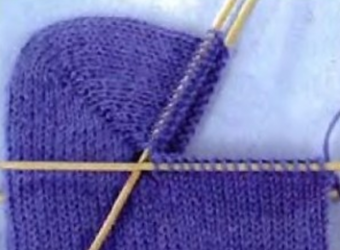
To make a wedge of a stocking, it is necessary to type the eyeboltsOn the edges of the heel, and tie the LP two circular rows. If you have extra P, then you need to reduce them through the series. Most often, the reduction of these unnecessary IIs is performed at the end of the first, or at the beginning of the fourth spokes. It is best if you insert the wedge of the stocking into the sole. In this case, those П with which the reduction is performed must be a continuation of the heel of the stocking. Then you need to reduce on the first spoke one third of all units. Then on the fourth knitting needle at the end of knitting we will reduce two-thirds of the number of P. When the wedge of the stocking is completely connected, let's start knitting the foot and toe. When performing the toe, you need to reduce the number of units on each of the four spokes.
Knitted stockings with an openwork pattern
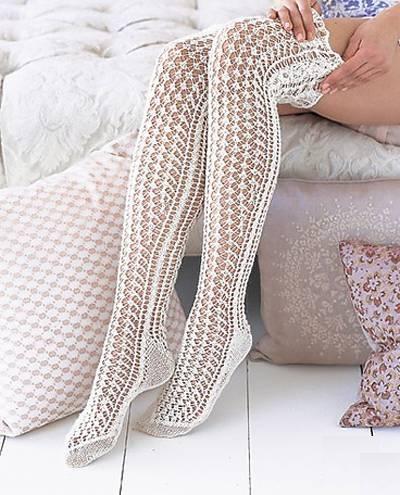
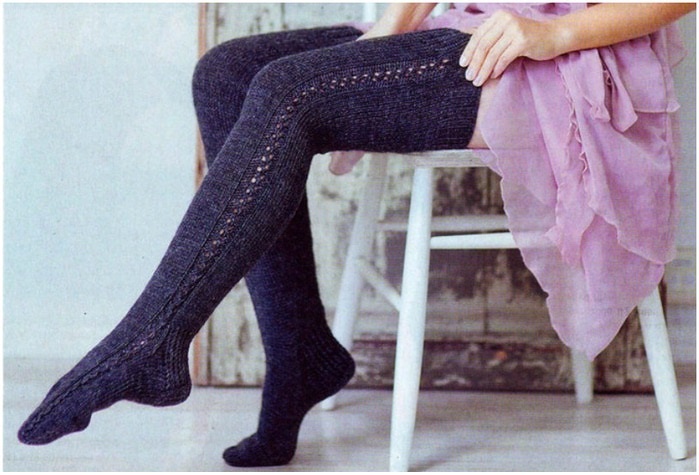
For example, we suggest you make knitted stockings with an openwork pattern.
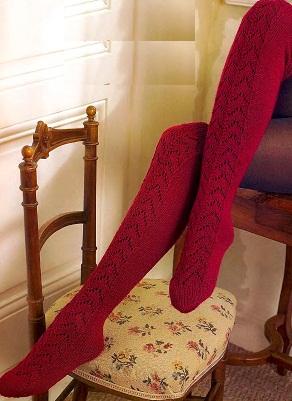
This model, which you see in the photo, you canLink, dividing the stocking into zones in such a way as it was shown in the previous master class. For knitting, you need two hundred grams of fine wool yarn (50 g 150 m), as well as knitting needles number three and a half. An openwork pattern with a detailed description you can see in the photo below.
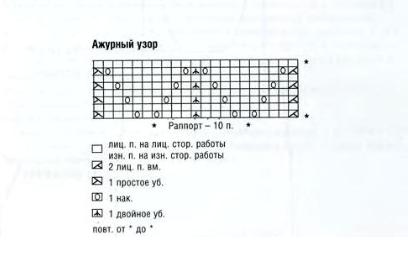
Start knitting just like it wasIs indicated by dividing the whole product into parts according to the first scheme presented in the lesson. Continuing the needlework, follow the pattern, the scheme of which you see on the second scheme with the symbols. Accurately following all the available instructions, you will be able to make excellent woolen stockings with an openwork pattern.
Video: How to tie lace socks
Golfs according to the scheme

Comments
Related posts:
 Full photo-video description of knitting patterns "Zvezdochki"
 Cap knitting pattern with knitting needles on photo with description
 Vest for girl spoke: knitting master class (photo)
 Takes knitting needles: knitting lessons with diagrams and photo-video lessons
 Rhombuses with knitting needles according to the scheme with detailed video description of knitting