How to make acacia from beads. Scheme of weaving wood with photo beads
In the world there are many beautiful, not at allsimilar trees, each of them is unique and beautiful in its own way. Delighted with this splendor, we will try to copy created by nature in his work. I'll give you a master class on weaving from beads of acacia tree. For work we need:
- beads number 9 yellow - 50 g;
- yellow seed beads number 15 - 10 g;
- Bugles green - 50 g;
- round beads in the tone of glass beads № 10 - 10 g;
- silk threads of brown color;
- floristic ribbon of brown color;
- stones;
- wire;
- Painting tape;
- ceramic pot;
- alabaster;
- universal transparent adhesive.
How to create a tree of beads? We begin with weaving twigs with flowers. To do this, cut the wire 1 m long by 30 cm. At a distance of 10 cm from the edge, we select five beads of yellow color No. 15, twist by seven turns (about 0.7 cm). 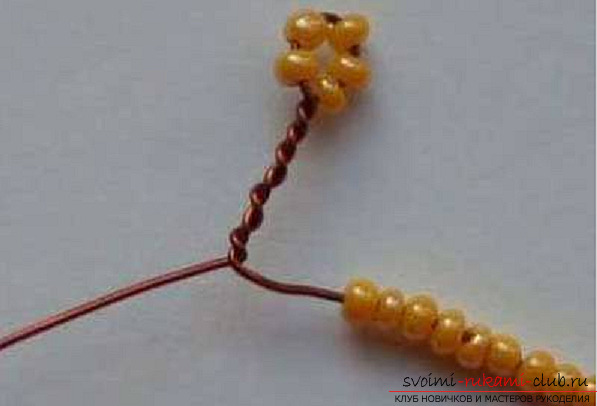 We make two more same eyelets from the beads around the edges.
 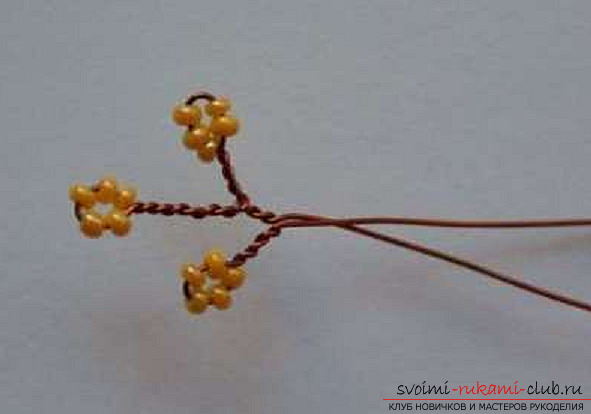 Then cut the wire length of 20 cm, bend it in half and add for thickness in a bunch. The long end of the wire is wrapped in 2-3 turns of a spiral as shown in the photo.
 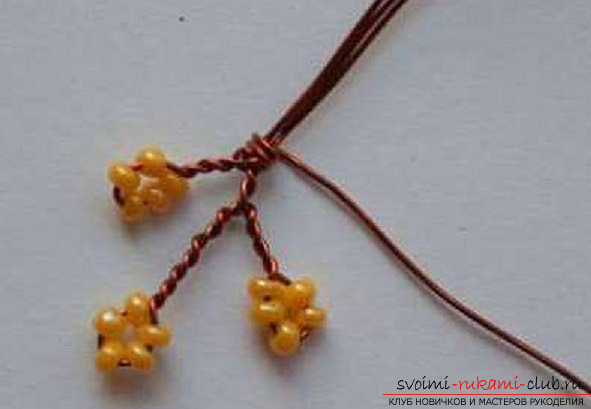 Twist another two loops of five beads and place them in a different plane than the two previous ones.
 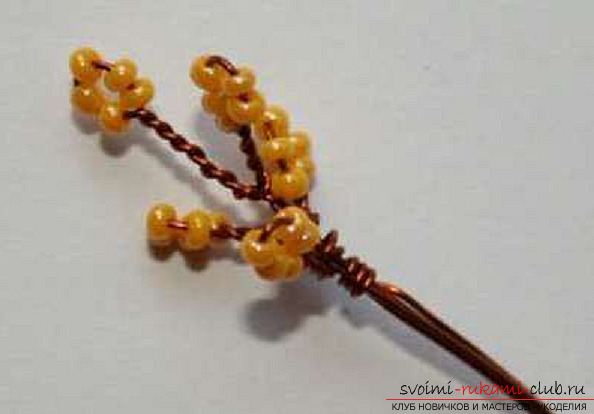 Then we collect four more loops on seven beads and four on ten. Between the rows (one row - four loops) we twist 2-3 spirals.
 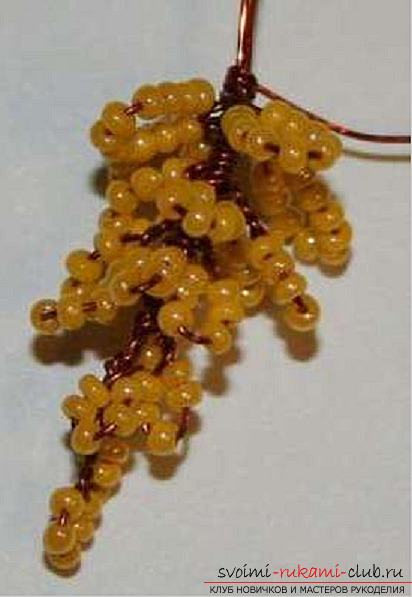 The subsequent rows are typed with beads number 9. In the first row we make loops of three beads.
  Then we will perform rows of five and seven beads.
 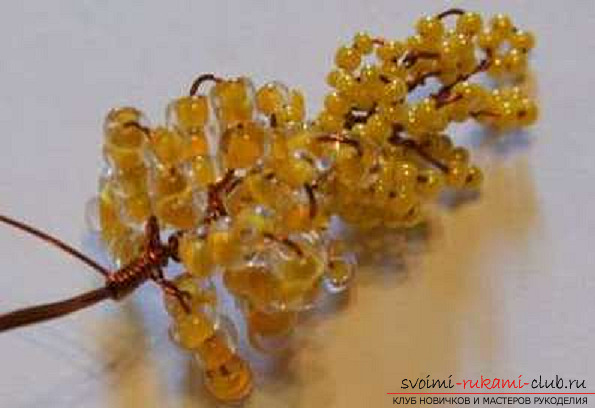 Let's look at work from a different angle:
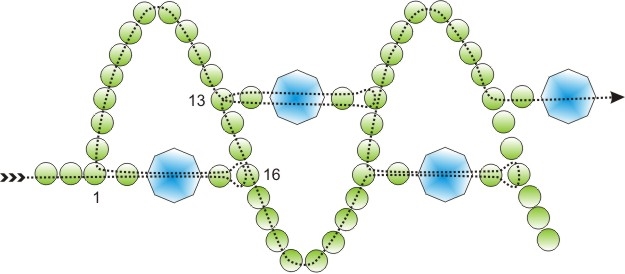
 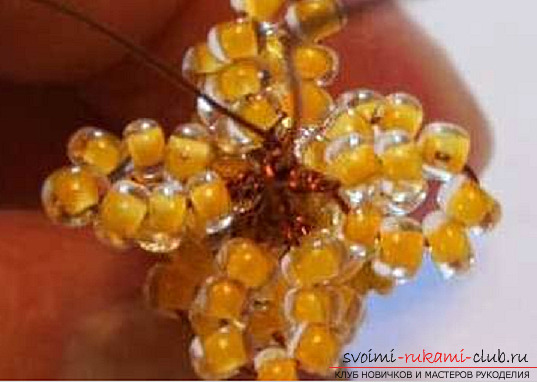 In the next series we will combine the beads. First, make a loop of seven small beads.
 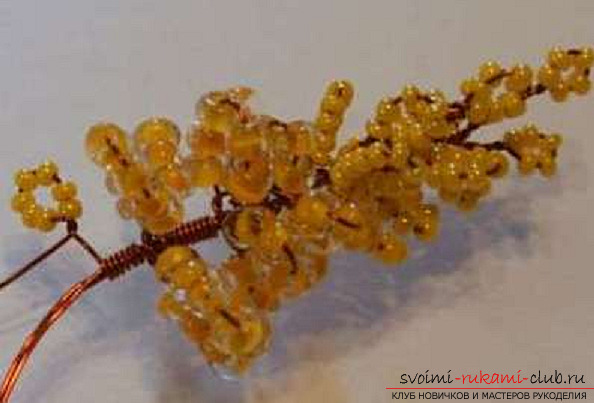 We will encircle this loop with a loop from a large bead.
  Here's how it looks, if we look from the other side to the finished series:
 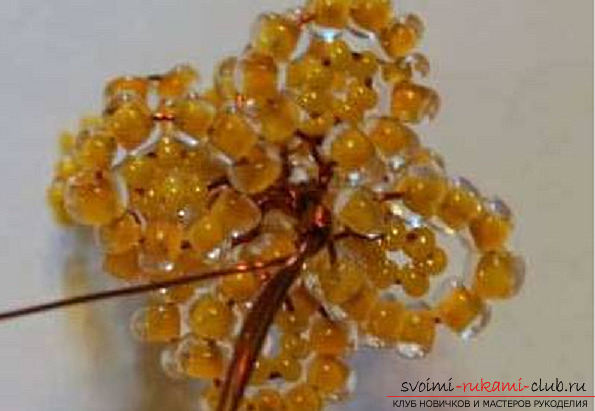 We collect a number of nine small beads in the loop. Grapes can be increased by repeating the last two rows.
 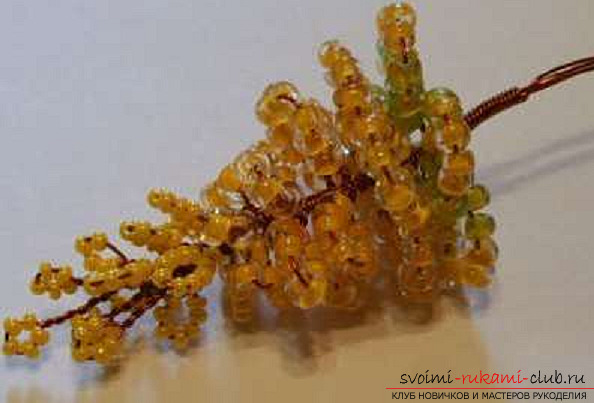 Now proceed to create leaves: In the middle of a wire length of 60 cm, we collect five beads of bugles.
 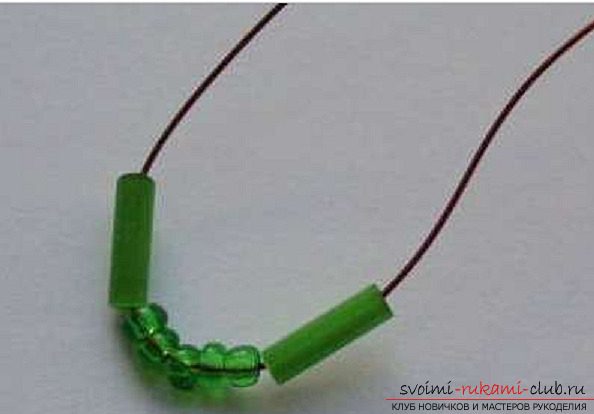 We twist into a loop, we make twisting by 0,5-0,7 cm.
 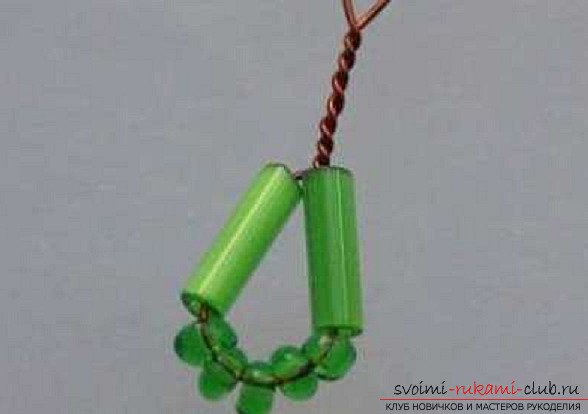 We will execute two more such loops. For this purpose, we put on each of the tips of the wire a glass bead, five beads.
 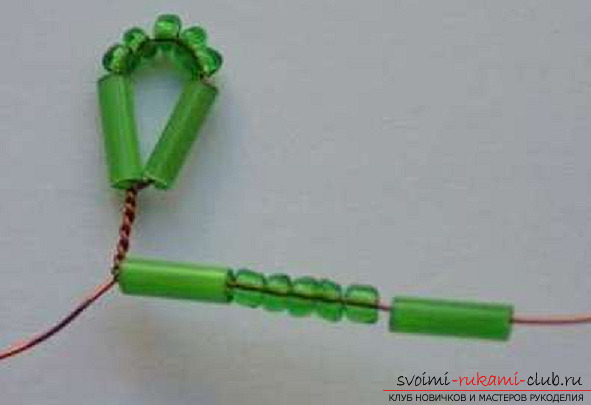 In the same way we twist the wire.
 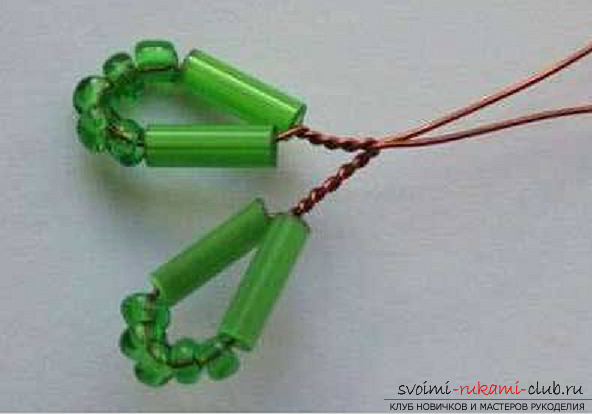 In the next four loops there will be three central beads.
 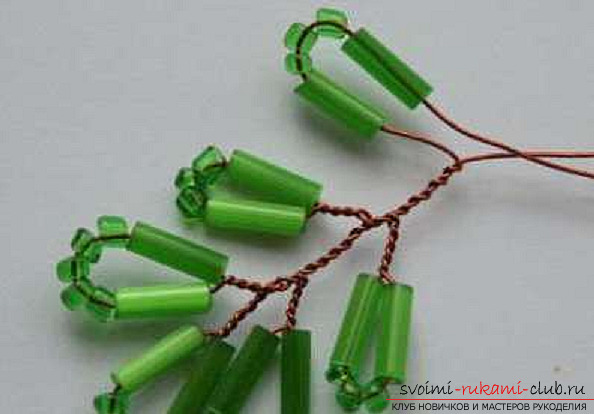 We dial four more loops, in which there will be one bead in the center. Here and there was a twig - a preparation in five rows with own hands from beads and bugles.
 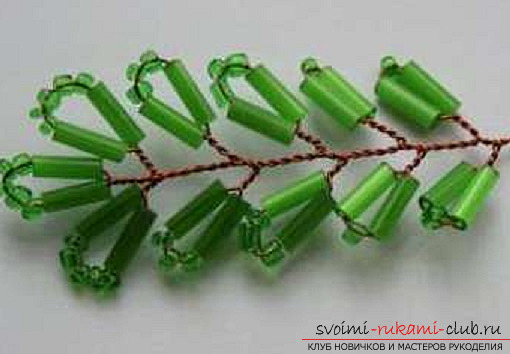 Such blanks should be collected 20 pieces, morefor 20 pieces, consisting of four rows, and 20 - of three. When all the components of the small parts for the beaded tree are ready, we proceed to assembly. Take the silk thread, hook a twig of wire, beads and bugles.
 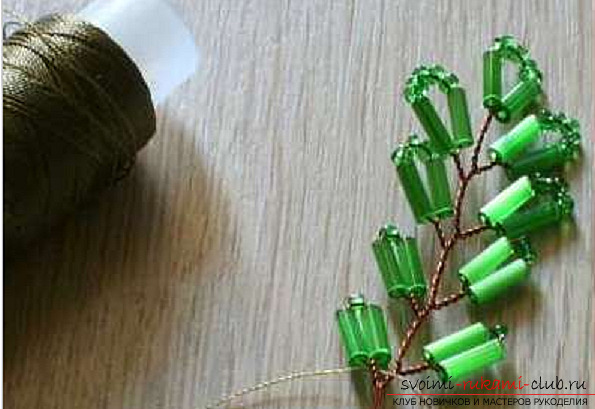 We wrap the barrel of the billet downward by 0.5-0.7 cm.
 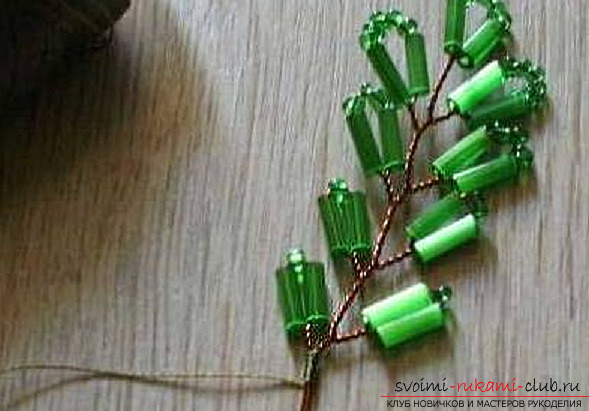 We fasten with silk threads the next workpiece of leaves.
 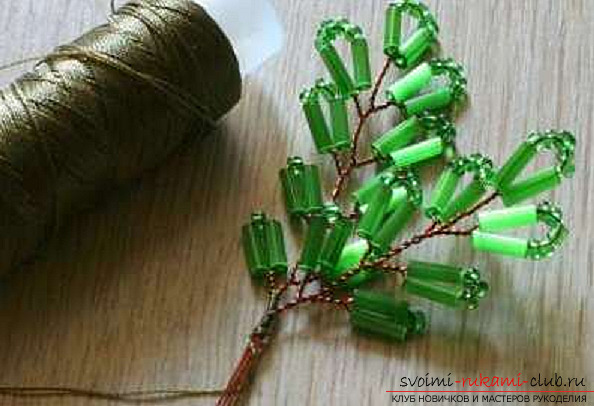 After the leaves, it is necessary to use a bunch of acacia flowers using silk threads.
 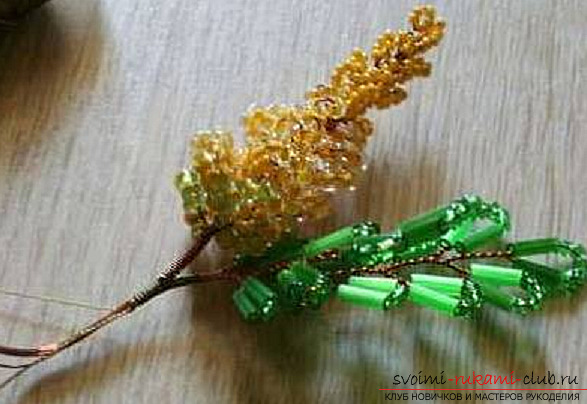 A branch of acacia from beads is ready.
 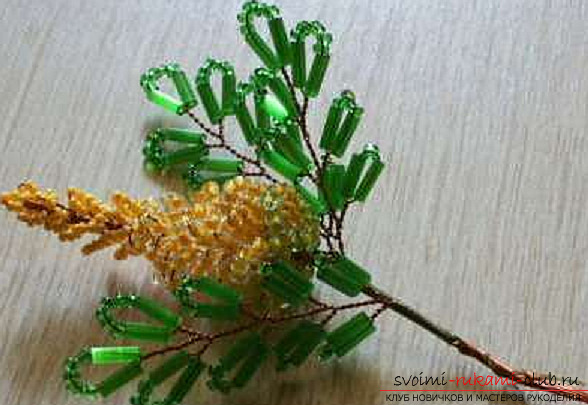 Then we collect in like manner all the bunches and branches. From the remaining blanks, we make branches with 2-4 pieces of foliage in each (the assembly is done arbitrarily). When all the small parts are assembled into small twigs, we proceed to assemble them into larger ones, which will be the supporting branches of the bead tree. From 3-4 small prepared beams we collect a large branch, wrapping it with floral tape.
 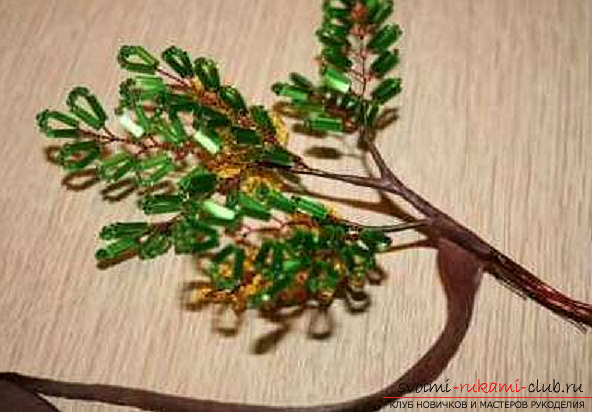 Now all the main branches of the tree are ready.
 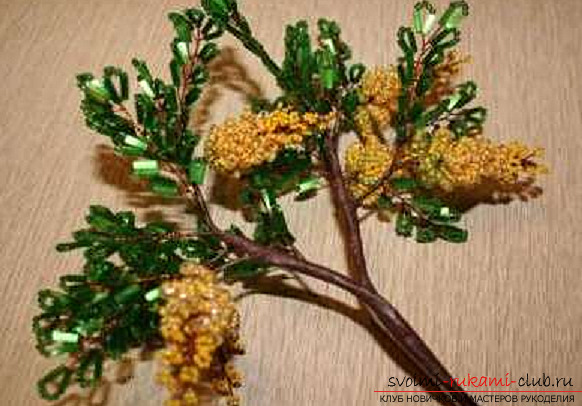 The branches look very thin. To make our tree more realistic, we need to add thickness to the branches. For this we will use painting tape.
 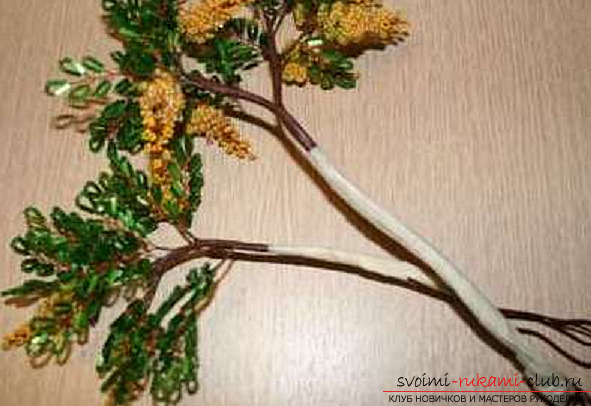 We connect existing branches, we wrap them with paint tape.
 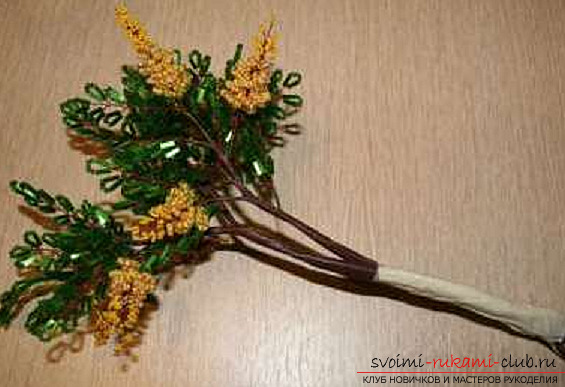 We again wind the whole trunk of the beaded tree with a floral tape.
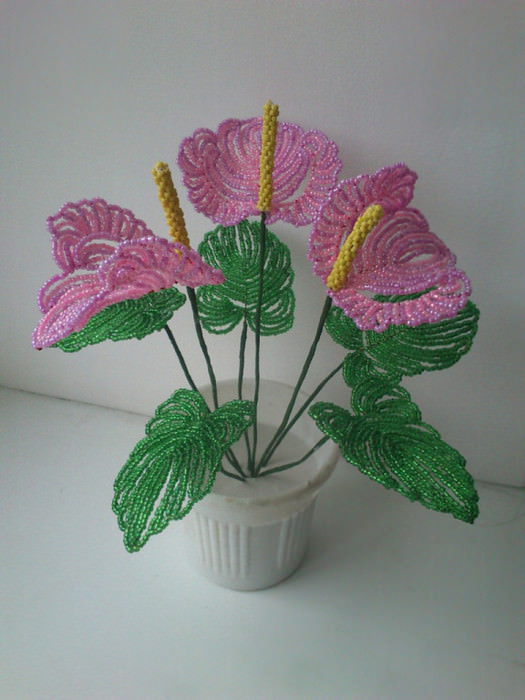
 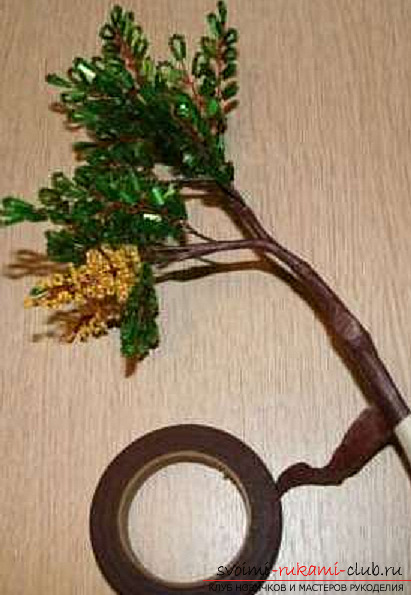 Now a flowering tree of beads is ready, butIt can not stand without our support. When our tree is ready, we need to make a stand for it, that is, put it in a pot. For this we select a suitable container, which will be a pot, try on a tree, bend if necessary a wire basis. Now we plant the alabaster, pour it into the pot. Put the tree in it. We are waiting for the alabaster to dry, thereby propping the tree so it does not fall. We decorate the frozen "ground" with pebbles by gluing them on transparent glue.
 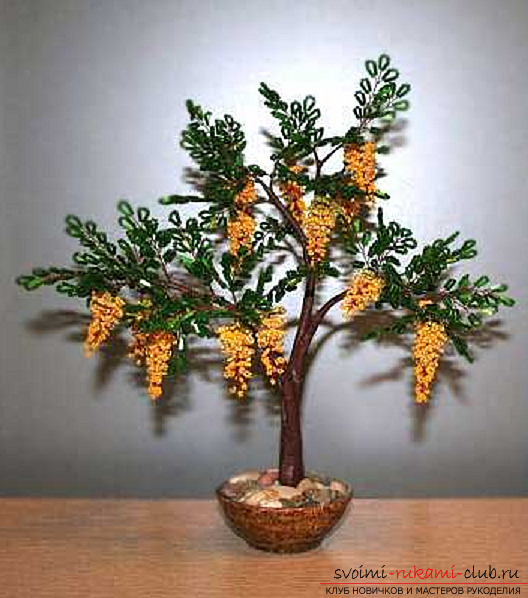 That's all! An original handmade gift or a unique decoration for your home, made by yourself, ready!