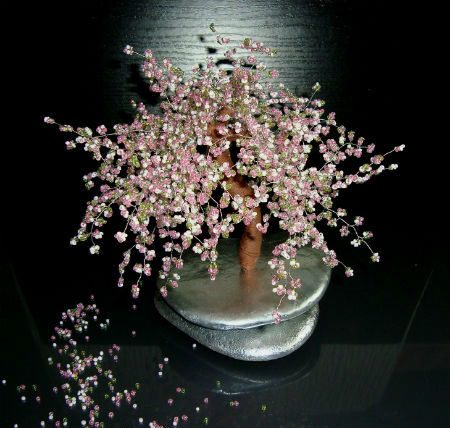
Sakura from beads blossoming tree with own hands (photo)
Content
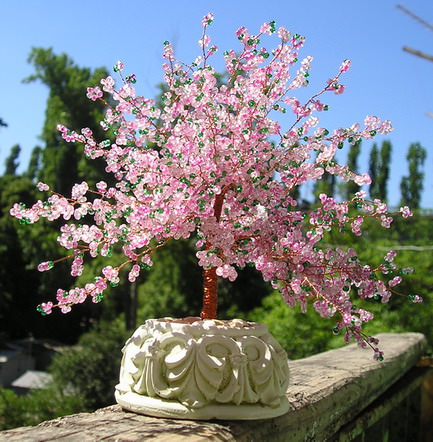
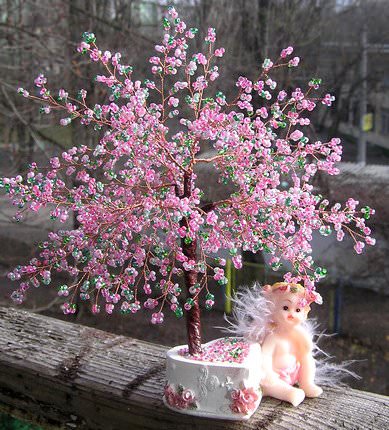
Sakura is a beautiful tree that grows inJapan. Often it is depicted in pictures, embroidered. Sakura from beads looks amazing. If you get the patience and decide to weave such a decorative tree, and even with your own hands, the result will pleasantly surprise you. A piece of Japan in your home - that's what you get! Beadwork is not as difficult as you think!
By itself, making crafts is not difficult. But, since the work is monotonous, prepare all your reserves of assiduity. Mind you also will not hurt.
The main thing is that all efforts will not be wasted. Because any sakura - organically fit into the interior of the apartment, in what style it would be made. Video master classes will help you in your ideas! Be sure to find a video.
Master classes on weaving of sakura trees
Materials required in the work:
- One plate of plastic;
- Good wire;
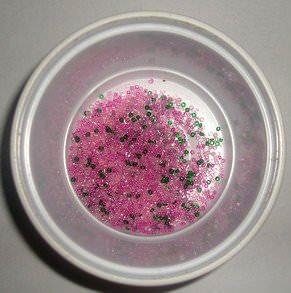
- Light pink beads (25 grams);
- Dark pink beads (25 grams);
- Green beads (15 grams);
- gypsum;
- PVA glue;
- thread;
- brush;
- Acrylic paints;
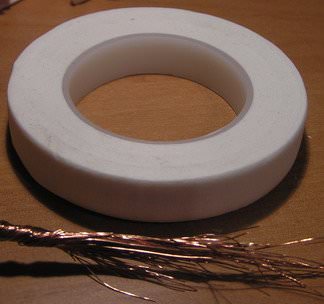
- Scotch tape;
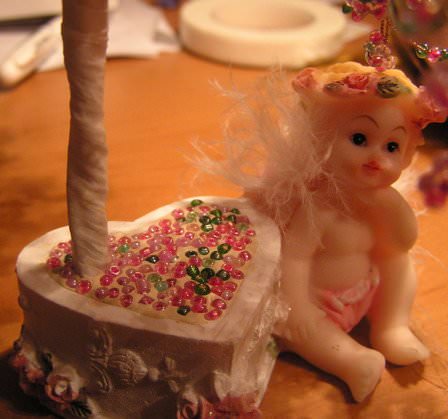
- Stand under the tree. It can be anything from a simple tablet to a beautiful box.
Sakura bead: weave scheme Please pay attention to the diagrams presented below. These pictures show patterns of weaving. With their help it is easier to act on their own.
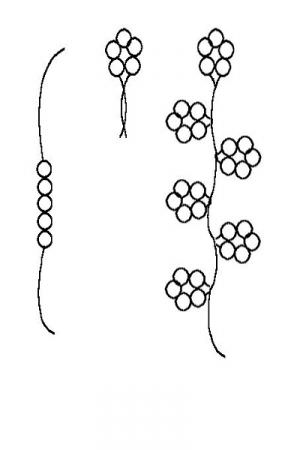
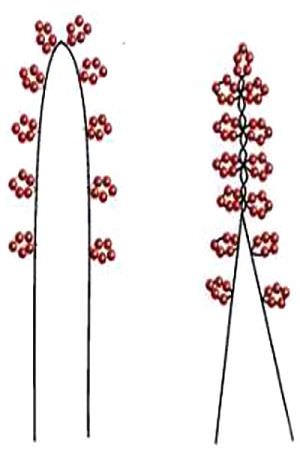
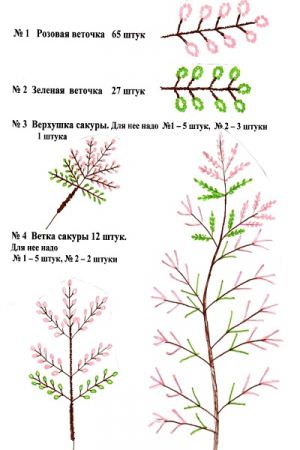
The very creation of the tree, illustrate the pictures located in the course of the article.
Schemes should be studied before you begin to weave. Once you understand the basic algorithm of work, go directly to it, following our instructions.
Sakura from beads - master class
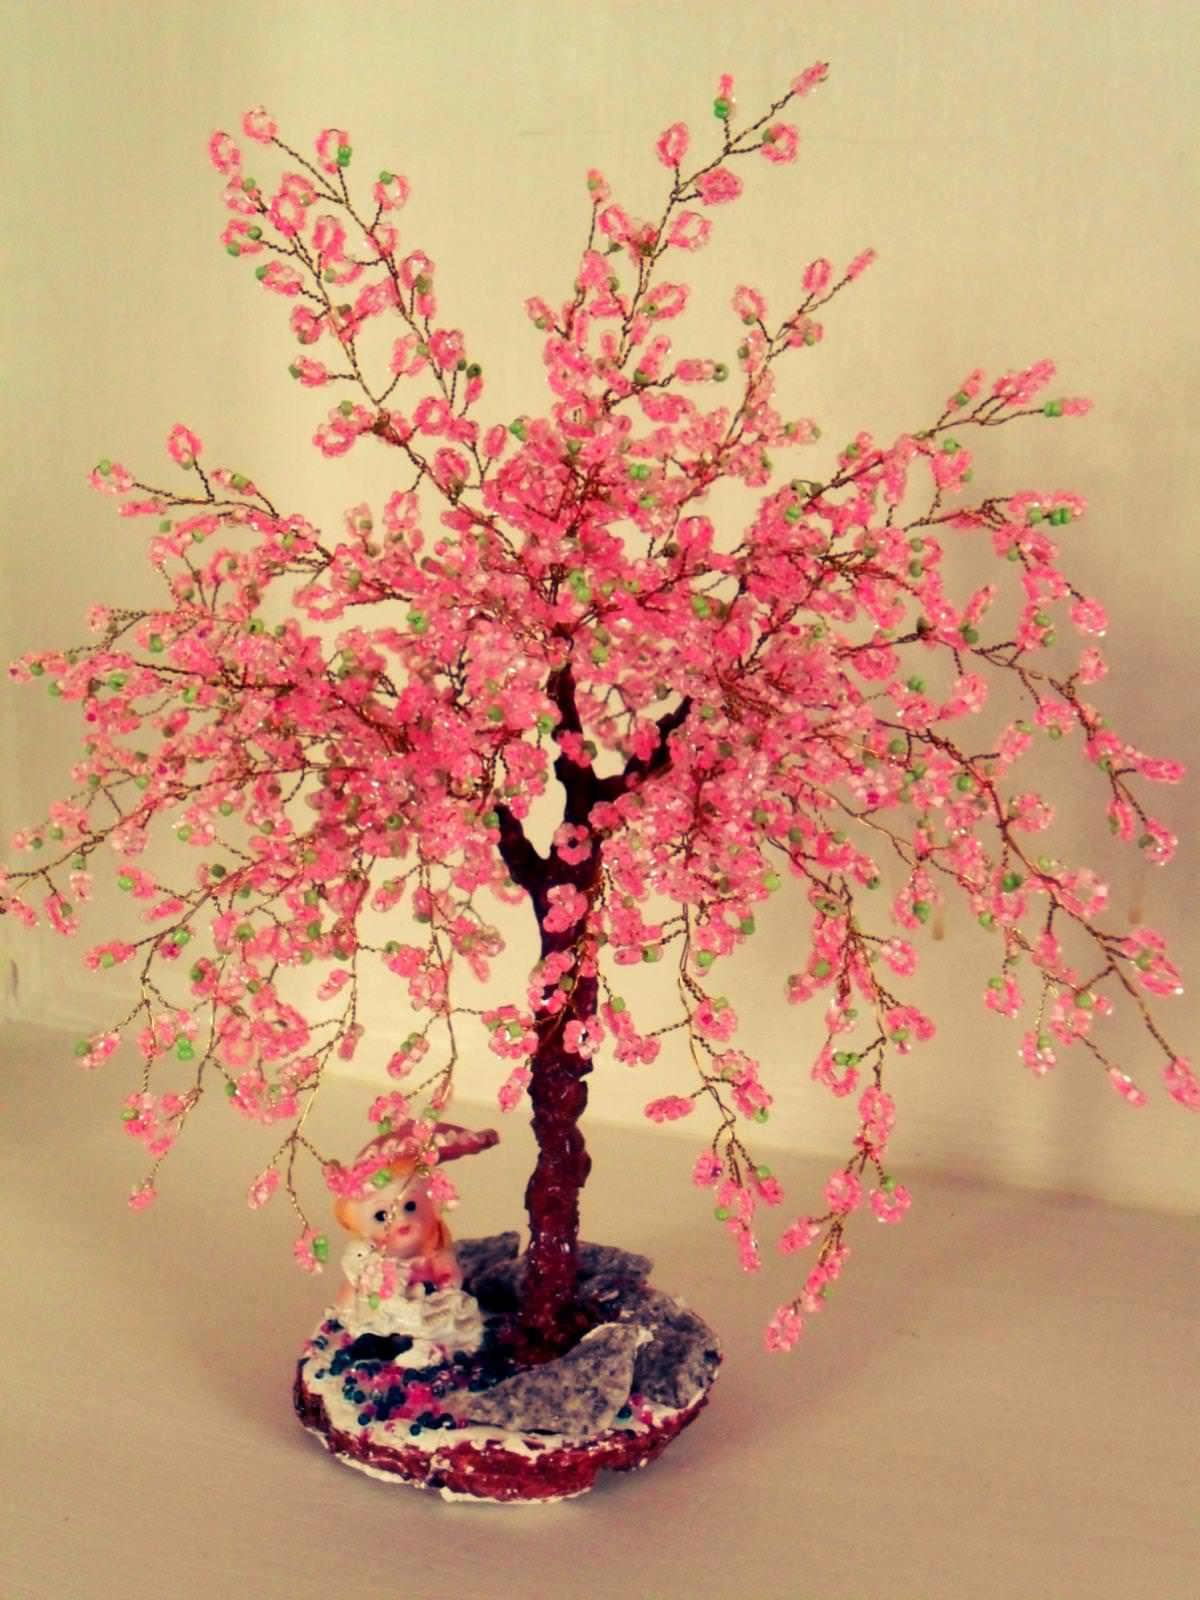
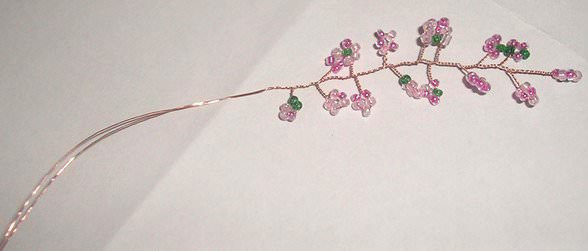
The next step is to weave the leaves. For this, leaflets are knit, five beads each. The distance between the leaf is about one centimeter;


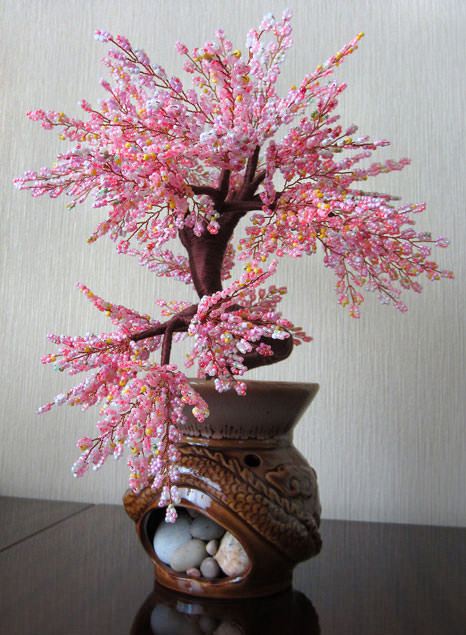
Some believe that such a trunk is not beautiful. It can be decorated. To do this, you need to take plasticine of any color, and cover it with a trunk. See how it will look on the photo.
In order for the clay to resemble a bark, with the help of a needle or a toothpick, make a notch on it with your own hands.
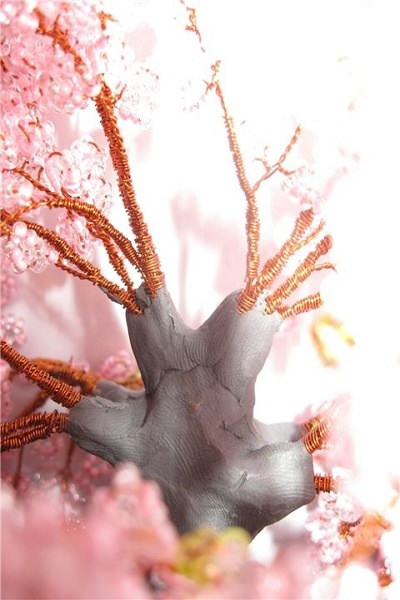


If you use white clay, as we have onPicture, you can give it a more reliable color. To do this, simply paint it with acrylic, brown color. As you can see, beadwork is available to everyone! And our master class is over.
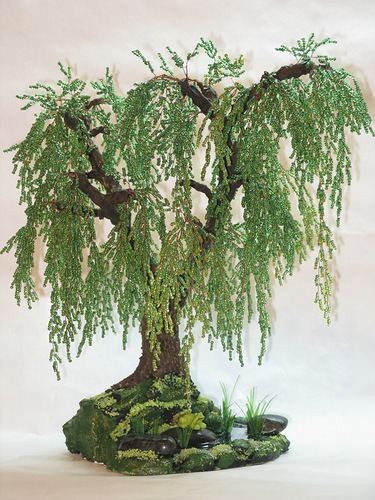
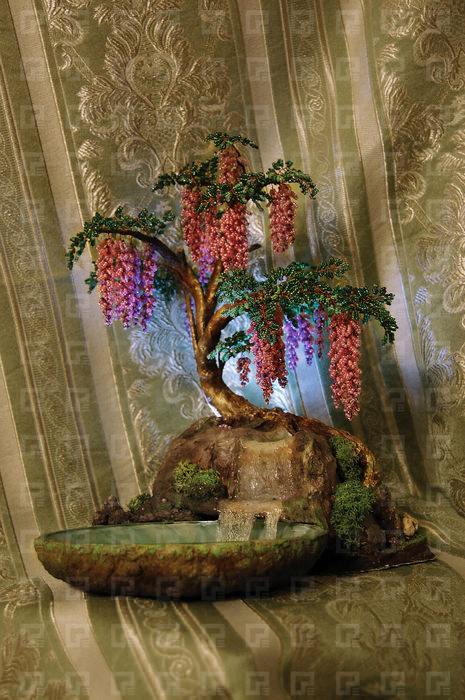
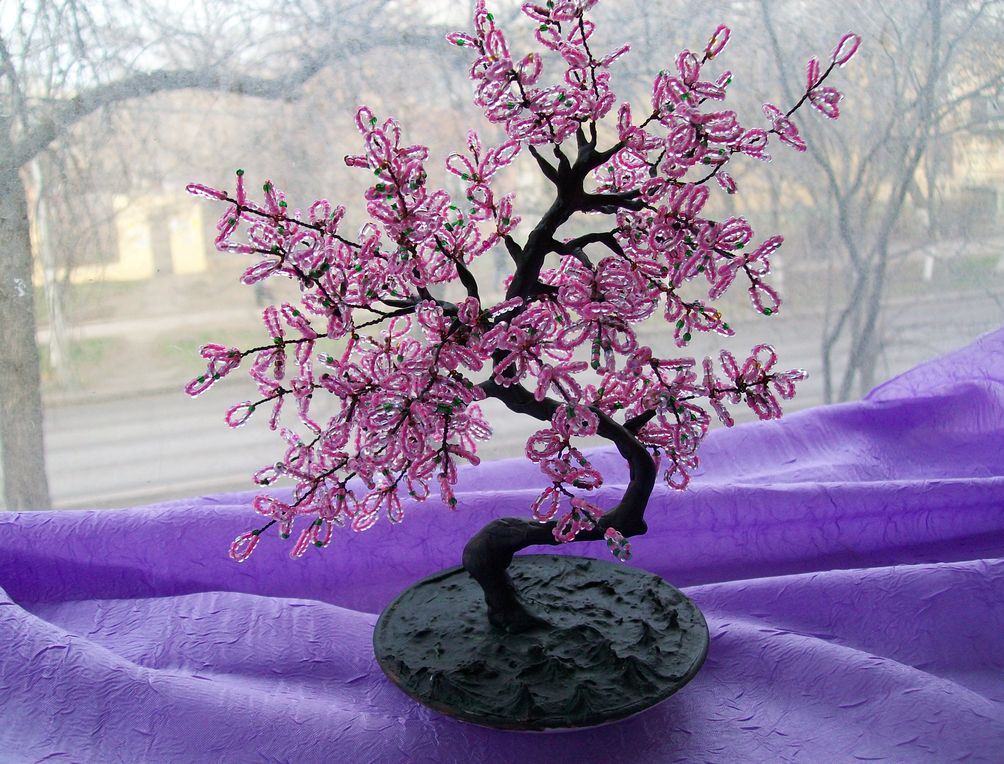
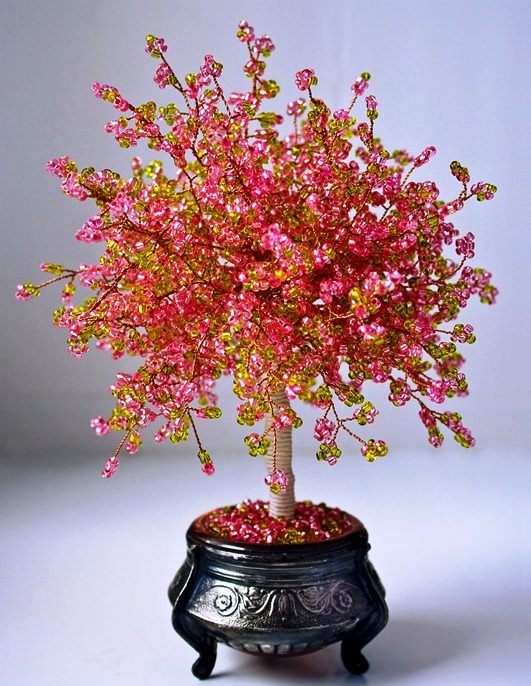
Ideas for weaving cherry Many people think thatSakura can only be pink. But in fact, you can use any color, according to your desire. Very beautiful looks beadwork from black green and red colors. Sakura of beads turn out very beautiful!
How else can we make sakura? Consider another way to make such a sweet fake. Our lessons will help develop your imagination.
What we need:
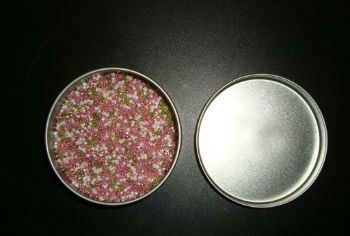
Nine different bags with beads. Usually in each packet about 10 grams. So, pink need at least 40 grams, very light beads 30 grams, and a gram of 20 green;- Prepare a plate in which you will mix the beads;
- wire;
- Nippers;
- line;
- Adhesive PVA or Moment, but transparent;
- Scotch;
- Woolen threads;
- scissors;
- Counter for forgery. This can be a stone in which a hole is drilled.
Well, start our weaving.
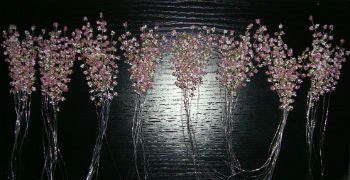
Sakura from beads own hands
- Take and mix in the plates all the beads that you have;
- Cut the wire into pieces of 70 centimeters each. Just need about 10 segments;
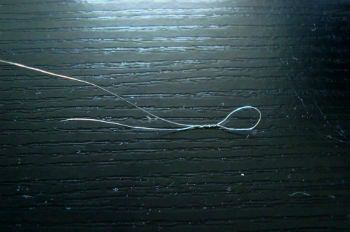
- At the end of each wire we make a loop;
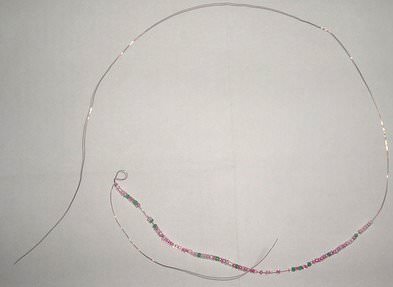
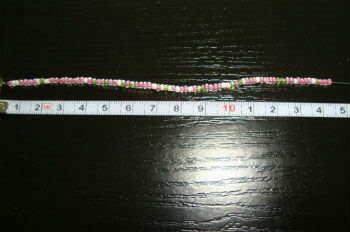
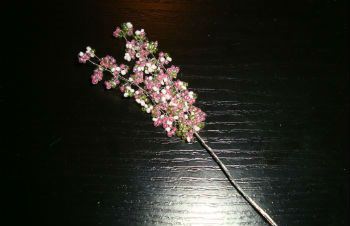
- We put on a wire beads in a chaotic order. Total beads in length should be about 15 cm;
5 beads twist together. It is usually three times to wrap enough to fix the result;- Repeat the procedure every ten millimeters. A total of 15 twists should be made on one wire;
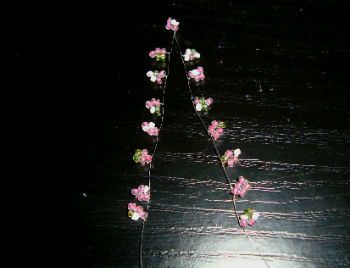
- Choose the twist central. We bend the wire in half. The central one is on top. And all the other twists should look at each other;
- Then both parts of the wire should be twisted together. The branch should be homogeneous. It should be smooth and well bend. Here is the weaving!
- It turns out that such twigs should be made exactly eighty pieces. Of course, this is difficult and the work tires. But the result is worth it, believe me!
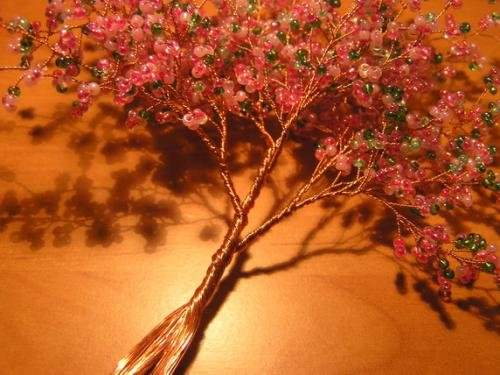
- Then every five separate branches need to be twisted into one. It turns out that in the end they should go 16 pieces of large, lush and voluminous branches. Sakura of beads look great!
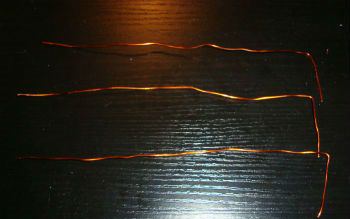
- Now take the other pieces of wire. At the end of each we make a small fold. It turns straight wire - with a certain likeness of the stand;
- Each of these wires slightly bend, as if you are imitating large branches;
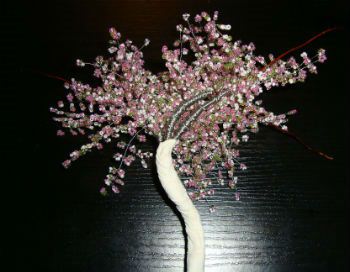
- Then to these branches we fasten our small twigs, which we have already done, with beads. It turns out that 5 branches are wound on each of the branches;
- After this work is completed, you need toAll the big branches twist together. The result is a charming tree with a column. Be attentive - our master class is designed only for such people;
- In order to give the post a similarity with the present, one must take and wrap it with woolen threads. It's better to use a brown color - it's perfect;
- The final touch is put the cherry on the stand. The original solution will be a stone with a drilled hole, just insert a pillar into it and fasten it. Now our weaving has ended!


Be sure to make sure that the tree stands tightly on the stand. By the way, on our site there are a lot of video lessons on weaving such wonderful things. Pay attention to such videos!
And yet, if you wish, decorate the stand. I repeat, this can be done simply. Spread the base with glue, fill in beads, or glue bows, all kinds of ribbons, beads. Your stunning beautiful sakura bead is ready! It will be a great decoration for your house, and can be a good gift for any occasion. And most importantly, you made it yourself! Our master class, we hope you have everything explained.
Video: Weaving of sakura wood from beads