Scheme of embroidery of the icon of St. Panteleimon the Healer by the cross, detailed master-class with a diagram and a photo for beginners.
In numerous sections of needlework there is a specialThe theme is the embroidery of icons. I must say that embroidery with a cross or beads of icons is an ancient kind of needlework, which was common even in the times of Kievan Rus. Icons were accepted to dress in rich salaries, decorated with precious stones, beads. Before embroidering an icon with a cross, you need to think carefully: how much are you tuned to this kind of work? In this article, we will tell in detail about what every needlewoman should know before embroidering an icon, and also describe in detail the process of cross-stitching the icons of St. Panteleimon. 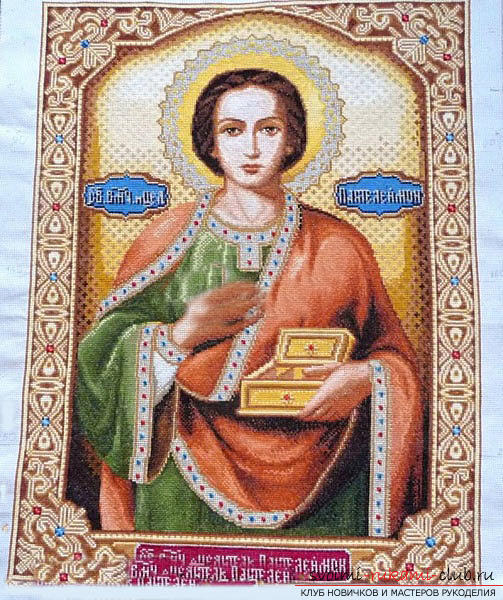 So, first briefly talk about what you needKnow the beginner needlewoman who wants to embroider the icon with her own hands. Remember that such a product is embroidered for centuries, and then will be passed down from generation to generation. Therefore it is very important to create an icon, filling it with only positive energy. Embroidering each cross, you should invest in it all your faith in God and the fact that this icon will be the real keeper of your home, relatives and friends. Do not think about anything negative. Listen to positive music that will help you tune in to a positive mood. You can read the prayer and take the blessing from your father for this work.
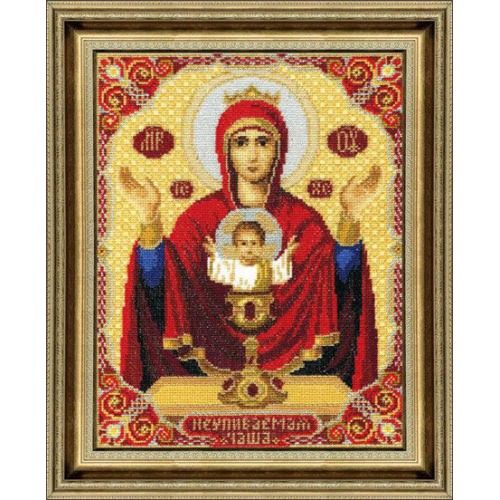
 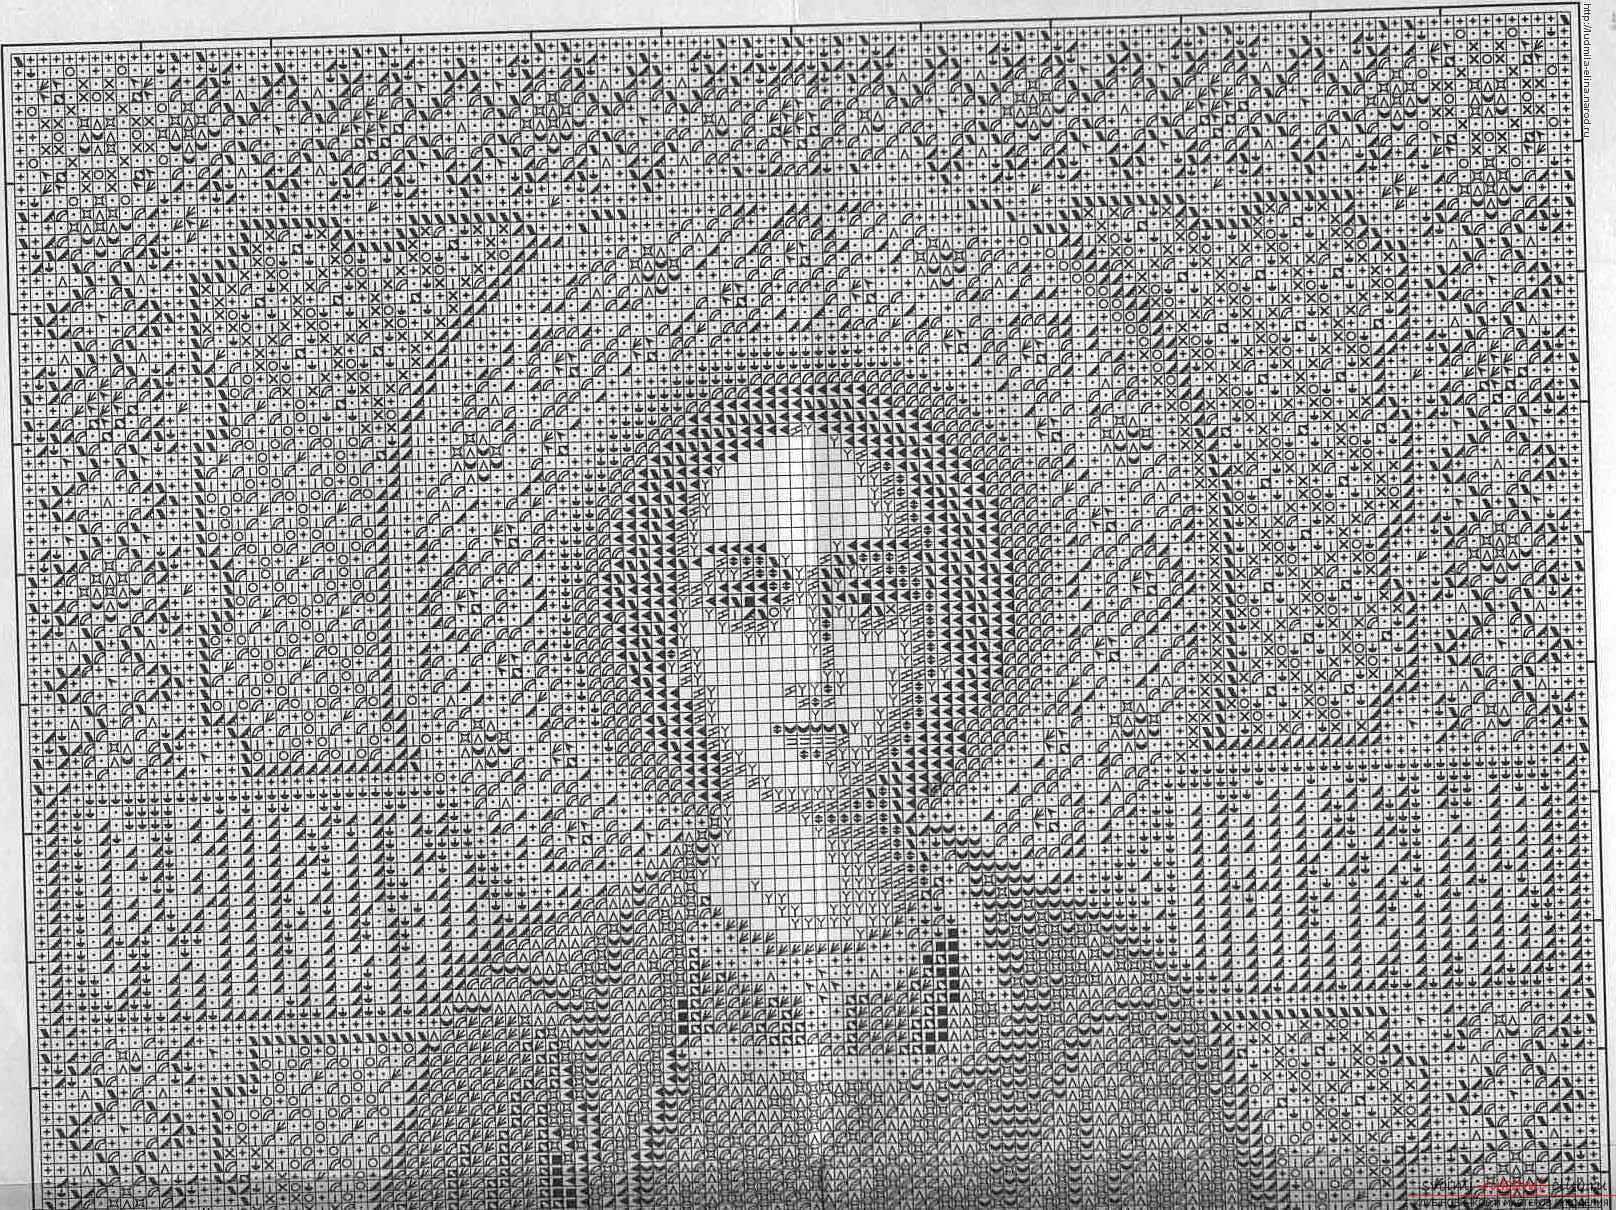 Next, we'll tell you how to embroider an iconSt. Panteleimon is quick and easy. Below we suggest a scheme for cross-stitching. In parallel, the subframe contains the designations of the triangles to be embroidered.
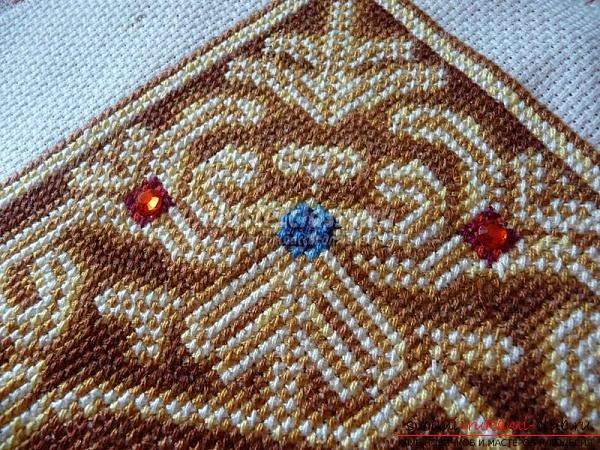
 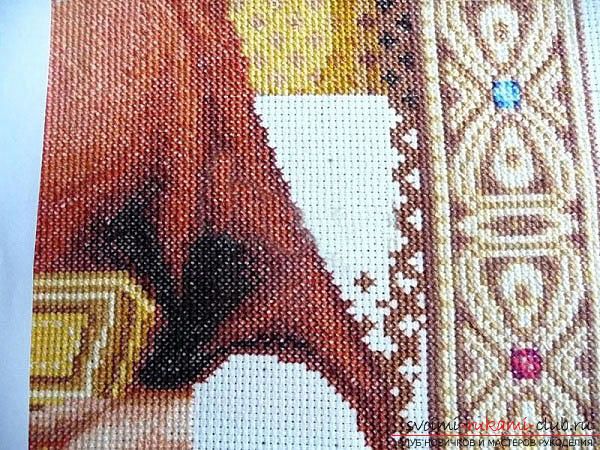 Next to them are the letters "G". They should also be embroidered. The "G" badges must be embroidered on a light background. You can embroider the rest of the field later. During the cross-stitching of this icon we use threads of several shades: gold, light gold and silver. Please note that the threads of LCA can disappoint you. After all, the base under silver and gold is silk, it can stretch, while the upper layer bursts, and the silk thread itself has a bright yellow color. Therefore, you can use the "Gamma" thread. We will tell you about the most important stages of cross-stitching icons. 1. It is necessary to separate one thread from the whole skein. After you fold this thread in half, its length should not exceed thirty centimeters.
 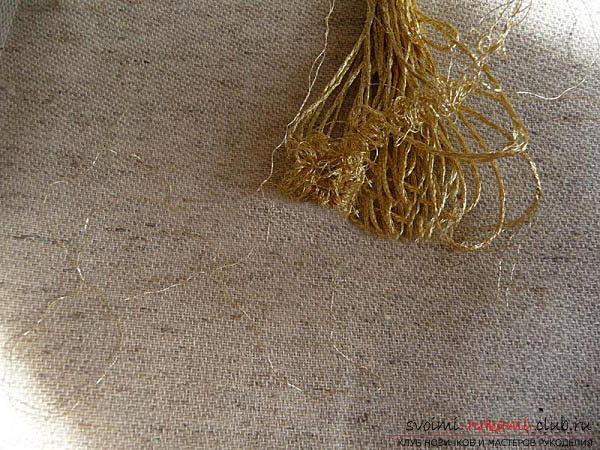 2. Then we need to fold the thread into two parts so that it would be convenient for us to fix it on the wrong side. 3. The tail should be left small, because you can not move the needle on the thread during embroidery. Otherwise, the thread will wear out in the eye of the needle, and your cross will come out uneven.
 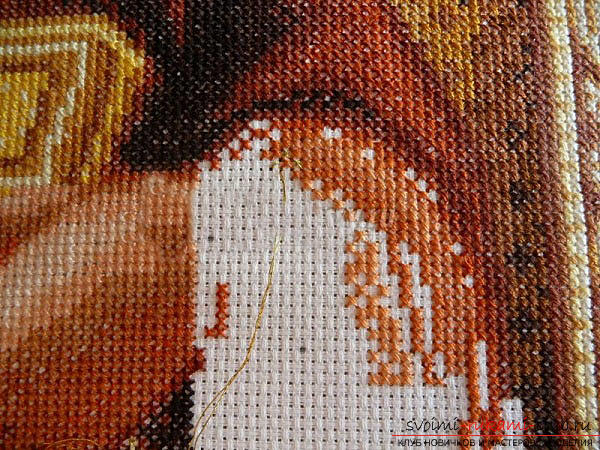 4. To embroider it is necessary on 1 cross, that the thread well laid down. When we carry out small transitions, we do not need to cut the thread, it's enough just to bring it to the right place. If you are embroidering, and at this time an eyelet is formed at the bottom edge of the stitch, then just pull the thread lightly and align the cross.
 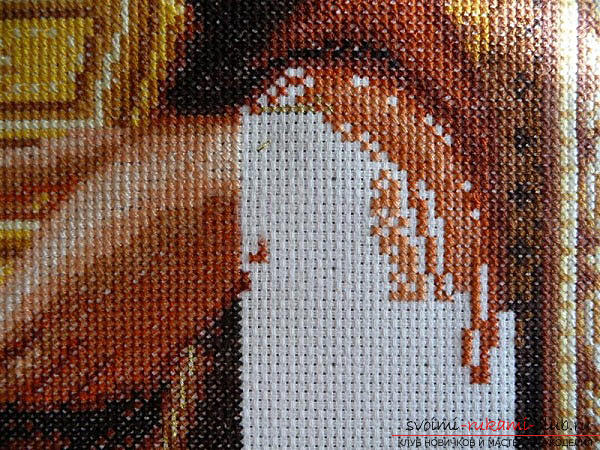 5. The robe of the saint, the finish of his collar and the cloak itself can be embroidered with beads or else attach sequins. 6. Next, take the needle to the center of the square, thread the beads onto it and pull the needle to the wrong side through that hole. 7. On the side of the underside, it is necessary to create a navy in order to carefully fix the beads. 8. Then you need to attach the whole beads of red color with a thread in the tone.
 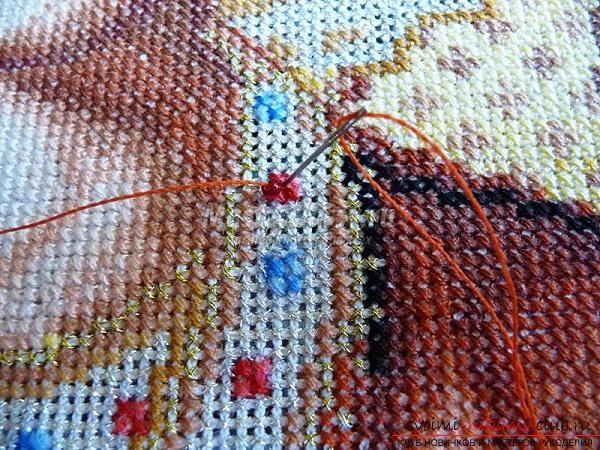 9. Using a blue thread, attach the whole beads of blue color.
 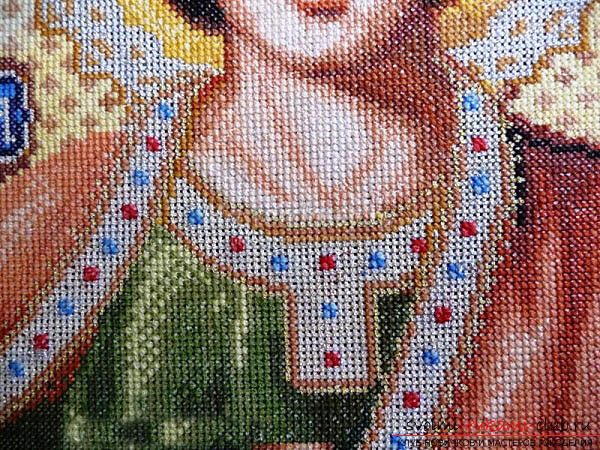 10. The frame can be attached with the help of glue strips. To do this, you need to expand them in the center of the square. With the tip of the ironing press on the very fabric and sohold about half a minute (as for the rhinestones made of plastic, they can melt). 11. That's all. The icon of St. Panteleimon, embroidered with a cross, is completed. After that, it should be washed, treated with steam iron and processed in a framing workshop in a separate frame.
Comments
Related posts:
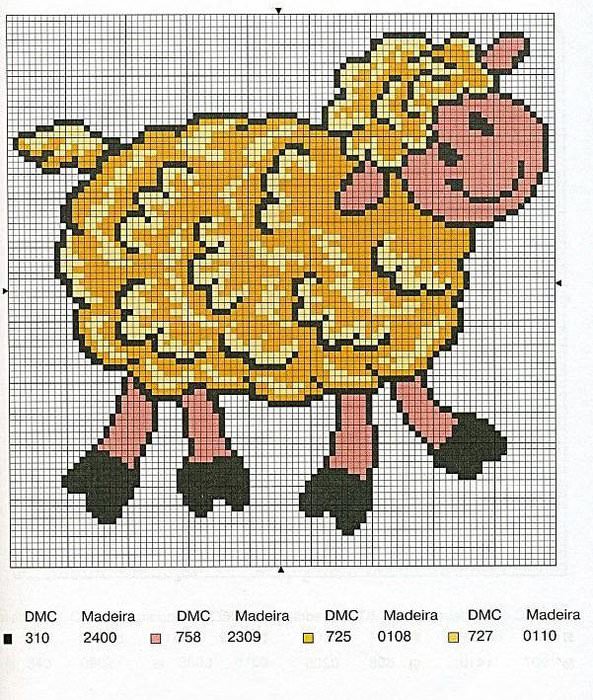 Sheep embroidery cross pattern and master class (photo)
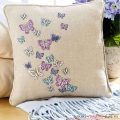 Cross-stitch embroidery designs for embroideries, butterfly embroidery, free cross-stitch patterns for embroideries, a master-class for embroidering pillows according to the scheme
 Cross-stitching lessons for beginners for free, cross stitch patterns, free embroidery schemes
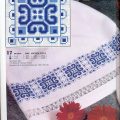 We learn how to cross-stitch towels for beginners for free, schemes of cross-stitch embroidery, free schemes of embroidering towels
 Embroidery with beads masterclass icons with photo and video examples