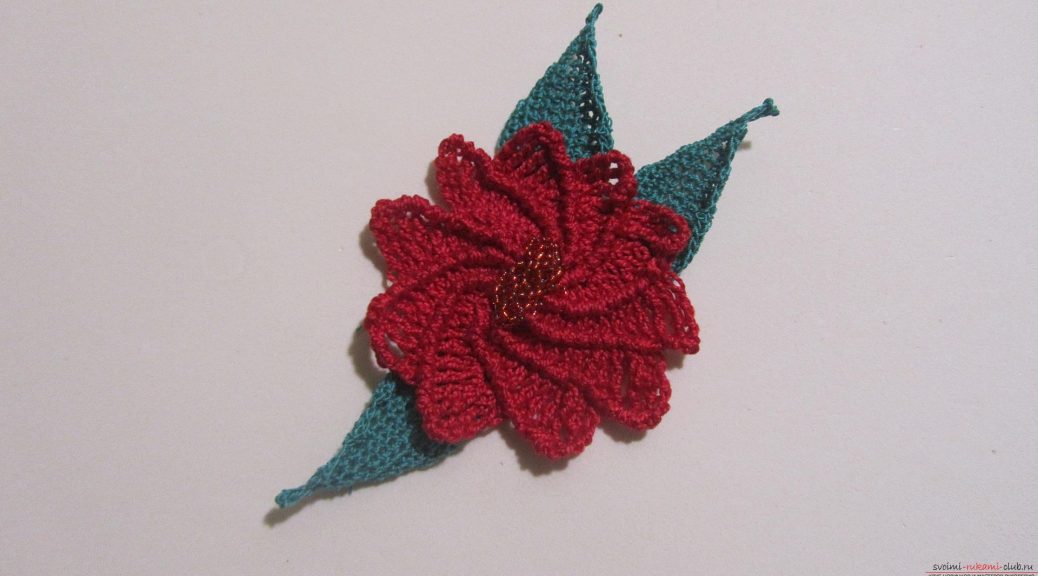
This article will give a lesson on how to crochet flowers of poinsettia, a master class with photos
In order to associate the flower poinsettia,You will need: - thread of red color; - Threads of green color; - crochet hook, suitable for thread thickness; - red seed beads; - monofilament; - bead needle. Progress 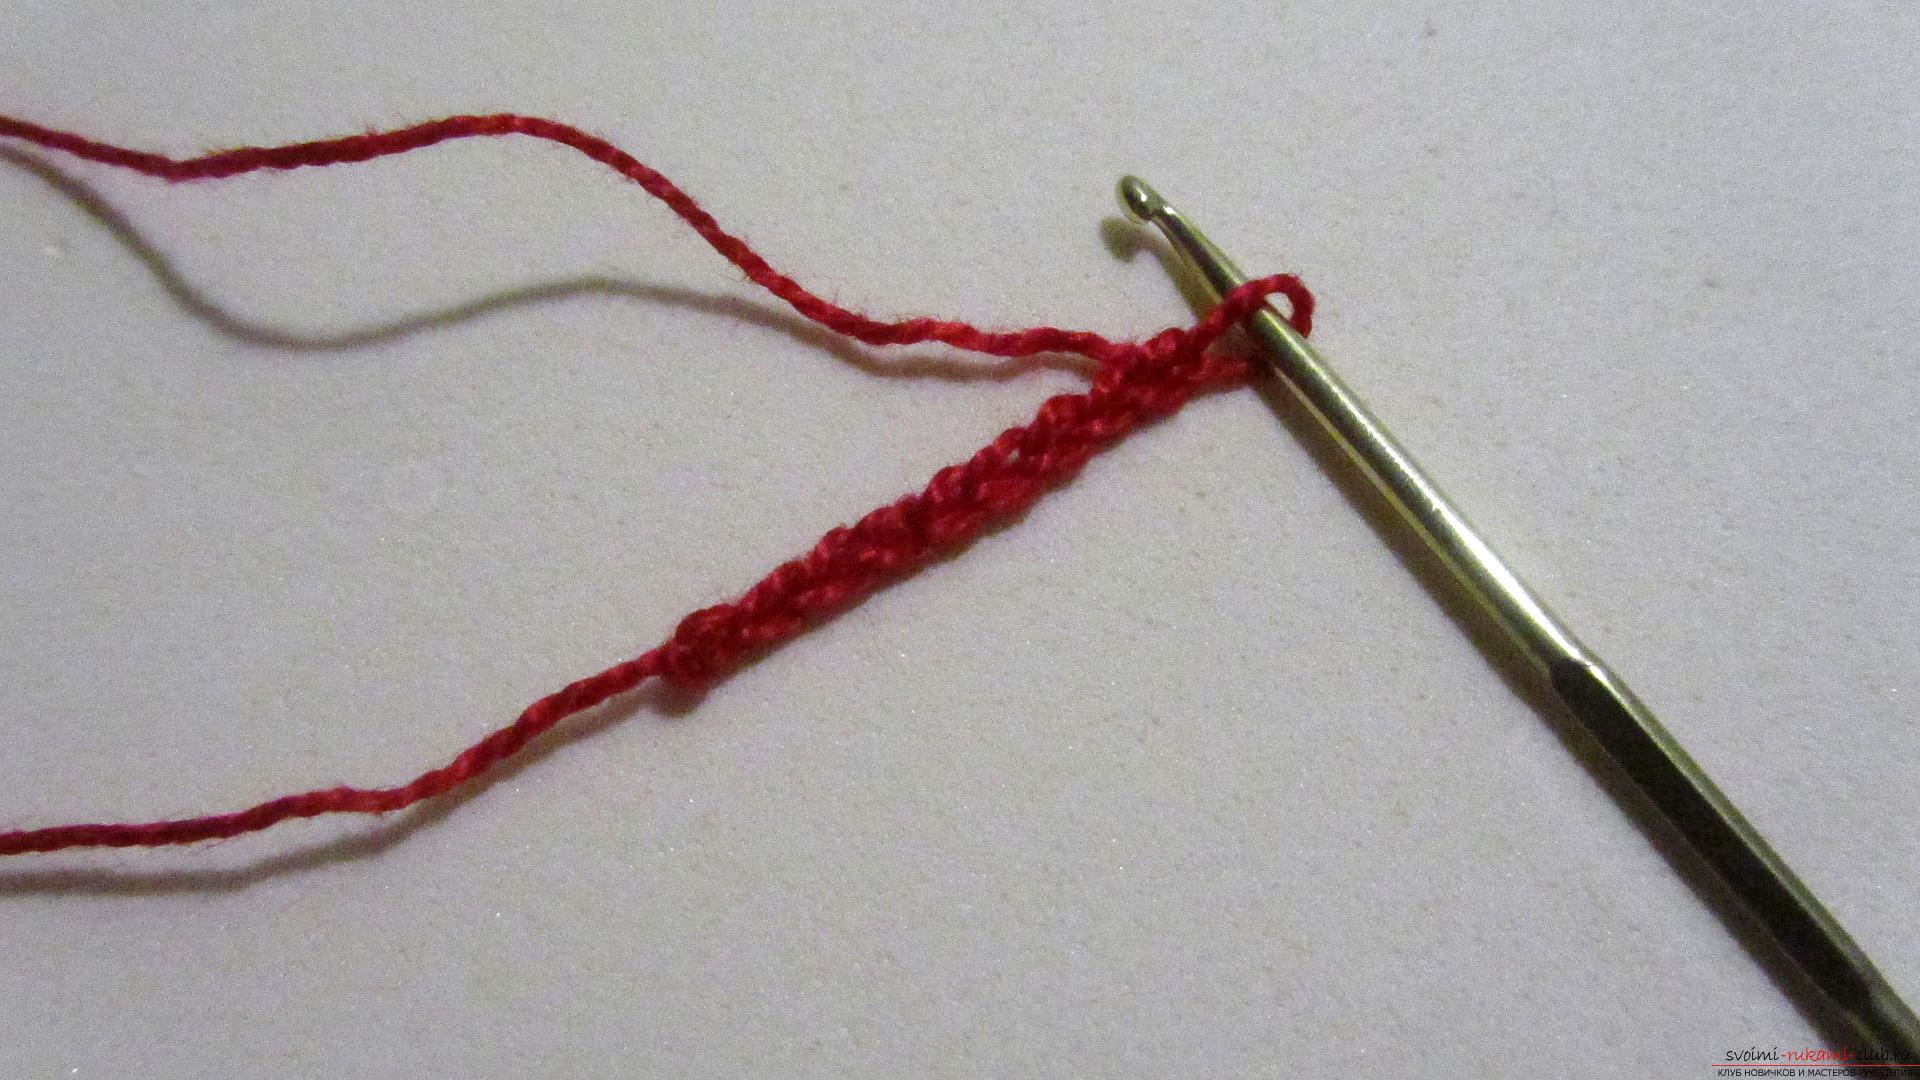 To begin with, you need to dial a chain of 9 air loops.
 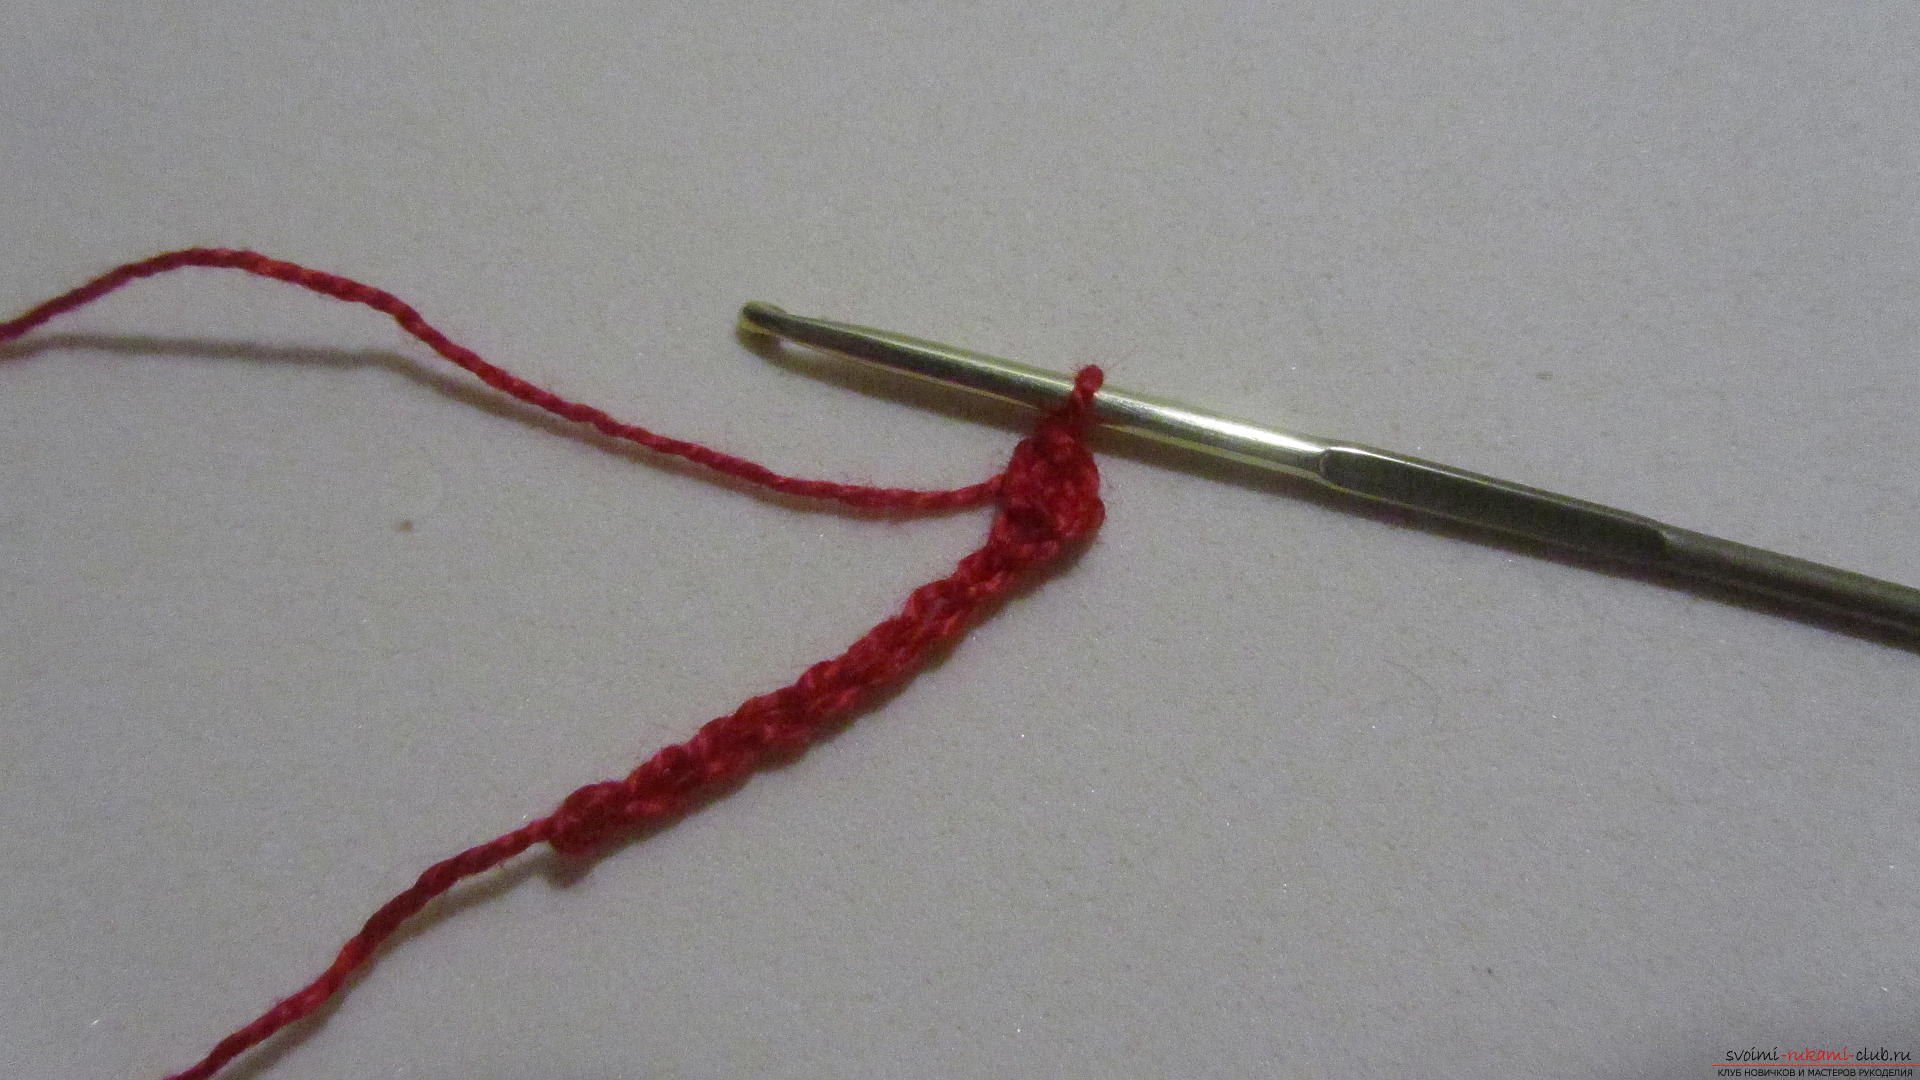 Make one air lifting loop. In the first air loop of the chain (the second from the hook), fasten 1 bar without the crochet.
 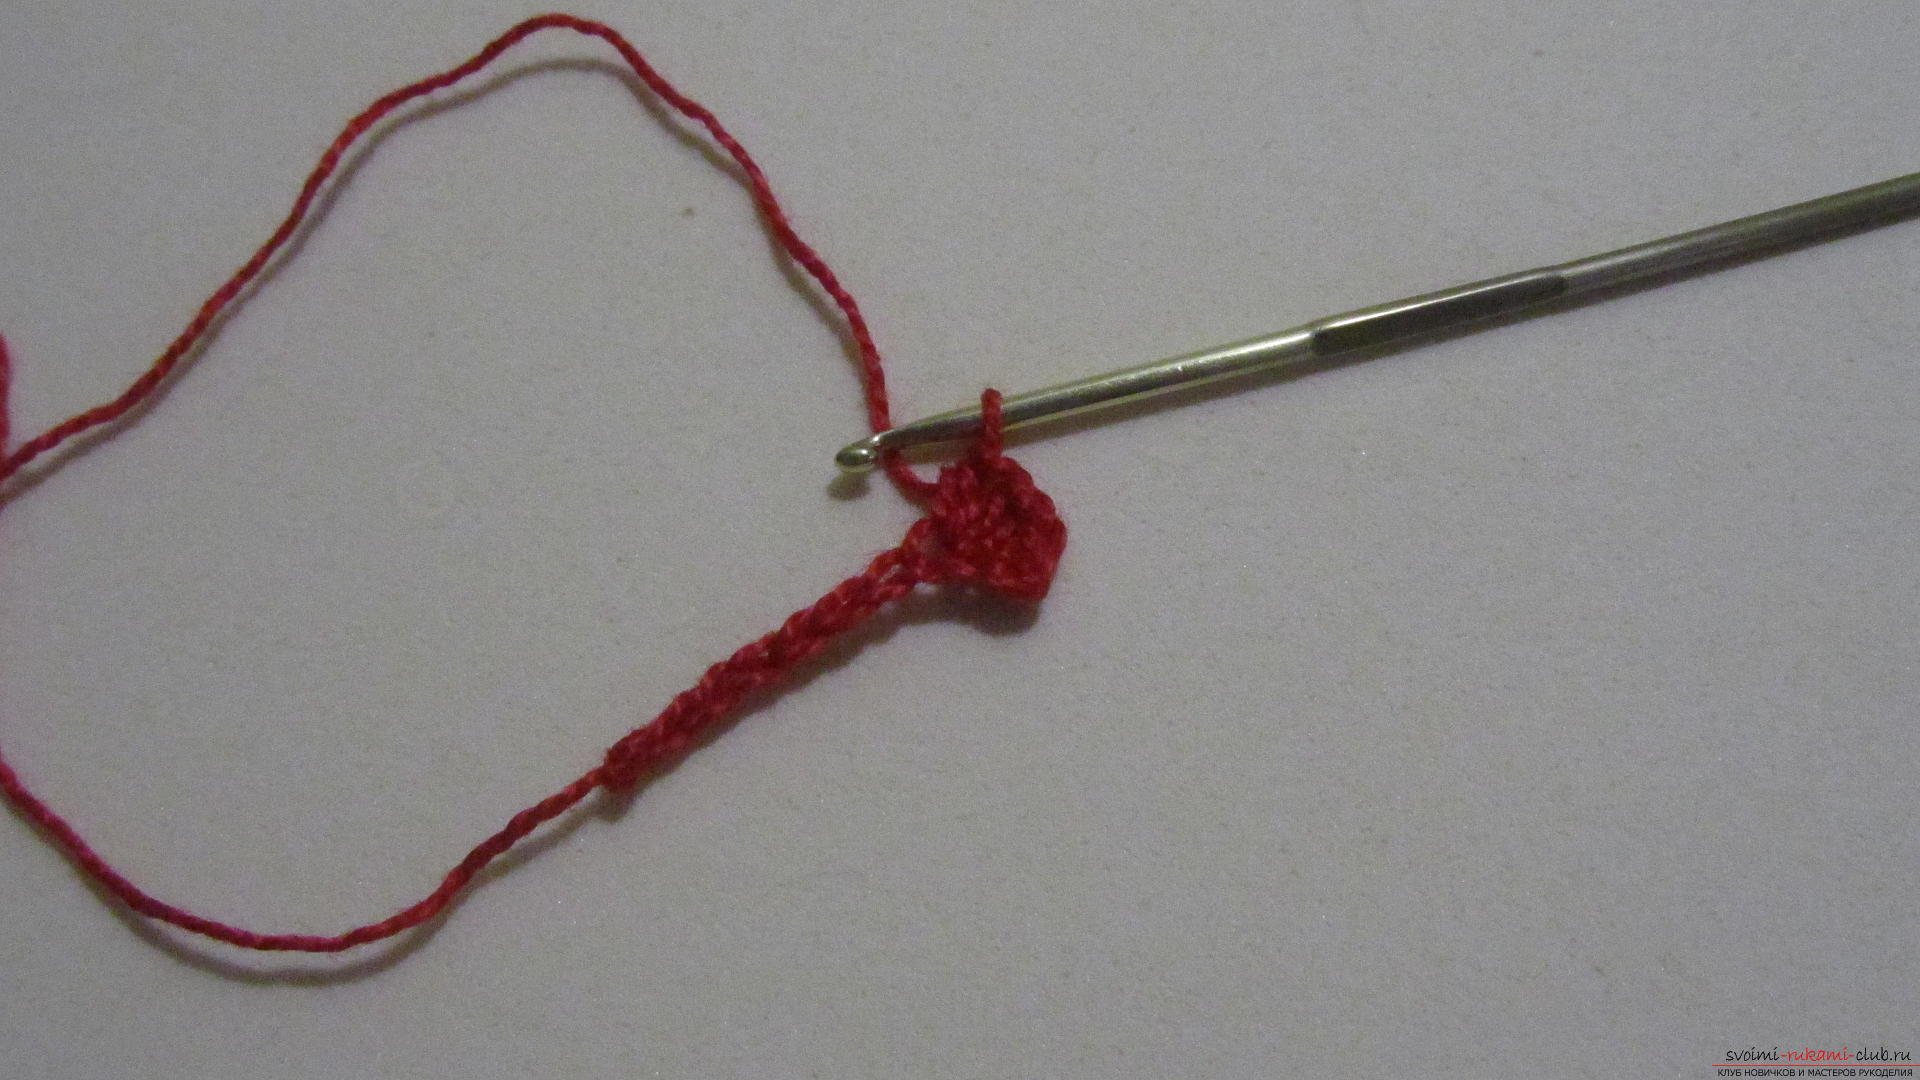 In the second air loop, tie twopolustolbika. The half-loop is tied like this: one loop (working) on the hook, we make a cape, we stretch the thread through the air loop of the chain (3 loops on the hook) and we sew all at a time, with one loop.
  In the third air loop we make one half-column.
 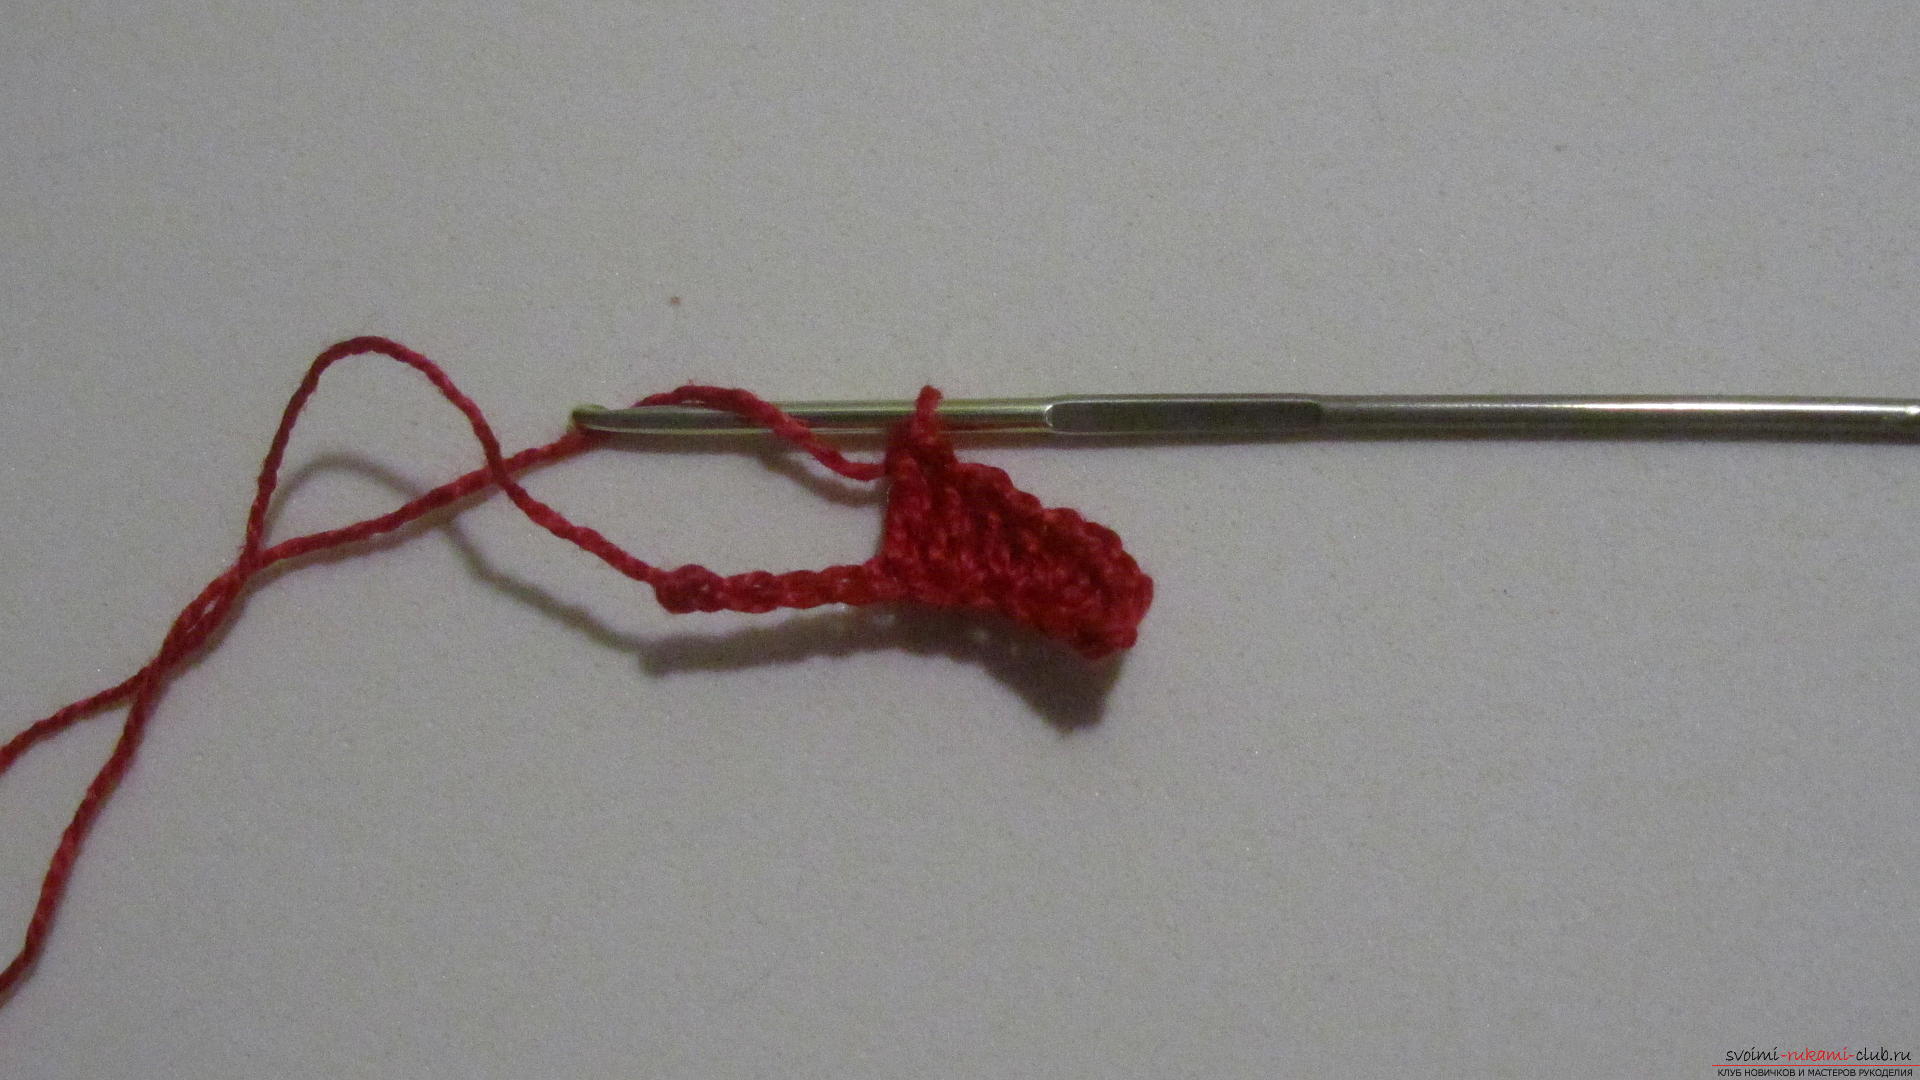 From the fourth air loop to fasten 2 stakes with one cuff, and from the fifth - one column with a crochet.
 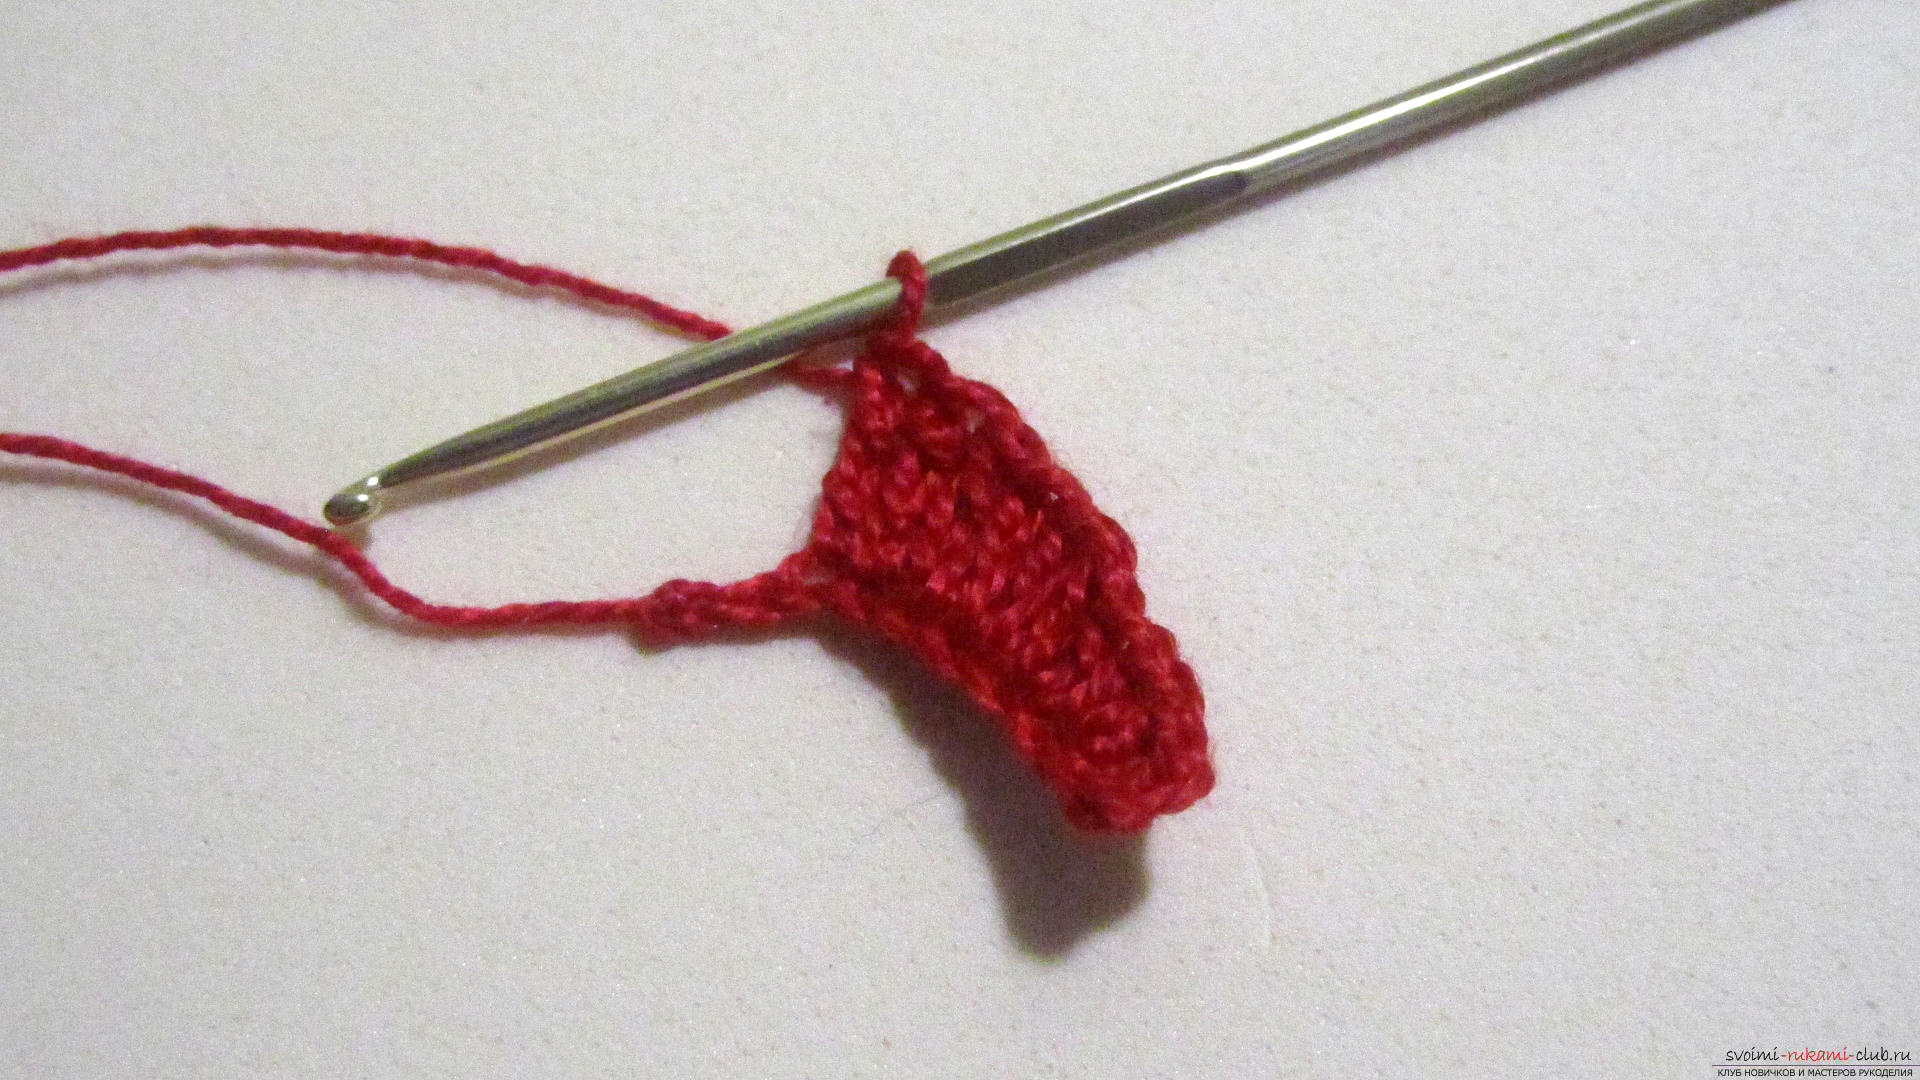 From the sixth and the seventh we sew the columns with two rounds. From the sixth - 2, from the seventh - 1.
 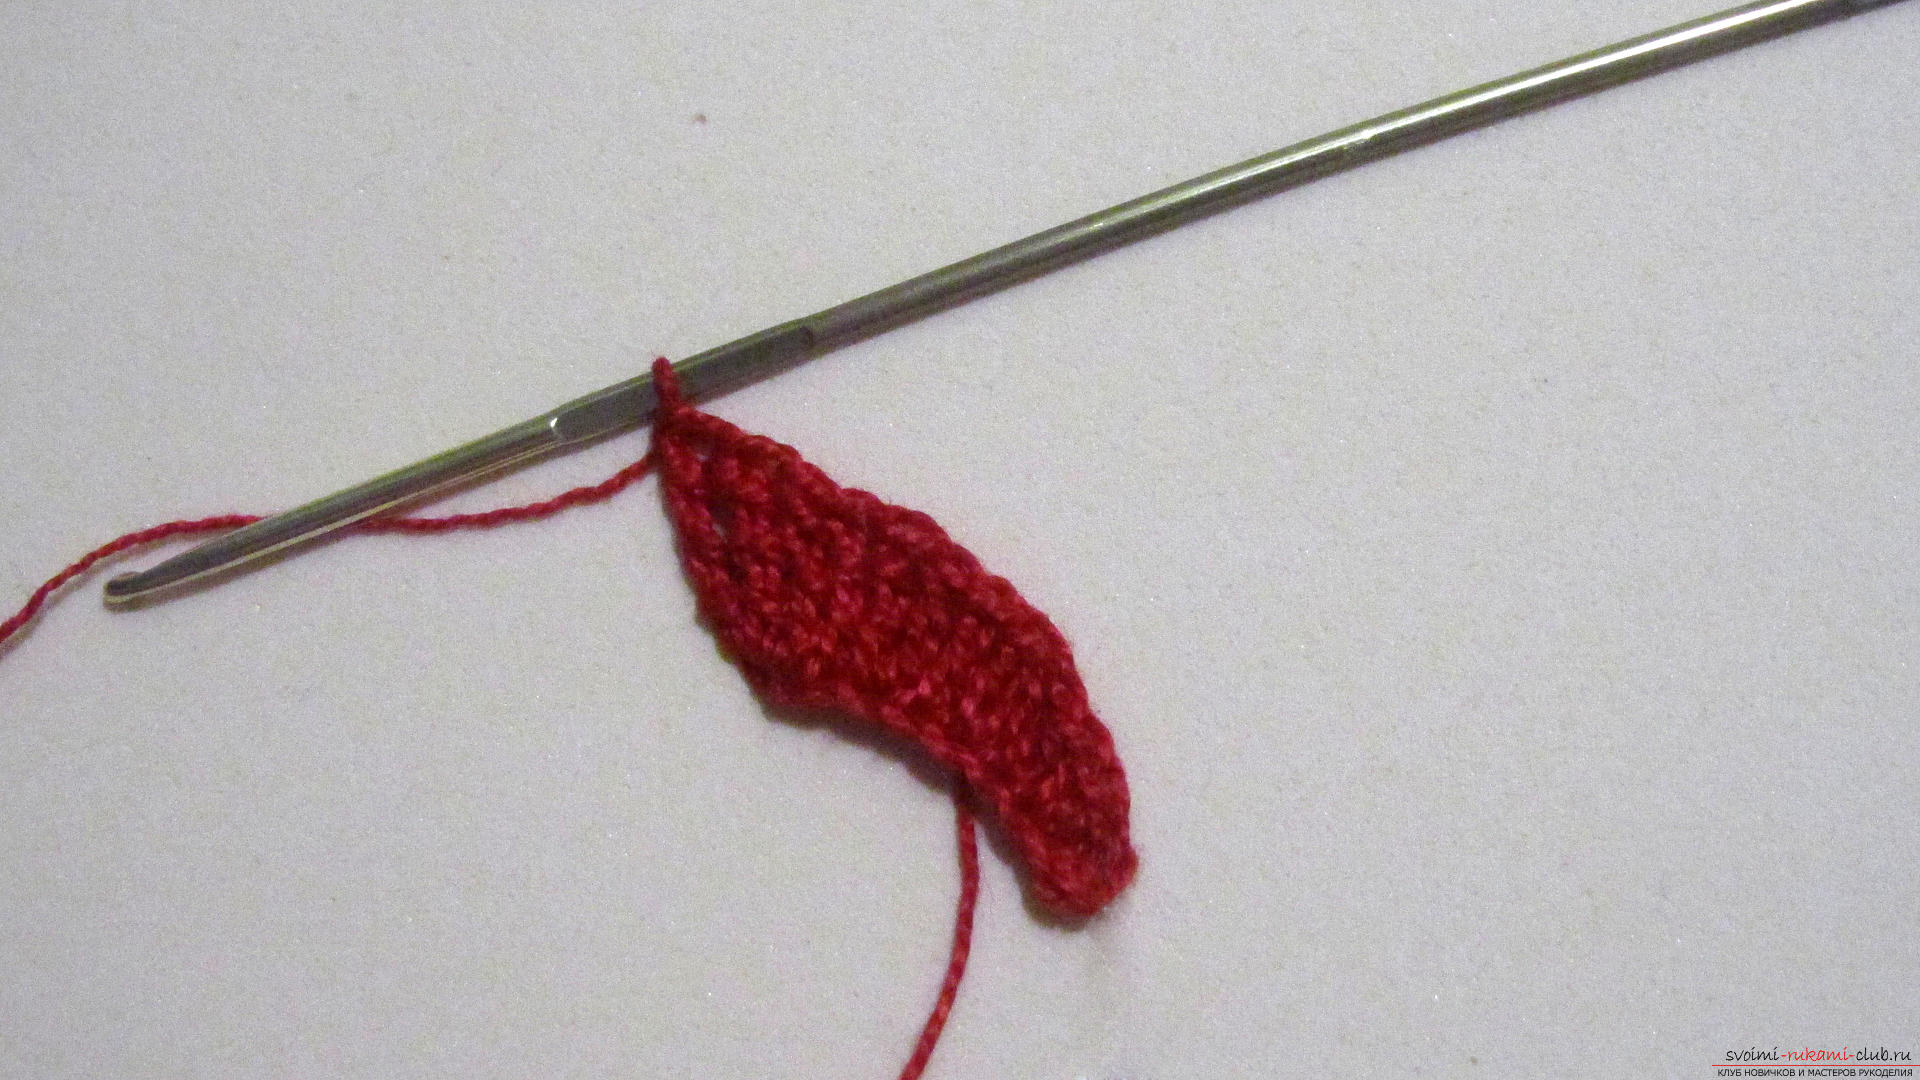 From the eighth and ninth we tie the bars with the three capes on the same principle (from 8 - 2, from 9 - 1). The first petal is ready.
 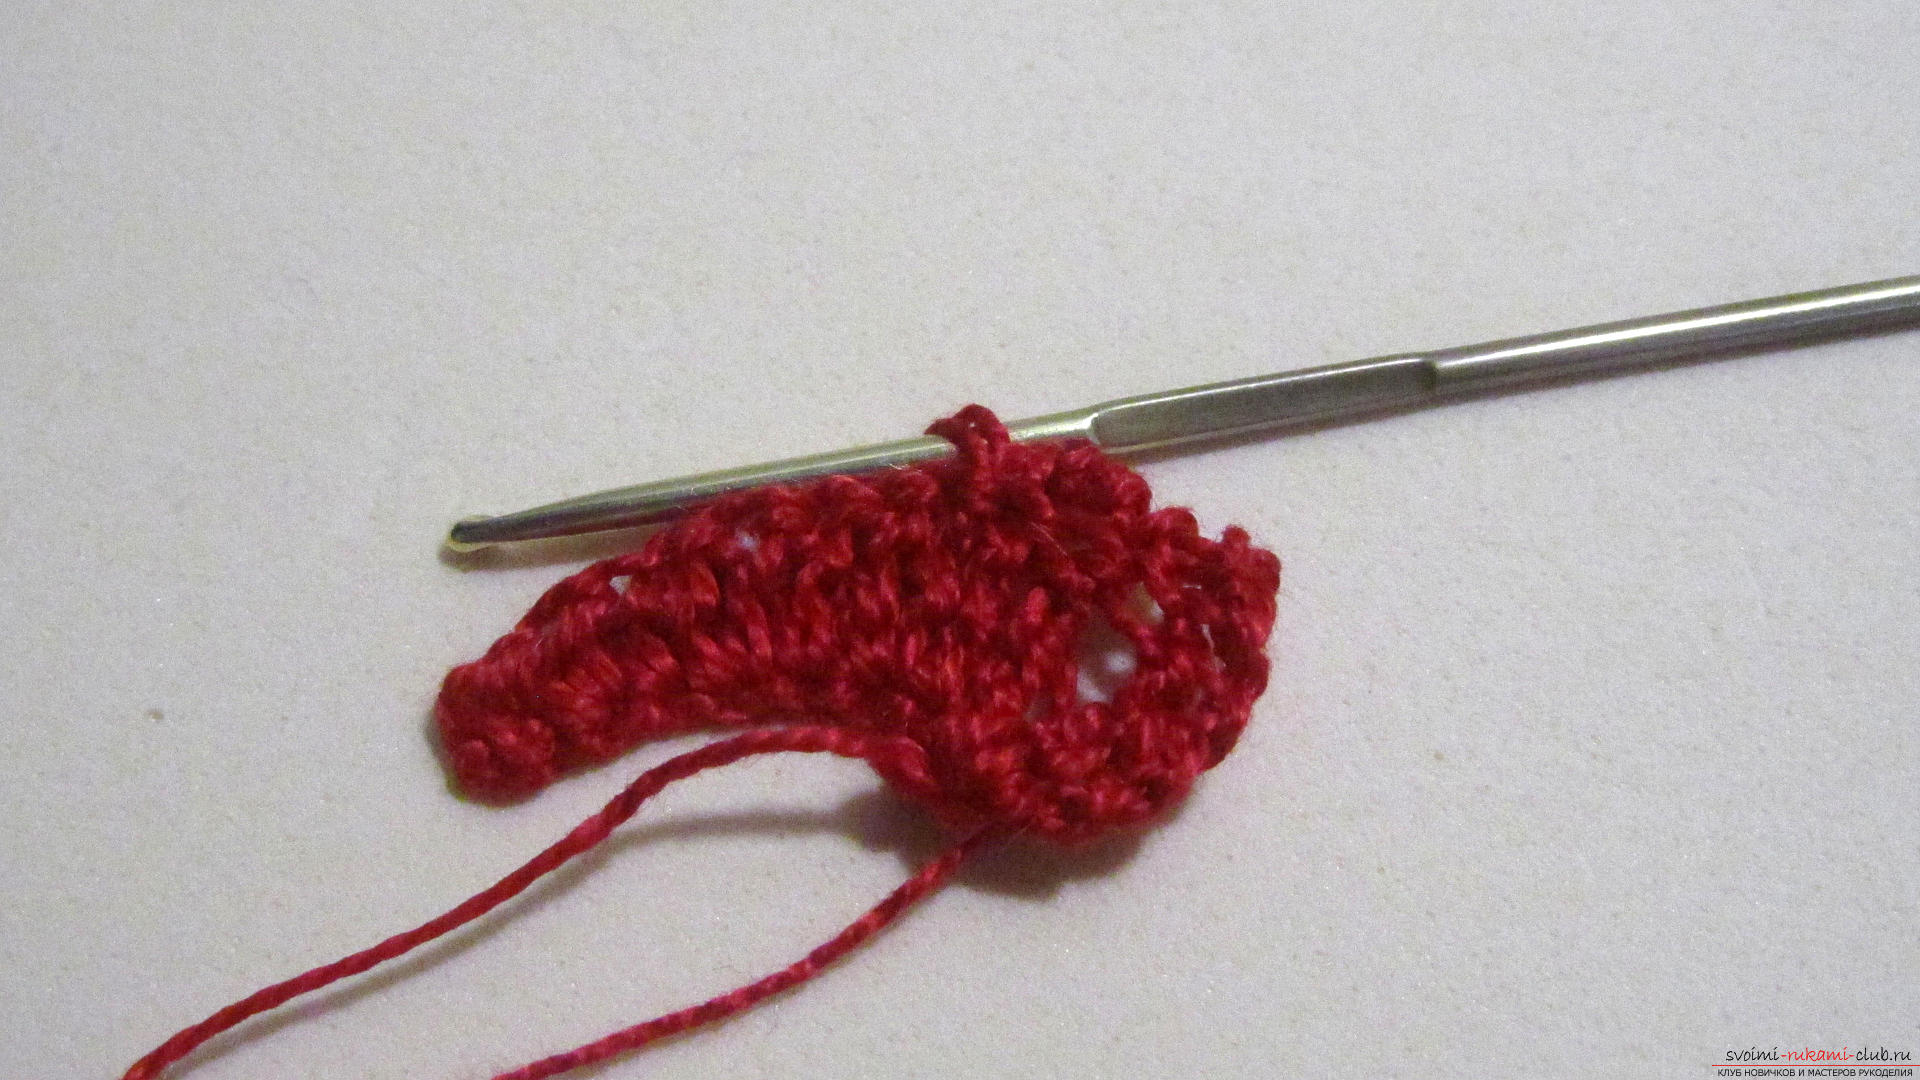 We return to the beginning of the petal "step by step". The loops of the "steppe's step" are only tied in the front half-loops (close to the hook).
 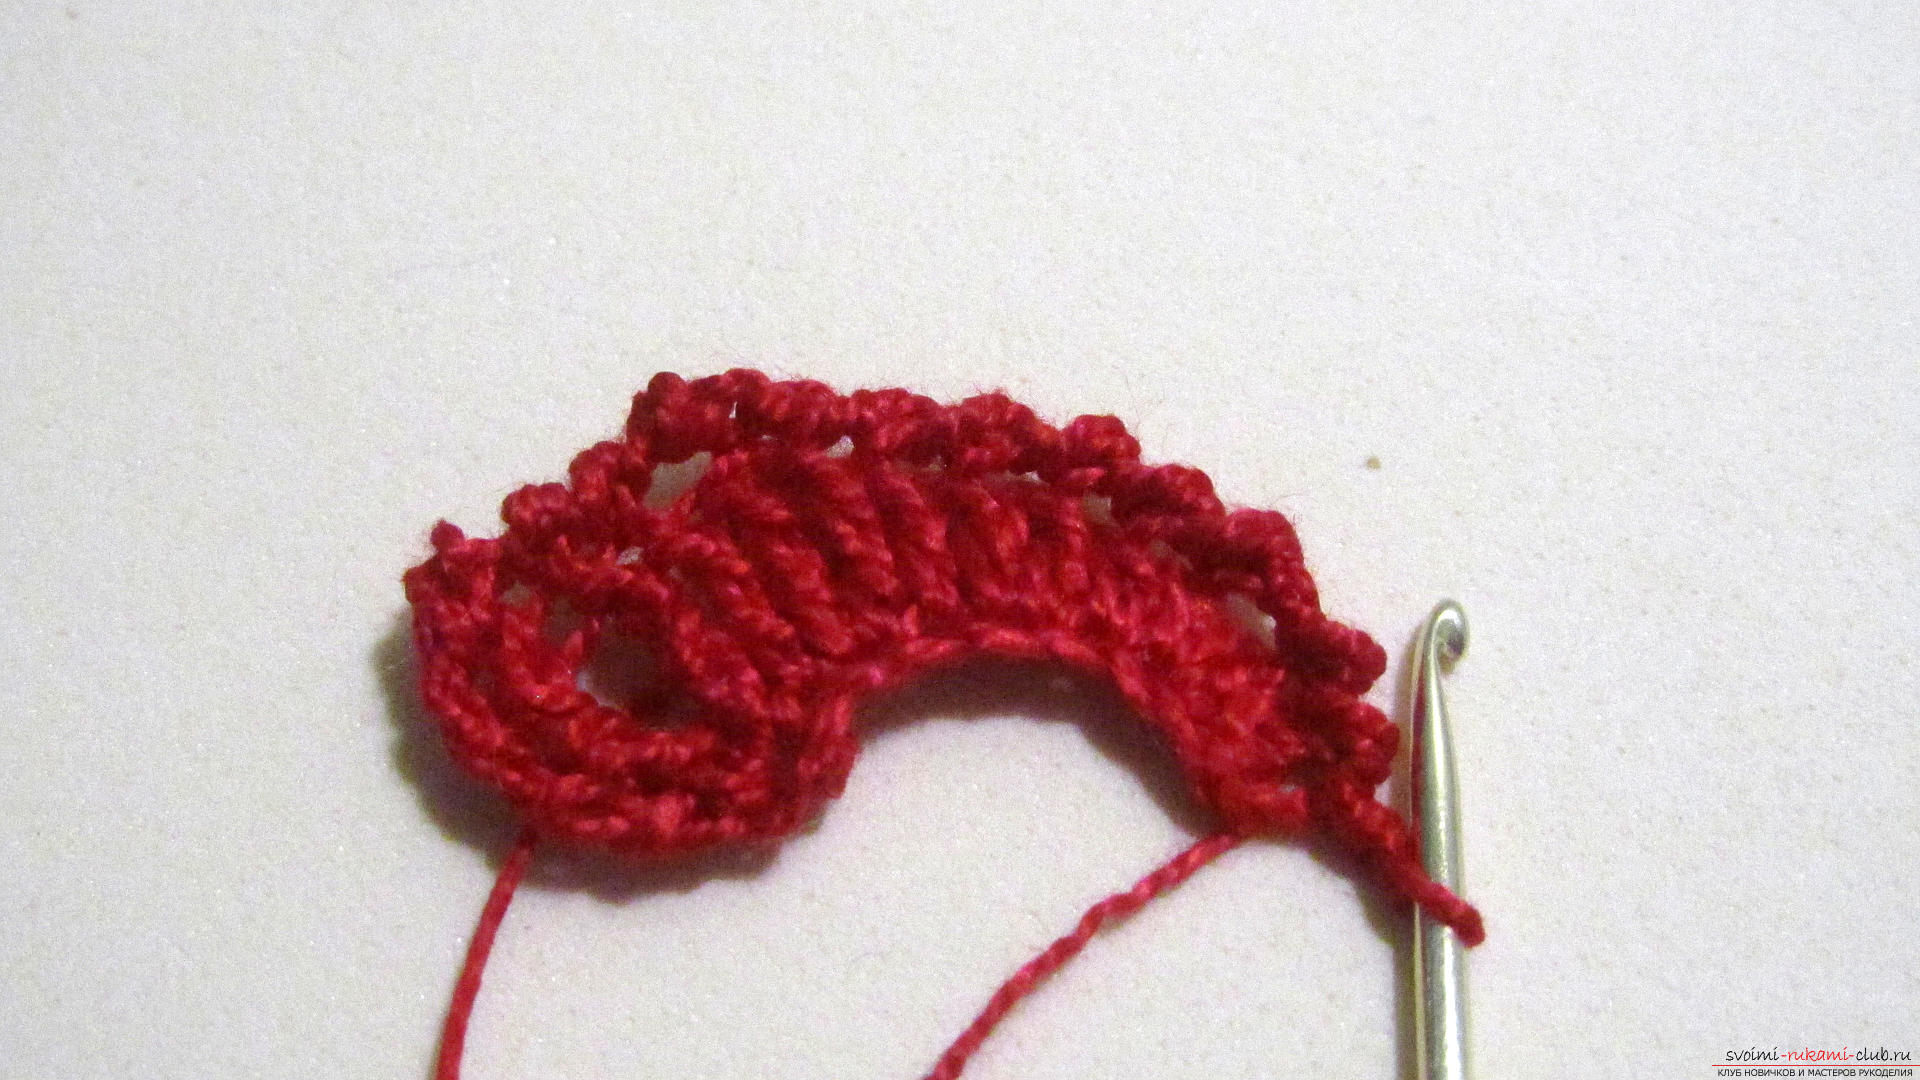 Rear half loops should remain free! This is important, it is for them that we will knit a second petal.
 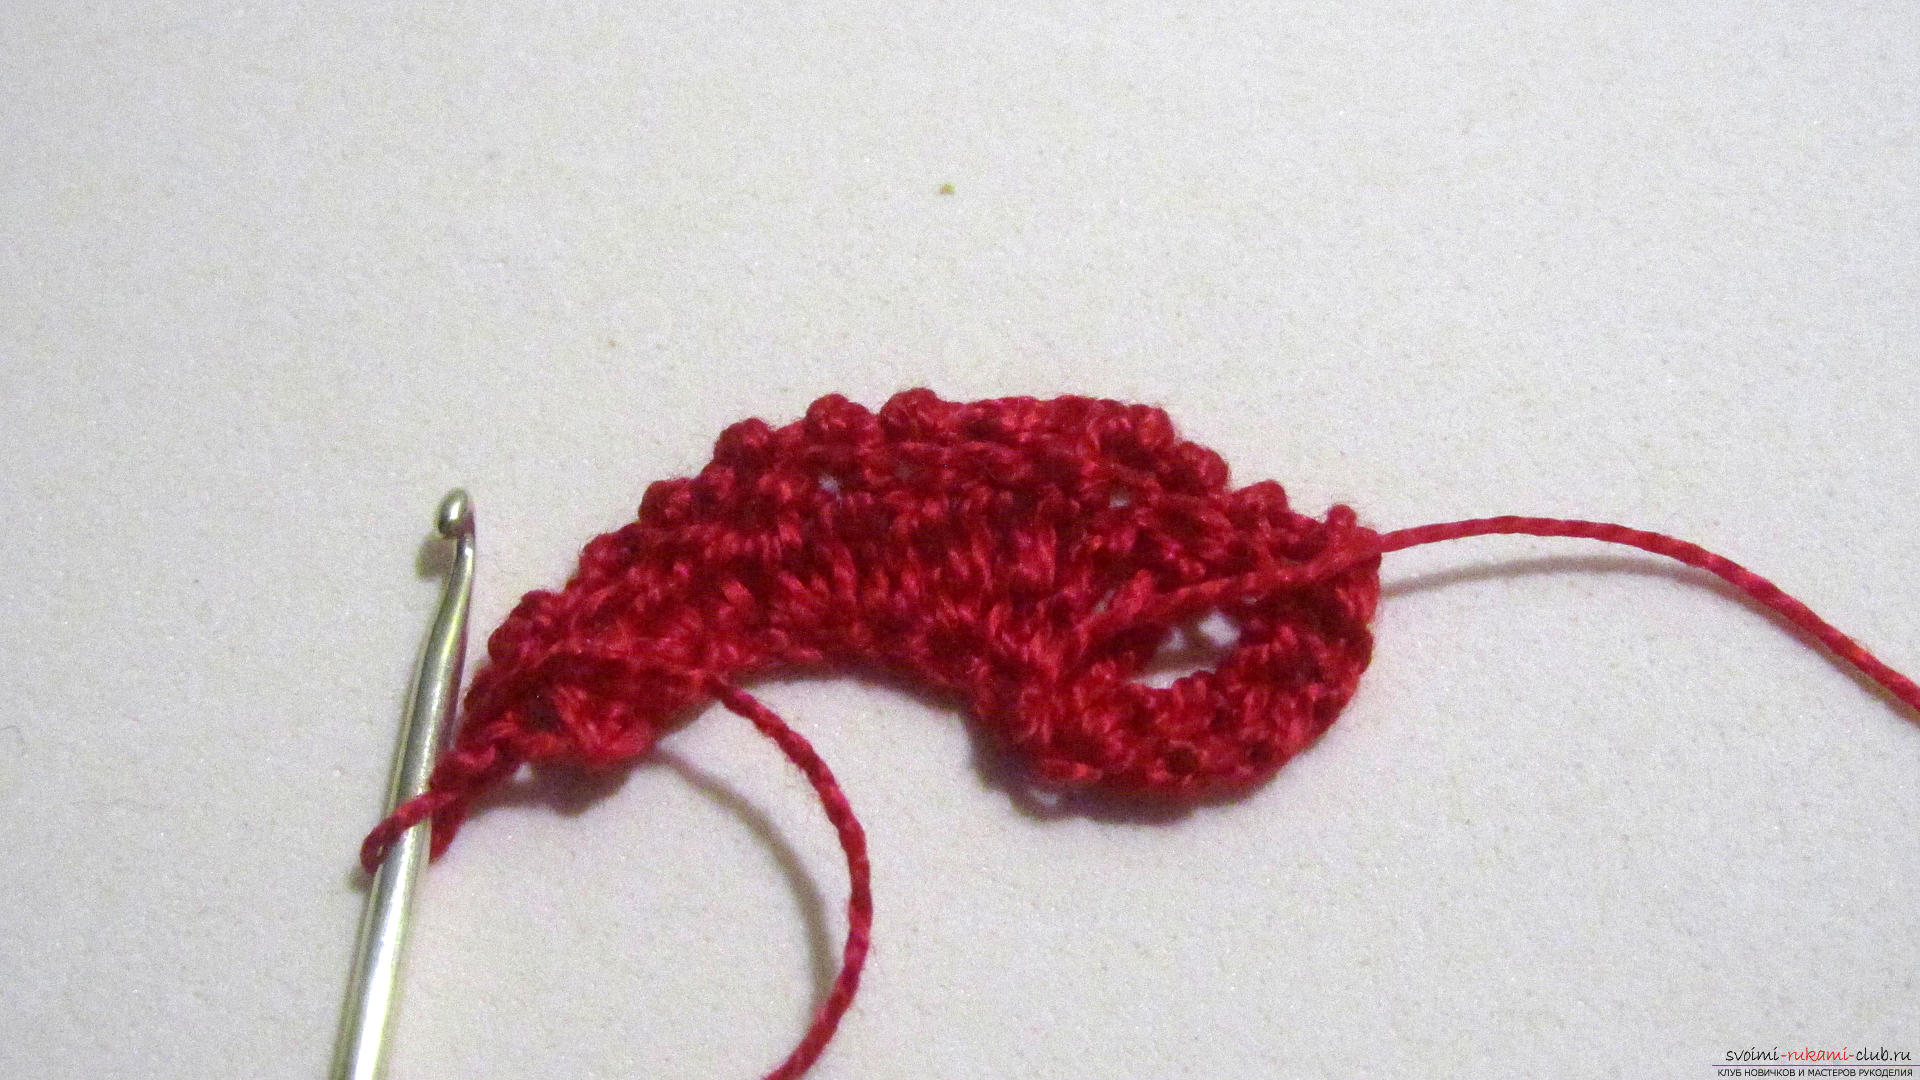 To start the second petal, we make one air loop of lifting and we sew a column with a crochet for the first half loop.
  Next, we knit the petal exactly like the first - 2 polustolbik, 1 polostolbik.
 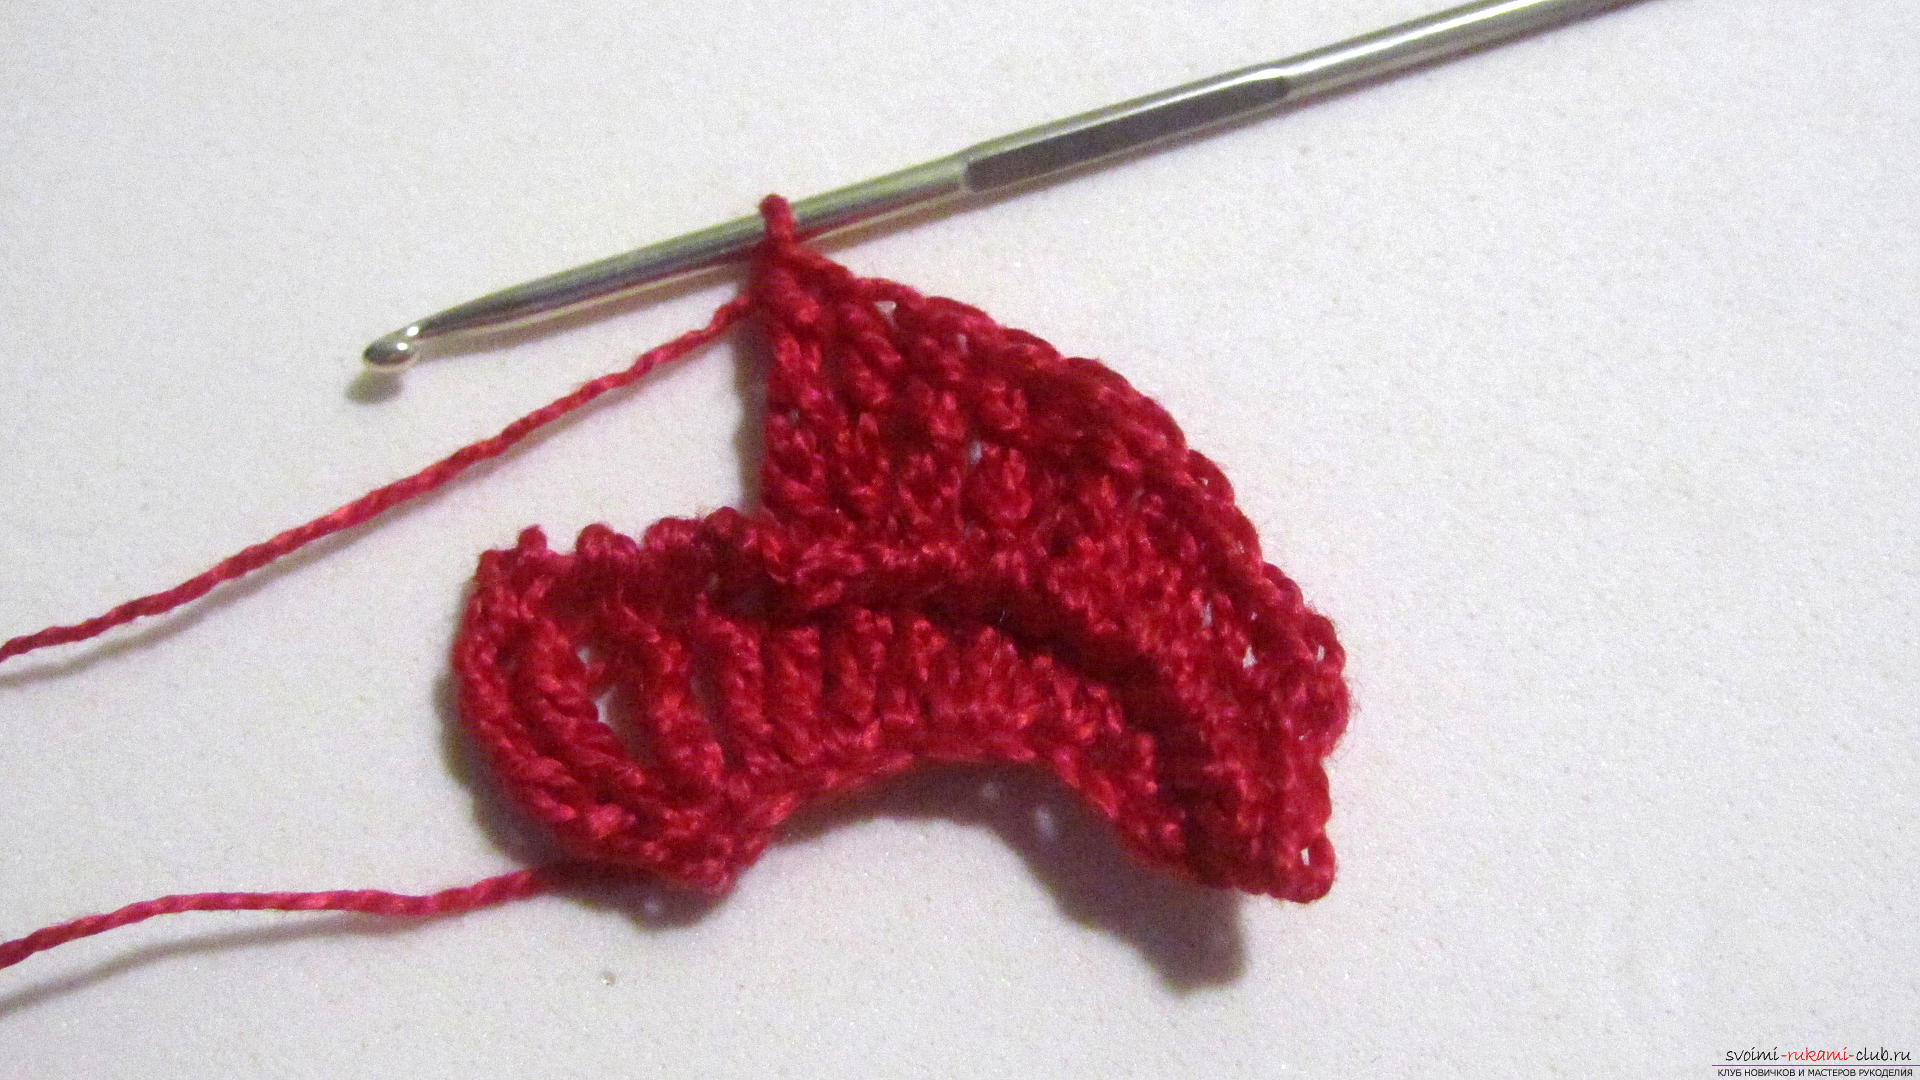 2 stakes with a crochet, 1 stool with a crochet, 2 sticks with 2 nakidami, 1 stool with two nakidami, 2 stolbiki with three nakidami, 1 stakbik with three nakidami. And we return to the beginning of the flower with the step of a step.
  So you need to tie 10 petals.
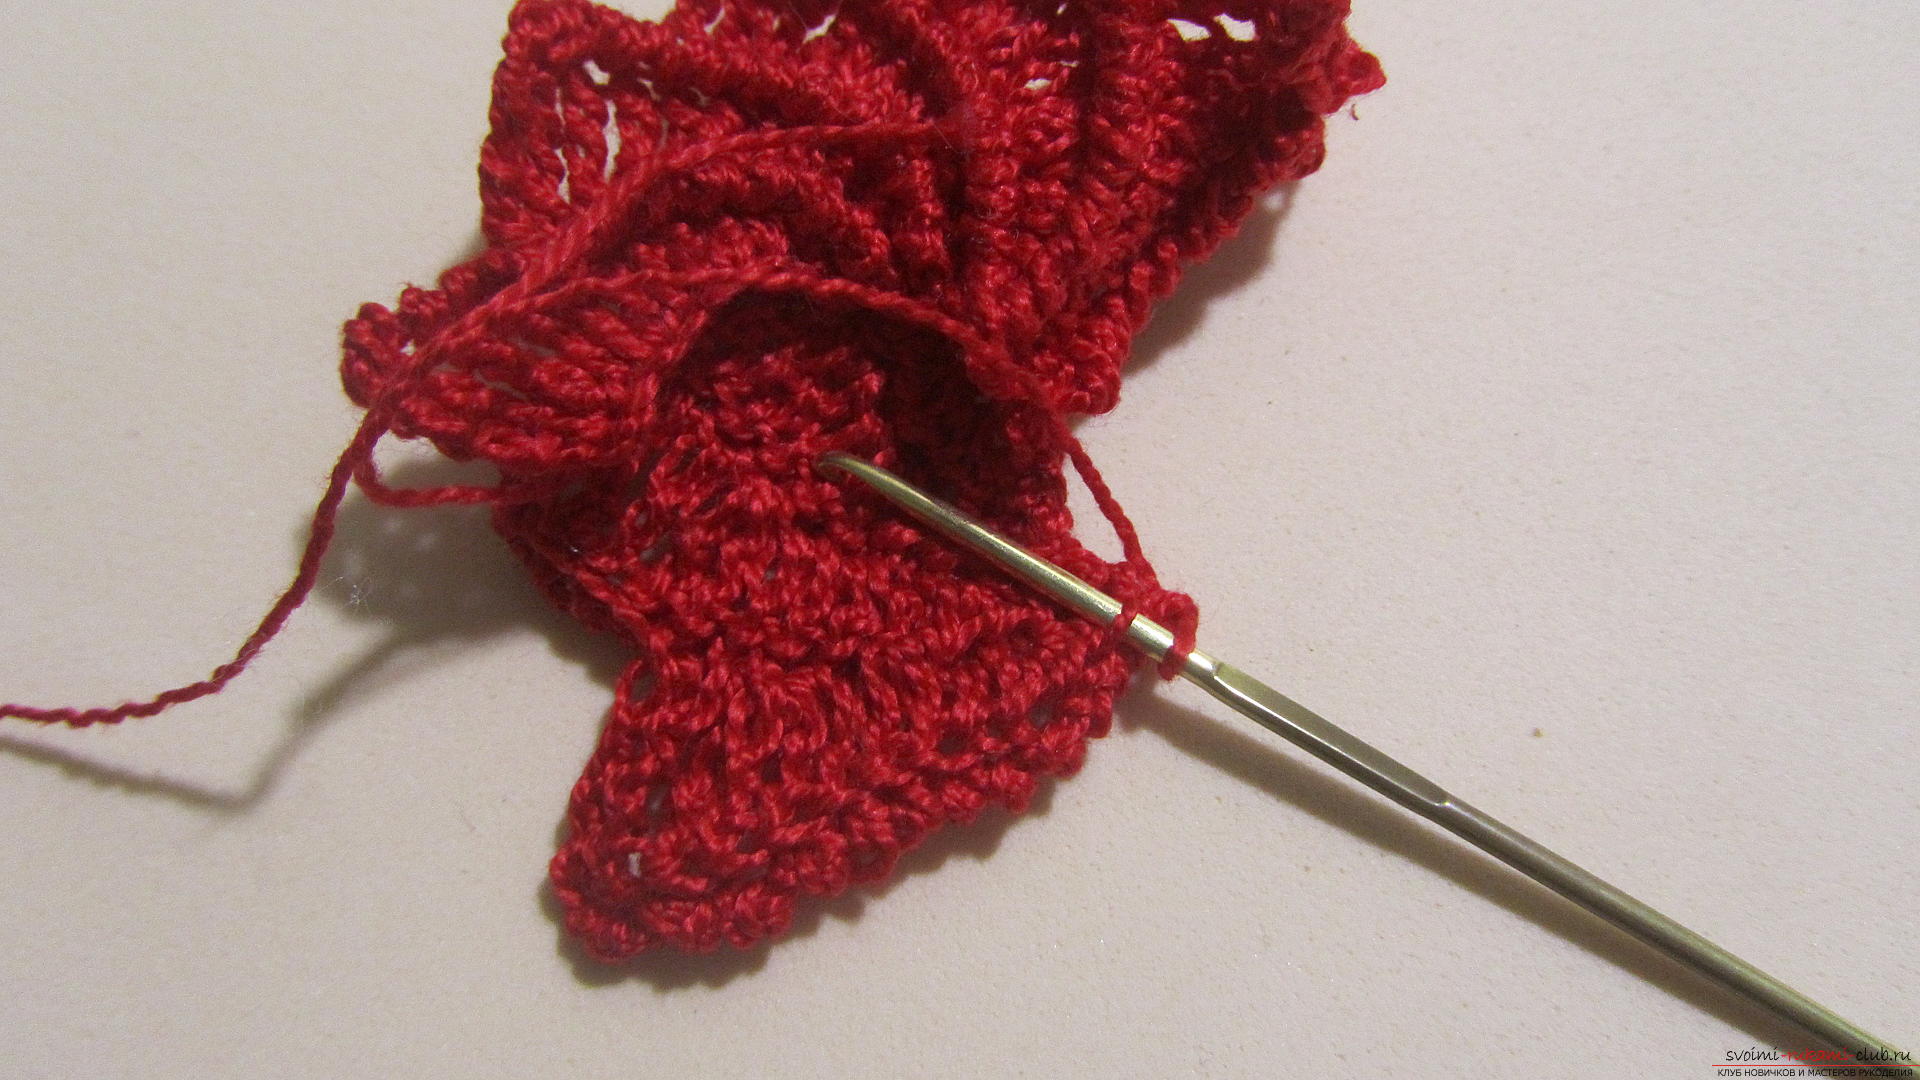
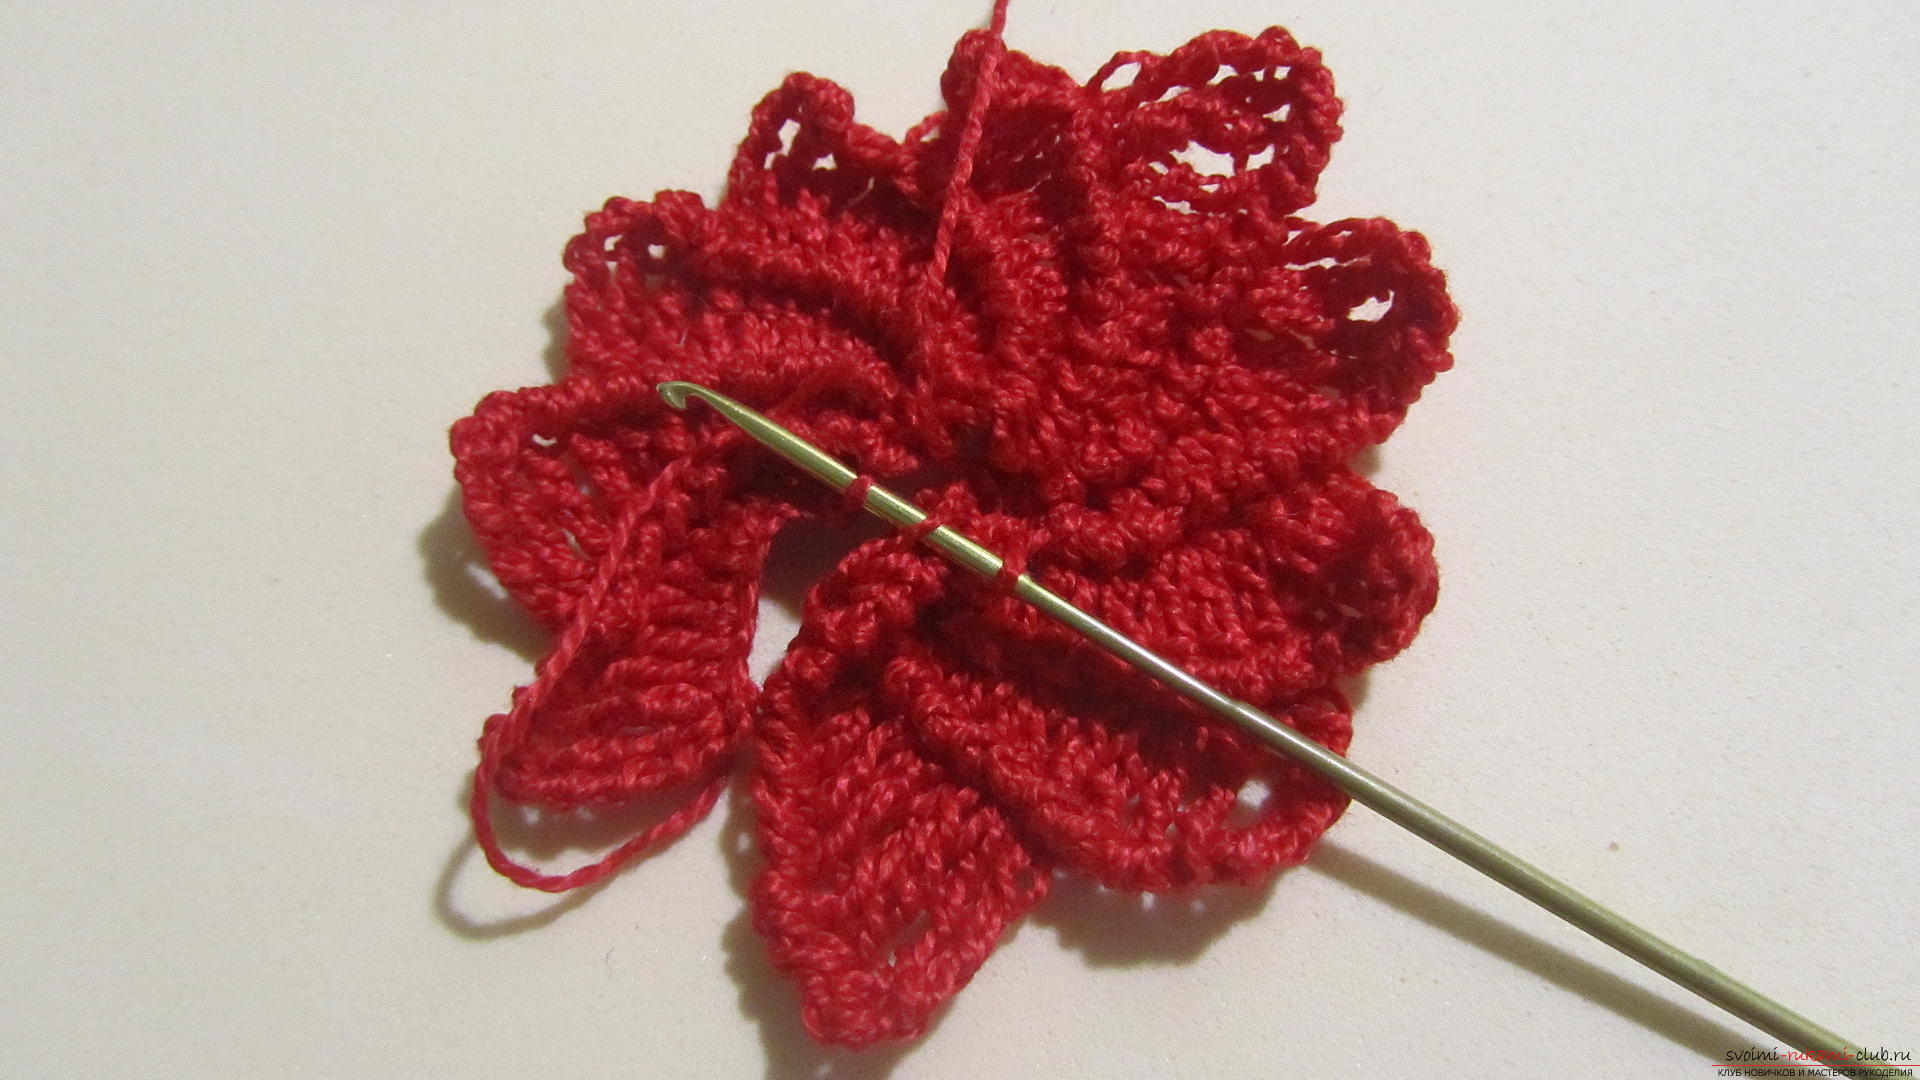
 We connect the 1st and 10th petals. To do this, we bind the columns without the crochet behind the rear half-loops of the 10th petal and the air loops of the chain on which the first petal was knit.
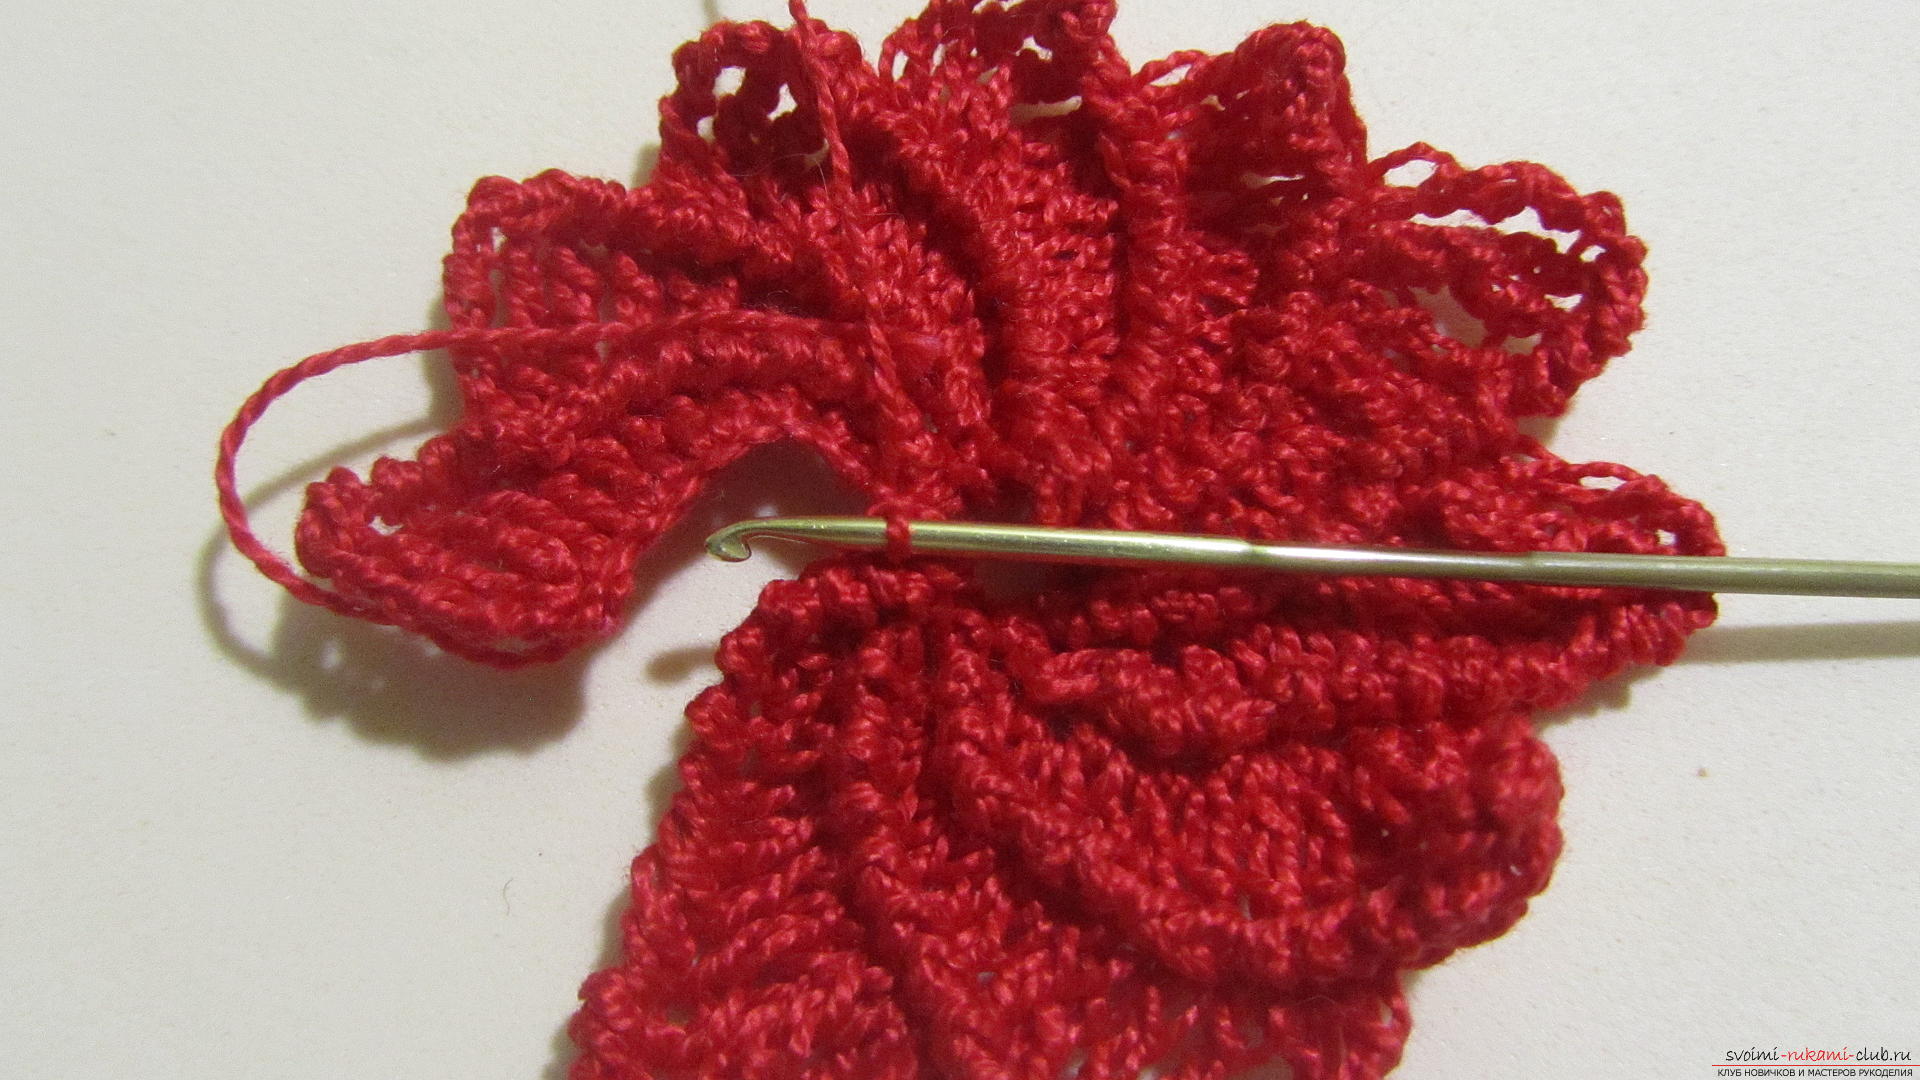
 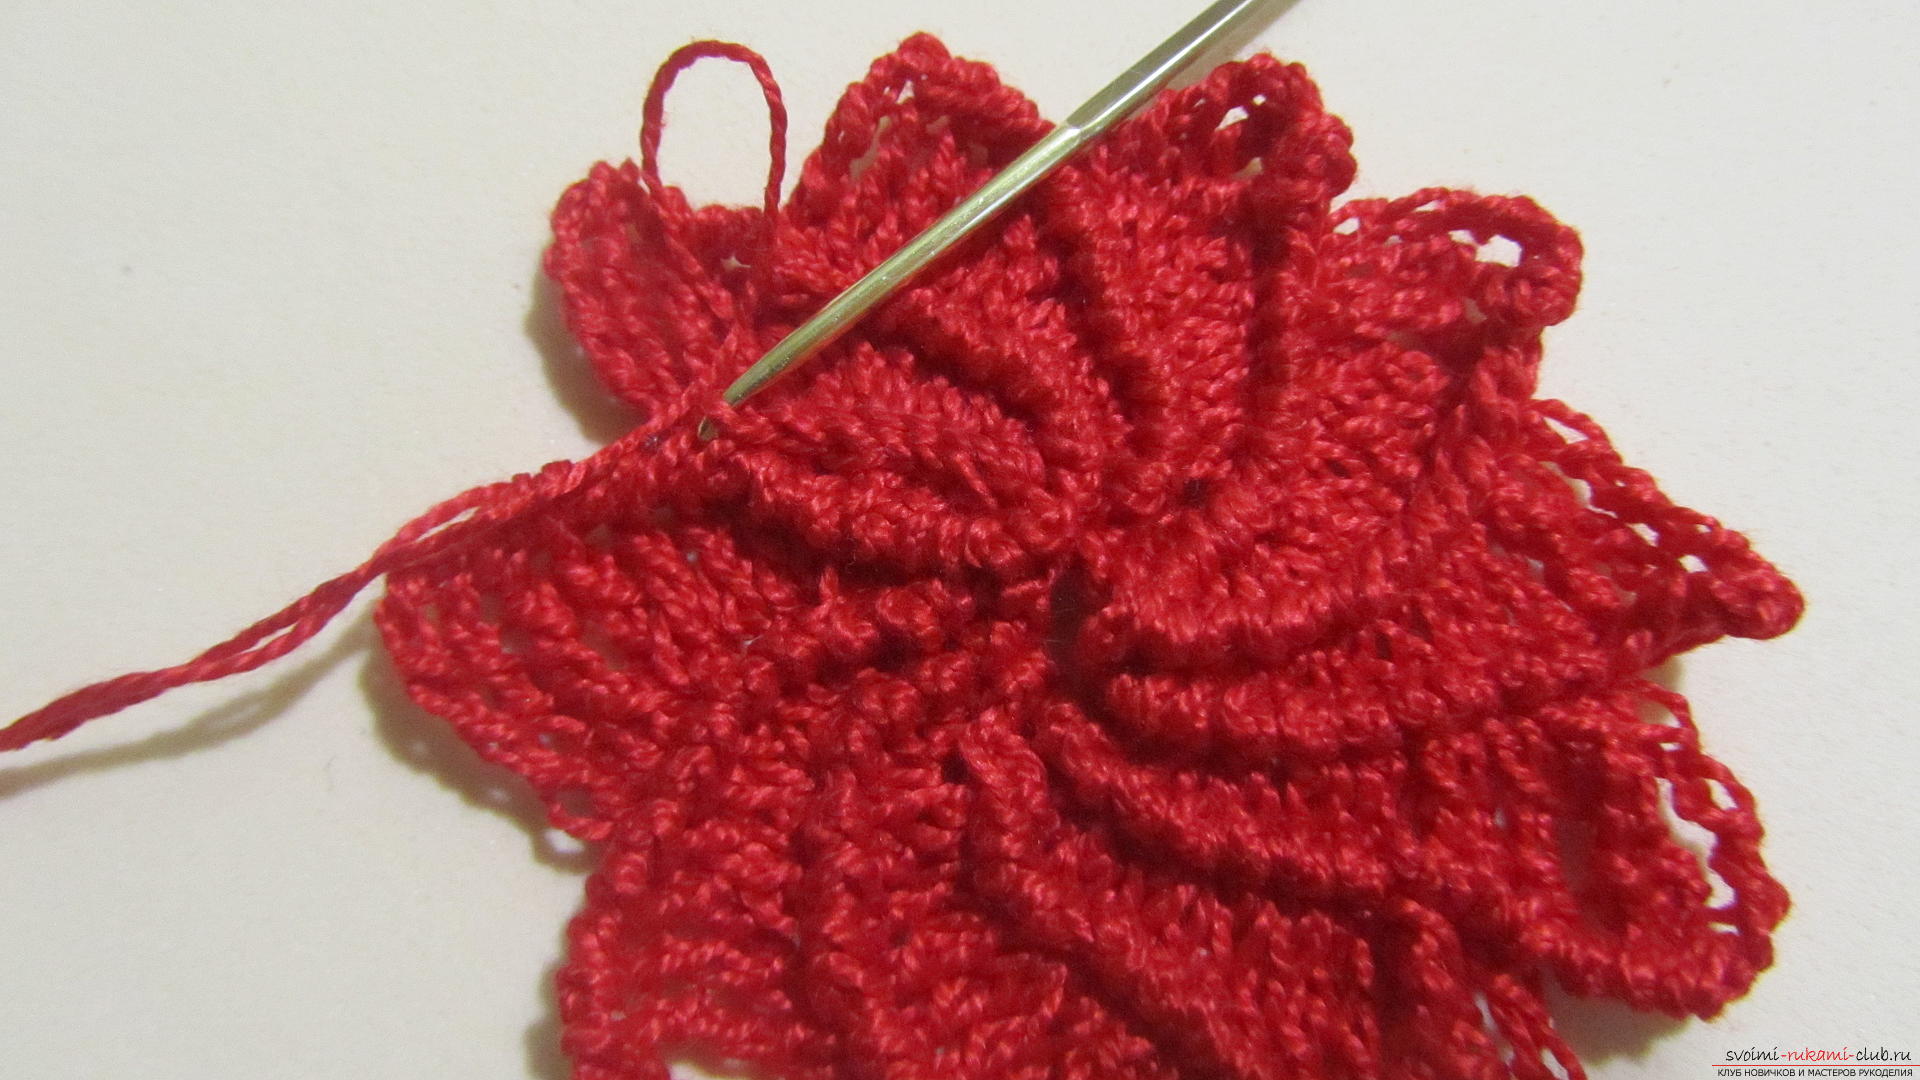 It turns out a neat chain, which is covered by the "step by step".
  The flower itself is ready.
 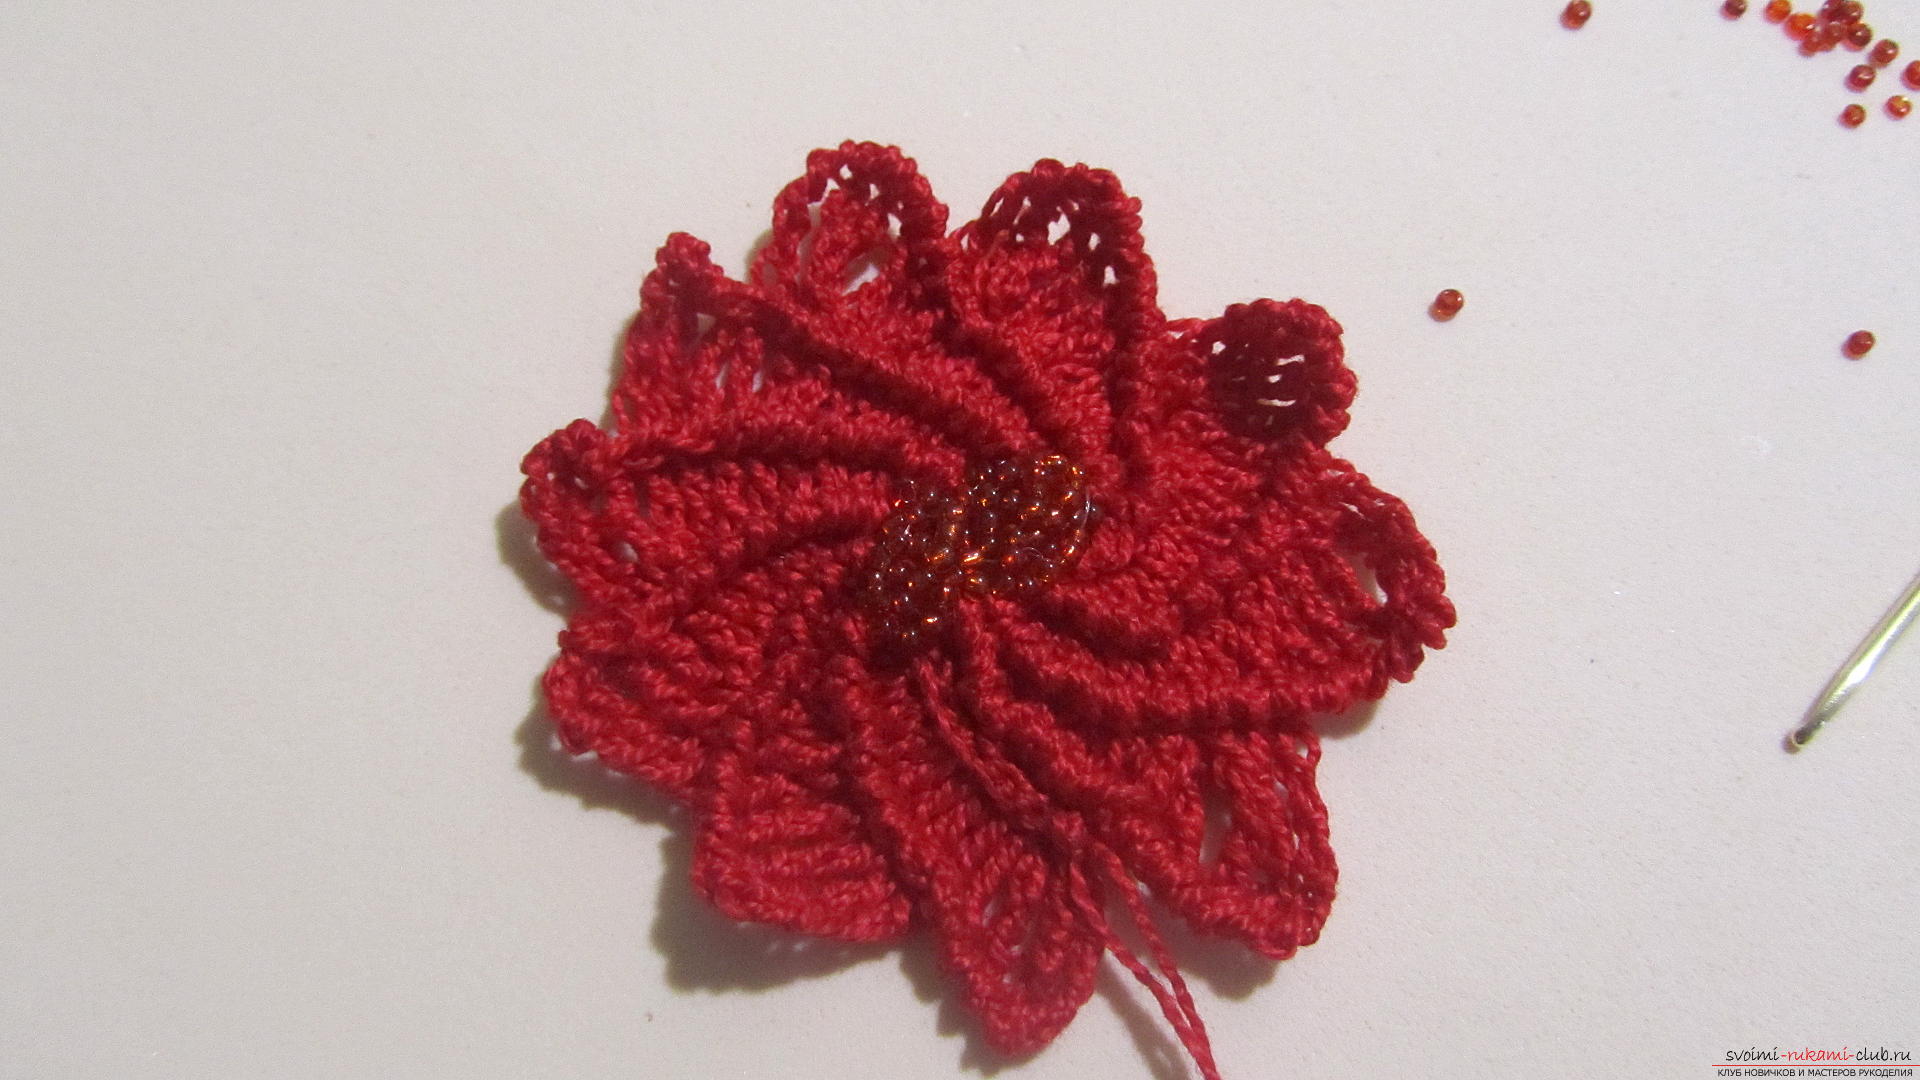 We close the middle of the flower with beads.
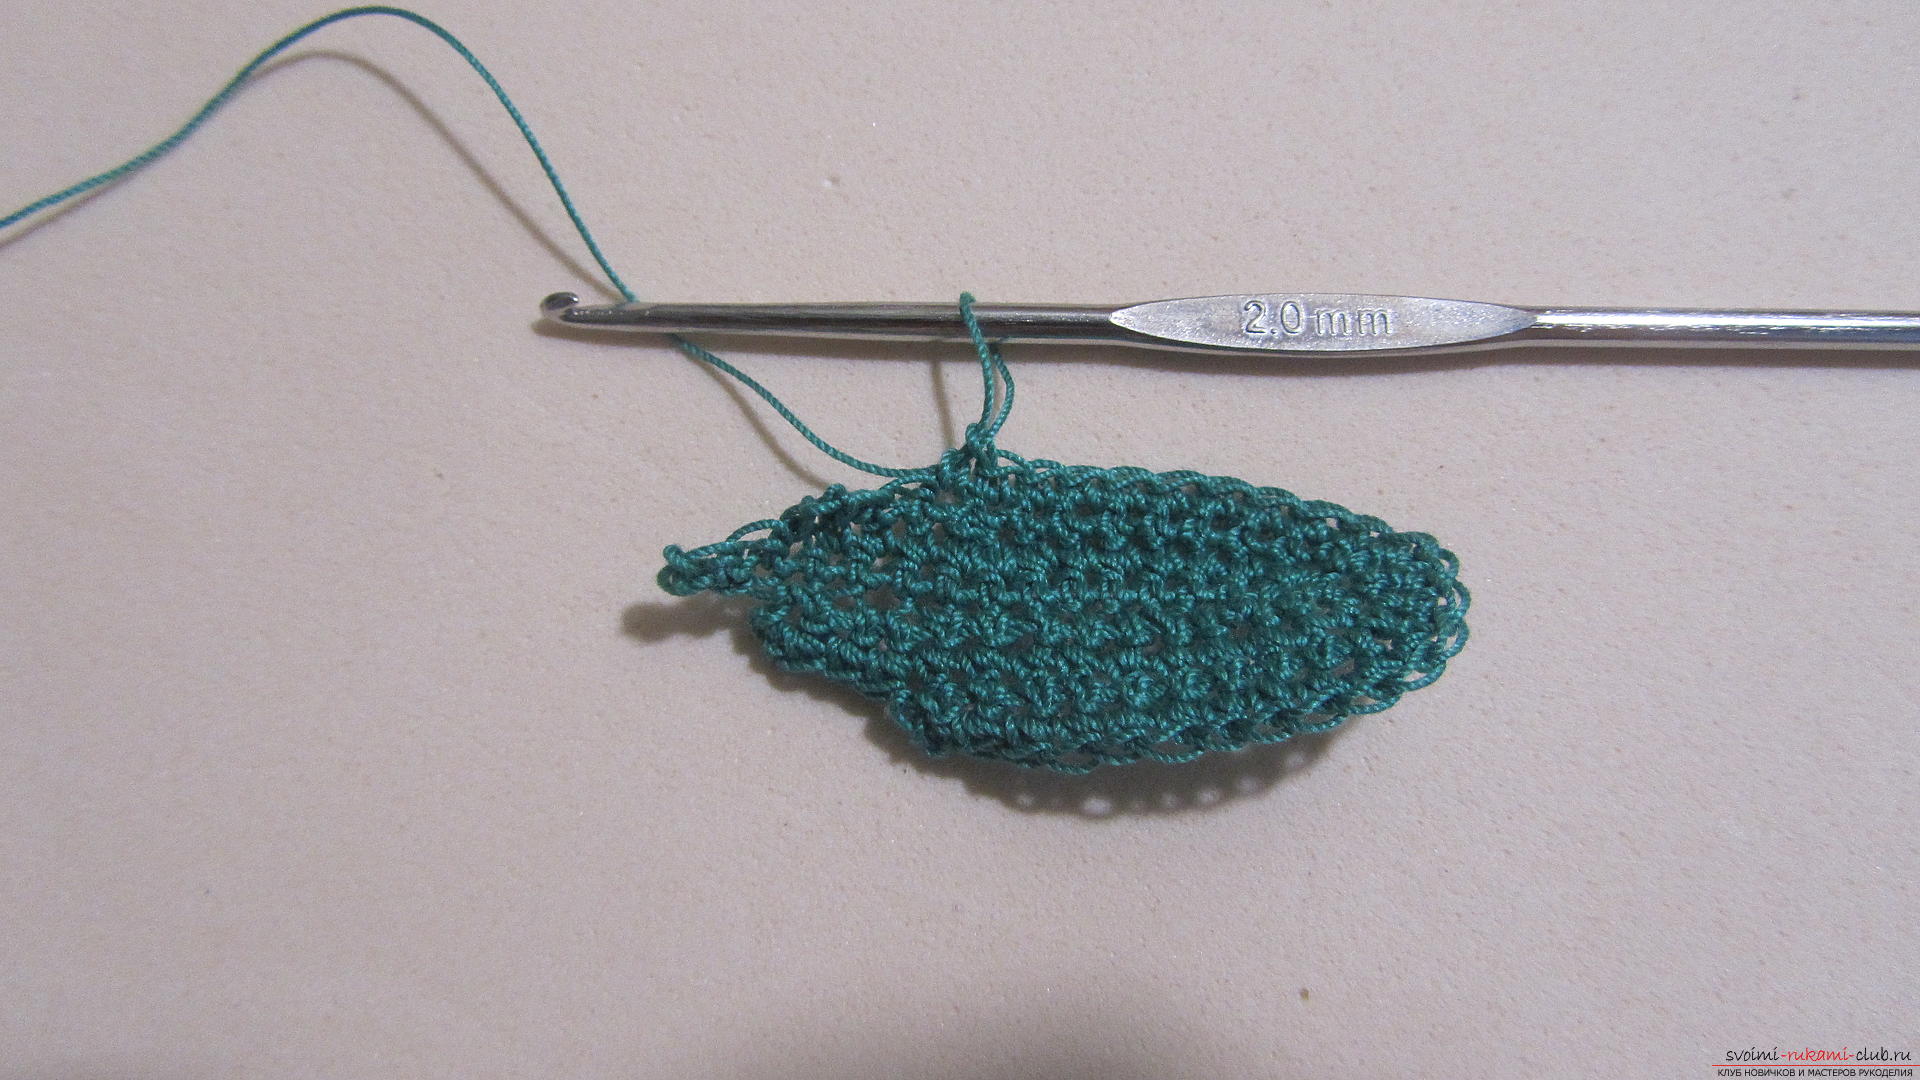
 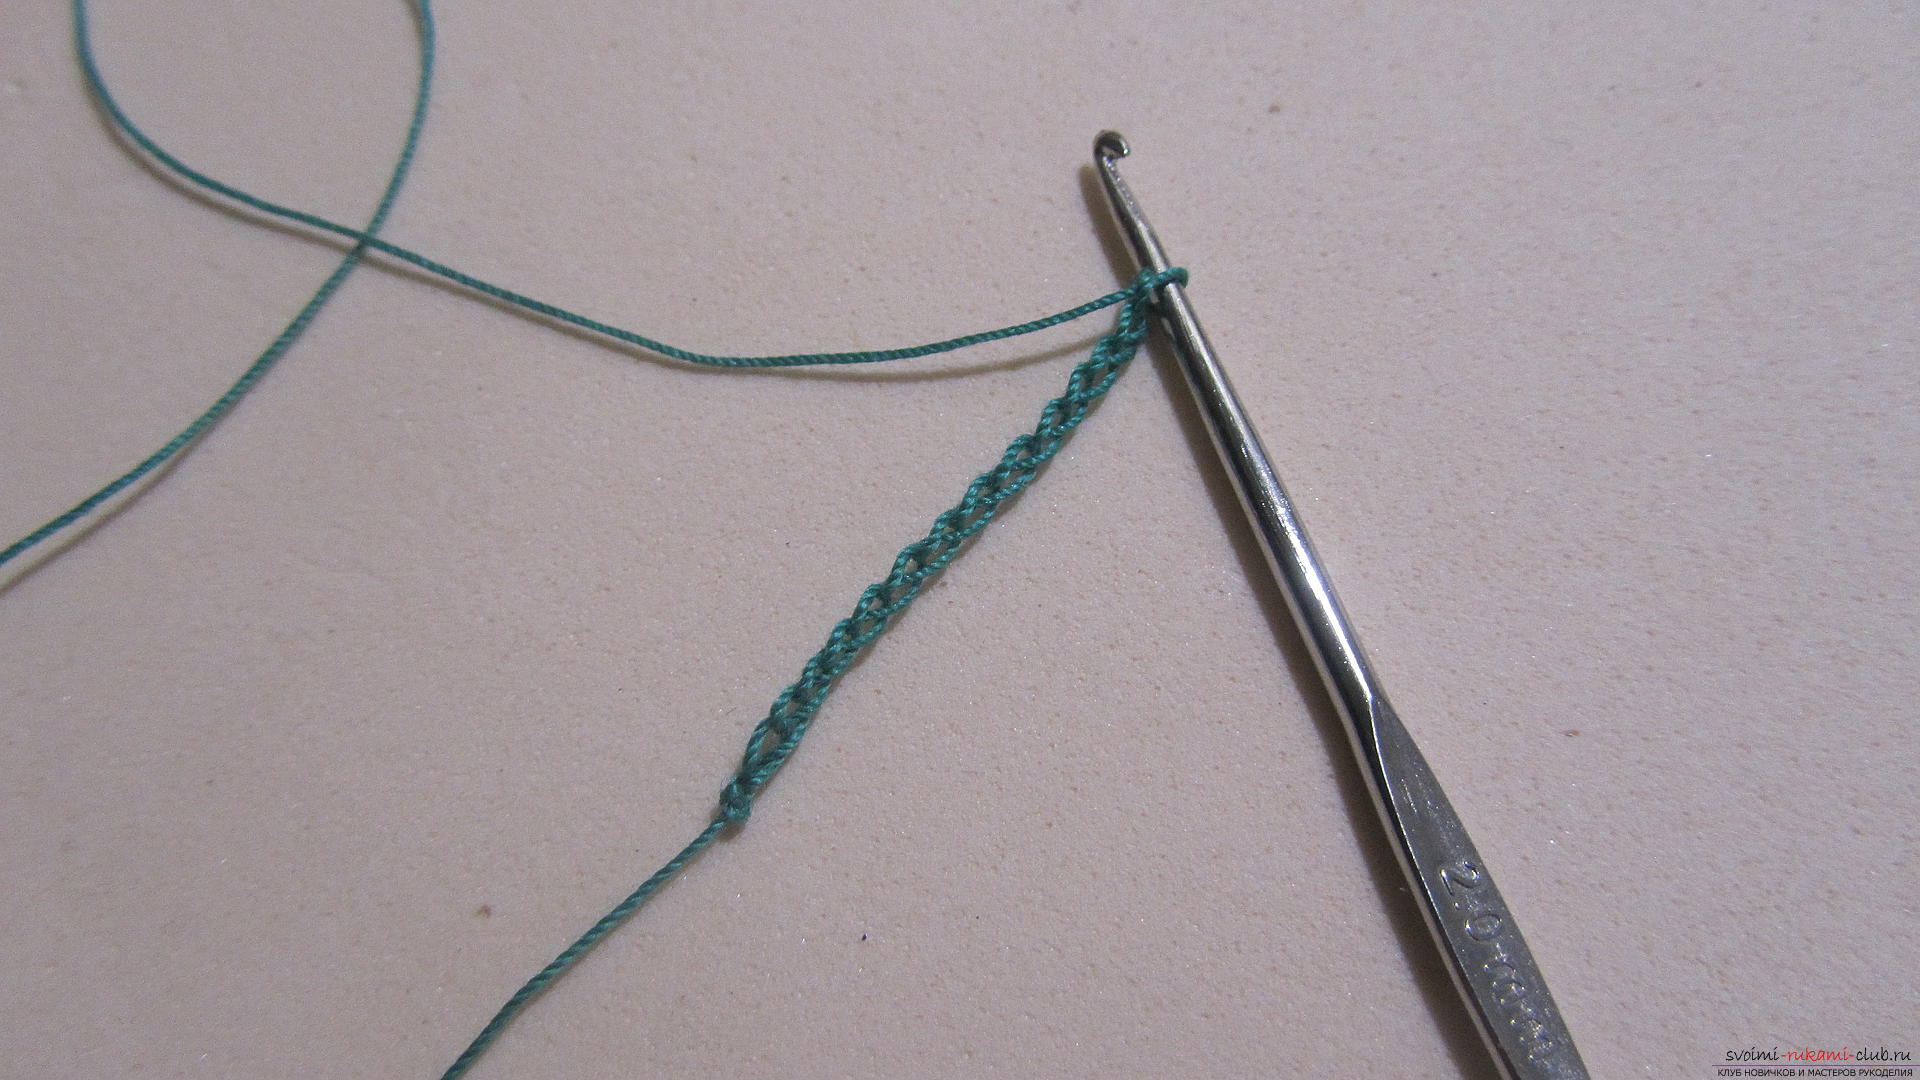 We knit the leaves. To do this, we take a chain of 15 air loops.
 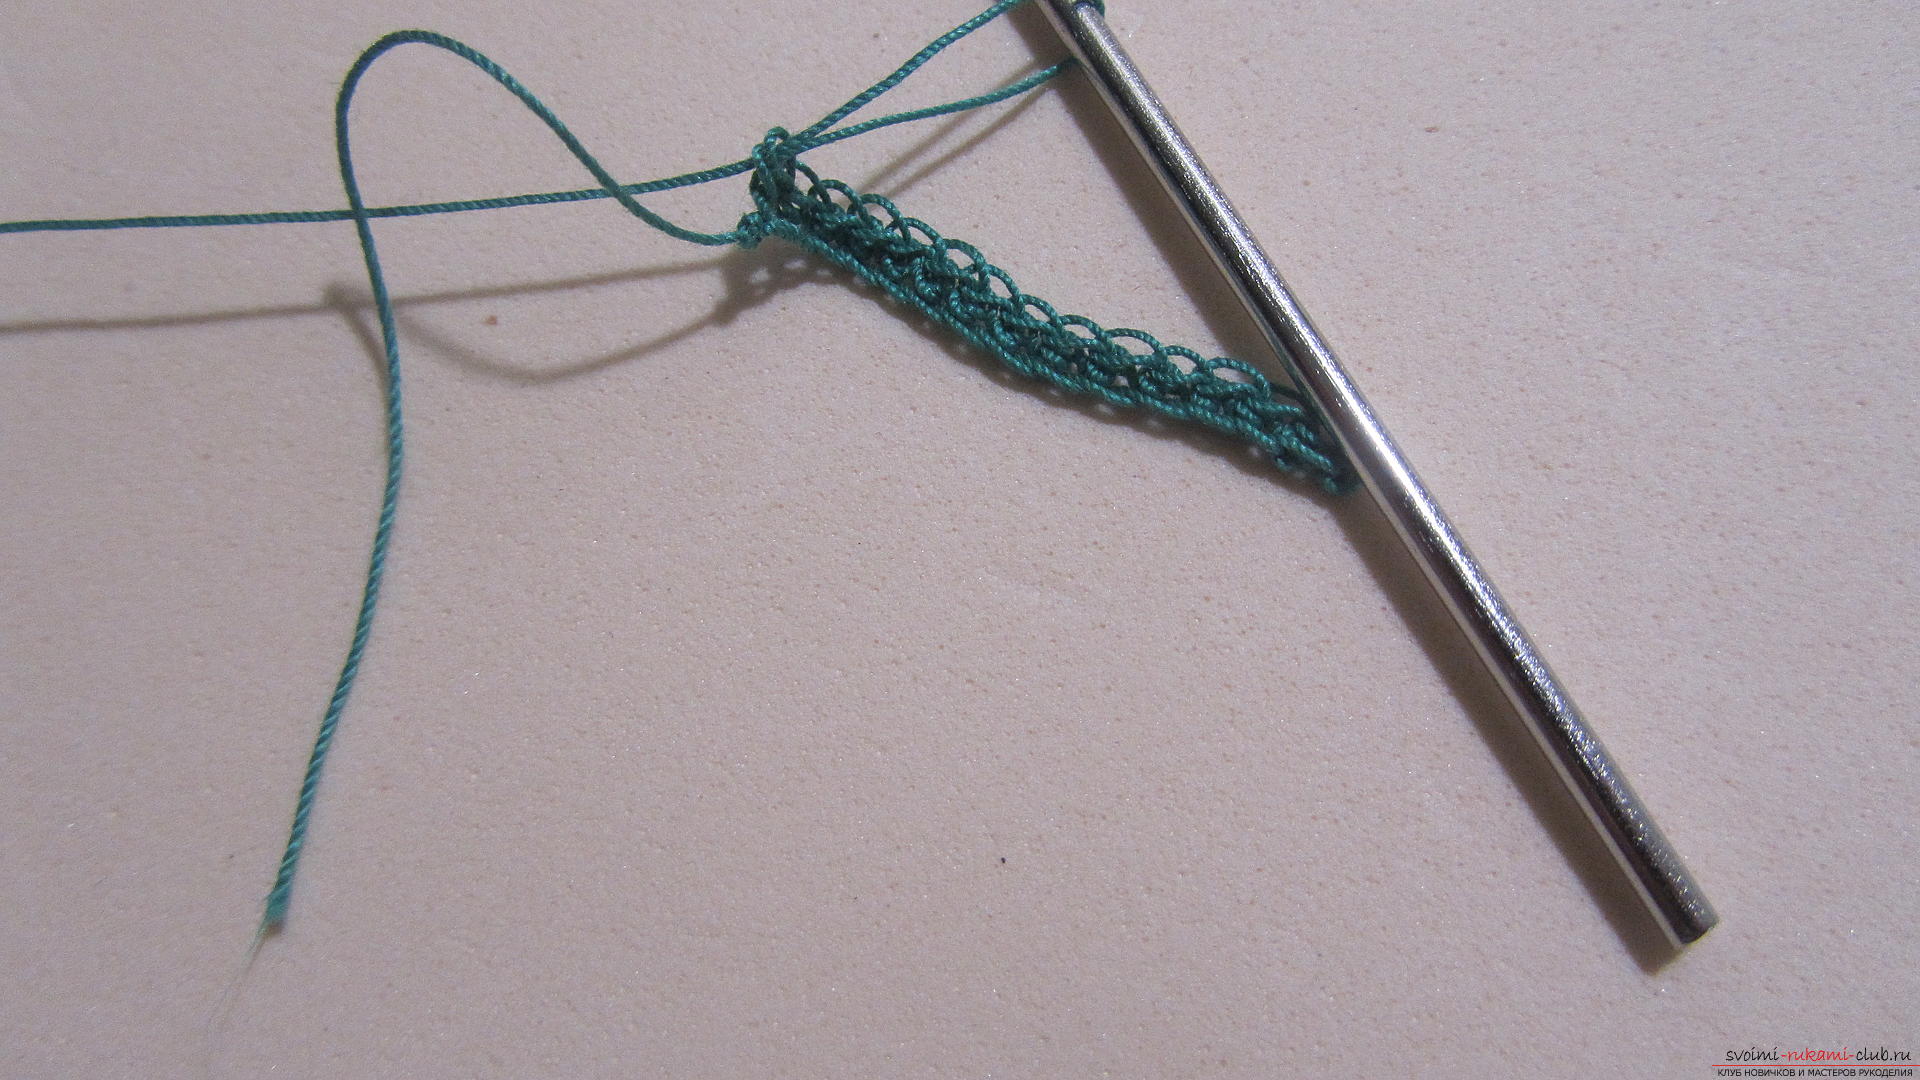 On the one hand, it is completely tied with poles without a napkin.
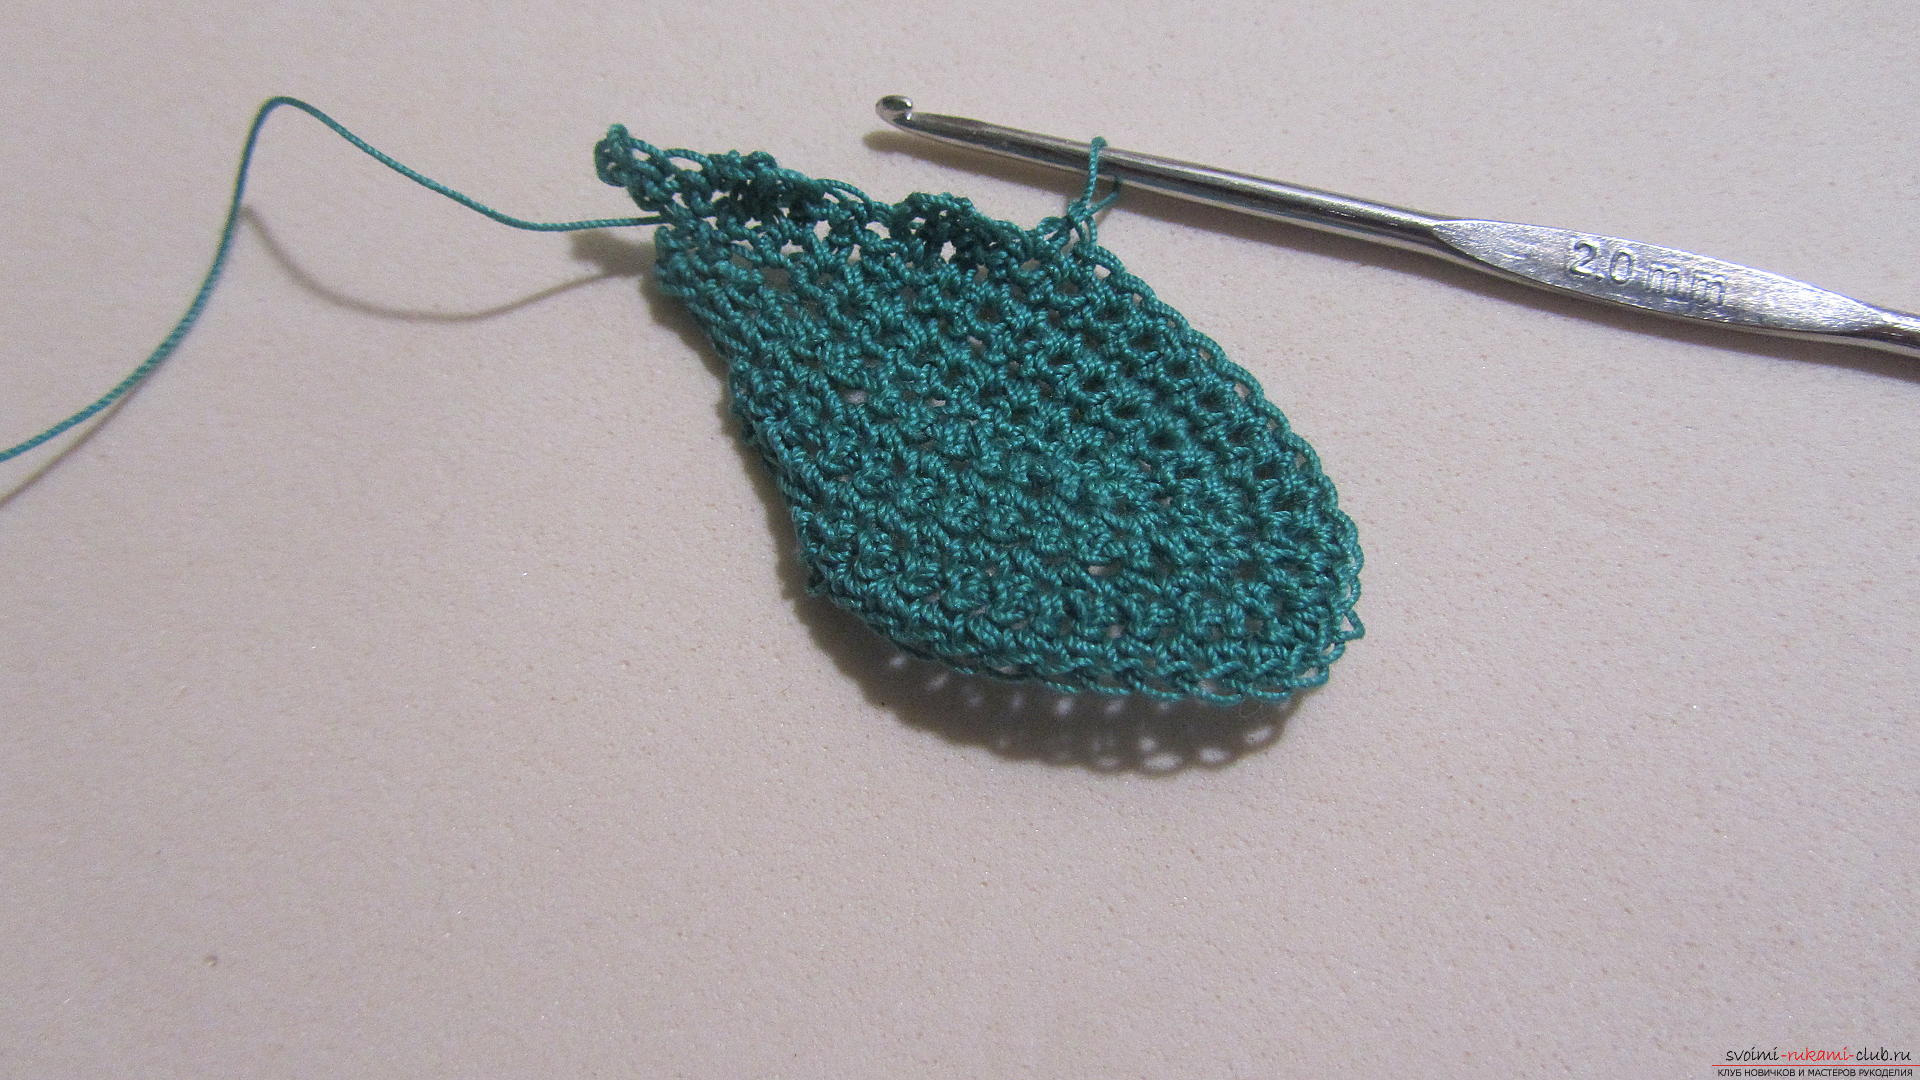
 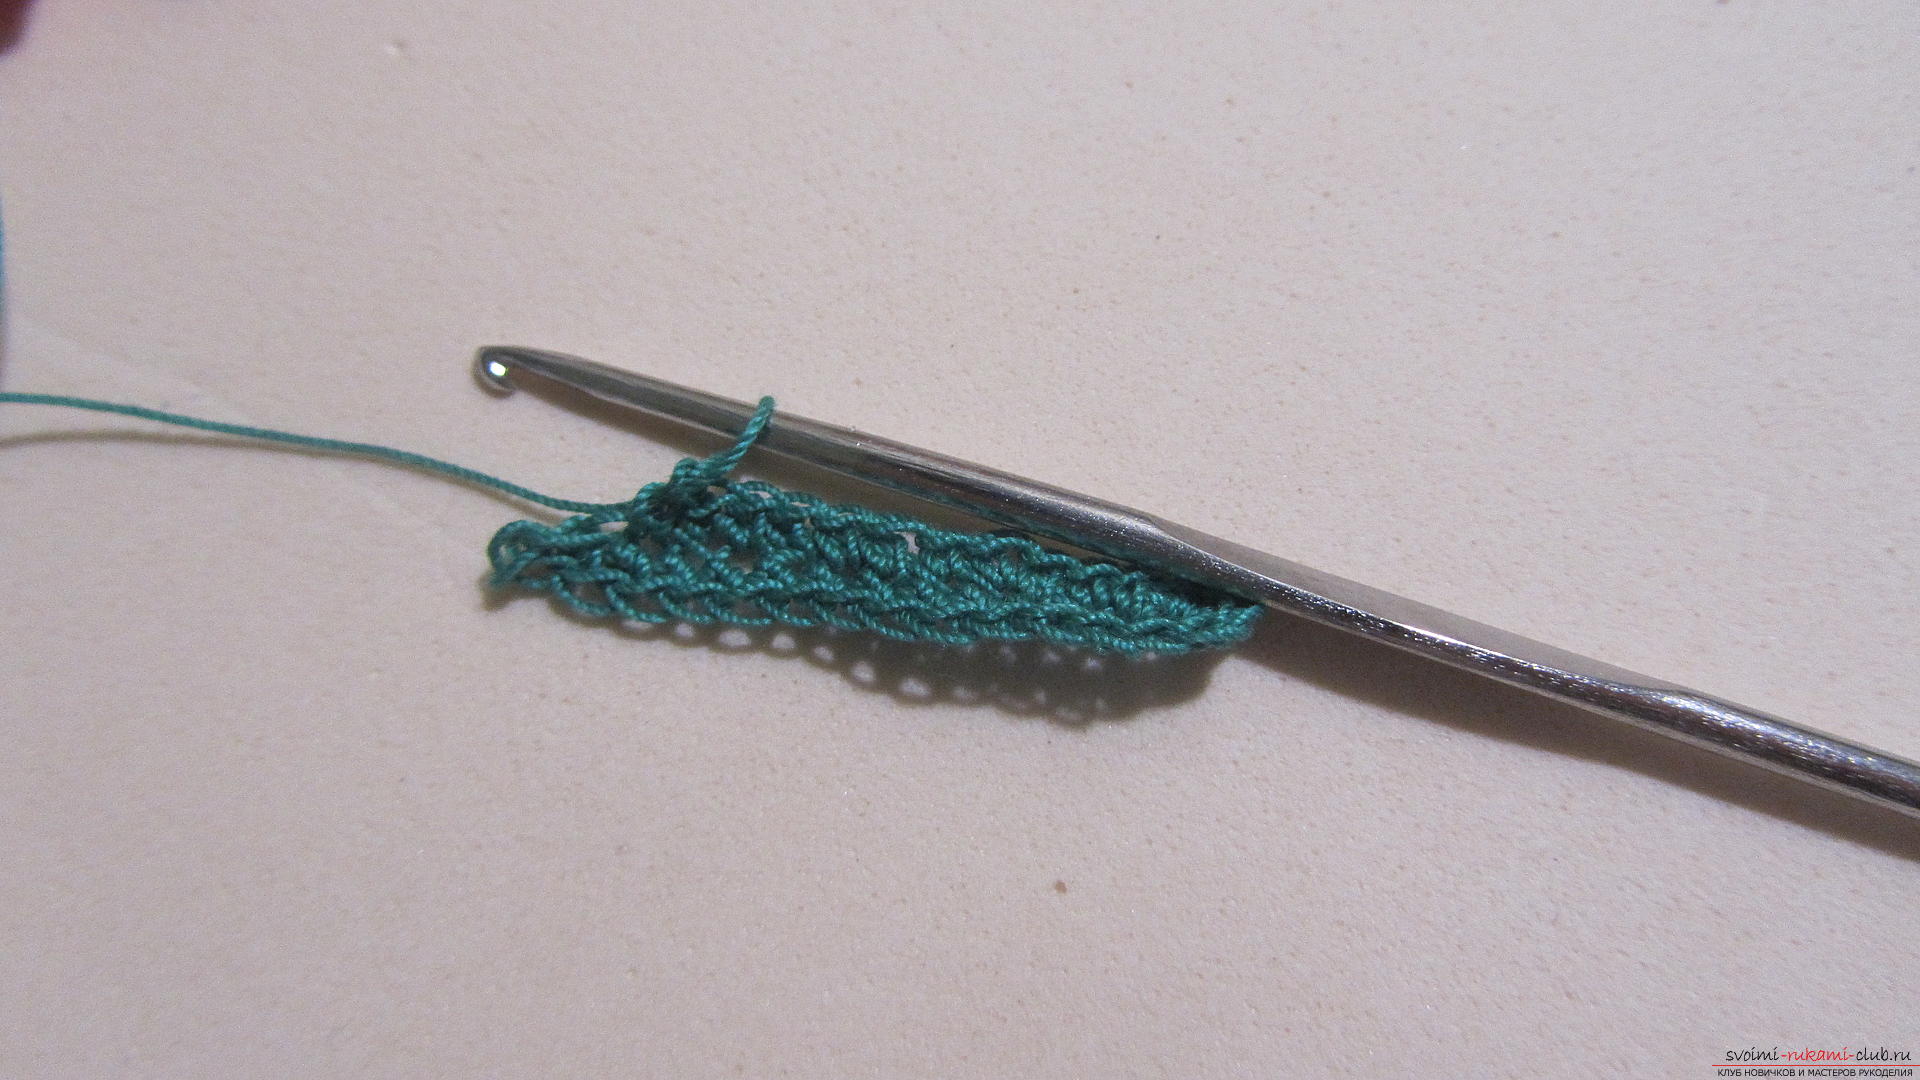 We unfold knitting, and we continue to knitStacking without crochet in the opposite direction. At the top of the leaf, we sew a 3 column without a crochet from one hinge. We unfold the knitting, not reaching three loops to the end of the chain.
  Again we tie a leaf with columns without a crochet. We unfold knitting, just not reaching three loops to the end (at the same level as the top of the leaf opposite).
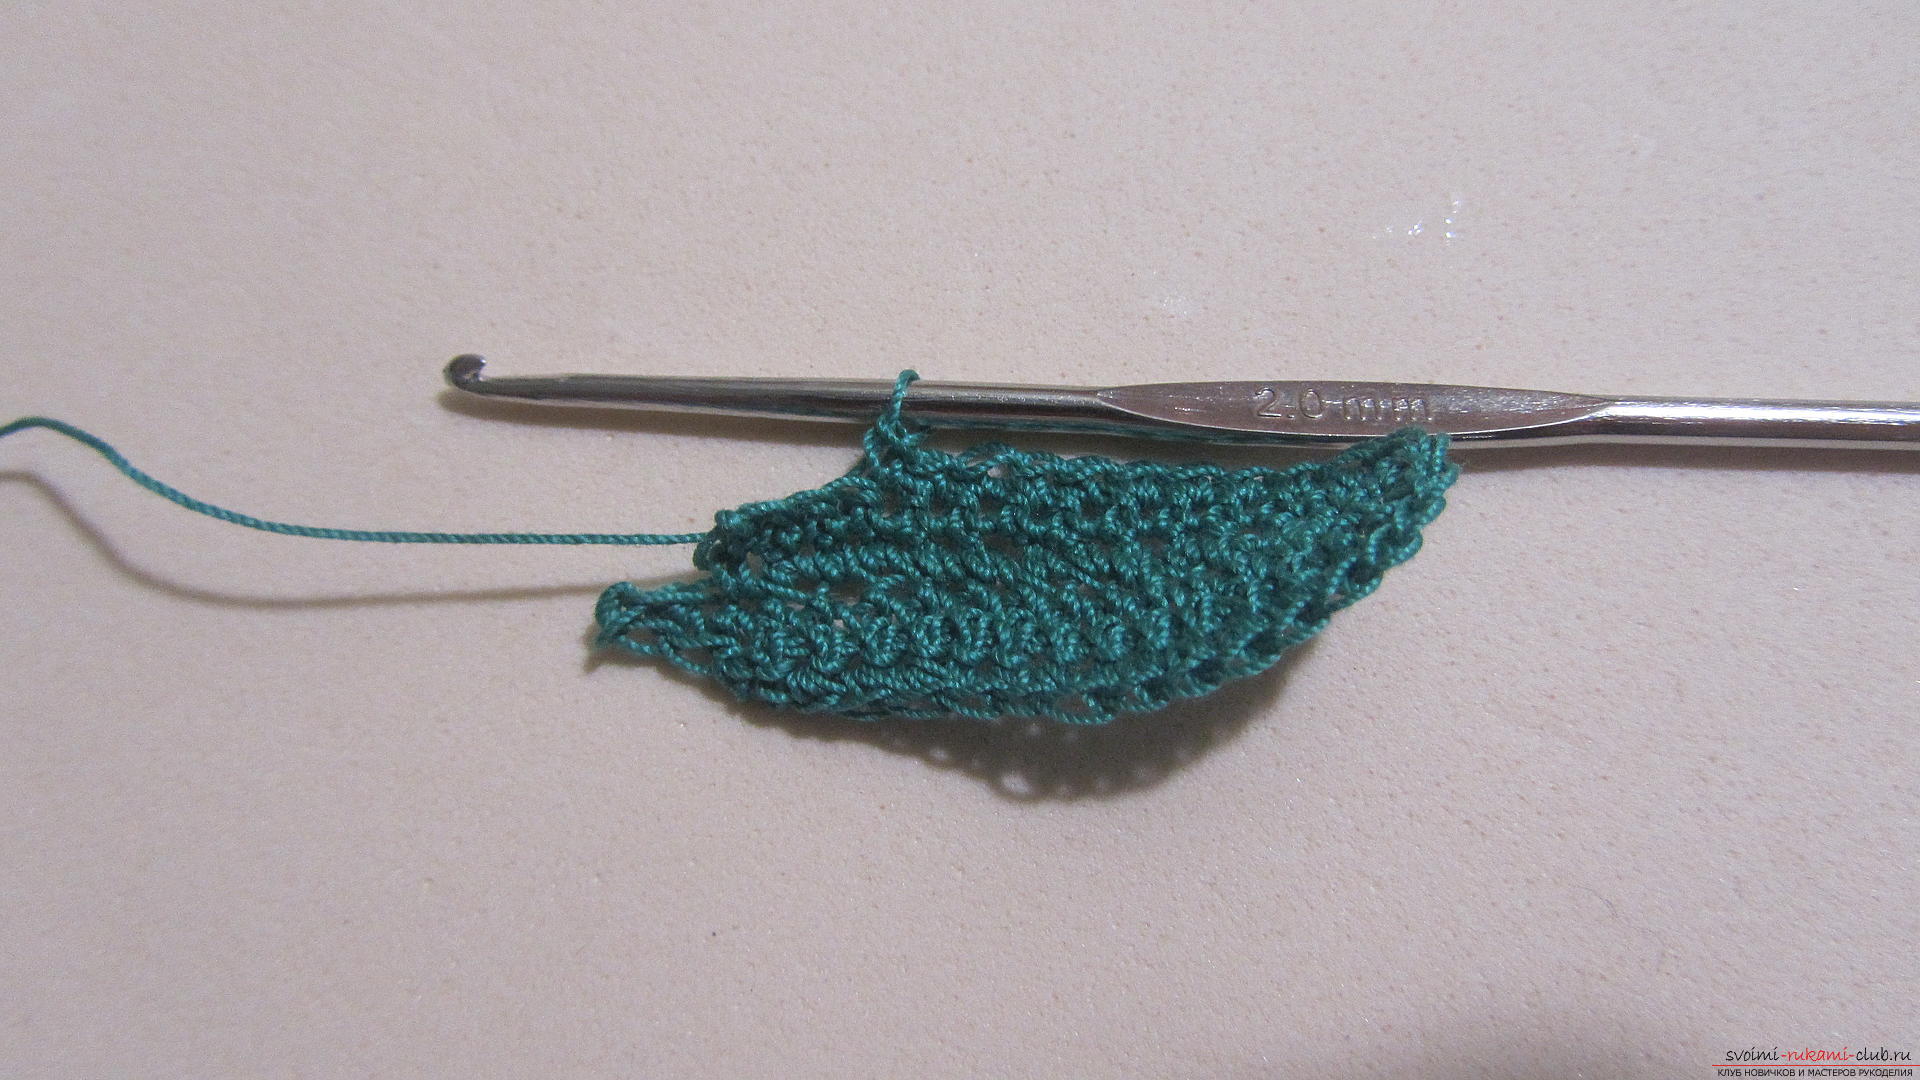
 We knit the columns without a napkin along the arc,unfold knitting, again, not reaching three loops to the edge. We knit a leaf on this principle (not reaching three loops to the edge in each row) to the desired size. We finish knitting at the bottom of the leaf (where we made the increase).
 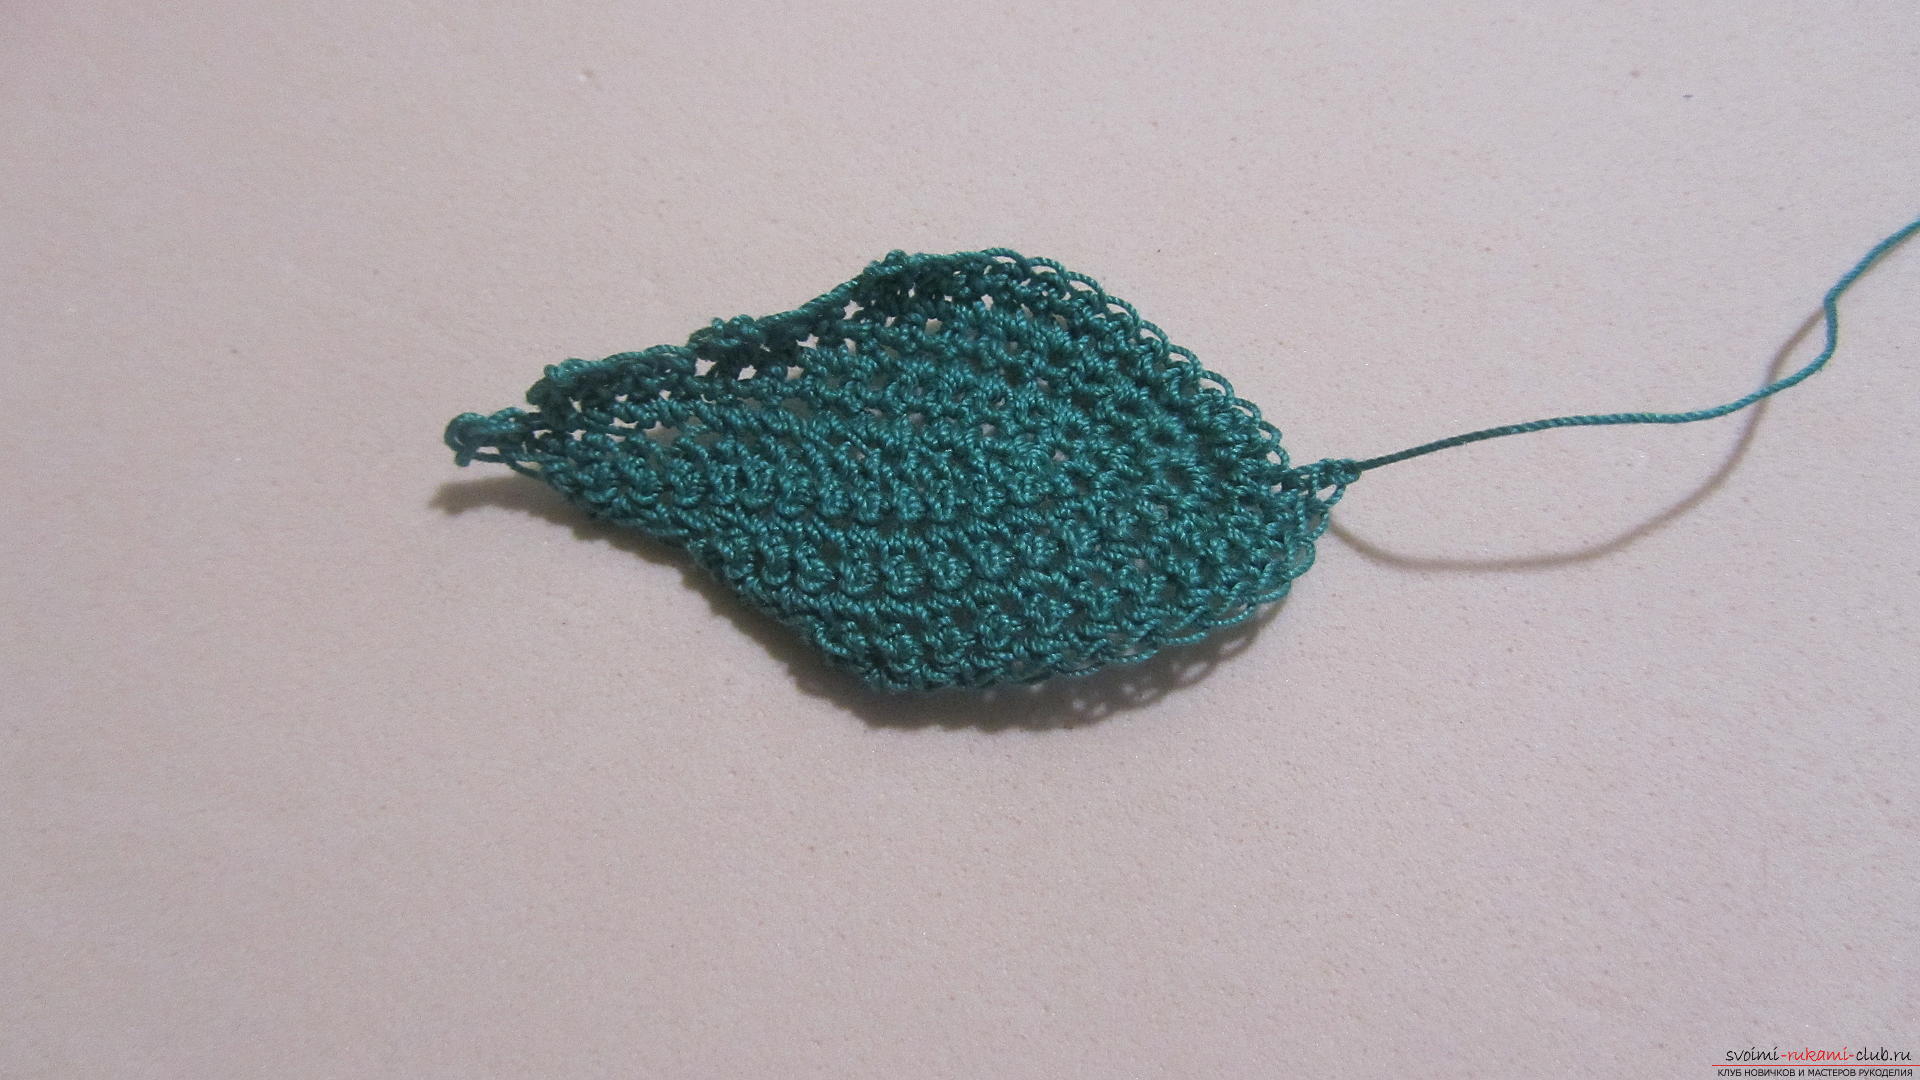 We make two more leaves.
 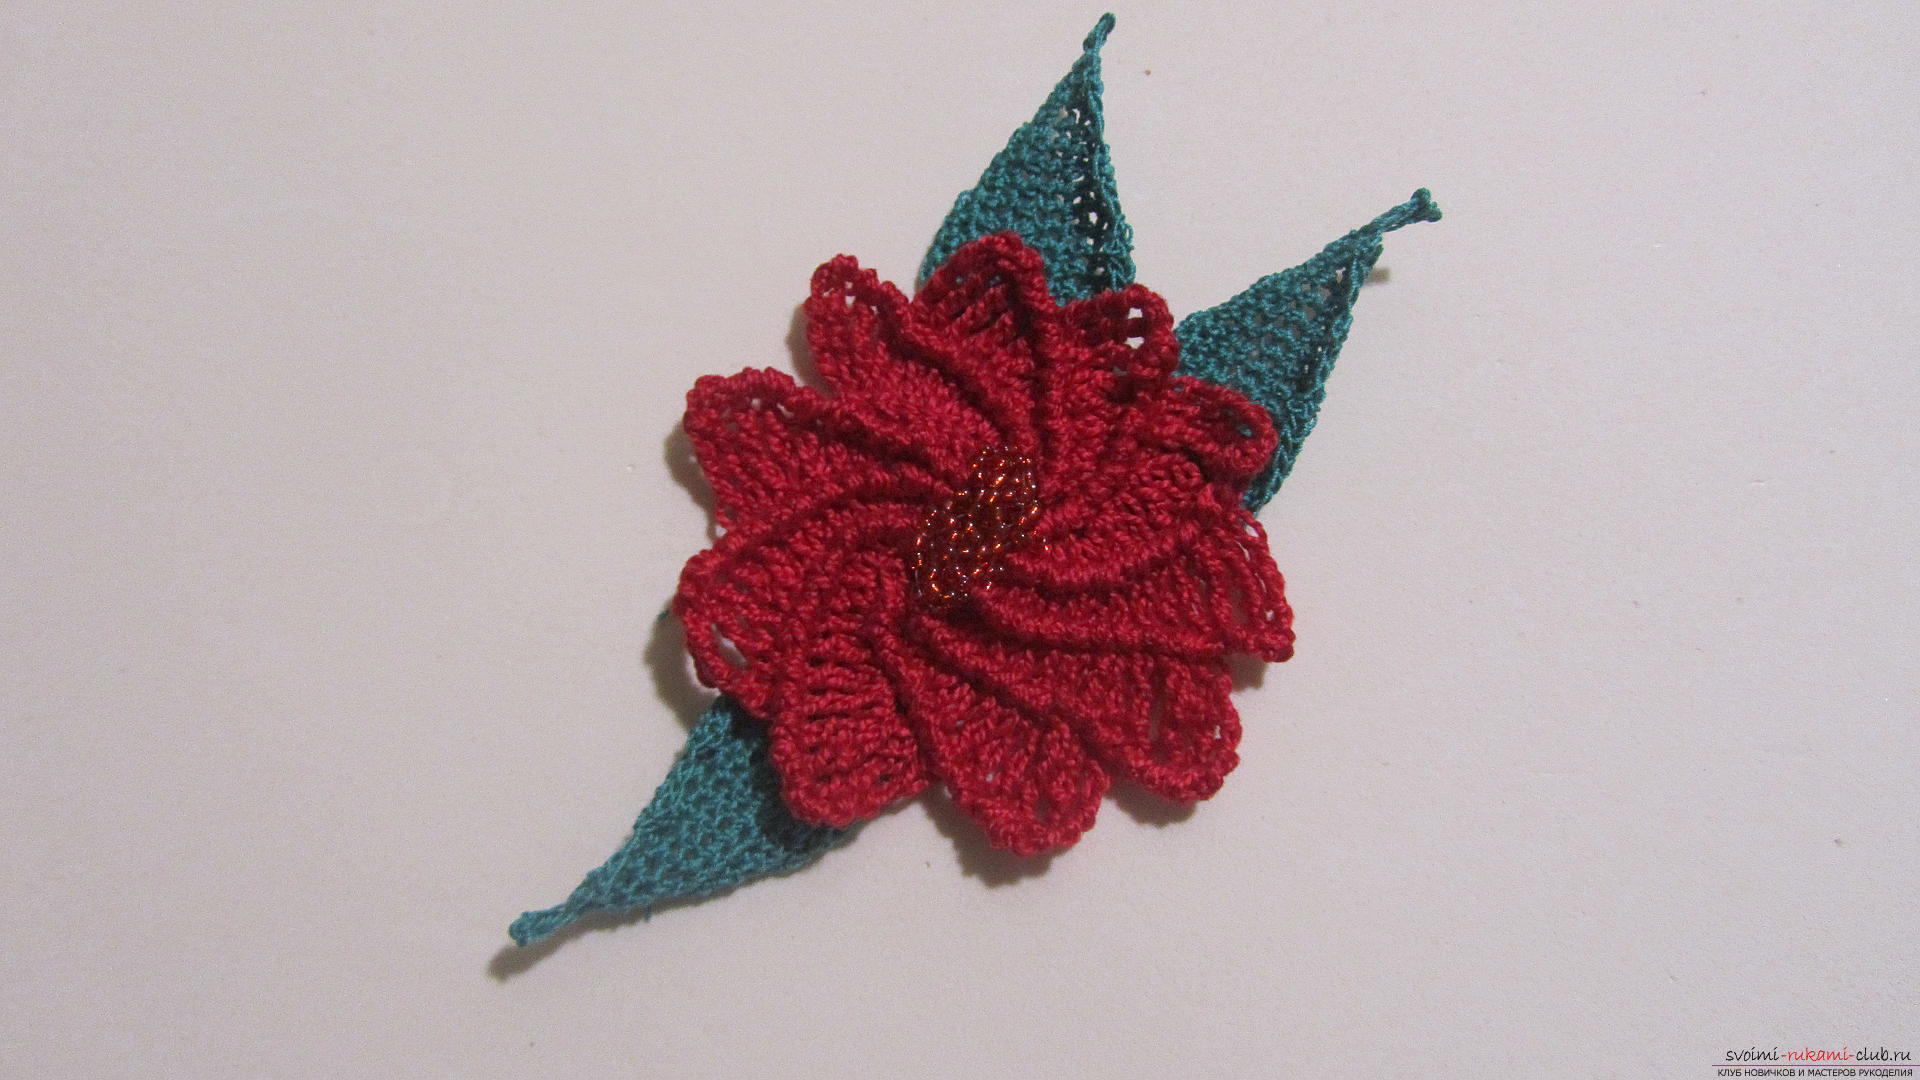 We steal all 4 blanks (flower and 3 leaves) and sew them together.
Comments
Related posts:
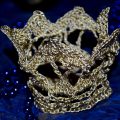 Step-by-step master class will teach how to crochet a knitted crown for a girl
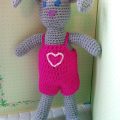 Master class on knitting toys "Bunny" crochet
 Master class with detailed description and photo knitting for babies mittens crocheted.
 Master-class with a photo and a description of the process will teach how to tie openwork mitts crochet
 Wedding decoupage glass and a master class with photos for recruitment