Tulips of beads: spring flowers with his own hands (photo)
Content
Beautiful spring flowers tulips can be made using such inexpensive material as beads. Such work takes little time and money, but gives a very impressive final result.


Necessary materials
To produce flowers with his own hands, we need high-quality beads, smooth, good calibration, the petals and leaves of the tulip was neat.

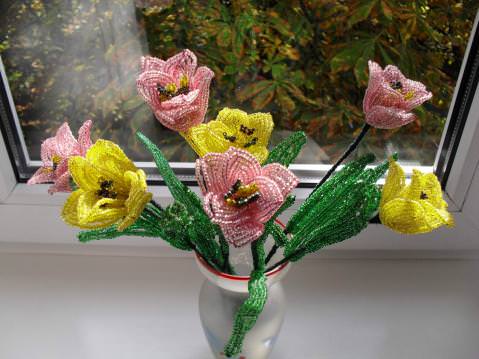
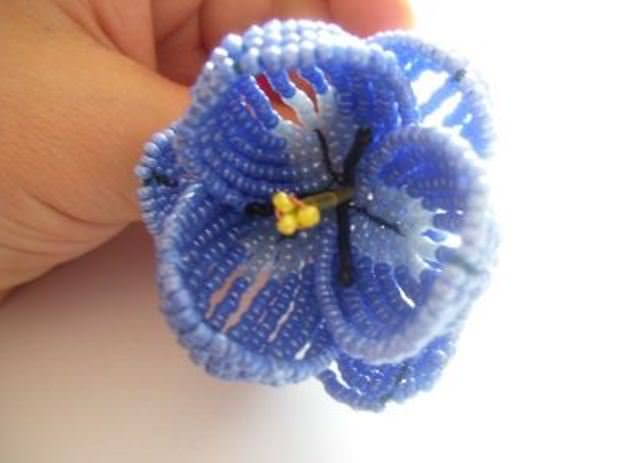
Beaded tulips can be made in one color,or weave several pieces of different shades and combine them into a flower arrangement. For weaving, you can use yellow, scarlet, crimson, pink, white beads, that is, all those natural colors and shades of tulips that are found in nature. The master class in this article will use two colors of beads: blue for buds and soft green for leaves. We will take blue beads in several shades, such an alternation of light and dark tones will make the tulip flower more natural.
To make the pistils and stamens, we will also need yellow and black bugle beads (or seed beads). To make the leaves, we will use green seed beads or chopped beads (oblong glass beads).
This type of handicraft, such as beading, is notdoes without the main working material - wire, and a pattern for weaving buds and leaves. We need two types of wire: thin for leaves and flowers, thick for the stem. You can use regular copper or thin jewelry wire. At the end of the work, we will wrap it with green threads, imitating the stem of a flower.
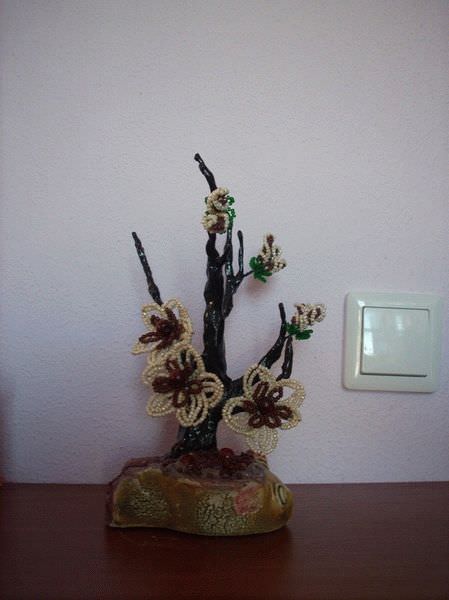
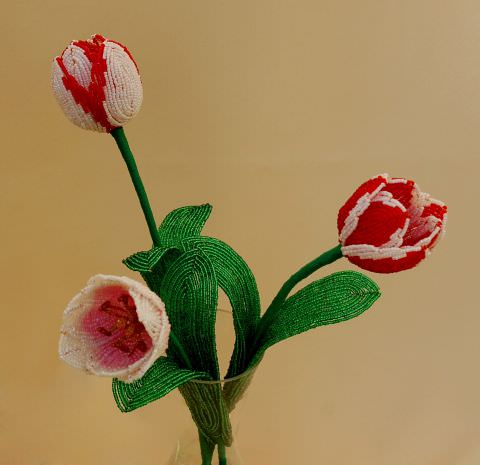
In the attached photo you can see what the finished beaded tulip will look like.
Master class on weaving a tulip from beads
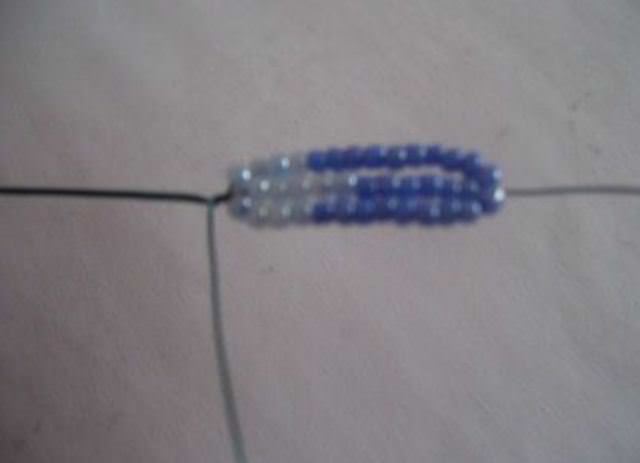
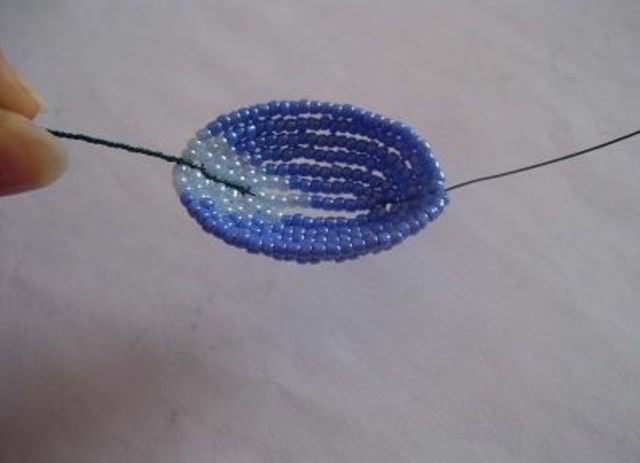
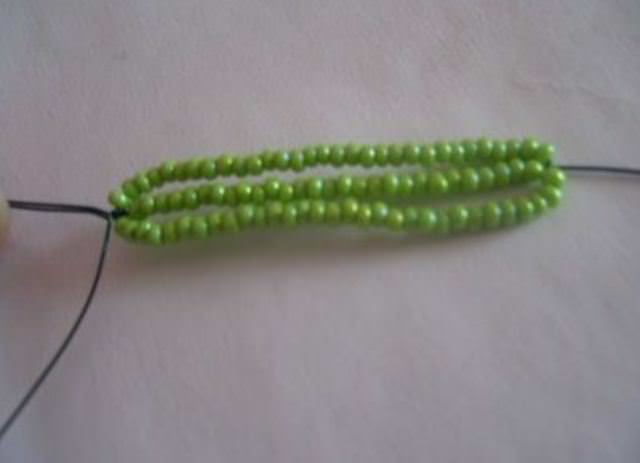
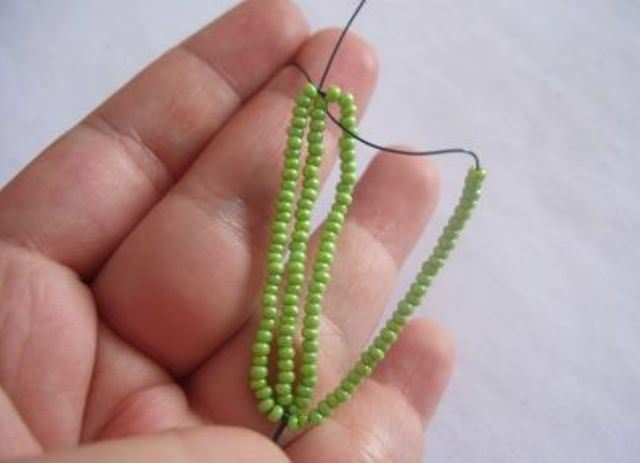
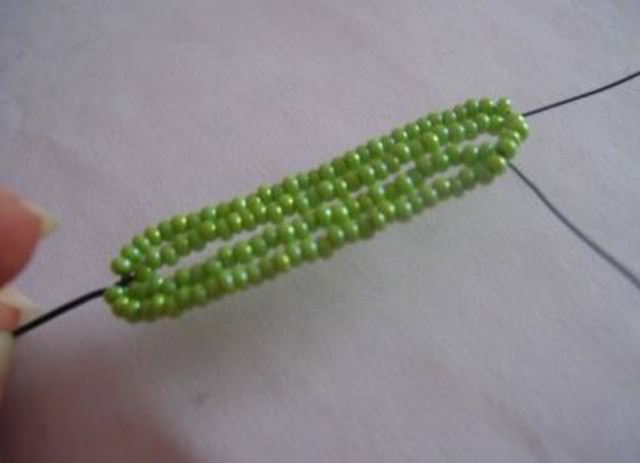
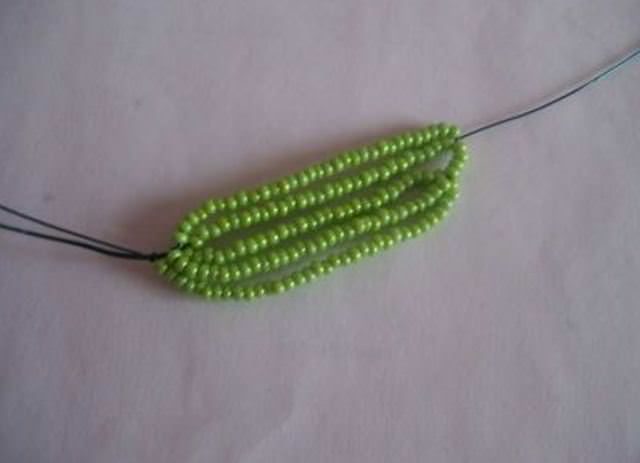
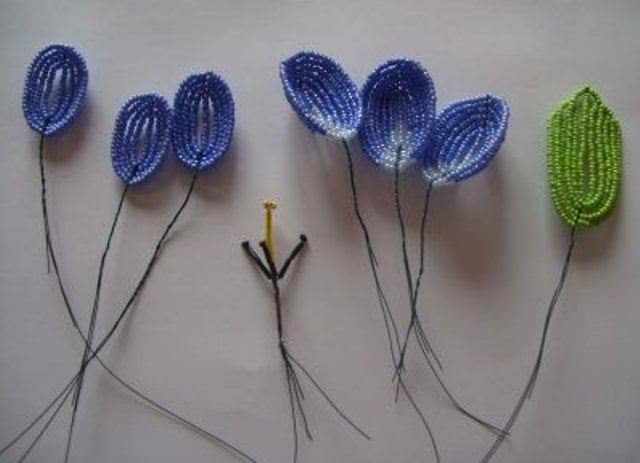
We make petals. We cut them with special nippers.from the wire two segments, 20 and 50 cm long, twisting them together. We will need them for weaving the petals of the bud. We use beads of blue shades. On a short piece of wire we string five light beads and six dark ones, alternating between them. On the long end, also alternating, we string four light and nine dark ones. We twist the long end through the short one, with the strung beads, we create a reverse row with nine and four beads. Again we hook the base of the short segment and continue weaving the rows, using this pattern. Do not forget to add the required amount at the beginning of each row. As a result, we should get six bead rows, on each side of the central point of weaving. These will be the inner petals of the bud, you need to make three of them. How they should look after finishing the work, you can see in the photo.


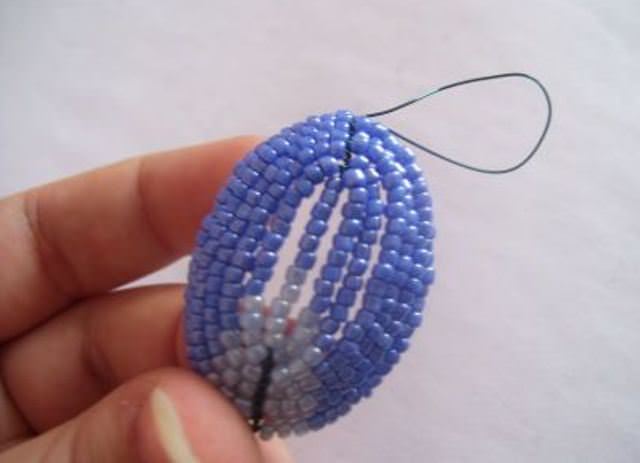
Now we need to make the external onestulip petals, there should also be three of them. The weaving pattern is the same as for the inner ones, we string twelve beads on twisted wires and weave four rows, not forgetting to add beads.


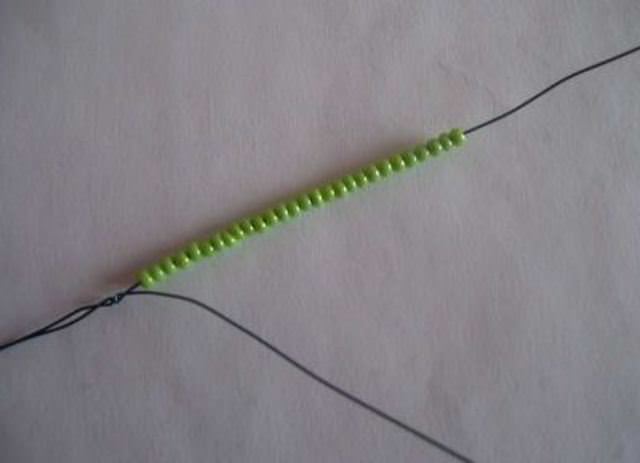
Production of pistils and stamens the nextstage of our master class goes from weaving stamens and pistils. They must be ready to put into the petals of a tulip to accurately reproduce the flower. How to make them? For weaving pistils we need three pieces of wire 20 cm. And black glass beads. Strung on a wire one black bead and two beads bugle beads will be the top of the pistil. Wire skip back through a series of glass beads, our pestle ready. Total pistils necessary to make six pieces.

We make stamens using exactly the same pattern.tulip, only use yellow beads or bugles. String three beads or three bugles on a segment, pass the end back through the rows of bugles. Now you need to connect the pistils and stamen into the core, for this we attach three stamens to each pistil (in a circle) and twist them together.


Weaving leaves
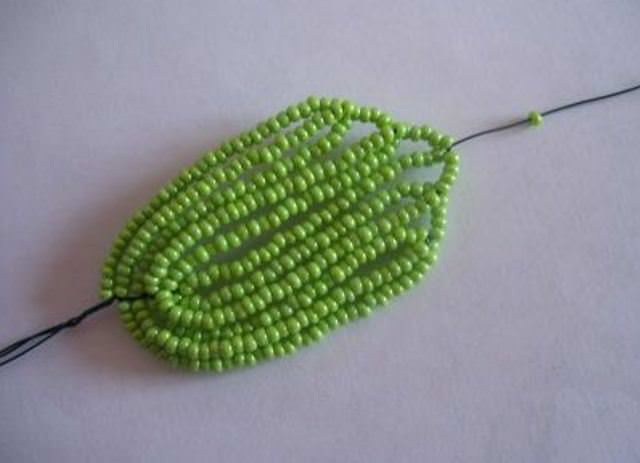
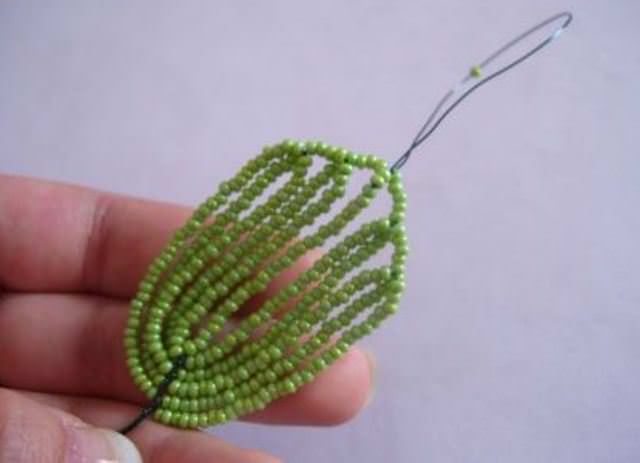
Both a living plant and a beaded tulipIt is impossible to imagine without juicy green leaves. To weave them, we will need two pieces of wire, a long and a short one, as when making petals. Twist them together and string green beads (or chopped beads) on a piece about four centimeters long. Create one row on each side (one row is 4 cm). The next row is woven in the same way, only it decreases by four beads, not reaching the top, such a decrease must be made on each side. As a result, we will get several leaf teeth on both sides. Such rows must be made at least five. After finishing weaving, string one green bead on the top wire and pass it through the entire row, we got a sharp tip of the leaf. This completes our educational master class on weaving leaves. What the teeth on the leaves should look like, you can see in the photo.
Assembling Beading detail has allowed us tomake the basic details for the flower: the petals of a bud (three internal and three external), the core and the leaves green. Now all these items must be connected in a single whole.
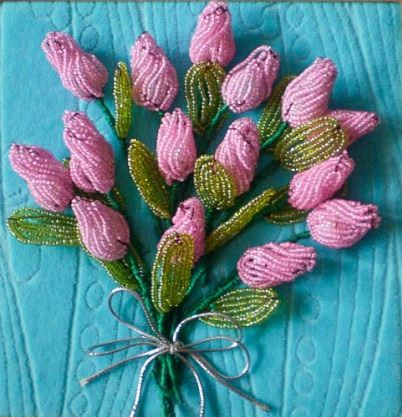
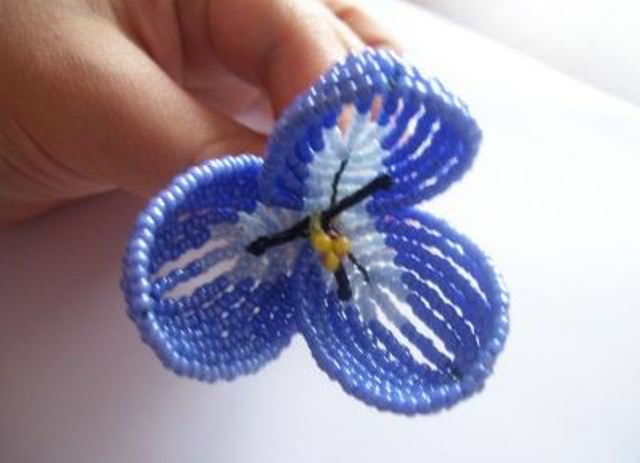
We screw it to the core of pistils and stamensinner petals, distributing them evenly in a circle. Then, on top of these petals, screw the outer petals, placing them in a checkerboard pattern relative to the inner ones, and twist all the wires together, forming a stem. Cut off a piece of thick wire, this will be the stem, and screw the woven flower to it. Now we need to wrap it with green threads. We start wrapping from the top, from the tulip bud, moving down. Having reached the middle of the stem, screw on the green leaves and move on, wrapping the entire trunk with threads to the end. You need to wrap tightly so that there are no gaps on the stem. To secure the threads, coat them with PVA glue and let dry. You can also watch the assembly of the flower parts in the video. You can make several of these single flowers and then combine them into bouquets or flower arrangements. Beaded tulips will be a beautiful interior decoration and a good gift for the spring holidays.

At the end of our lesson, we invite you to watch videos where experienced craftswomen share ideas and technology for creating beaded tulips.
Video: Making Tulips from Beads