Decoupage on fabric and other surfaces (photo and video)
Content
- home work
- Lessons for decorating fabric materials
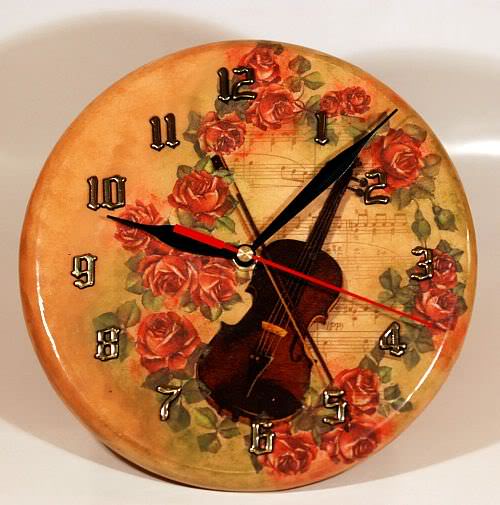
- The picture on canvas
- Decorate with various objects
- Technology processing of old drives
- Master class on a shoe box
- Video: Crafts with their own hands
Decoupage for beginners is interestingdirection in needlework, means by itself, the decoration of various household items and accessories. This is a very exciting and entertaining technology, which will be discussed in detail in this article.


home work

Decoupage - is one embodiment of a decorativeornaments for home furniture, utensils and other things that constantly surround a person in everyday life. Often used in the design of decoupage wooden boxes, caskets, albums for pictures and Christmas paraphernalia. The word decoupage, derived from the French language, which means "to cut". In this word, lies the whole essence of the craft. Decoupage main material composed of tissue, the old card, simple pictures or tissue which is adhered to the desired plane. This technique, like the famous and familiar to all from childhood applications, but
, Is much more diverse.
According to historical facts, decoupageIt has arisen in eastern Siberia, where it was used by nomads for ritual purposes, and then migrated to China. In this country, a skill, and still very popular.
A large number of stylesdecoupage, wherein different materials are used. If that's all join together in the end, you can get incredible products and crafts, which will reveal your hidden potential. This technology can realize the idea, your ideas and dreams.
This skill is widely used
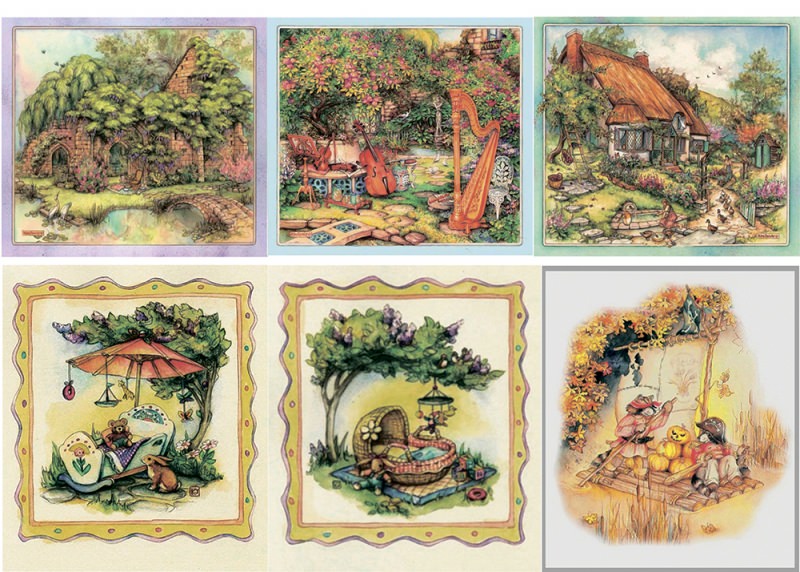
They are special papersheets with patterns and images. Their factory-made, special ink that does not fade and does not lose its color. Decoupage card for any surface, each sold in a specialty store for hobbies and crafts. They are all different in appearance and properties, so for beginners masters, it is difficult to understand them.
The first and very important characteristic of decoupagemaps a property and type of paper. On this depends the whole future work. Due to the large selection of materials, you'll want to buy everything at once, but do not hurry. Try to pick up a map to a specific subject, which are going to make out. Before you buy decoupage card account not only its beautiful tune, but also the clarity of the edges, artistic background and character of the landscape. And, generally speaking, consider the possibility of their application in different subjects, the location of the pattern on the card. Think about all the details of execution, as well as a combination of different techniques.
Lessons for decorating fabric materials
To do this Master Class decoupage on fabric, decoupage require not only the object, but also some of the materials, which can be purchased in the store, as follows:
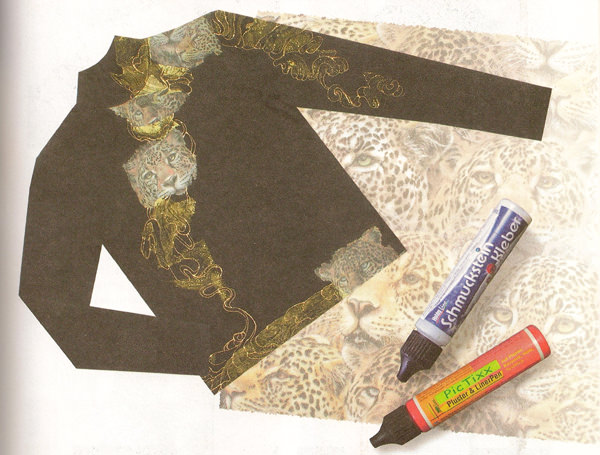
- black sweater;
- cloth with the image of a leopard;
- scissors;
- decoupage glue;
- brushes;
- file;
- marker that disappears;
- acrylic, yellow and white;
- iron.
Prepare a black sweater, even if it is new, it is still wash it and dry it.
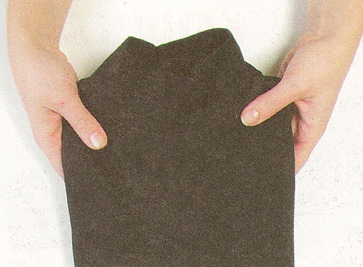
Think in what place will be located decoupage on fabric napkin and cook.
This workshop is suitable for beginners, because it is not complicated in execution. His hands, separate the tissue from the lower layer and remove the dark edging, we do not need.
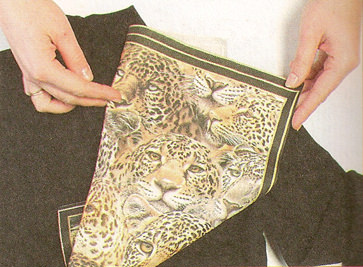
Now, the decimal figure to be used in decoupage.
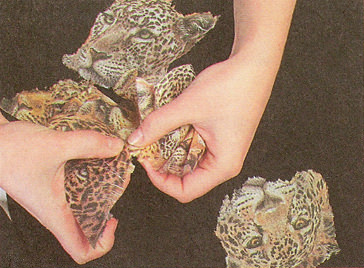
Place them on the clothes to have an idea of where you want to do applique.
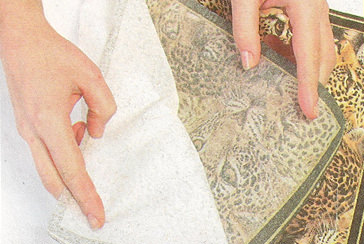
In order to protect the wrong side of the glue, put in the inner part of a regular file, carefully spreading it.
Take the token that will disappear with time, and drag them to the contours of the pattern on a sweater.
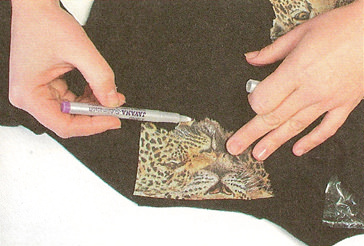
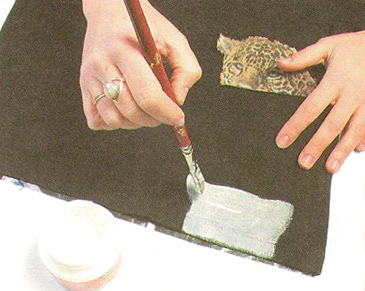
Since our black cloth, and cloth is very thin, it can take the color of clothes. To avoid such consequences, promazhte place sticking pictures, acrylic paint in white.

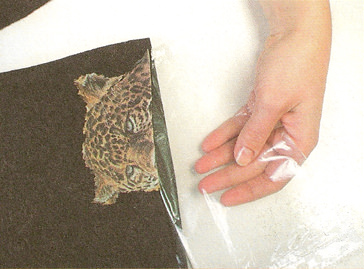
Wait until your work will dry up, and then, in the same place, make brushstrokes with special glue for decoupage on fabrics.
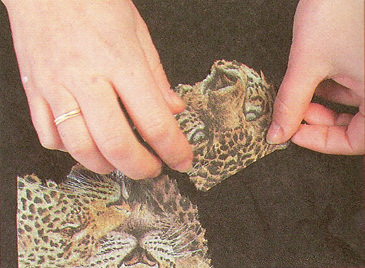
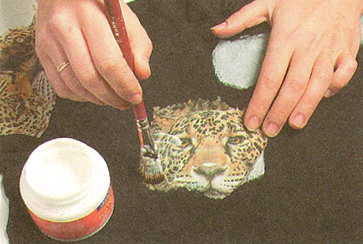
On the spot, which is treated, impose part of the picture and cover it with glue for decoupage.
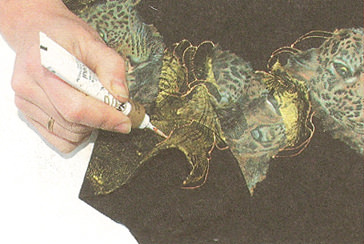
In order our image, had a full view of her circle edge golden outline on the fabric, thereby combining all the pieces of the picture. Leave the fabric to dry completely.
This master class decoupage on fabric, is almost complete, it remains only to iron hot iron, the resulting pattern on the reverse side.

Here are some decoupage on fabric, turned after the completion of the work. This turtleneck, especially made with their own hands, perfectly diversify your wardrobe. Such workshops can be examined on video.
The picture on canvas

The next workshop, tells us how to do decoupage on canvas. This is a very interesting work, which perfectly fit the interior of your home. You will need this material:
- the hoop;
- canvas;
- ;
- thick cardboard;
- glue;
- brushes;
- stationery file.
Decoupage on canvas begins with the fact that we take the hoop and cut out cardboard circle, scale such as the hoop.
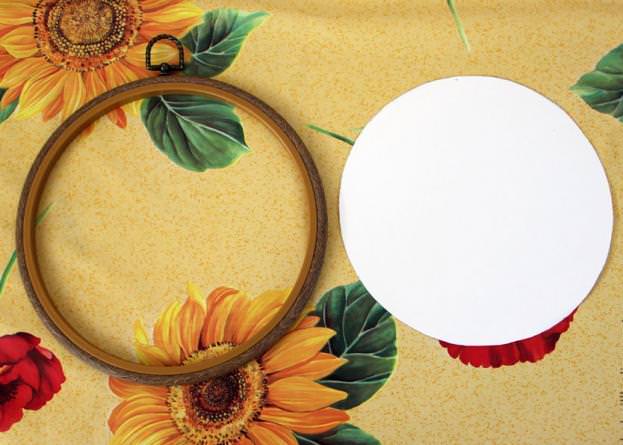

Attach a circle, which is located inside the structure to the back of the cloth, and draw around it with a pencil. Cut this circle scissors.
After you cut out the desired image, separate the two layers of white cloth.
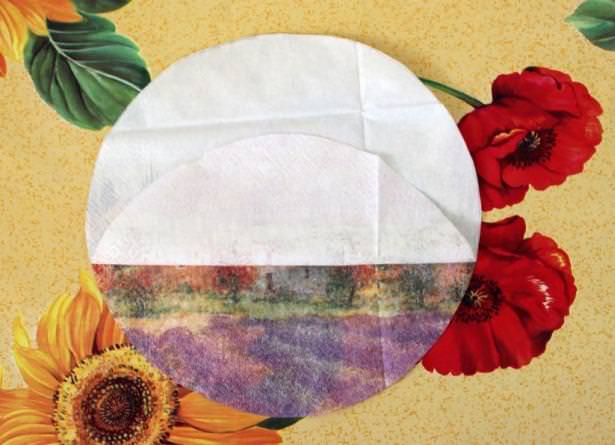
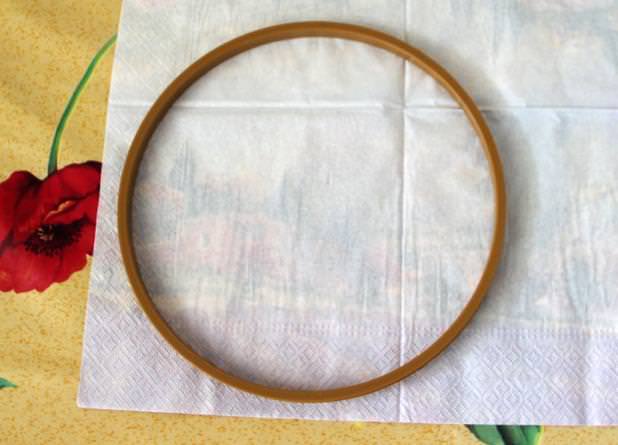
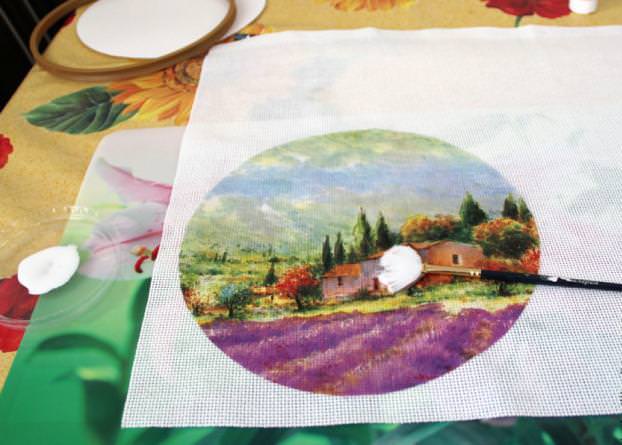
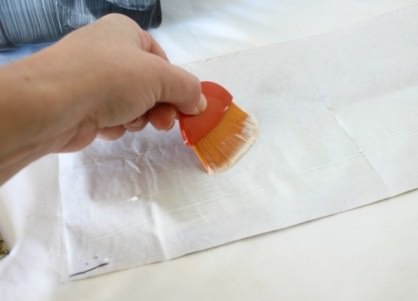
Prepare the canvas, glue and a brush. Cut in half and put the file on him the napkin face down.

Moisten it with plenty of cold water. After a hearty getting wet brush is necessary to smooth out all the creases formed to remove trapped air.

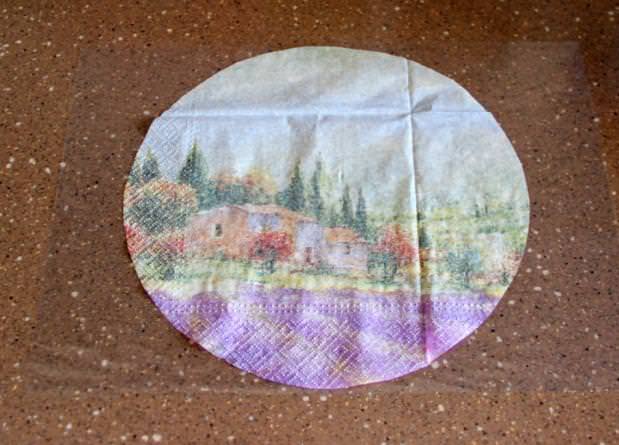
Now, place a file with a picture on the canvas and cautious movements, remove the file.
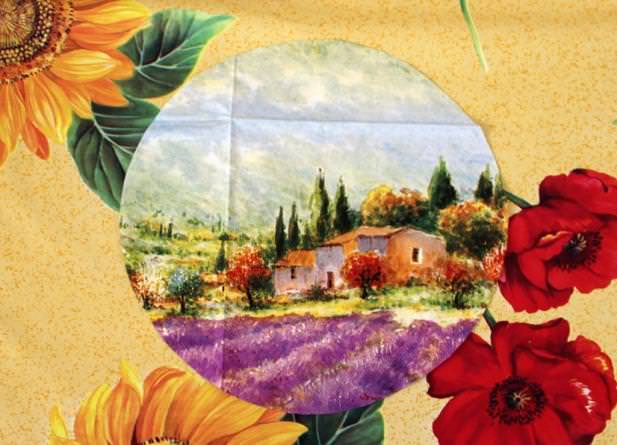
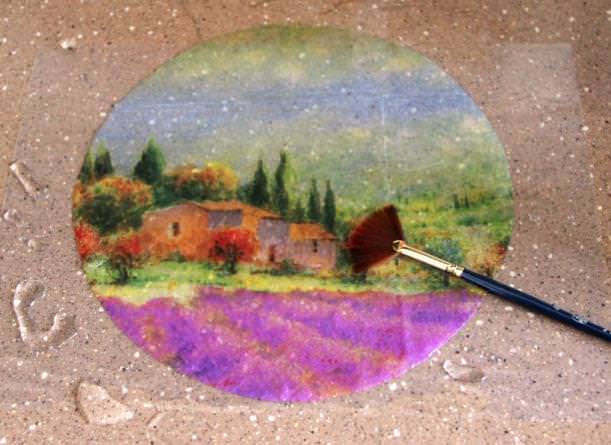
Dip the brush into the glue and liberally lubricate thempicture. Next, take a dry brush and dunk it in a small amount of glue. Hold it in your hand perpendicular to the start and do movements such as Drives a napkin into the canvas. This is done in order to get the embroidery effect.

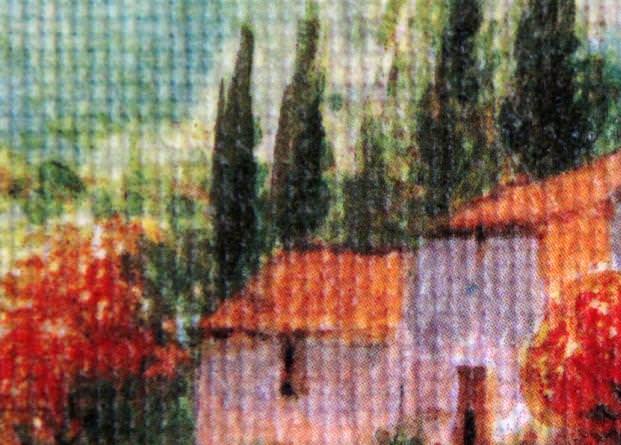
If you have the desire, pierce each hole on the canvas with a needle, this will enhance the visual effect of embroidery.
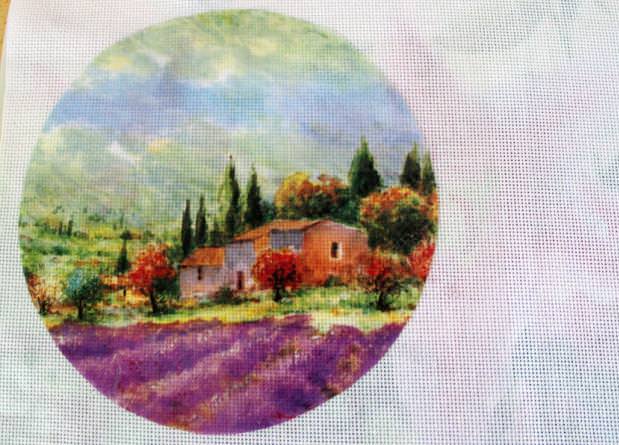
Decoupage on canvas, almost complete, it remains dry image with a hair dryer.
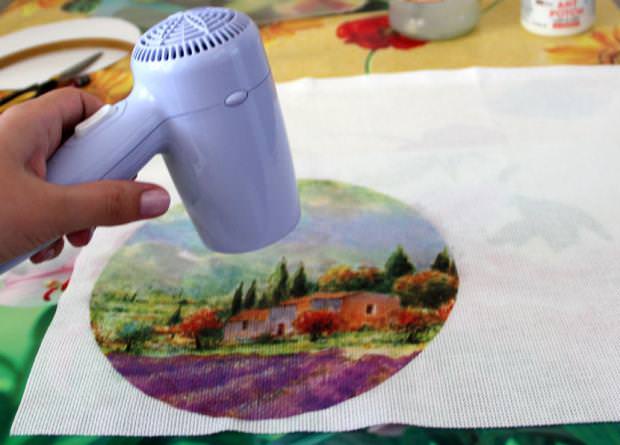
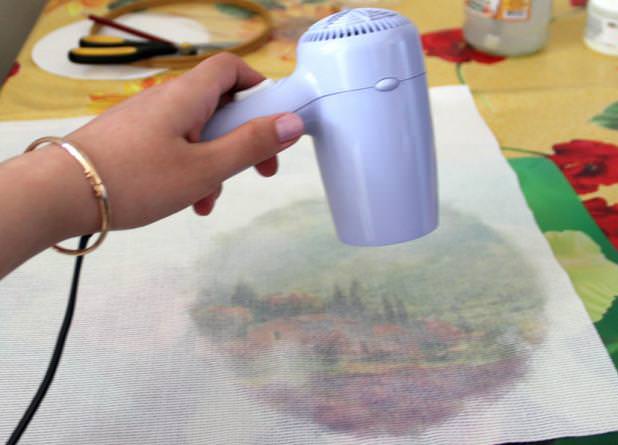
Insert the canvas in the hoop and cut the extra edge. Look what an interesting panel, turned out at the end of work. As you could see, decoupage on canvas, is a very interesting hobby, from which the beautiful crafts.

Decorate with various objects
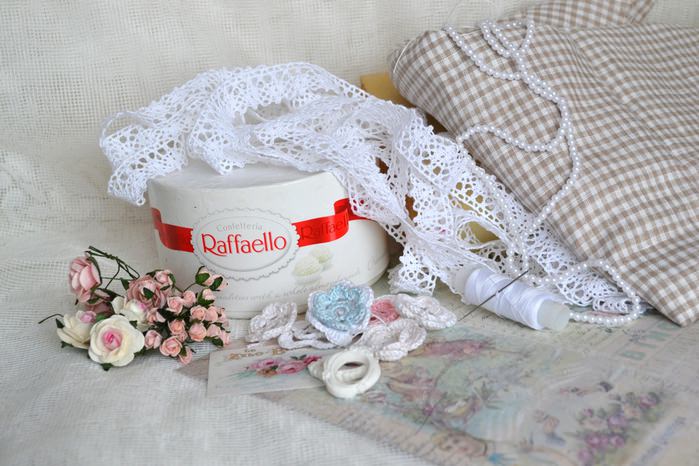
Popular decoupage technique is interesting because with its help, you can decorate the seemingly most mundane things. For example, decoupage on plastic, making decoupage cloth or draw a box Raffaello.
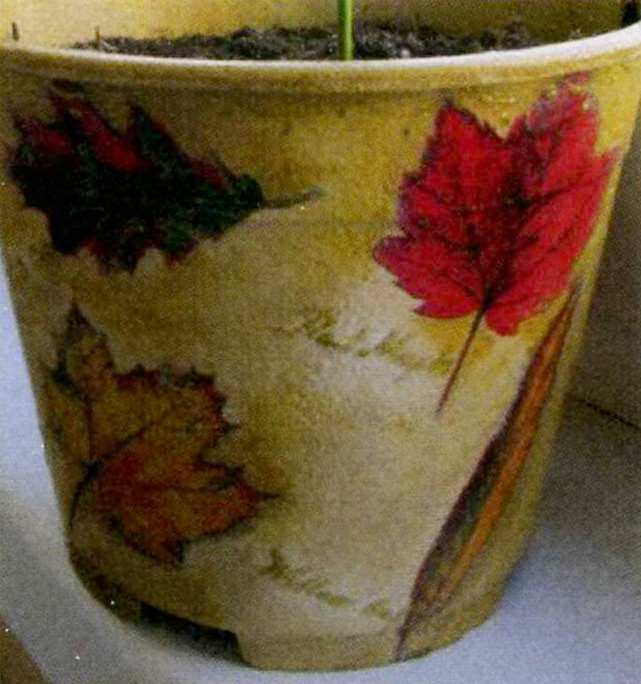
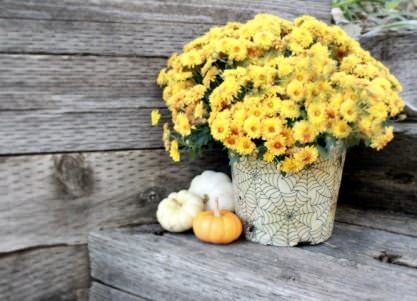
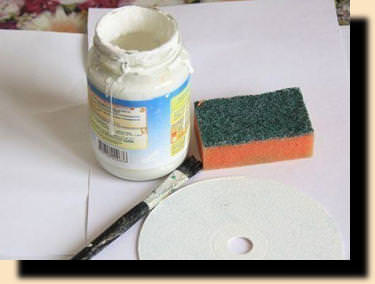
Let's see how easy it is to do decoupage onplastic. For example, take the plastic pot. Wash it with water and detergent and degrease it with alcohol. Before you cut the required length of the paper, measure out how much you need, and then lubricate the length of ordinary PVA glue.
We turn to the most important part of the work on the decoupageplastic. Keep the container and glue the paper neat movements, avoiding creases. Make overlapping paper in the place of contact of its edges. The bottom and wrap the paper, leaving a hole for water drainage.
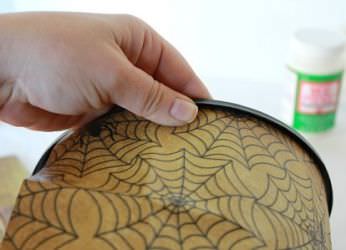

Brushed iron the the places whereformed folds. This decoupage on plastic, must dry for 30 minutes. After that, we cover it with acrylic paint and leave to dry again. Now, decoupage on plastic is completely ready and can be used pot.
Decoupage on fabric, is used for many thingslife, as well as furniture, especially beautiful tea table and chairs, which are suitable for family parties in the country. To do this, pick up the bright colors, cotton fabric, with as dense weave.
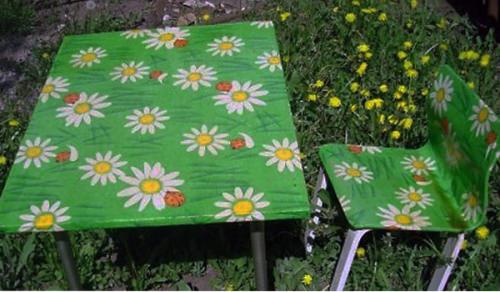
Plastic surfaces for these purposes is notfit. Better take MDF, wood or plywood. Wood surfaces are polished and then coated with a primer, and only at the end of several layers of paint over acrylic.
Slightly damp cloth forge on the table,which is completely covered with white glue. If possible, the fabric edge, fasten the stapler. After drying, remove the clips and applied three coats of glue to the canvas. For greater effect, it is necessary to varnish a table a few times after that, he was a little darkened, that give it the look of this furniture. As you could see, decoupage on fabric, makes the furniture very beautiful things, are widely used in everyday life.
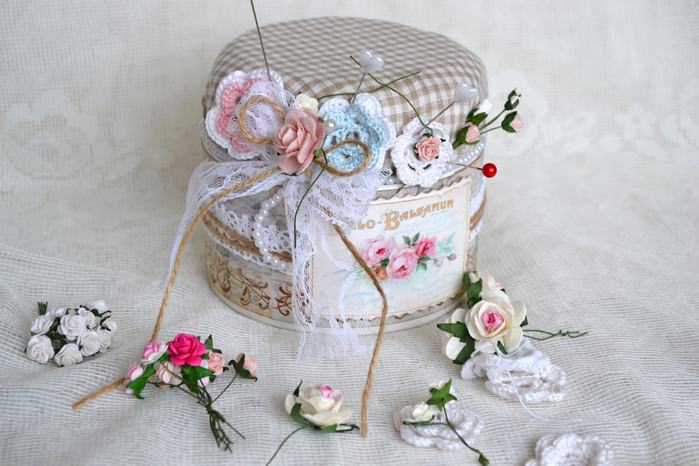
In the same way as for tissue decoupage cando decoupage boxes, namely boxes out of Raffaello. Cut the paper, based on the size of the box. Lubricate such thing glue and attach the top to the base material. Smooth out all the irregularities that came out excess air. Lubricates the surface of the adhesive and wait for complete drying. At the end, the box being processed acrylic. We can assume that decoupage boxes ready. You only will decorate it with decorative materials, to get a beautiful and stylish box for needles.

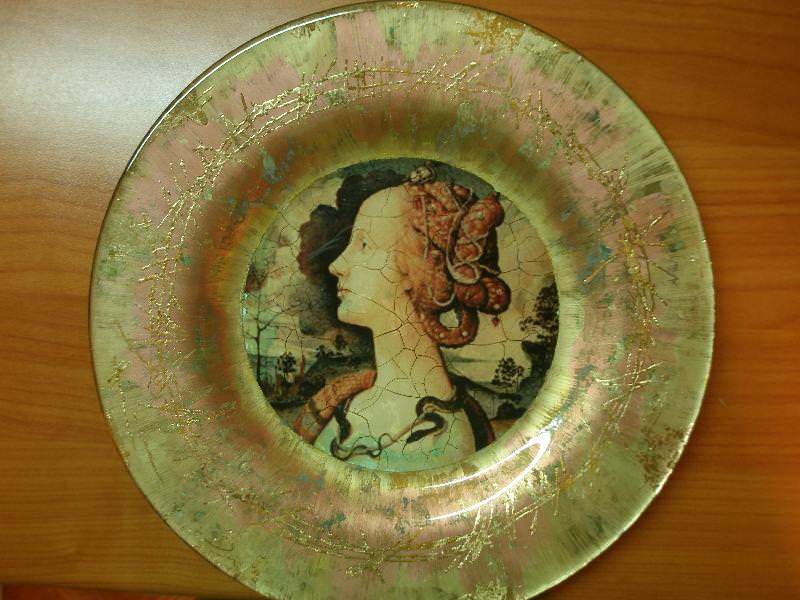
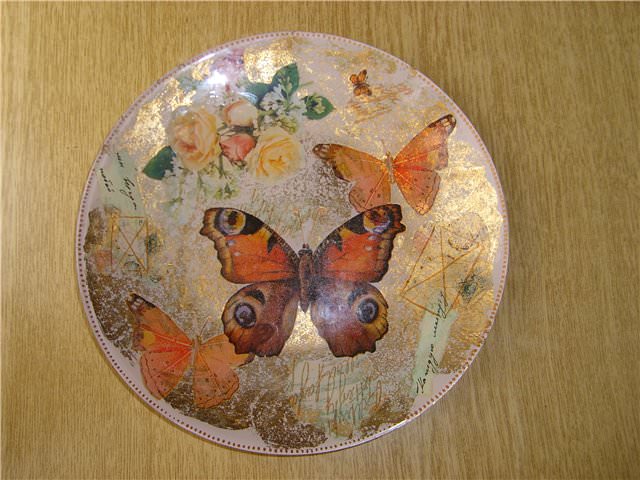
Technology processing of old drives
For the manufacture of handicrafts in the technique decoupage disks, master class offers a list of materials:
- disk;
- postcards;
- acrylic white paint;
- glue;
- acrylic lacquer;
- cardboard;
- colored paint;
- sandpaper;
- scissors.
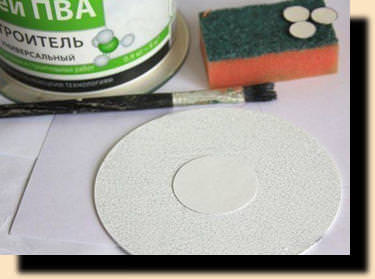
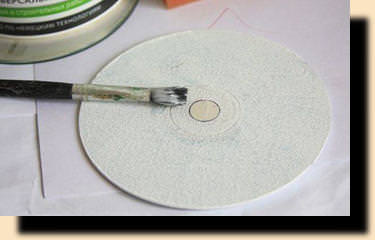
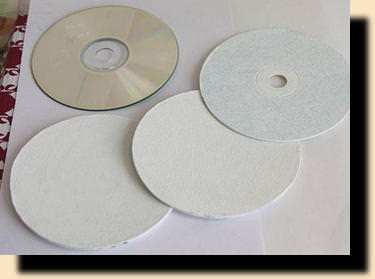
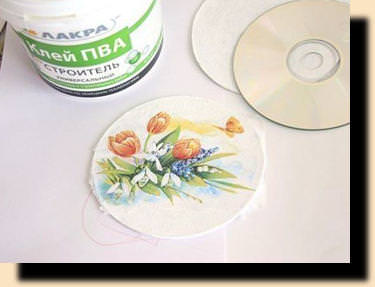
First, gruntuem old drive. Then, you need to cut out cardboard circle, which closes the hole in the middle of the disc. Again, paint the disc.
Now, a master class offers a do-card, which is soaked in water for a few minutes, to fully soak it. Neat movements exfoliate postcard.

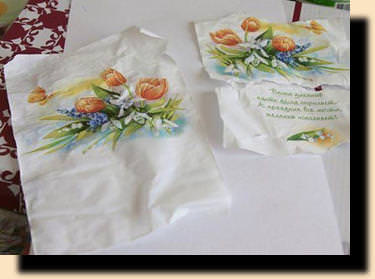
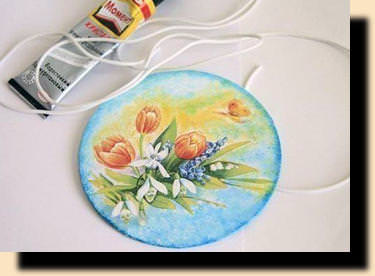
With the help of glue, glue the picture on the disc, carefully flatten it, expelling the air. We reserve crafts to dry, and then paint on paint edge.
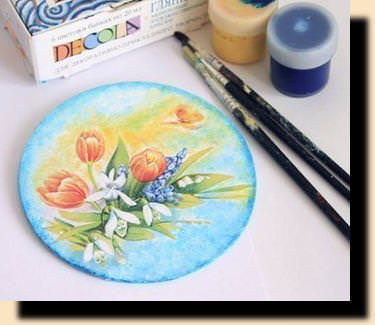
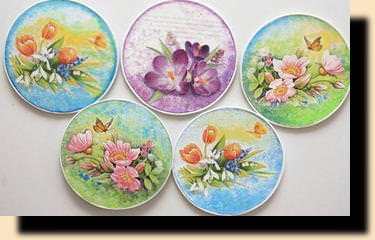
Coat both sides of varnish and dry. Take the light string and stick it on a path, a transparent adhesive. And on the reverse side, glue a magnet and decorate the refrigerator. Also, you can make a buttonhole and hang on the wall. Such workshops can be viewed on video.
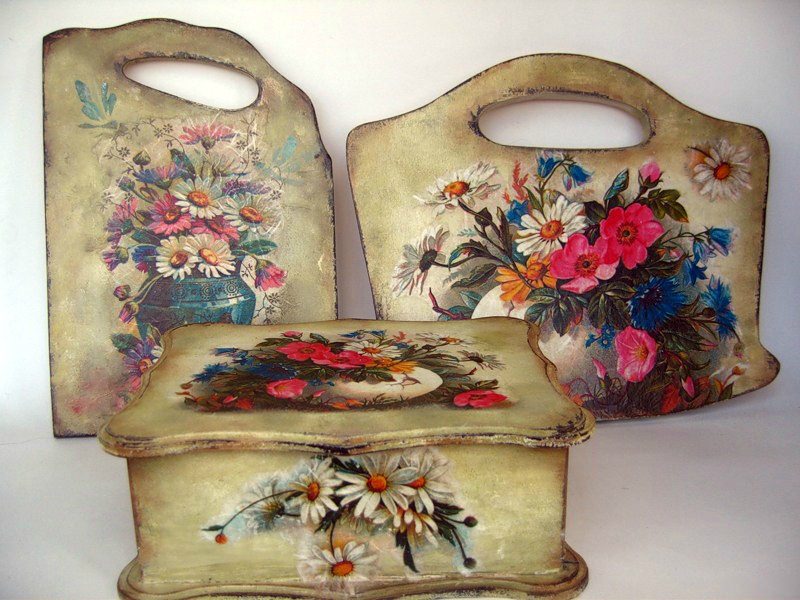
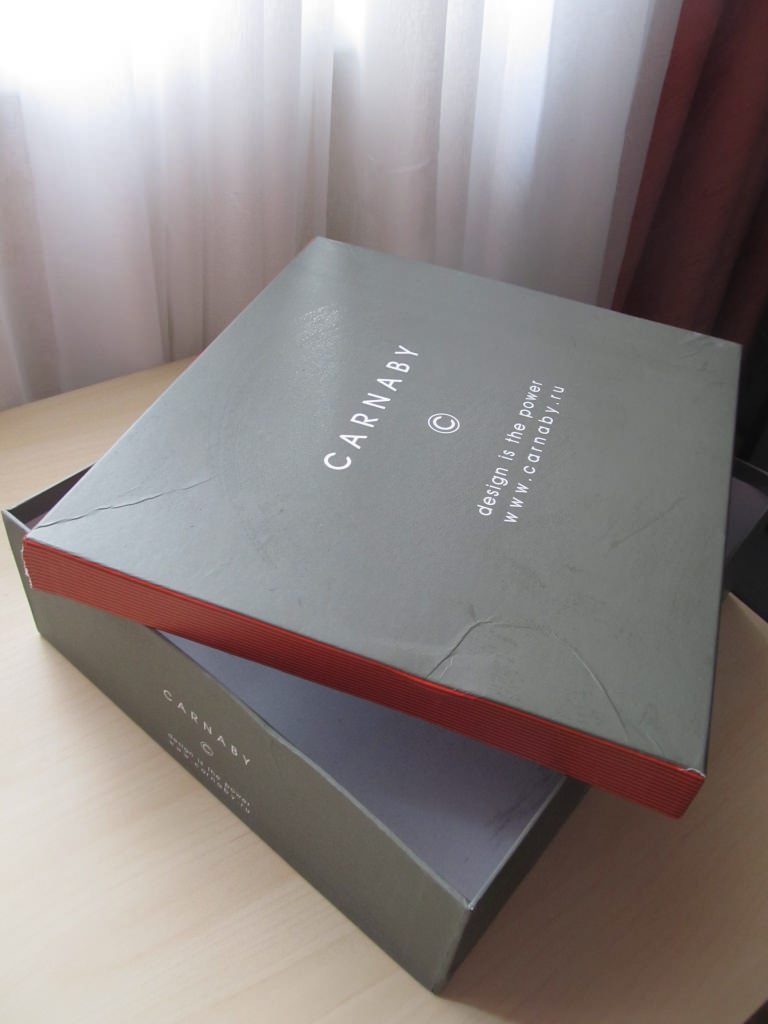
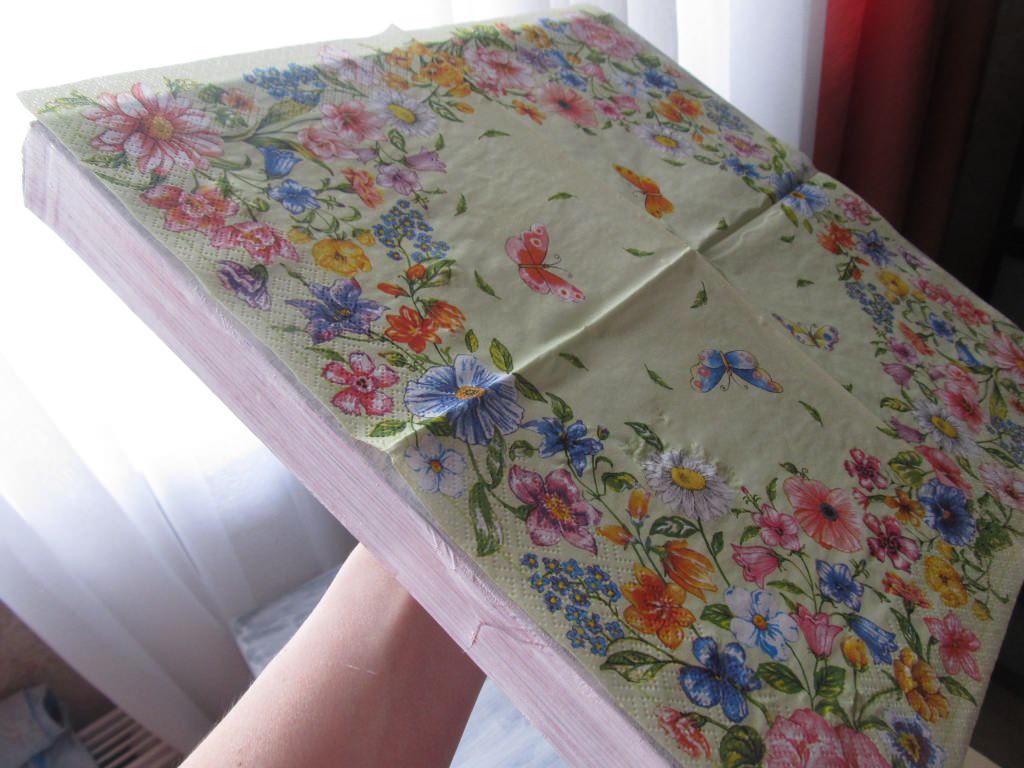
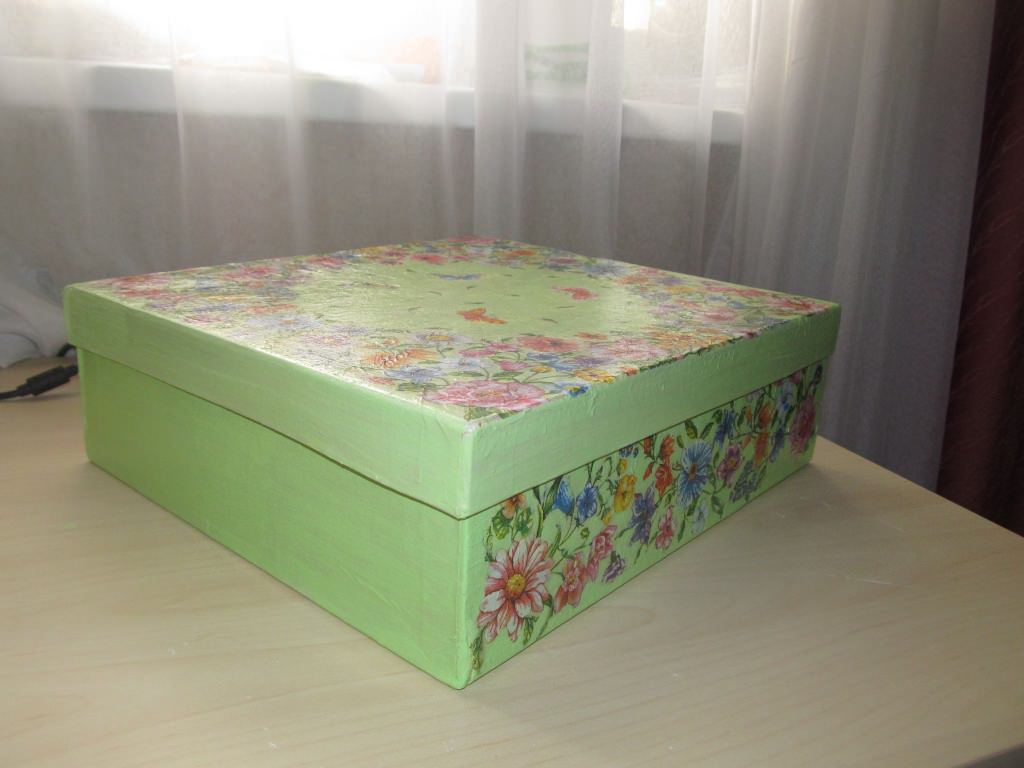
Master class on a shoe box
This workshop will help create a decoupage cardboard box from under the shoe. In the future, it can be used for storing various small items.
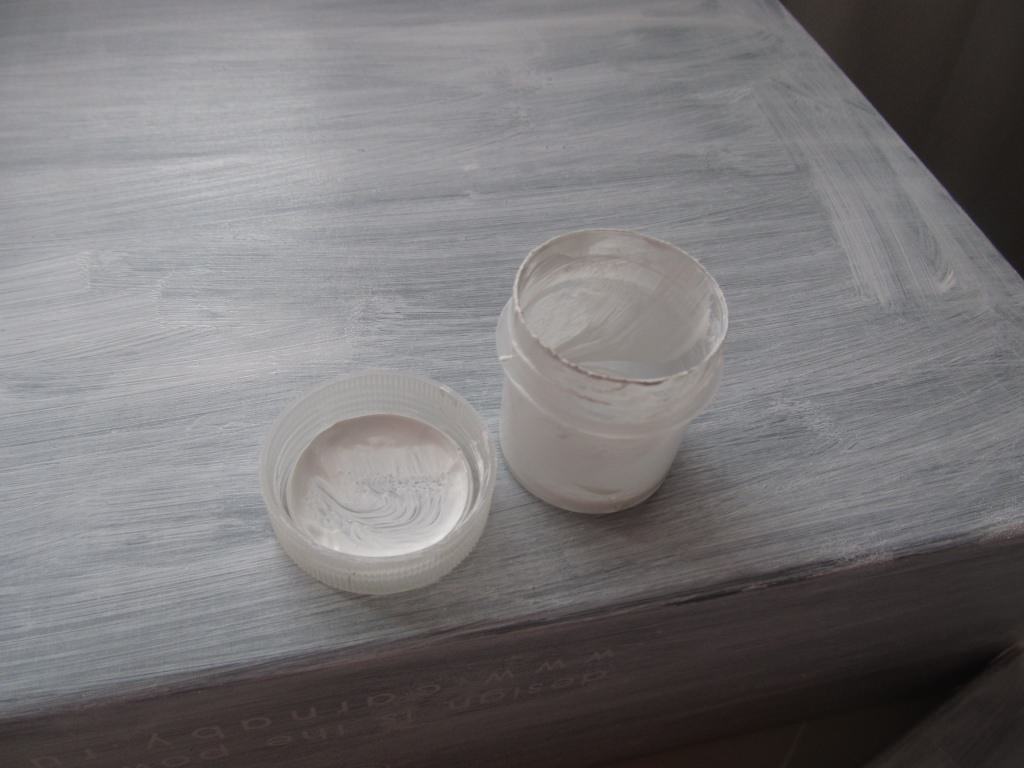
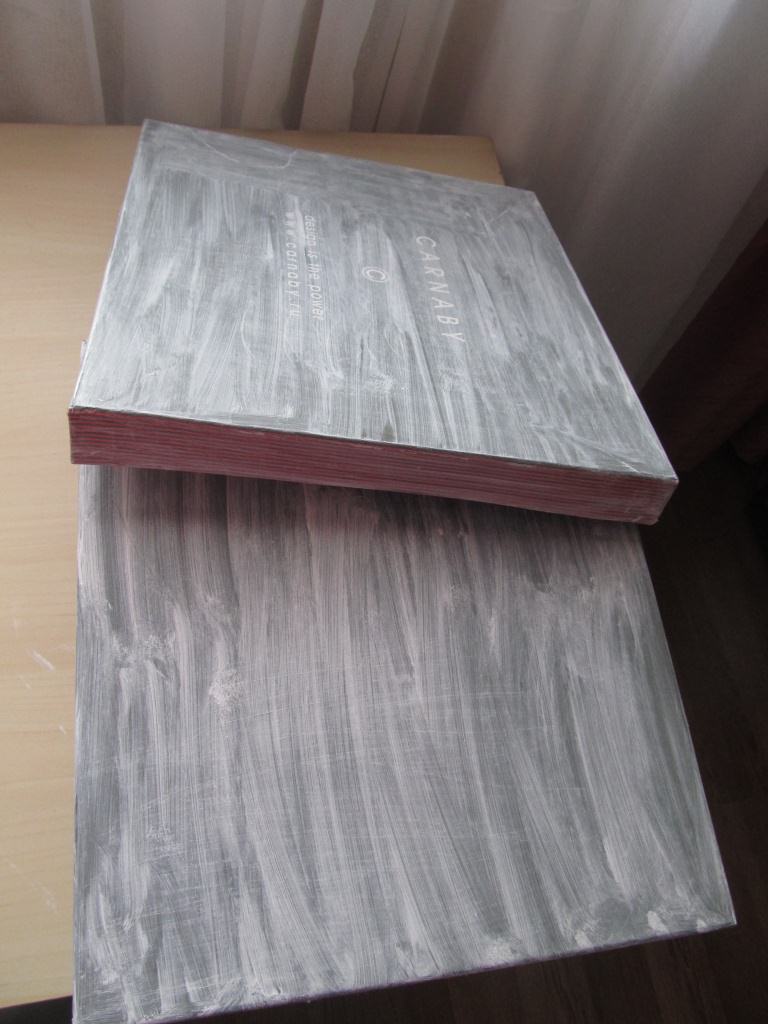
Take a simple box from under the shoe andtreat it with primer. Then paint over it with several layers of white acrylic paint. This is done in order to avoid gaps, which can shine through tissue.
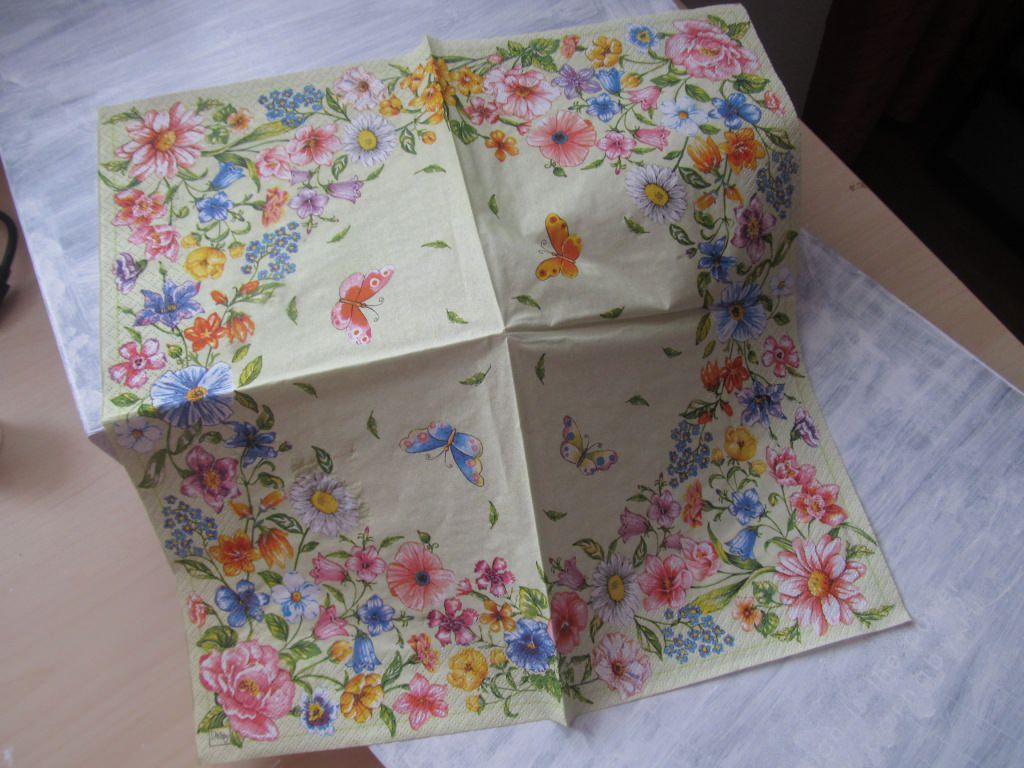
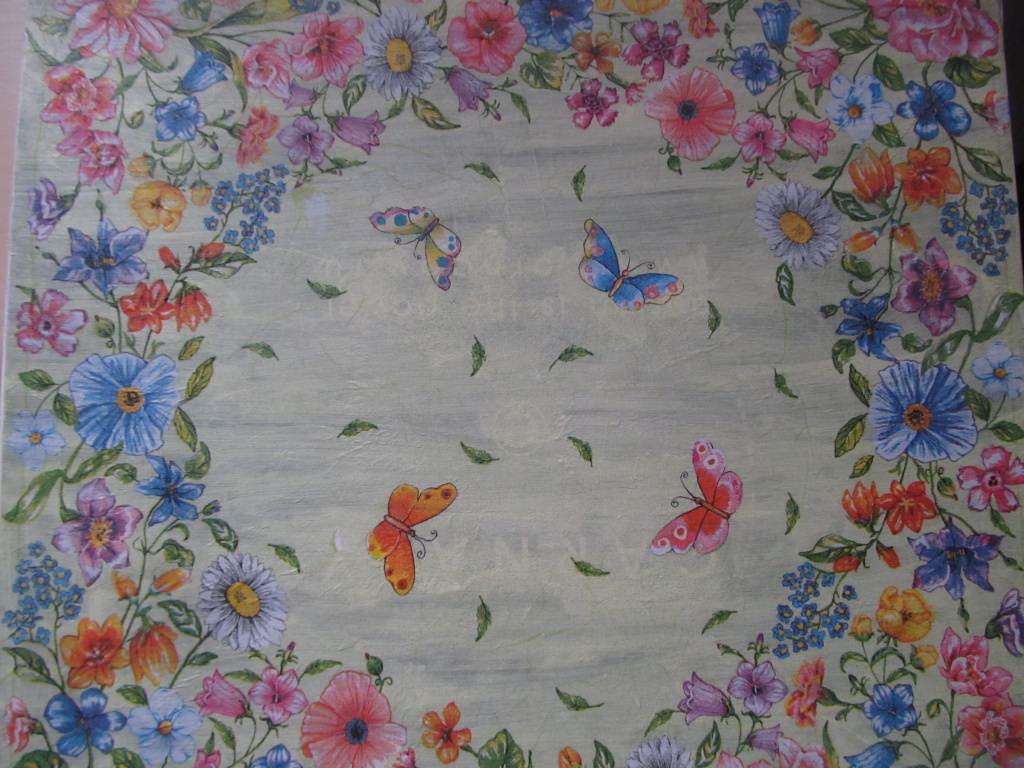
Take the cloth with the image of butterflies and flowers,its size, perfectly matched to the scale of the box, making it easier to master class. With the help of glue, Fasten napkin and align it, releasing the excess air.
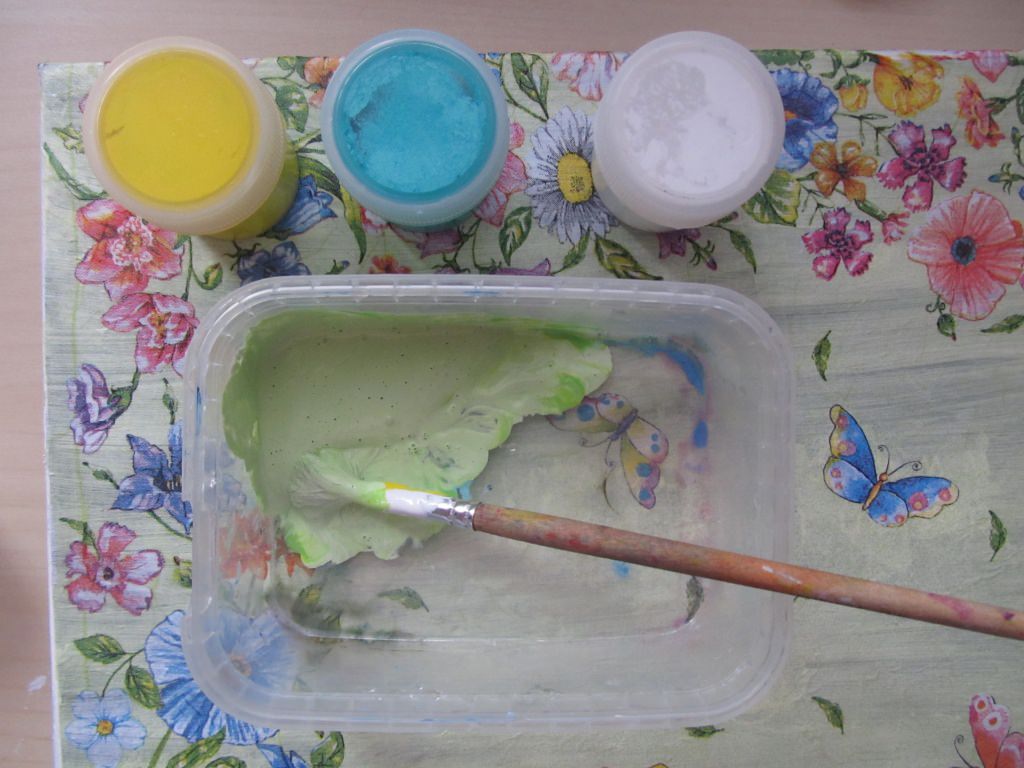
Mix several colors of acrylic paint and put it on the box. As a result, you get a box of soft green, as in the photo.
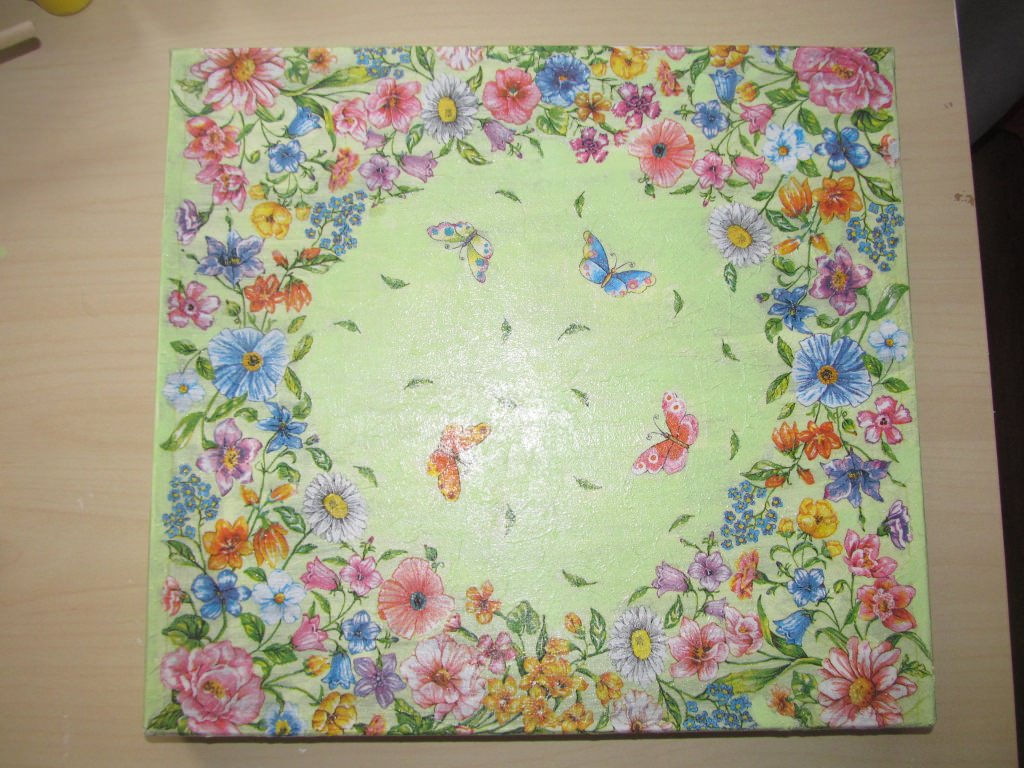
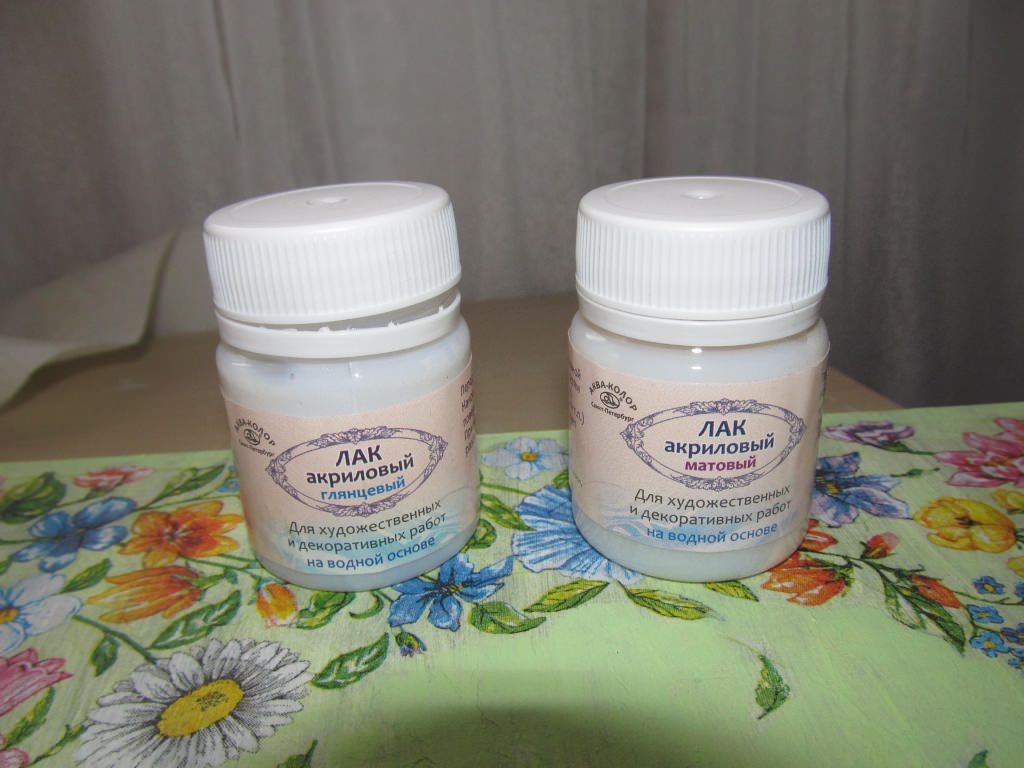
In the end, apply two coats of varnish to impart a glossy sheen, this beautiful crafts, which is made in the technique of decoupage on cardboard. Many lessons on making decoupage, there's video.
Video: Crafts with their own hands
https://www.youtube.com/watch?v=ZoLVjKuMpto