Decoupage frames for beginners (photo)
Content
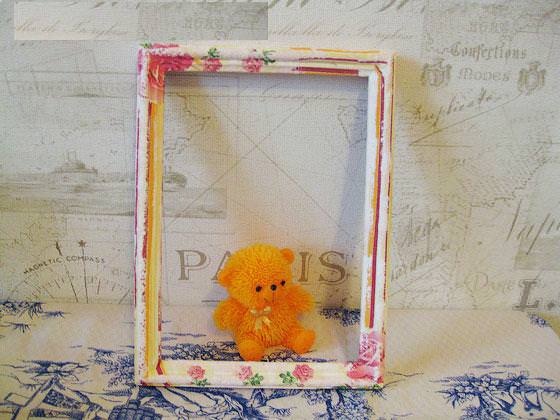
Have you ever paid attention on storecounters with photo frames? Surely, you have noticed that they are all the same type and practically do not differ from each other and do not look interesting. Basically, this is a simple wooden frame covered with paint, and always want something unique and unrepeatable that photo, delivered in the frame, happy look.
There is a needlework technique in whichIt referred to as decoupage, which will decorate a photo frame with your hands and breathe new life into them. Such a framework for a photo, take a worthy place in any part of your interior, most importantly, choose the right color and material. The master class, which will be a step by step photos, learn how to do decoupage picture frames, without any errors.
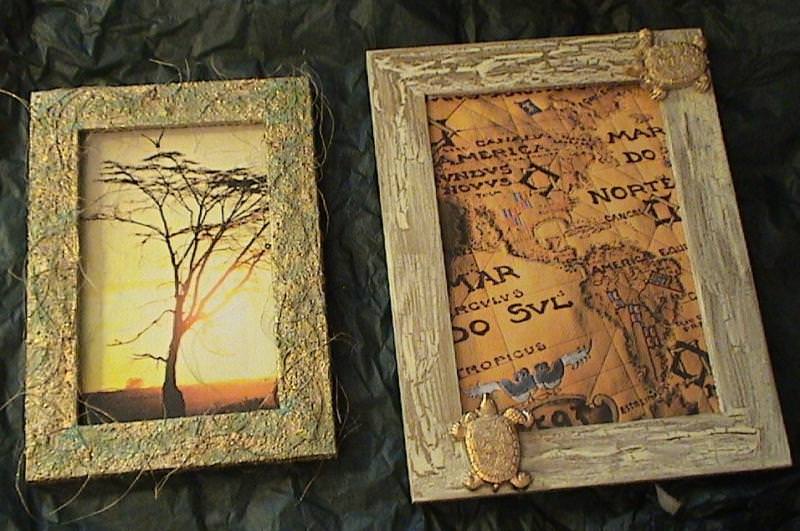
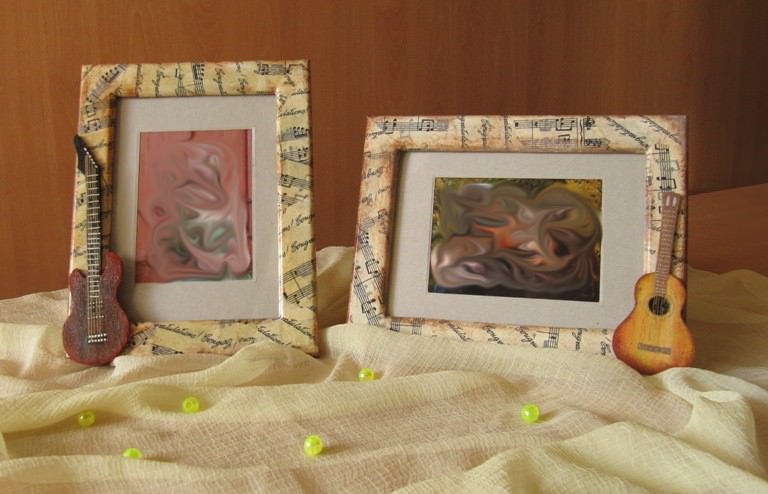
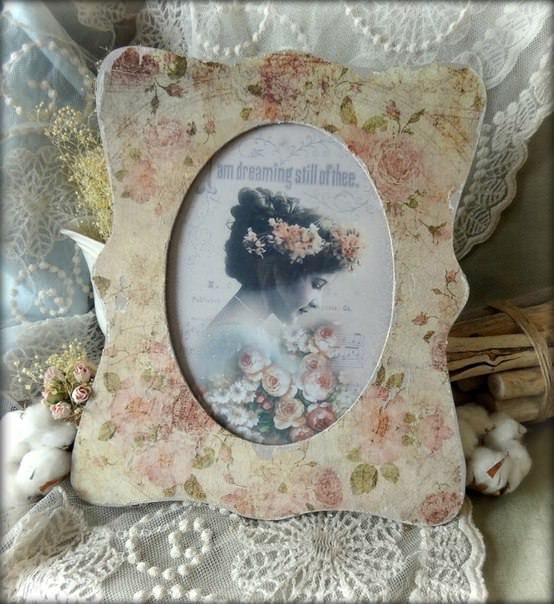
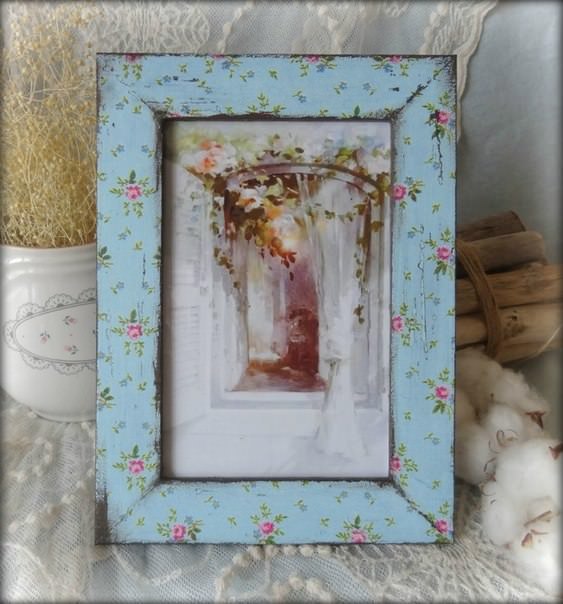
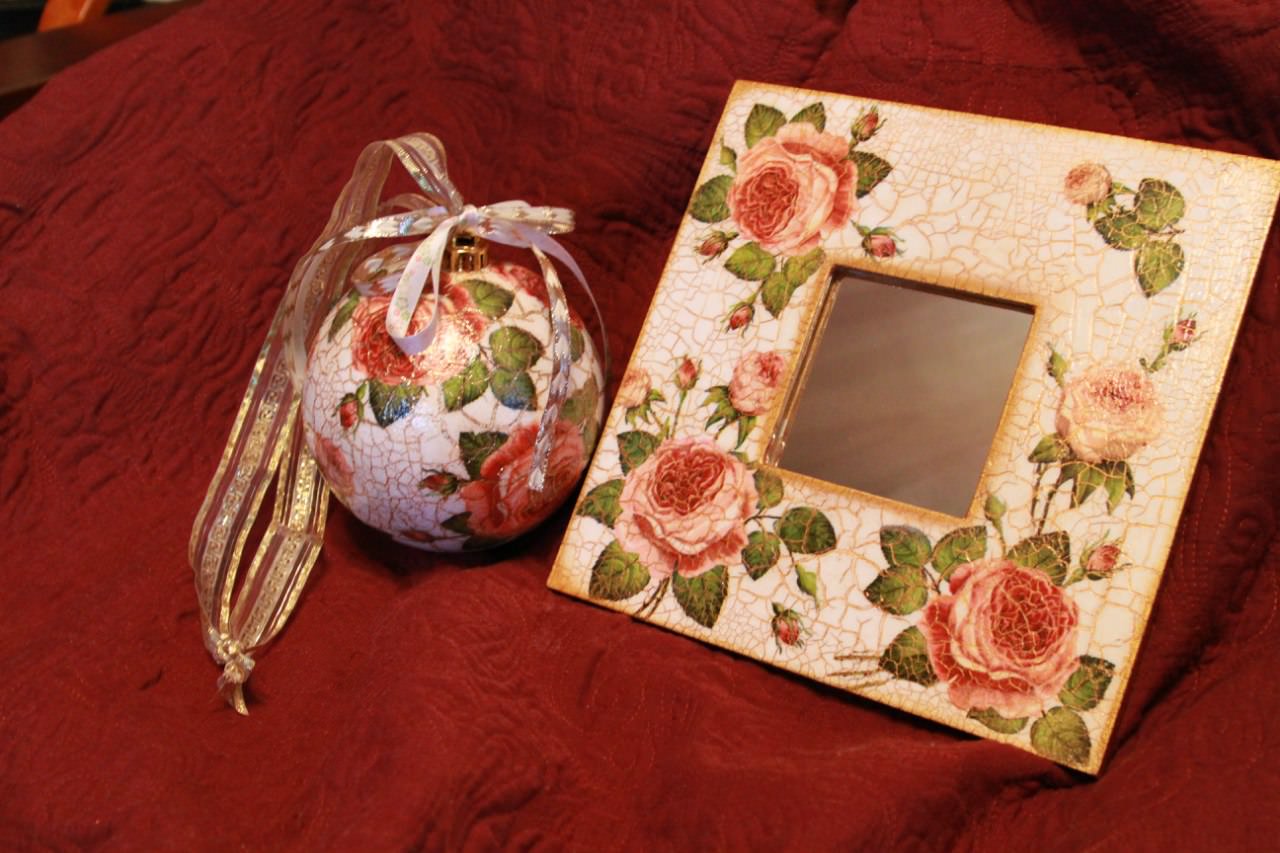

Bright photo frame
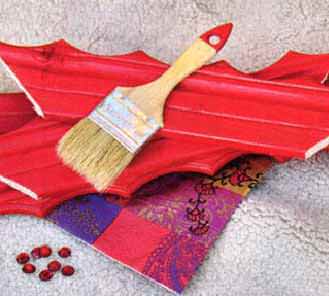
In order, to make a photo frame with your hands, in the style of decoupage need this hardware:
- harvesting of wood for the frame;
- paint acrylic;
- decoupage napkins;
- decoupage glue;
- brush;
- decoration and scissors.
First, paint the wooden framepaint acrylic and leave it to dry completely. Cut out the napkin, with his own hands, a favorite motif and peel off the top layer. Presented a master class, recommends leaving two tiers of paper to recreate the brightness of the image.
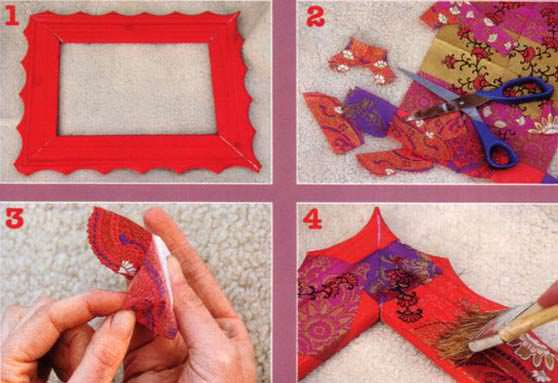
First of all, you need to attach ornamentframe, to determine the size and approximate location. It is better to make such pre-fitting, so you do not make mistakes and do not spoil the whole decoupage.
There comes a crucial moment whichrecommends workshop, bonding pattern. Soak the brush into the glue and attach the paper to the frame, careful movements, swipe the plane. All you need the most important thing is to smooth the material and get rid of excess air.

After all done manipulation and dryingphoto frames, you need to apply a coat of varnish Decoupage. Lac enables, crafts look impressive and presentable. Tier, which is applied, to be not one, but several, and have a liquid consistency. Do quick movements, preferably in the same direction. Do not forget to take breaks between the drying layer.

When all steps are completed, you can use decorative material and decorate a photo frame to your liking. Now, a master class, can be regarded as complete.
Master class for beginners
Frames made with their own hands, will becomea wonderful gift, for any occasion, especially if they are made in the technique of decoupage. With its help, you can change the design of the photo frame as you want.
The tools required for such work, virtually the same as those listed above in the text. There is no need to repeat.
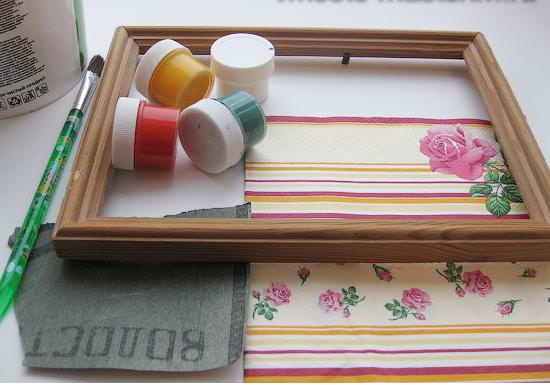
To work, fit any photo frame, whether itplastic, wood or metal. The process works the same. Prepare a blank after removing from her all the details, and then make a sanding.
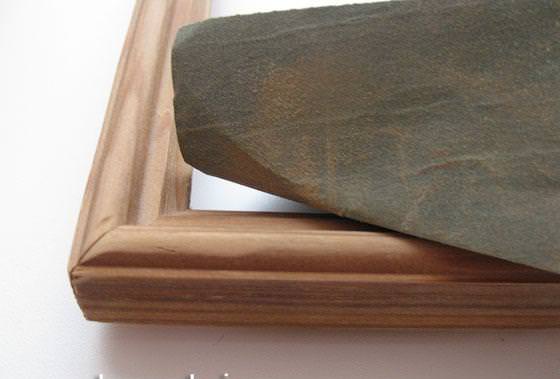
Harvesting, covered a light paint, for accuracy, apply another layer. Such action, easy to apply with a sponge. Leave it to dry completely. To expedite the process, it can help hair dryer.

Pick your favorite pieces of the picture and cut out their scissors. Now, put them on the frame and hold their hands, and then start making brush strokes with glue.
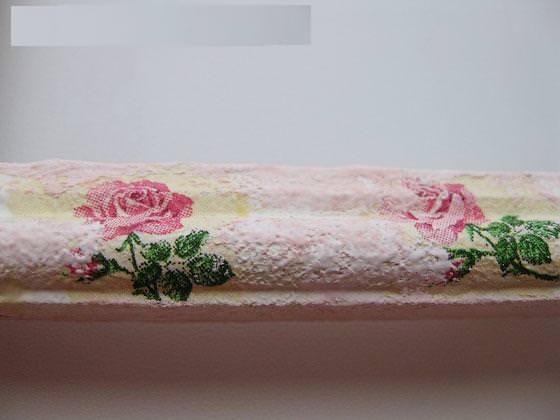
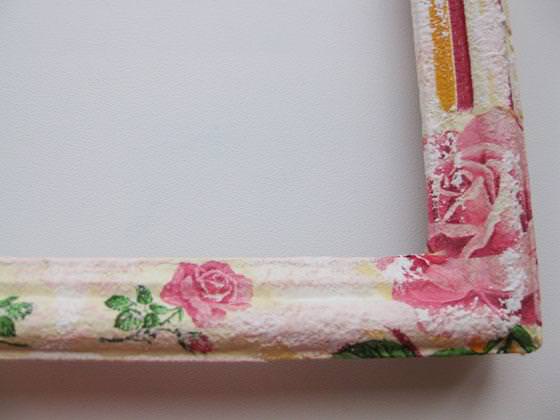
The final touch is the covering of the entire lacquer frame plane. Now we can assume that a master class for beginners, made entirely.

